
Apple iPhoneApple iPhone 6Teardown
Apple iPhone 6 Teardown
In this guide, I’ll explain how to disassemble an Apple iPhone 6, I will remove the battery, screen assembly, rear camera, front camera, home button, speaker, vibrator, earpiece and motherboard. Refer to this guide. You can take apart or repair your iPhone 6.
Looking for more funny teardown? Follow us on Facebook for all the latest repair news.
iPhone 6 Disassembly Step:
Power off the iPhone 6.
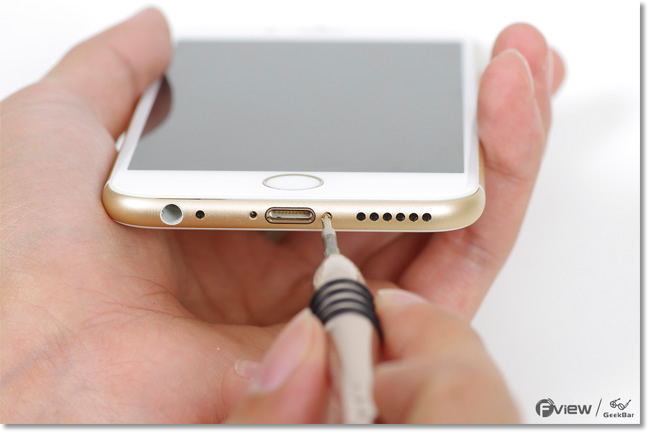
Remove the SMI card. Remove two screws on both sides of the data port.
Separate the screen assembly with a sucker.
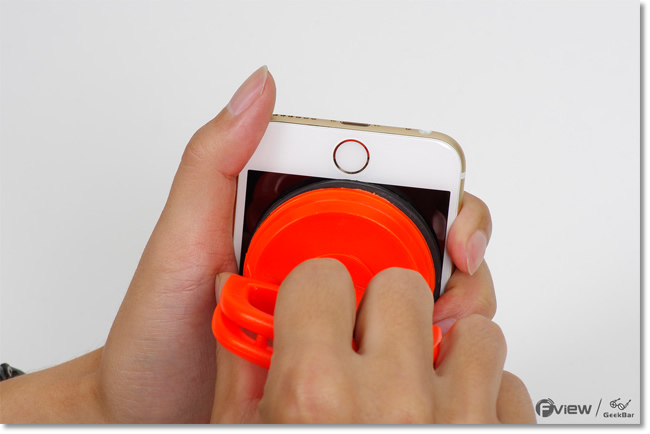
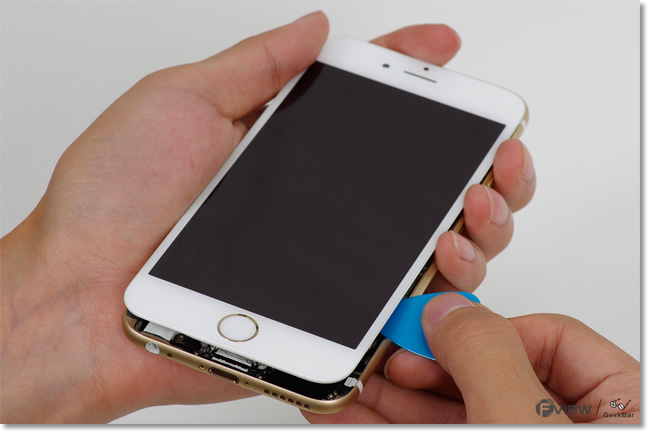
Be careful. There are two cables still connected the screen assembly.
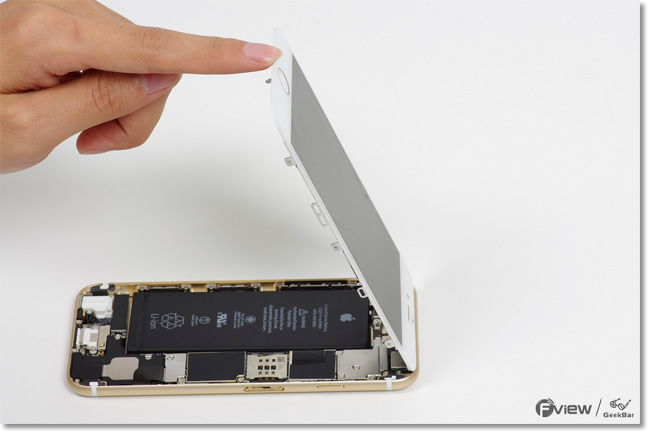
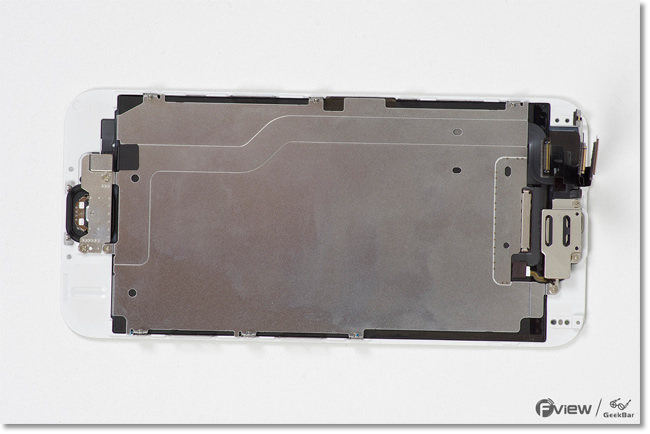
In order to avoid a short circuit in the dismantling process, we need to remove the battery first. Remove the power cable metal shield.
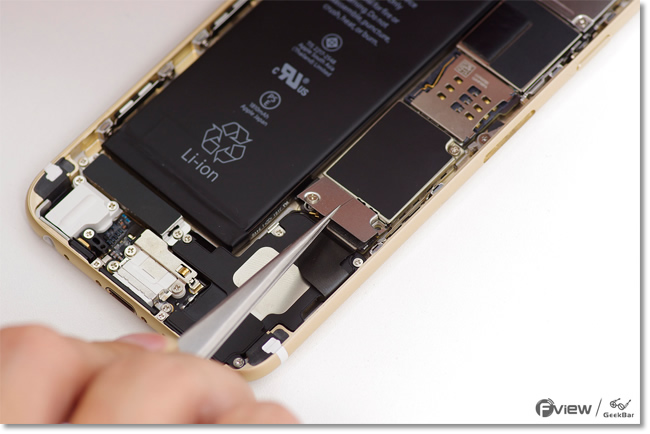
Disconnect the battery power cable.
Remove the metal shield.
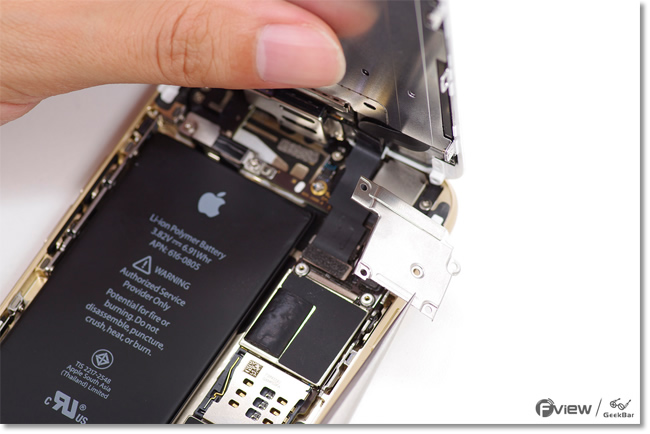
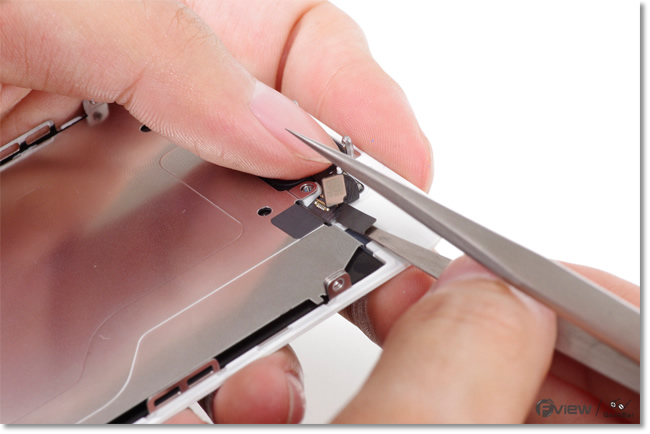
Disconnect LCD cable, touch cable, fiber cable and Touch ID cable.
The screen assembly has been removed.
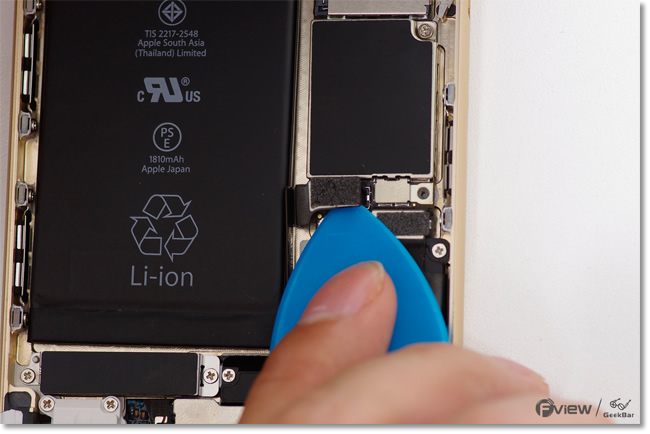
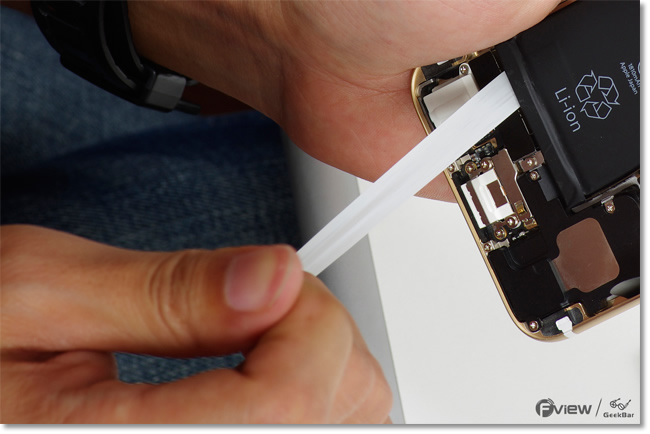
Pull the white cable and remove the battery.
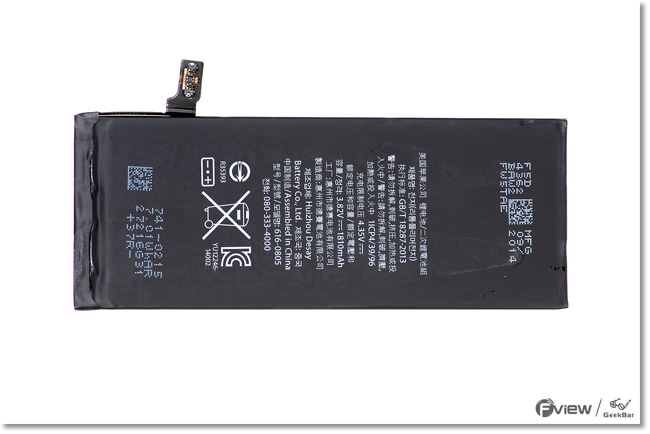
iPhone 6 features a 1810mAh, 3.82V Li-Polymer battery.
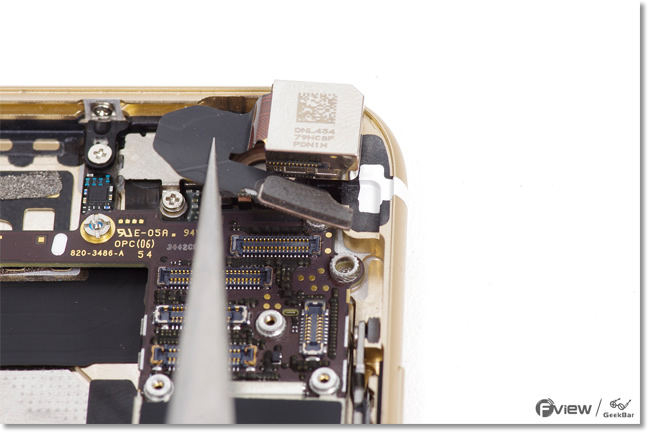
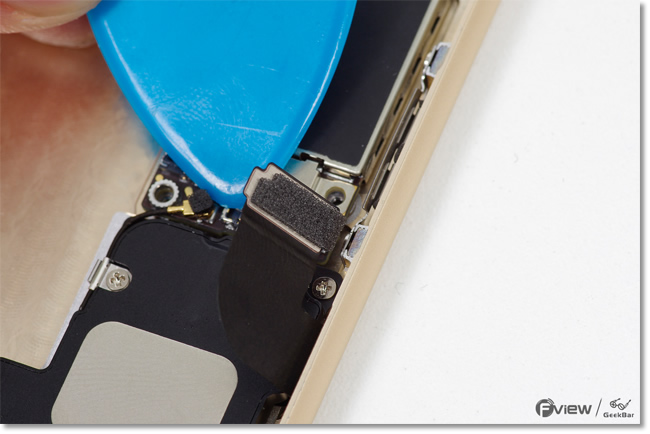
Remove the metal shield covered the rear-facing camera.

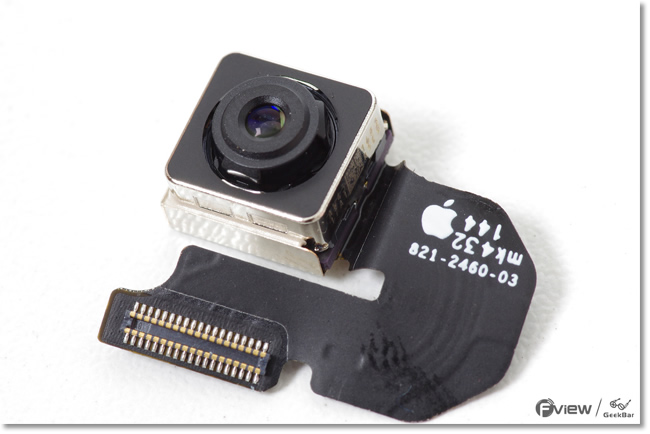
Remove the rear-facing camera.
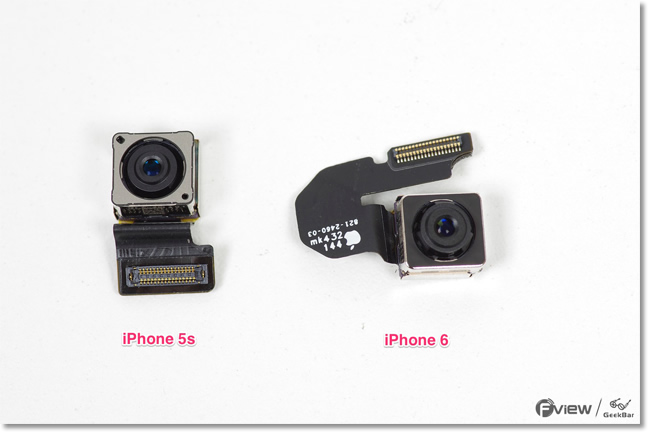
The left is the iPhone 5s rear-facing camera. On the right is the iPhone 6 rear-facing camera.
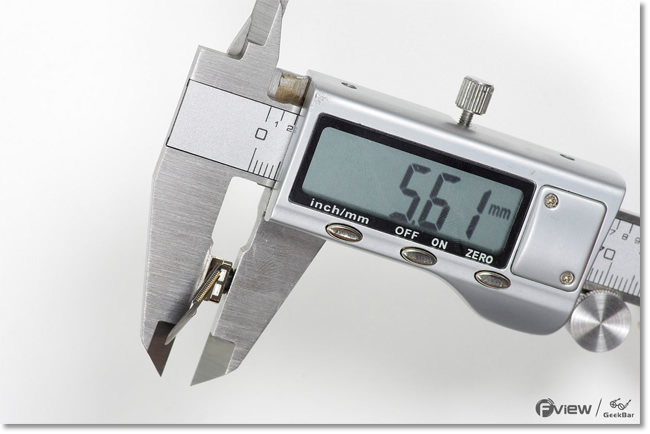
We use vernier caliper, iPhone 5s and iPhone 6 rear camera thicknesses both are 5.61mm, no change in thickness.
iPhone 6 rear-facing camera
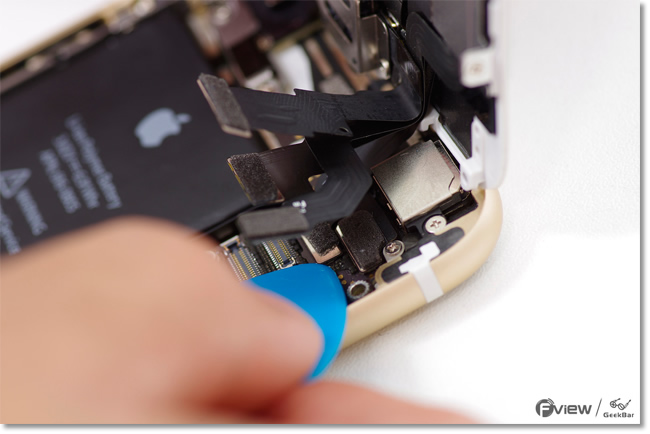
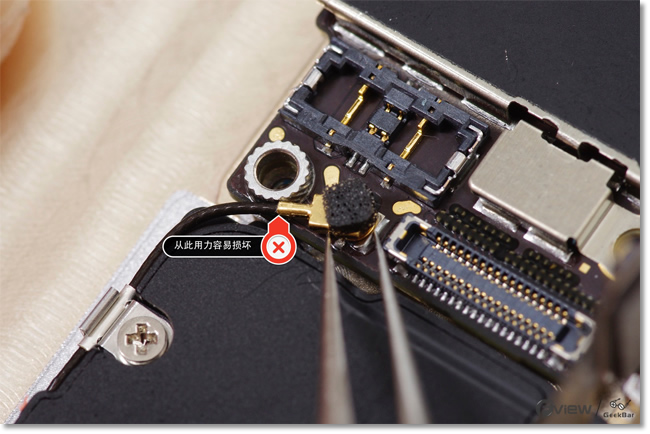
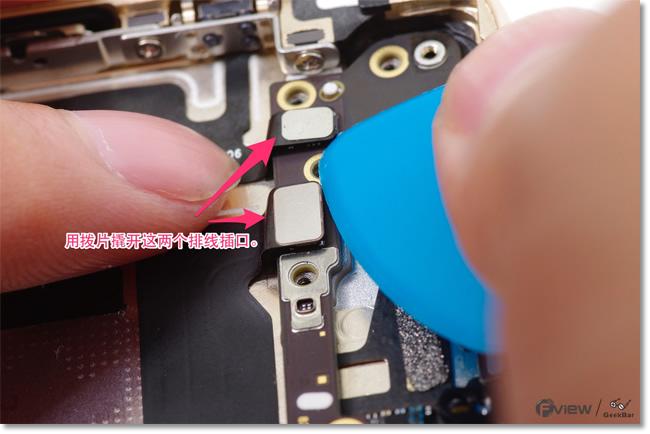
In the next step, we will remove the motherboard. Disconnect the cable connected to the motherboard.
Disconnect the antenna.
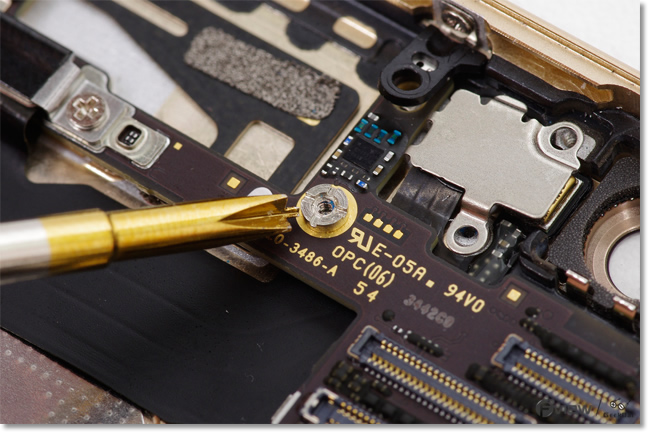
Remove the screw.
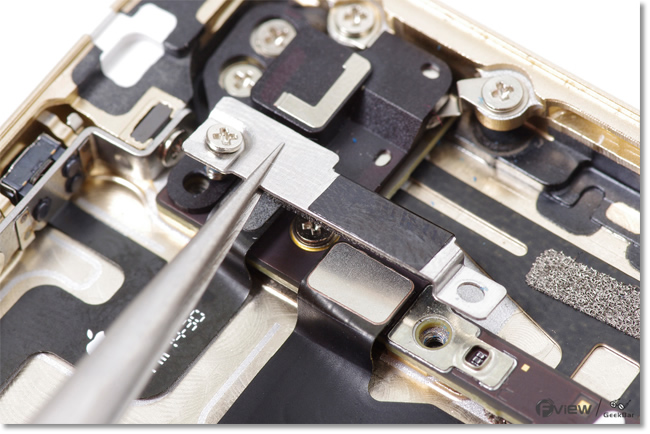
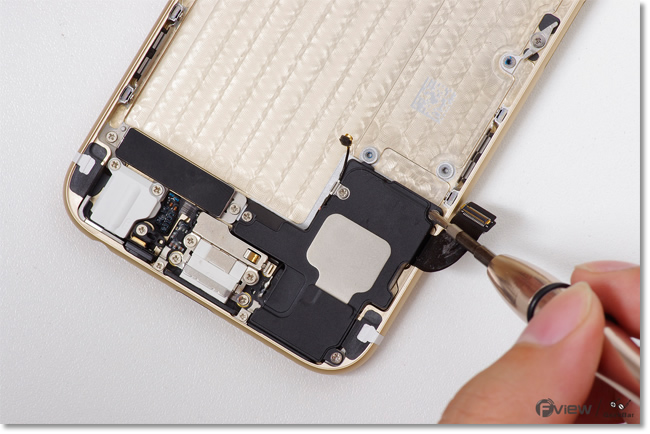
Remove the metal shield covered the volume cable and switch cable.
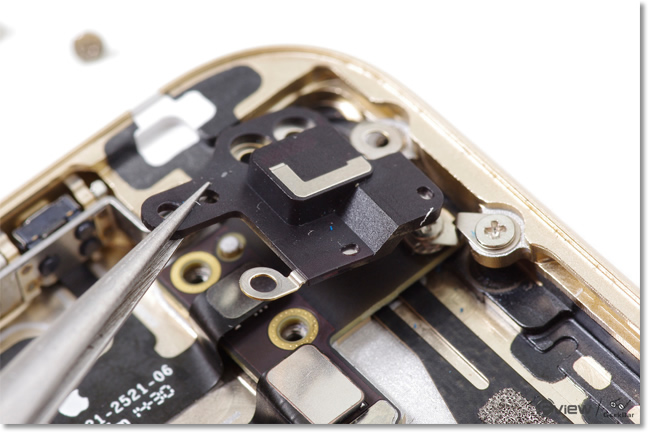
Remove the GPS/Wi-Fi antenna.
Disconnect these two cables.
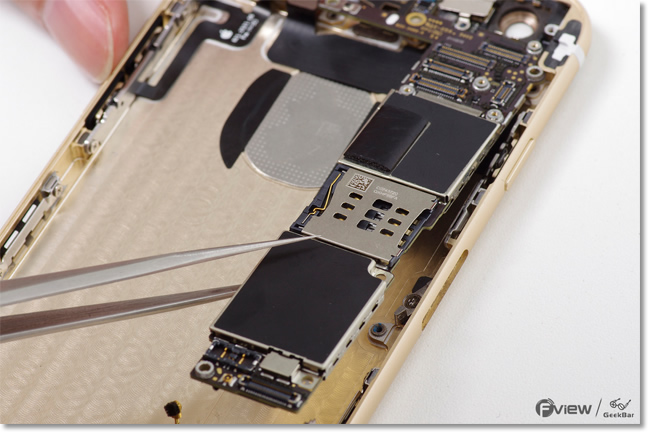
Now remove the motherboard.
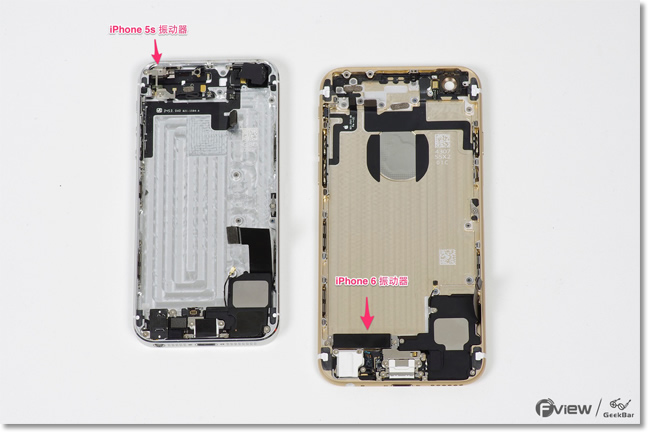
iPhone 5s only have one switch cable, and it is integrated power button, volume button, mute button, flash, noise intercom and vibrators.
iPhone 6 vibrators moved to the lower part of the fuselage. The switch cable is divided into two, integrated volume button, mute button, power button, flash, noise intercom.
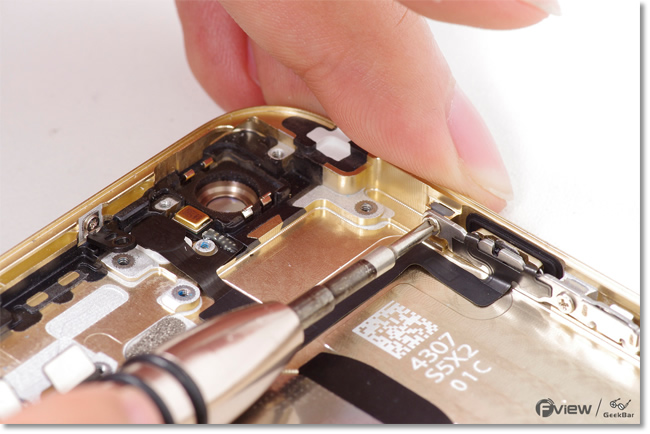
Remove the screw securing the volume button.
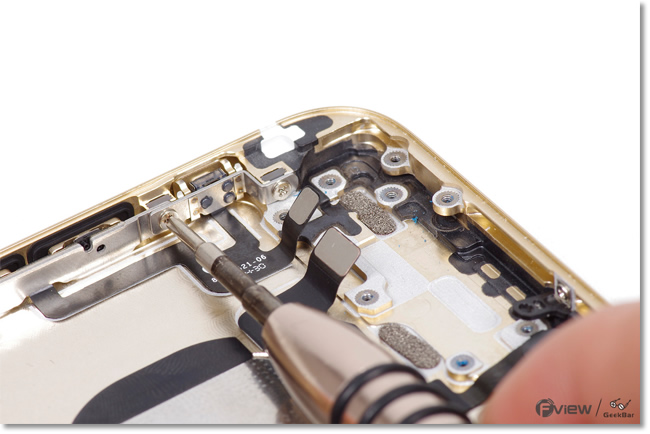
Remove the screw securing the switch button.
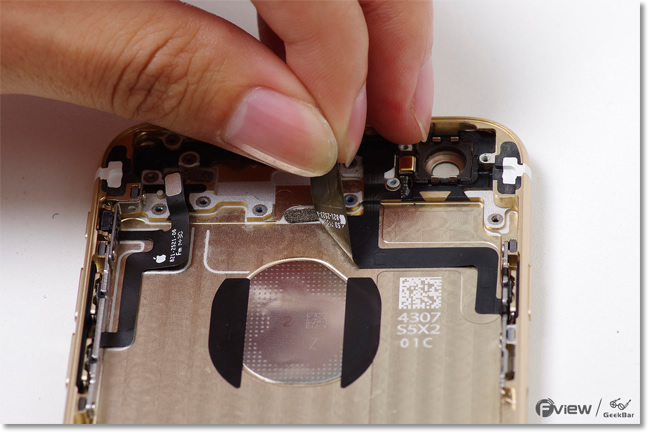
The cable is glued to the rear casing, must be carefully peeled off.
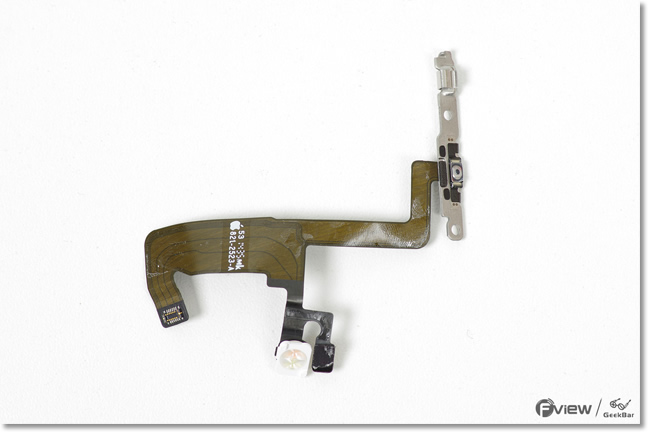
This cable integrated a power button, flash and noise intercom.
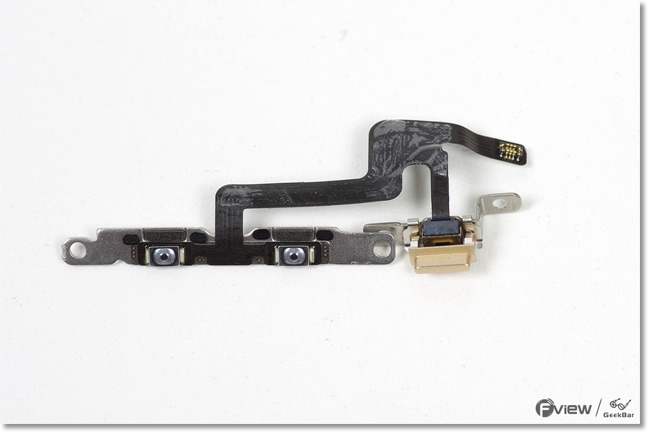
This cable integrated a volume button and mute button.
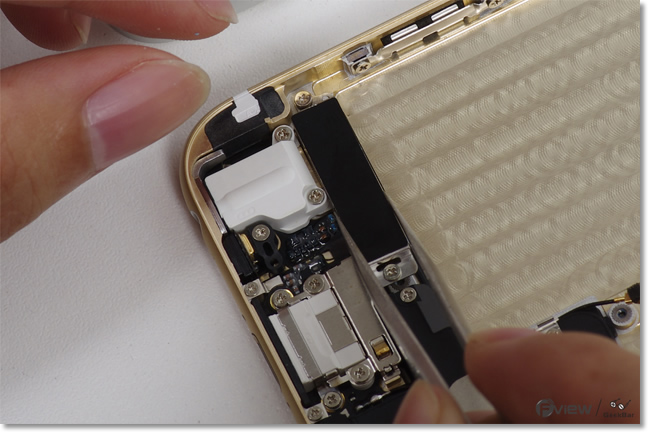
Remove the speaker.
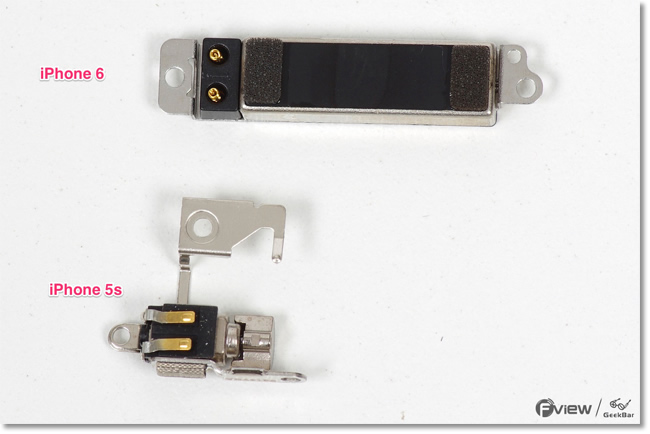
Remove the vibrator.
Compare to iPhone 5s. The vibrator has changed.
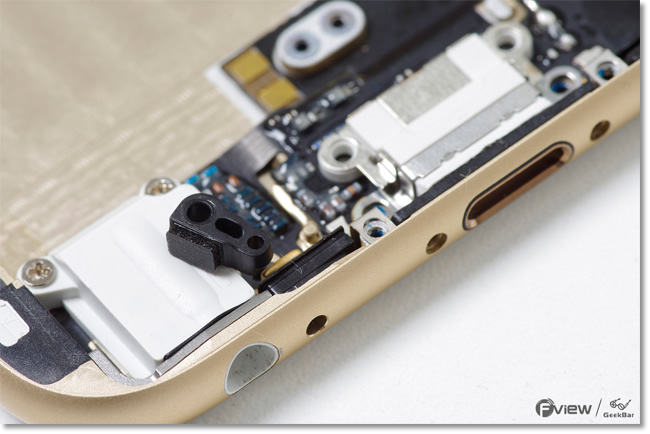
Remove the antenna connection piece.
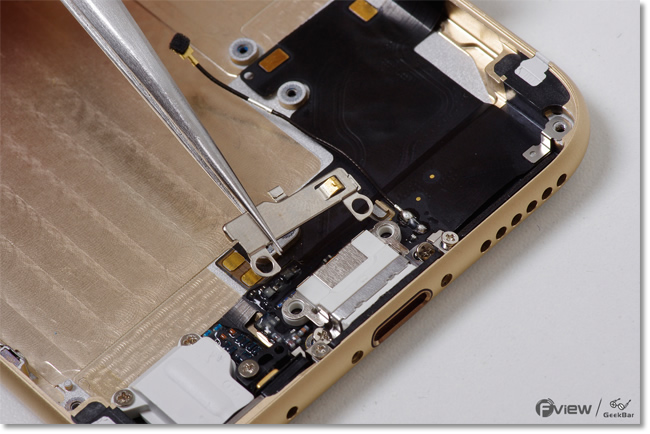
Remove the widget. The widget is used for fixing the microphone.
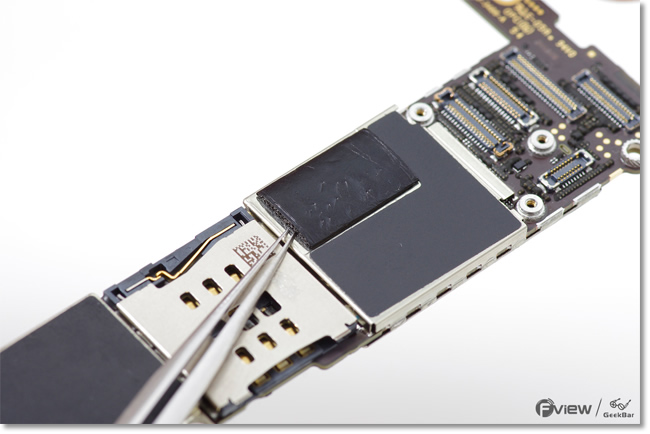
Remove SIM card tray.

Next step, we remove the motherboard.
First, remove the graphite cotton.
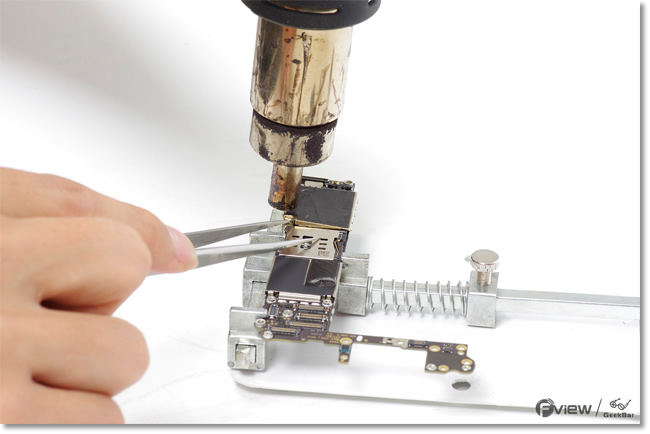
Heat up the shield with a hot air gun. Remove these three shields.
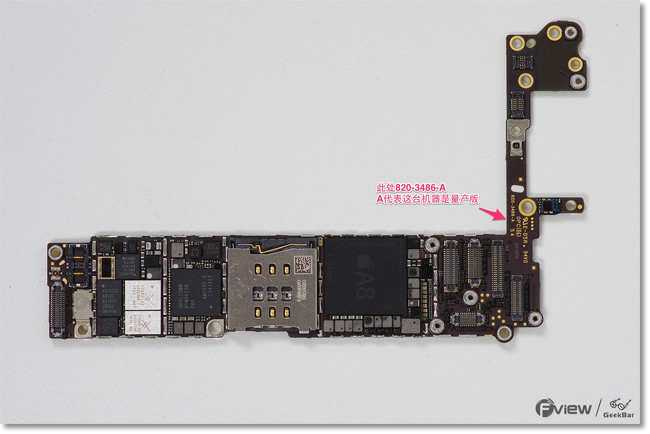
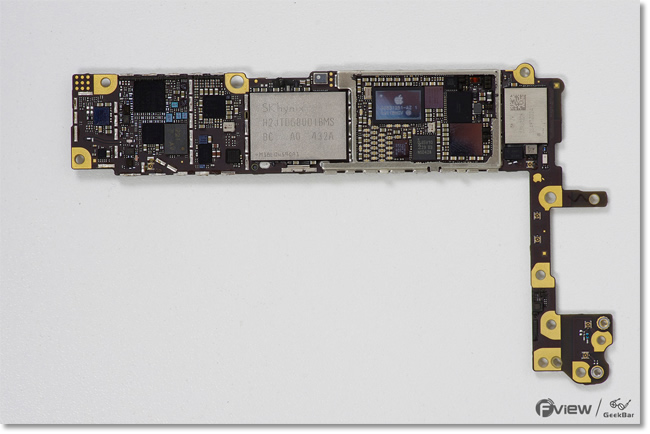
Apple A8 processor
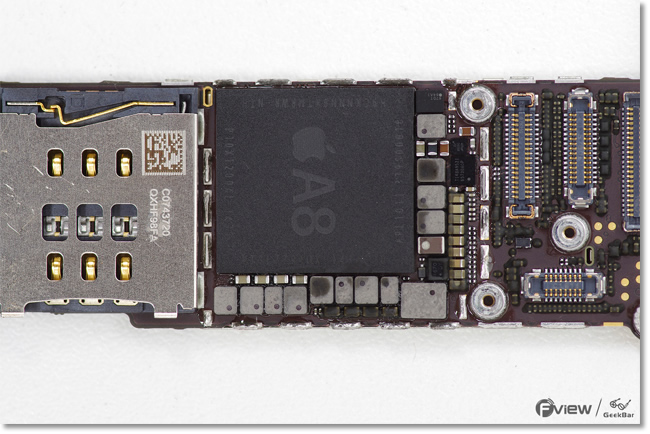
The iPhone 6 motherboard
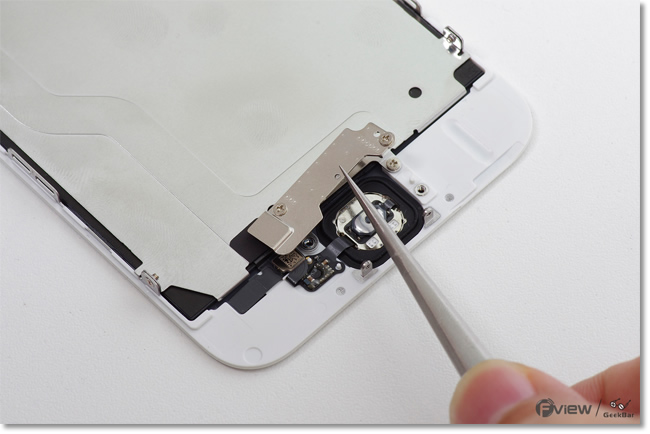
Remove the home button mounting bracket.
Remove all screws.

Remove the shield covered the front camera.
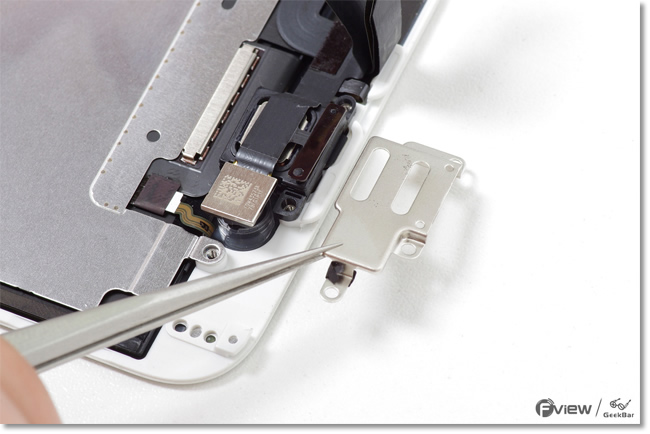
Disconnect the sensor cable.
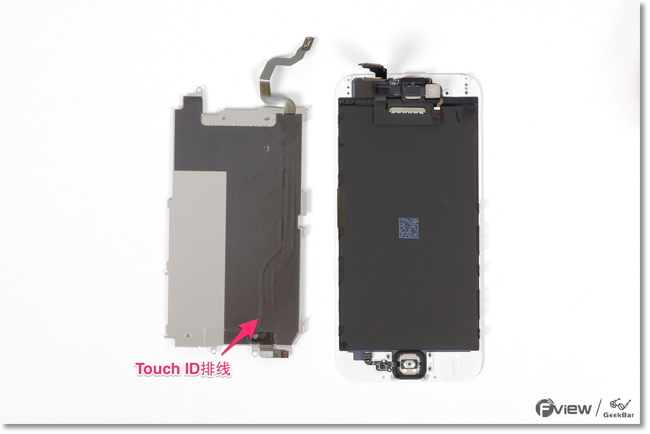
Remove the metal plate.
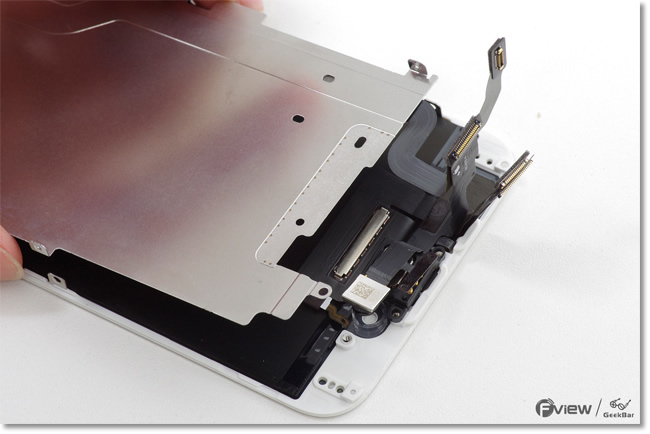
After removing the metal plate, you can find Touch ID cable hidden in the graphite thermal film.
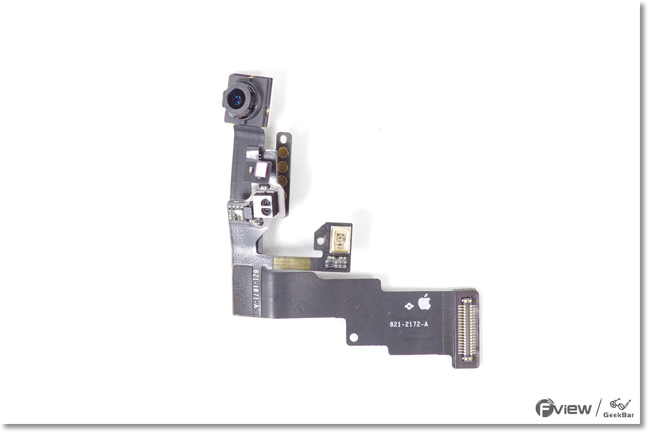
Remove the sensor cable. The sensor cable has integrated a front camera, light sensor, distance sensor. It is worth mentioning that Apple put light and distance sensors integrated together. The front panel can be less open a hole, more beautiful, and the disadvantage is the high cost.
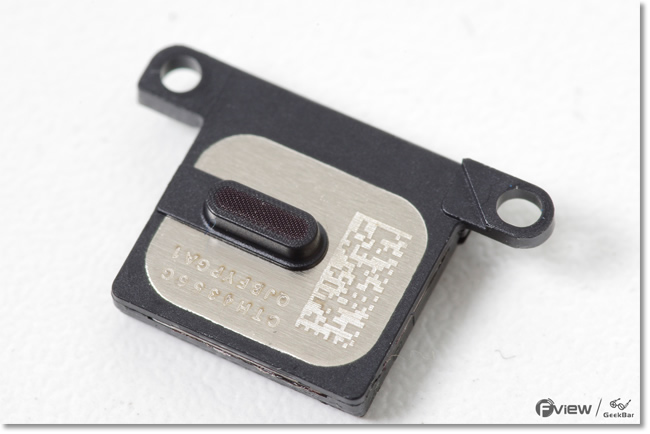
Earpiece
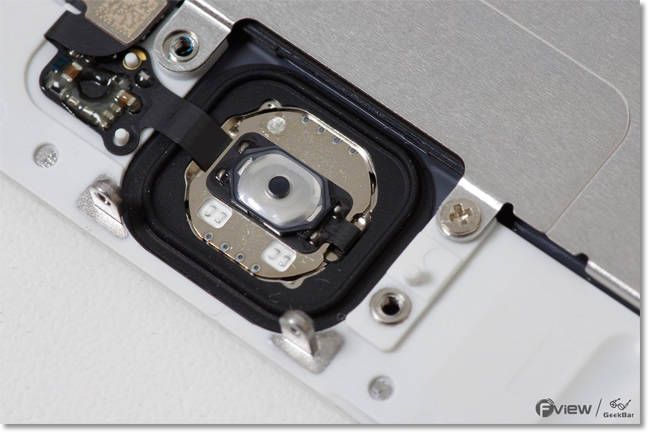
The home button is stuck on the screen.
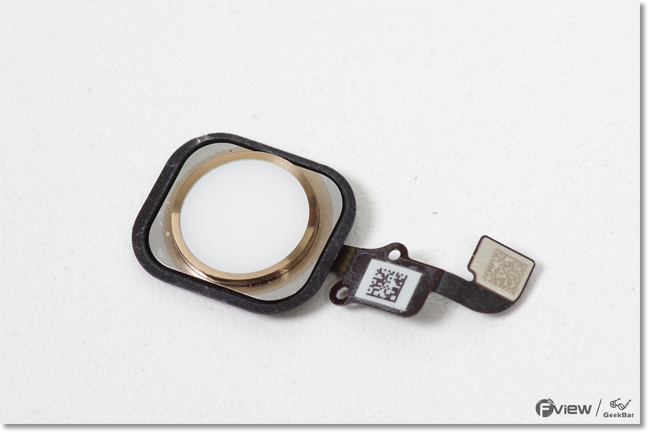
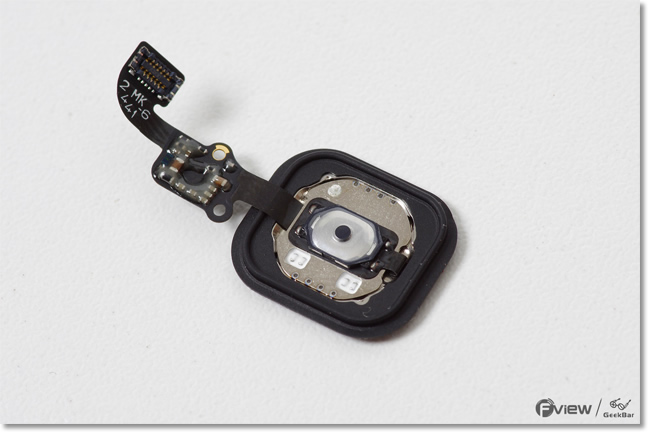
Home button
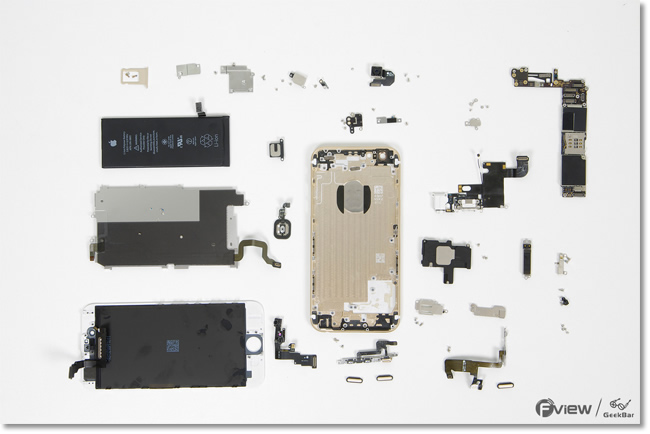
All the parts in one picture
The iPhone 6 disassembly process is completed, for more guides, check out the iPhone 6 device page.


This was absolutely informative if I ever get a iphone and need to service I think this would help 100%. Where would one find the tools?
You can buy them at amazon or ebay theyre not oo expensive.
These close-up photos are brilliant. With the picture that goes with the caption “remove the metal shield covered the rear-facing camera” there is an arrow that points to what I assume is a liquid damage indicator sticker… did you find these anywhere else in the phone?
can you provide us the part number for each part in iphone , please
verry helpfull for repair guide .with step to step.way rightlly.but I still have one last troble.no idea where its part came from.and placed rightly.here .part img.
Hello I went I store as my iPhone 6 Battery not charging it stop on 1%
They said two parts
Display cowling and battery cowling r missing
I doesn’t show my phone to any one
Can u mail d pics of these two parts by mail or how and where I can buy this part
Pls send pics on my mail id
And how to fix the issue