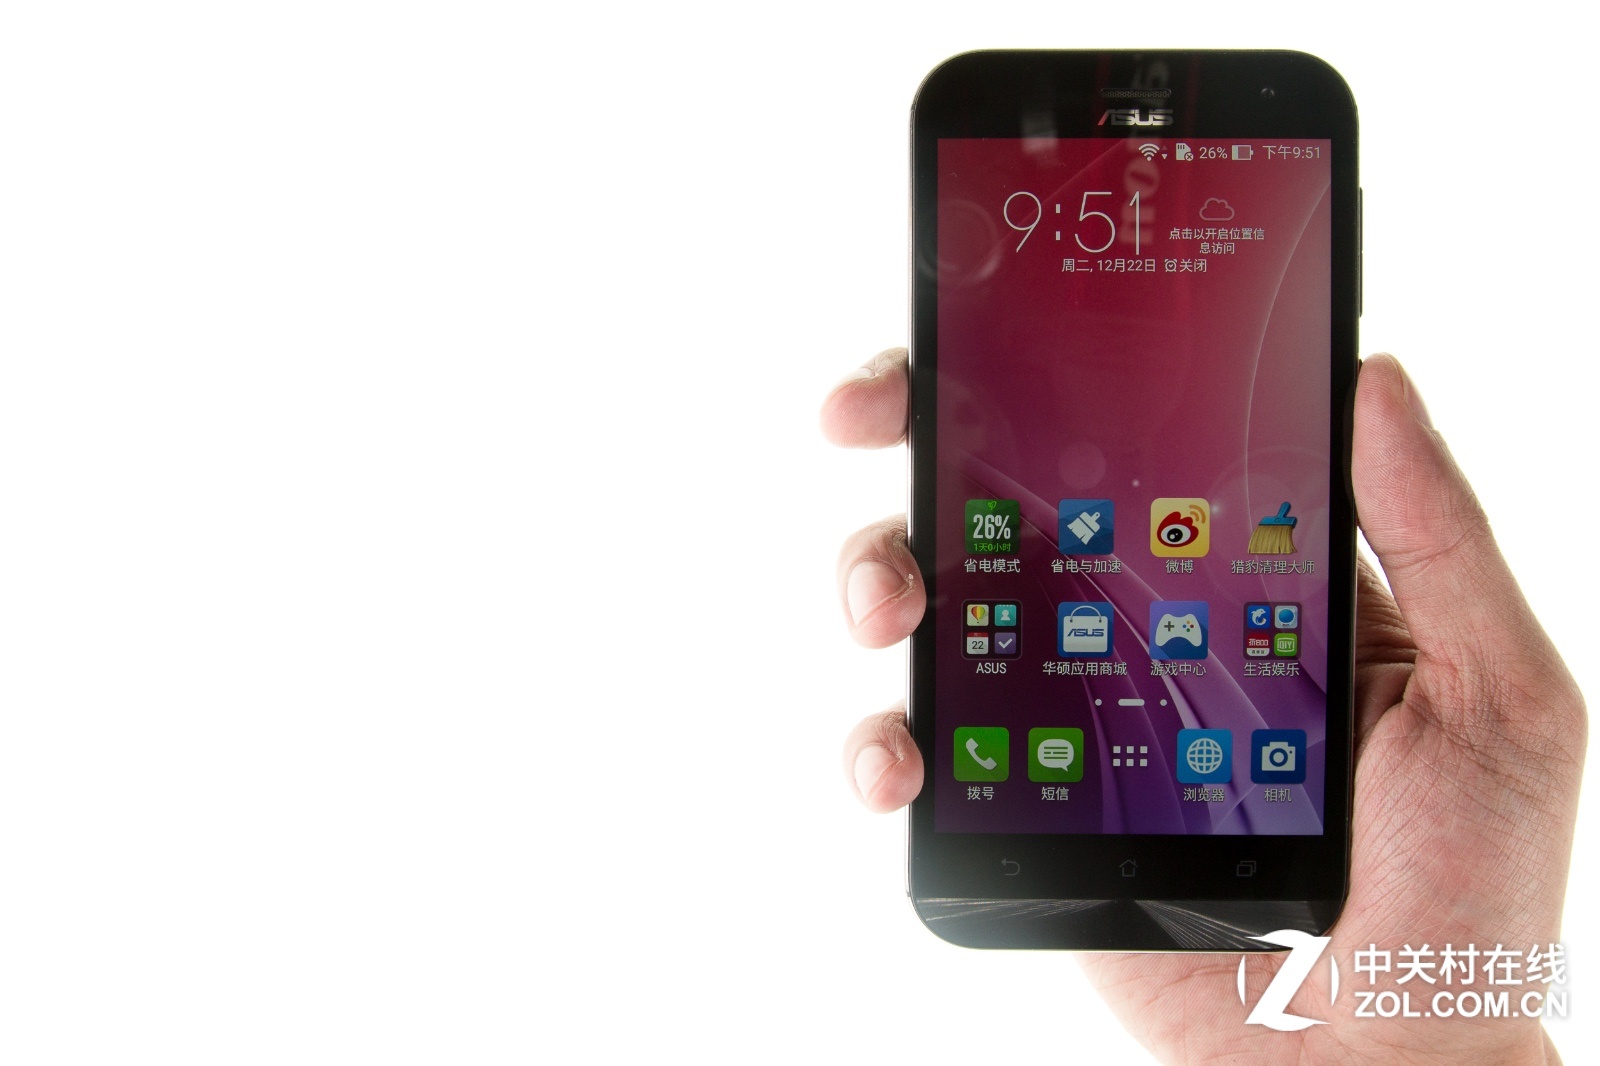
Asus Mobile PhoneAsus ZenFone Zoom
Asus ZenFone Zoom Teardown
In this guide, I’ll explain how to disassemble Asus ZenFone Zoom to remove the back cover, speaker, battery, camera and motherboard, refer to this guide. You can repair your ZenFone Zoom.
Want to be the first to see inside the latest gadgets? Follow us on Facebook for the latest news from the MyFixGuide.com.
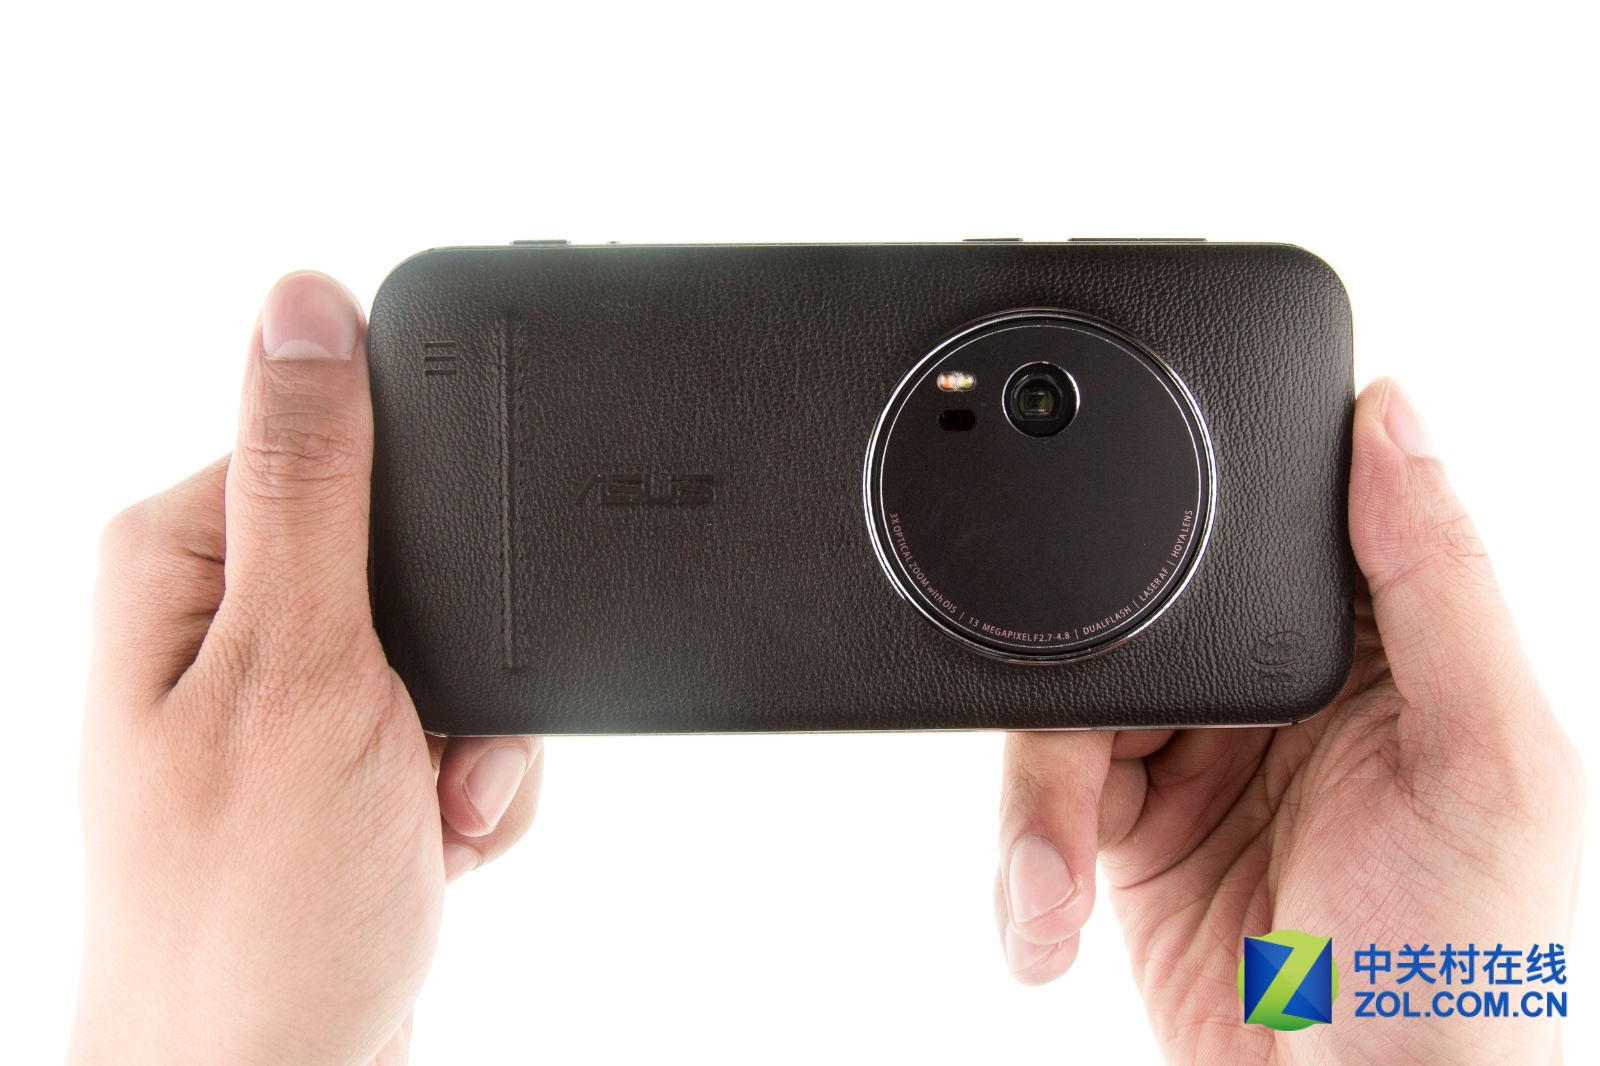
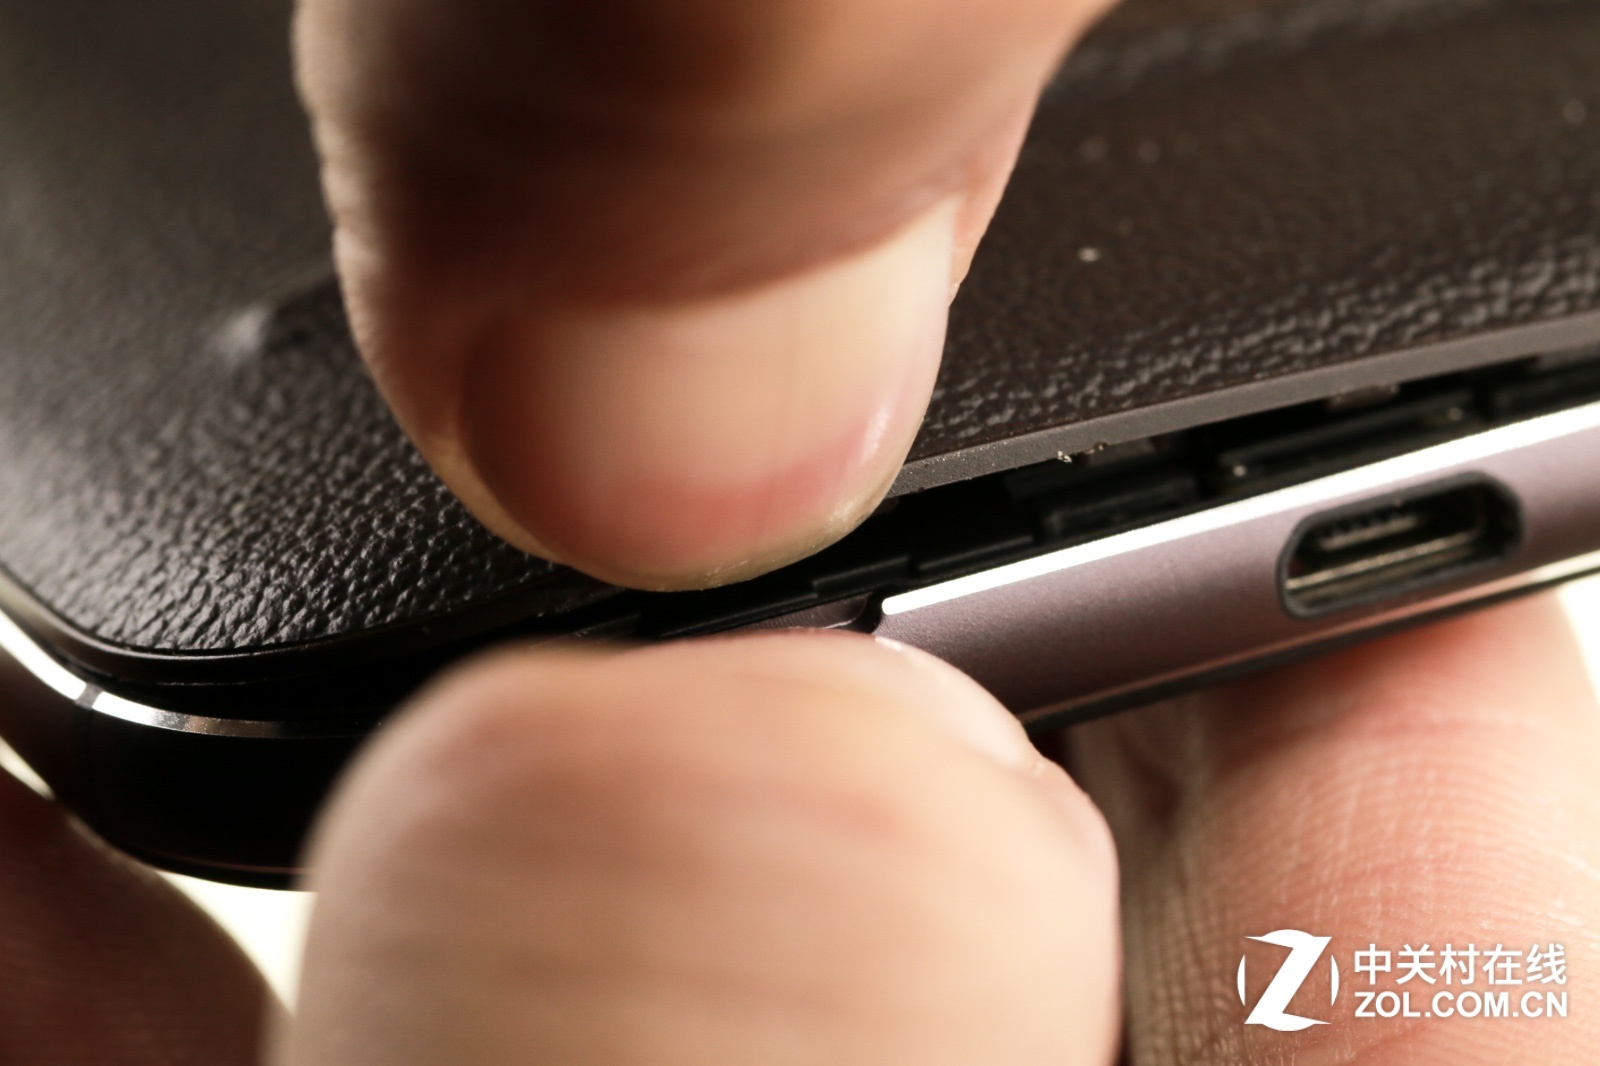
Powered off the phone, we start separate back cover from the back of the lower left corner, opened back cover with nails.
With the snap rattling sound, it is very easy to remove the back cover, really miss such design.
The back cover was removed.
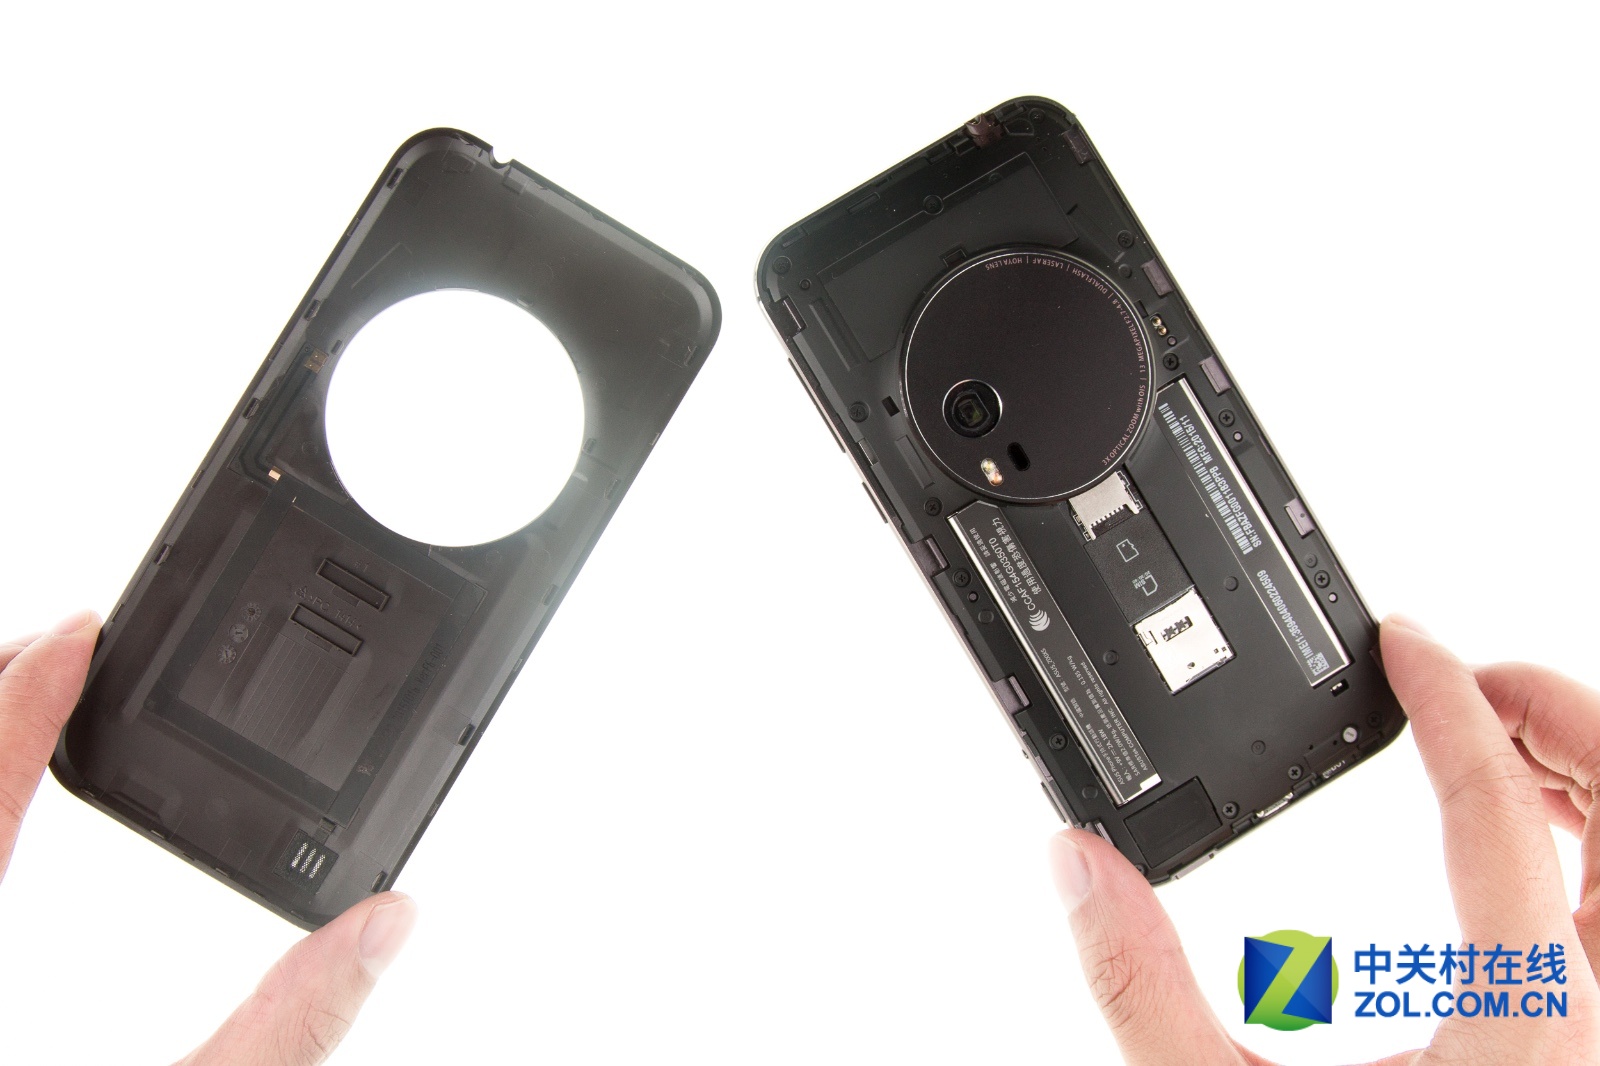
Some people worried that the phone fuselage is connected to the back cover is not strong enough, when the phone fell down, the back cover will be separated.
There are eighteen snaps on the back cover. They used to fix the back cover on the phone fuselage, so please do not worry.

Remove all screws securing the middle frame.

After all the screws were removed, remove the middle frame, so you can access the internal components.
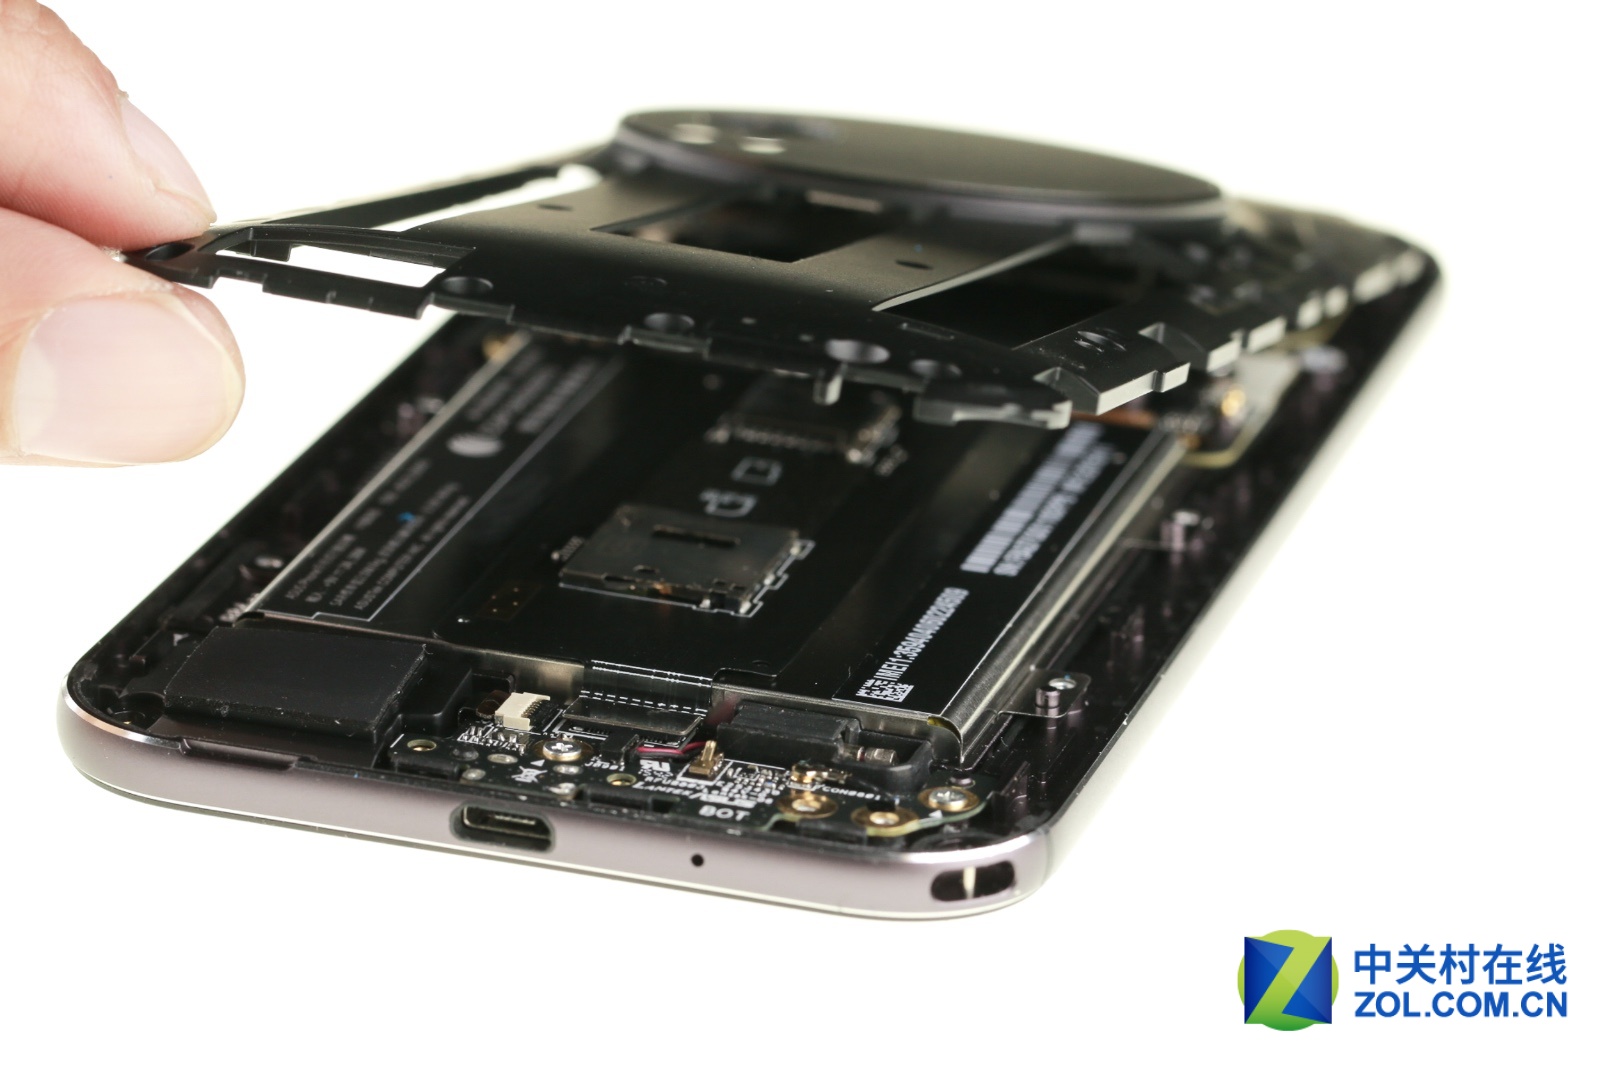
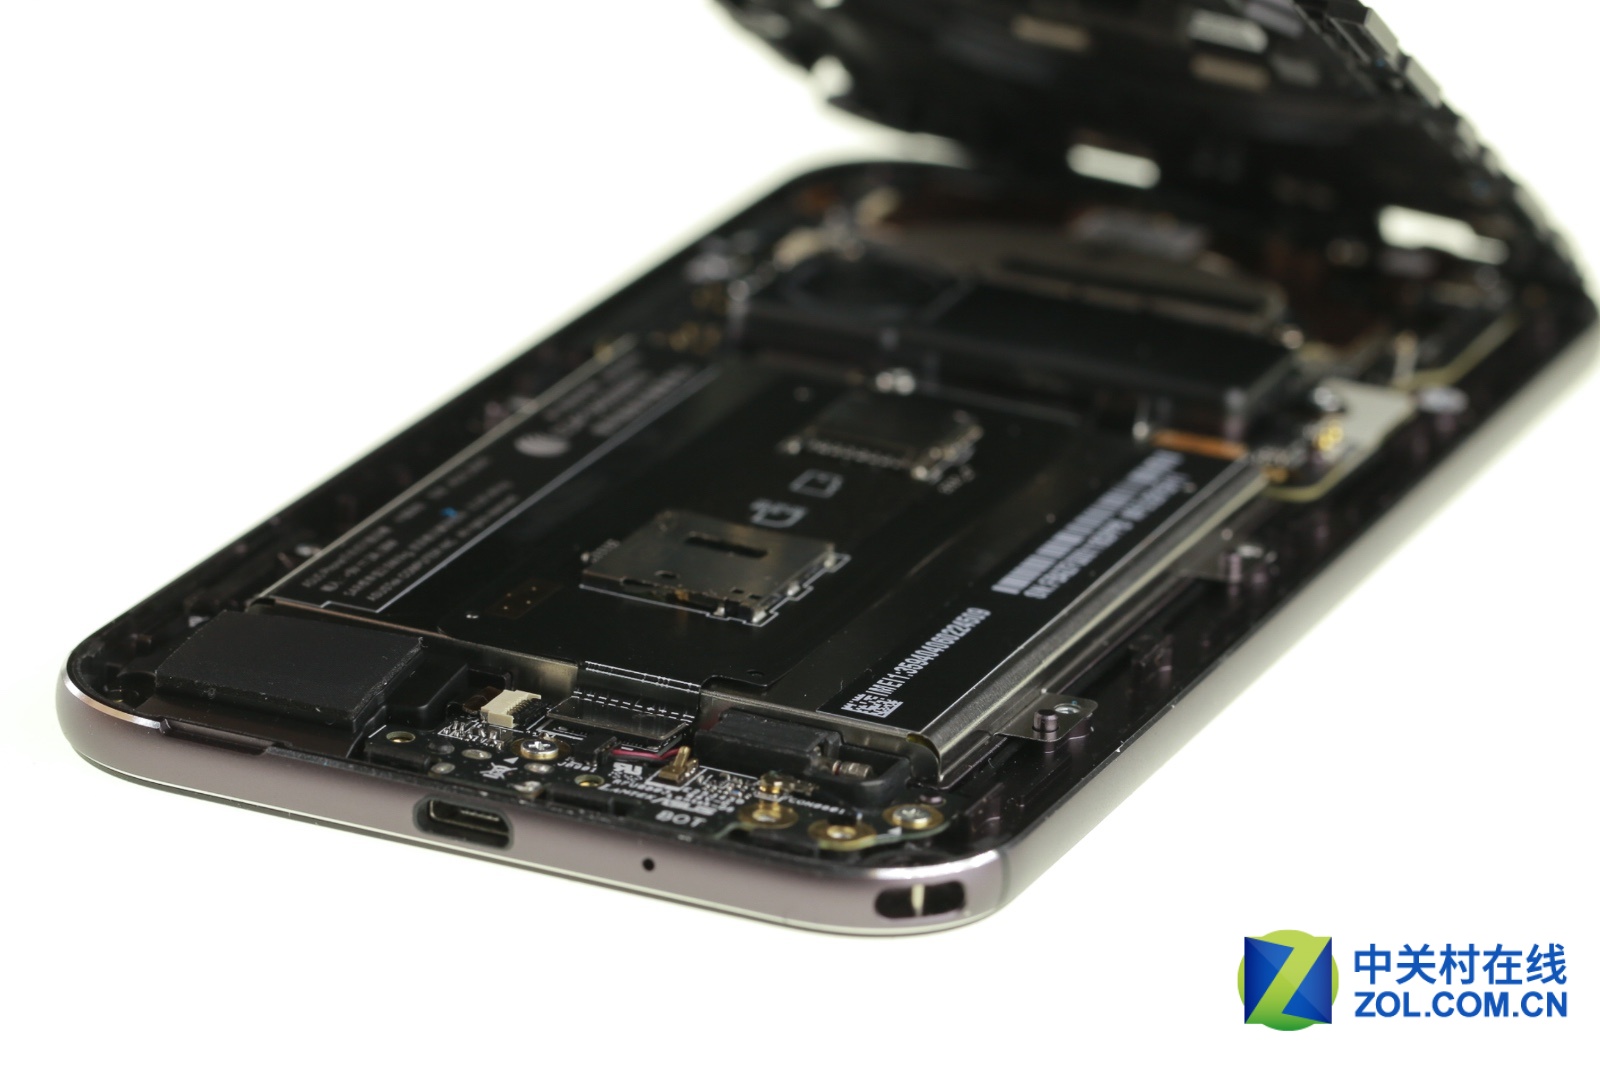
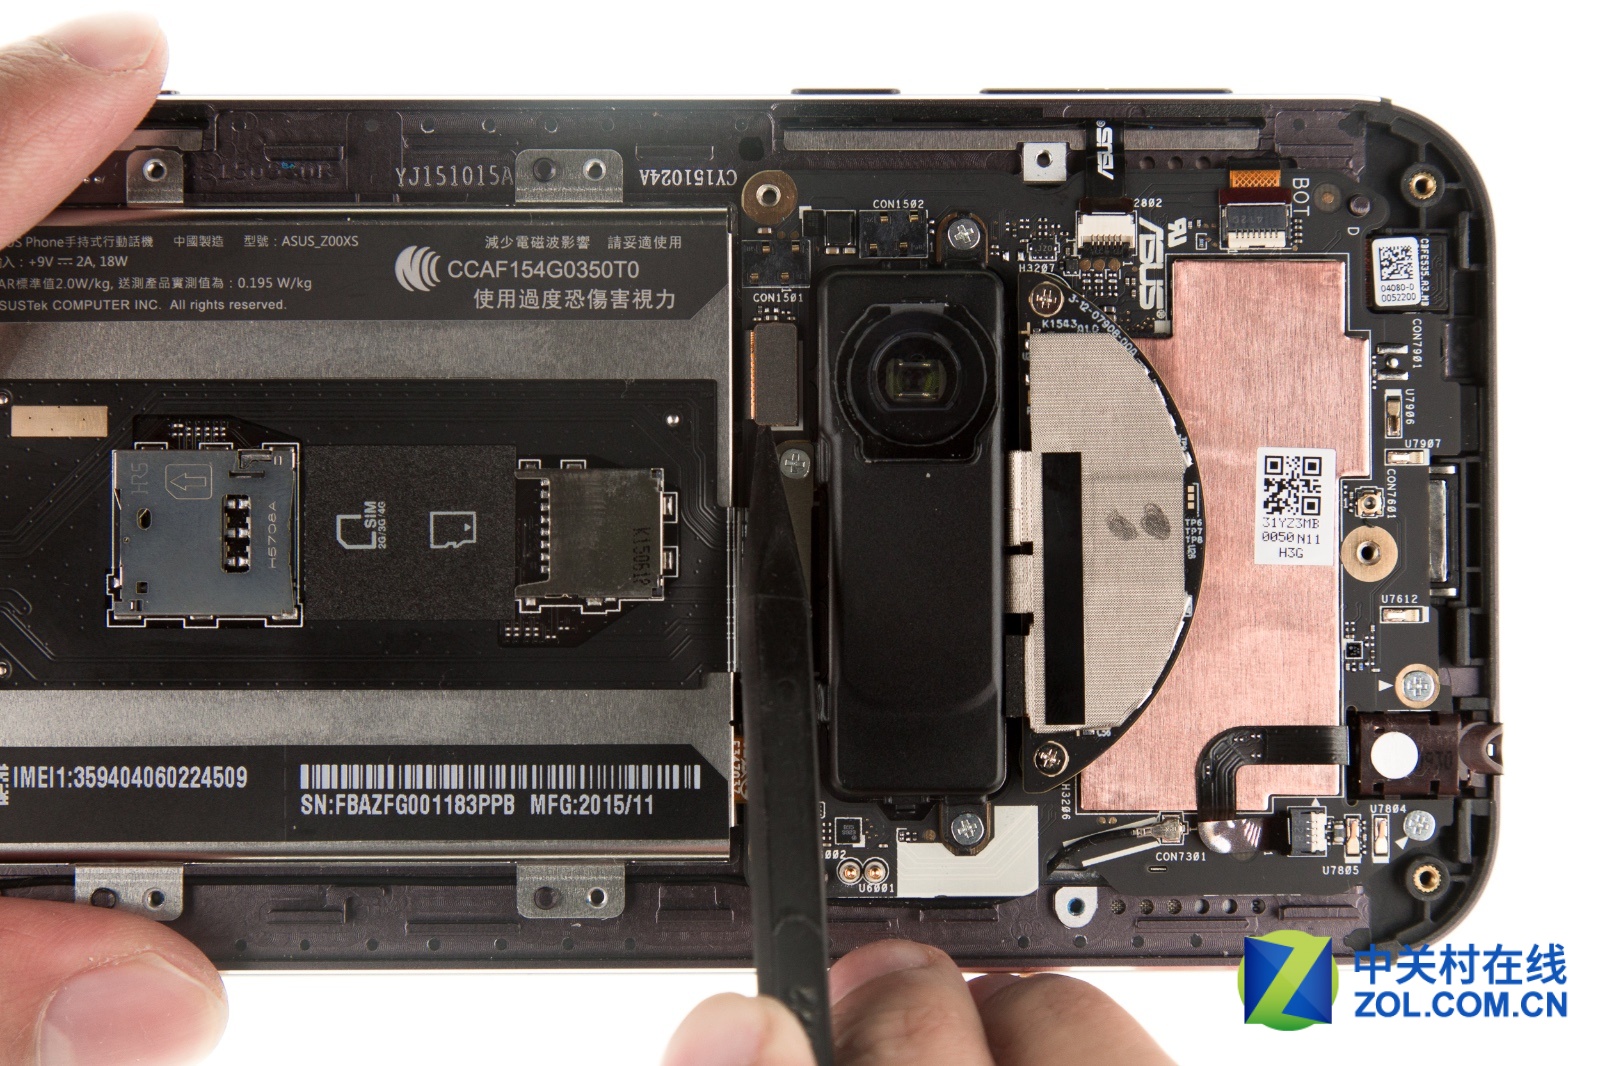
Successfully removed the middle frame, you can see the internal design is very symmetrical and beautiful, but more importantly. We see the phone’s camera module. It is much larger than we thought.
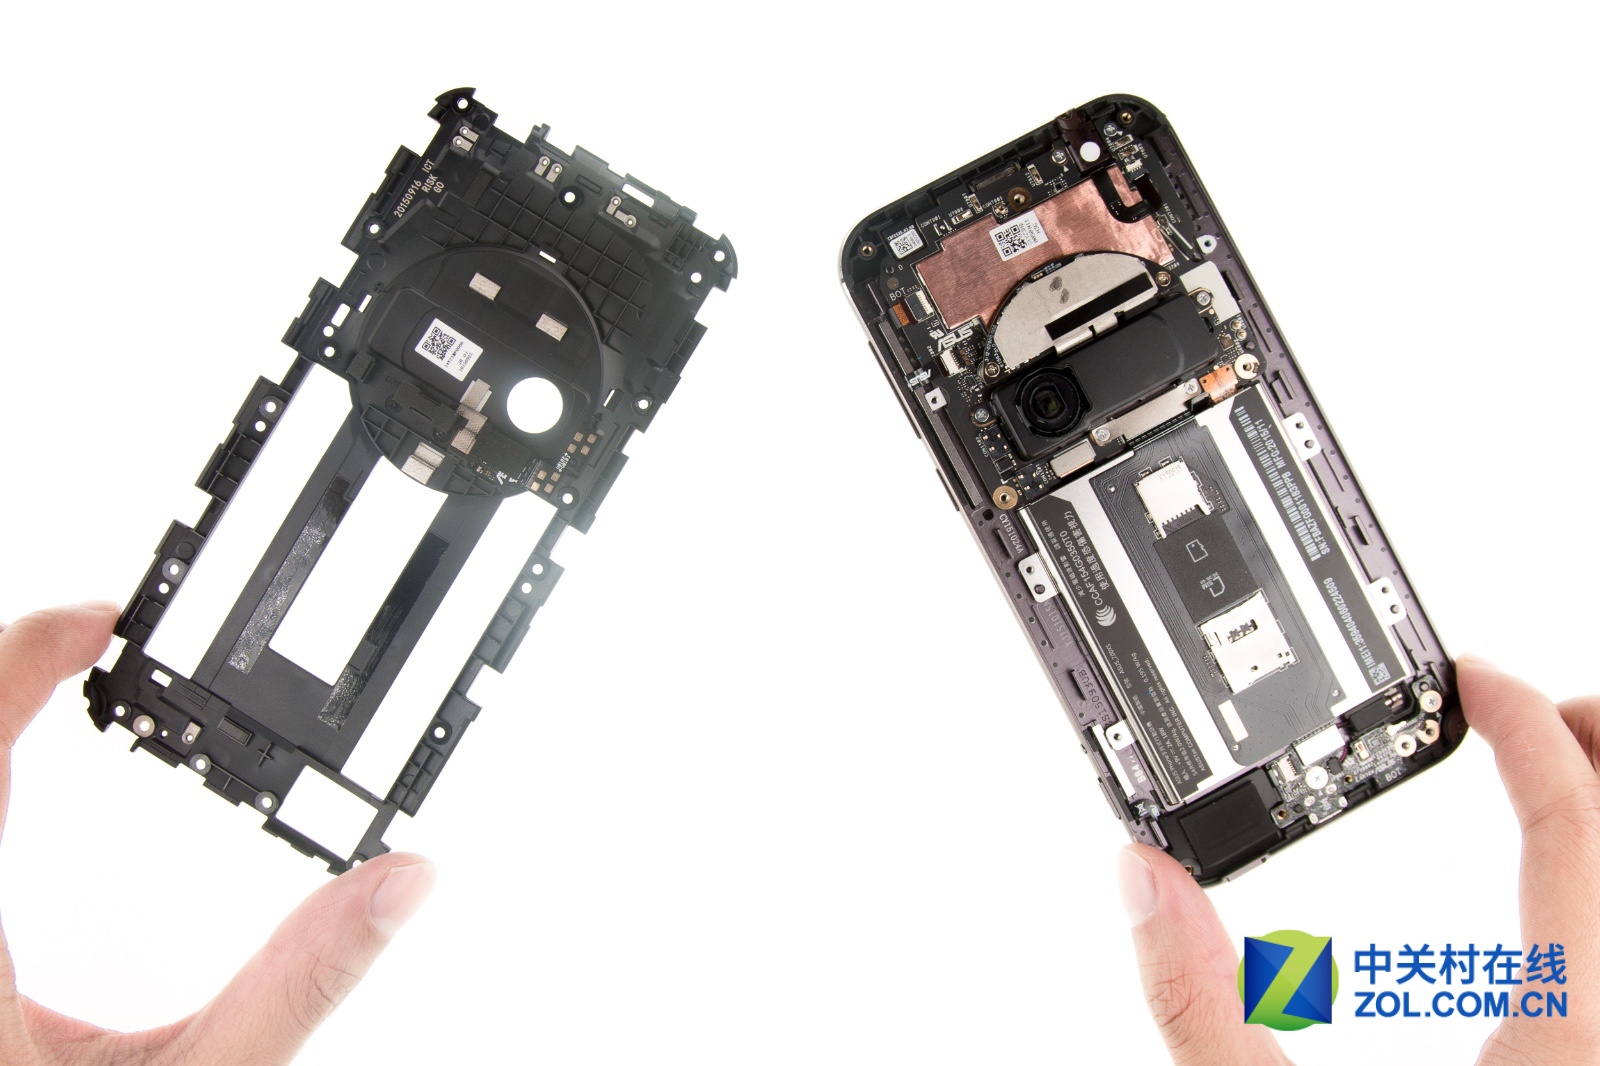
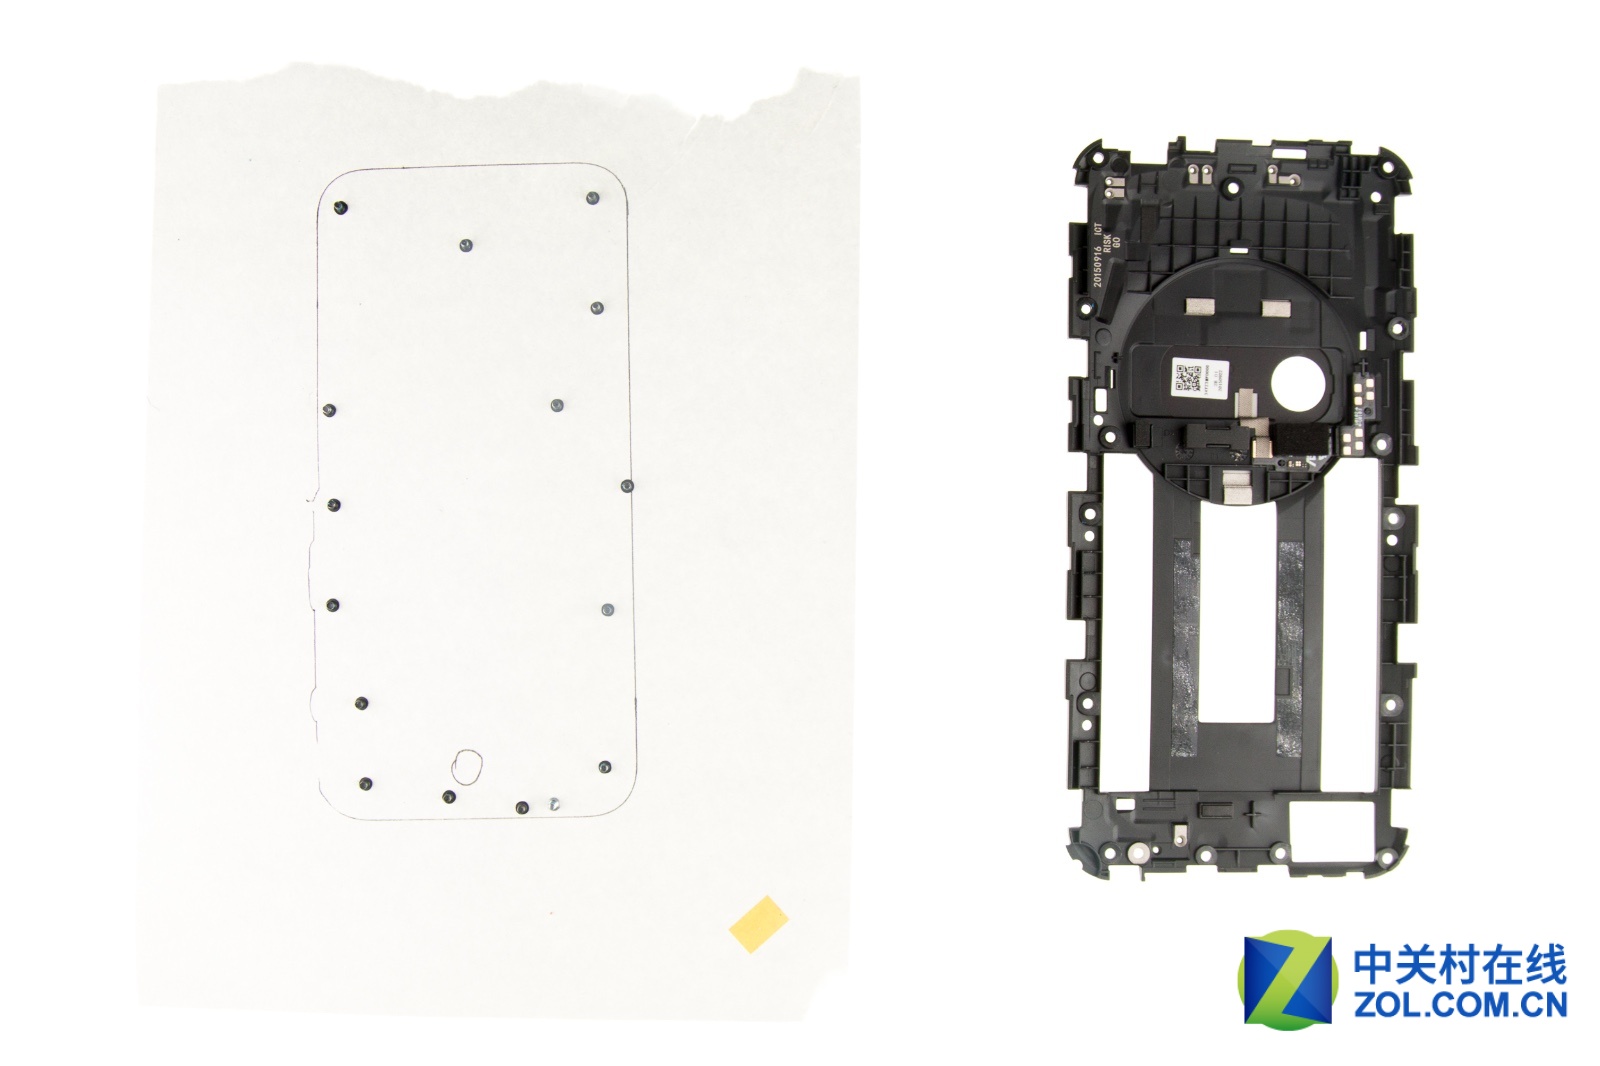
There are sixteen screws securing the middle frame.
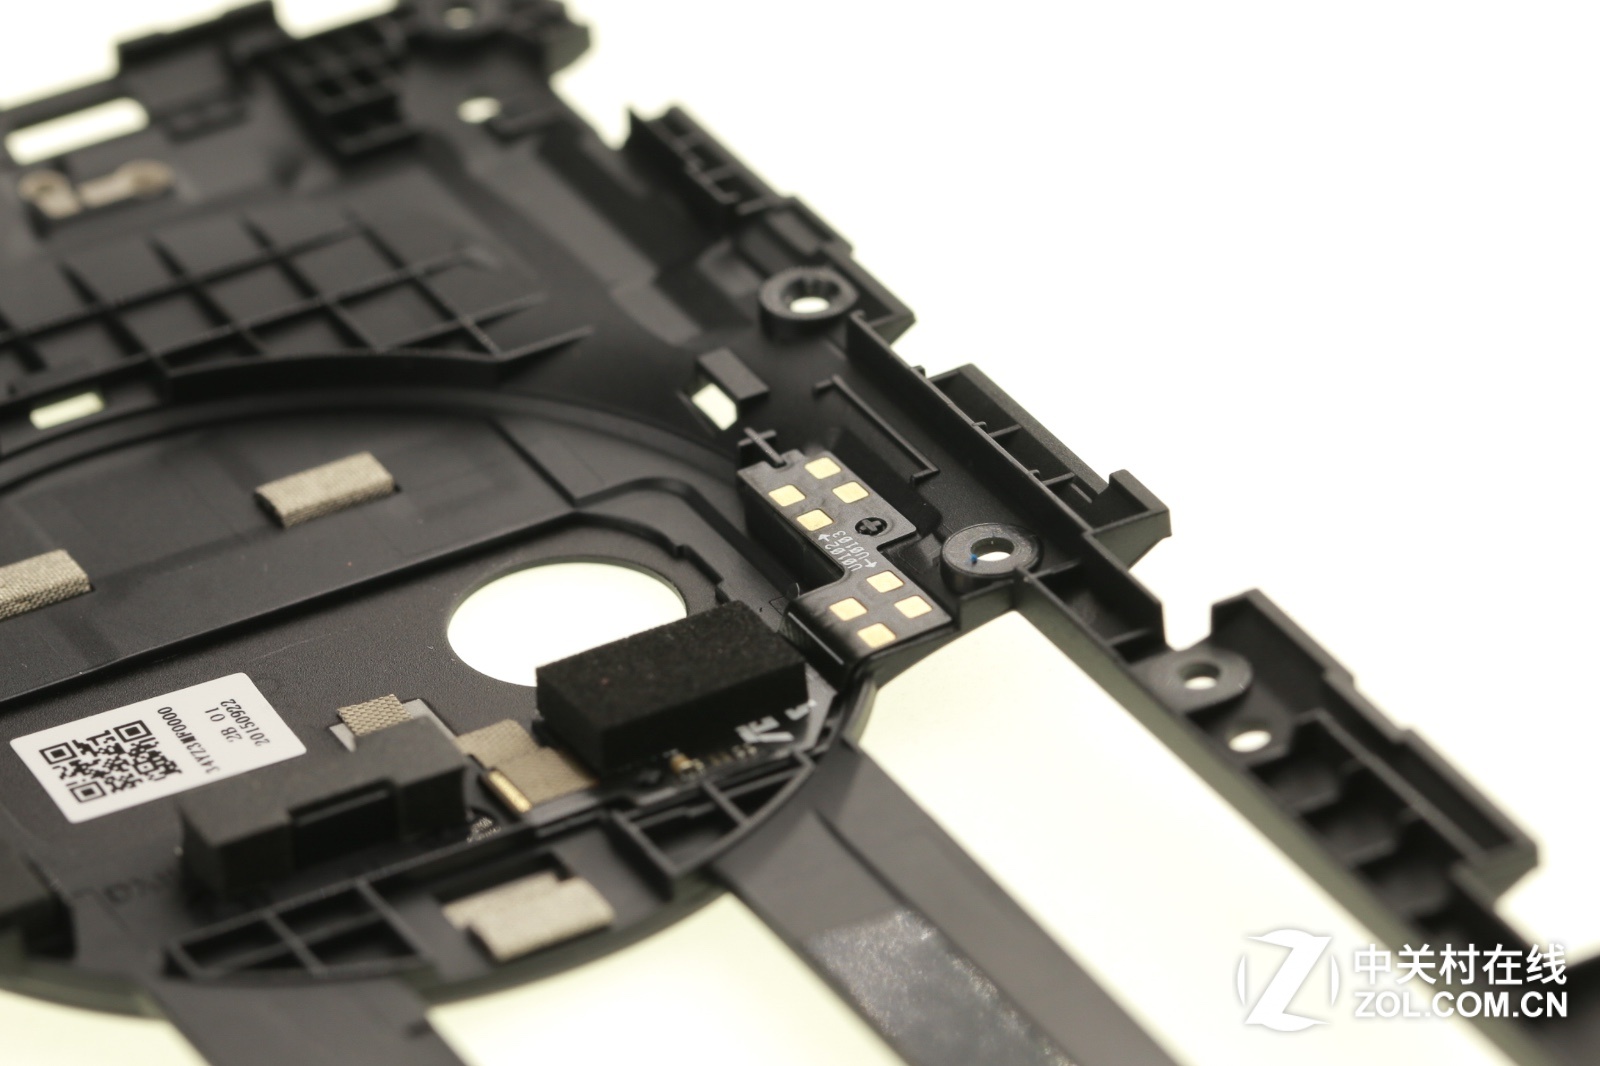
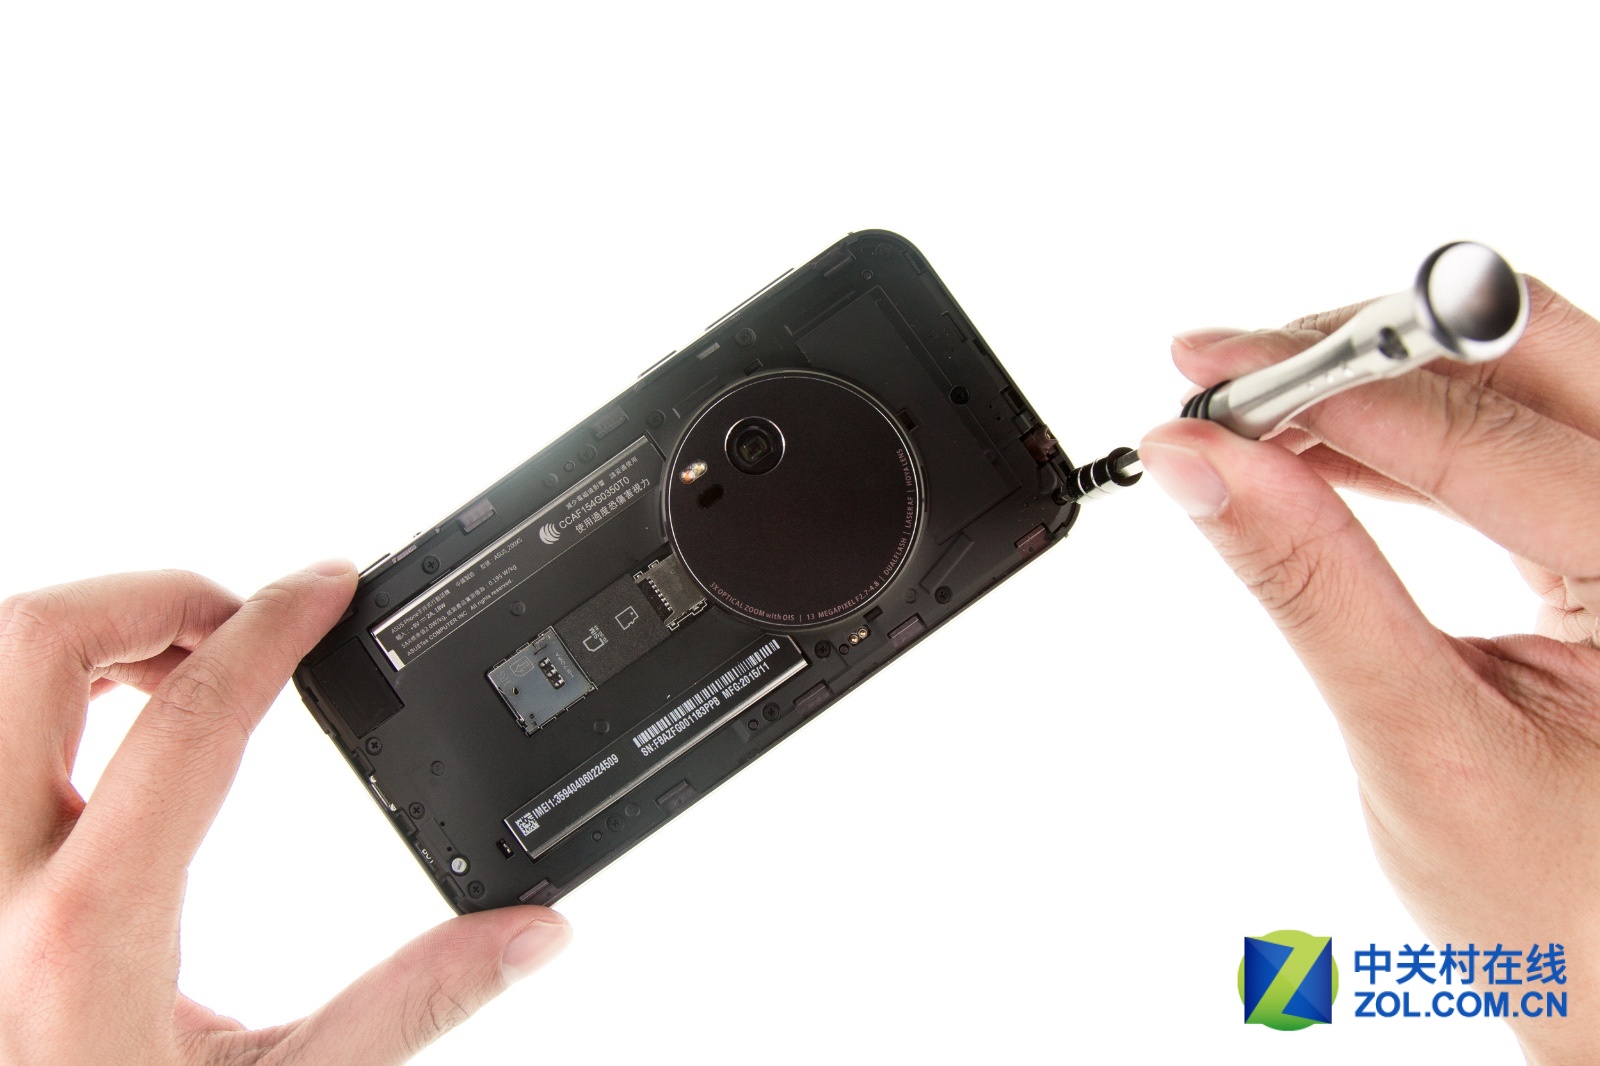
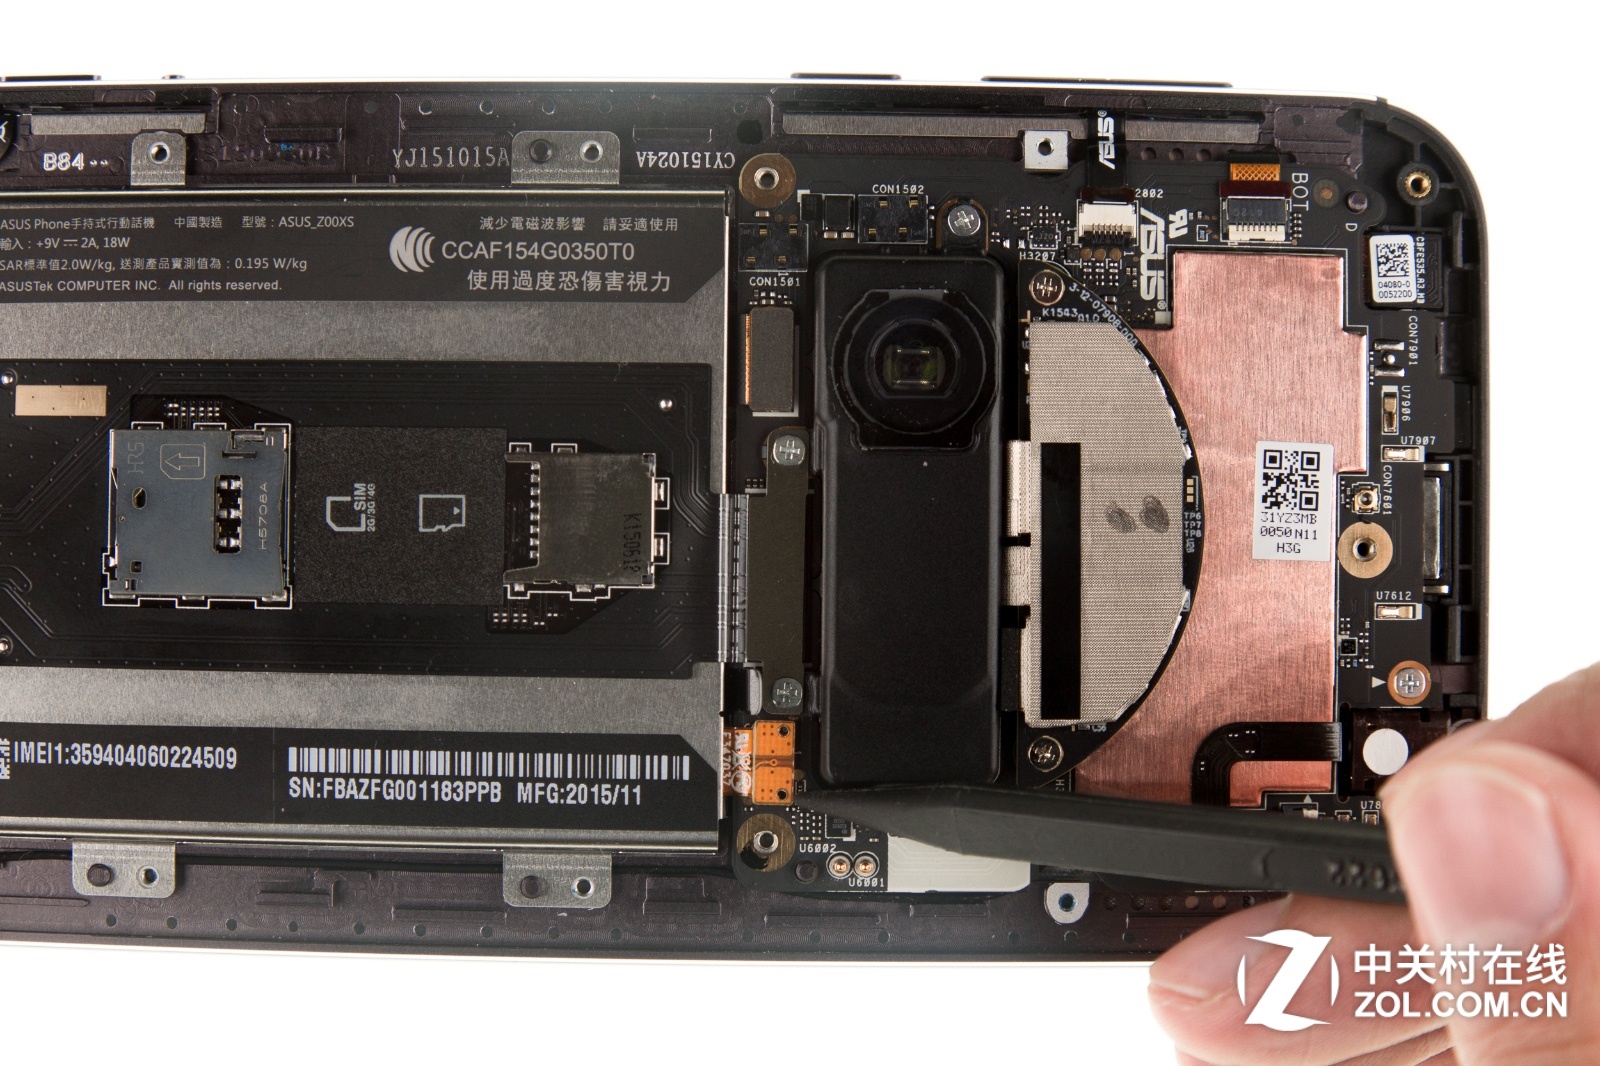
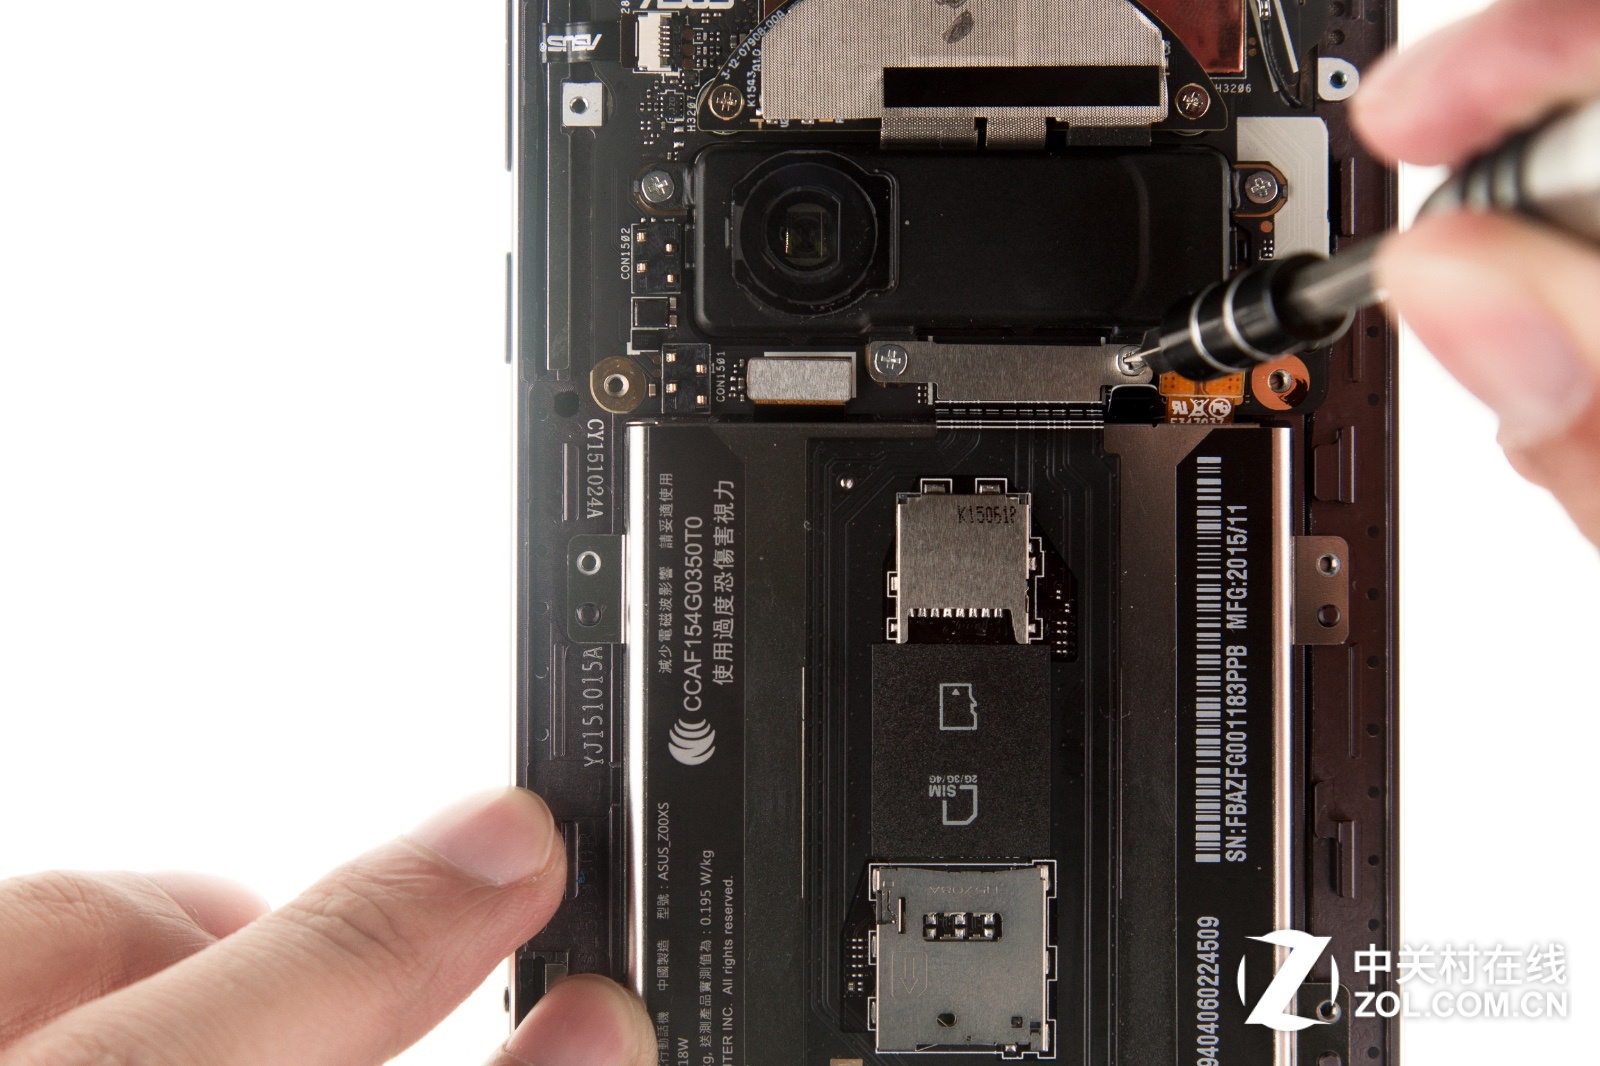
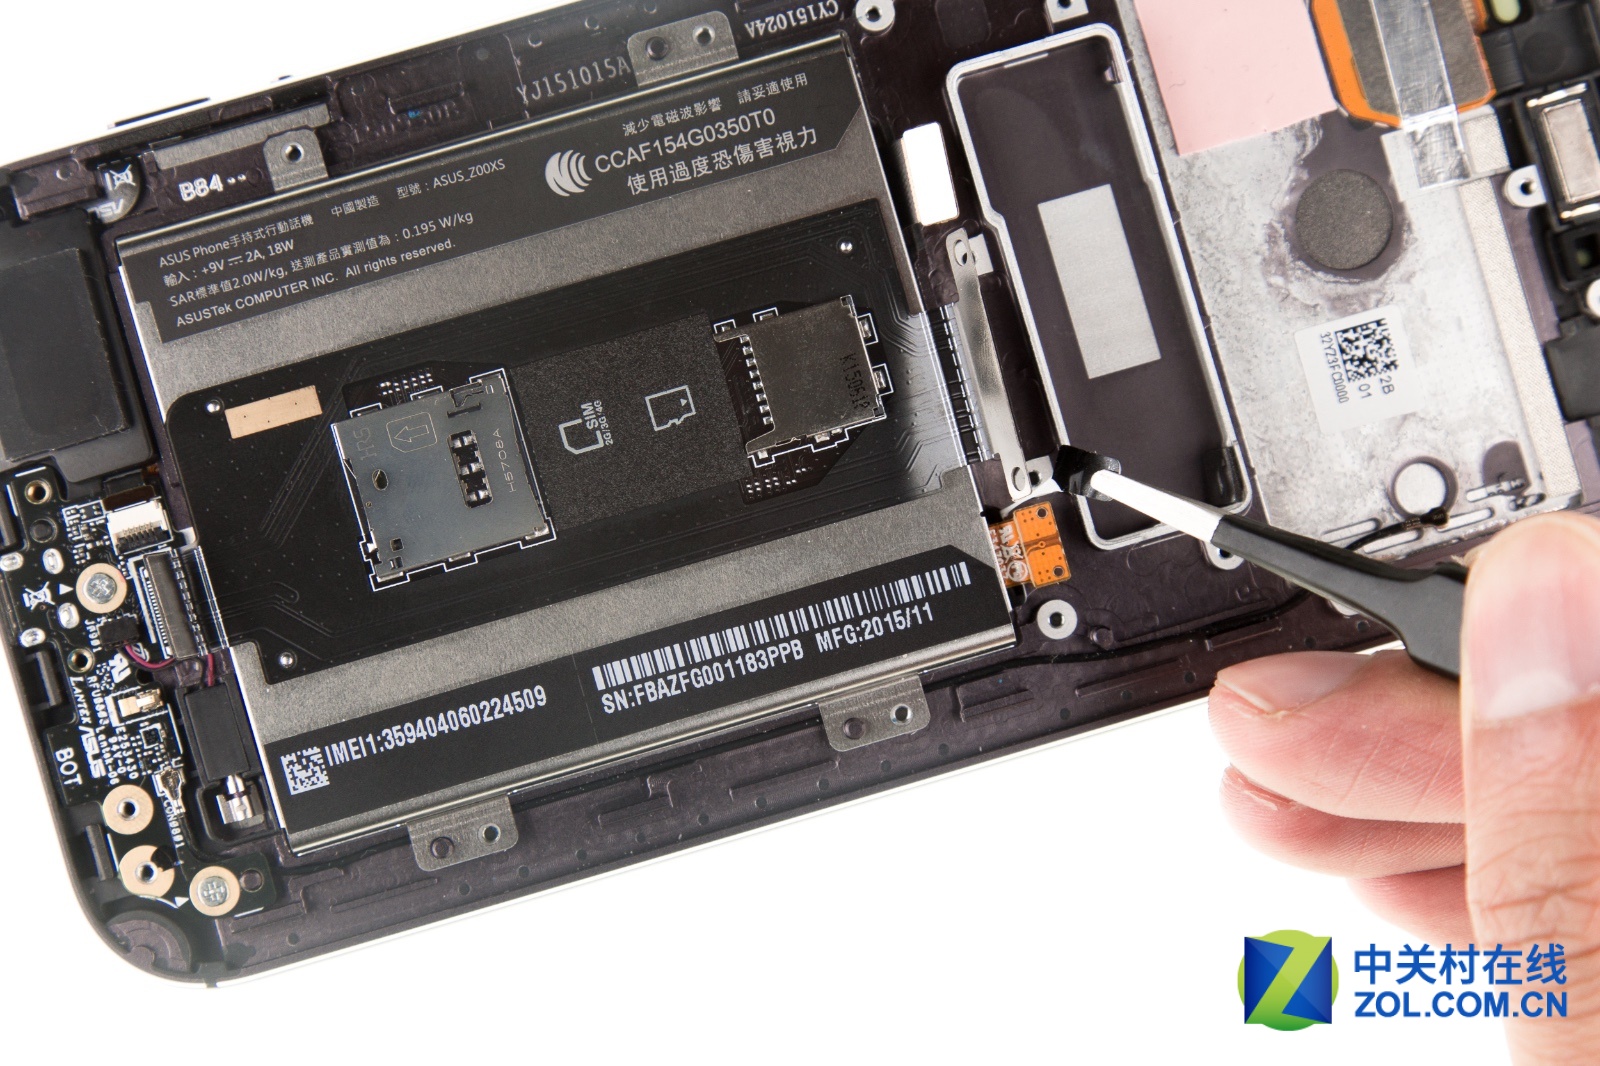
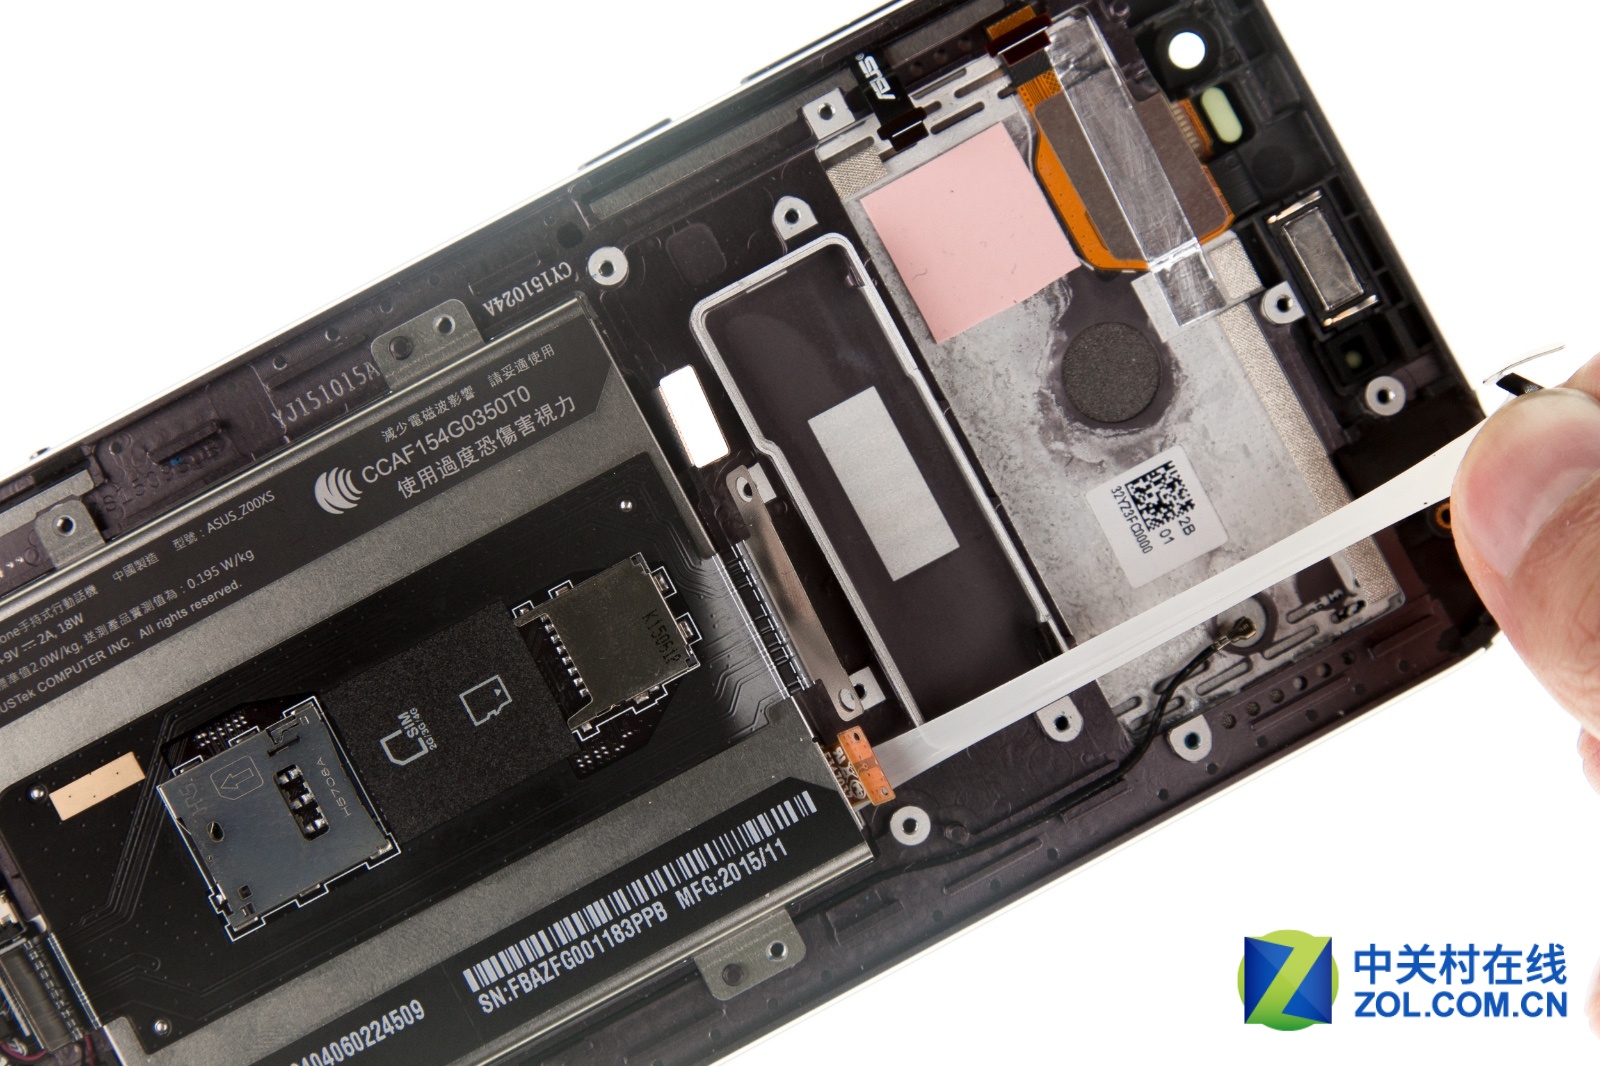
Remove flash and laser autofocus module.
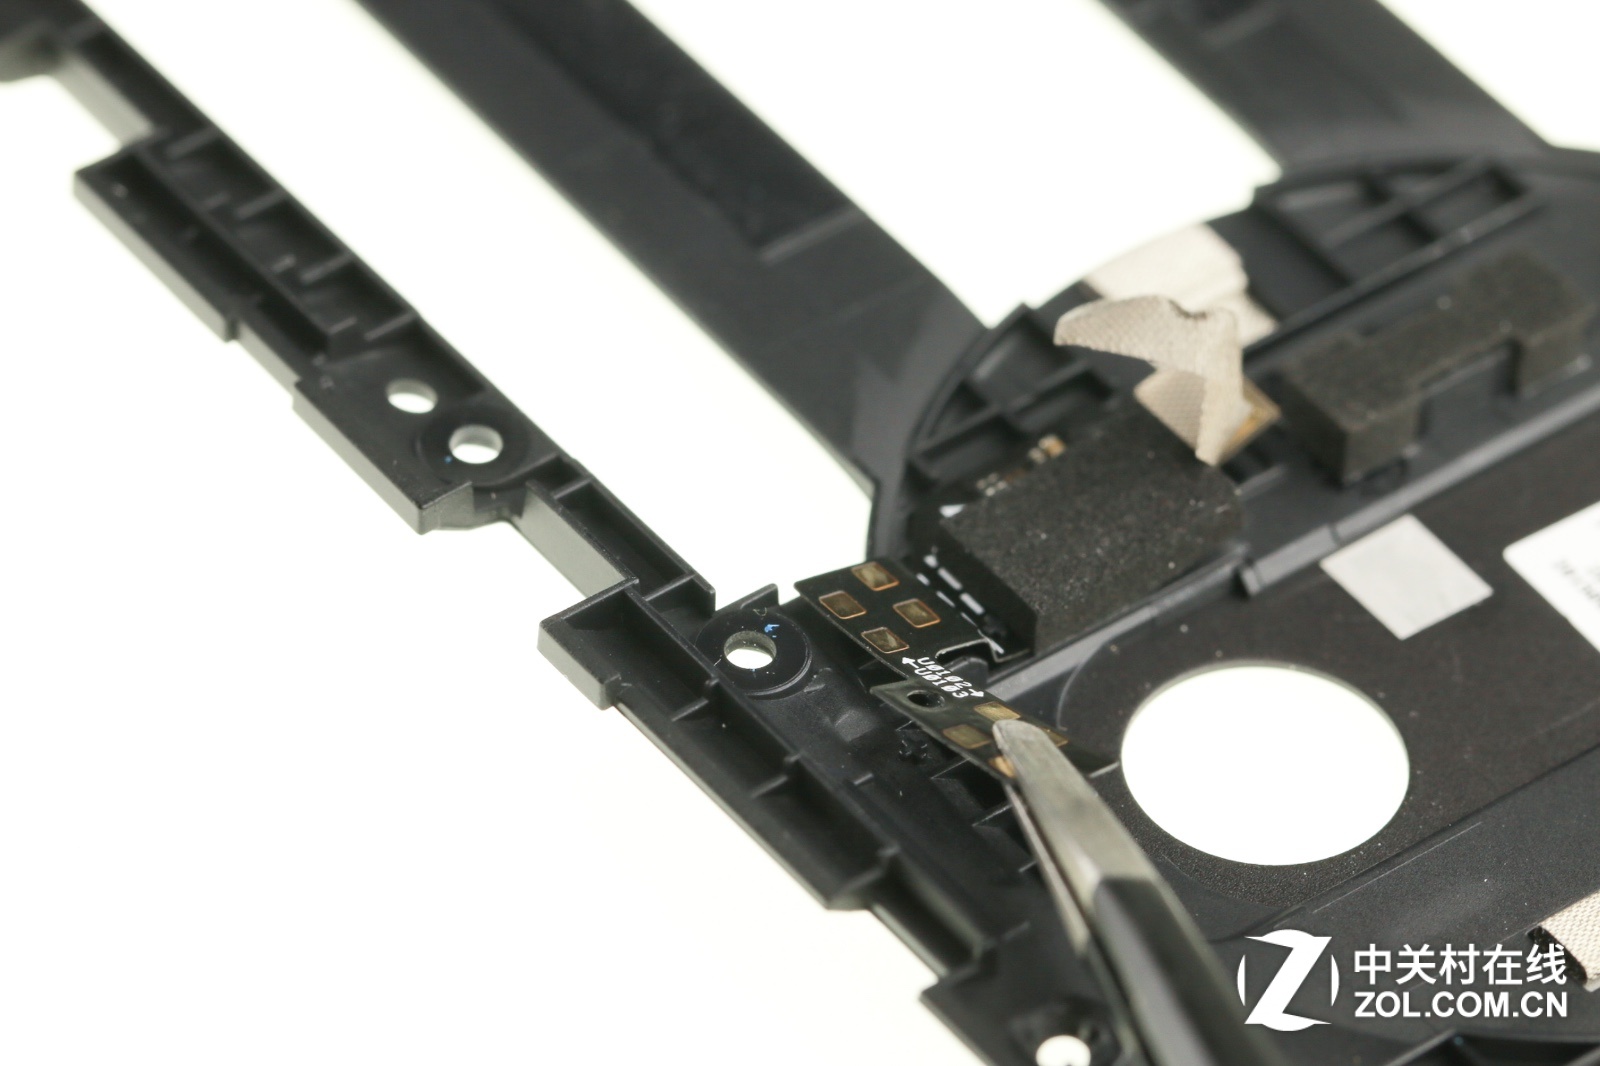
Uncover the flexible printed circuit. It would be able to remove the flash and laser autofocus module.

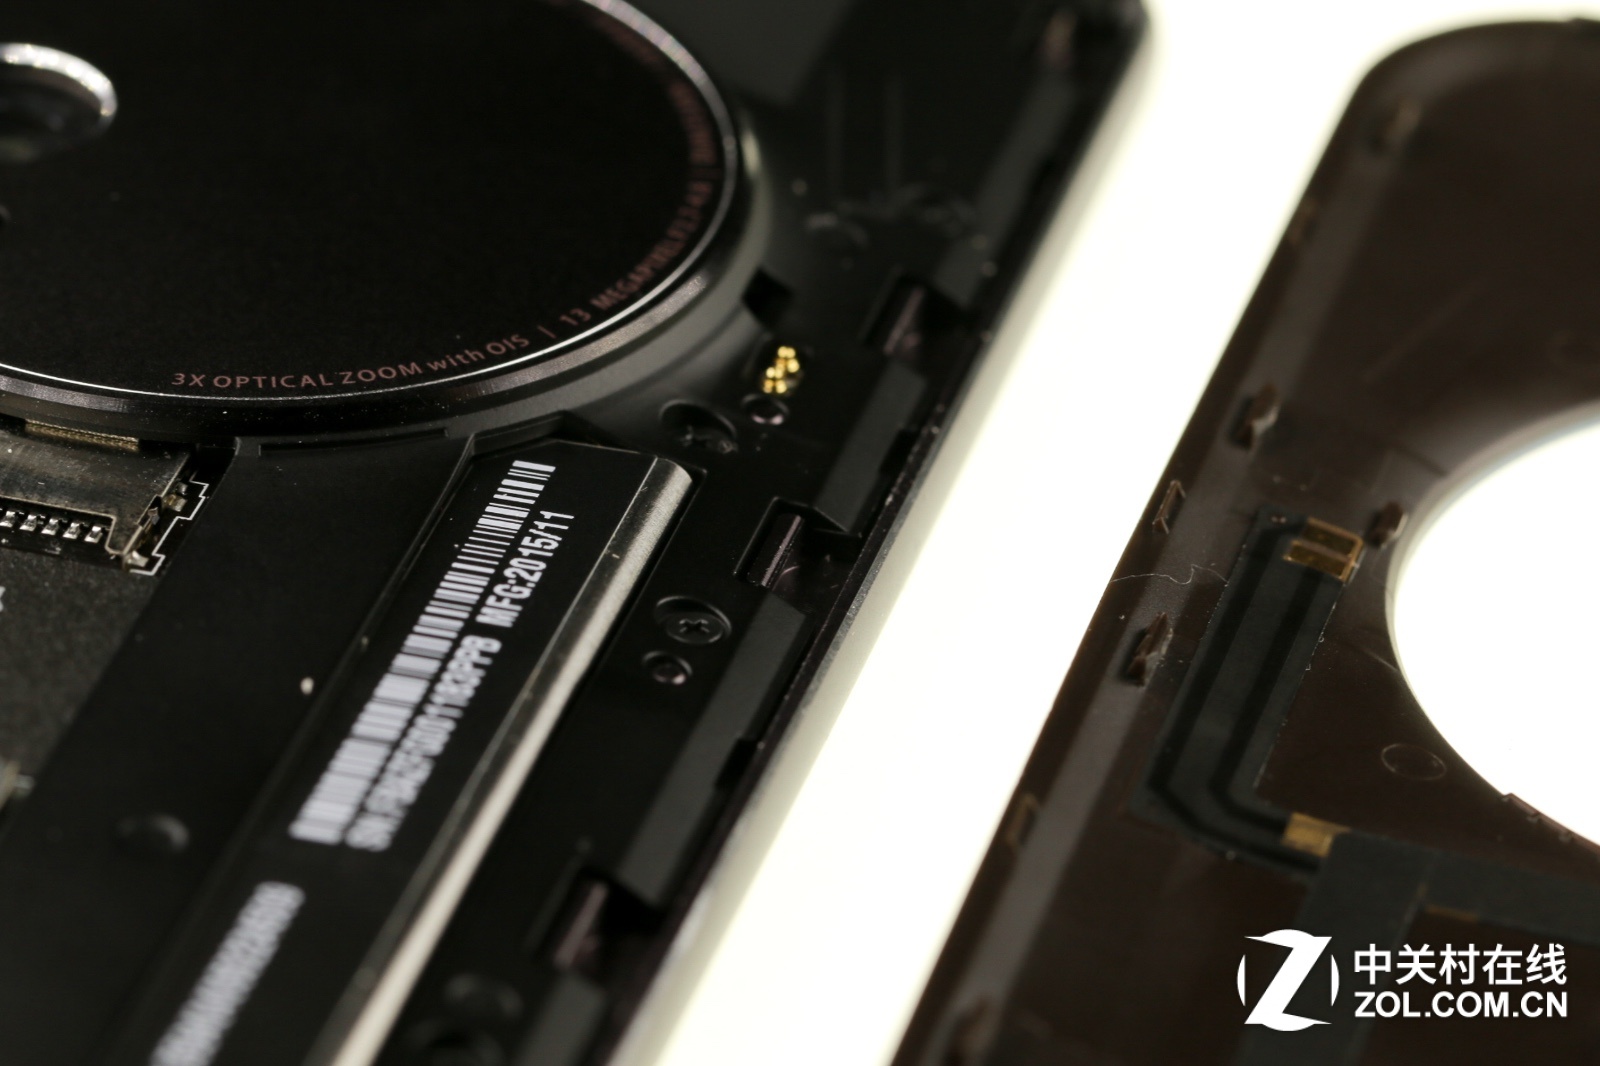
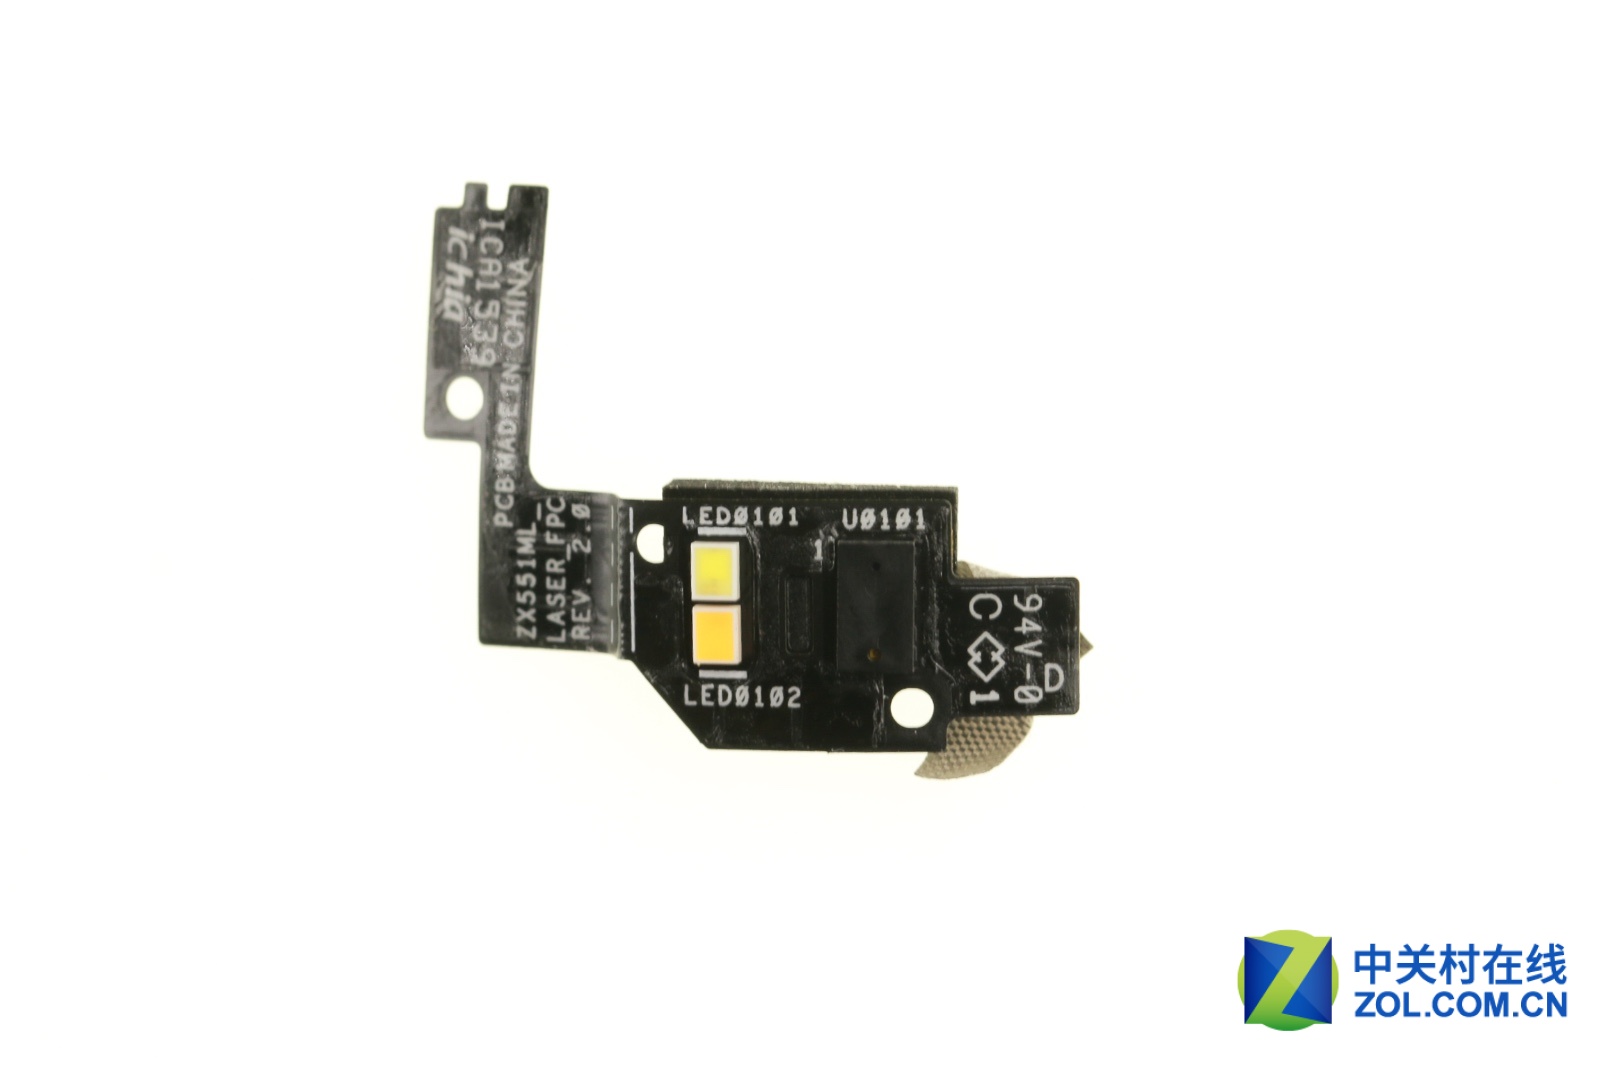
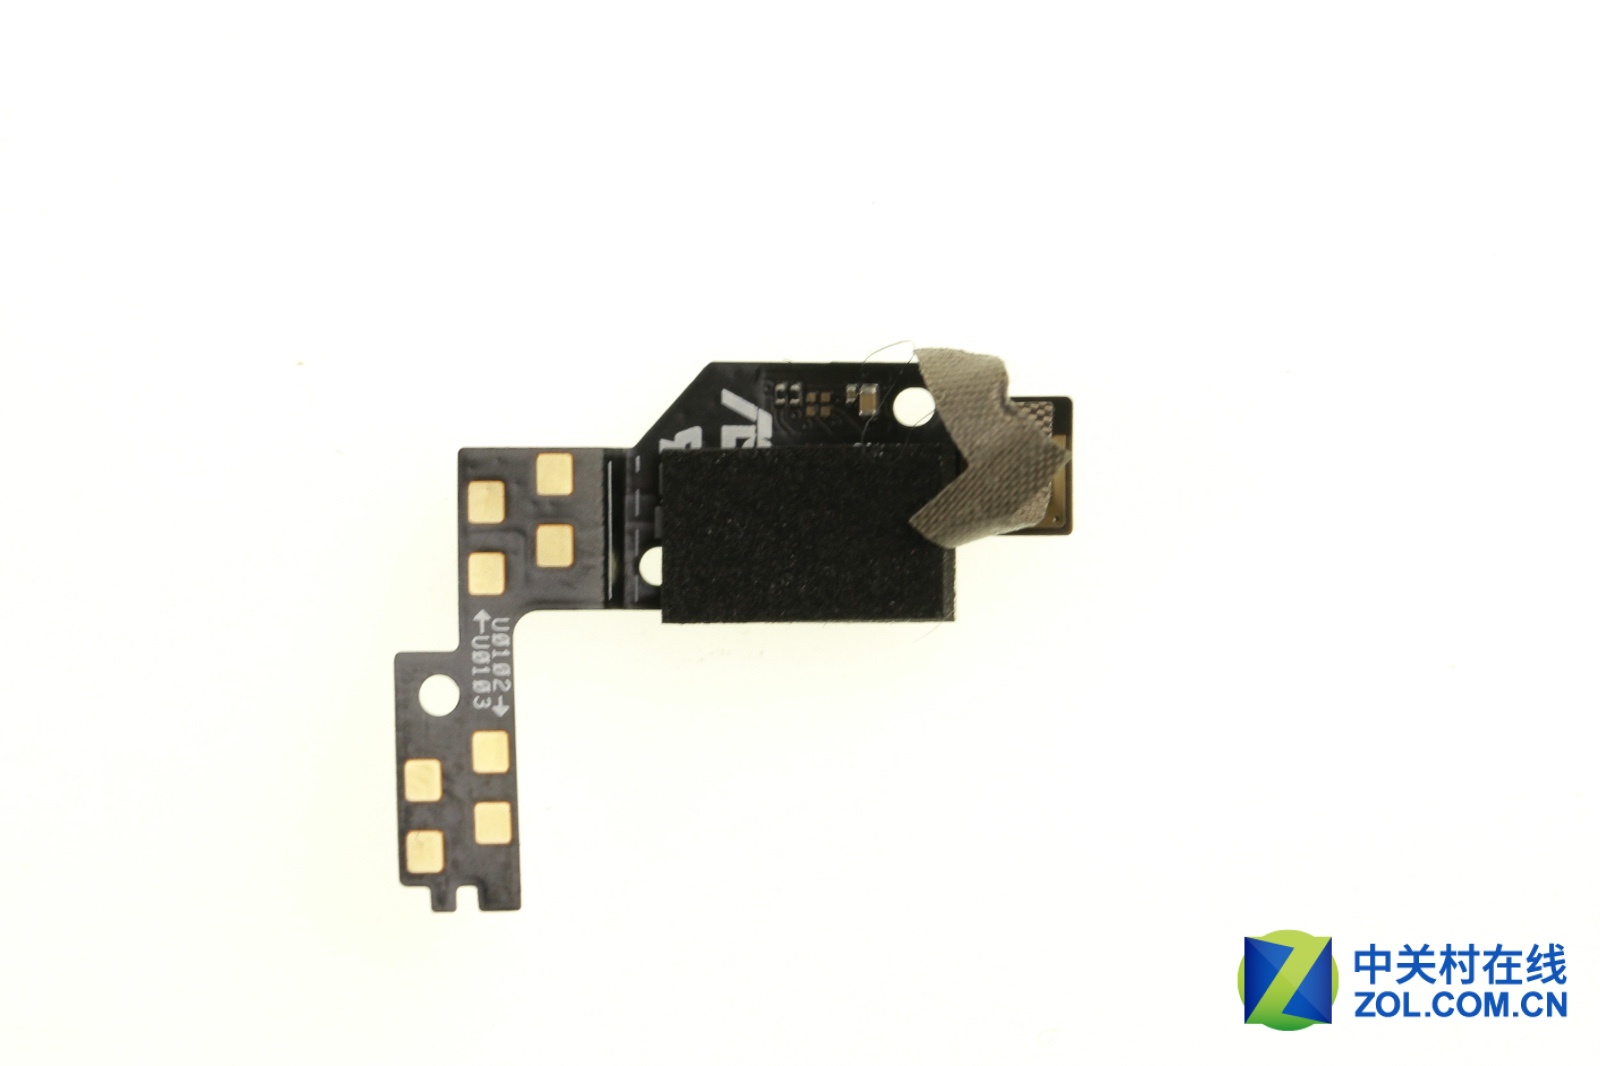
Asus ZenFone Zoom’s flash and laser autofocus module
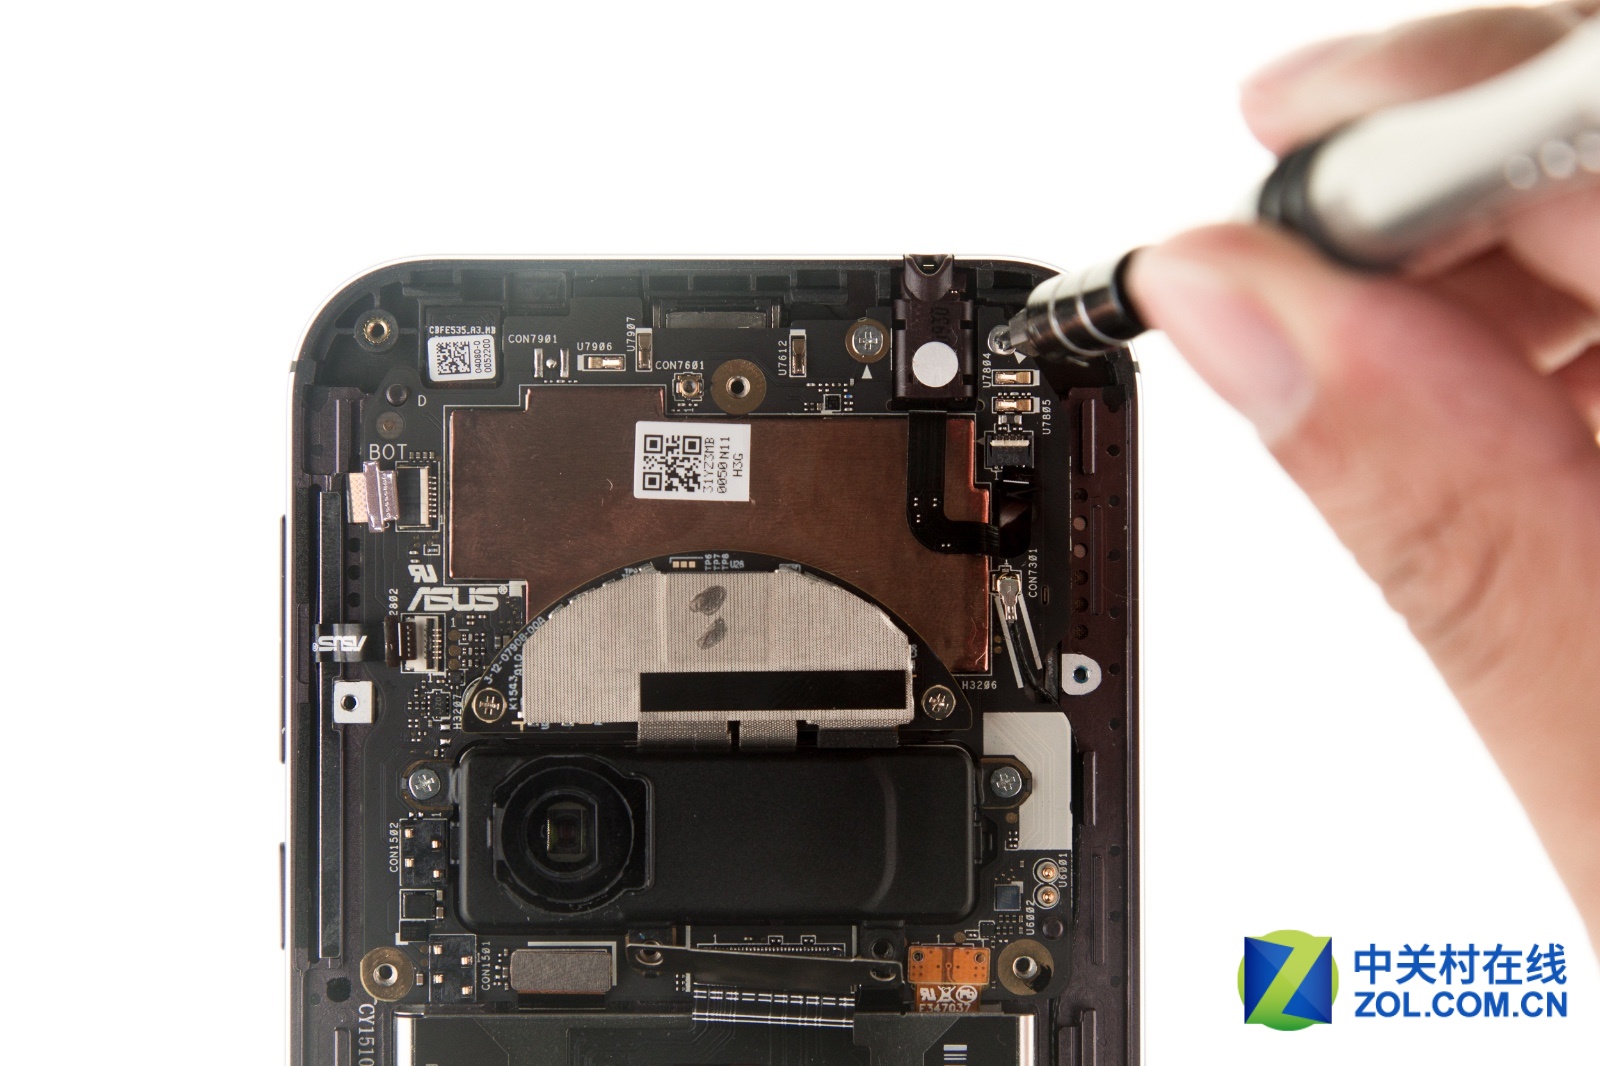
Asus ZenFone Zoom camera module, it is covered by a protective cover.

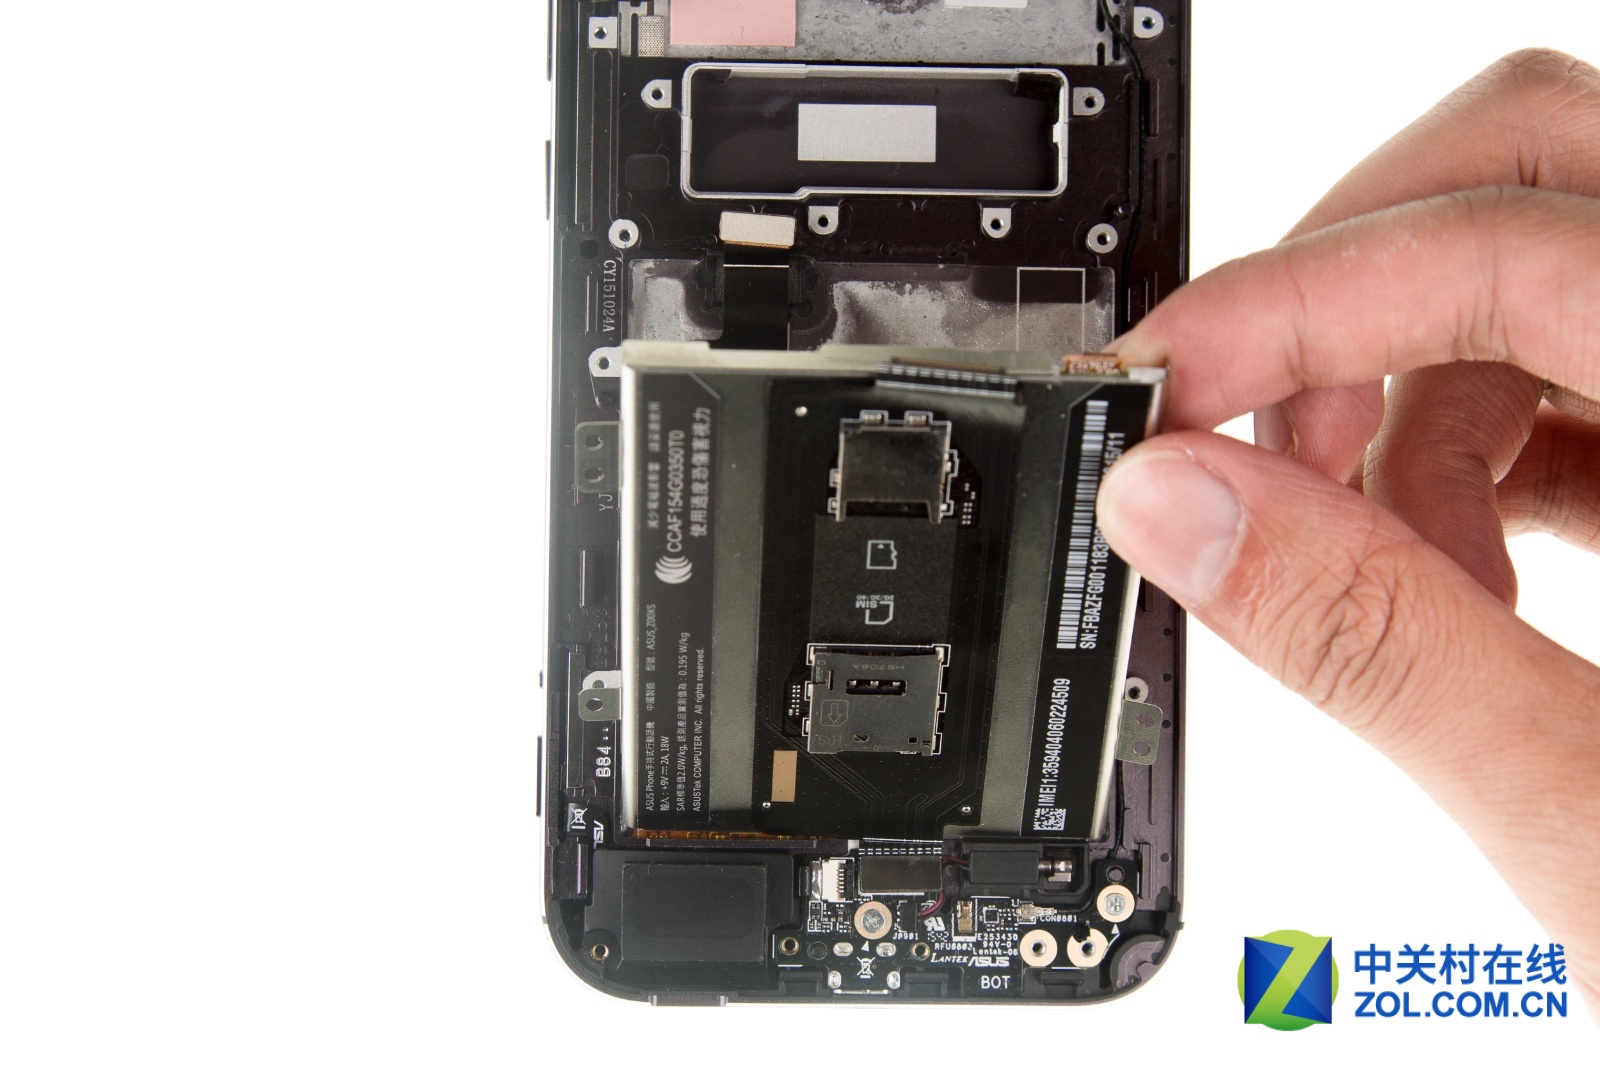
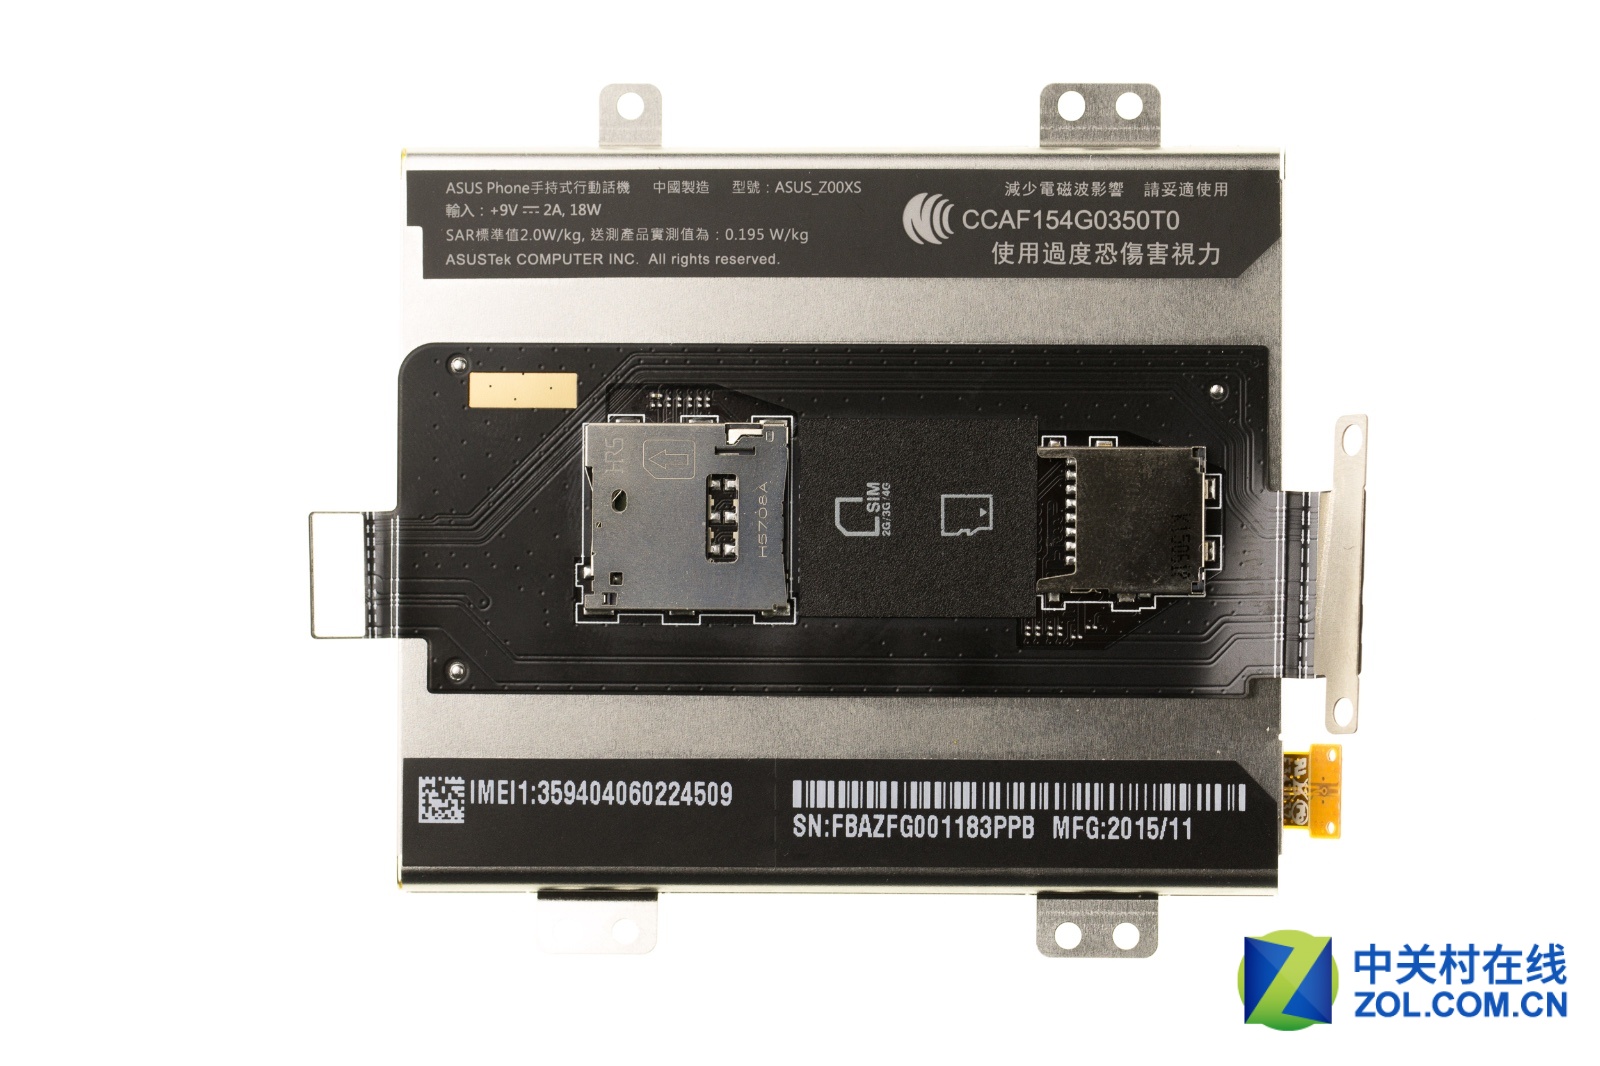
SIM slot and TF slot were fixed on the flexible printed circuit board. The board was fixed on the battery.
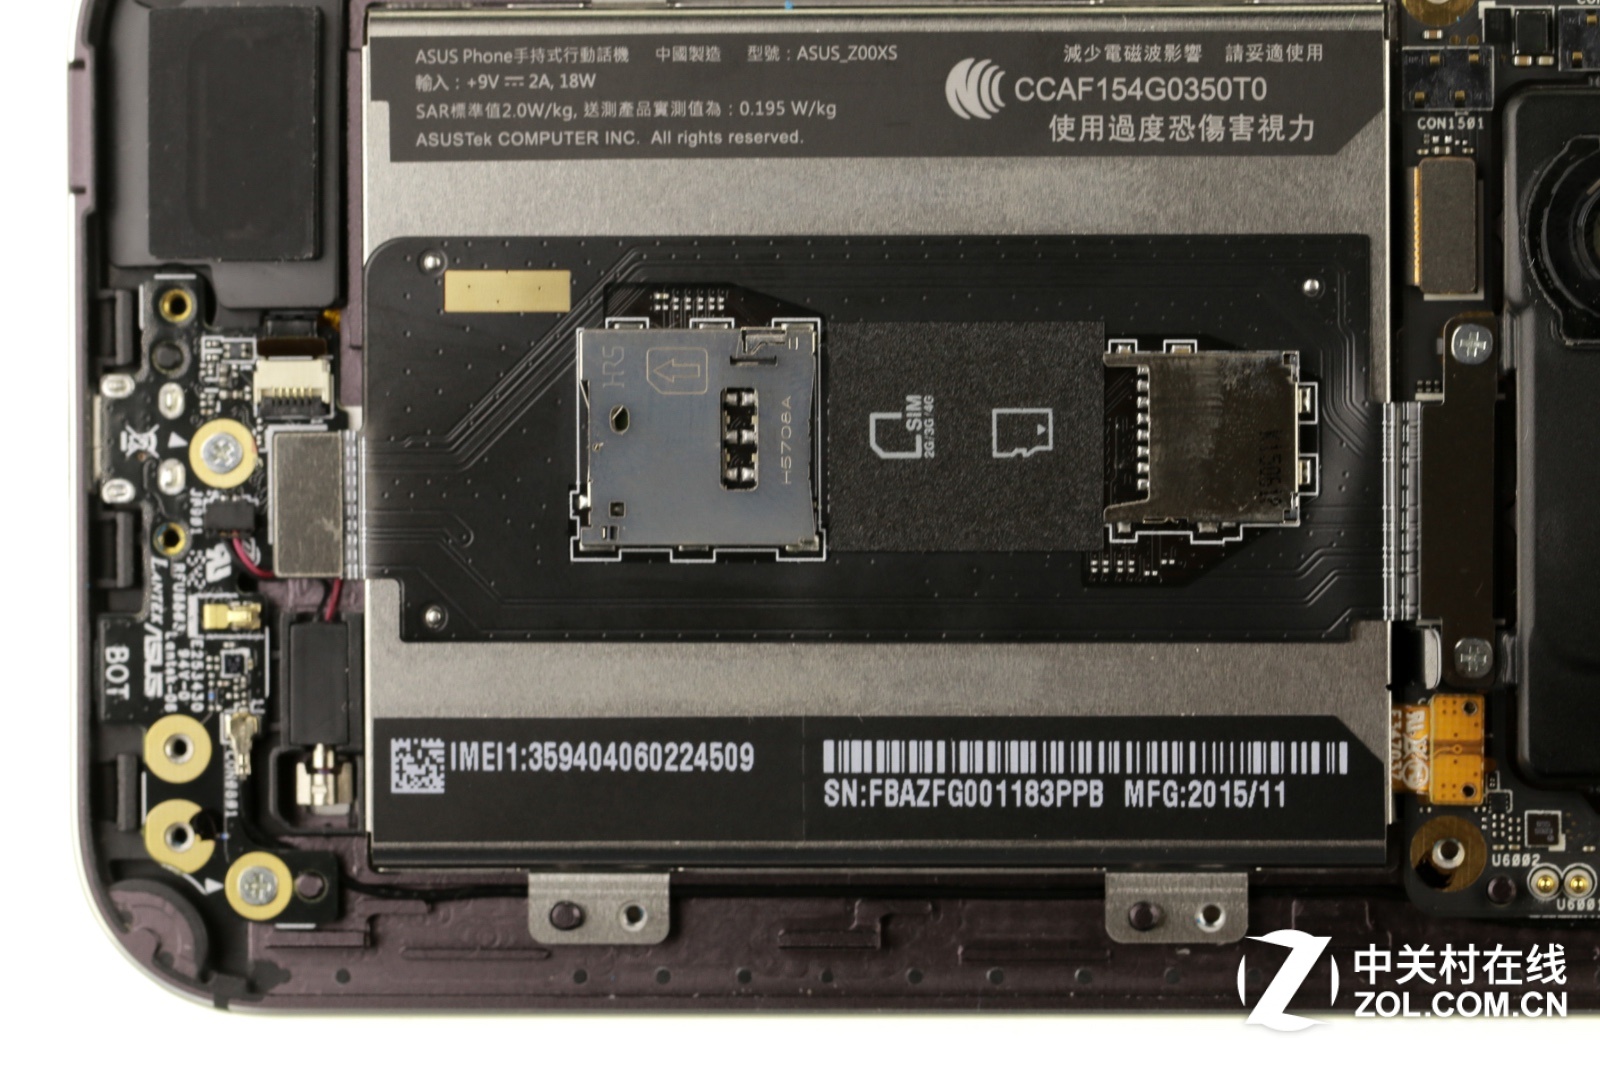
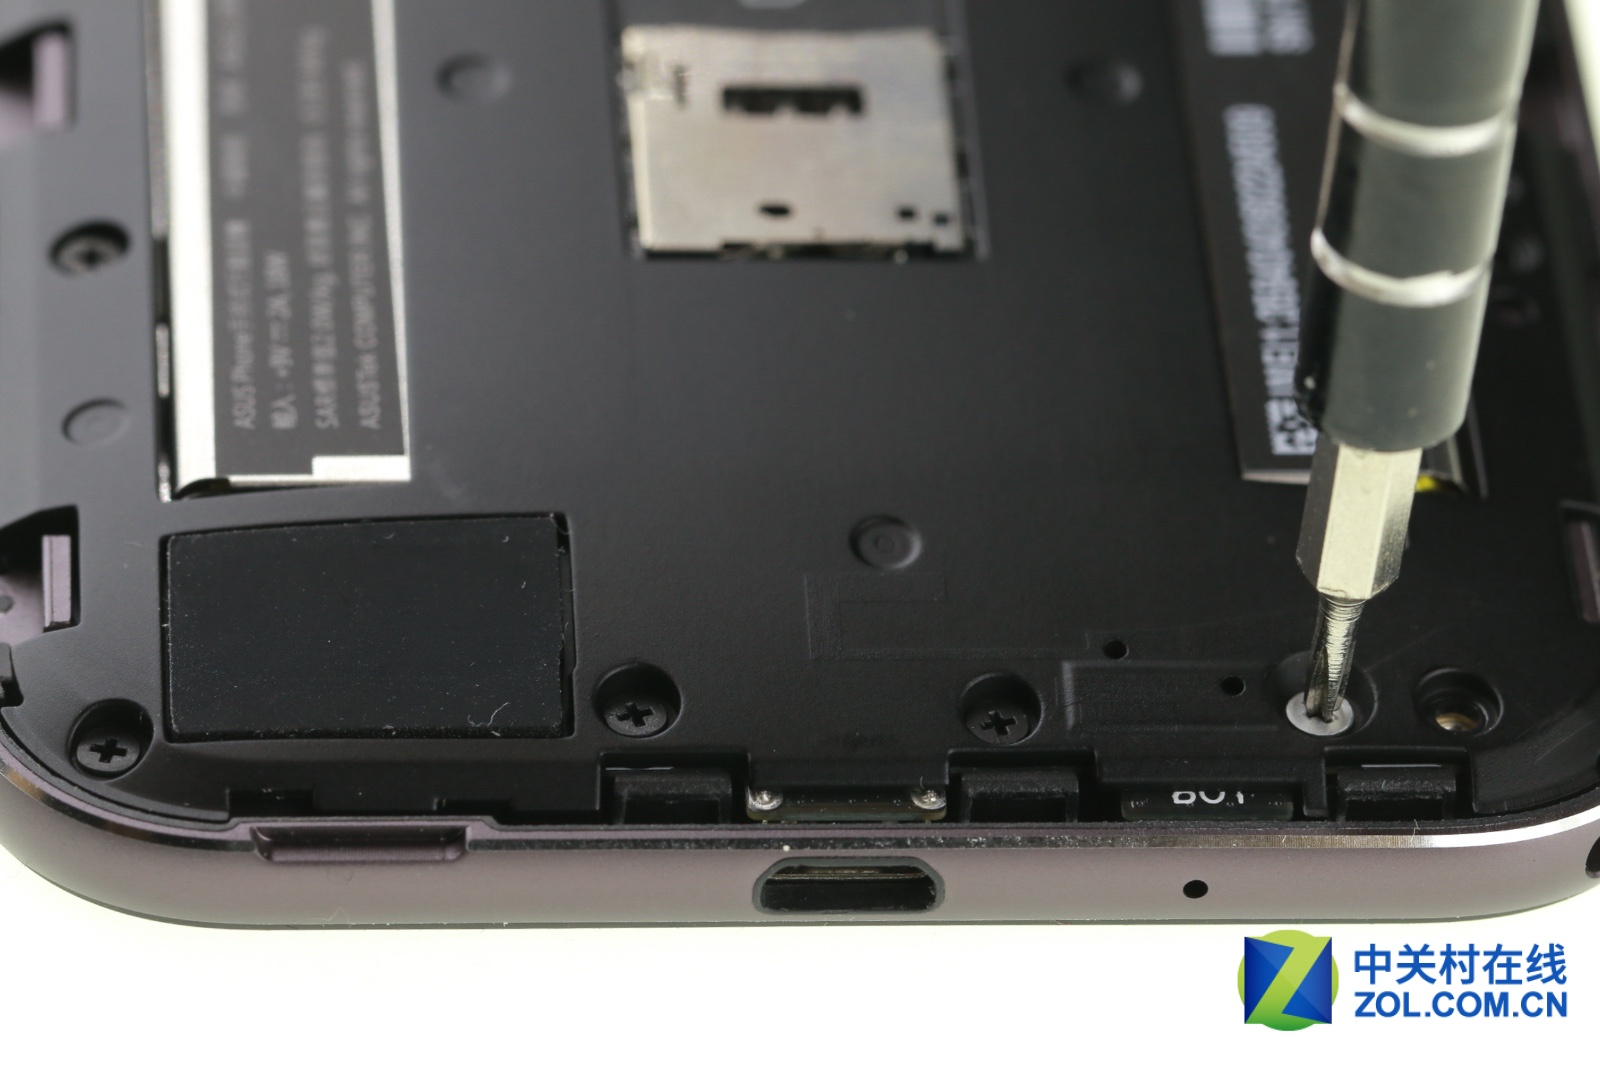
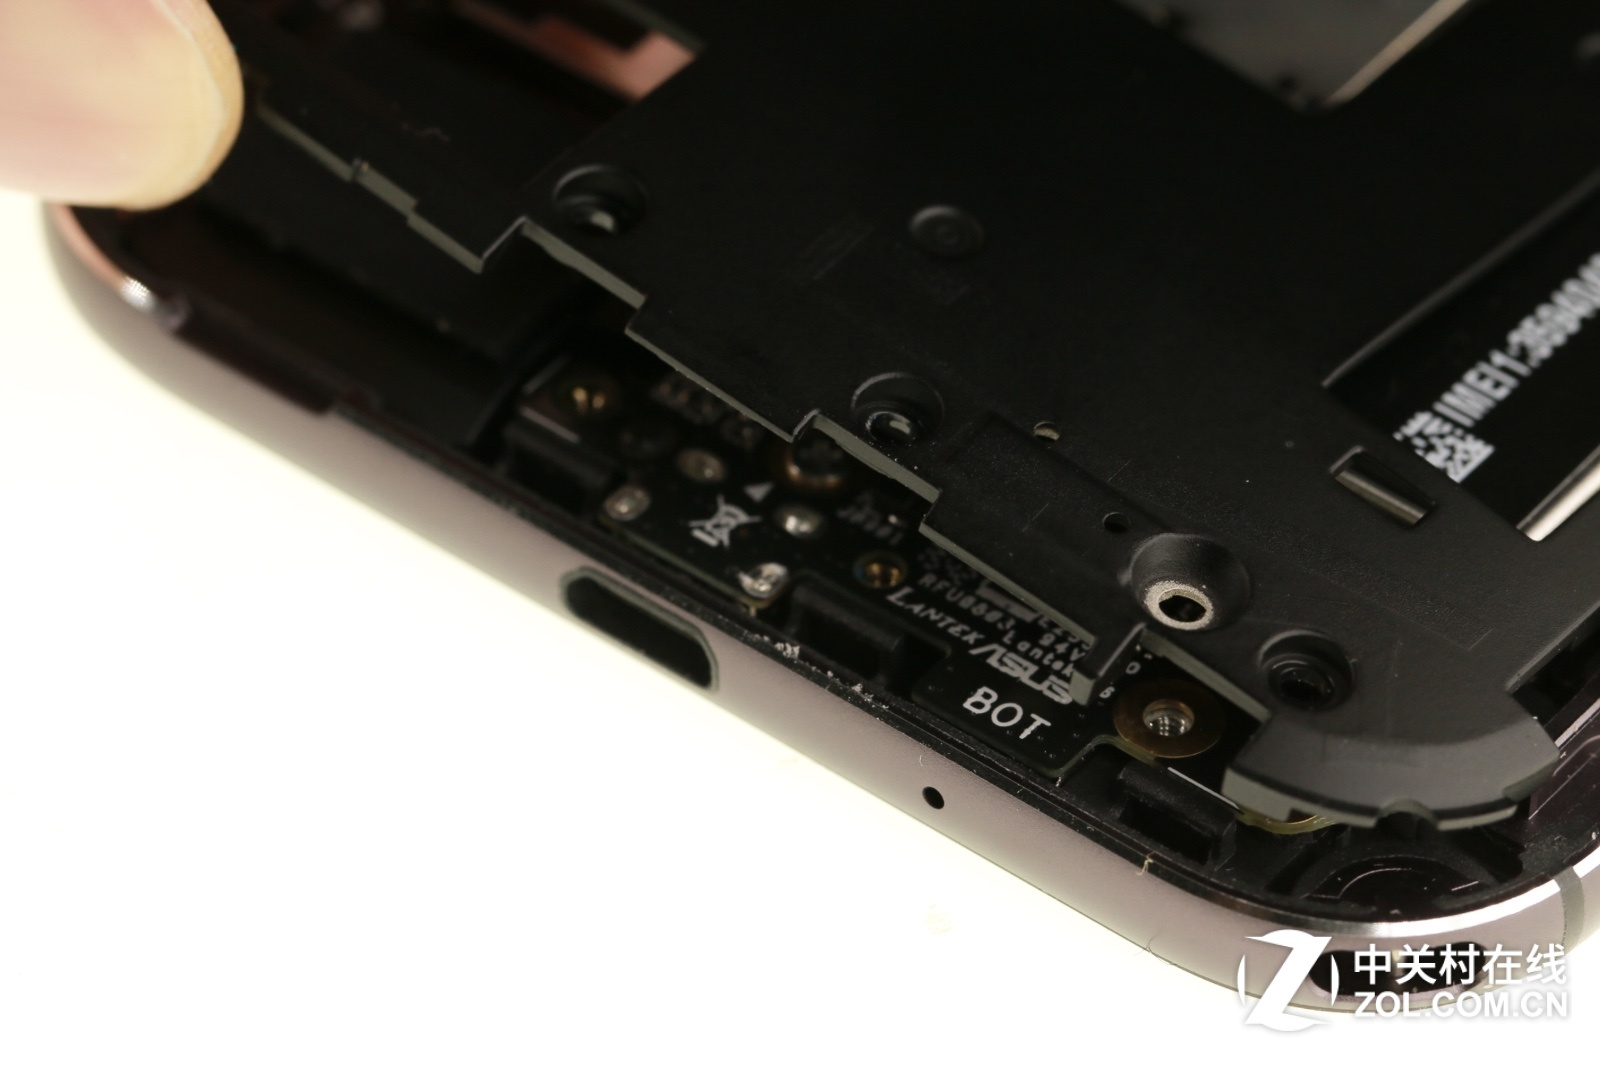
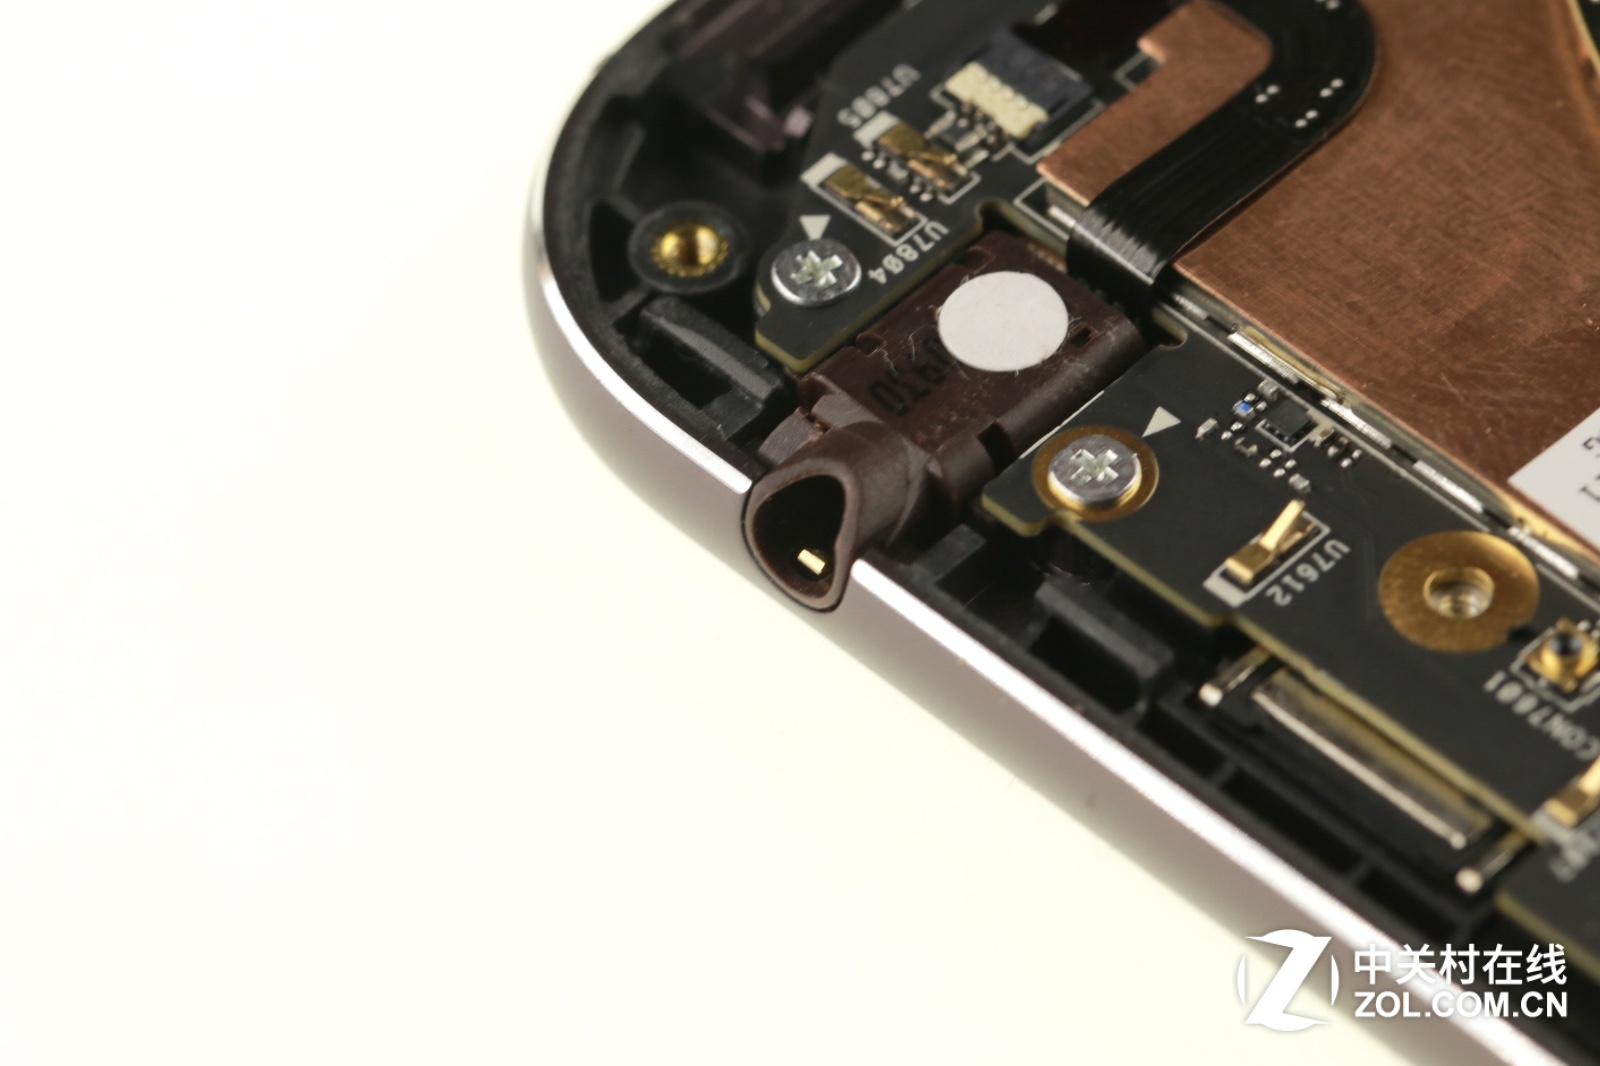
Asus ZenFone Zoom has a hanging hole.
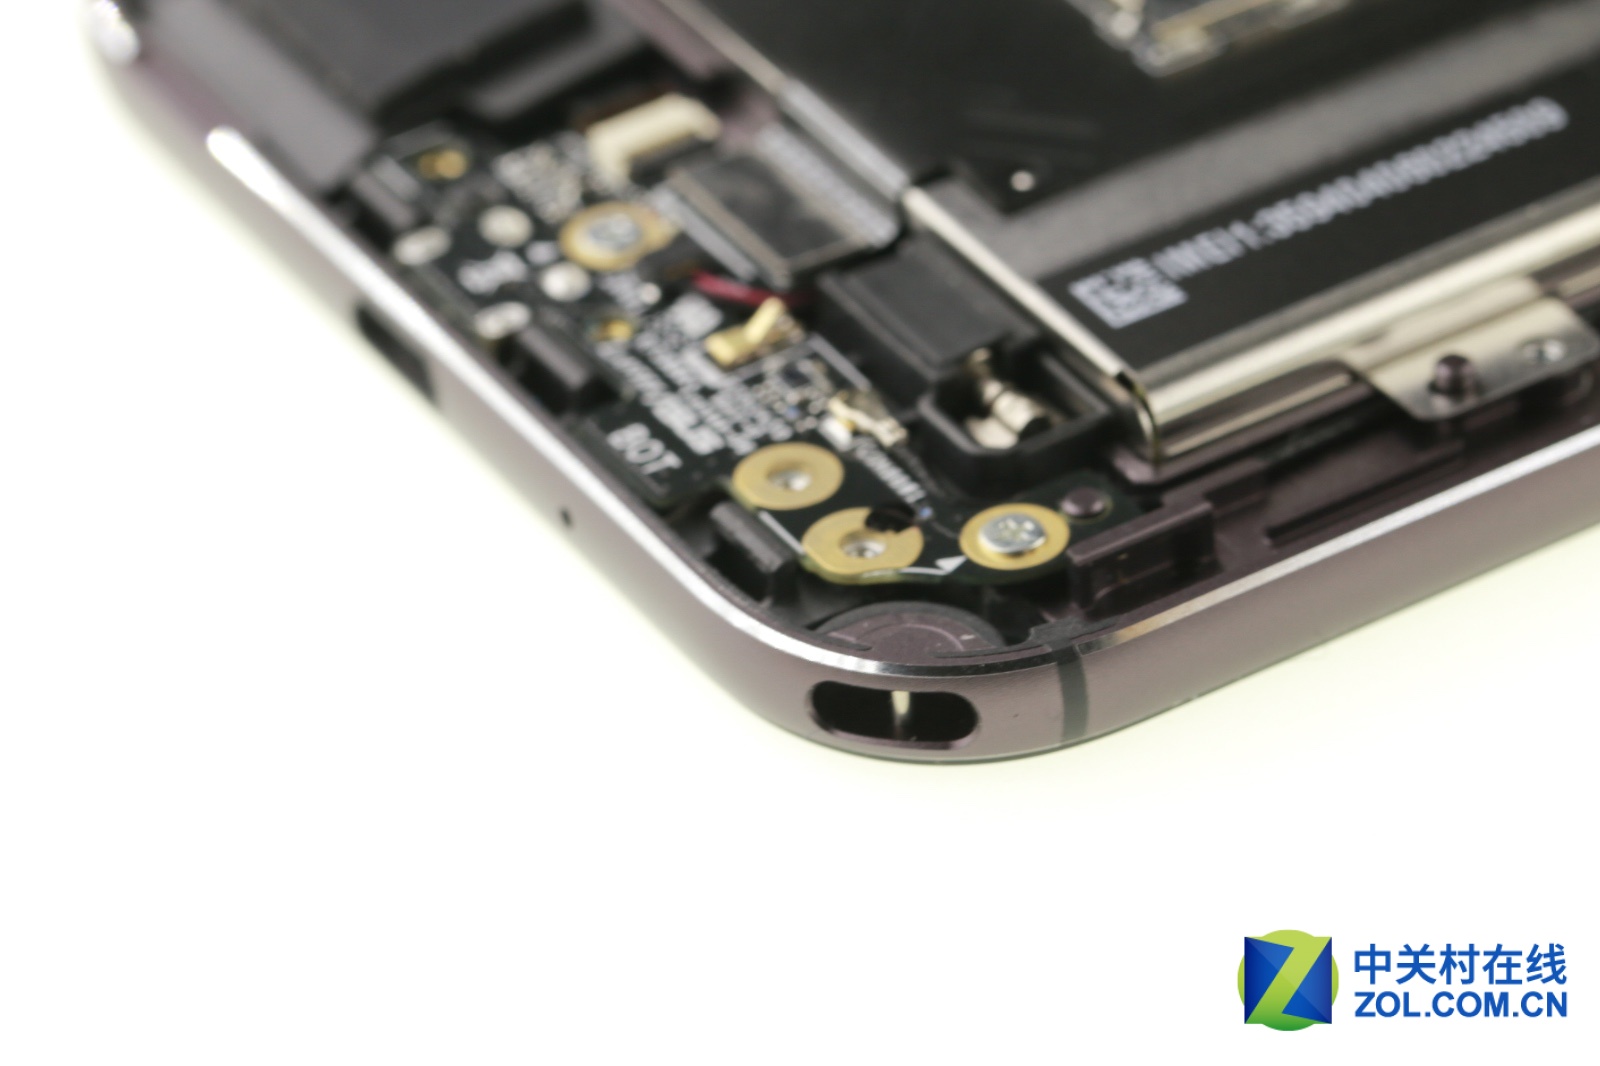
We see that there is a watercolor sticker attached to the headphone jack, but the headphone jack and not do too much seal, for its tightness I still worry.
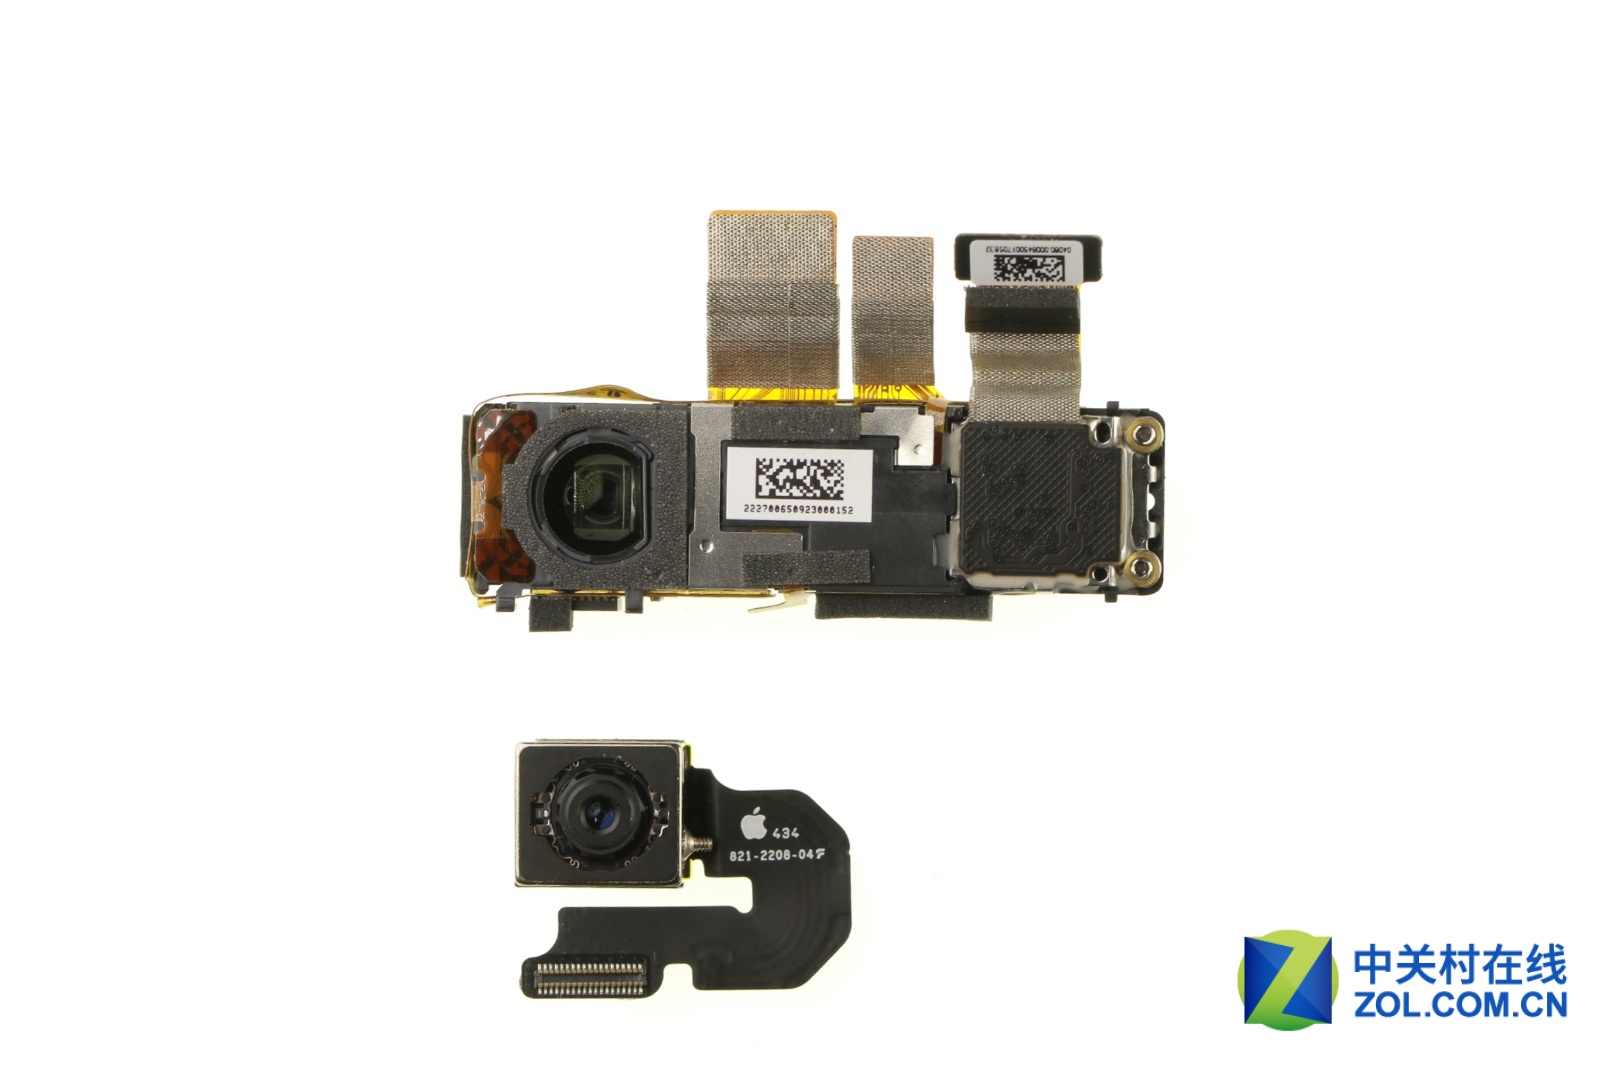
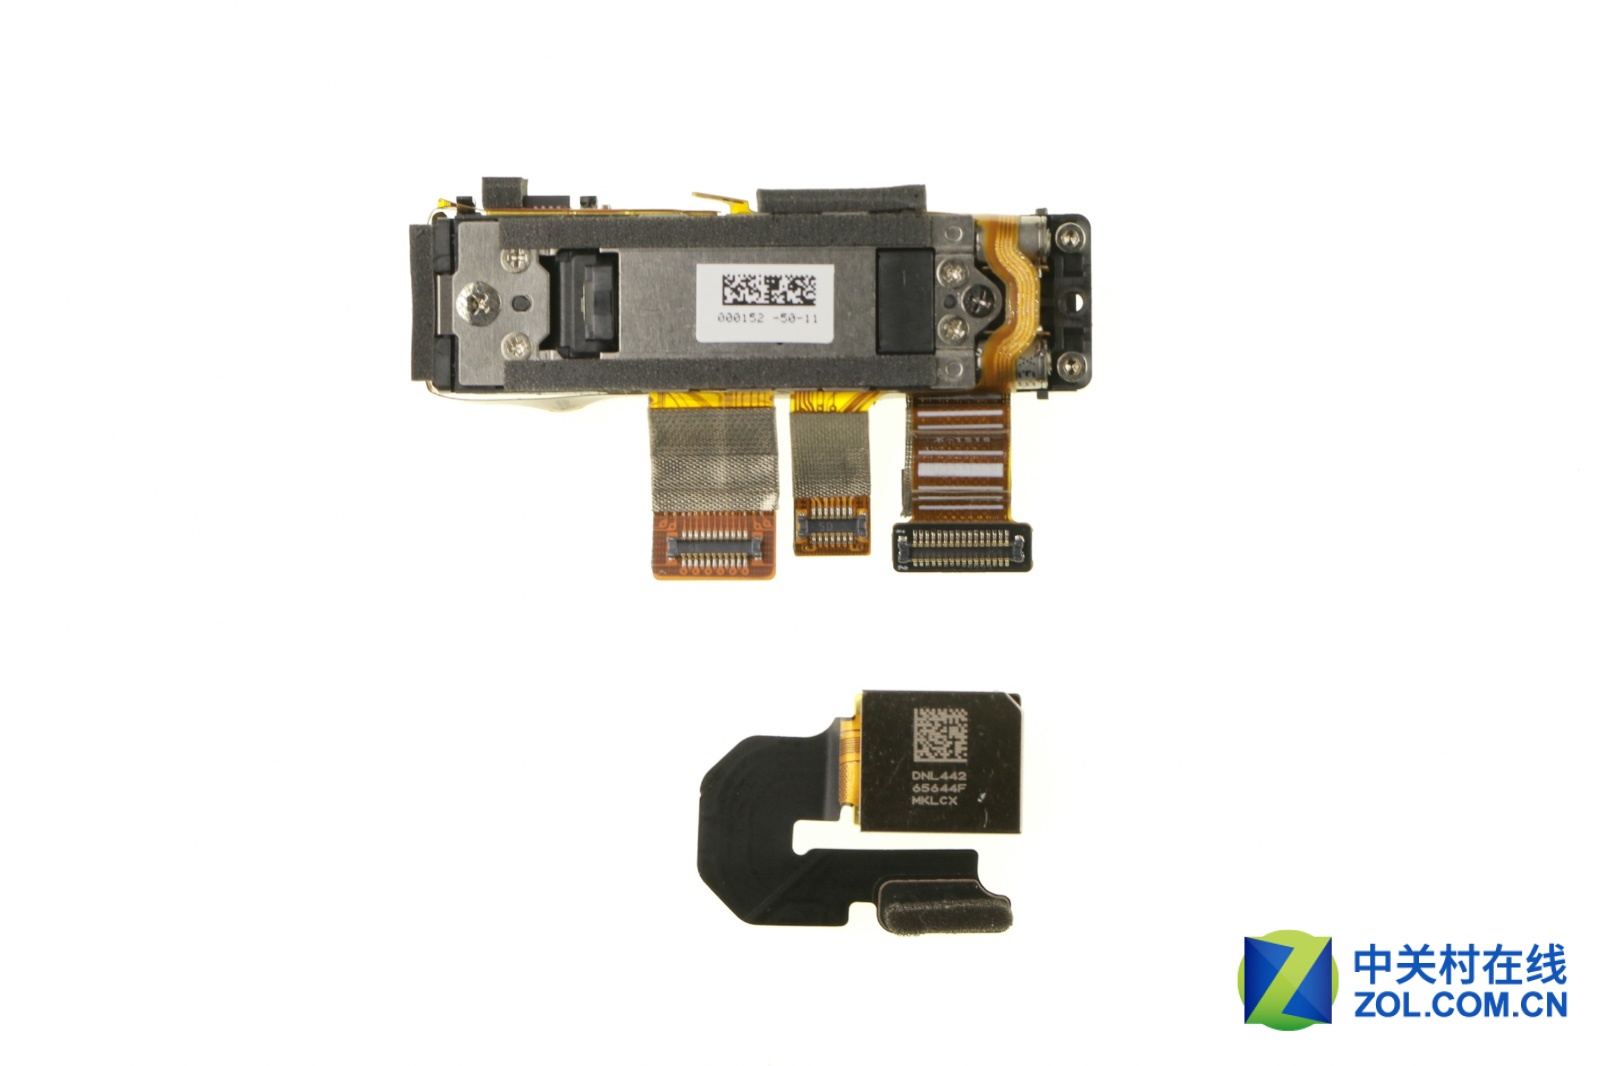
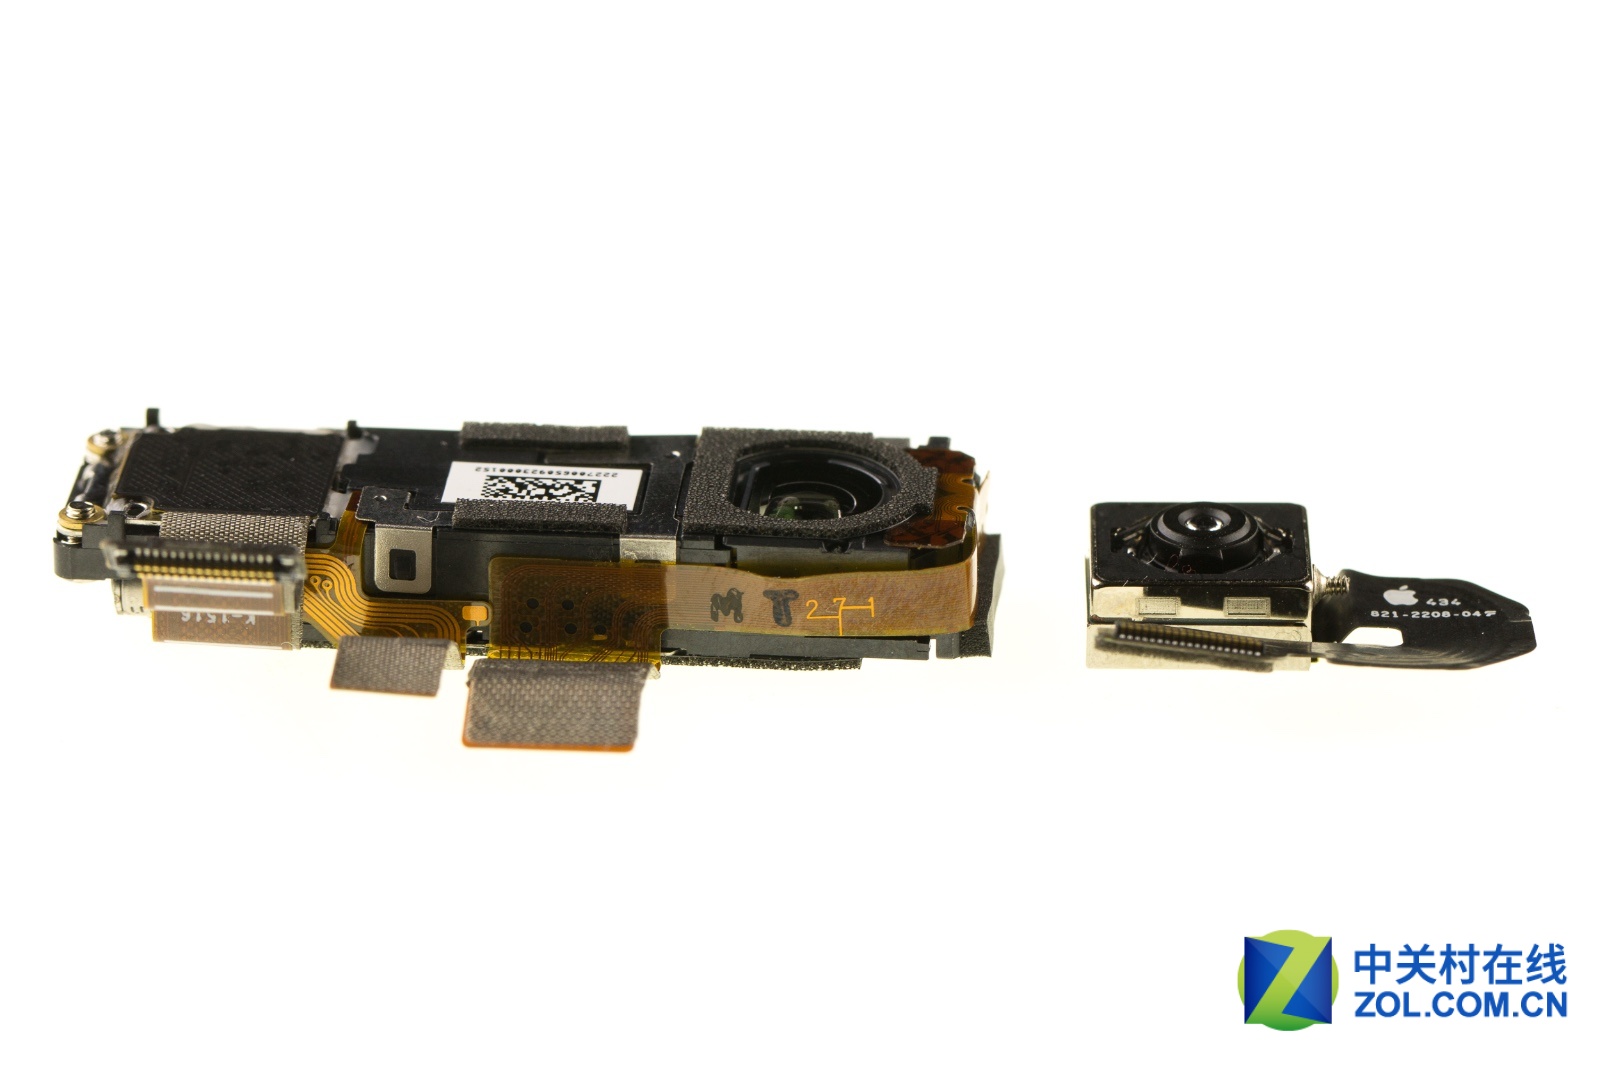
Compared to iPhone 6 plus’s rear camera

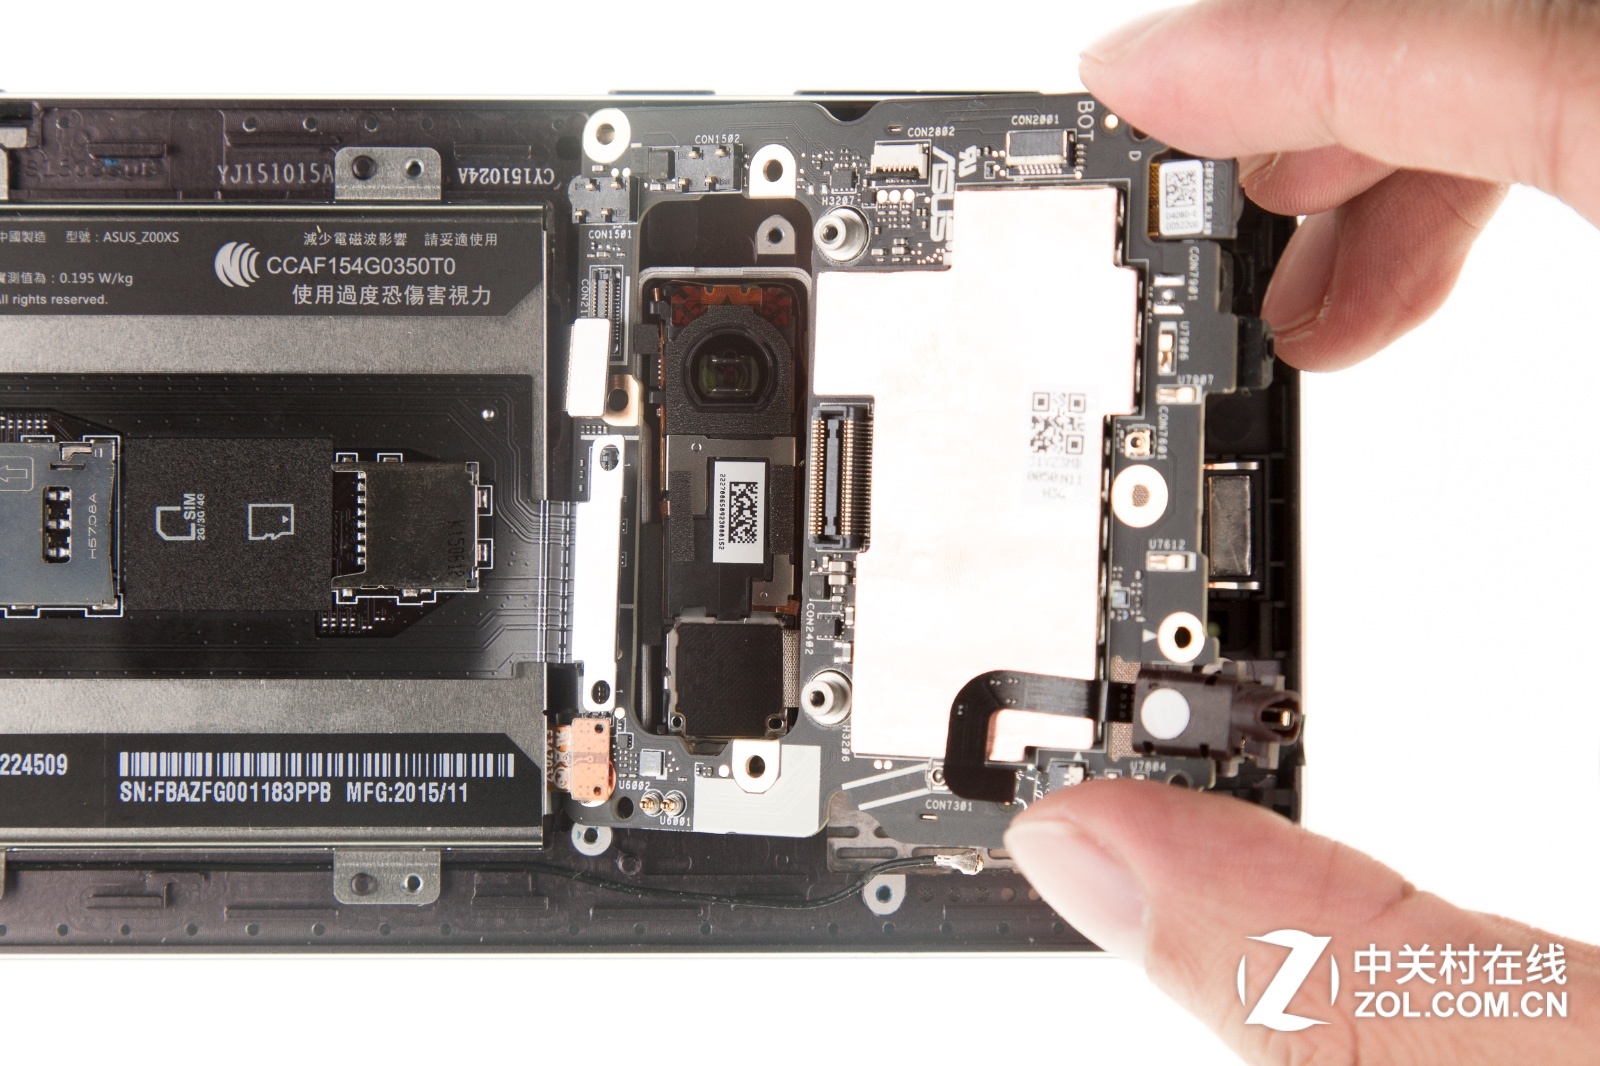
Disconnect battery connector and circuit board from the motherboard.
In this step, we remove eight screws.
When the screws and cables are removed, you cannot separate the motherboard. Then we realized that we should remove the camera first.
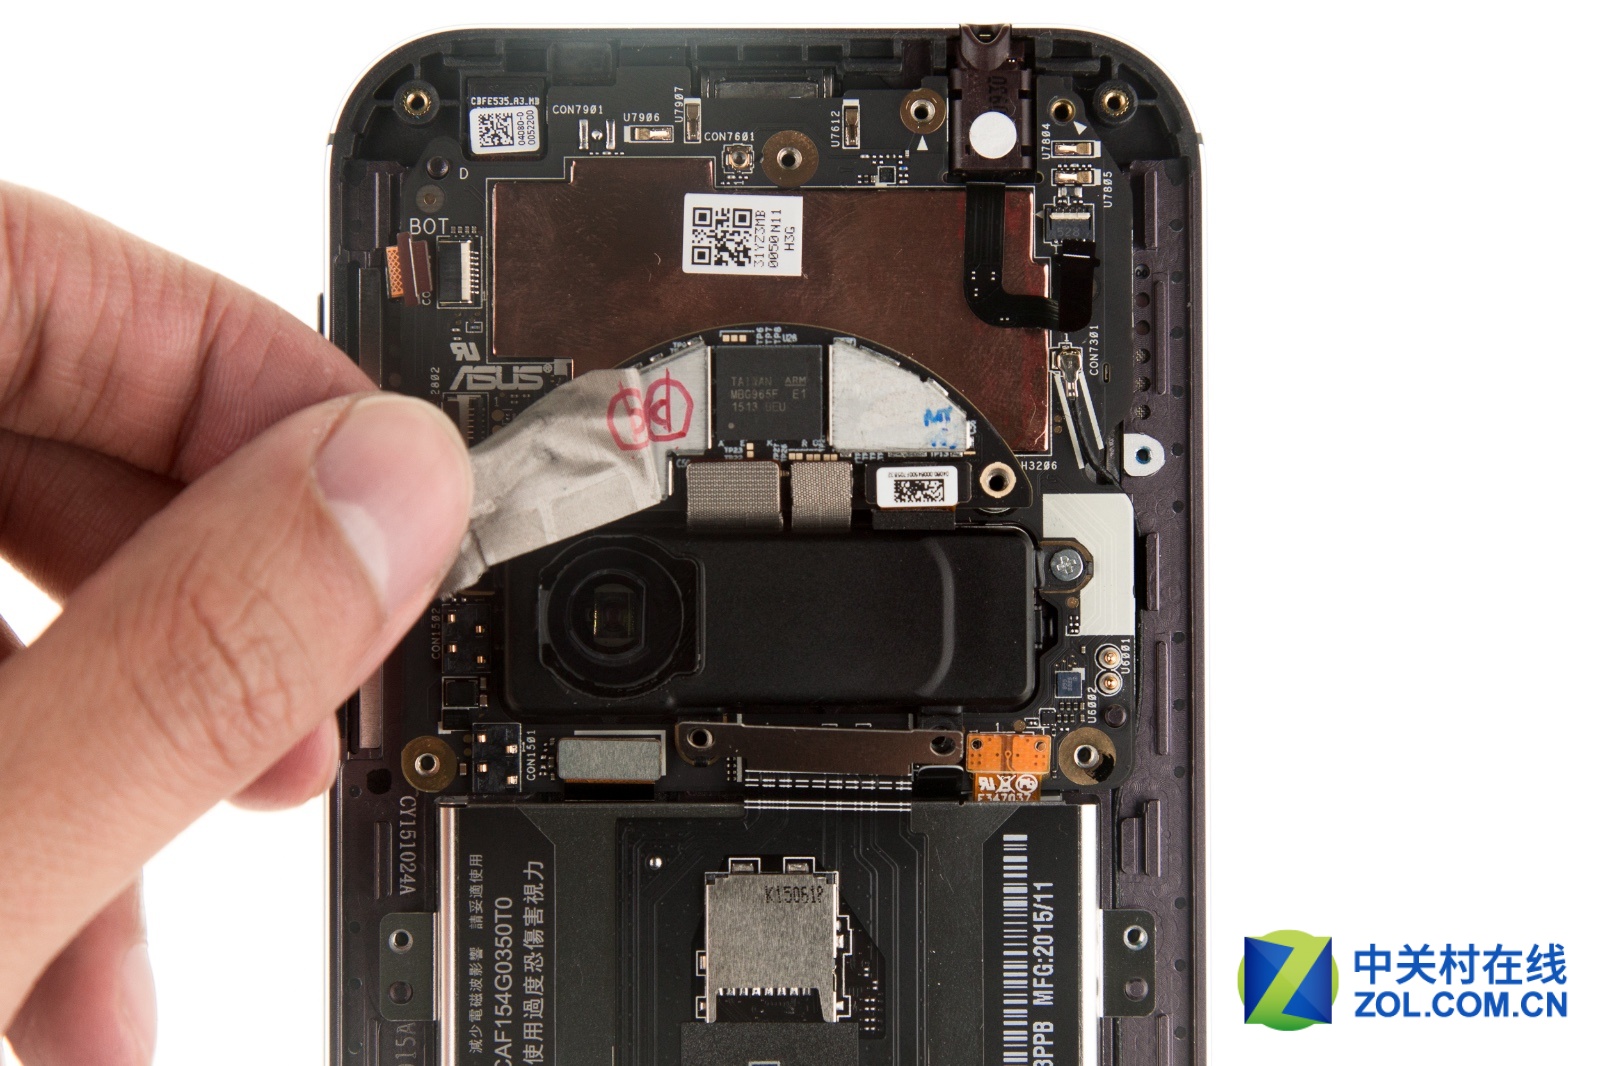
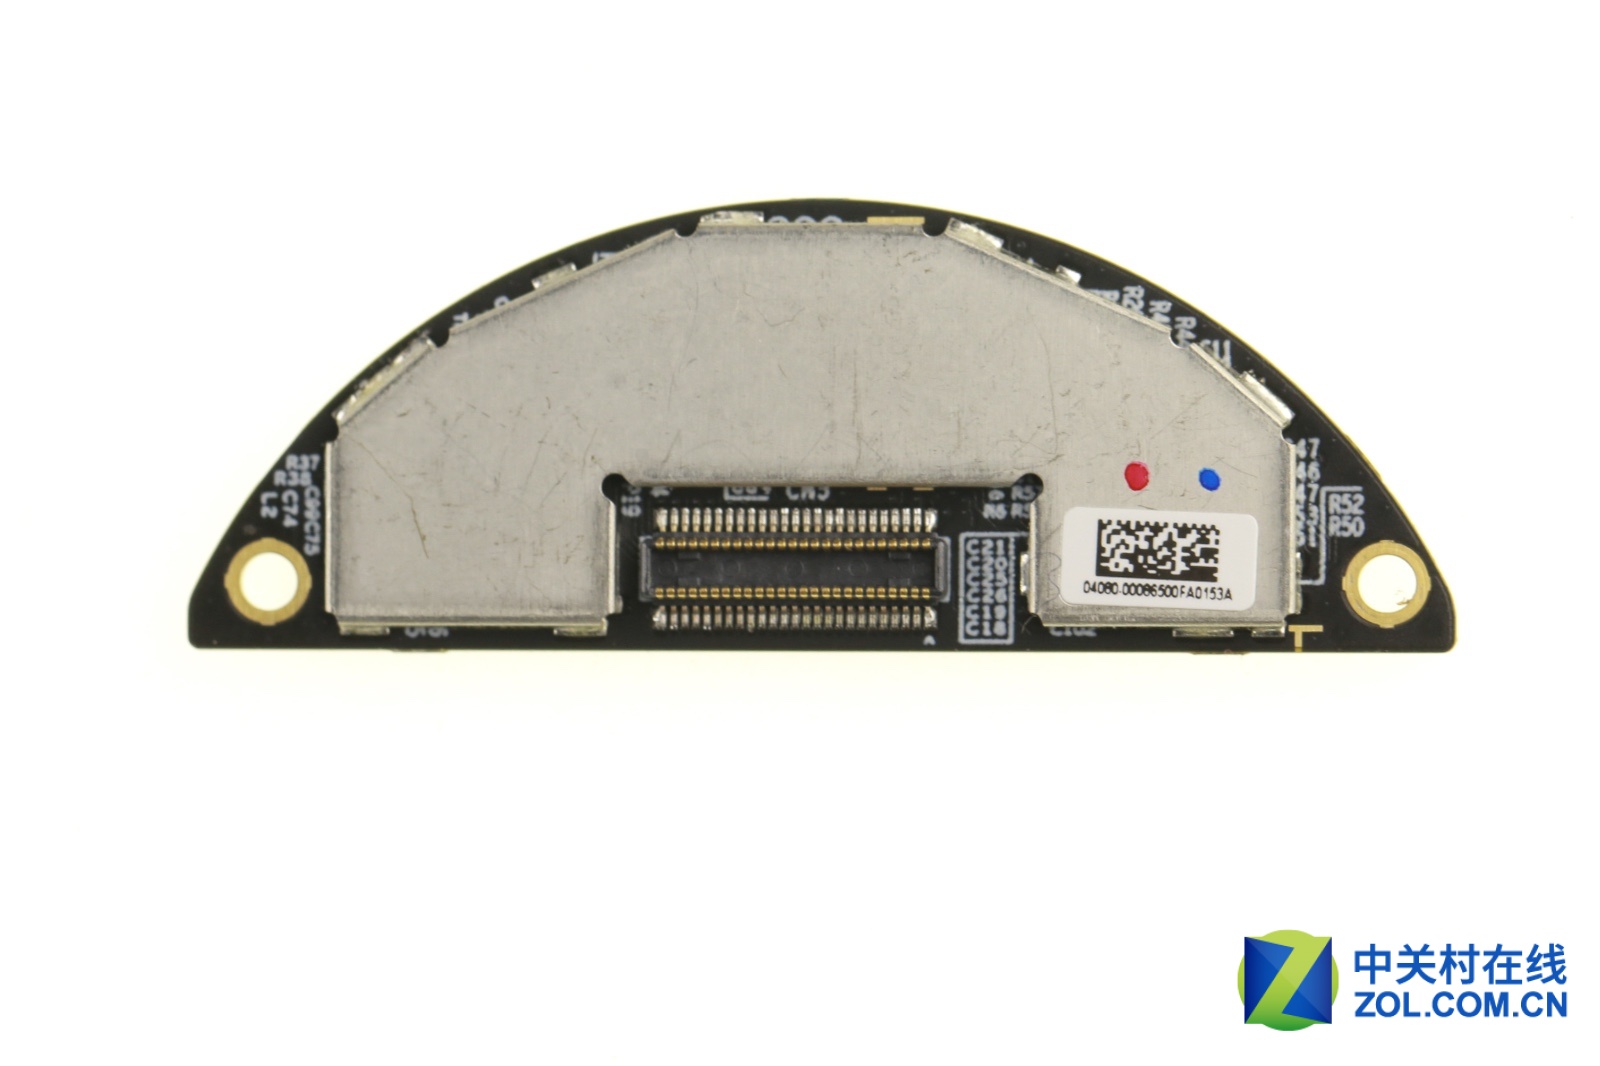
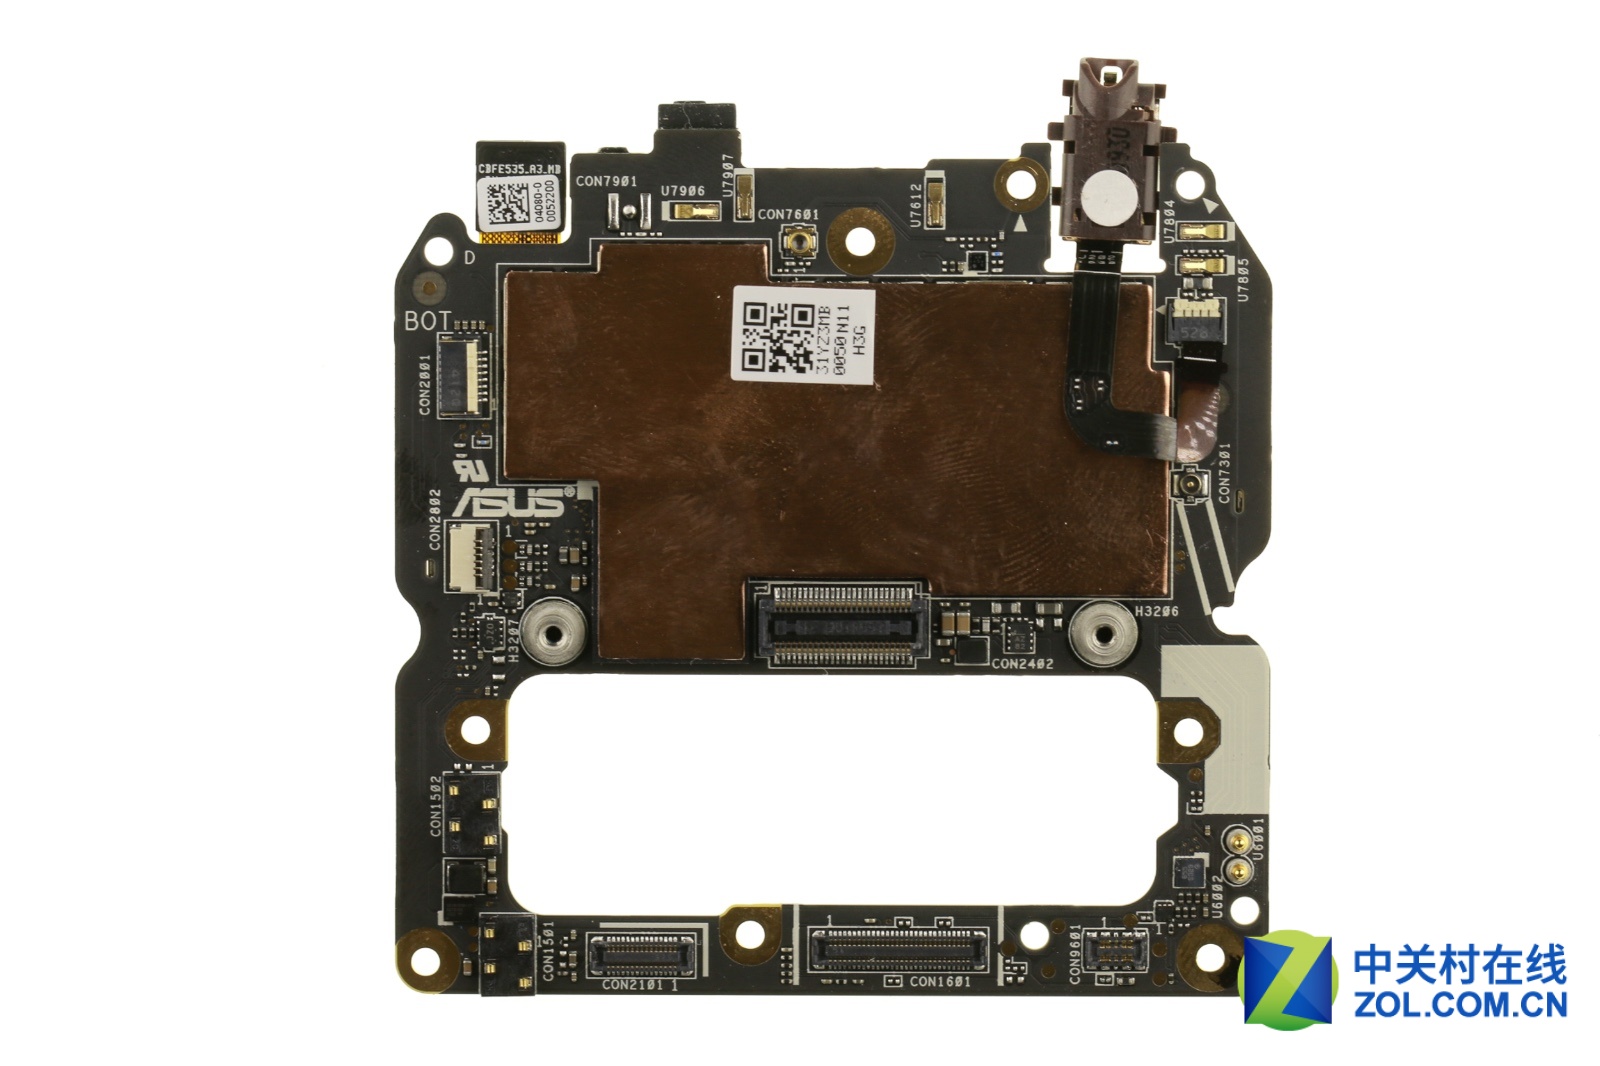
Asus ZenFone Zoom’s camera module has three cables connected the top of the board, estimate the board should have an independent ISP for processing images, as well as stabilization operations and zoom drive.
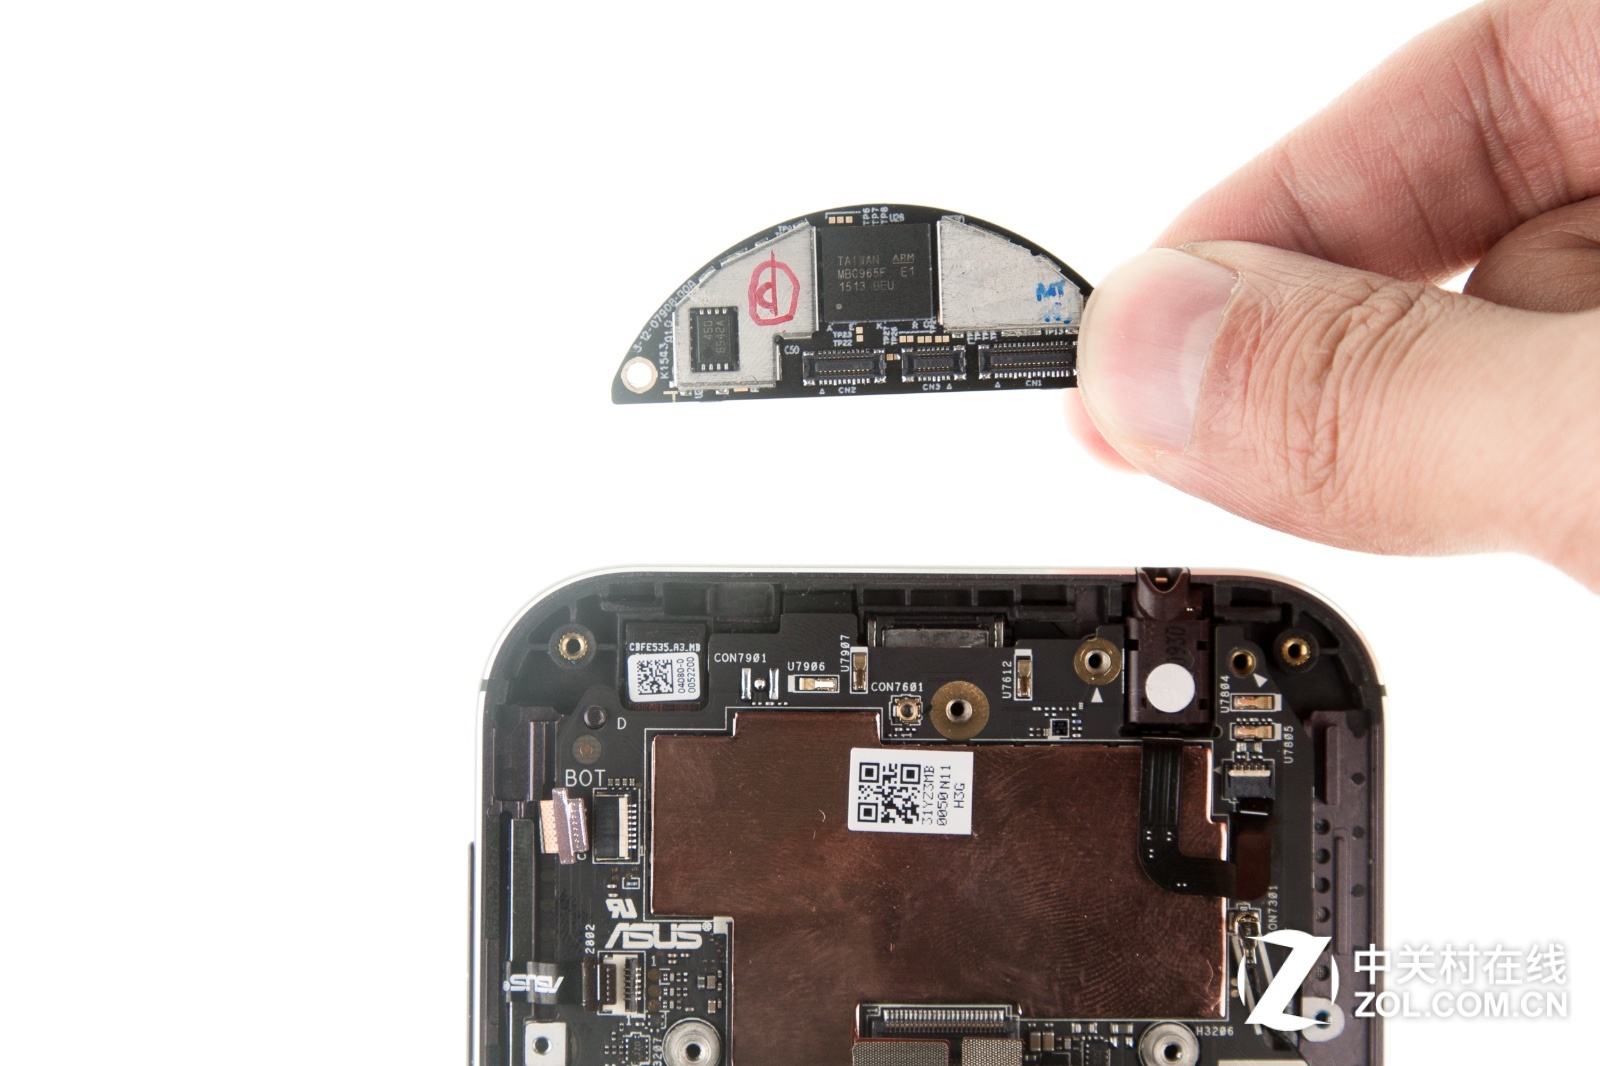
ARM and Taiwan words written on a chip of the board, it should be an ISP.

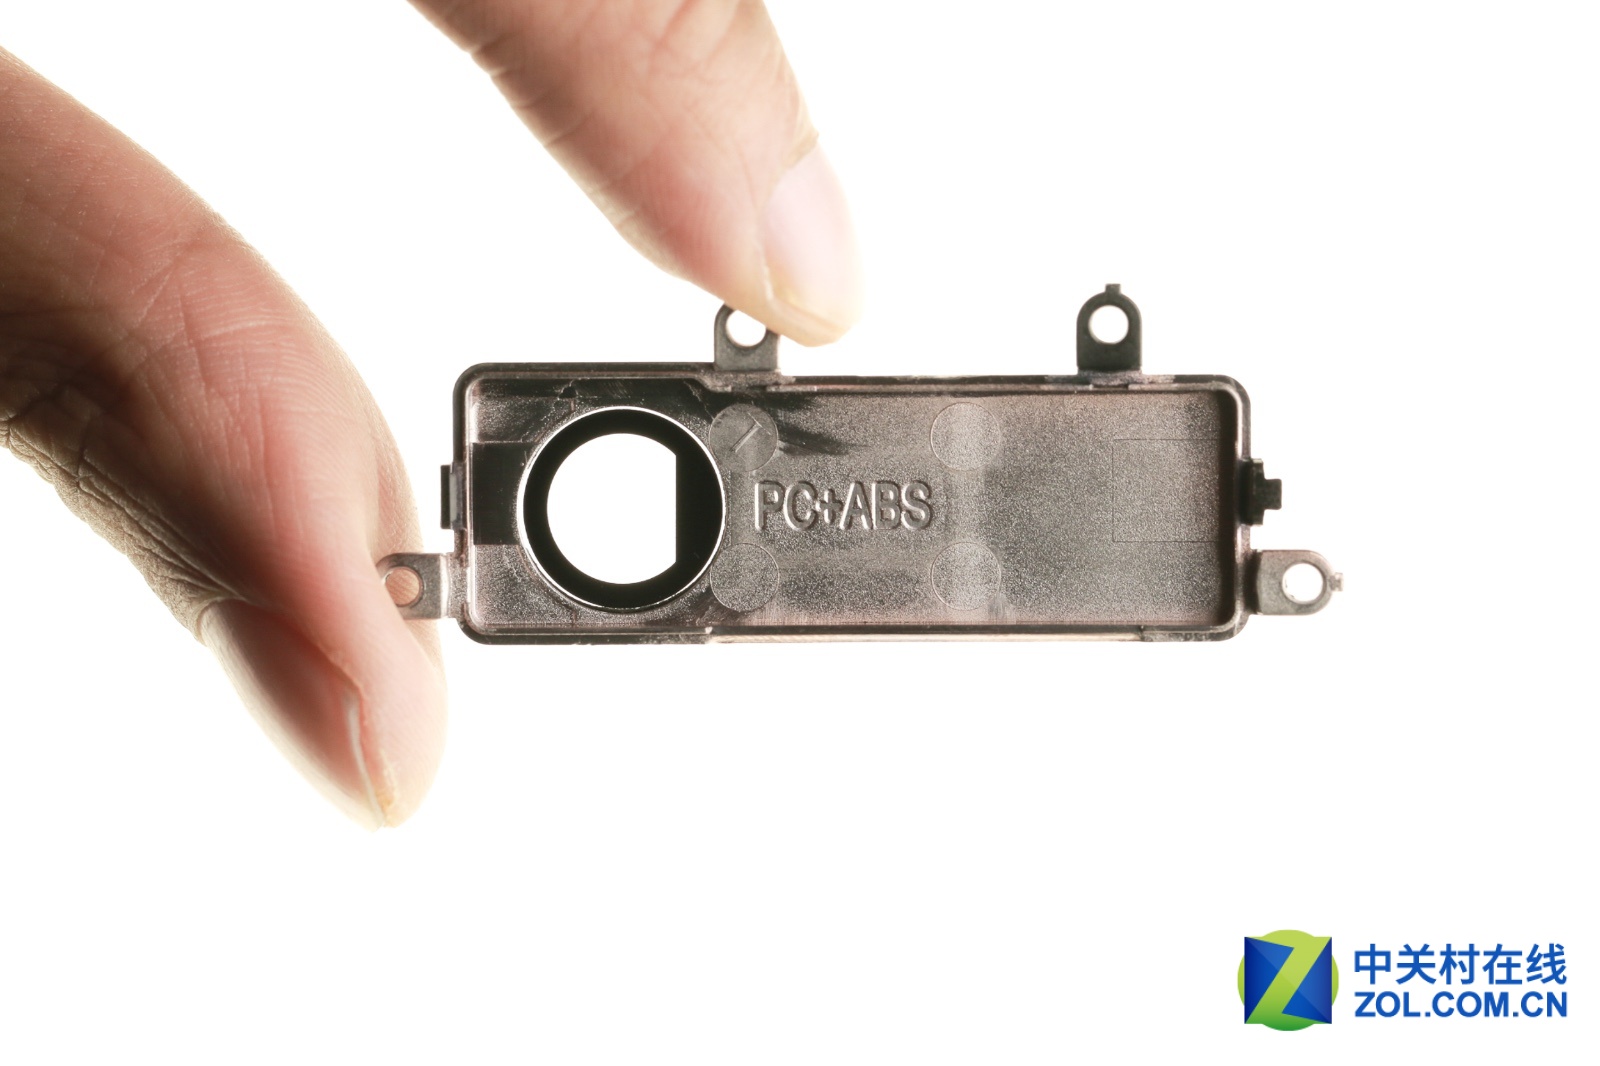
Remove the camera module’s protective cover.
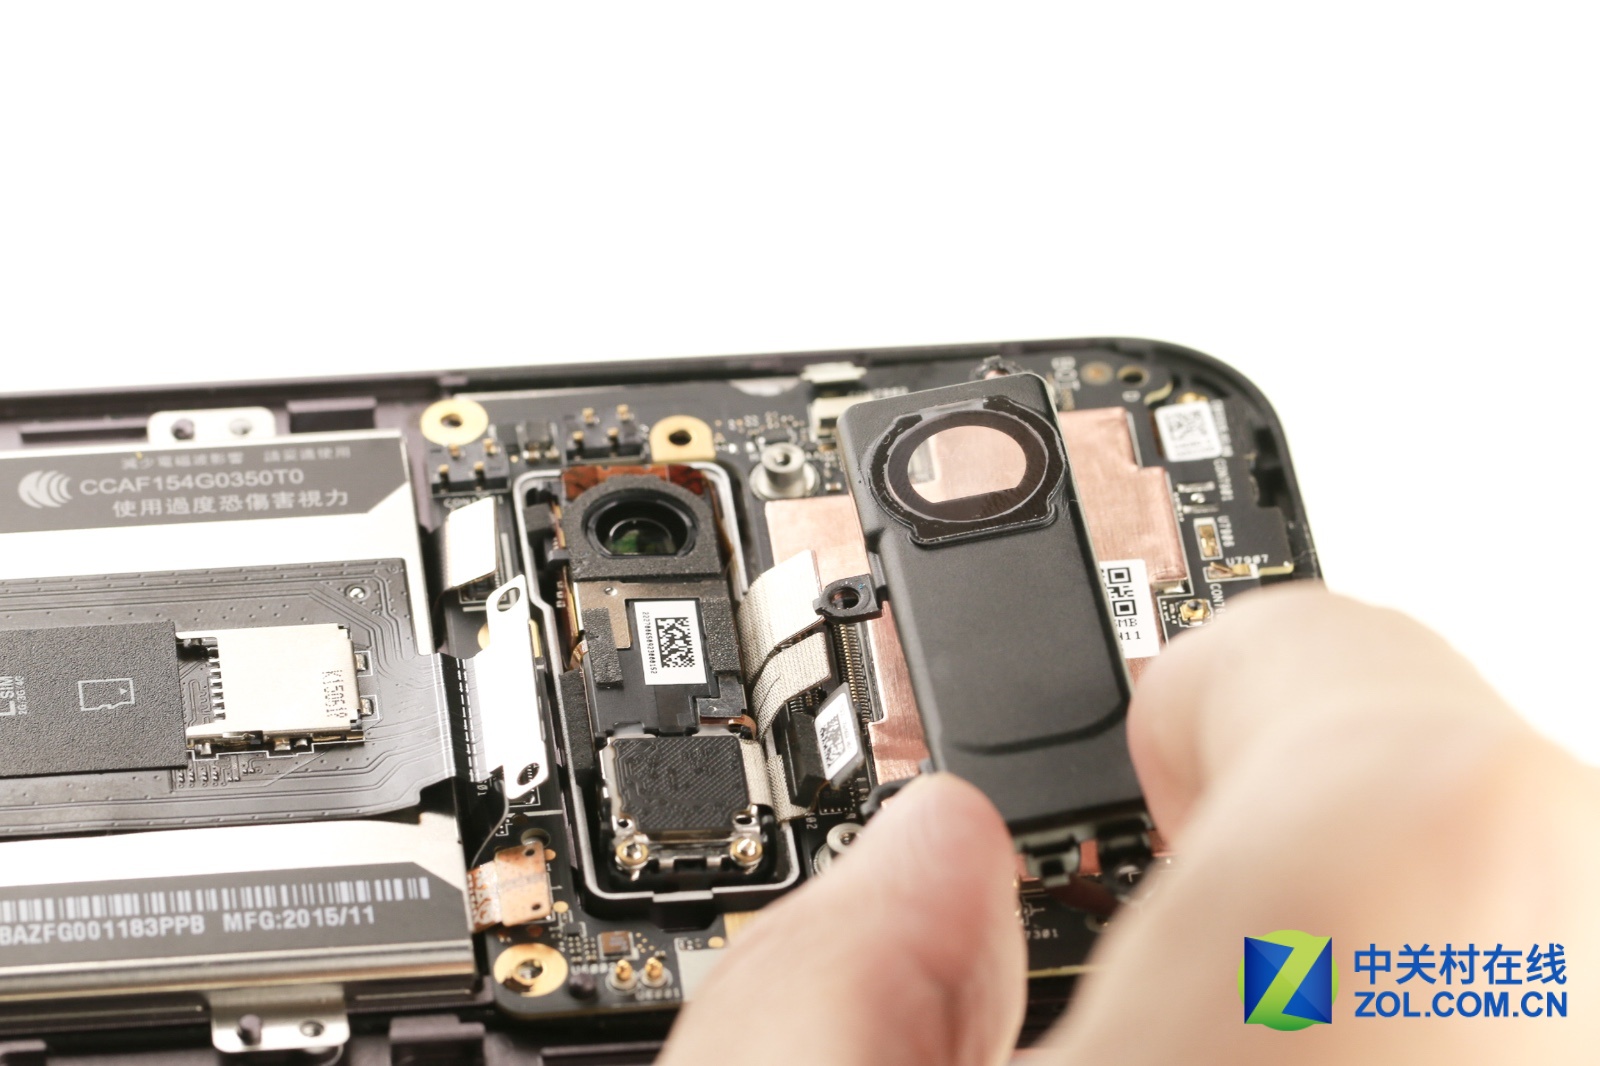
Camera module’s protective cover
Now the motherboard can be removed.
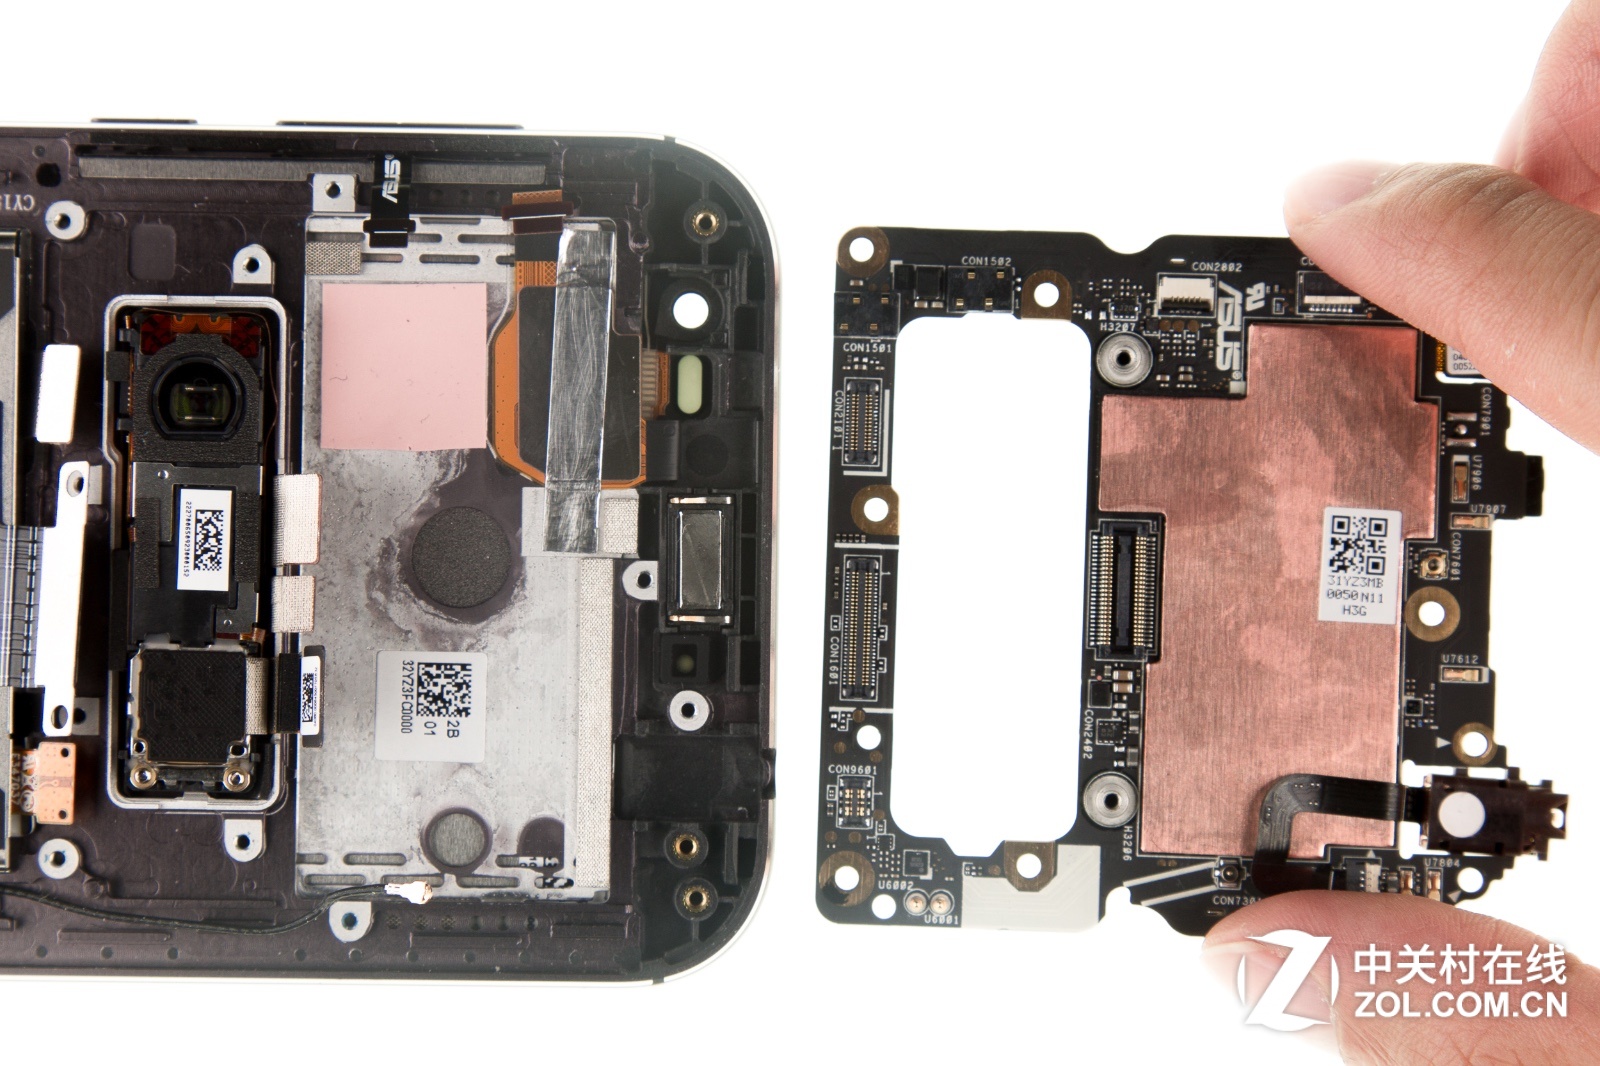
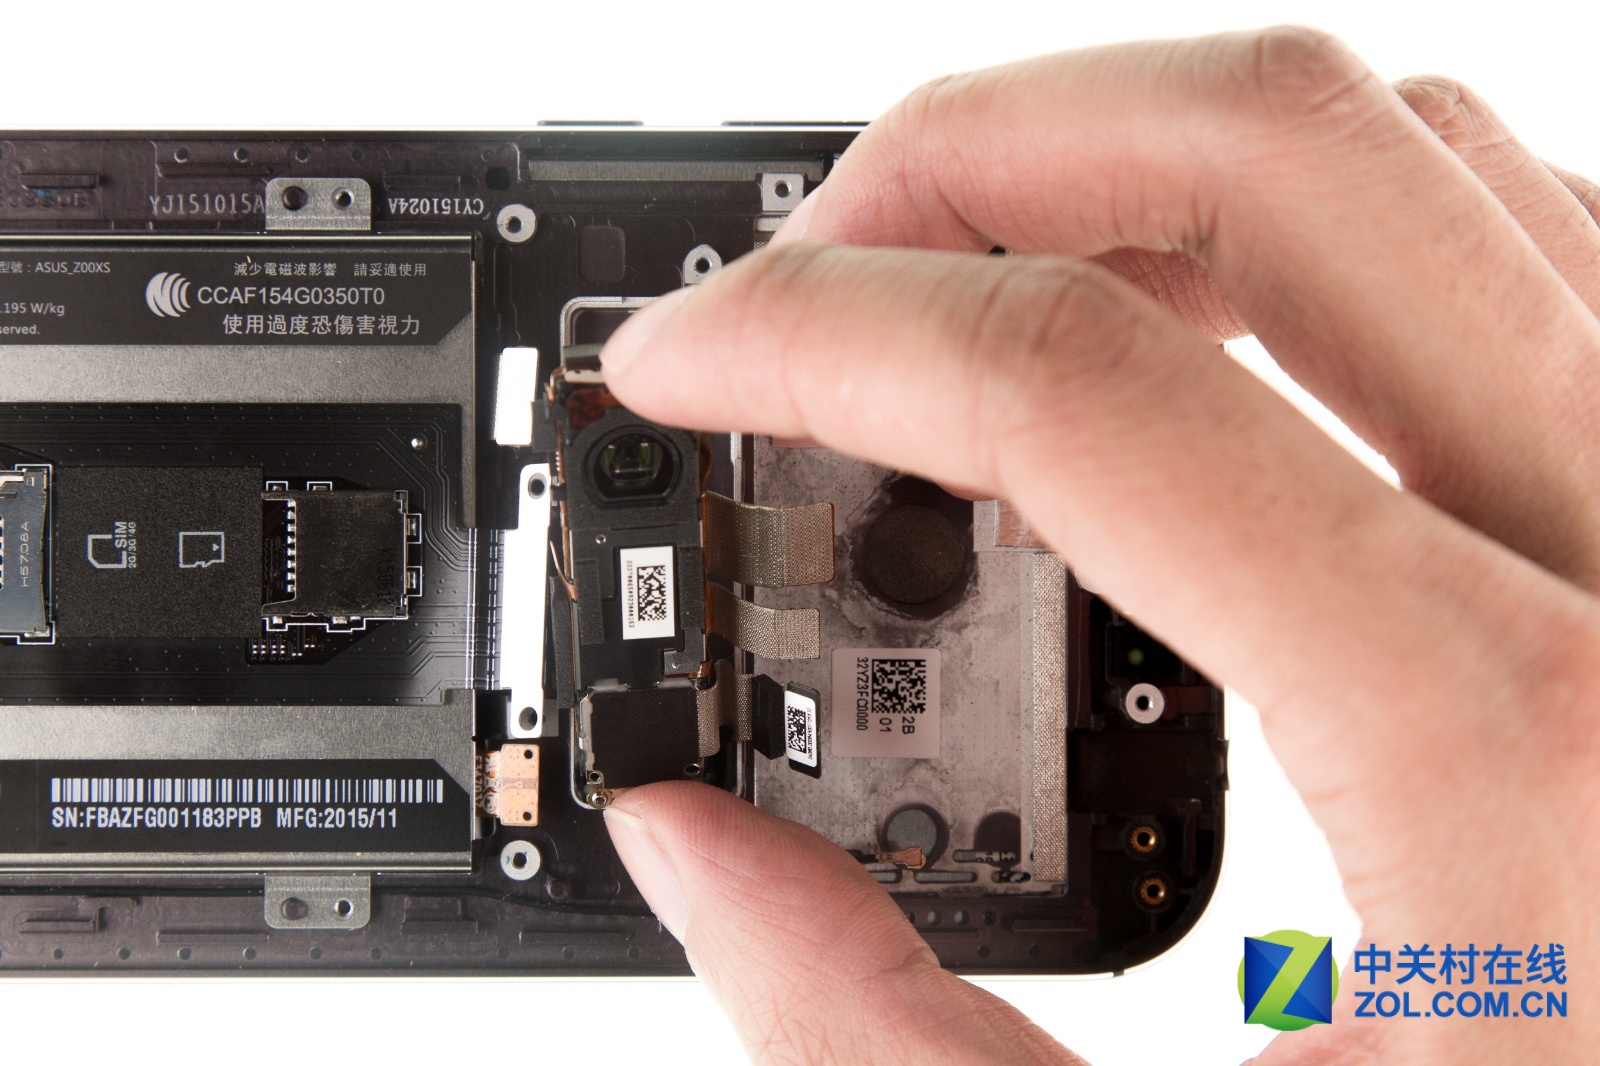
Remove the camera module.
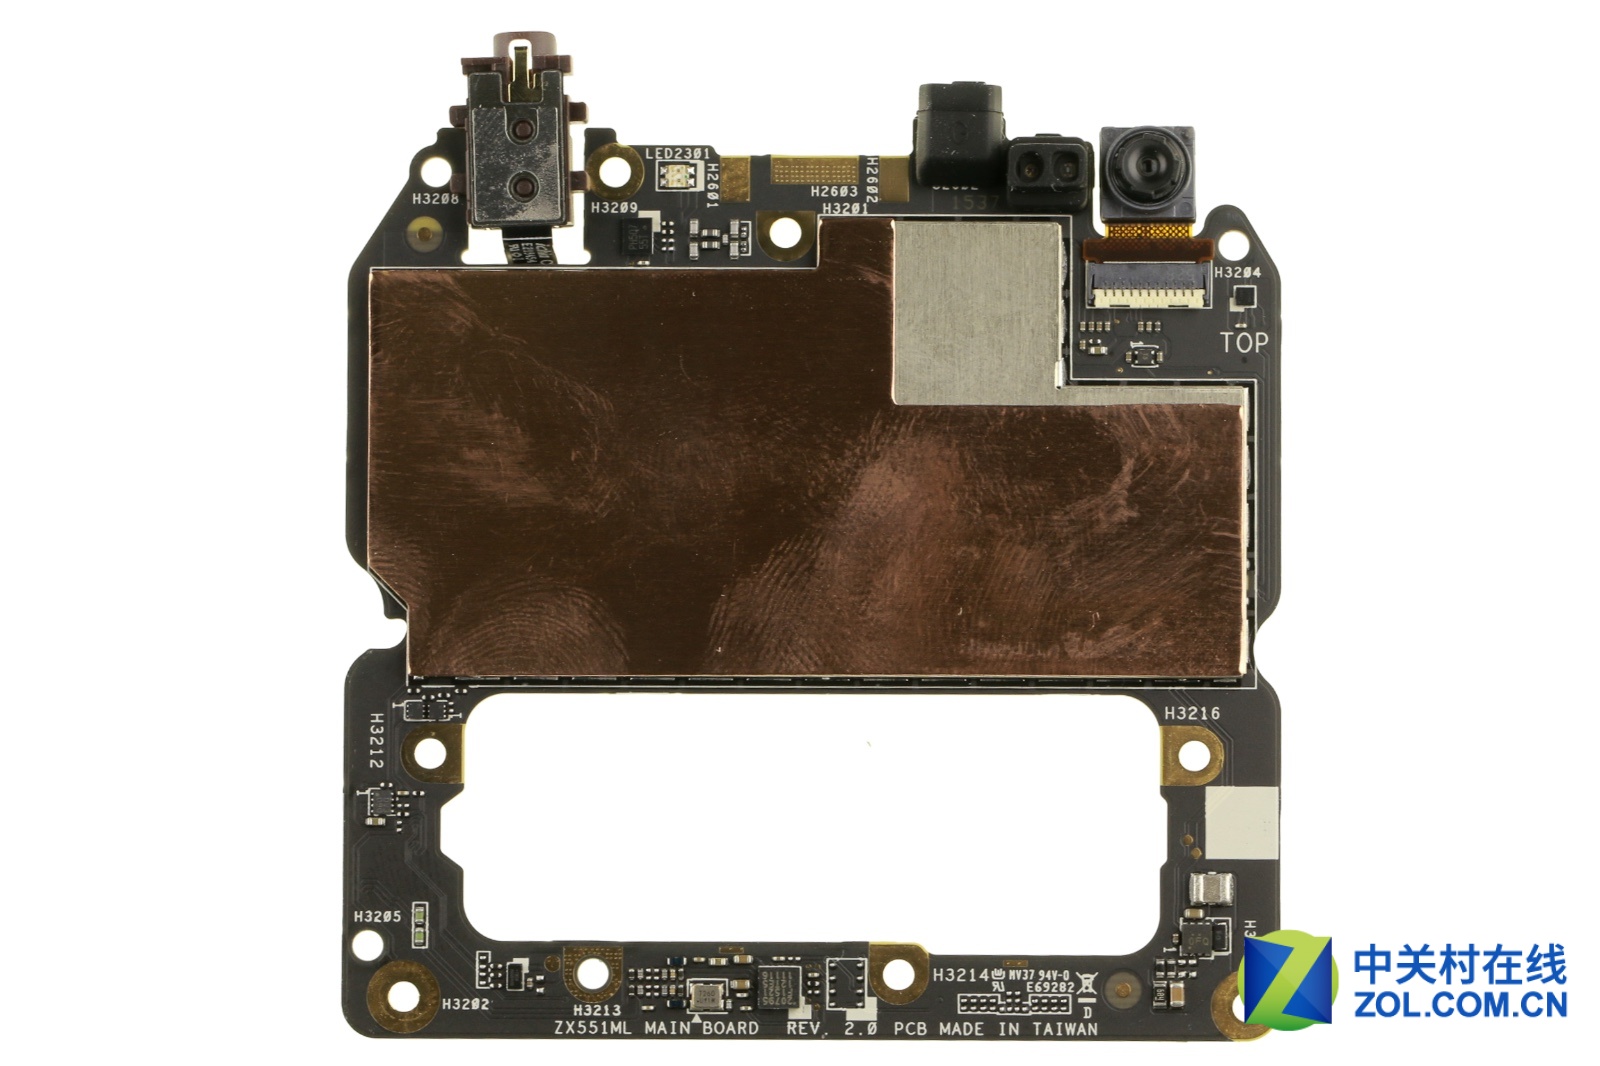
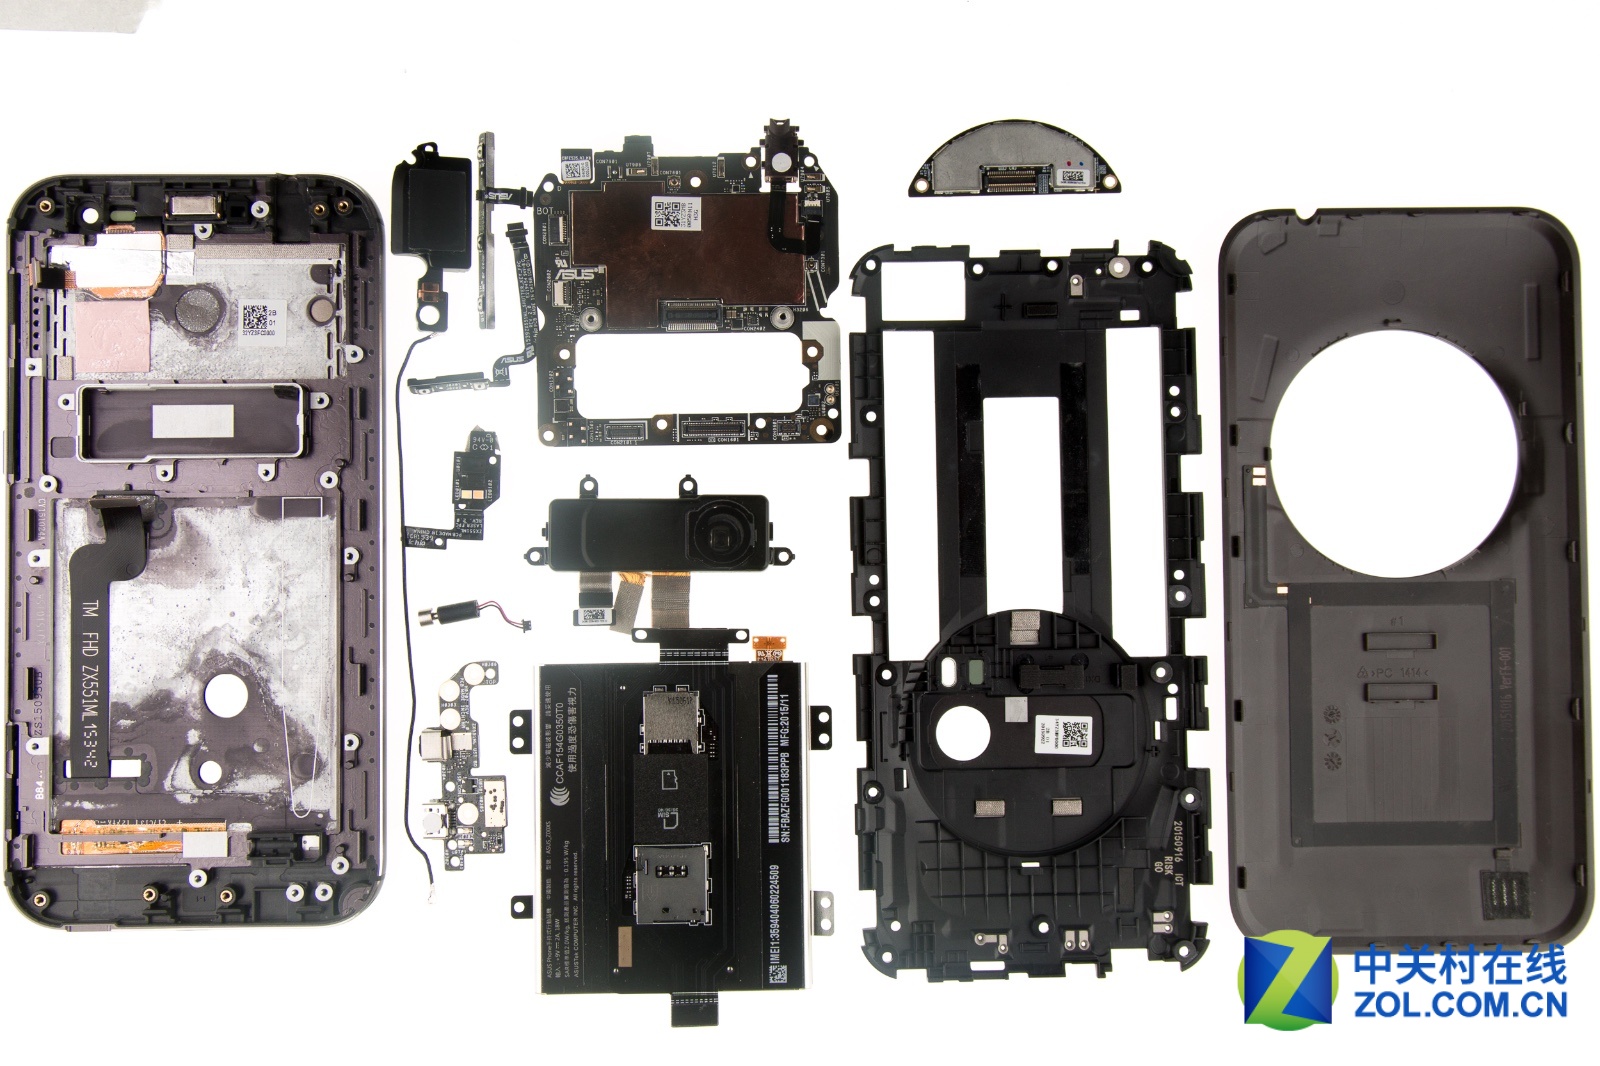
Asus ZenFone Zoom’s motherboard
The camera inside has up to 10 HOYA lenses.
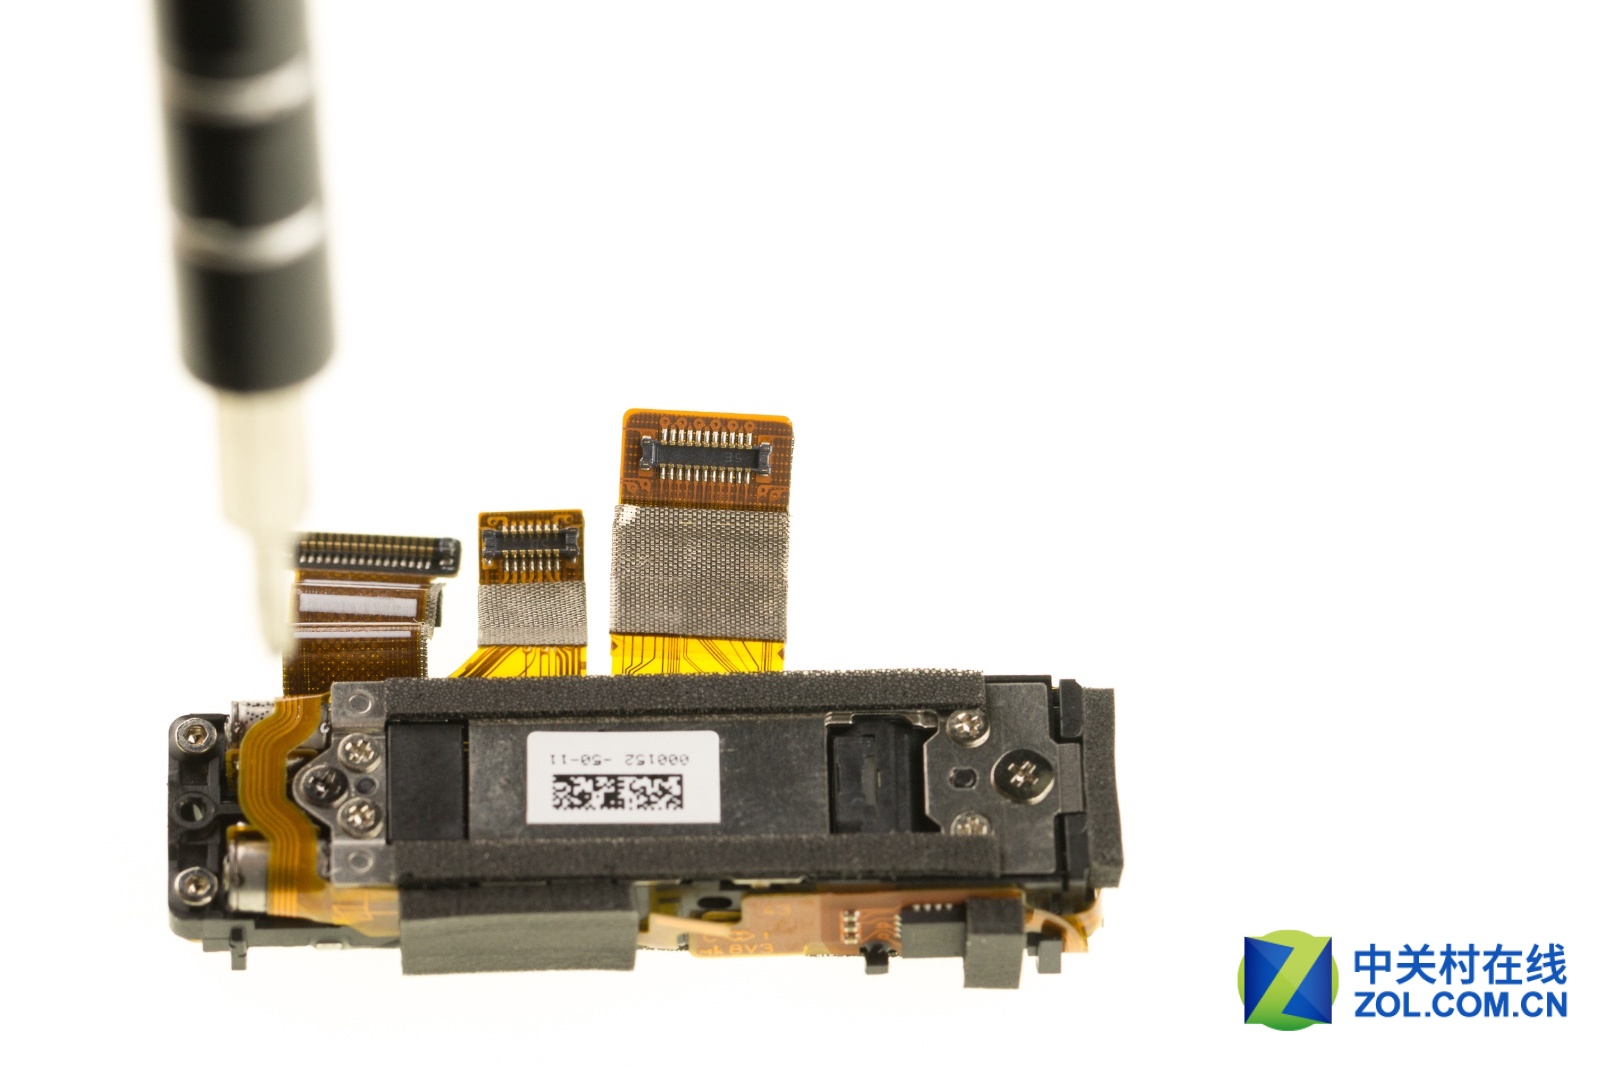
Now we will disassemble the camera module.
Remove six screws.

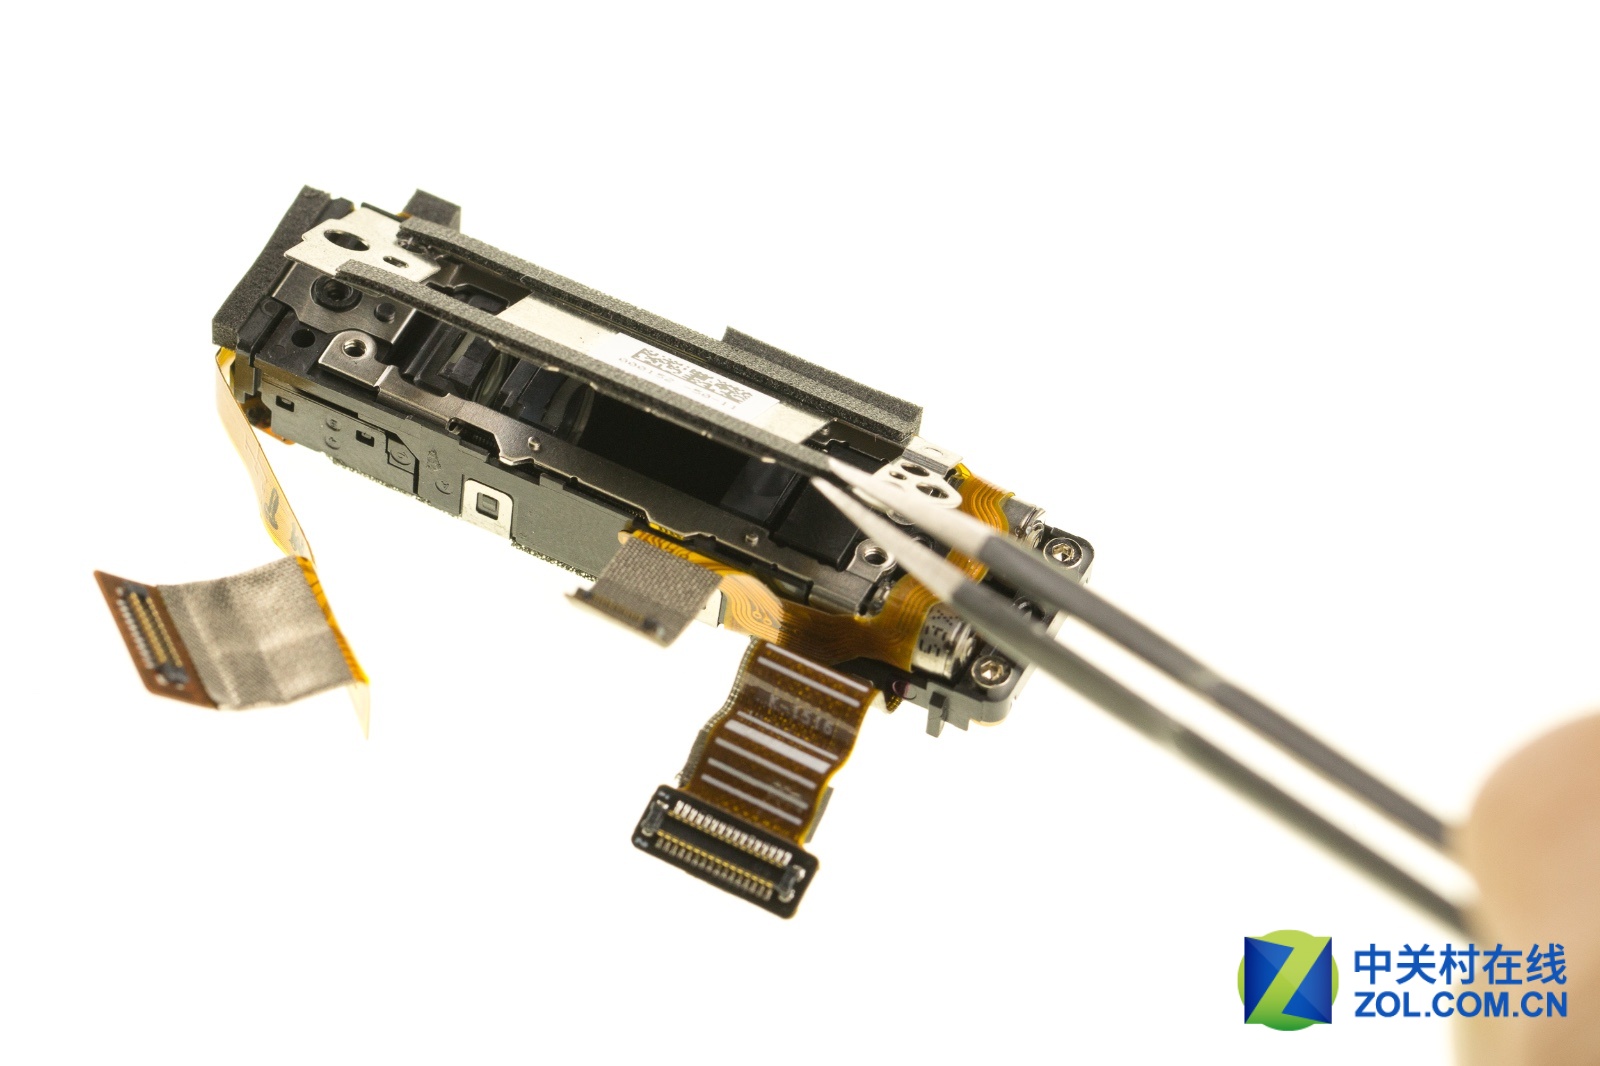
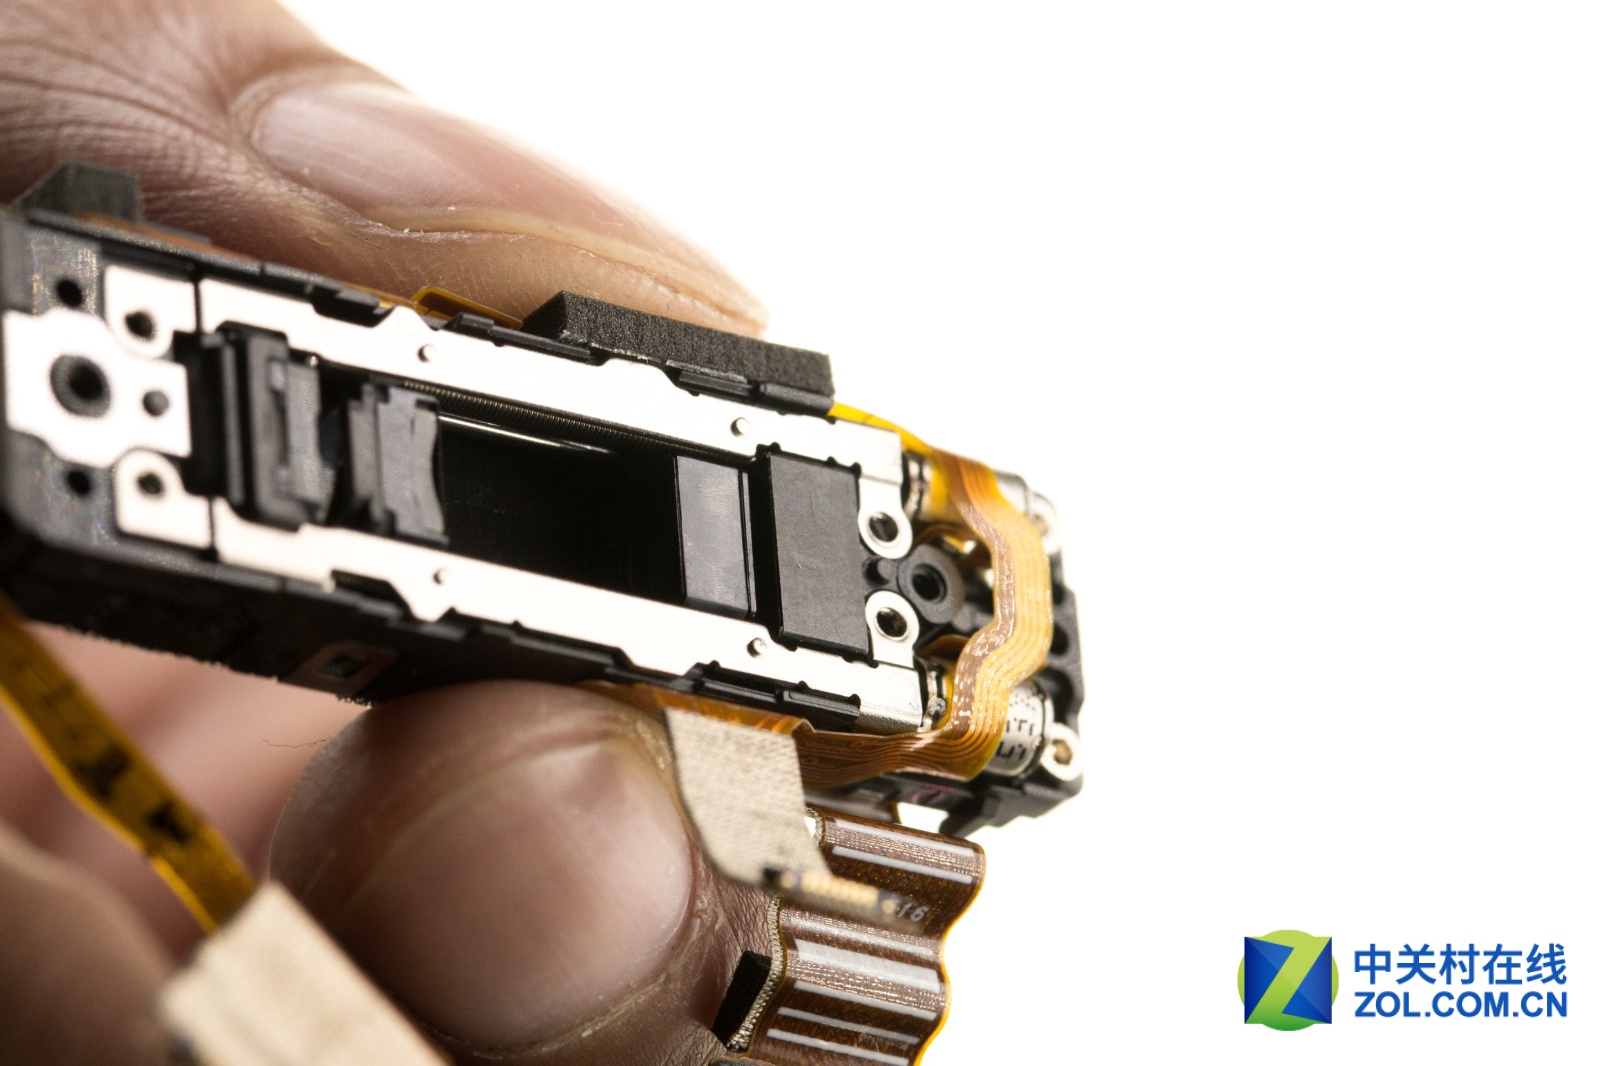
As described in the official press conference, all lenses are arranged vertically. Why so arrange it?

From this perspective, we see the interior of the zoom lever.
Remove the battery.
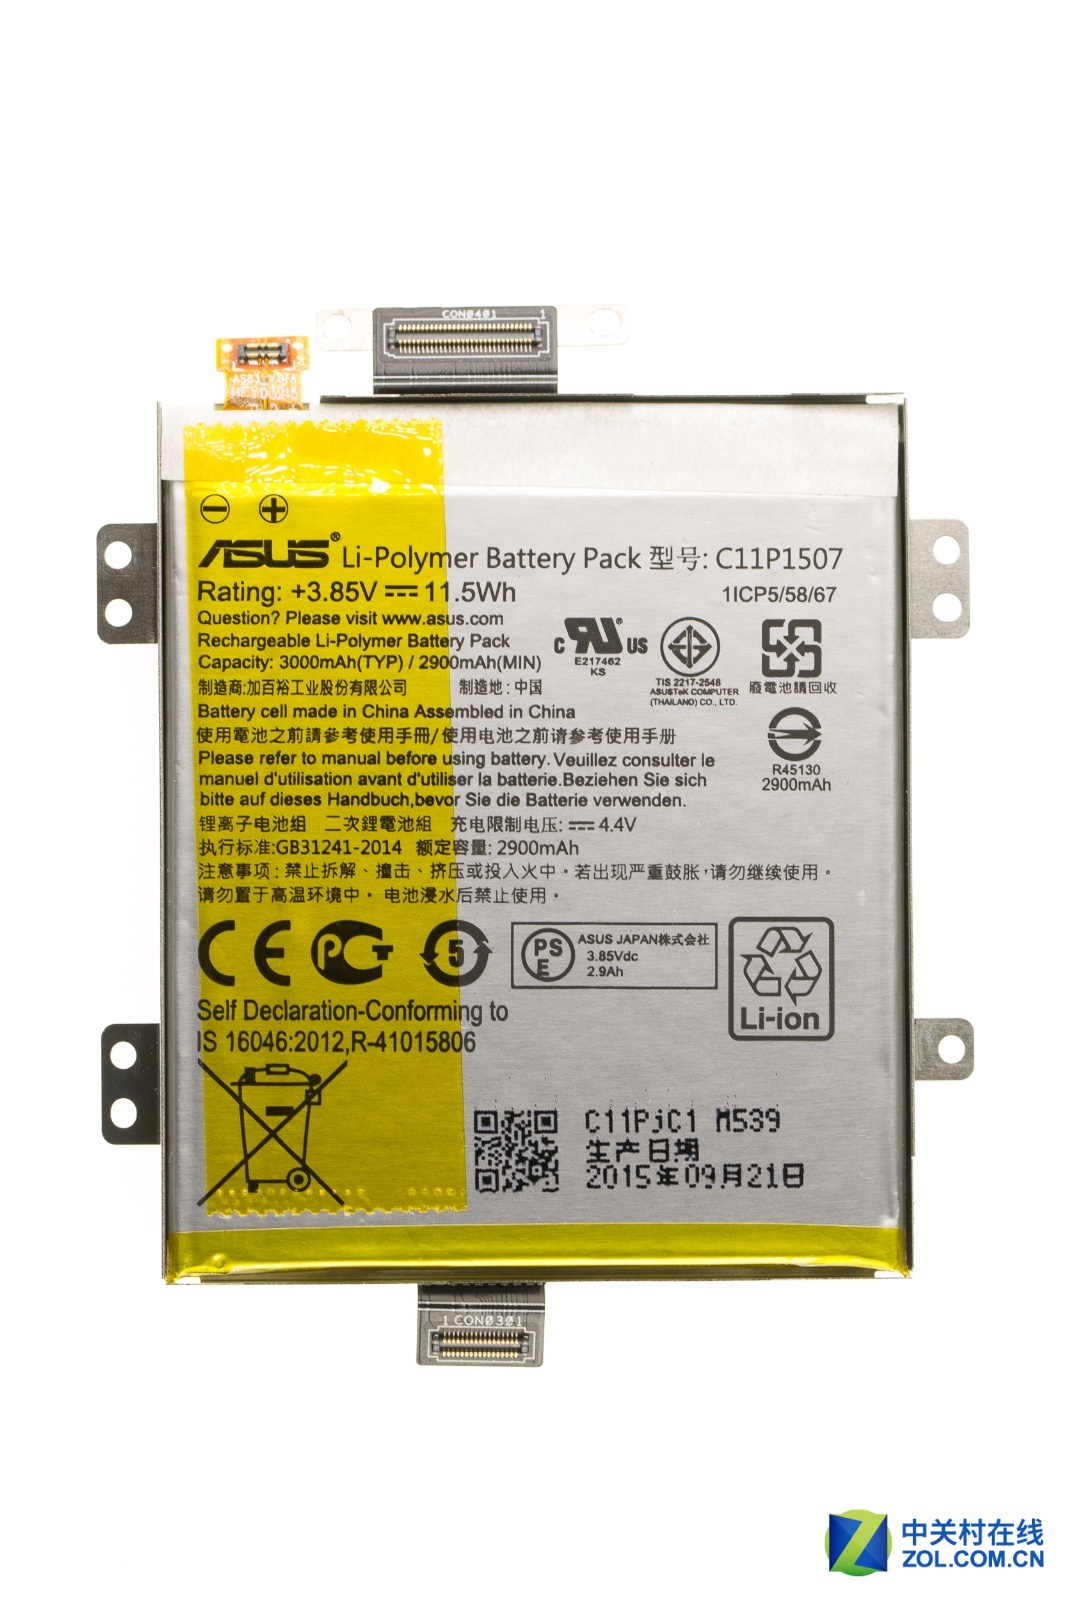
Just someone asked whether to replace the battery. The answer is yes. But first, you need to separate the metal shield from the battery, and installed it on the new battery.
Asus ZenFone Zoom comes with a 3.85V, 3000MAH, 11.5WH Li-polymer battery. Asus model: C11P1507.
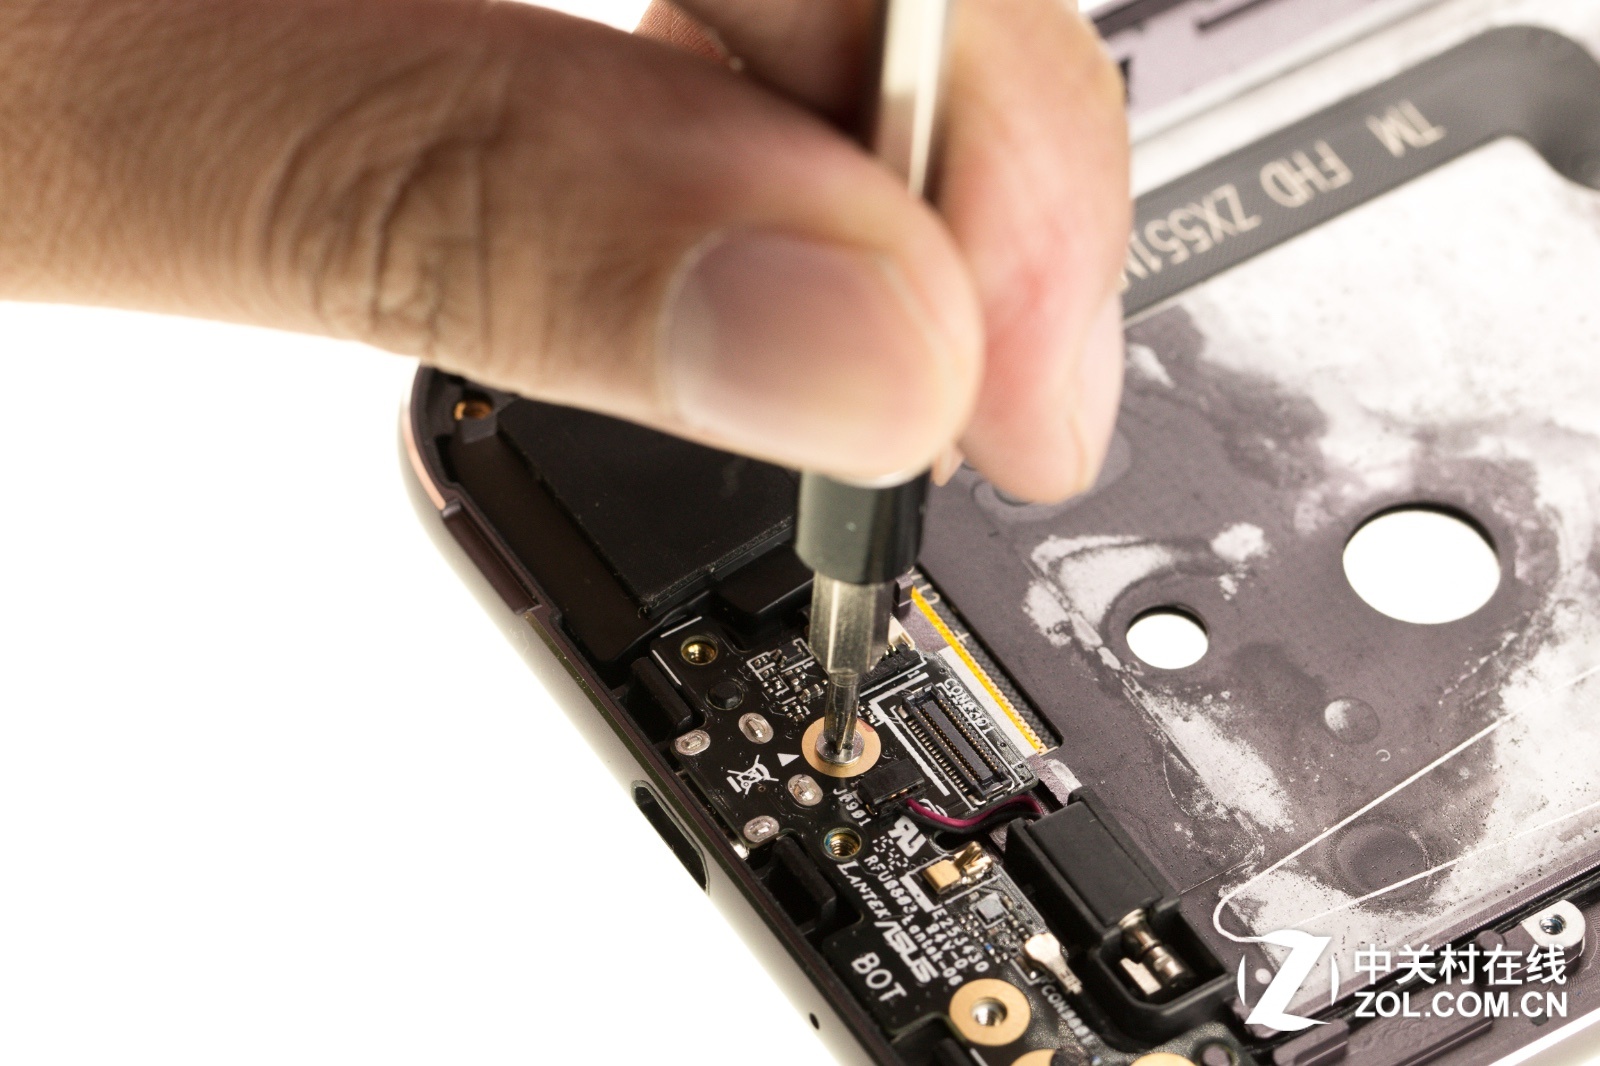
Remove all screws securing the PCB board.
Remove the vibrator.
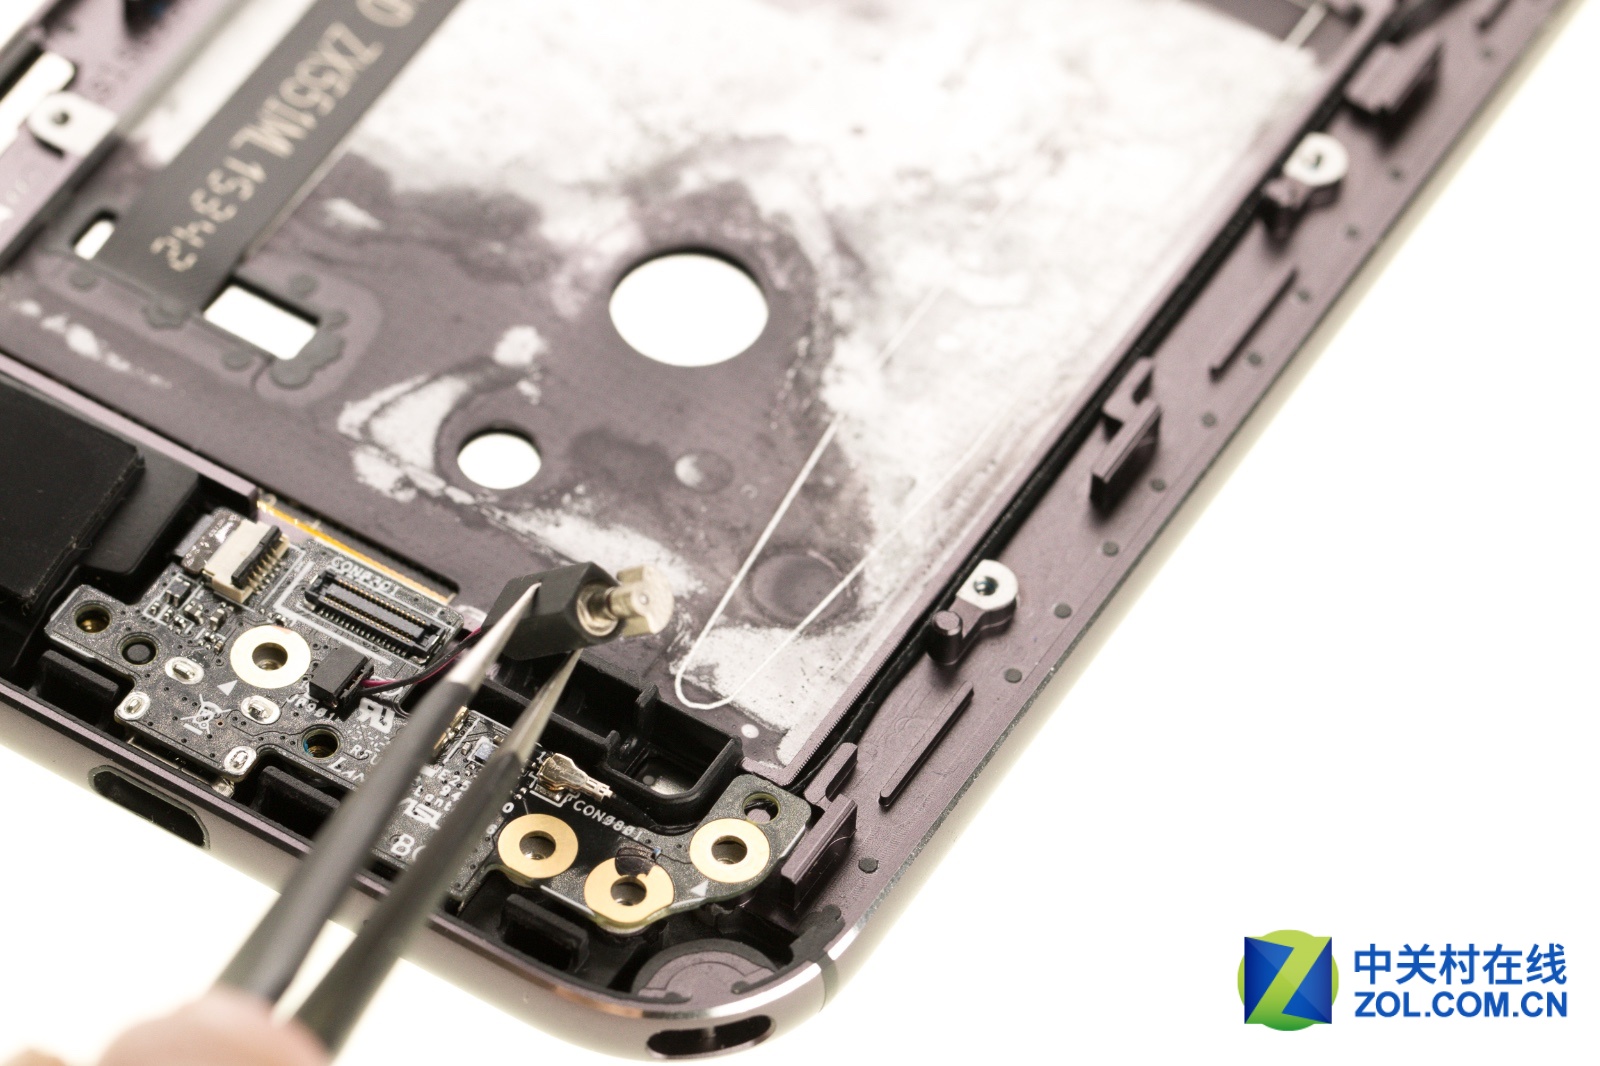
Disconnect the cable from the PCB board.
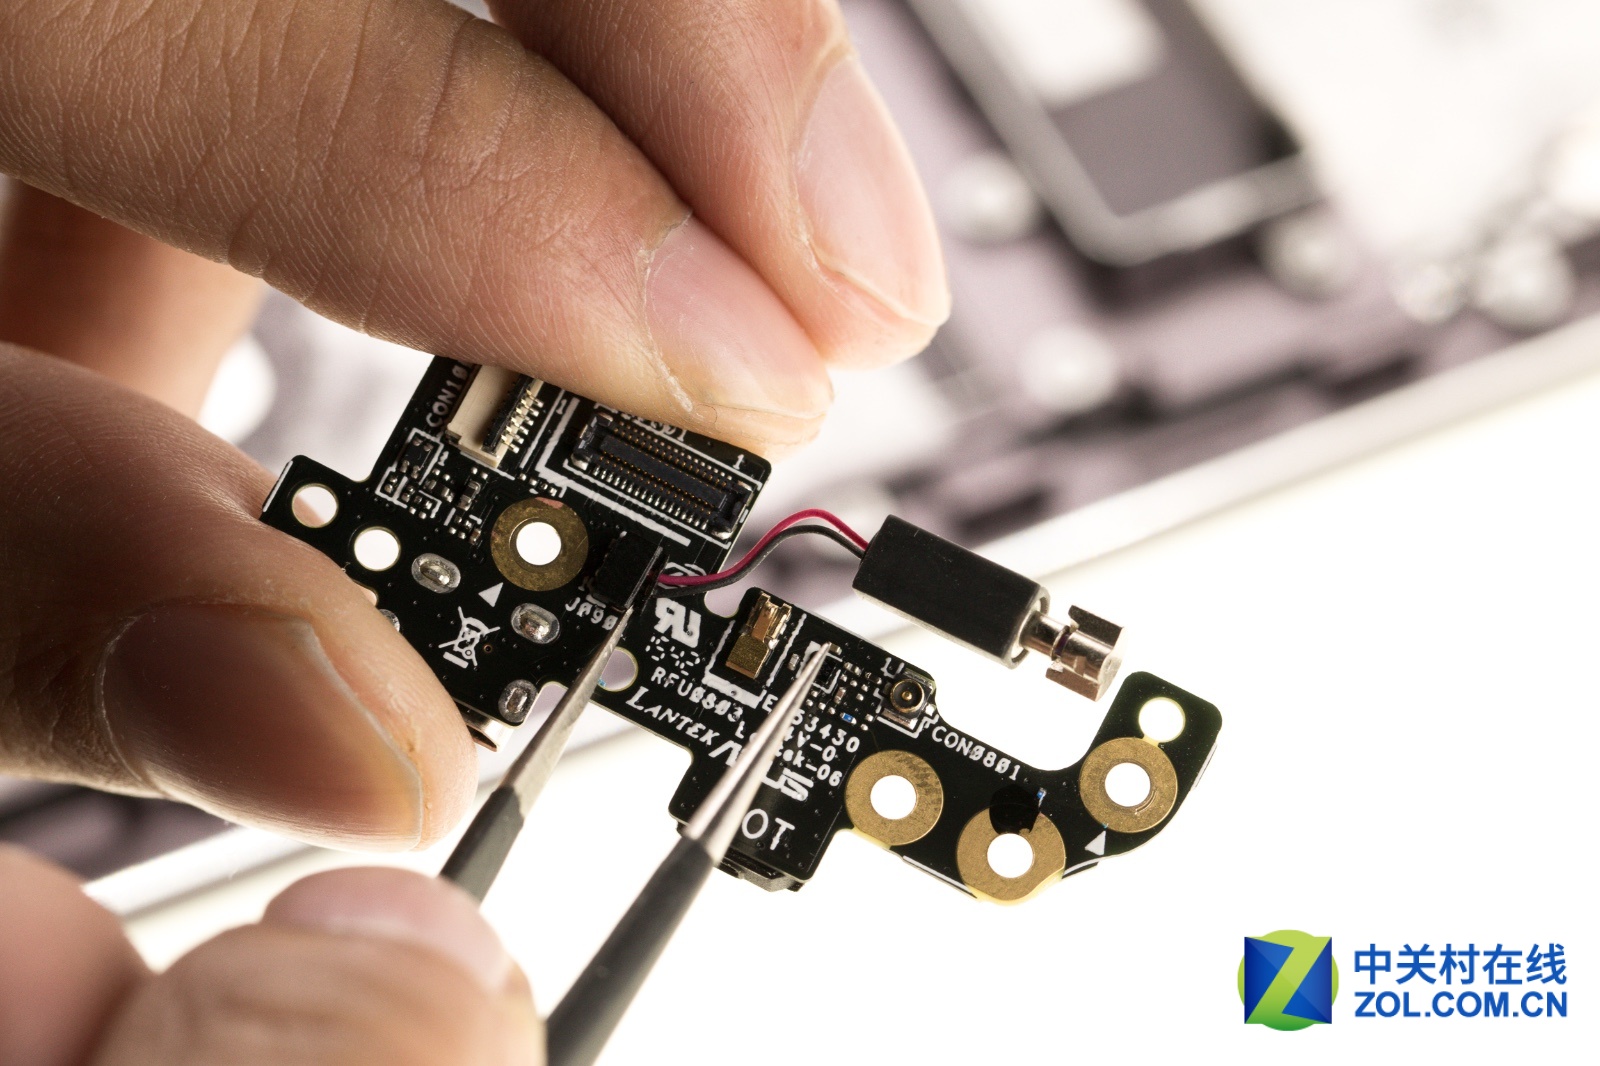
PCB board


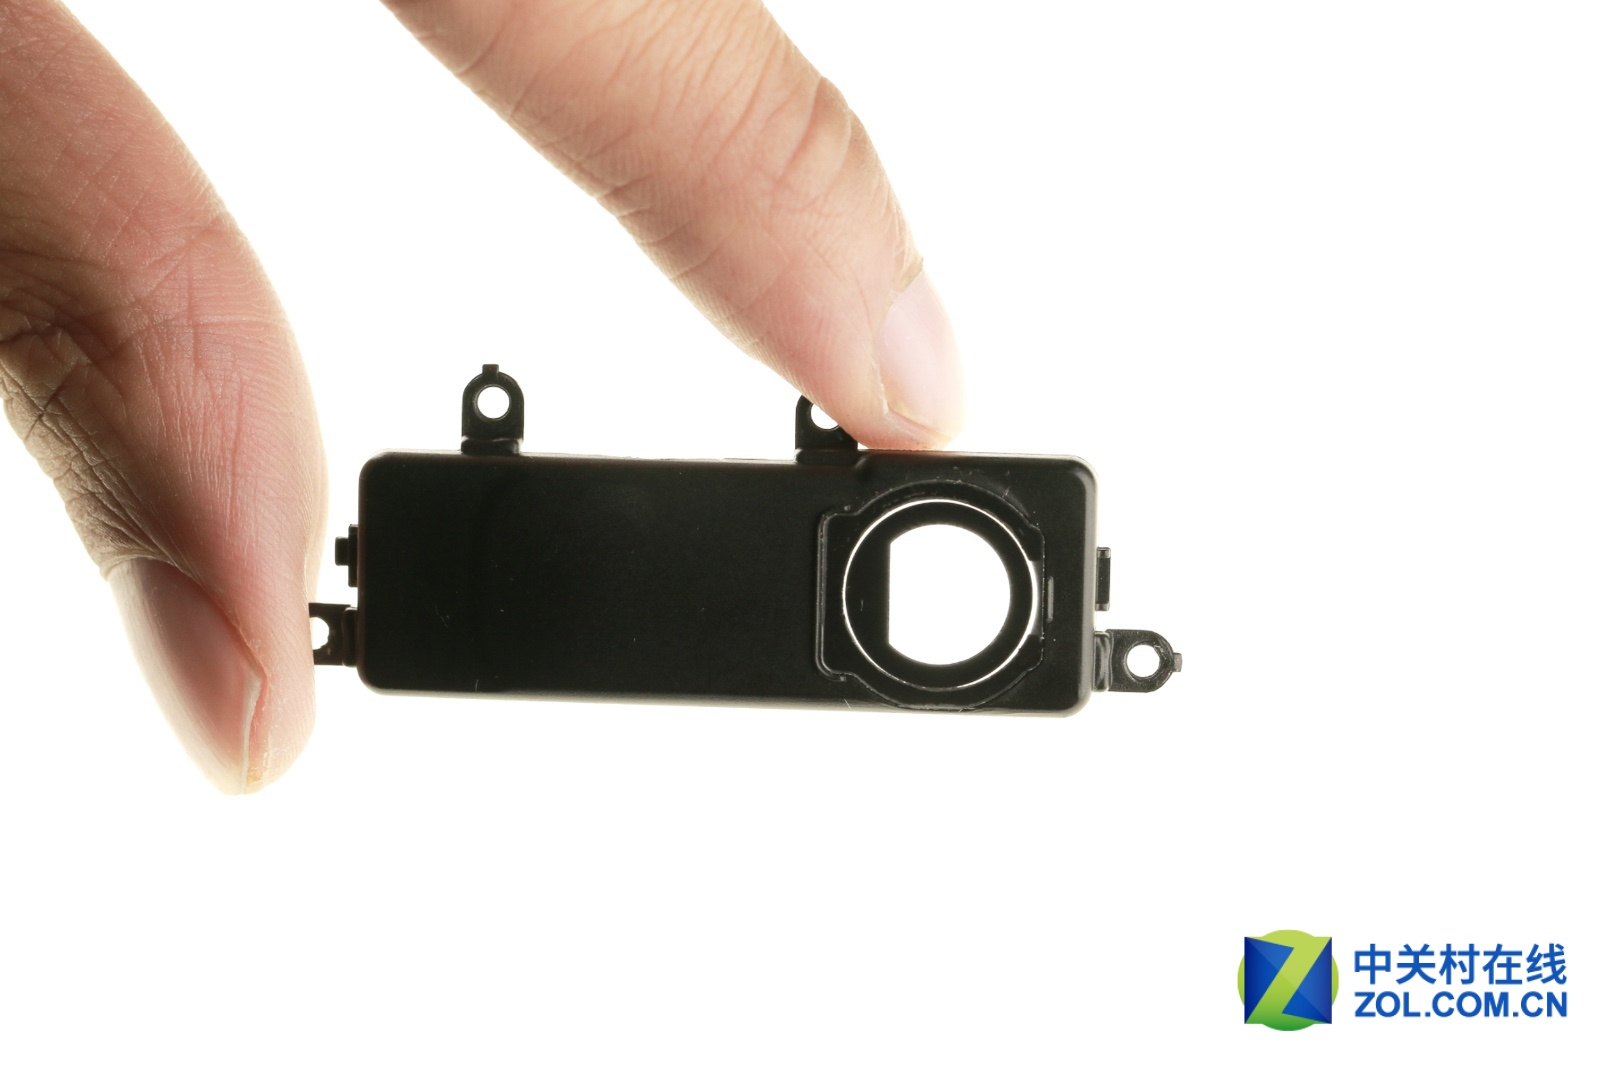
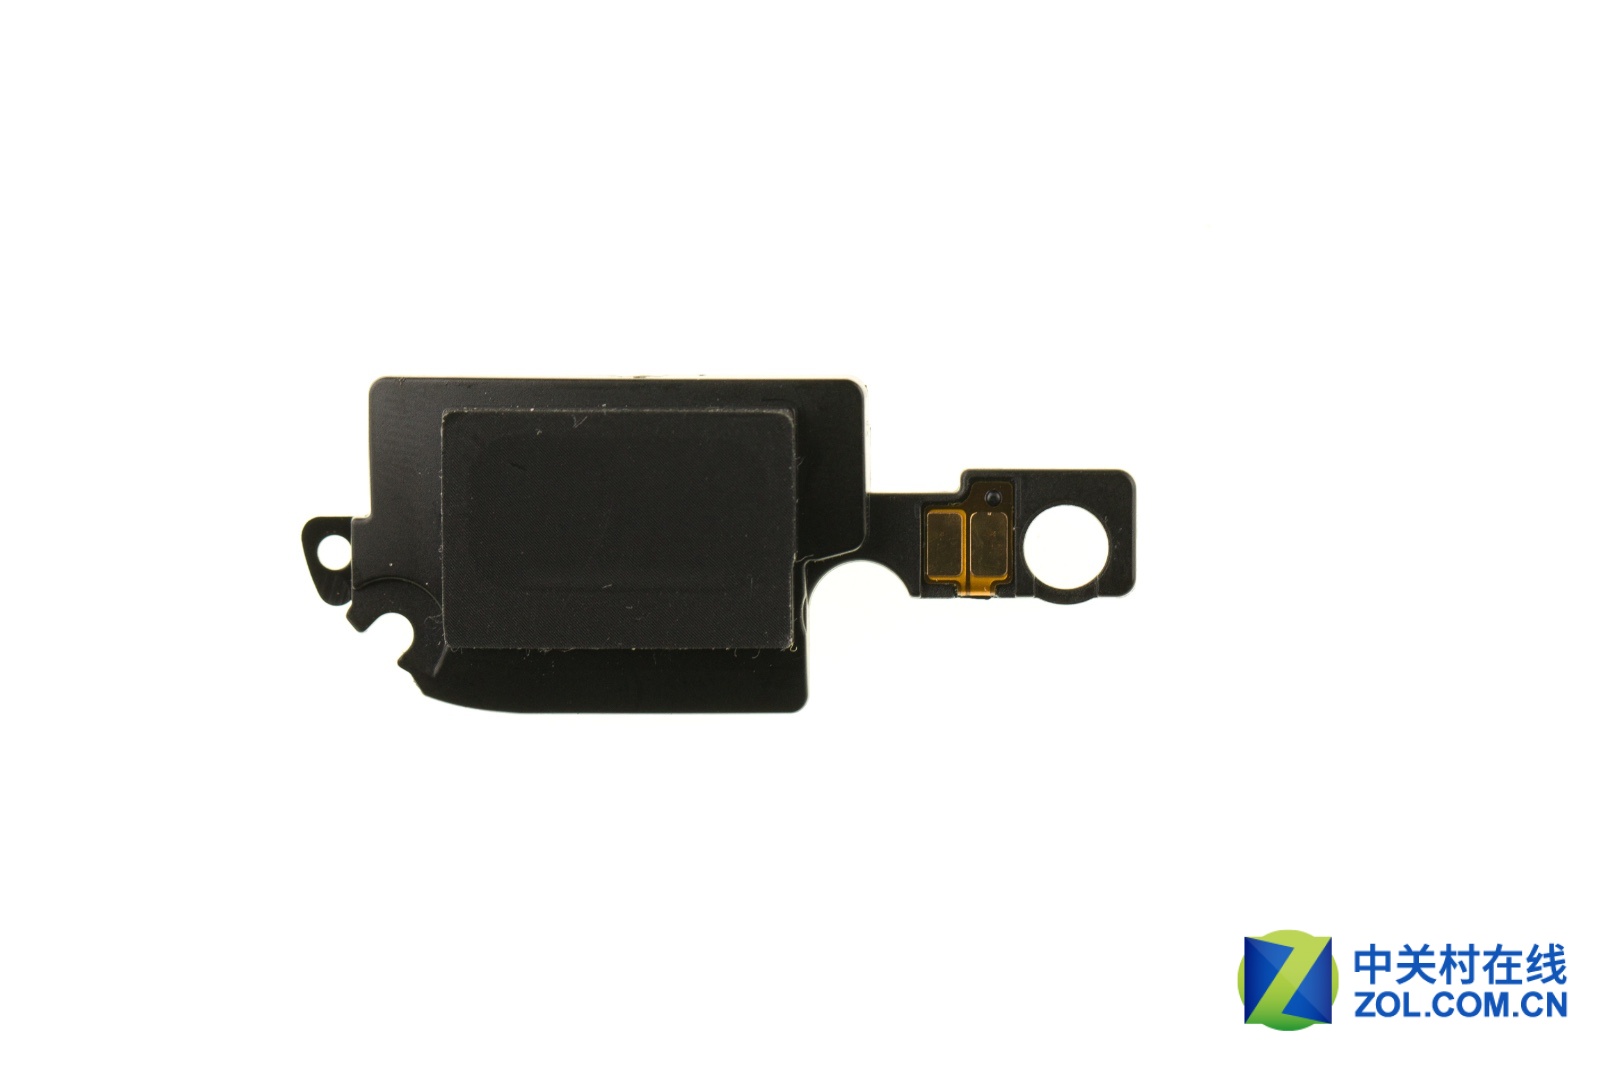
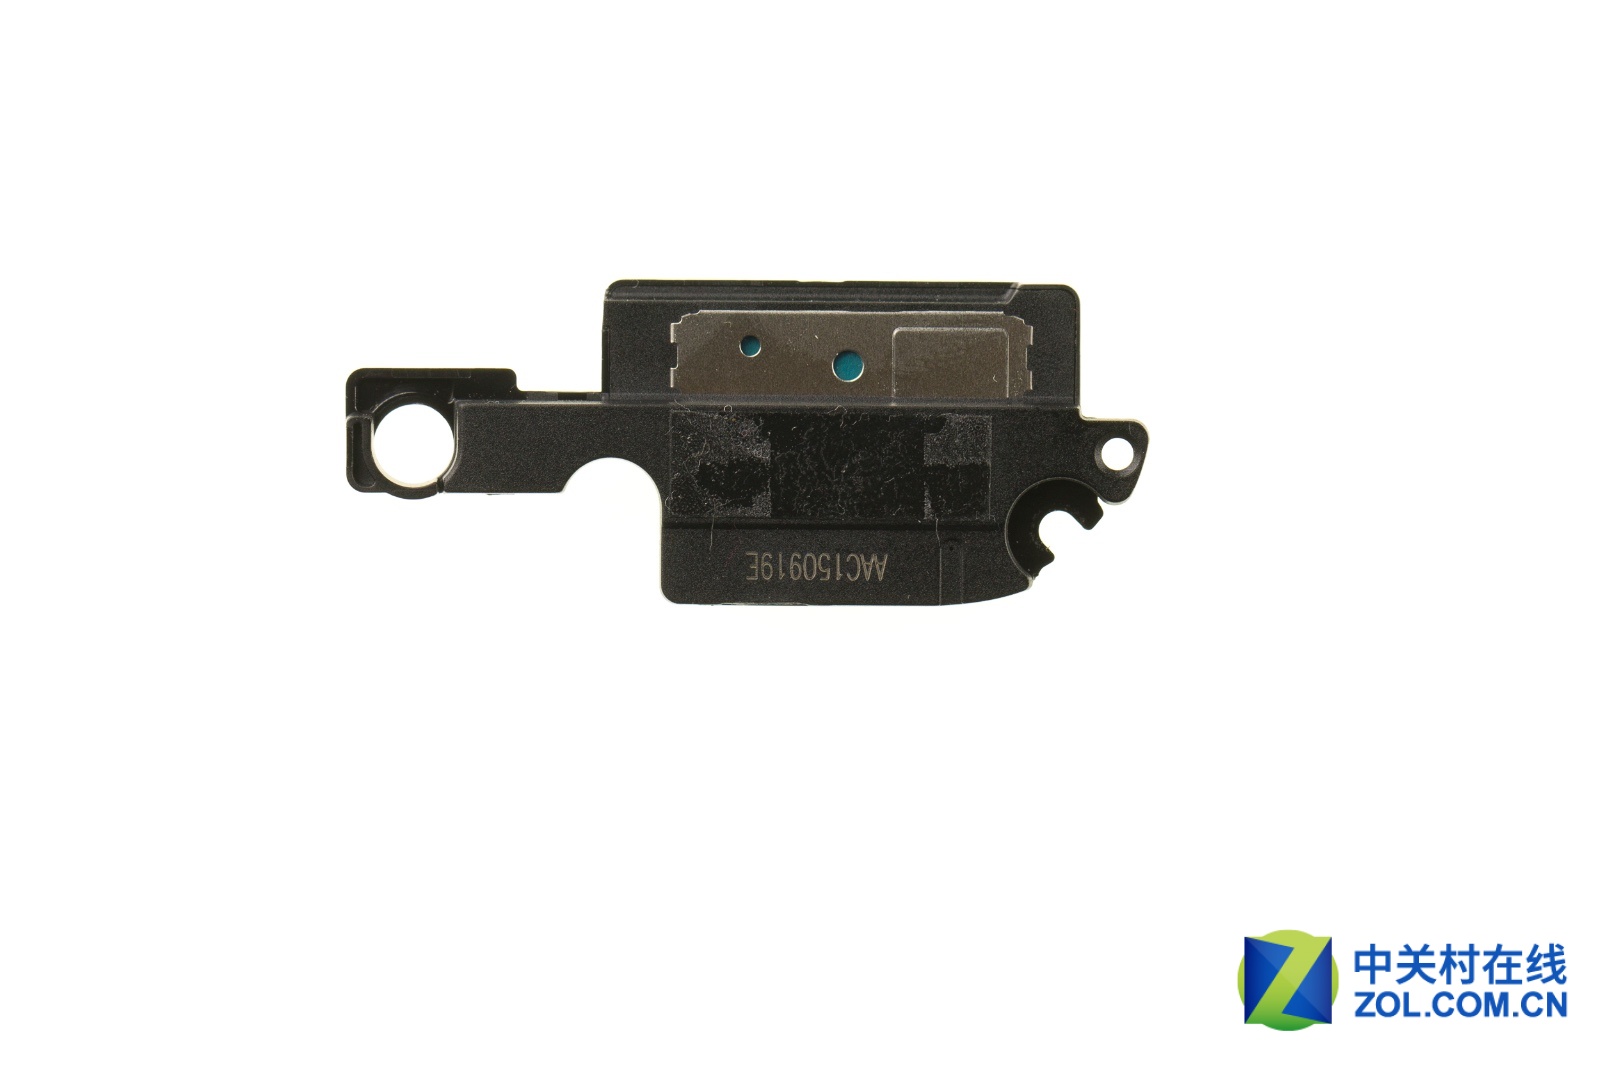
Remove the speaker.
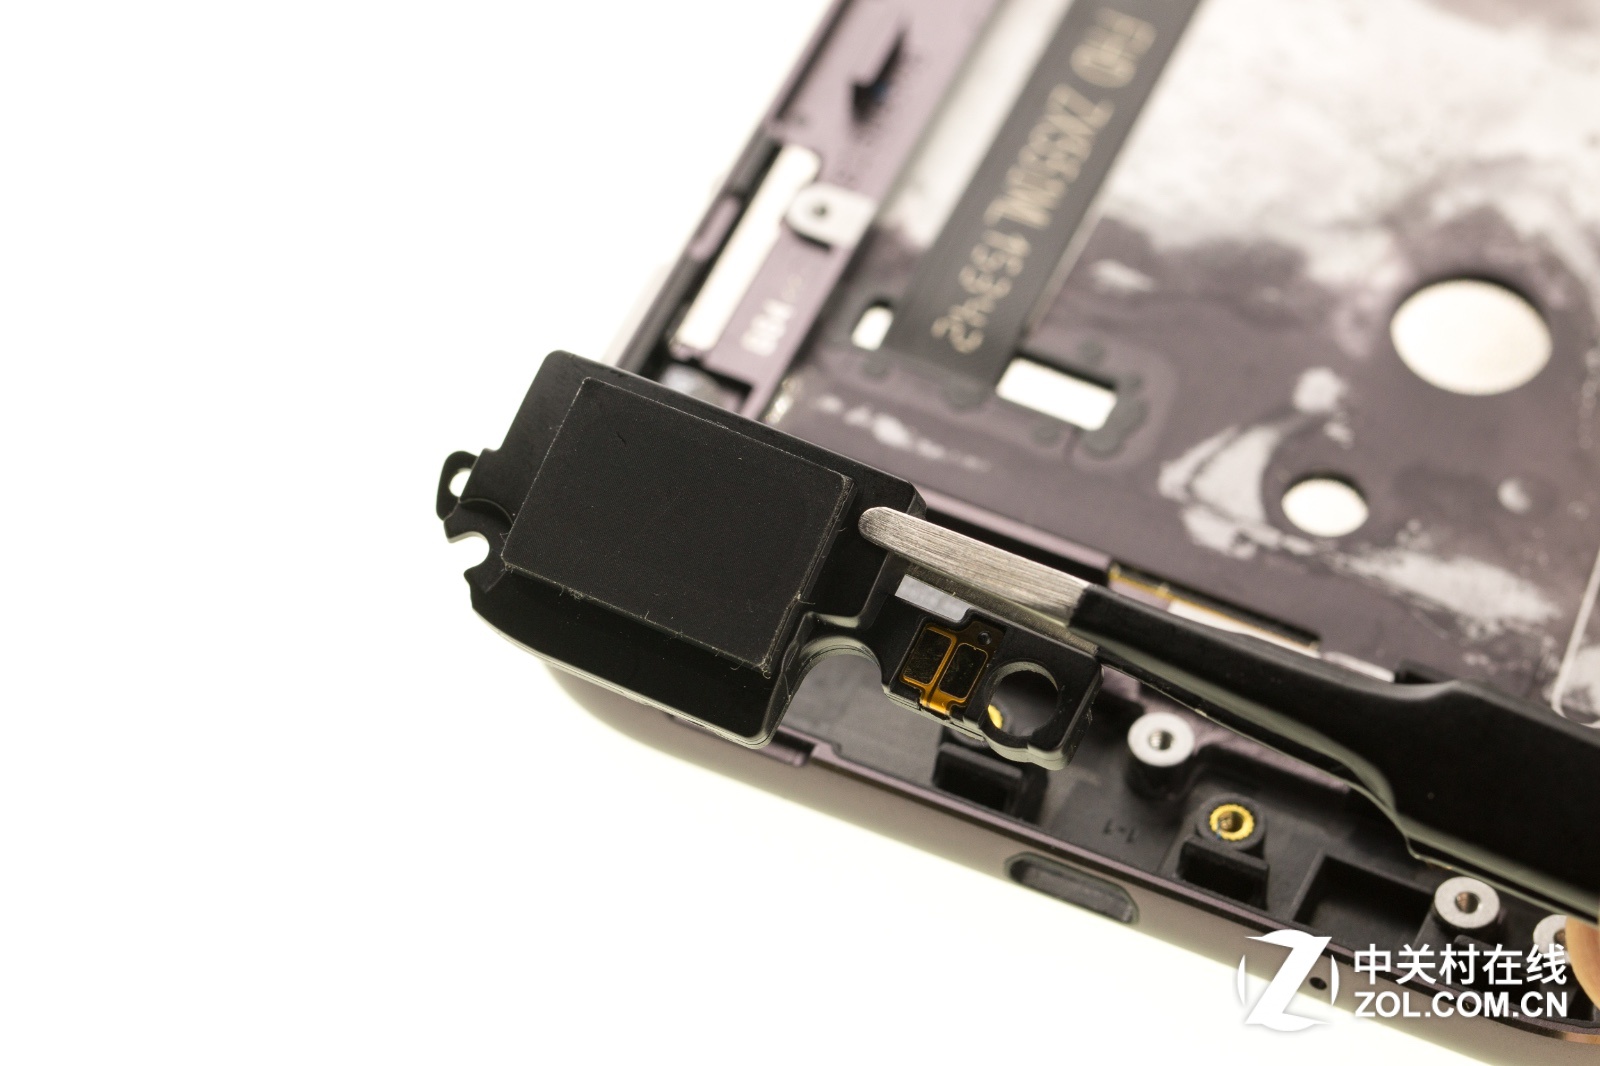
Asus ZenFone Zoom’s speaker module
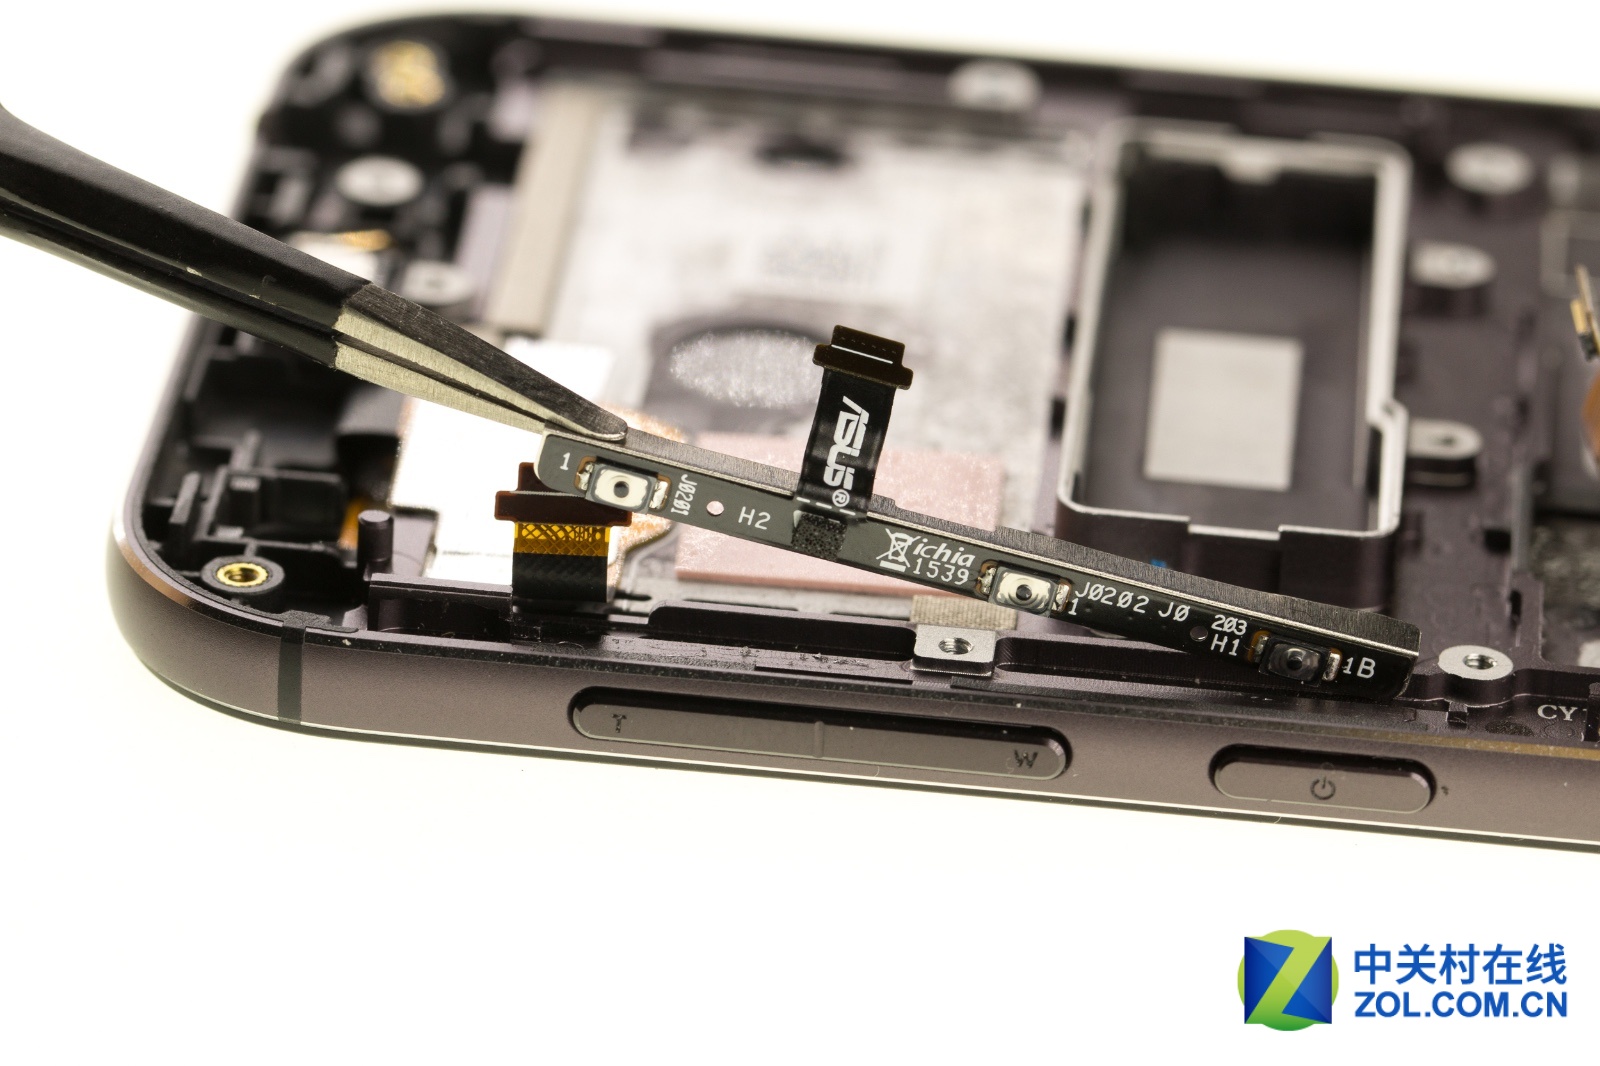
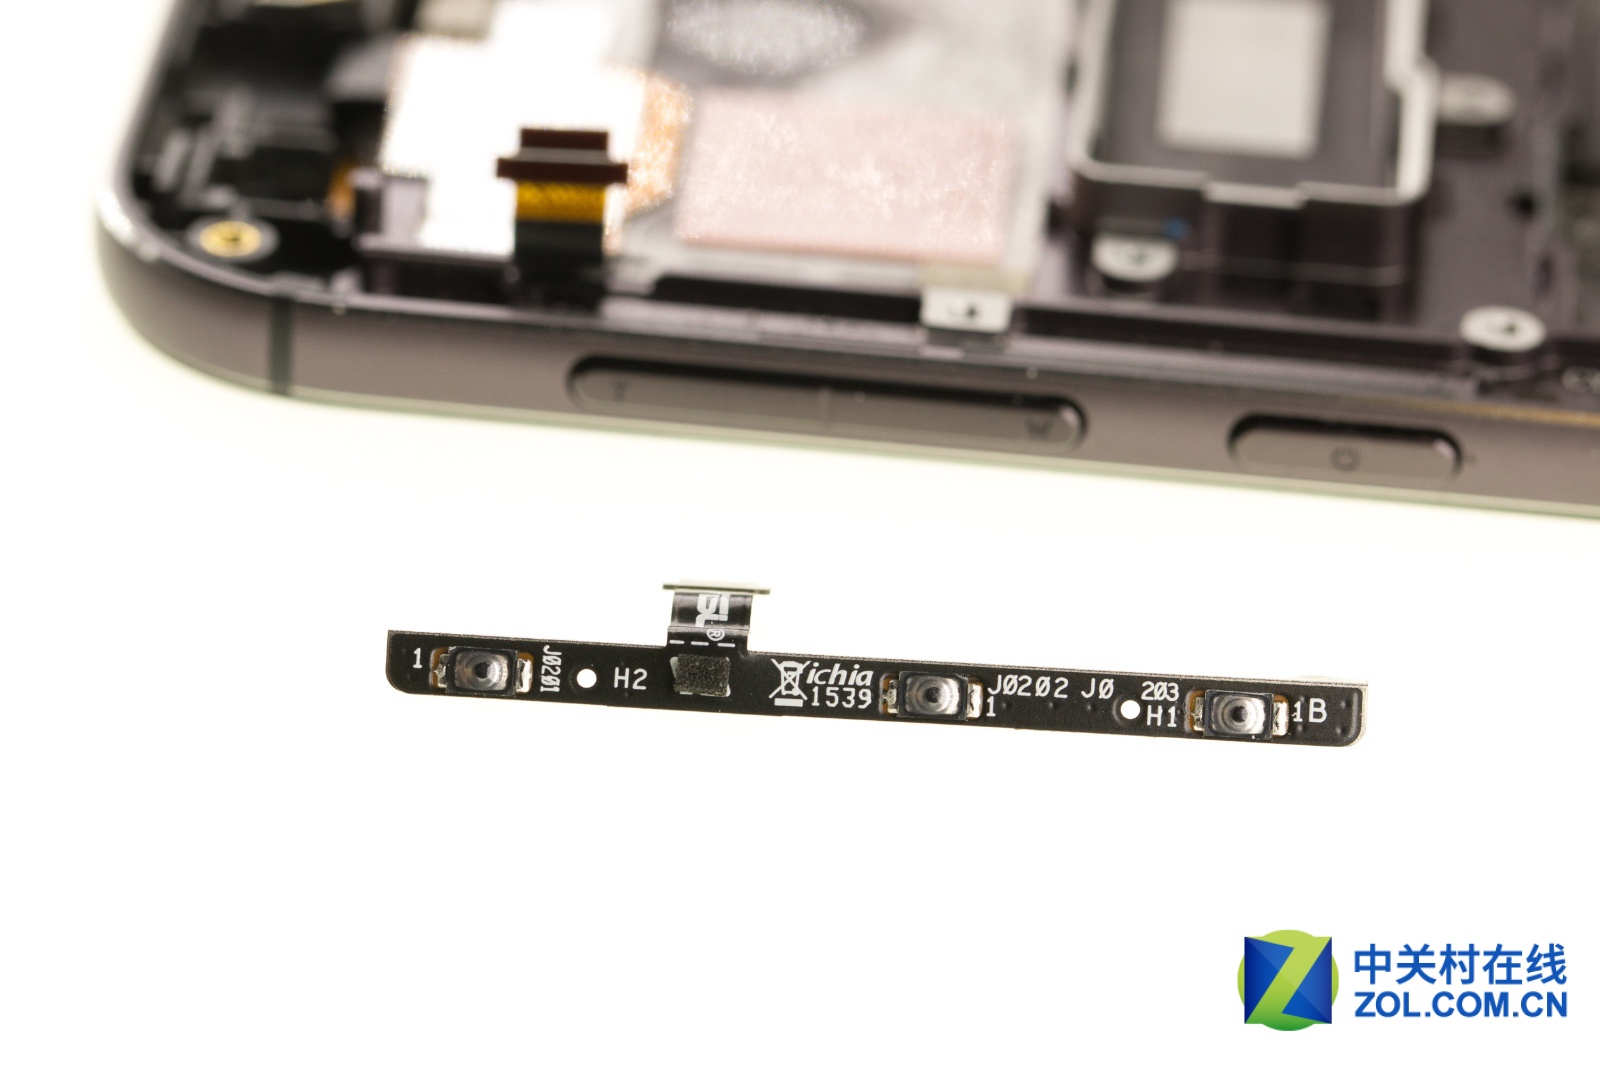
Remove button module.
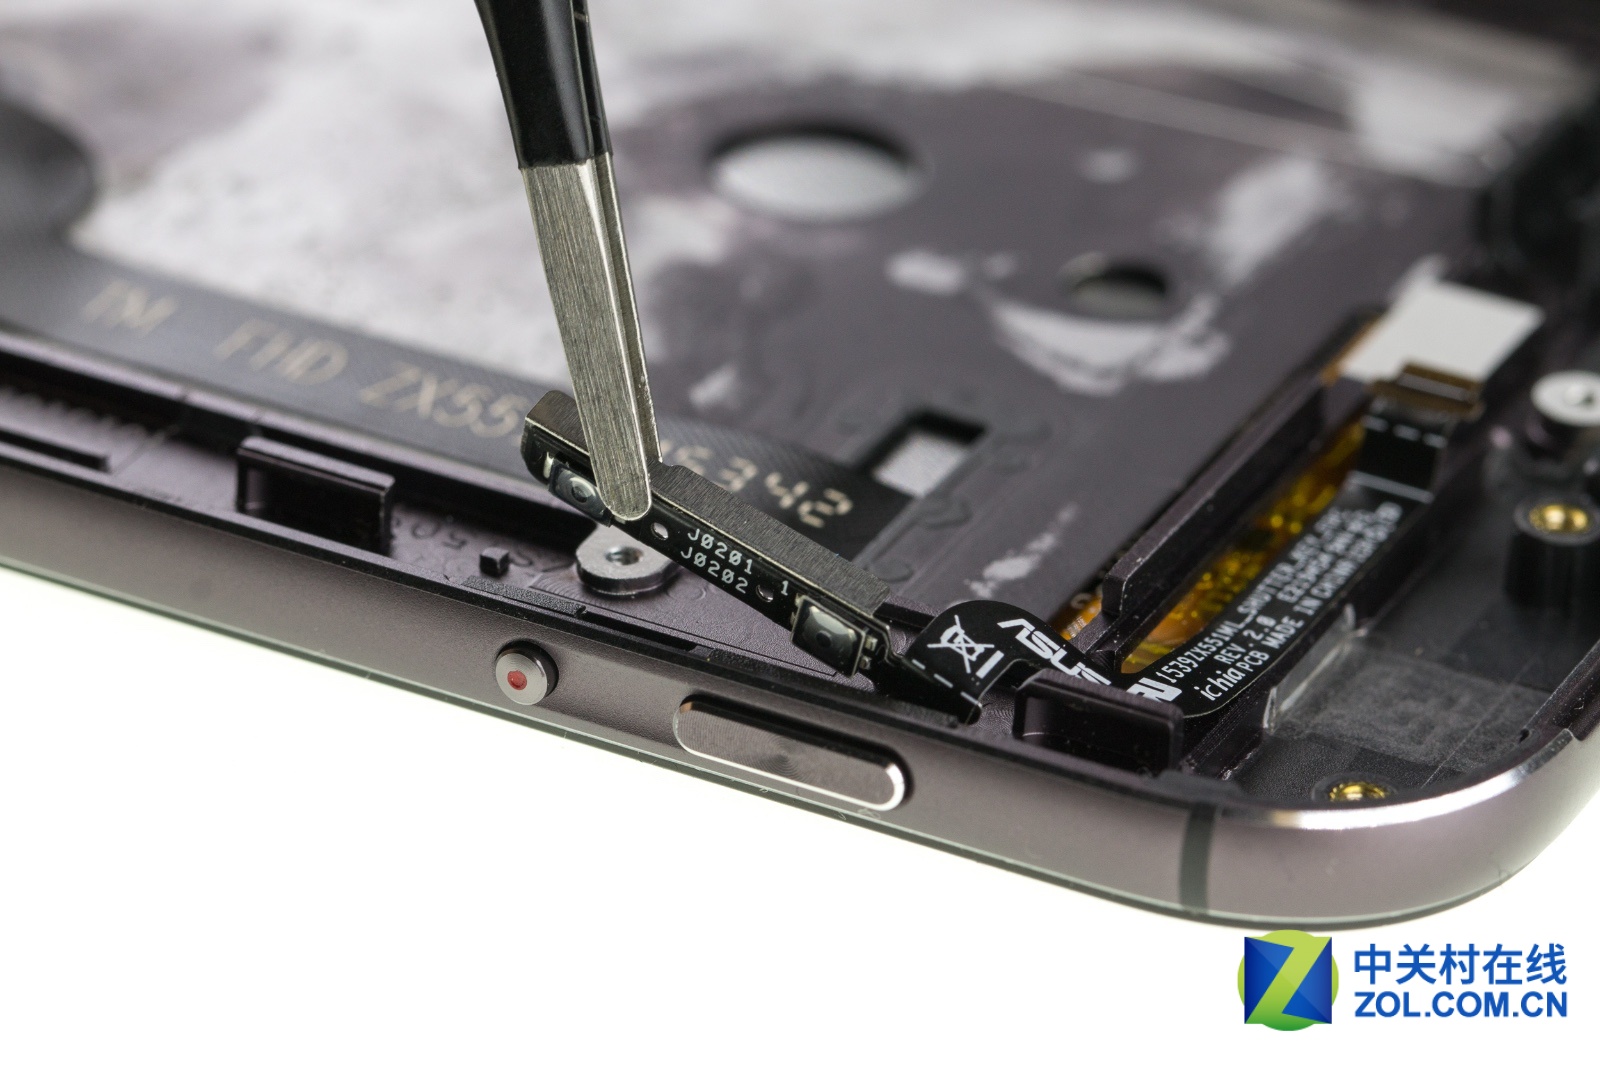
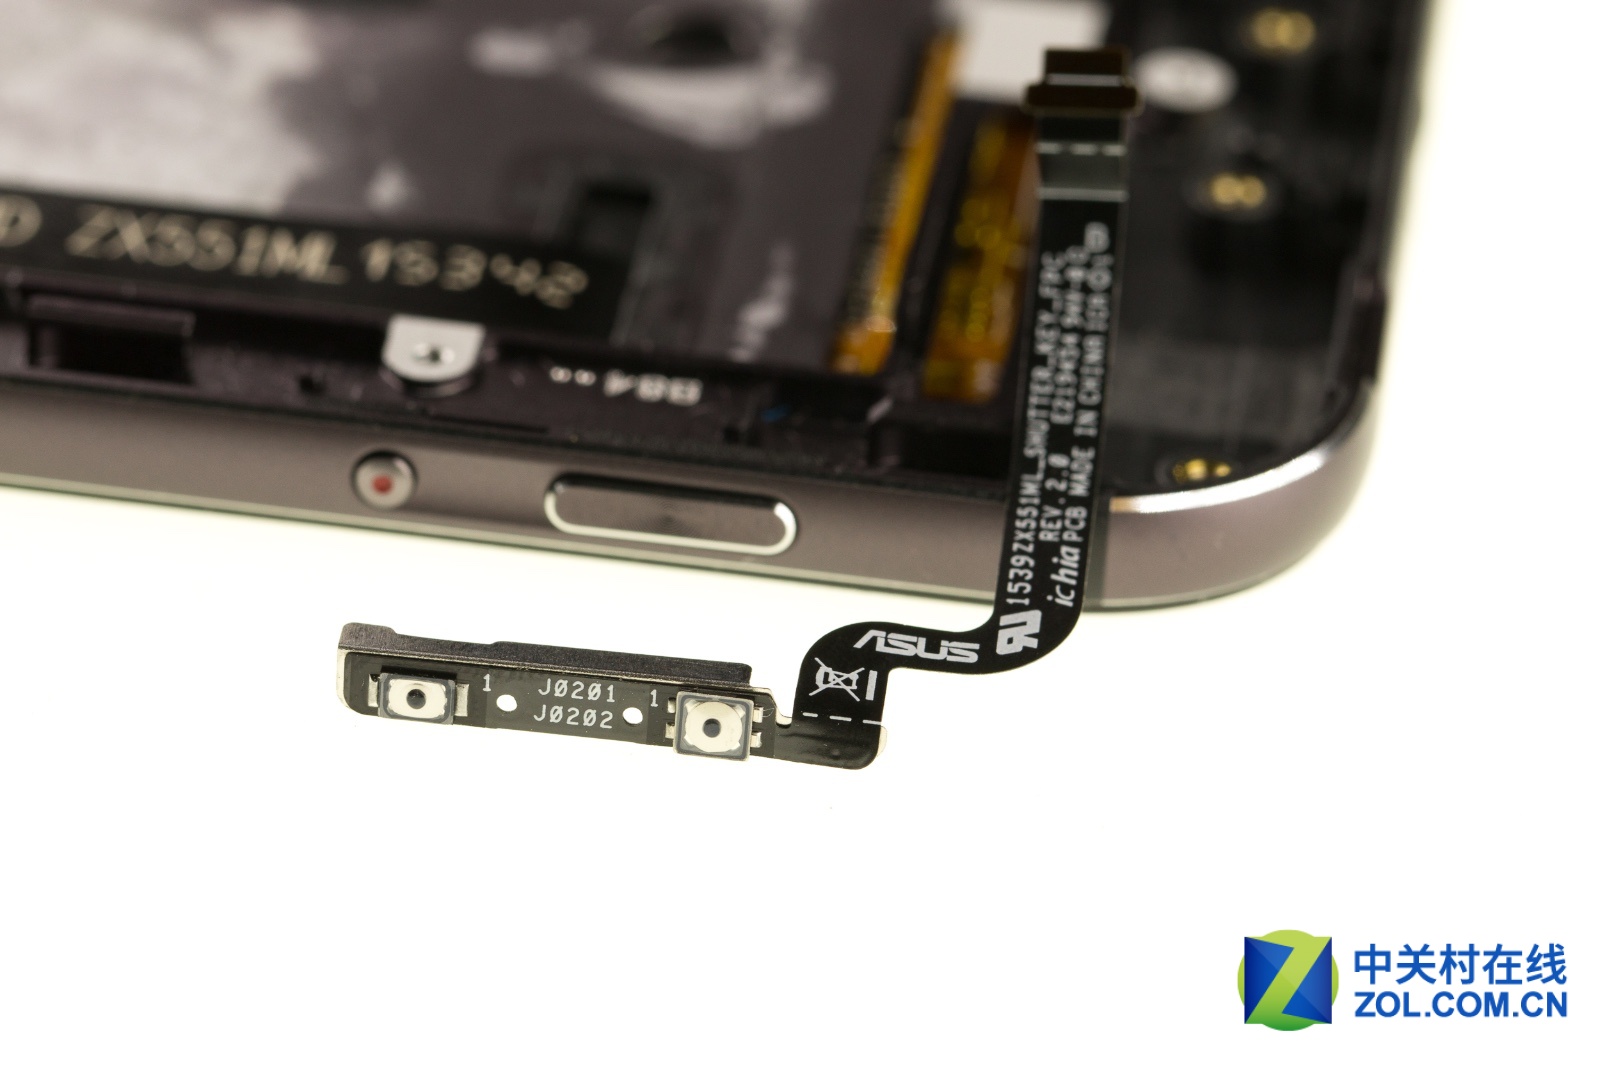
Remove the volume, power button.
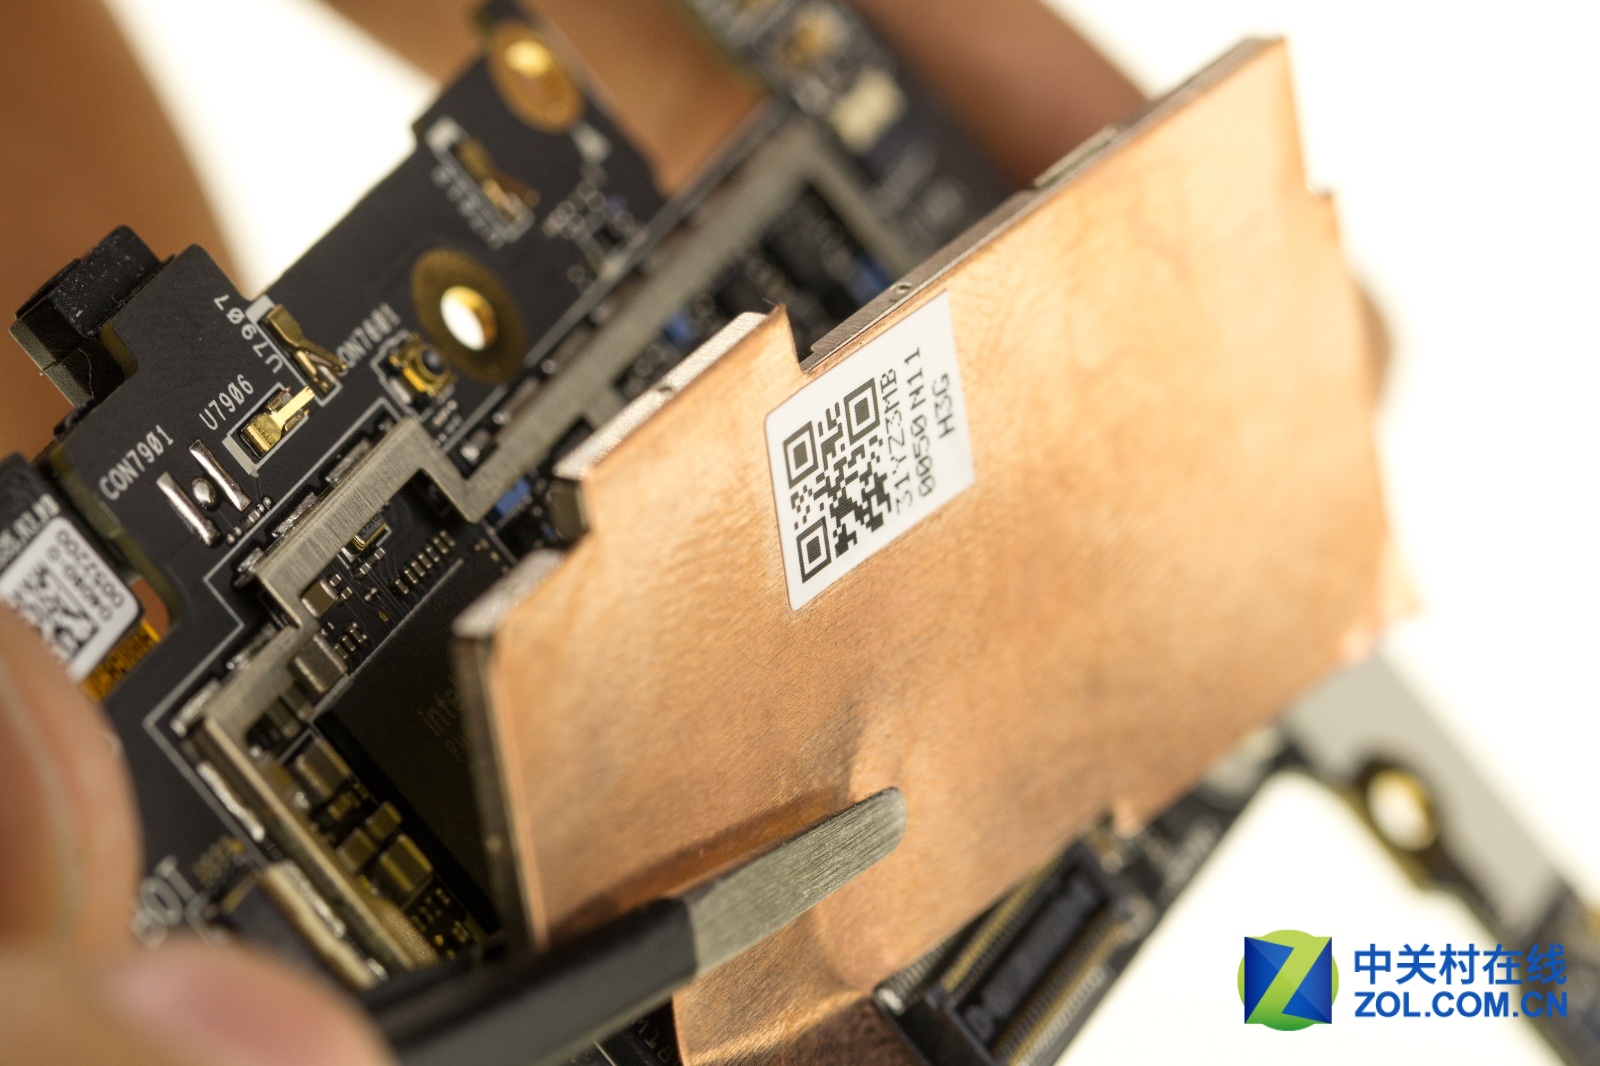
Remove the metal shield on the motherboard.

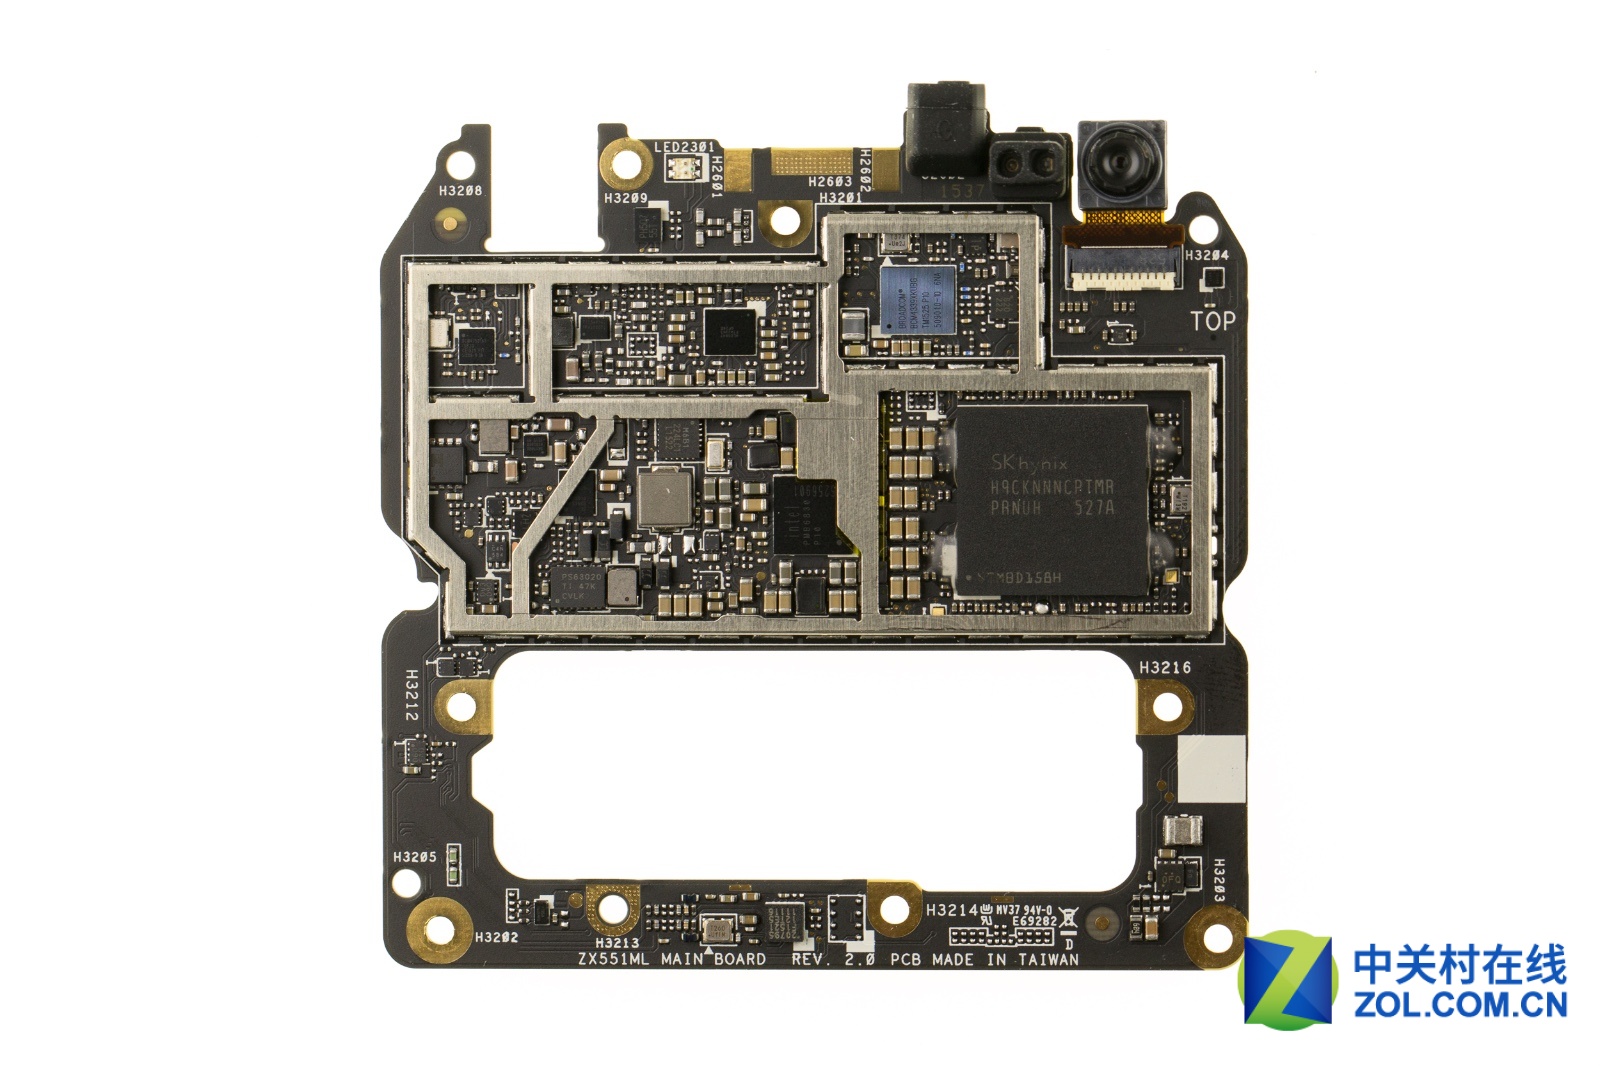
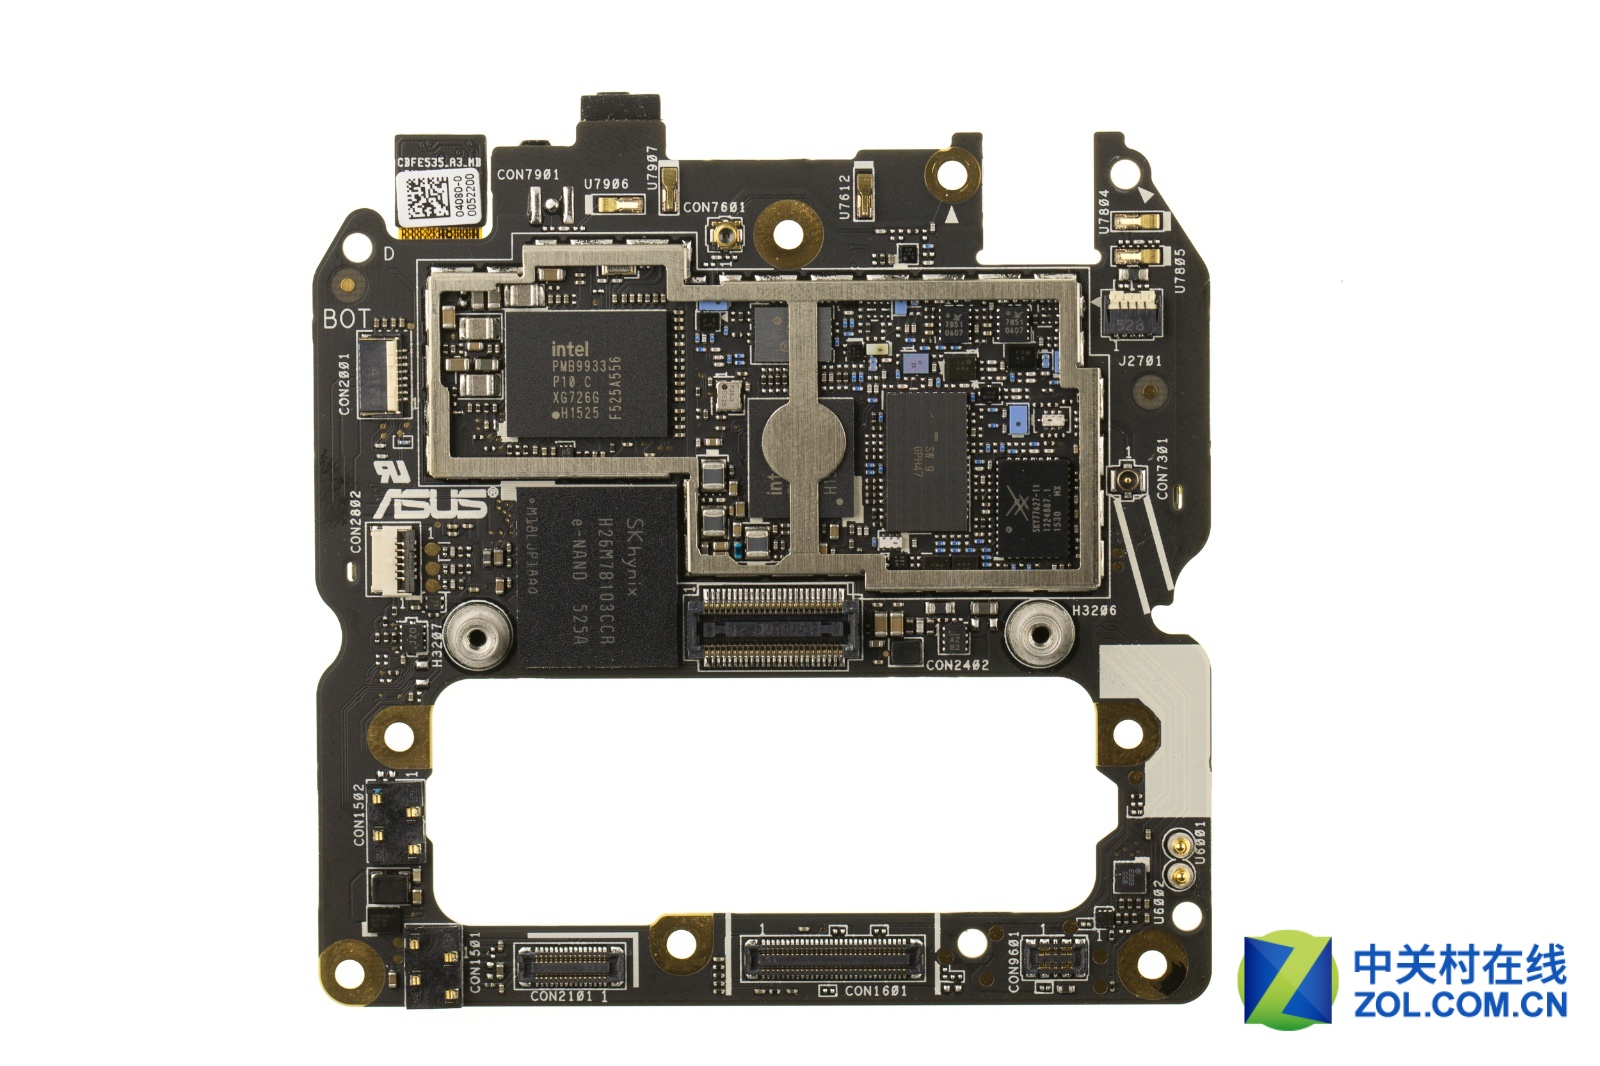
SKhynix RAM H26M78103CCR 64GB EMMC IC chip
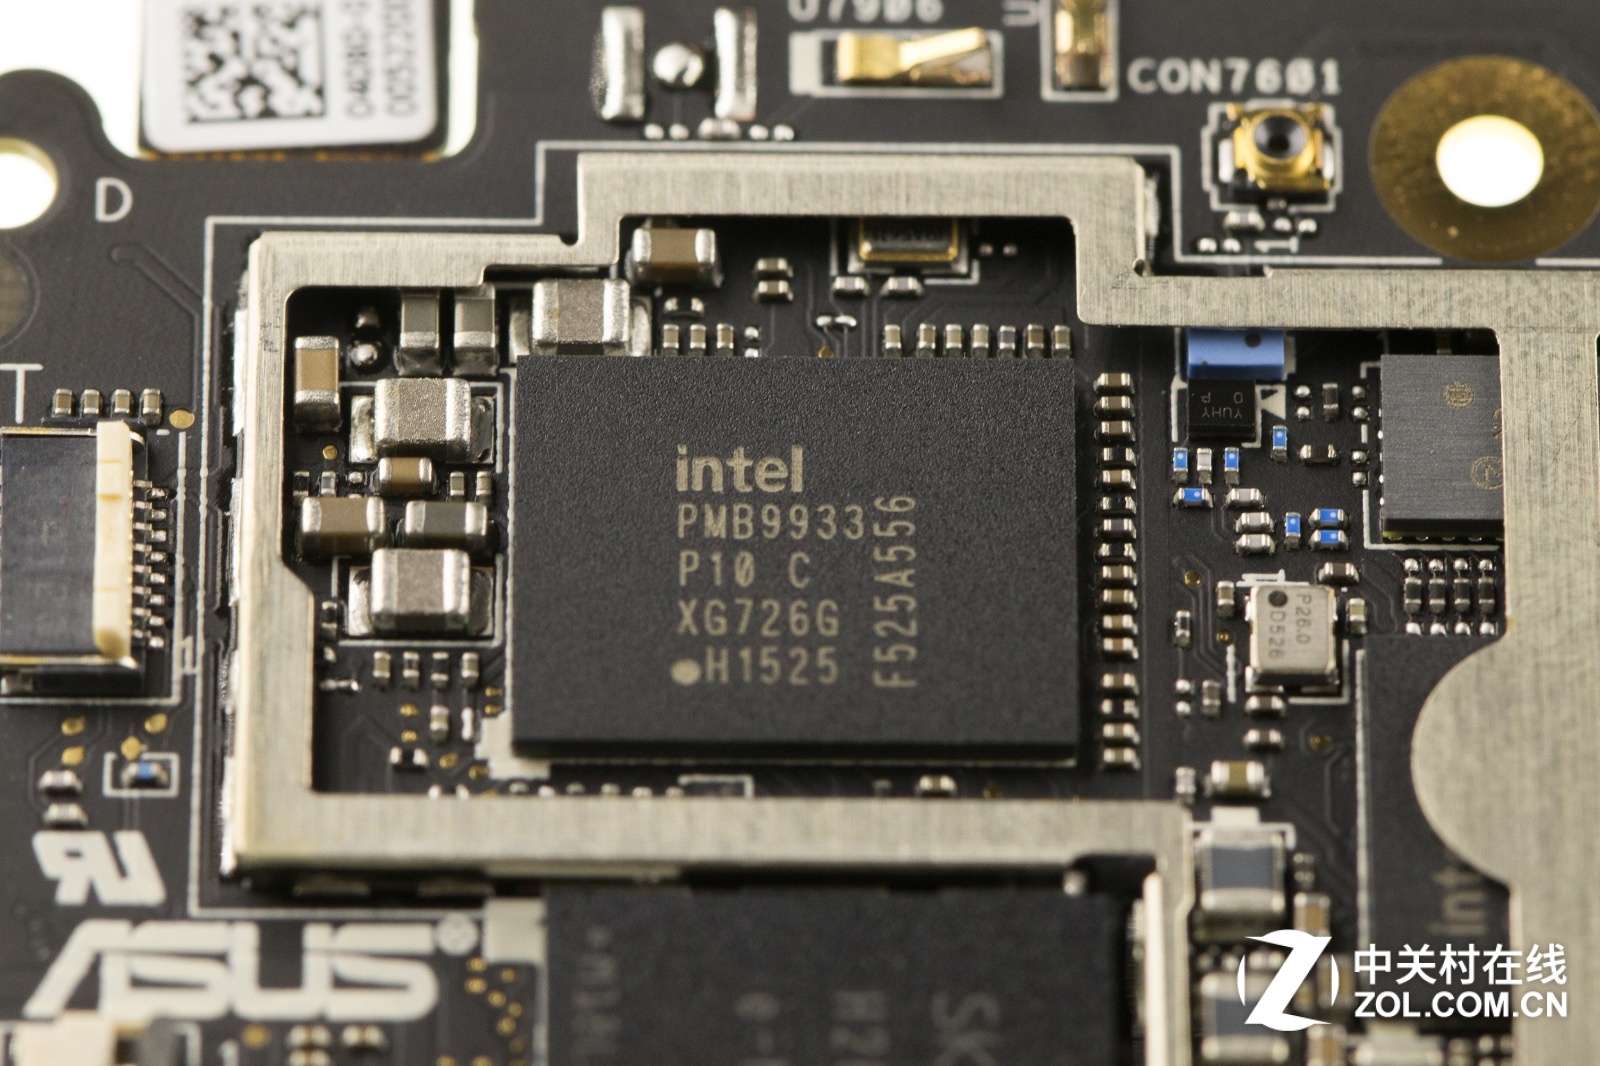
Intel PMB9933 P10 C XG726G 4G Baseband Processor

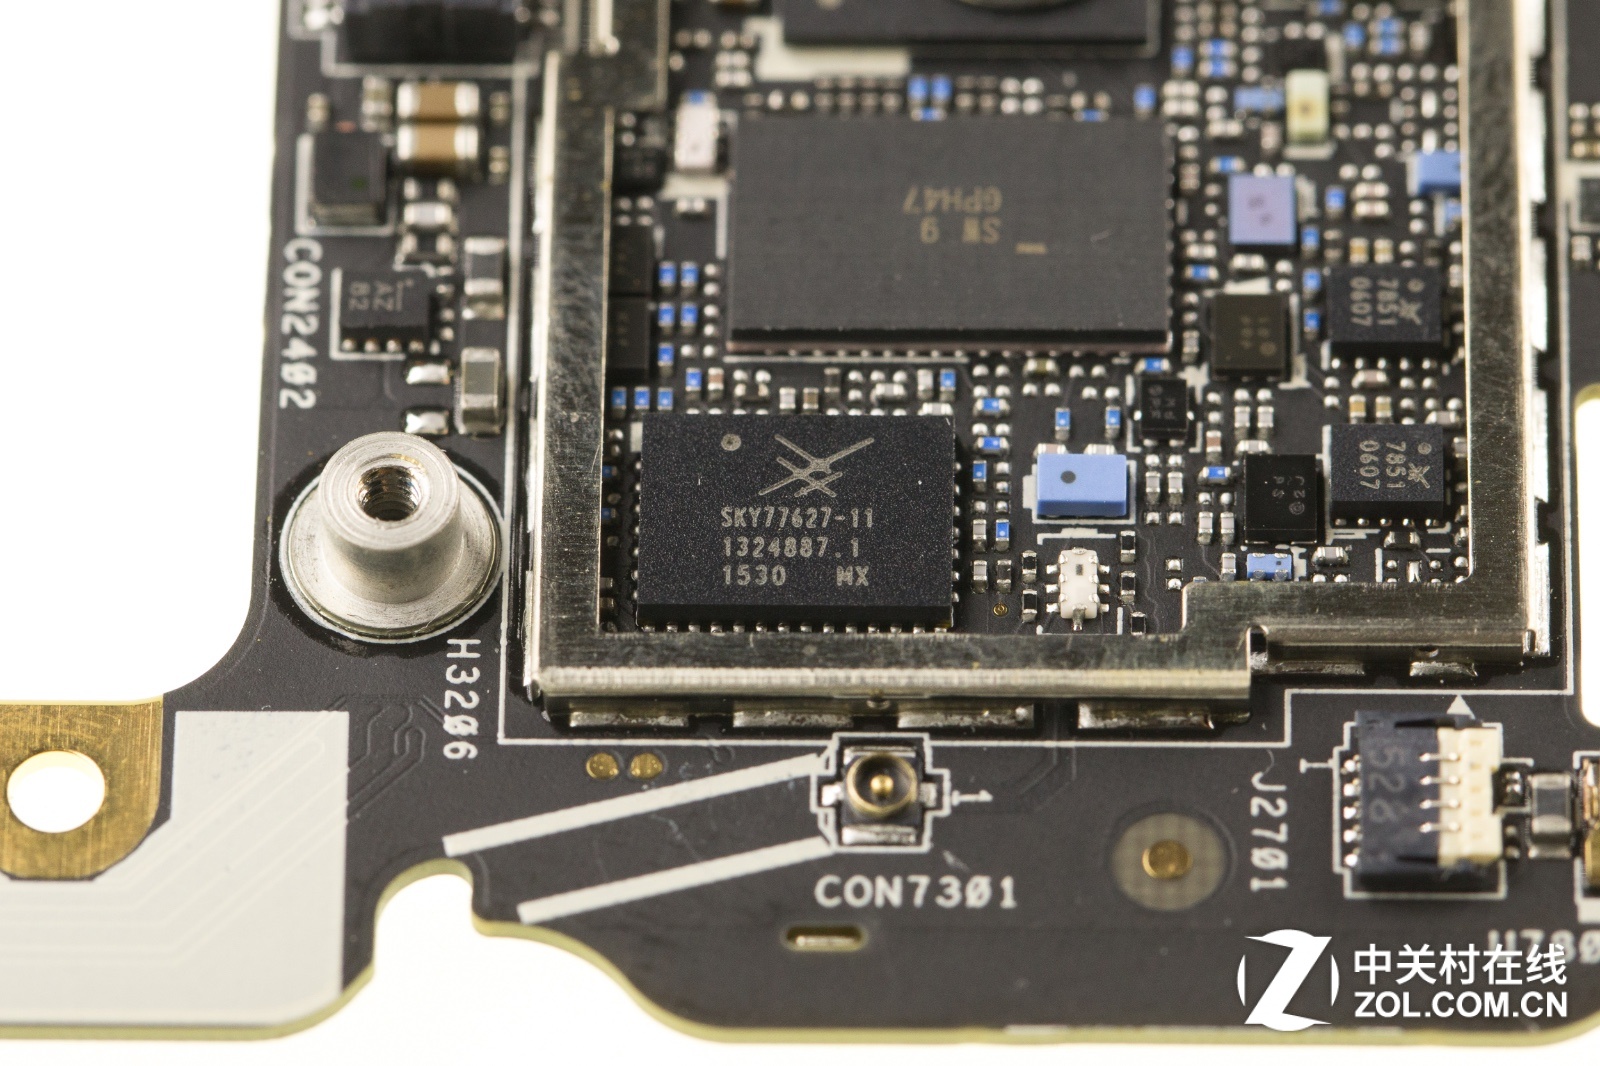
SKY77627-11, multimode multiband Power Amplifier Module
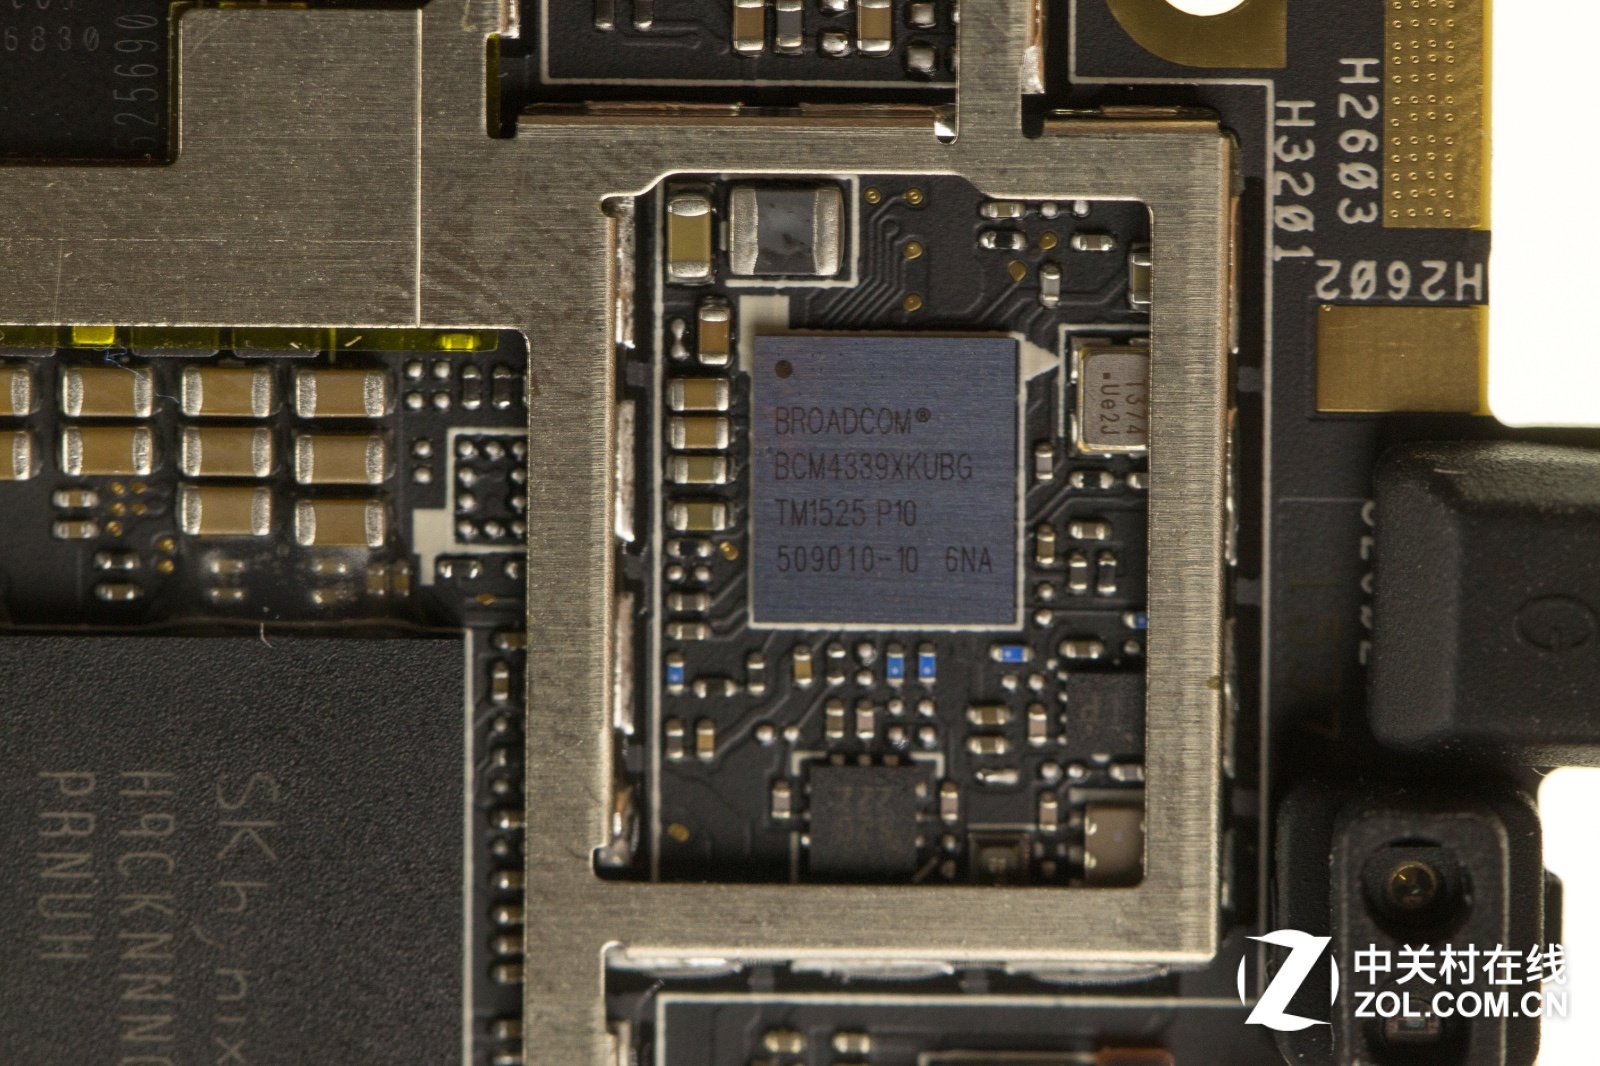
Broadcom BCM4339XKUBG M1525 P10 Wi-Fi, Bluetooth, FM module
Intel PMB6830 P10 Power Management Chip

For more guides, check out the Asus ZenFone Zoom device page.
Source: zol.com.cn