
Dell LaptopDell Latitude 3440
Dell Latitude 3440 disassembly and RAM, HDD upgrade options
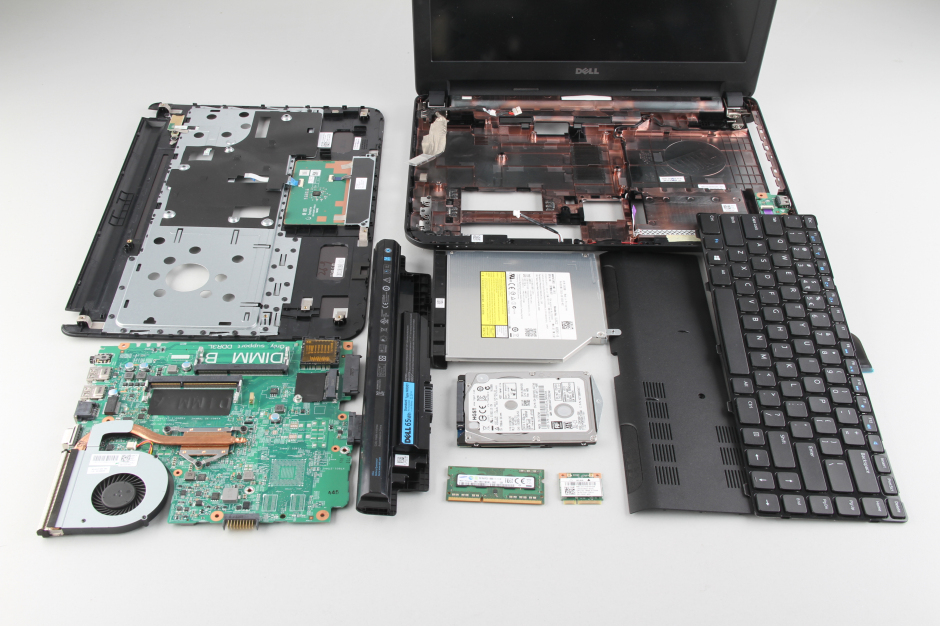
In this guide, you will learn how to disassemble Dell Latitude 3440 to remove and replace the keyboard, DVD drive, hard drive, RAM, palm rest, speakers, wireless card, cooling fan, bottom case, and motherboard. Refer to this guide. You can upgrade, repair and clean your Latitude 3440.
Want to be the first to see inside of the latest smartphone and laptop? Follow us on Facebook for the latest teardown news.
Unlock and remove the battery.
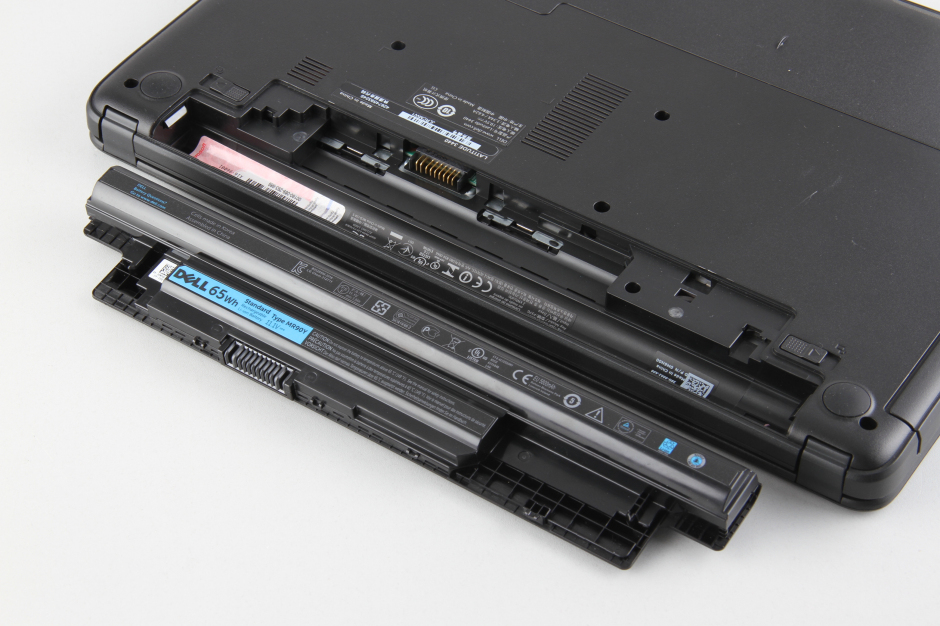
Dell Latitude 3440 comes with an 11.1v 65wh Li-ion battery, Dell P/N: MR90Y.

Remove one screw securing the optical drive.
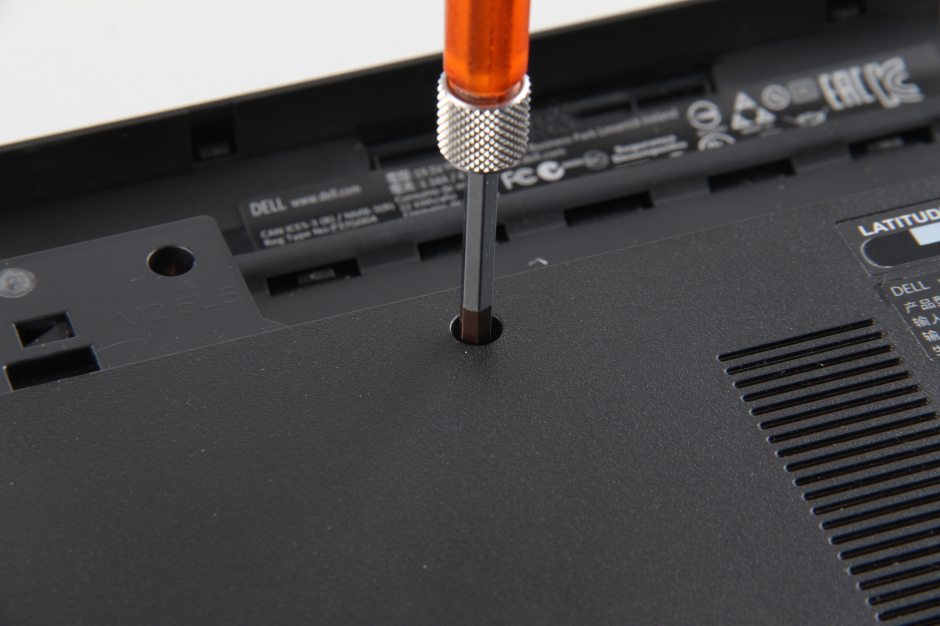
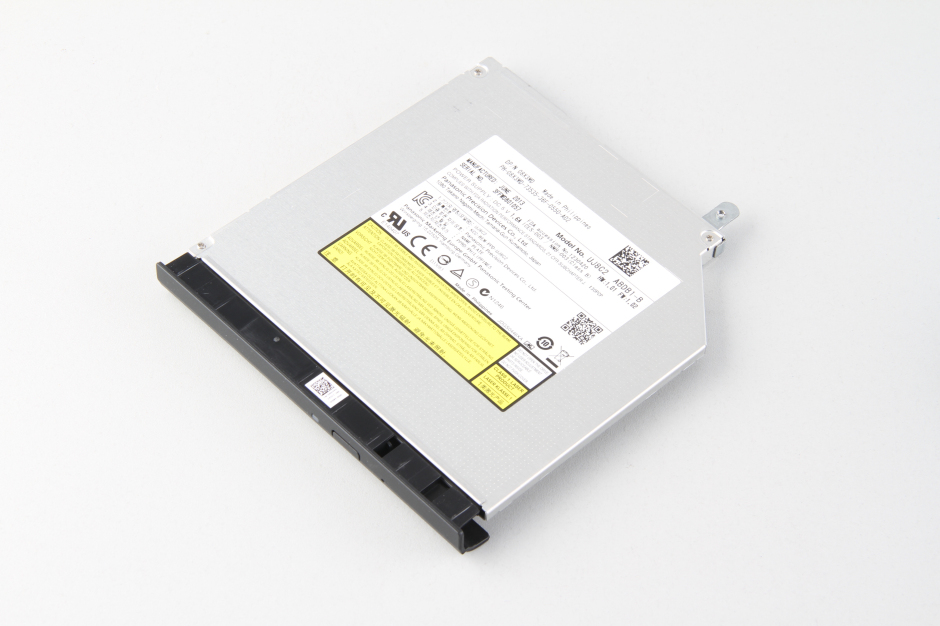
Pull out the optical drive.
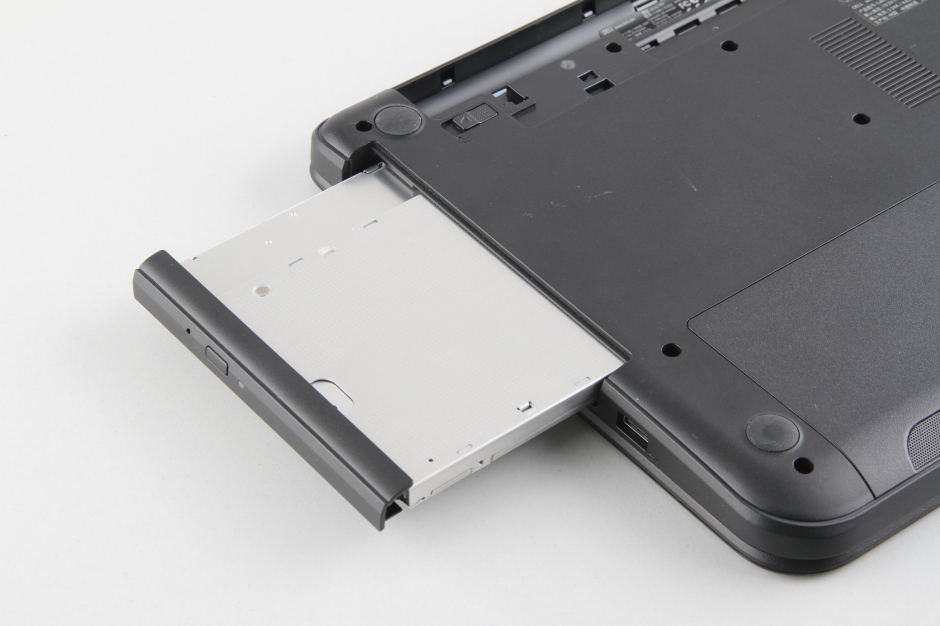
Dell Latitude 3440 features Panasonic UJ8C2 optical drive.
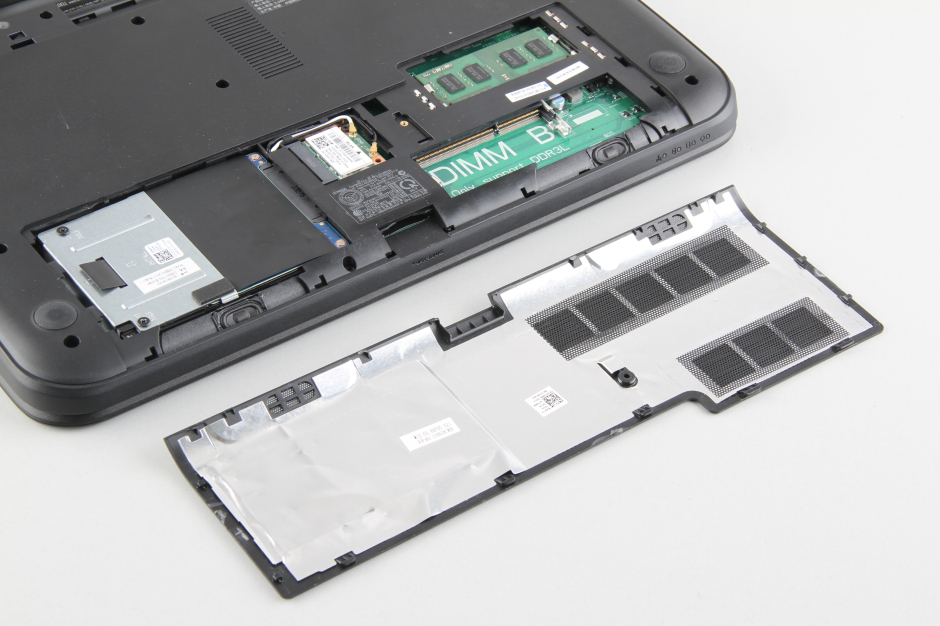
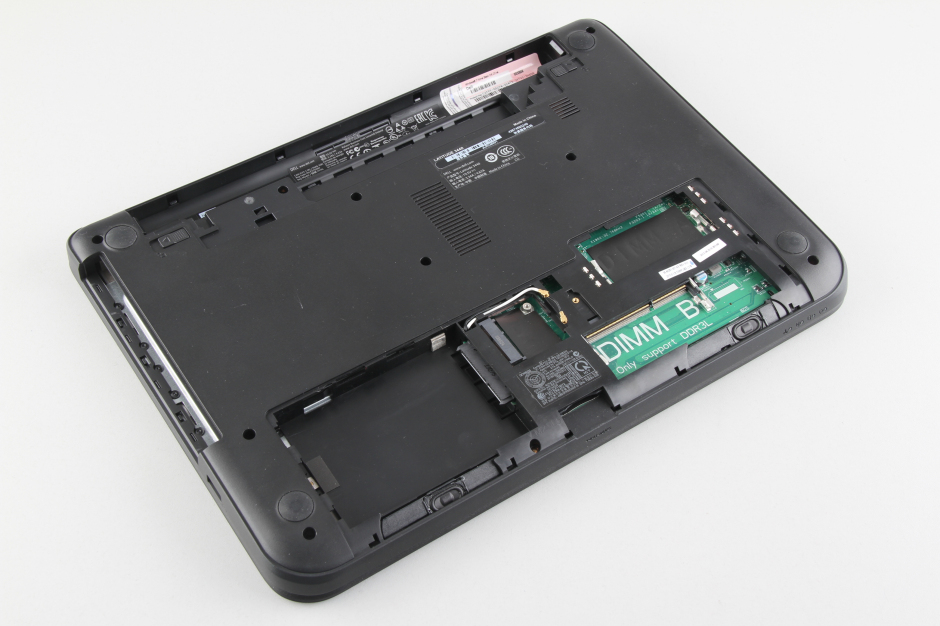
Remove one screw securing the service cover. You can remove the service cover.
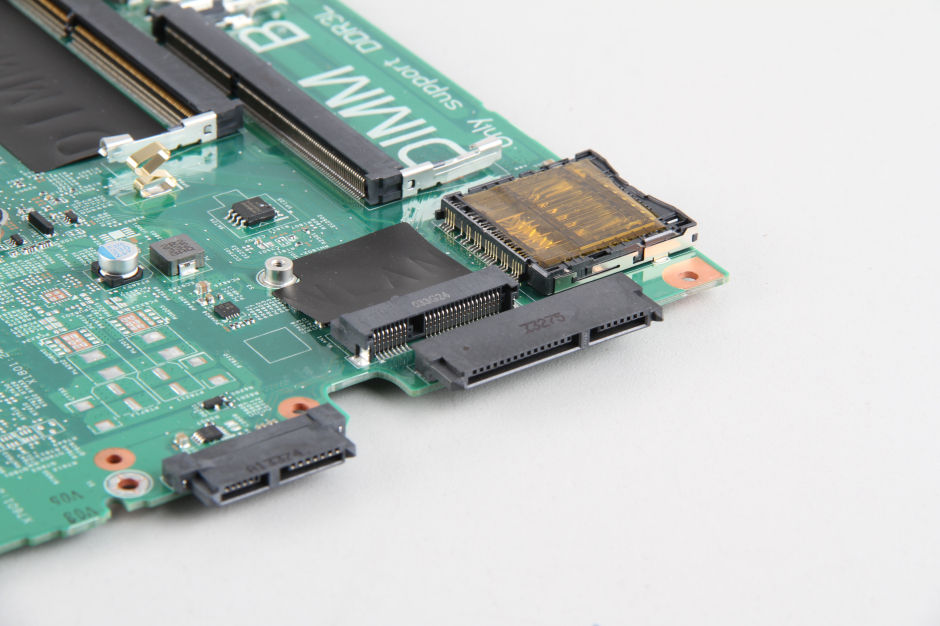
When the service cover removed, you can get access to the RAM, hard drive, and wireless card.
Remove two screws securing the hard drive and remove it.
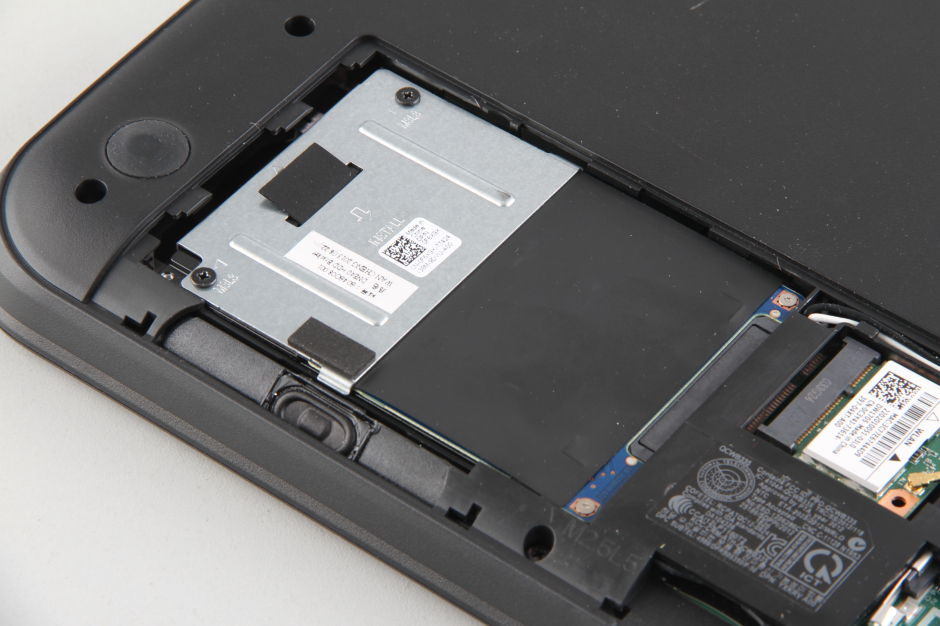
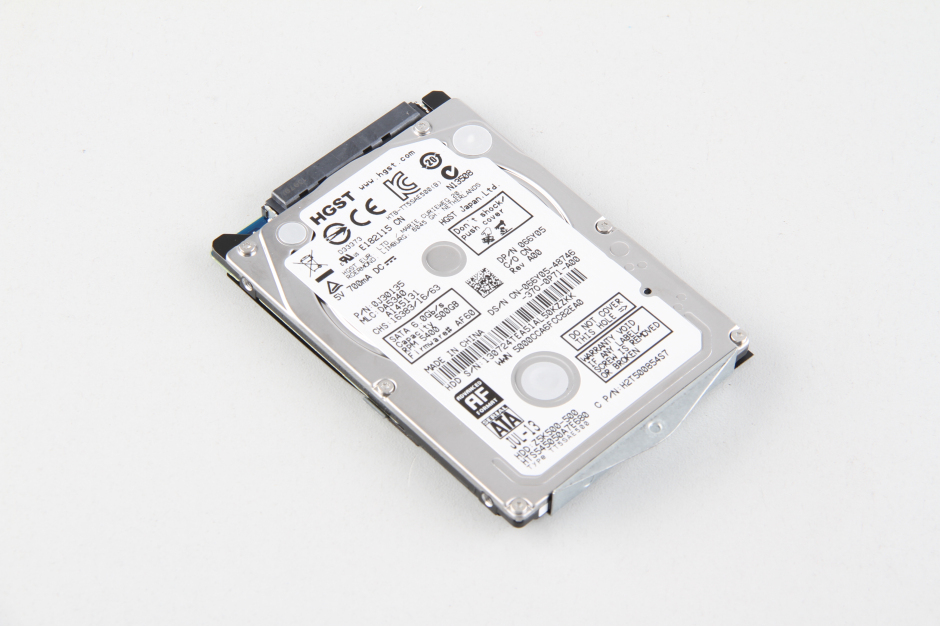
The Dell Latitude 3440 comes with an HGST 500GB 5400 RPM hard drive.
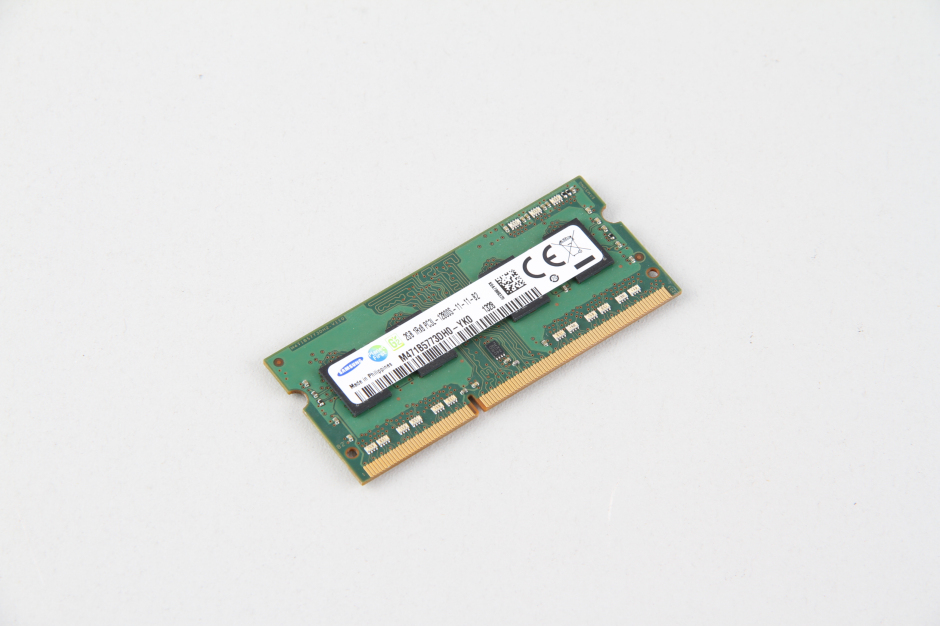
Samsung 2GB DDR3L-12800S memory
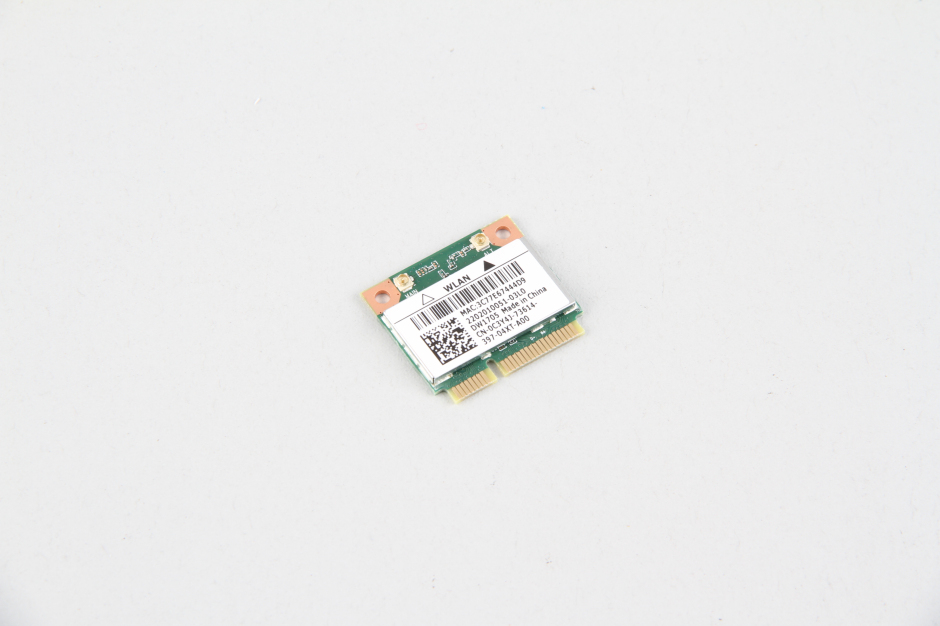
The Dell Latitude 3440 comes with a DW1705 wireless card, Dell model: 0C3Y43.
Remove all screws from the bottom case.
Turn over the laptop.
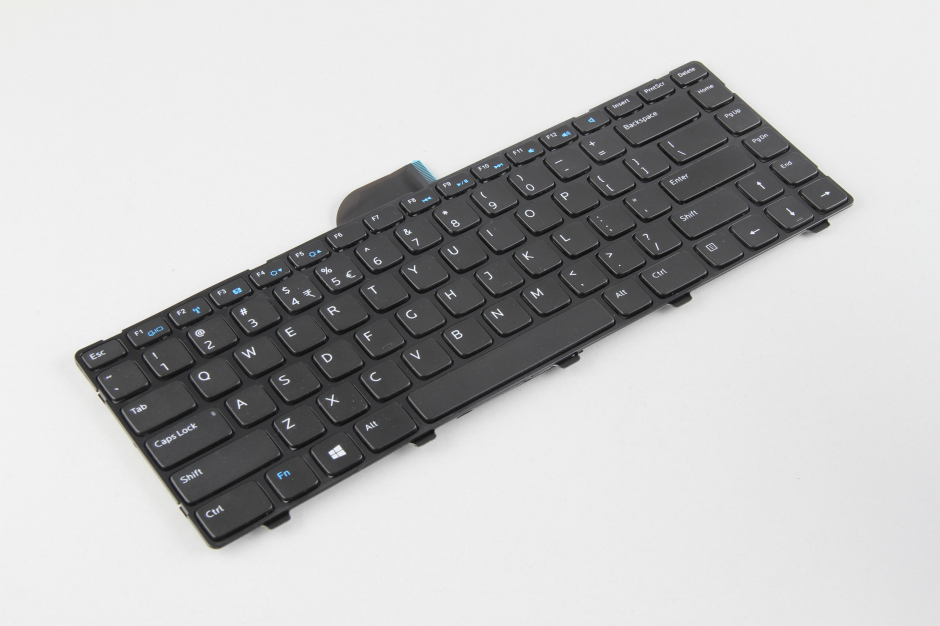
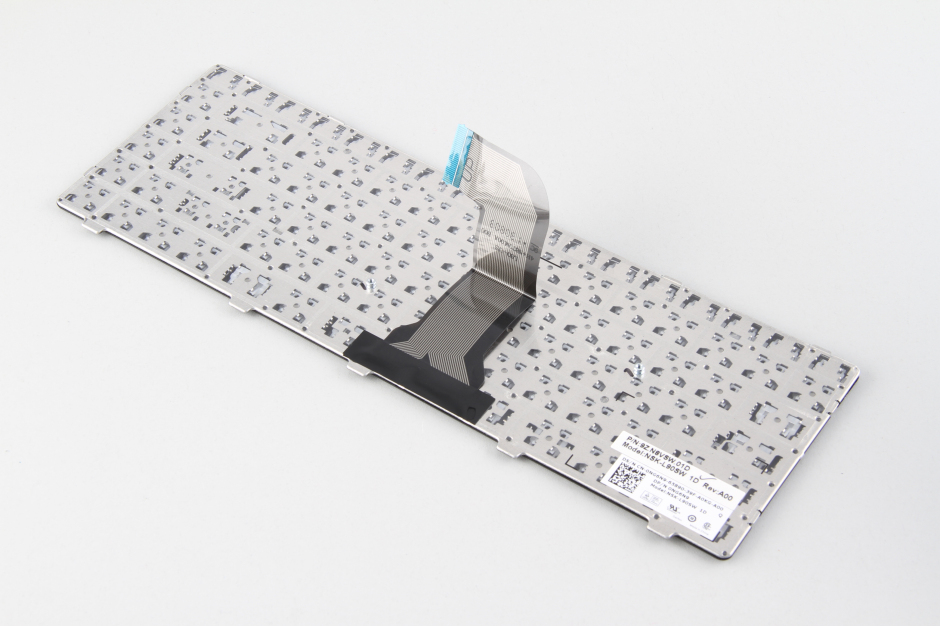
Lift up the keyboard and disconnect the keyboard cable from the motherboard, you can remove the keyboard.
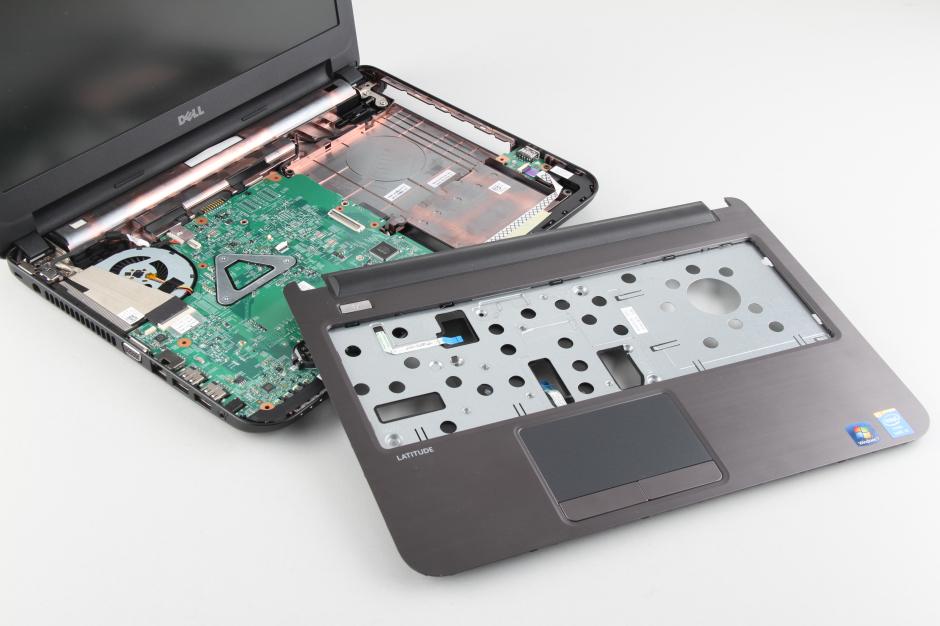
Disconnect all cables and remove all screws, you can pry up and remove the palm rest.
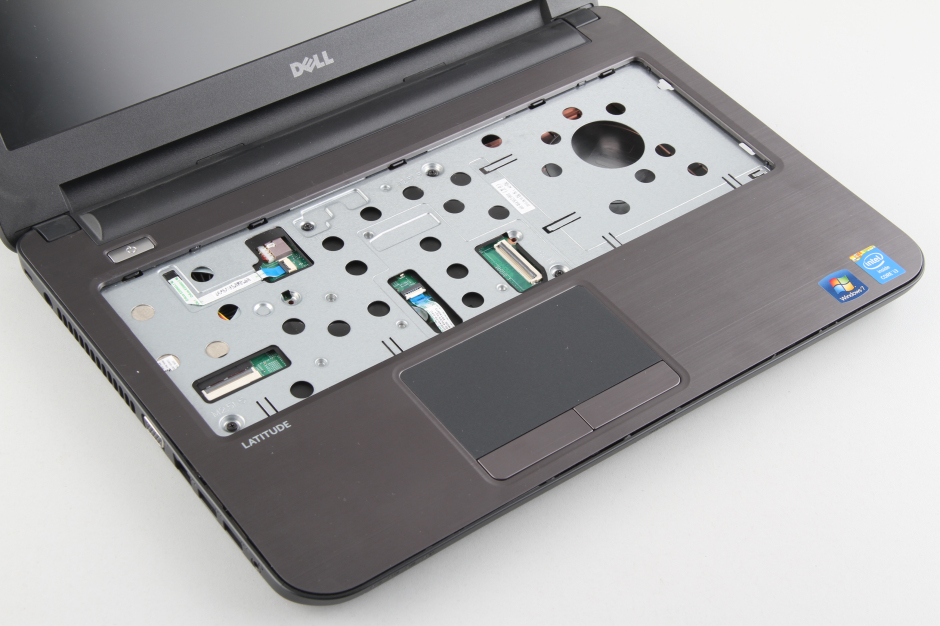
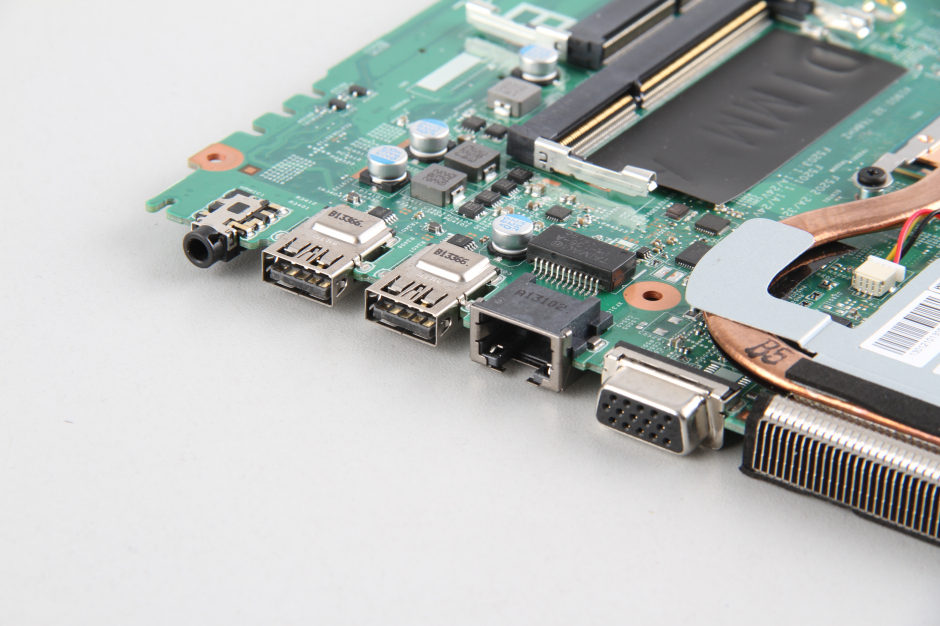
Unplug the LCD cable, USB cable, speaker cable and dc jack.
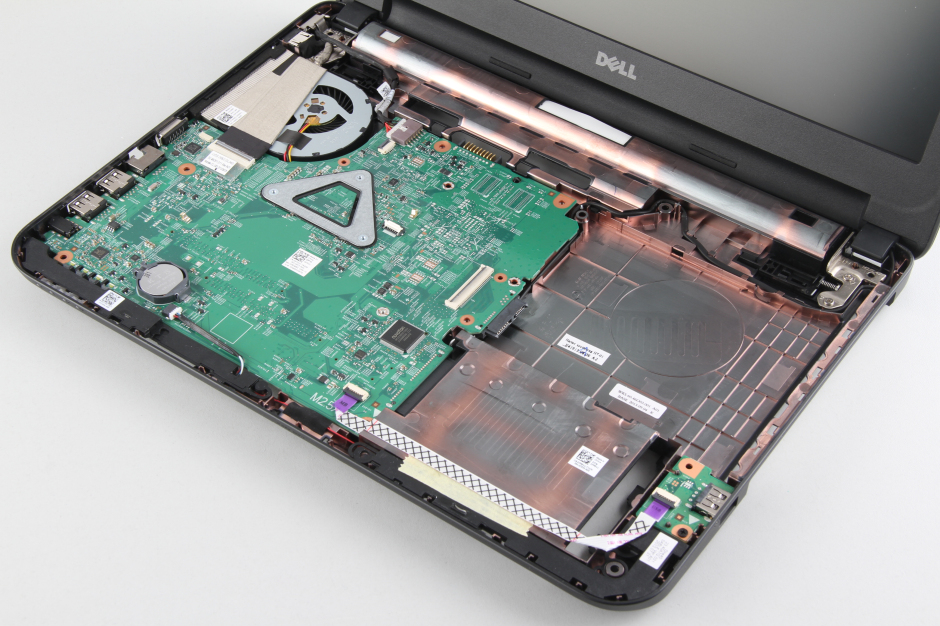
Remove all screws securing the motherboard.
Bottom case

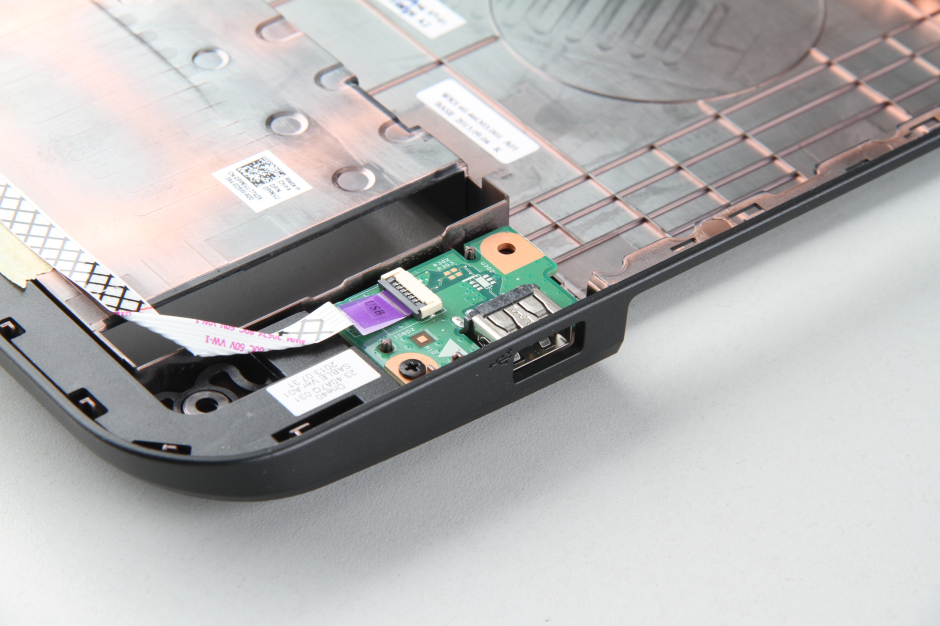
USB board
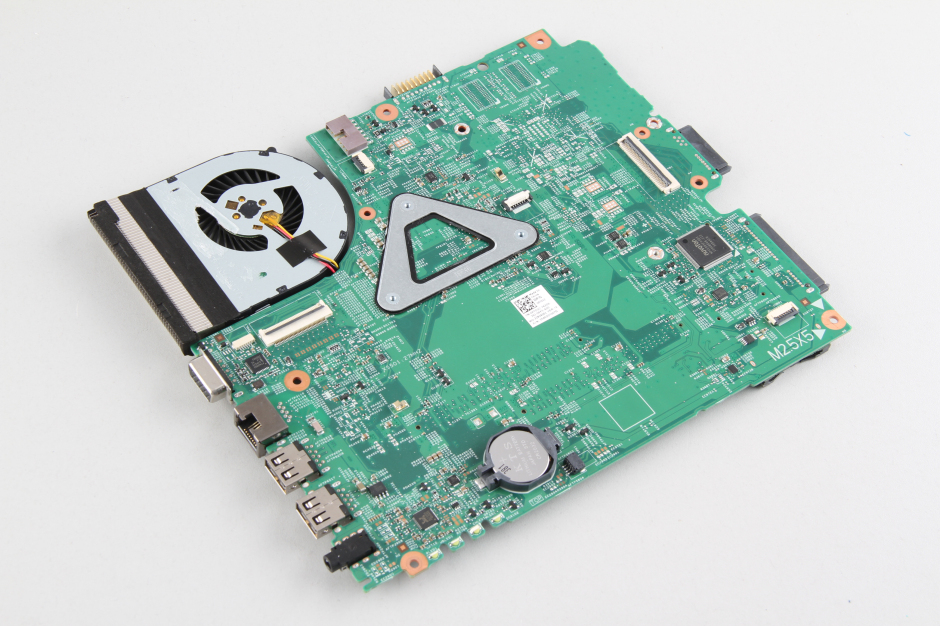
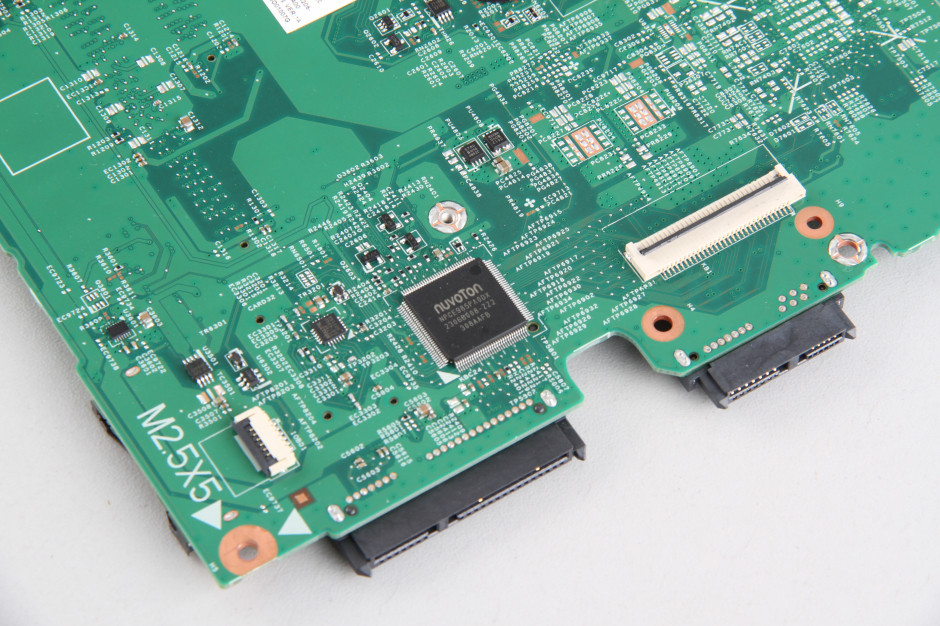
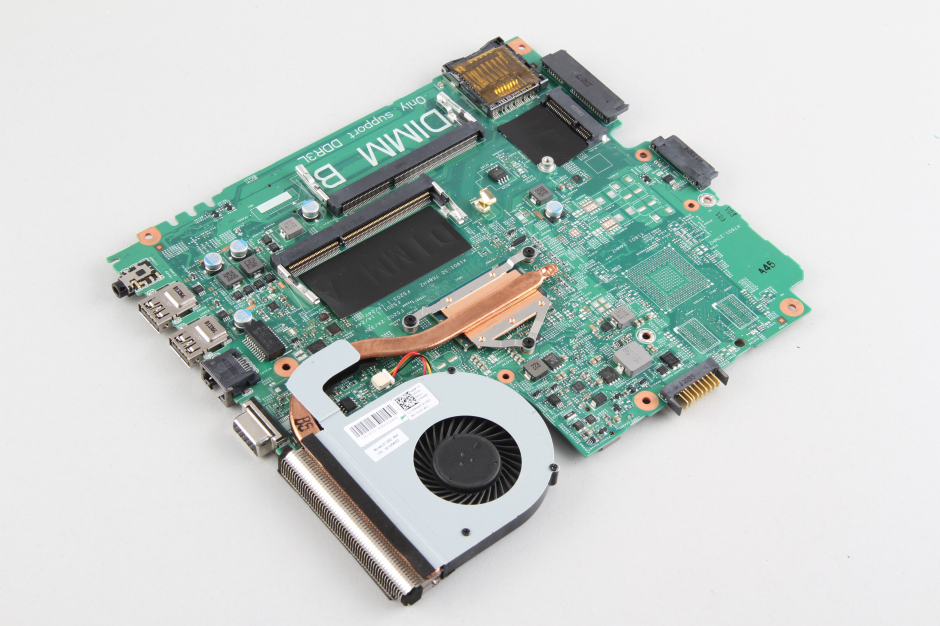
Motherboard and cooling fan
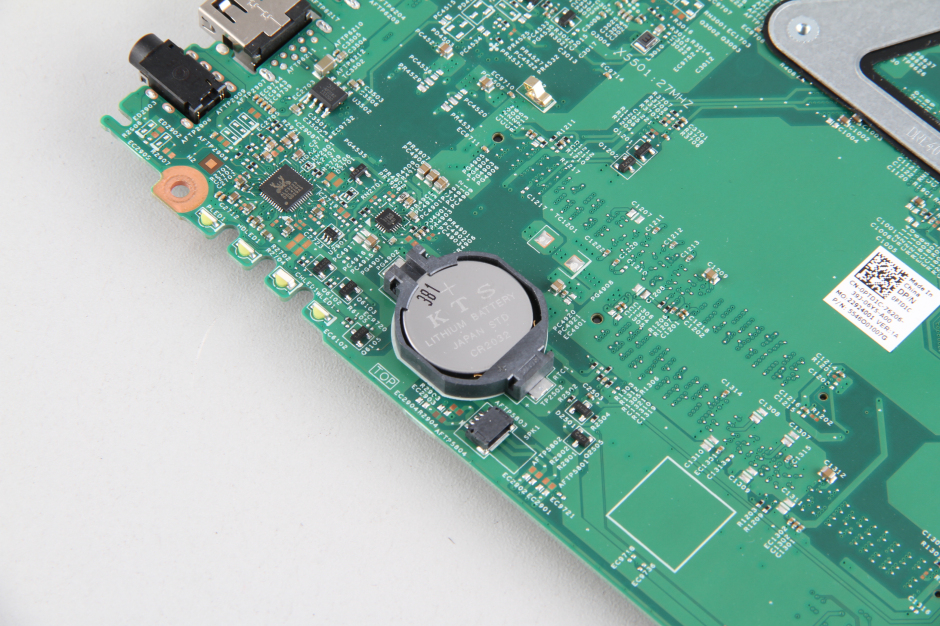
CMOS battery
Here are heatsink and cooling fan.

I do not even know how I ended up here, but I thought this post
was good. I do not know who you are but definitely you’re going to a
famous blogger if you aren’t already 😉 Cheers!