
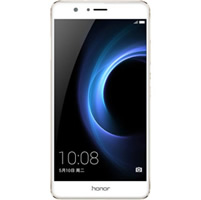
Huawei Mobile PhoneHuawei P9
Huawei P9 Teardown
The Huawei P9 was released in April 2016. It is the successor to the Huawei P8 and maintains almost the same design but now has a dual camera setup in the back co-engineered with Leica along with a fingerprint sensor. Huawei P9 has a 5.2-inch Full HD AMOLED display, built-in battery 3000mAh and runs on Android 6.0 Marshmallow OS.
Today, we will show you how to take apart the Huawei P9 and also check what else the phone brought us, besides the dual Leica camera.
Want to be the first to see inside the latest gadgets? Follow us on Facebook for the latest news from the MyFixGuide.com.
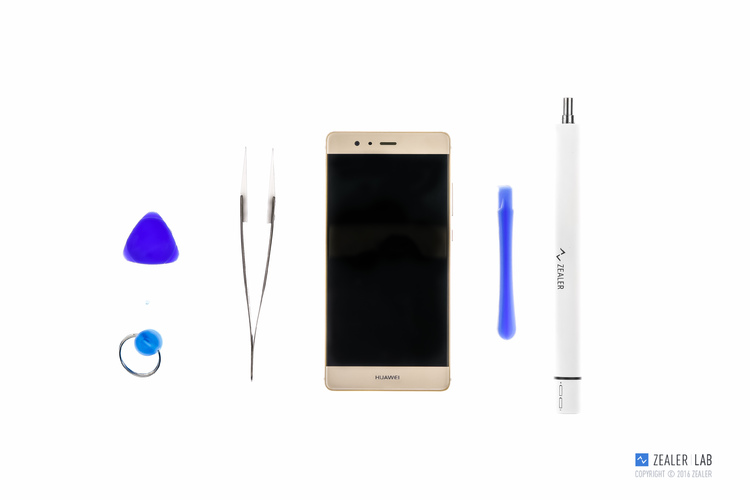
Huawei P9 Disassembly Step:
Tools needed: Screwdriver, tweezers, crowbar, suction cup, guitar pick
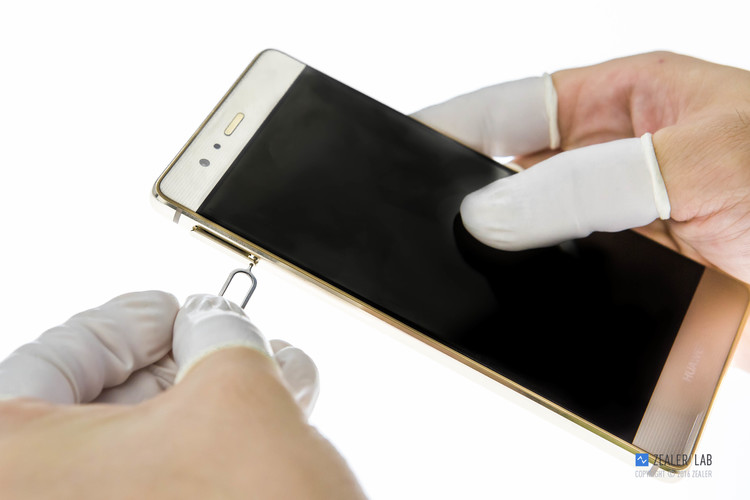
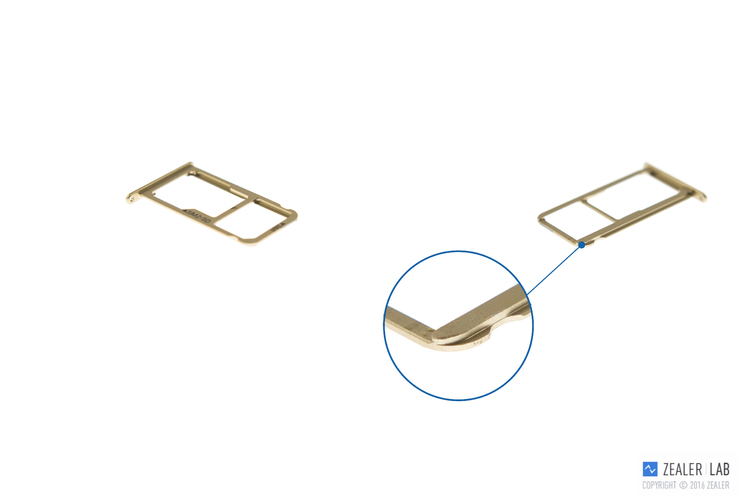
1: Remove the SIM Card tray
Remove the SMI card tray with an eject pin.
Card tray design: SIM 1 is for Nano-SIM card, SIM 2/TF is for Nano-SIM card and TF-card.
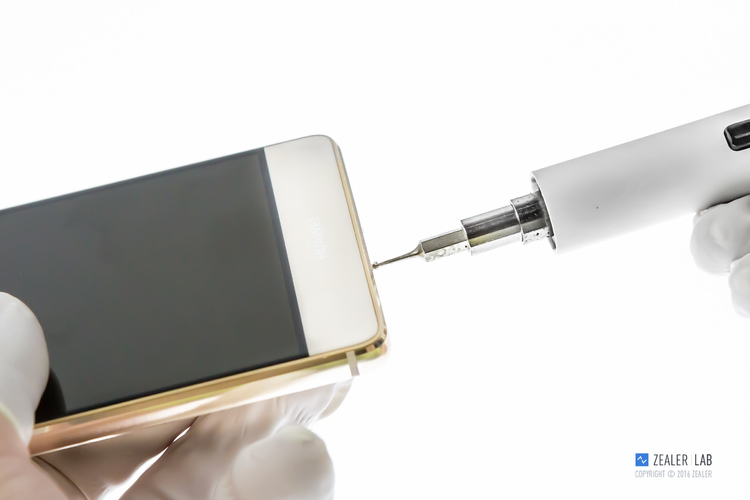
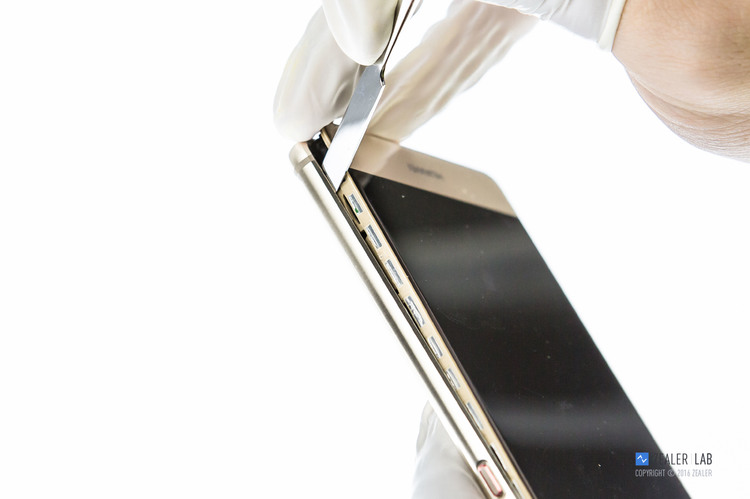
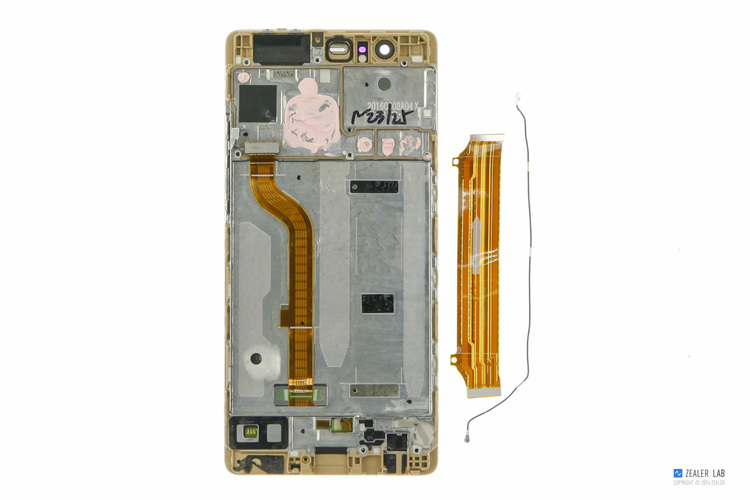
2: Remove the back cover
Remove two screws beside USB Type-C port.
Now use the suction cup to suck the front panel of the phone and open a rip. Using the crowbar to insert it into the rip and move it up and down. When the side is totally open, the back cover is free to go.
Huawei P9’s fingerprint ID module is fixed to the back cover. Before total separation, you need to disconnect the fingerprint ID module. Huawei P9 uses FPC 1025 Fingerprint ID module.
Disconnect the Fingerprint ID module.
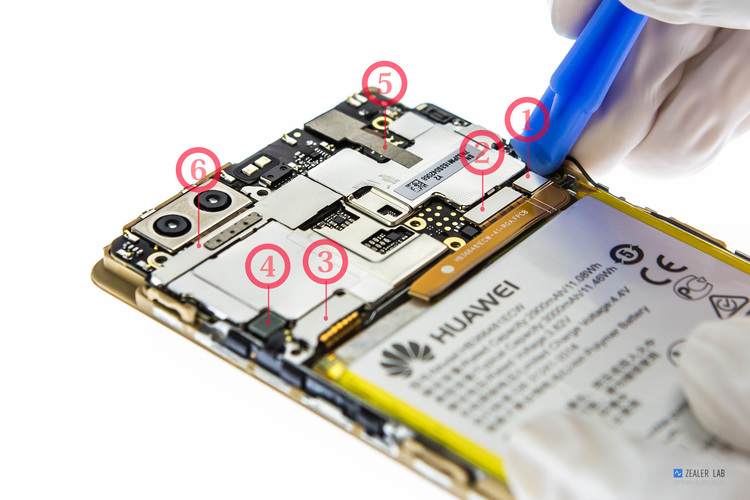
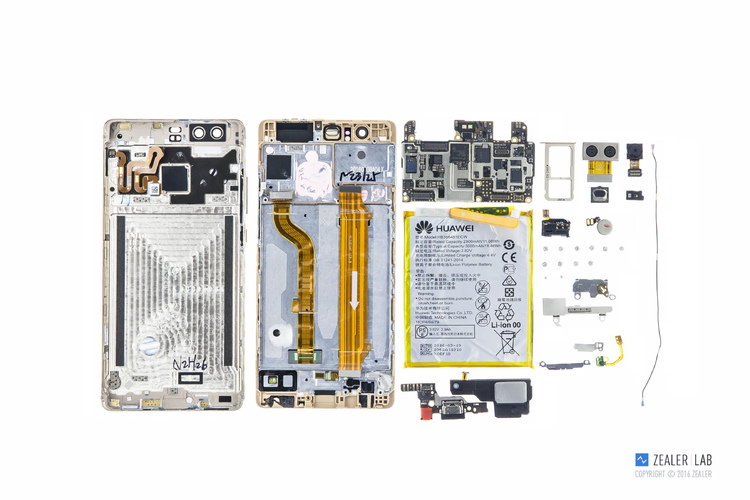
3: Remove the motherboard and front/rear camera
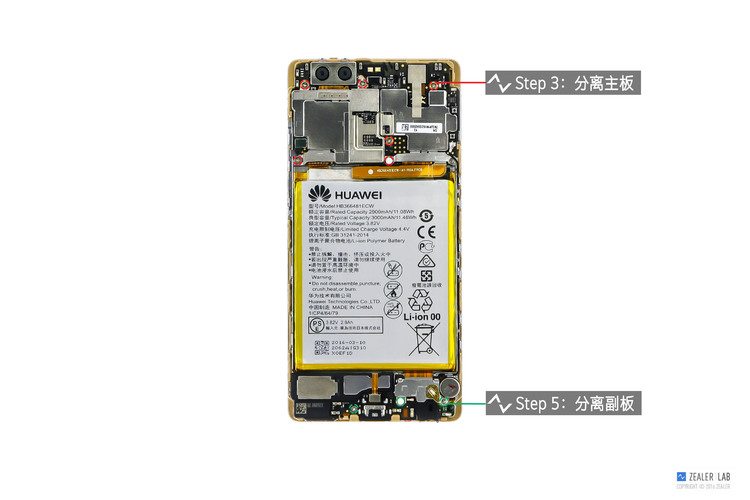
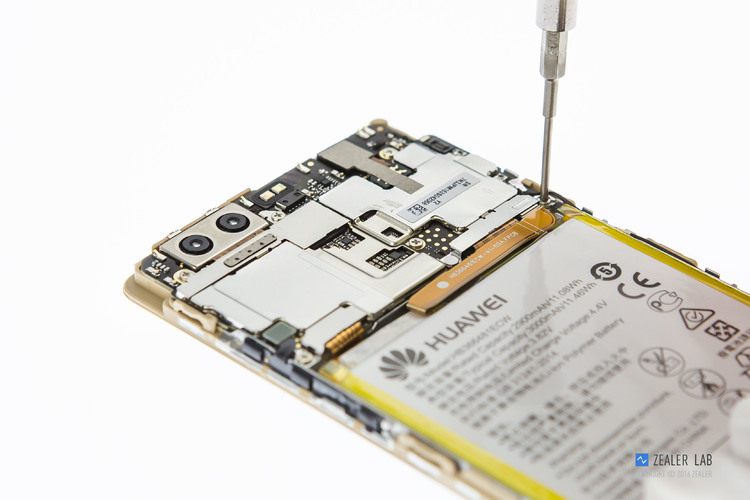
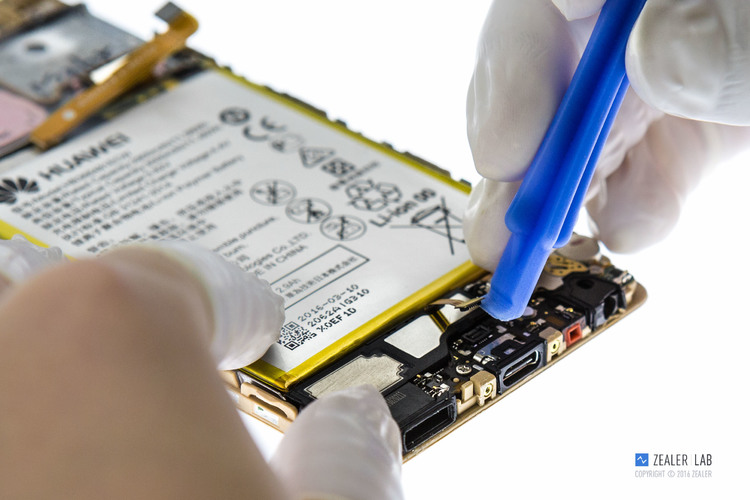
Remove all screws that securing the motherboard.
Disconnect them from the motherboard one by one: 1. Battery, 2. Main FPC, 3. Screen, 4. Side button, 5. Front camera, 6. Rear camera.
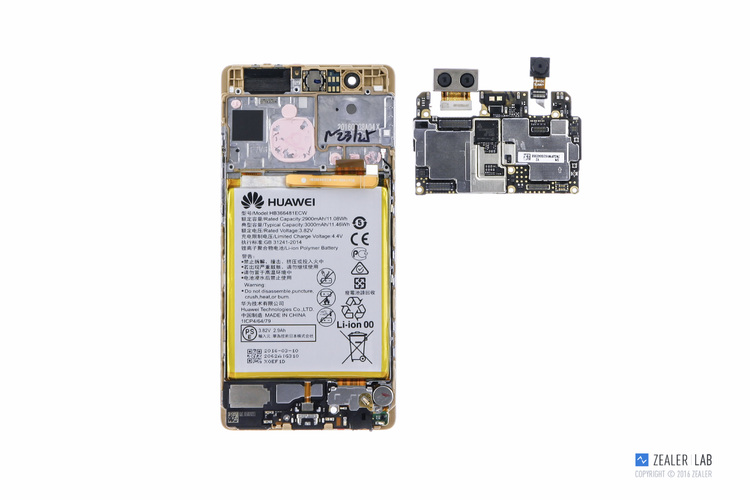
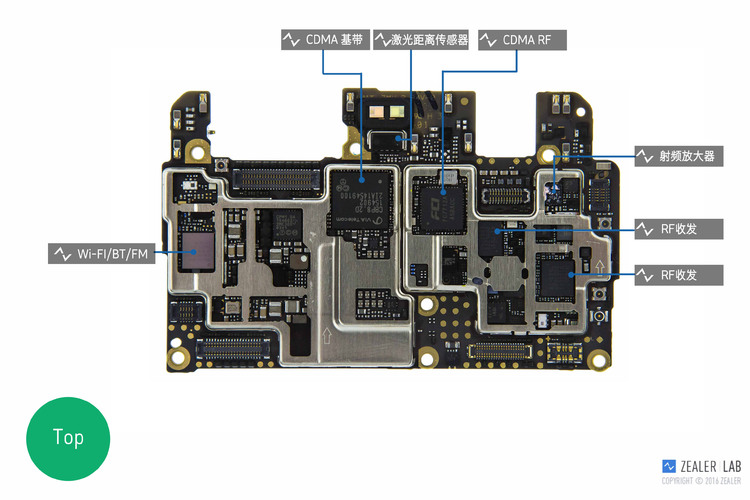
The back side of the motherboard
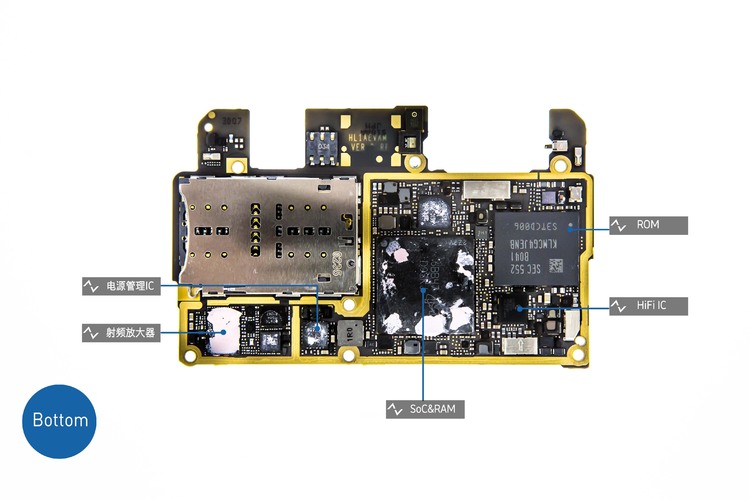
SoC: CPU: Kirin 955, 8 Cores, 4* Cortex A72 2.5Ghz+4*Cortex A53 1.8Ghz; GPU: Mali T880
RAM: Micron 4GB LPDDR4
ROM: Samsung KLMCG4JENB B041 64GB eMMC 5.1
HiFi: Hisilicon Hi6402
Power managing IC: Ti BQ25892
R-f amplifier: Skyworks 77621
The front side of the motherboard
Wi-Fi & Bluetooth/FM: Broadcom BCM4355XKUB
CDMA base-band: VIA CBP8.2D
CDMA RF: FCI FC7712A
RF send-receive: Hisilicon Hi6362
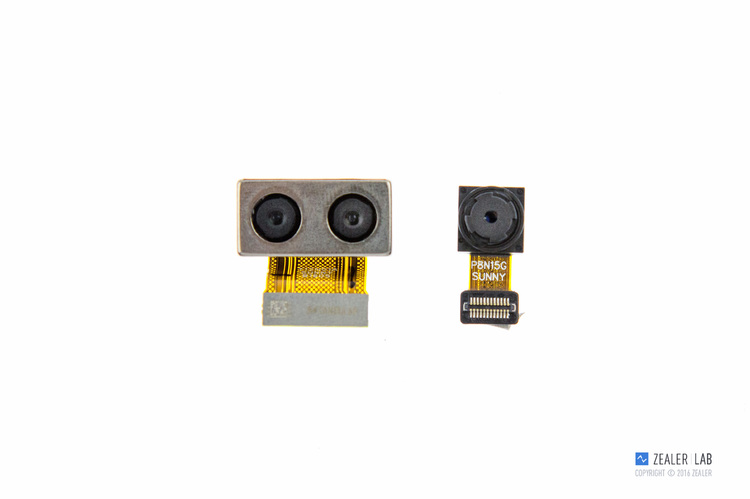
Dual 12MP rear camera: F/2.2 aperture, Leica camera, dual-color temperature LED Flash, supports Laser Focus.
8MP front camera: F/2.4 aperture.
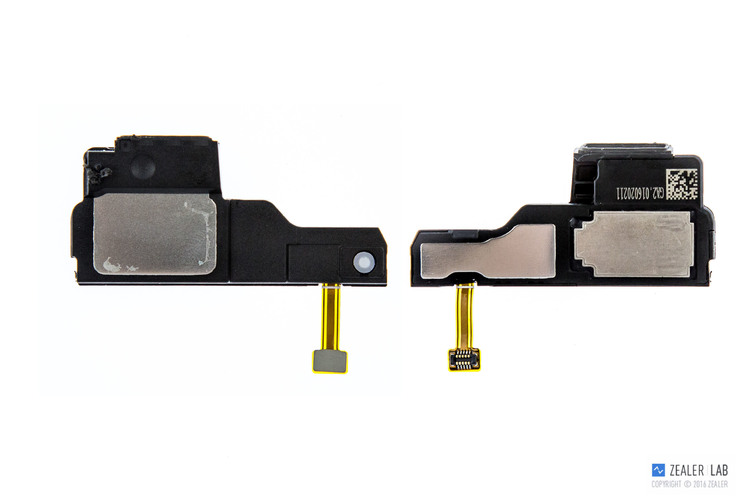
4. Remove loudspeaker module
Disconnect the loudspeaker from the motherboard. The loudspeaker is fixed to the back cover with acrylic foam tape.
Here’s loudspeaker module.
5: Remove the sub-board, audio jack and vibrator
Remove the screw securing the sub-board and remove the vibrator and audio jack.
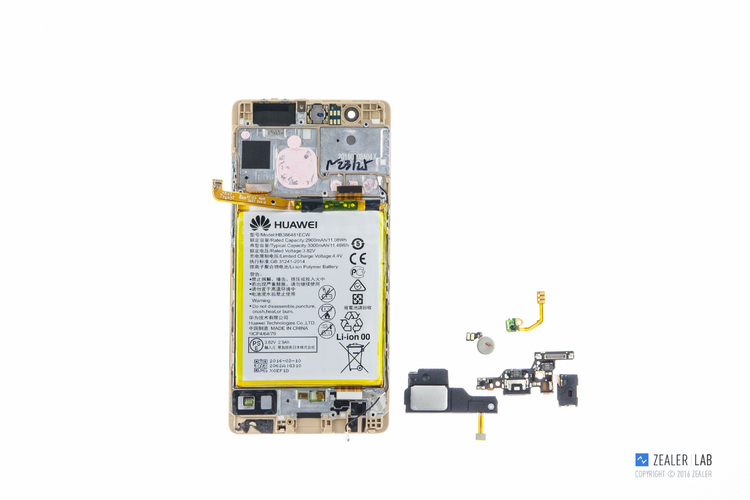
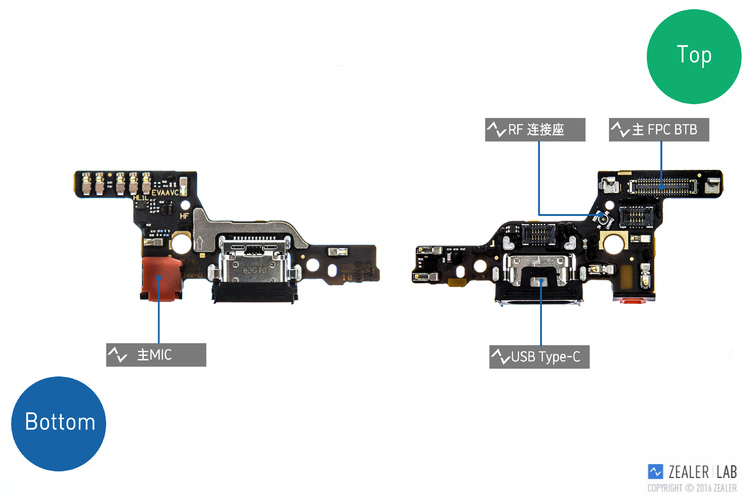
Audio jack and vibrator

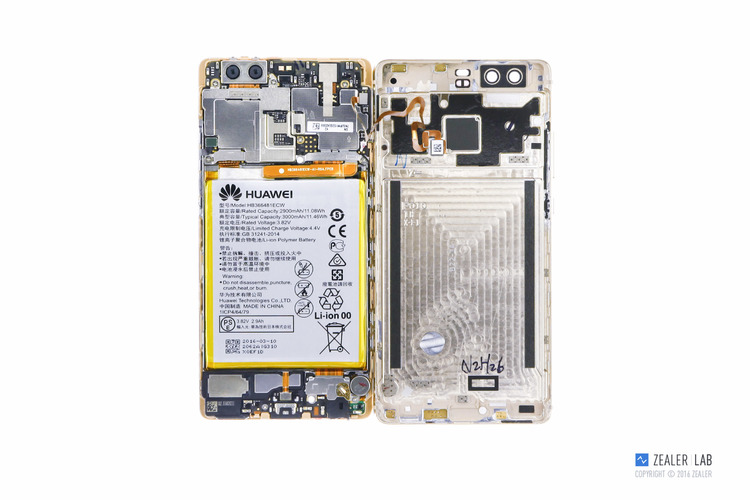
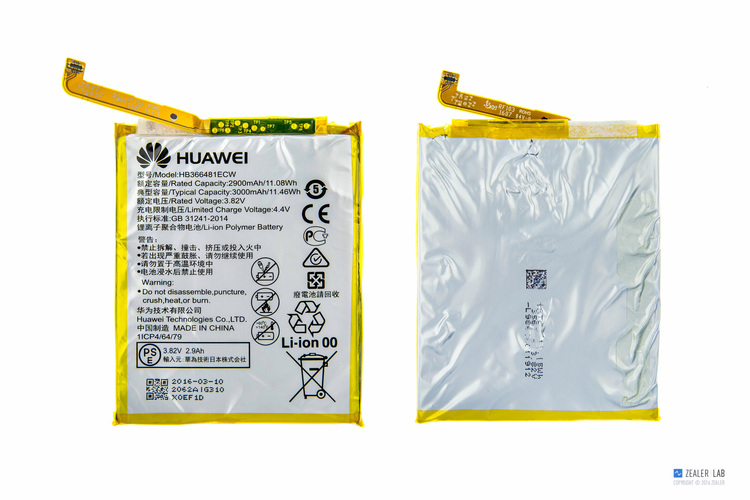
The battery is fastened with easy remove tape and double-sided adhesive tape.
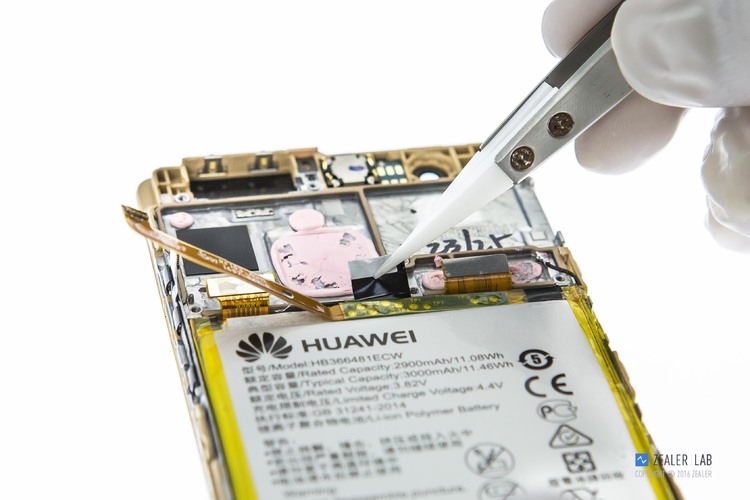
Battery rated capacity: 2900mAh, typical capacity: 3000mAh.
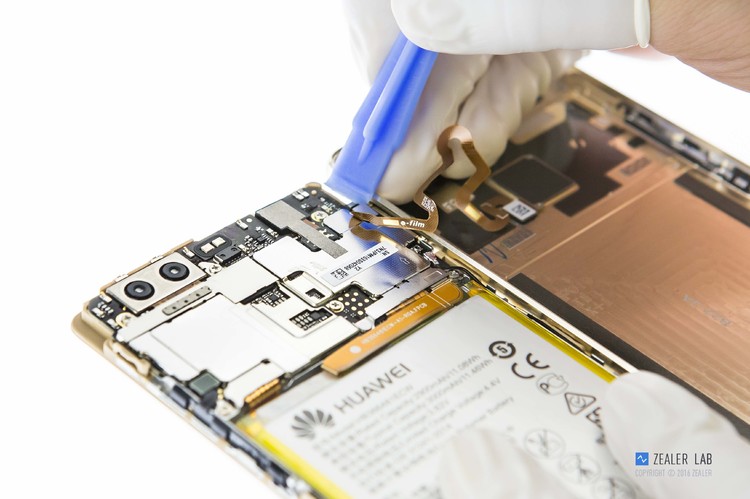
Remove the main FPC and coaxial cable.
Now the Huawei P9 disassembly process is completed, for more Huawei P9 guides, please visit Huawei P9 device page.

Dear sir,
I have change screan for huawei p9, but after this, the backlight is dead, i m asking you, if you have a solution for this kind of problem?
Thank you very much.
Per caso sapete dove posso recuperare una scheda madre per huawei p9 plus?