Lenovo LaptopLenovo ThinkPad X230s
Lenovo ThinkPad X230s Disassembly
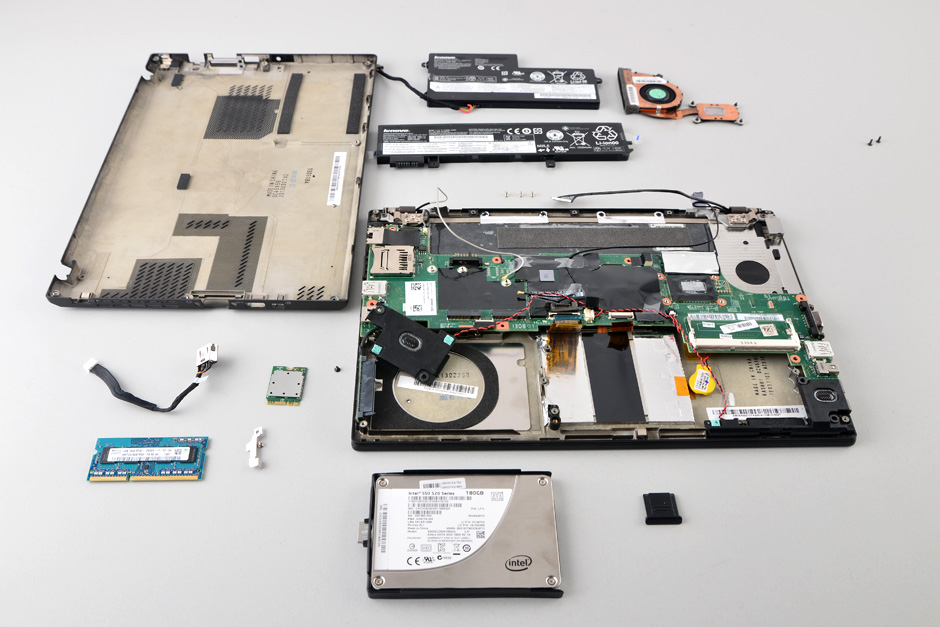
In this post, I’ll explain how to disassemble Lenovo ThinkPad X230s to remove and replace the battery, SSD, RAM, wireless card, cooling fan, speakers, and motherboard.
Want to be the first to see inside of the latest smartphone and laptop? Follow us on Facebook for the latest teardown news.
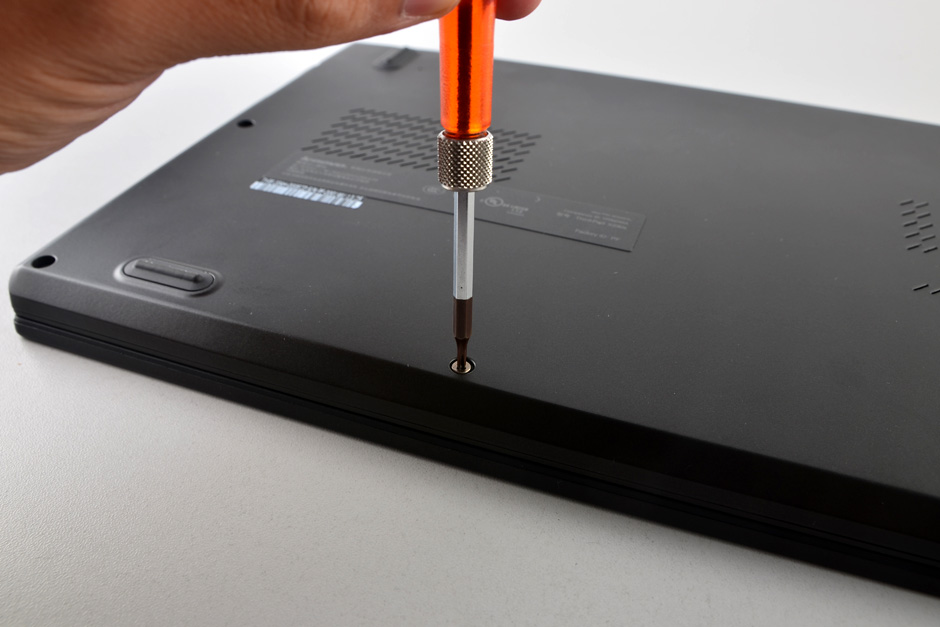
Loosen all screws from the bottom case.
Pry up and remove the bottom case.
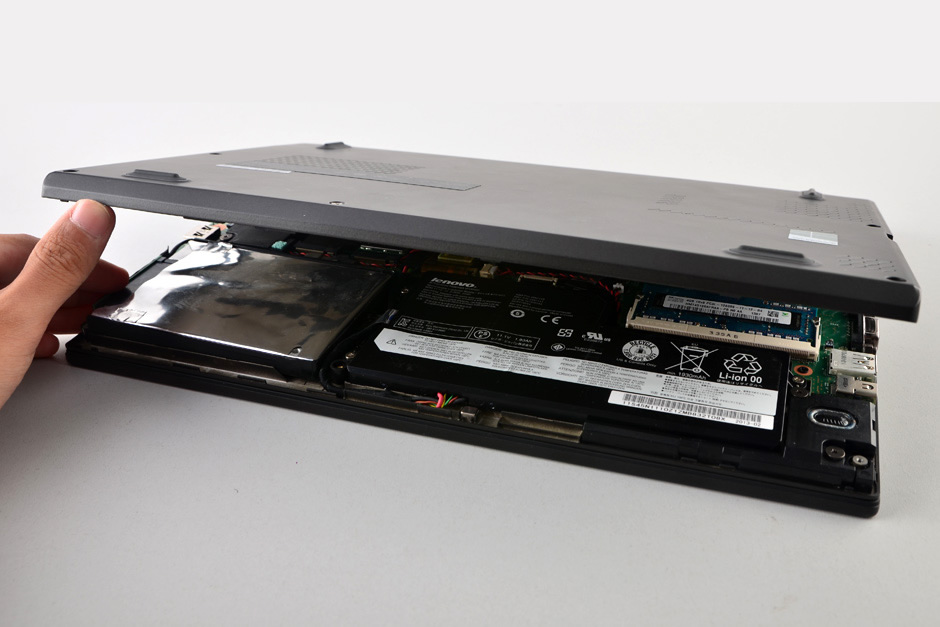
Under the bottom case, you can get access to the battery, SSD, RAM, wireless card, heat sink, cooling fan, speakers, and motherboard.
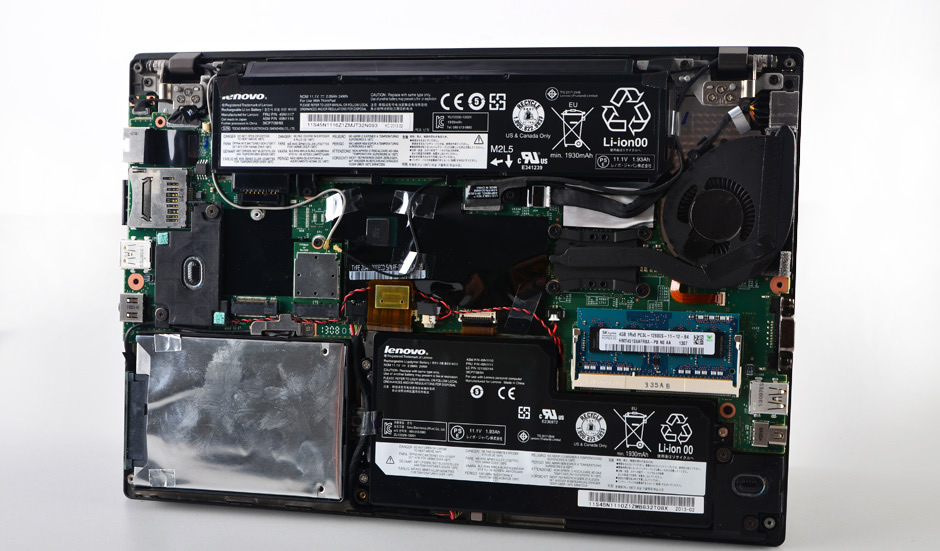
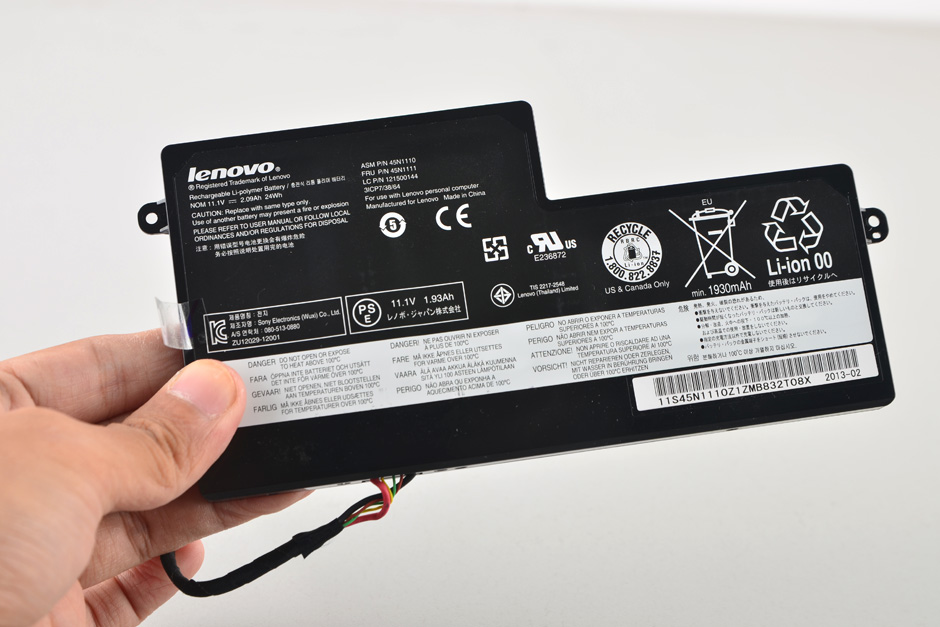
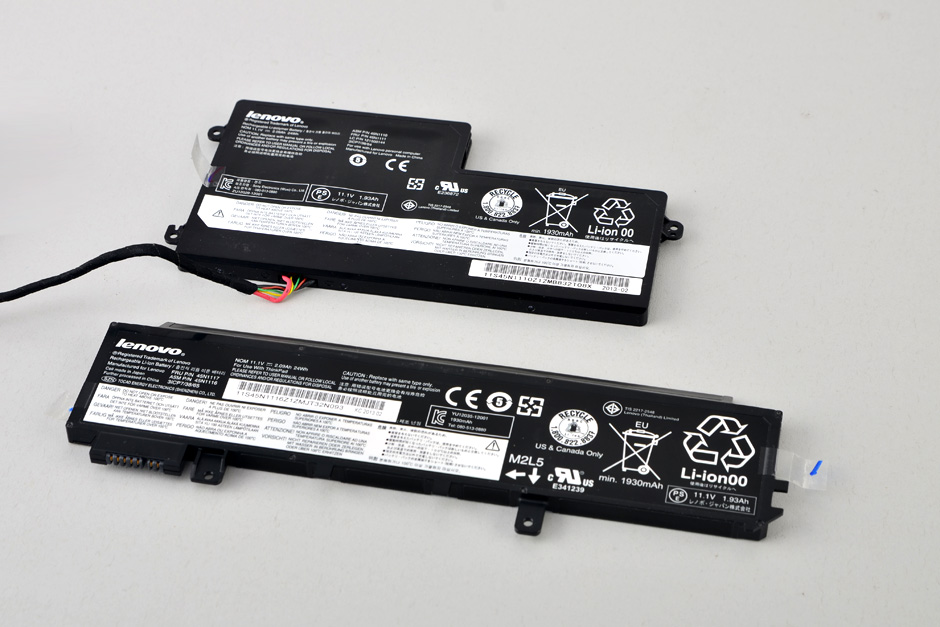
Remove three screws securing this battery. You can remove the battery.
This is 11.1v 22wh Li-polymer battery. Lenovo P/N: 45N1110, 45N1111.
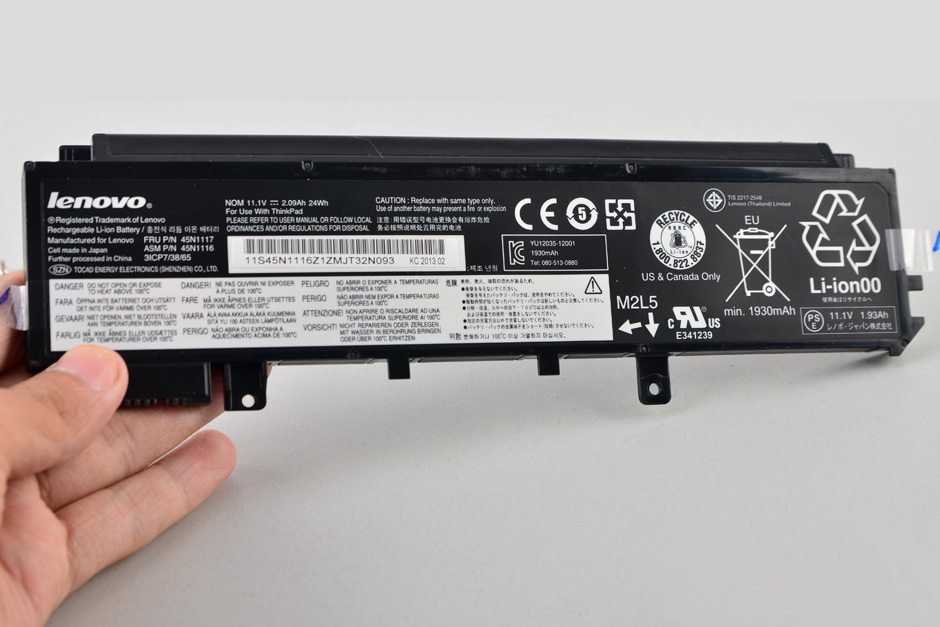
Remove two screws securing the second battery. You can remove the battery.
This is 11.1v 24wh Li-ion battery. Lenovo P/N: 45N1117, 45N1116.
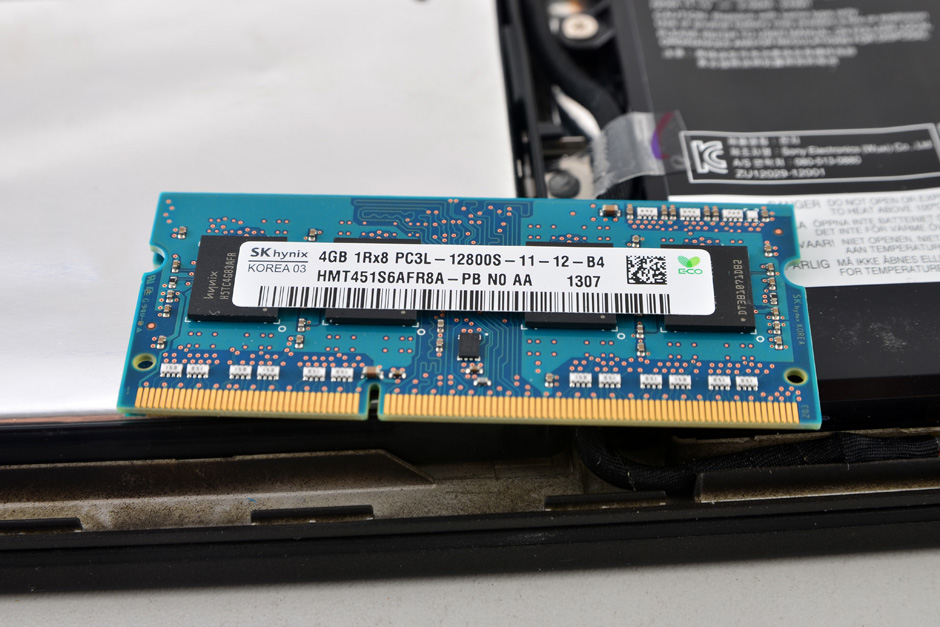
Lenovo ThinkPad X230s only has one memory slot.

The X230s comes with an SK Hynix 4GB PC3L-12800S memory.
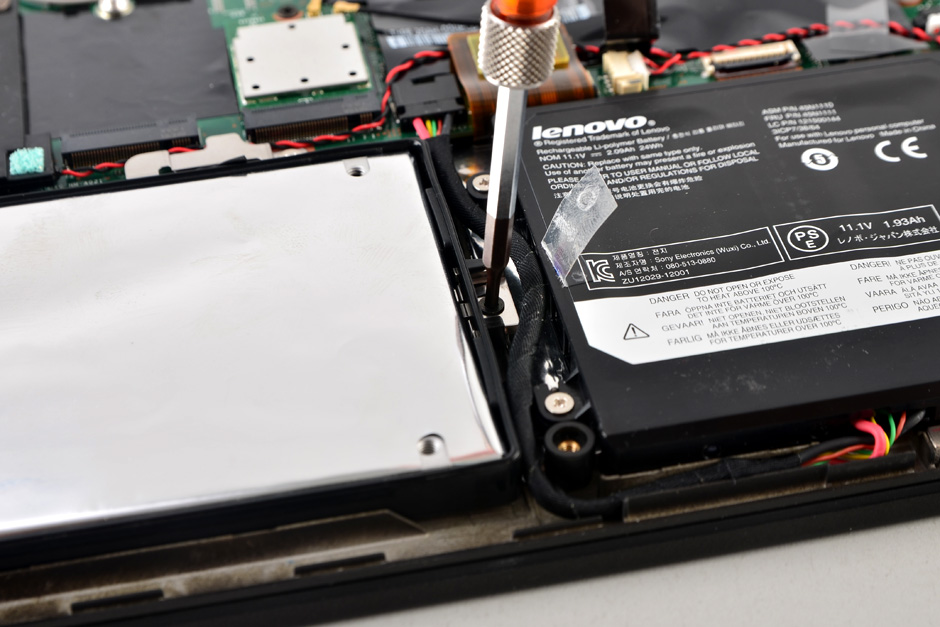
Remove one screw securing the hard drive module.
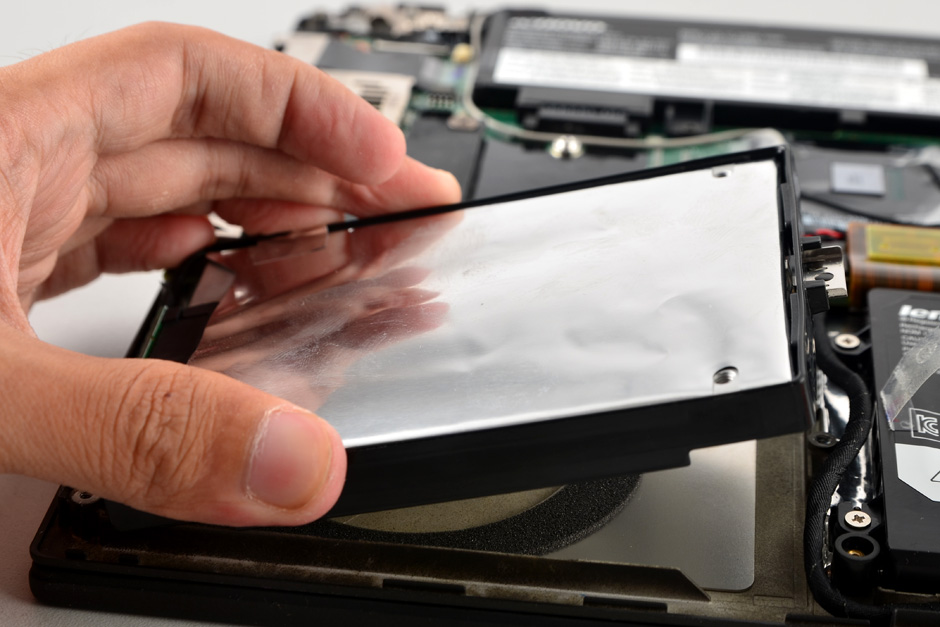
Lift up and remove the hard drive module.
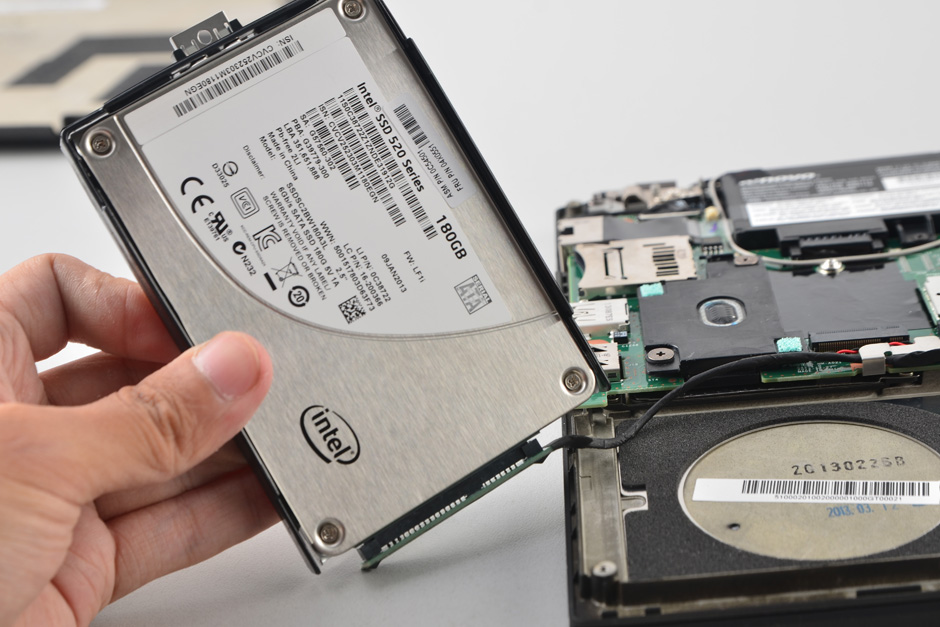
The laptop features an Intel 520 series 180GB SSD.
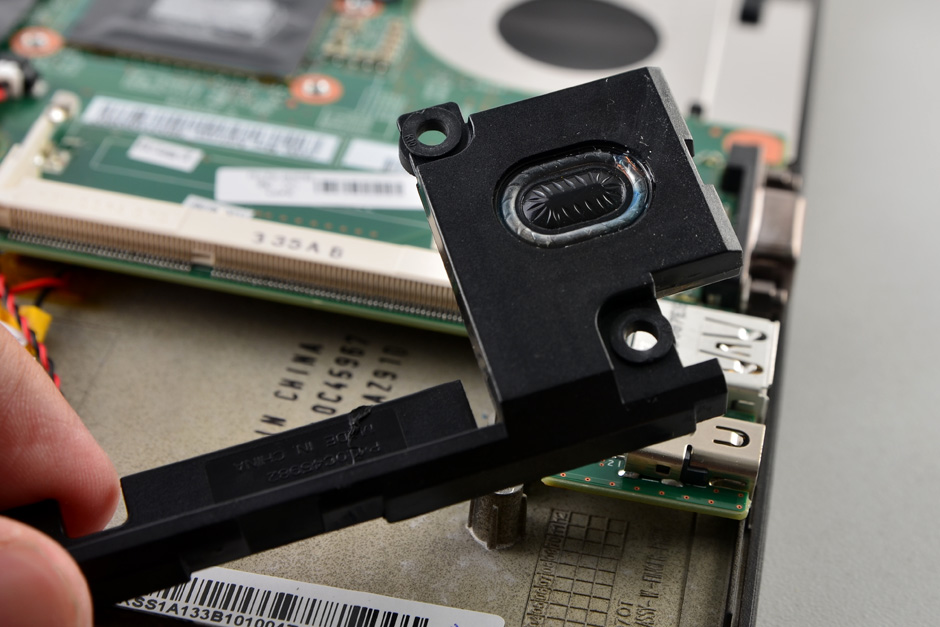
Remove two screws securing THE speaker and remove it.
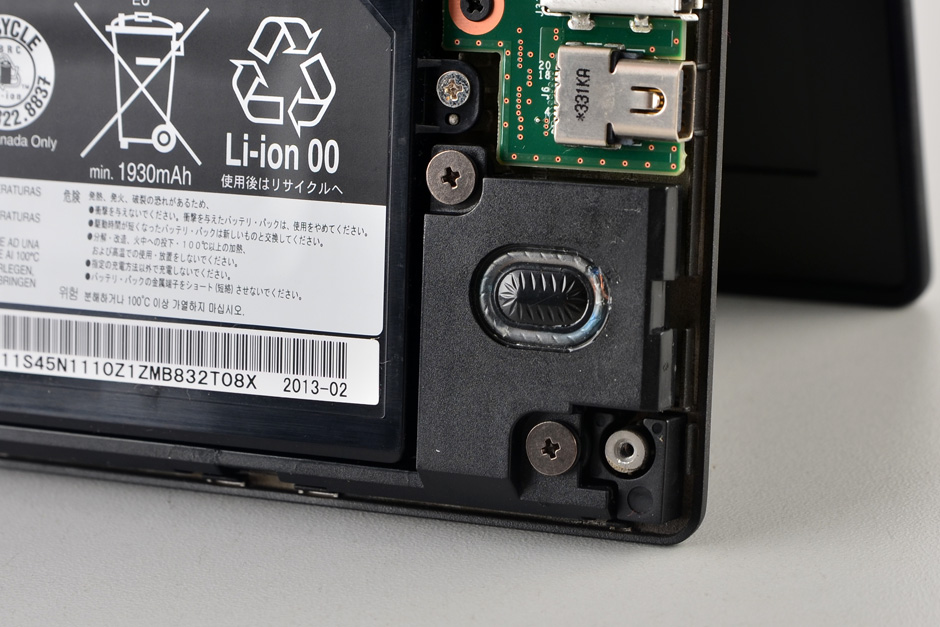
Remove two screws securing the speaker.
Disconnect speaker cable from THE motherboard.
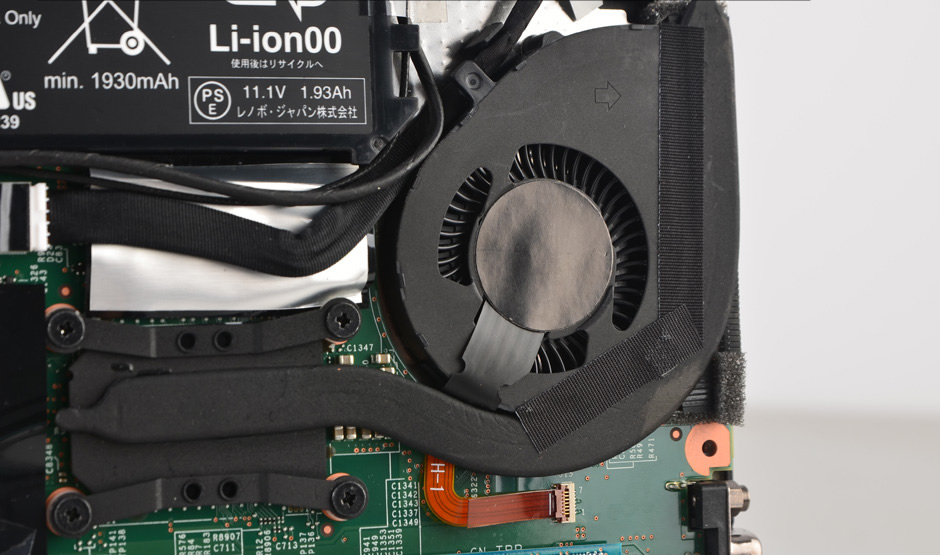
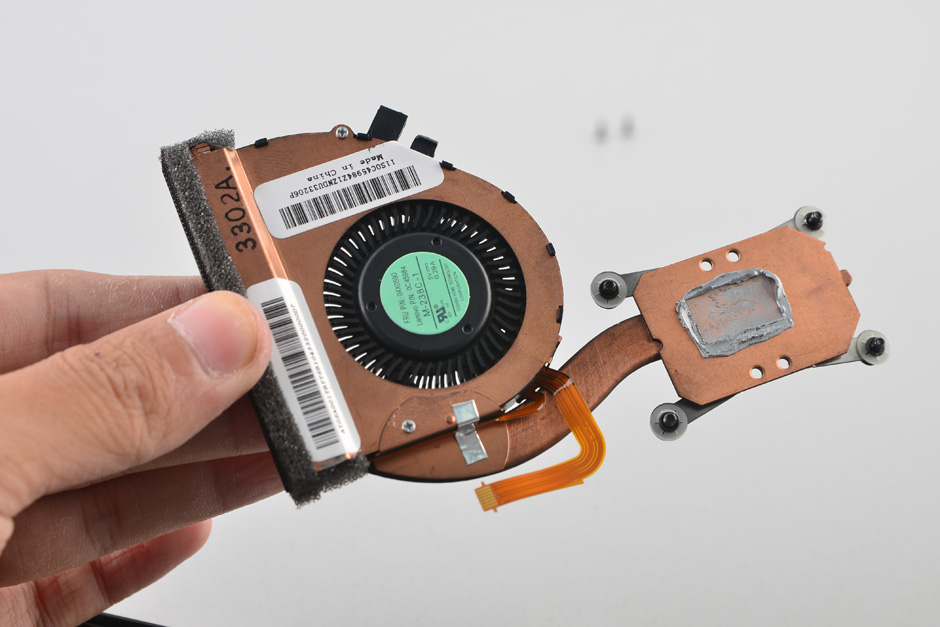
Remove four screws securing the heat sink and unplug two fan cables.
Here’s cooling fan
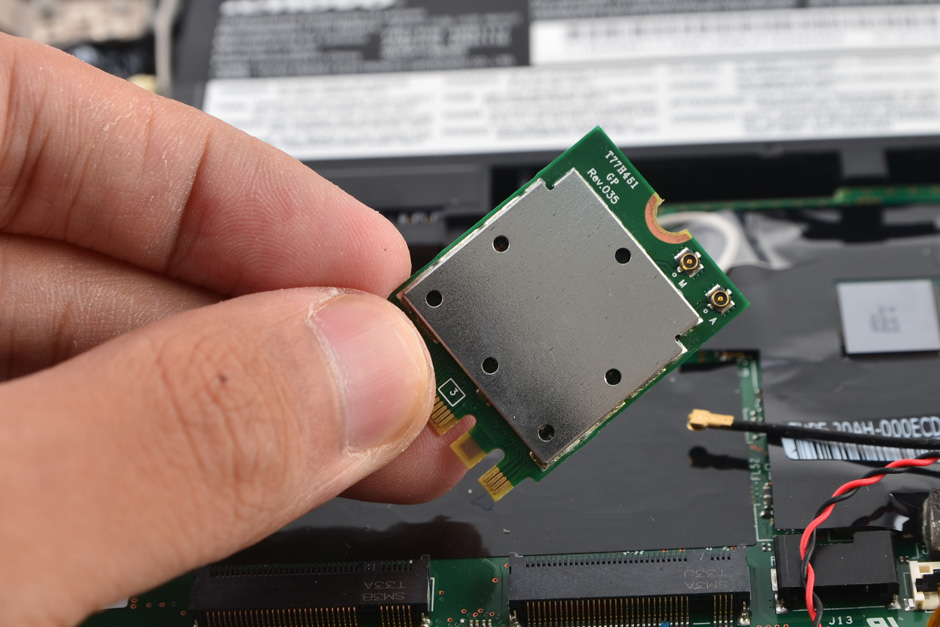
Remove one screw securing the wireless card and unplug two antenna cables.
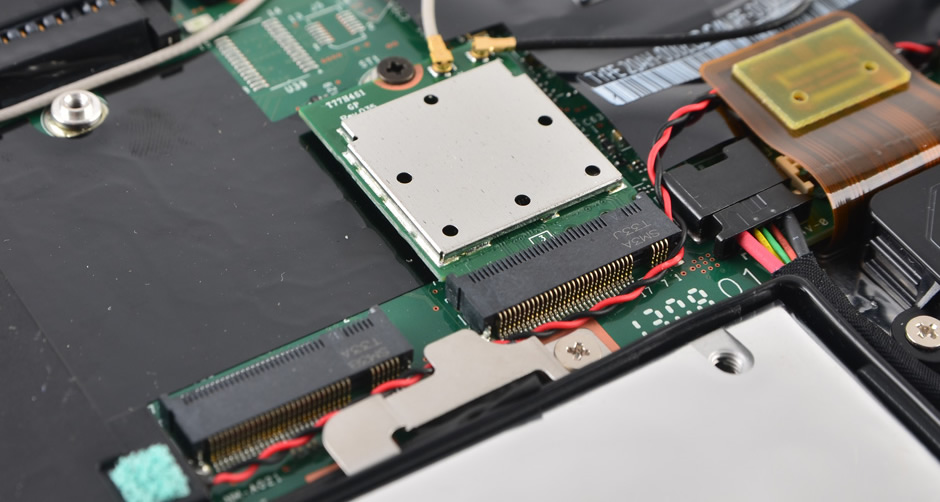
Wireless card