
Sony Mobile PhoneSony Xperia Z2
Sony Xperia Z2 Disassembly
In this guide, I’ll explain how to disassemble Sony Xperia Z2 to remove and replace the back cover, battery, camera, speaker and motherboard.
Want to stay connected to the MyFixGuide.com? Follow us on Facebook to check out the latest teardown news.
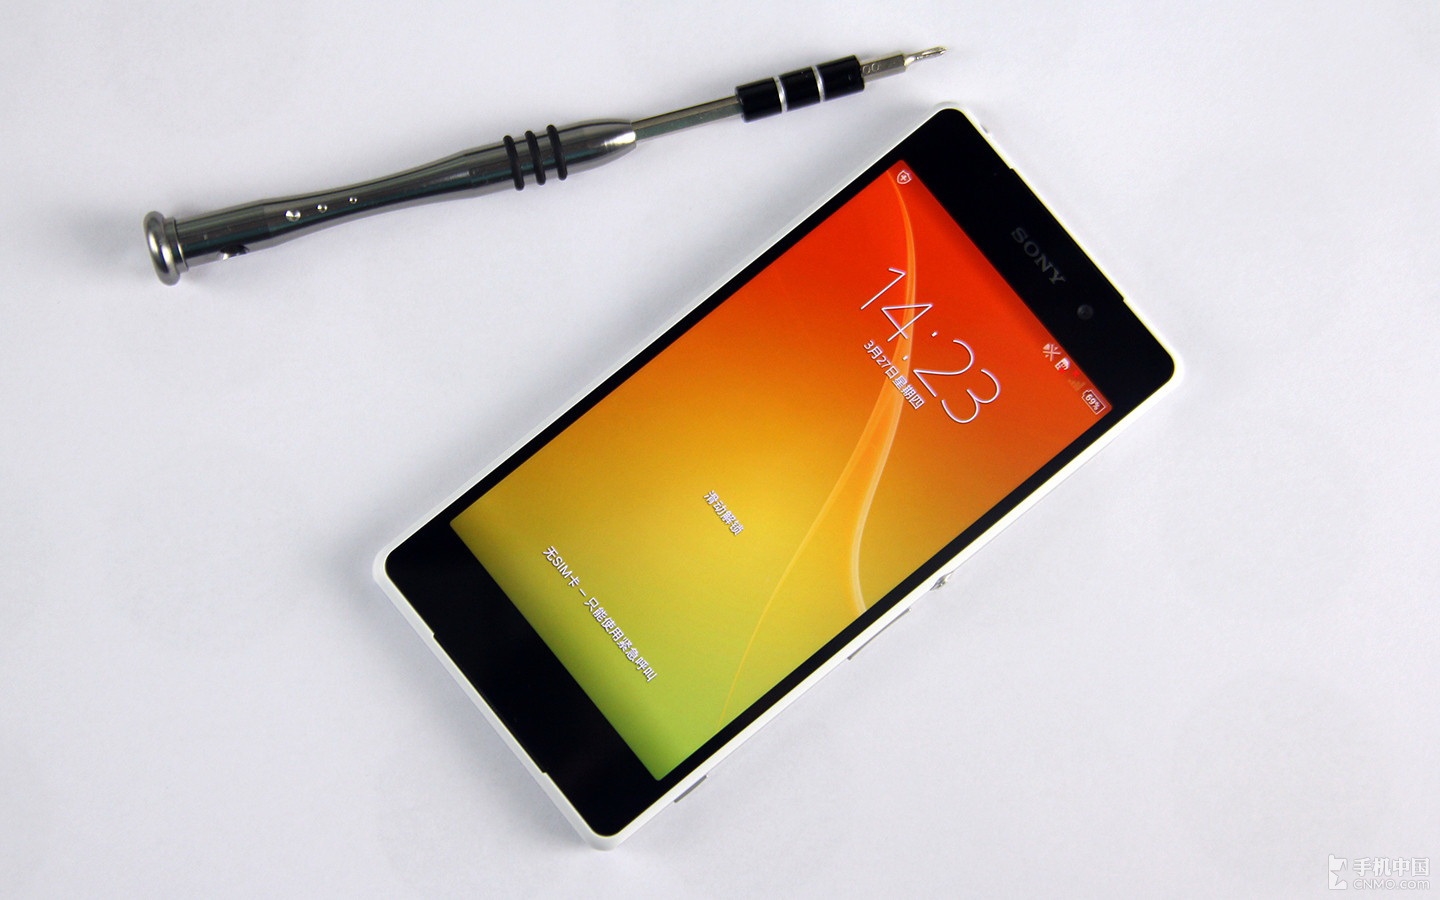
Compared to Sony Xperia Z1, the Sony Xperia Z2 did not change significantly, but it uses 5.2-inch IPS screen.
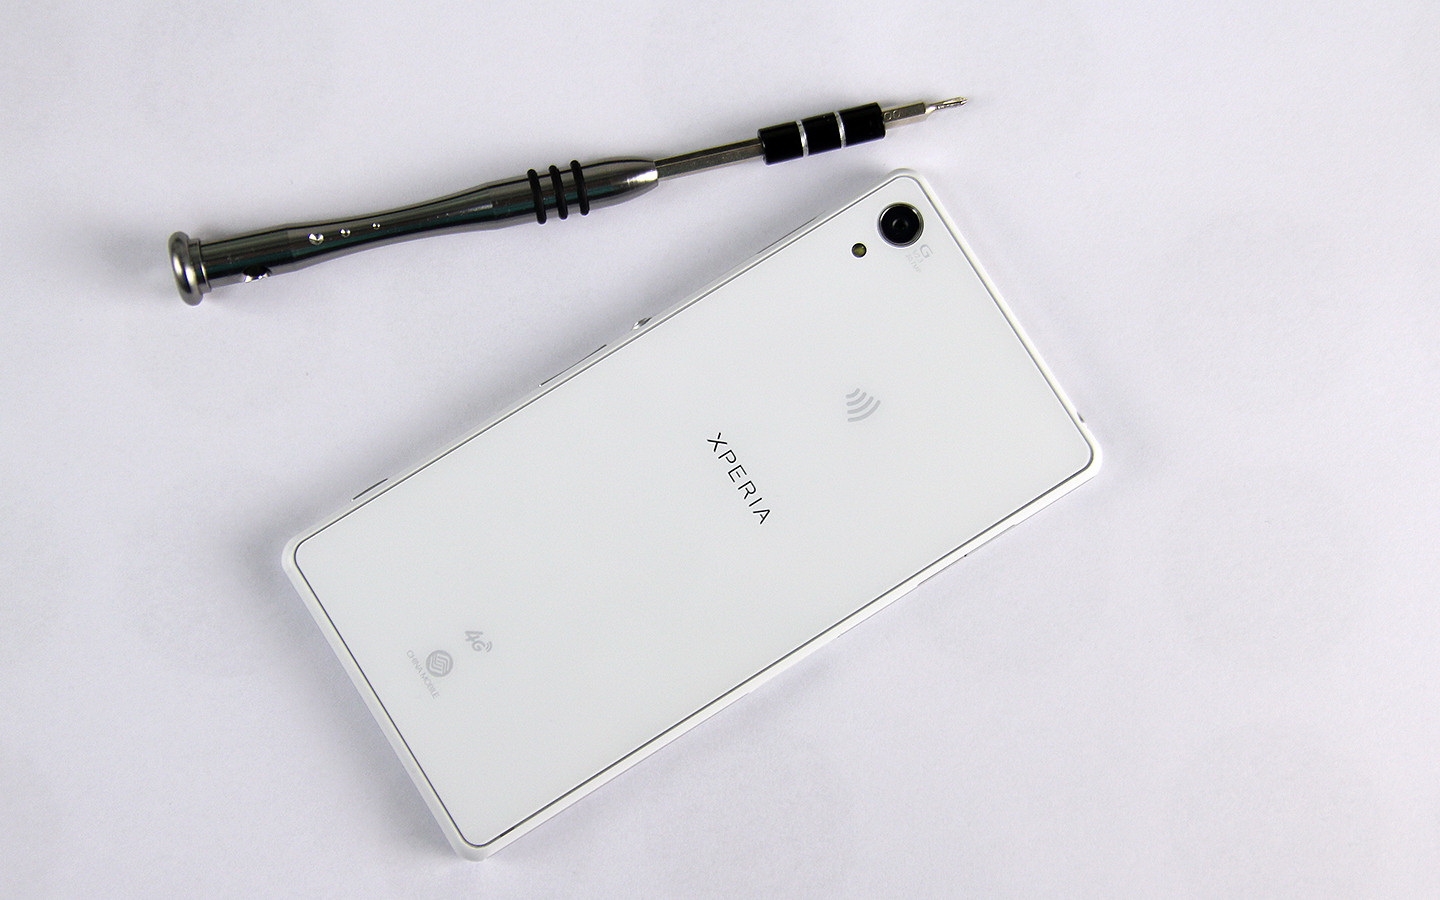
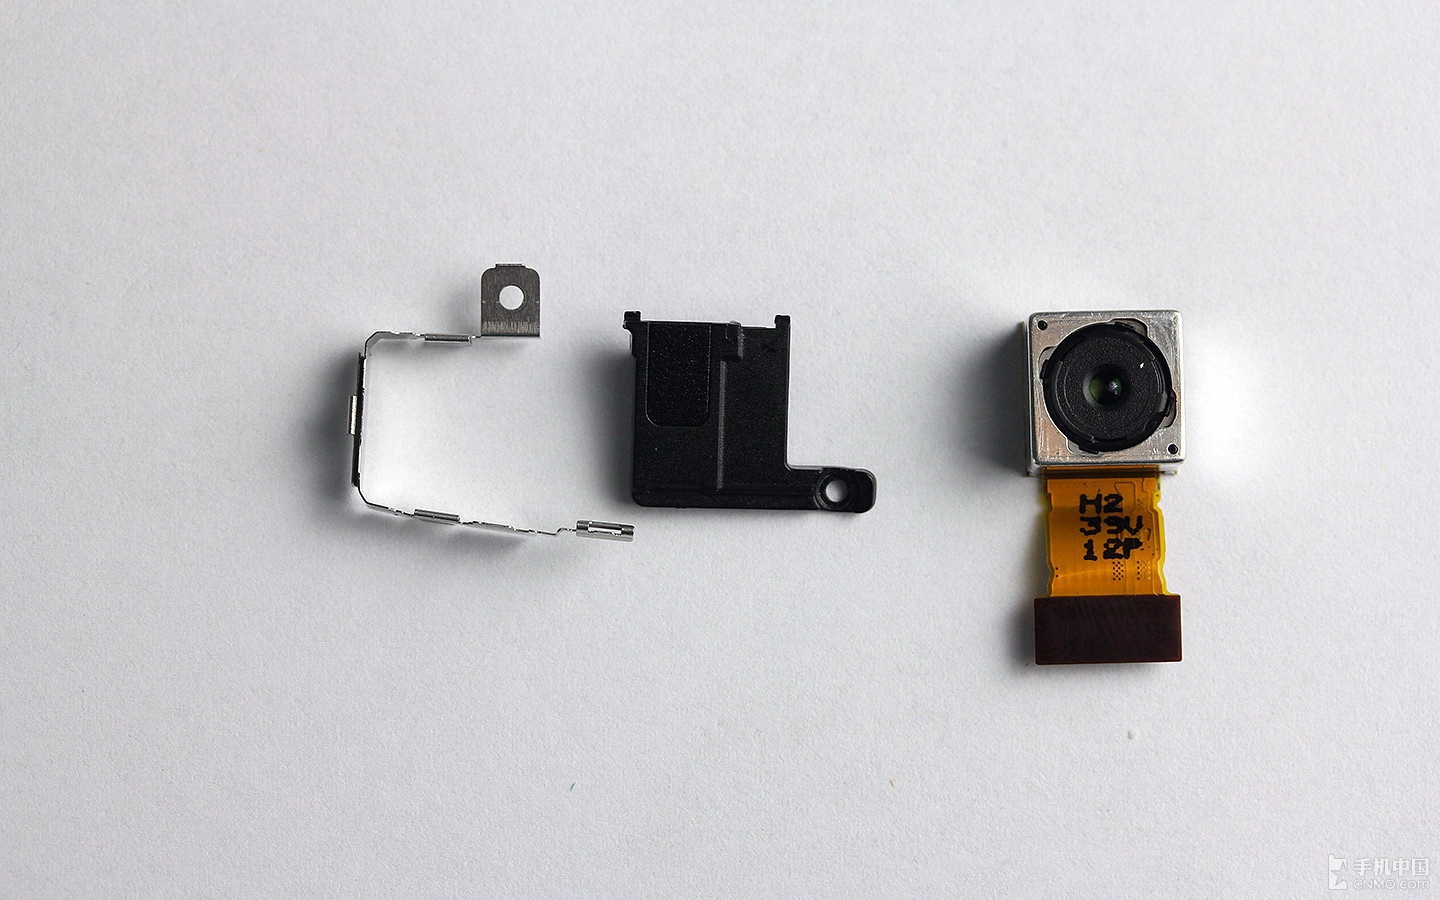
Sony Xperia Z2 is still using the glass back cover, with a 20.7 million pixel rear camera.
To remove the back cover, you need to use a very thin metal bar. The rear cover is glued to the phone body. You need to pry it up.
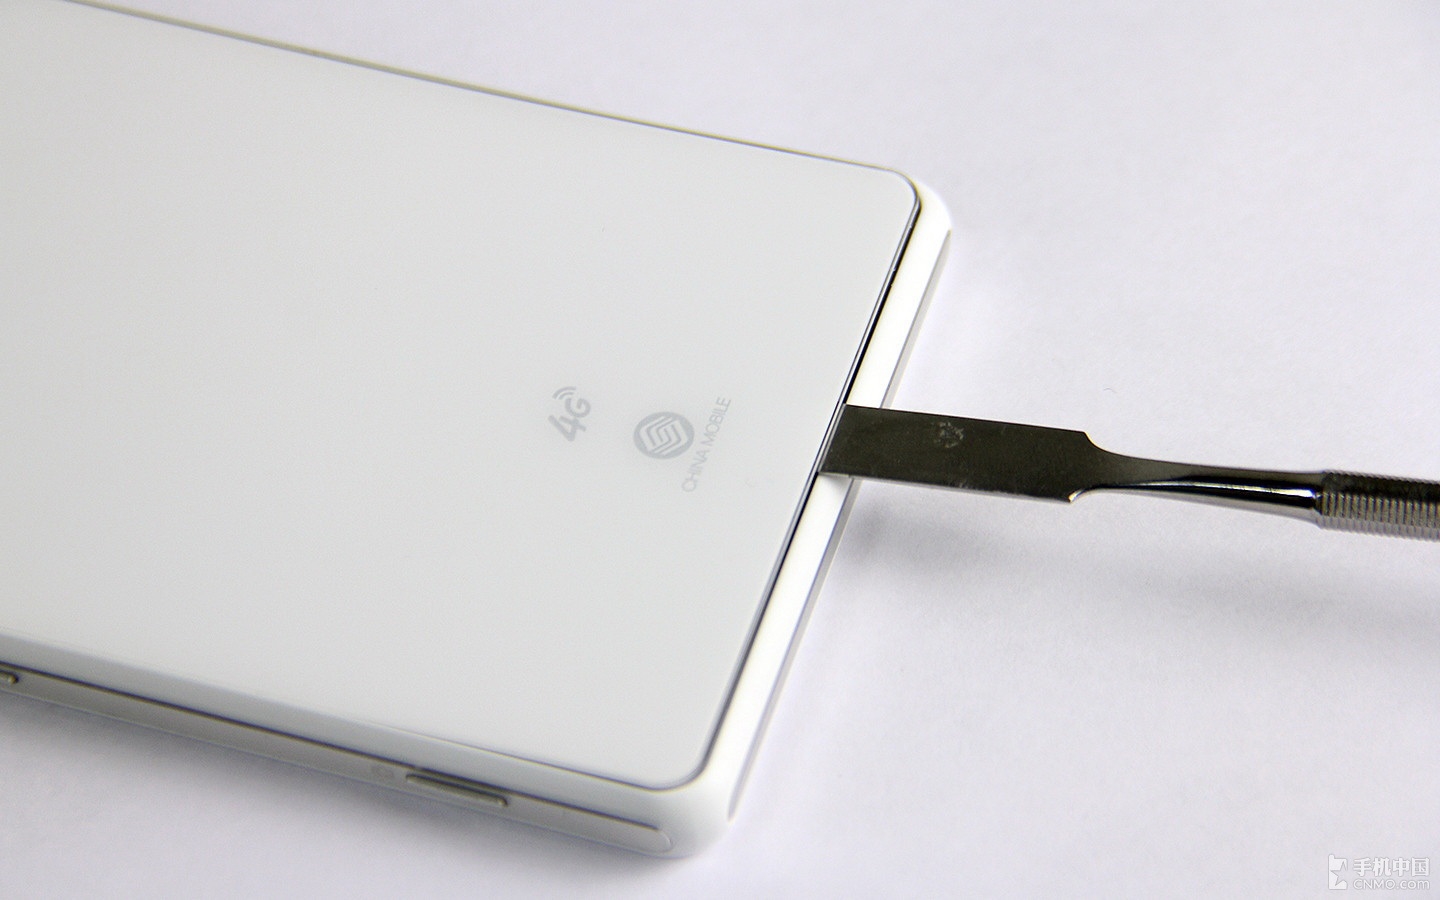
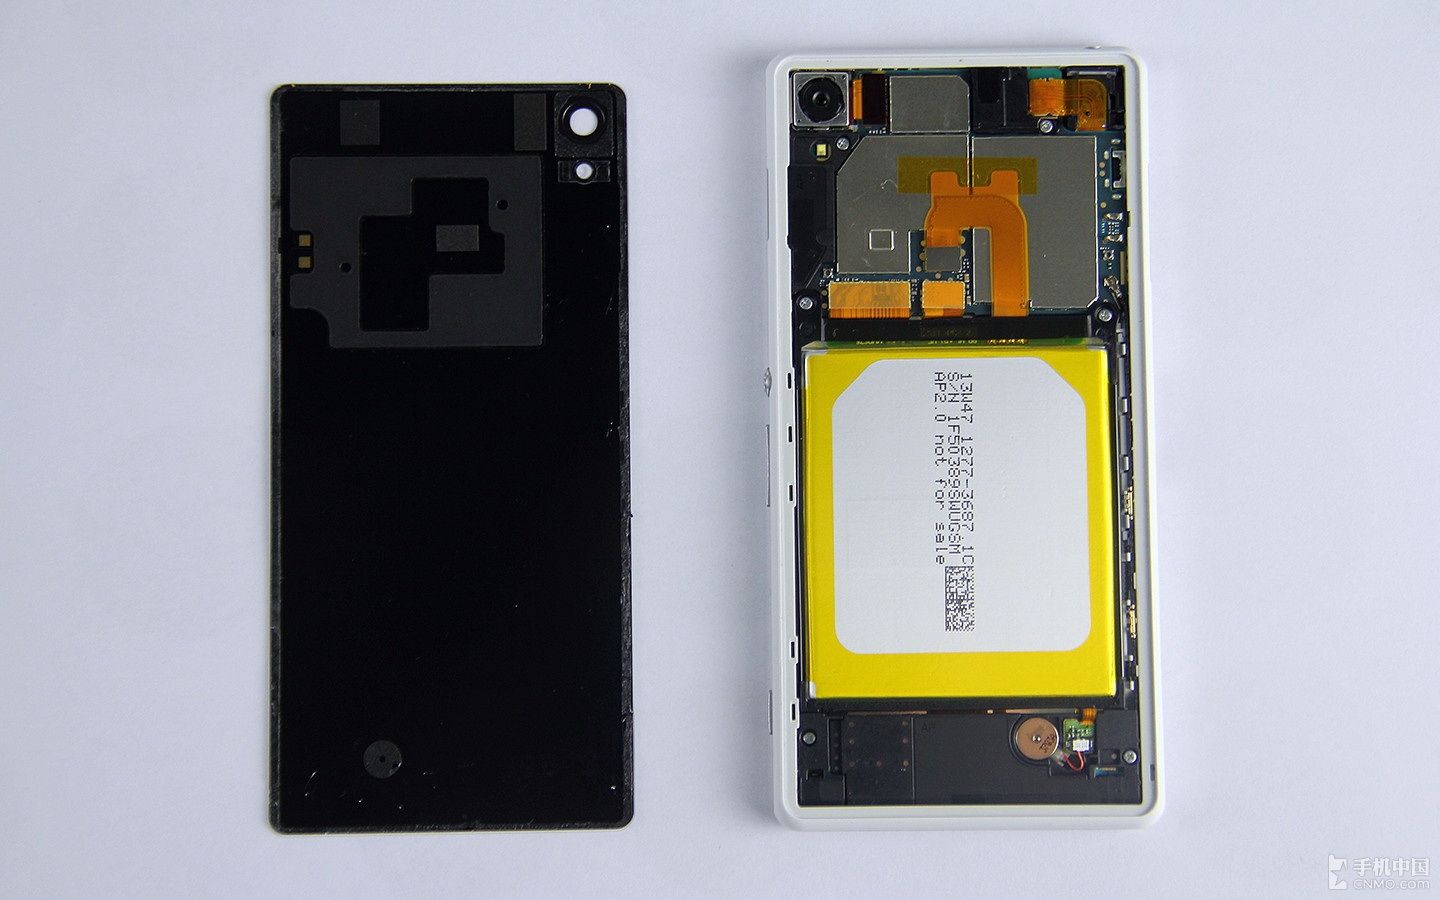
Be very patient. We have successfully removed the back cover.
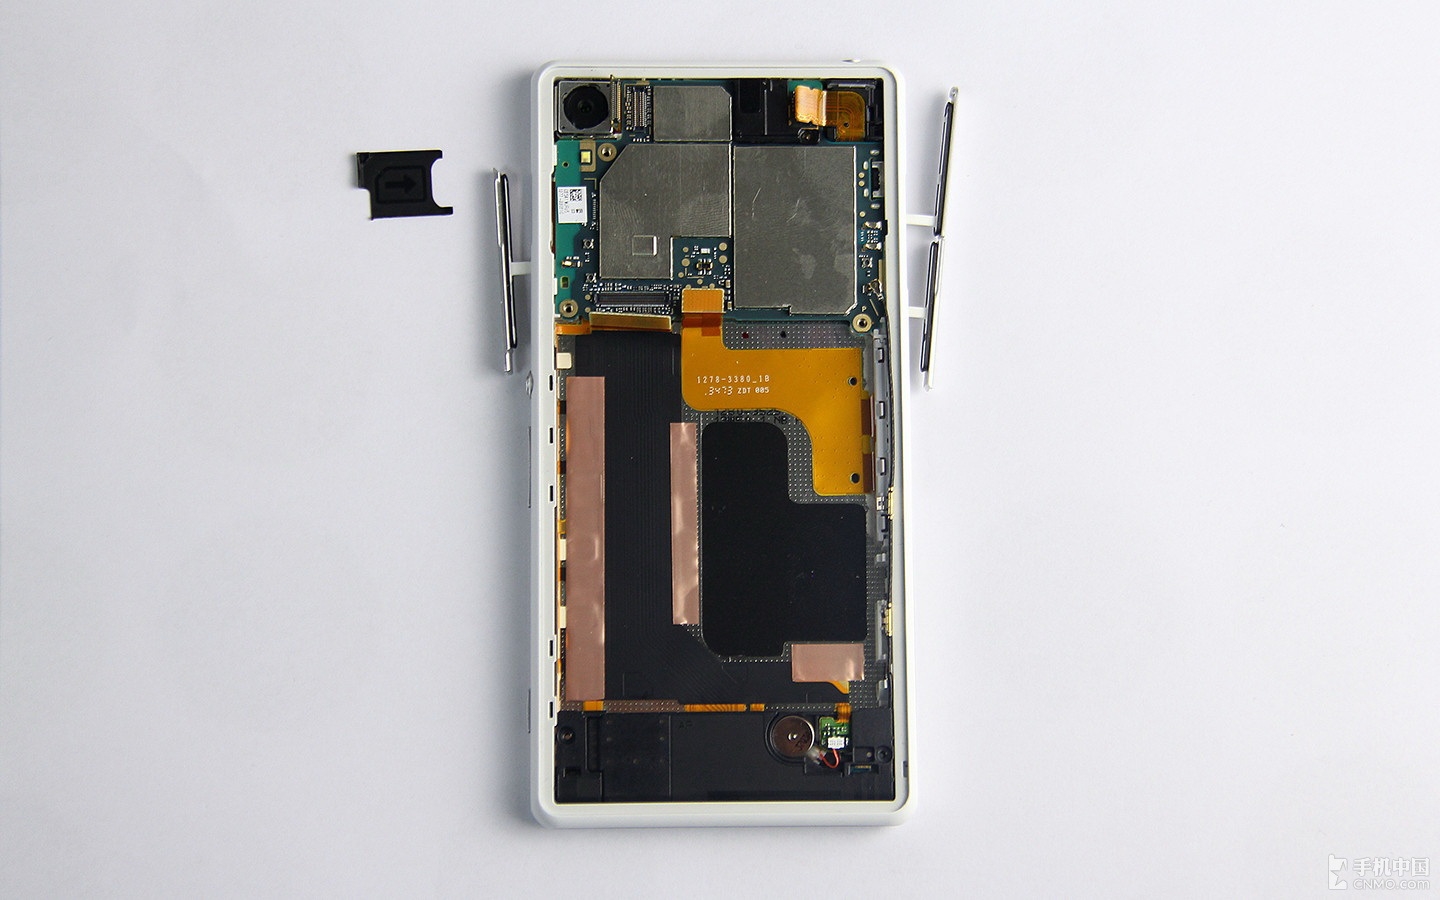
After opening the back cover, you can see the Z2’s battery and motherboard. The motherboard is wrapped in a tightly shielded metal cover, and the battery pack is also wrapped by yellow tape.
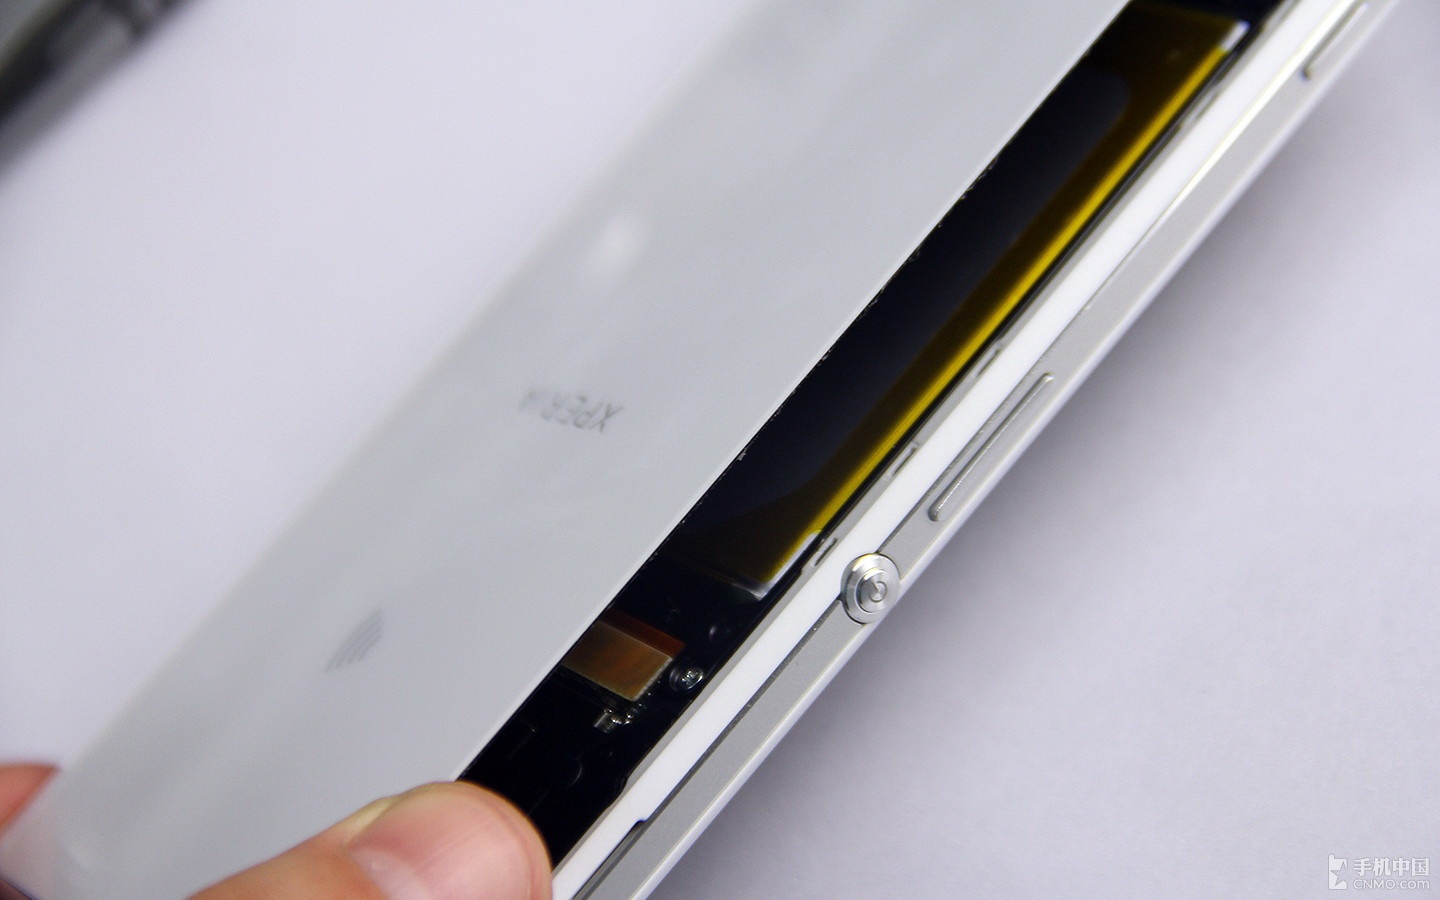
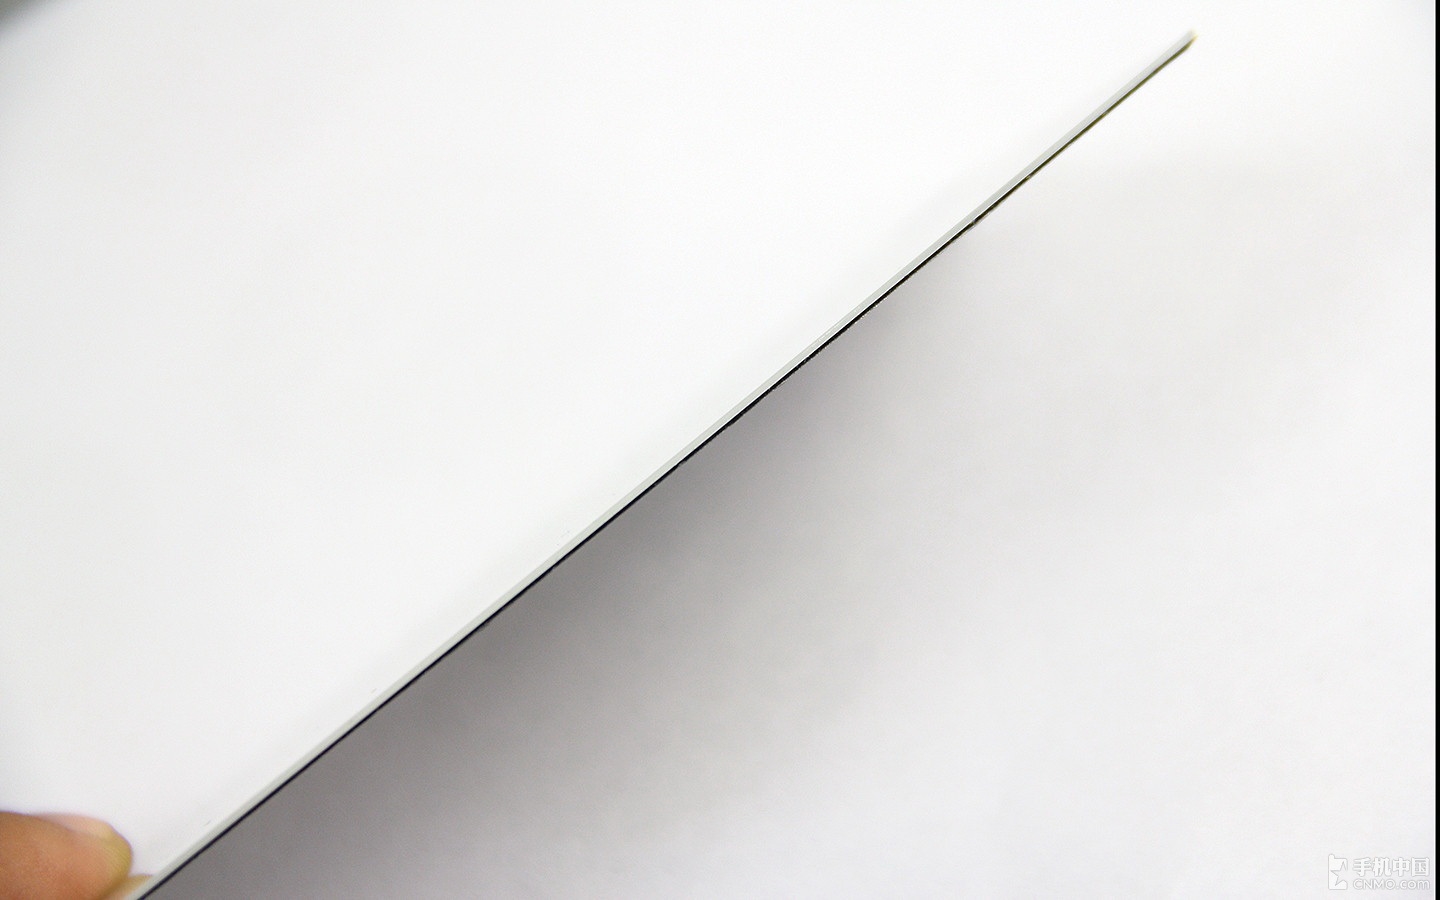
The rear glass panel of the Xperia Z2 is very thin.
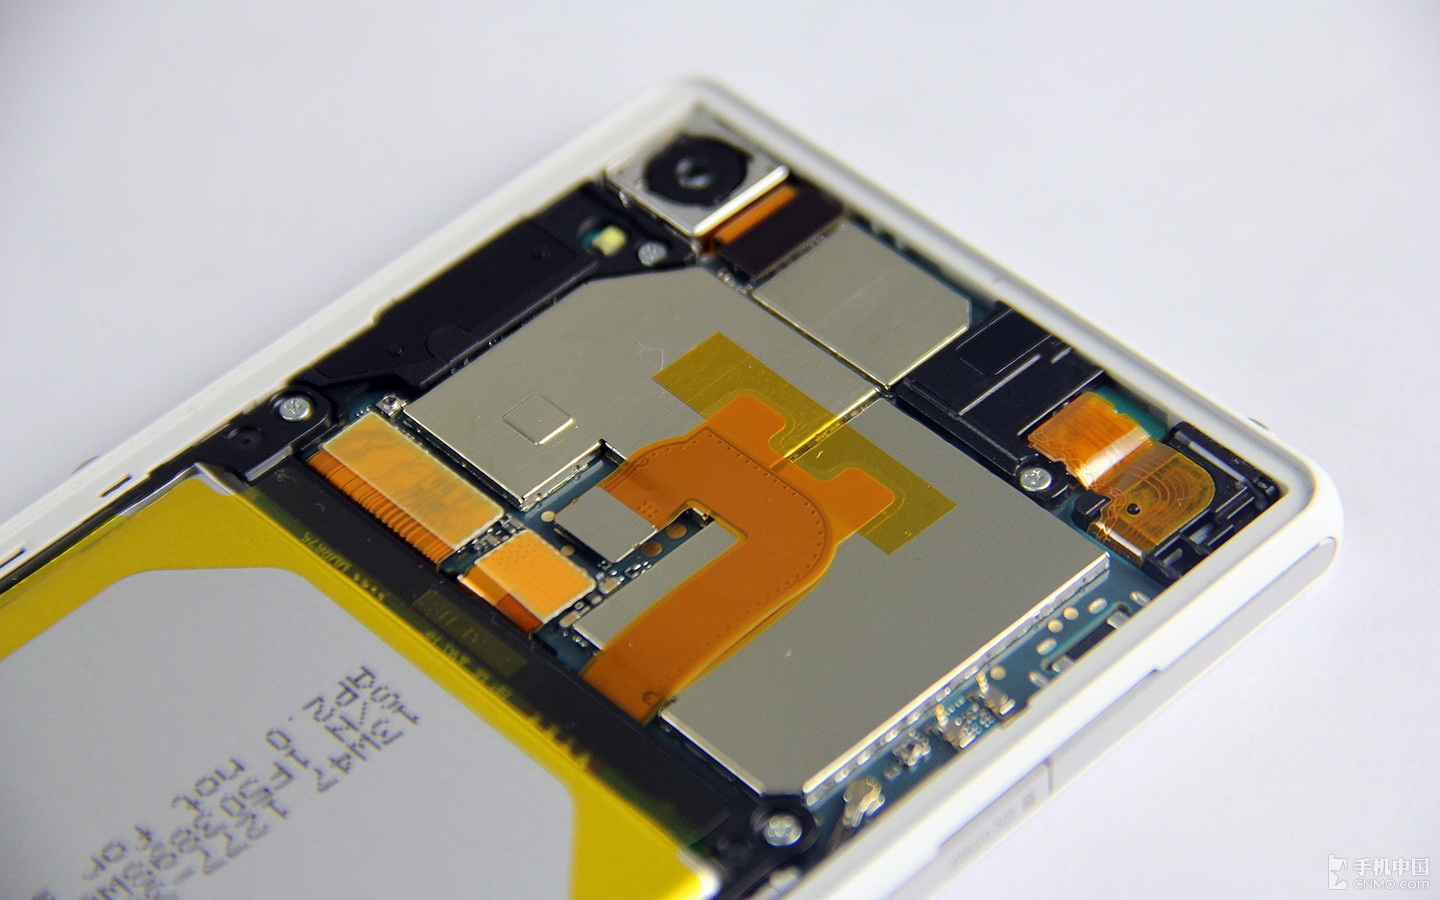
The motherboard is wrapped in a tightly shielded metal cover.
Sony Xperia Z2 battery, speaker and vibrator
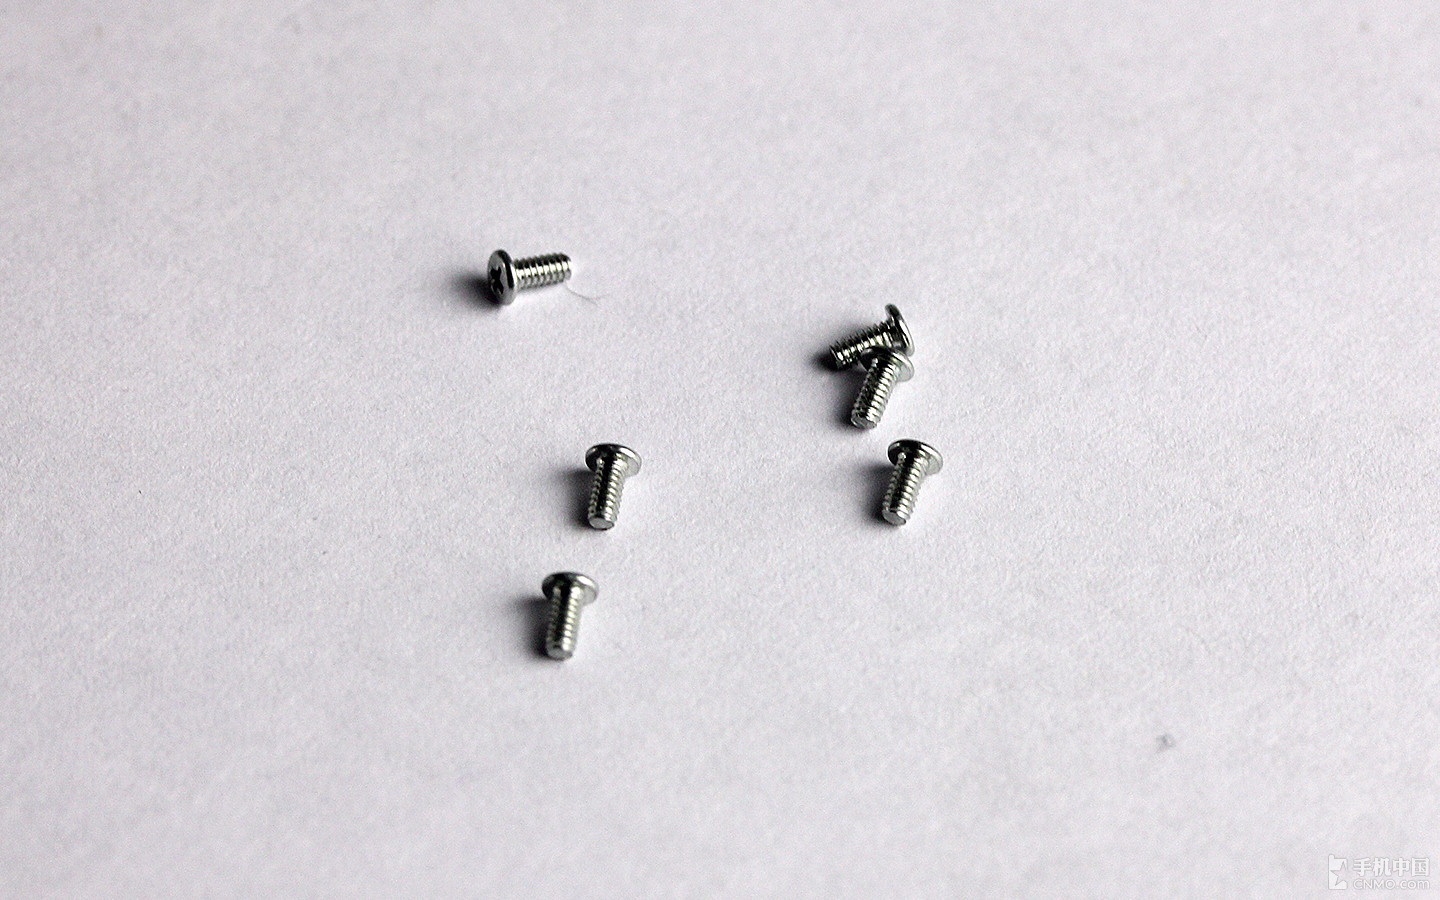
Remove six screws.

Disconnect the battery connector from the motherboard.
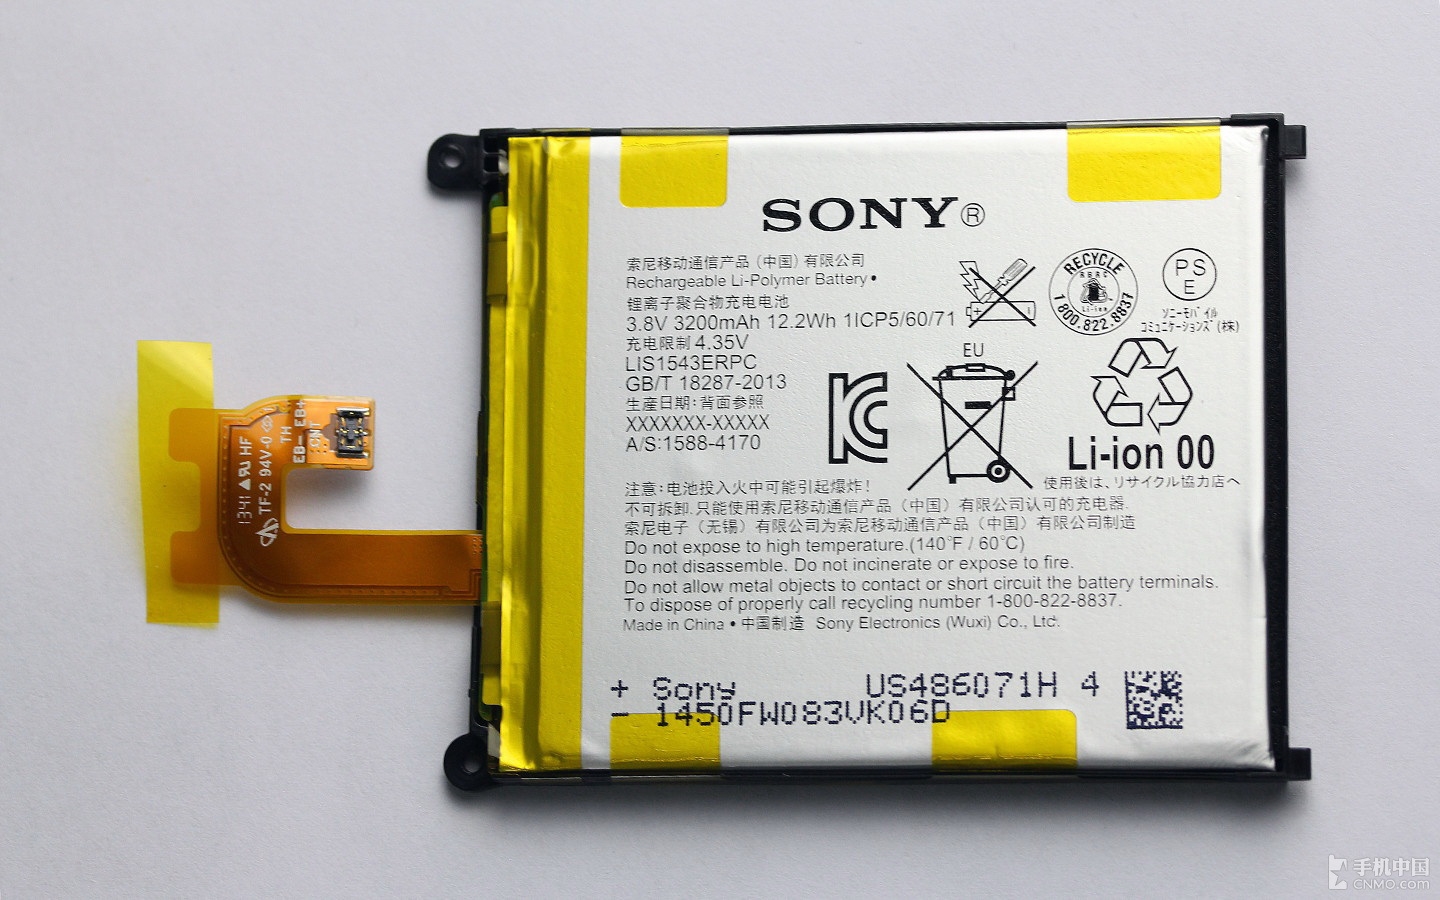
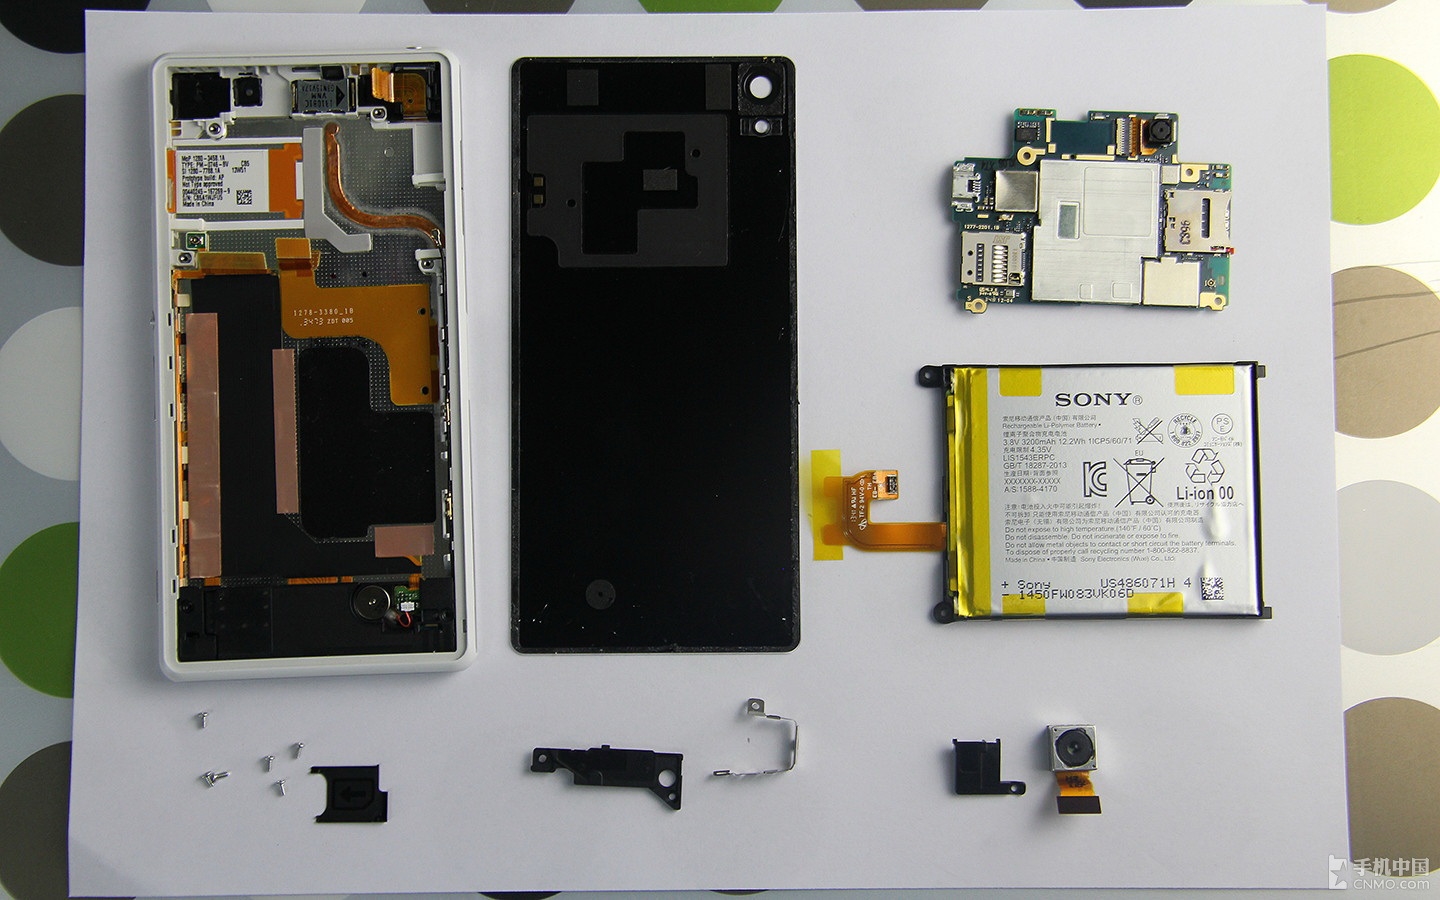
Remove the battery.
Sony Xperia Z2 comes with a 3200mAh Li-polymer battery.
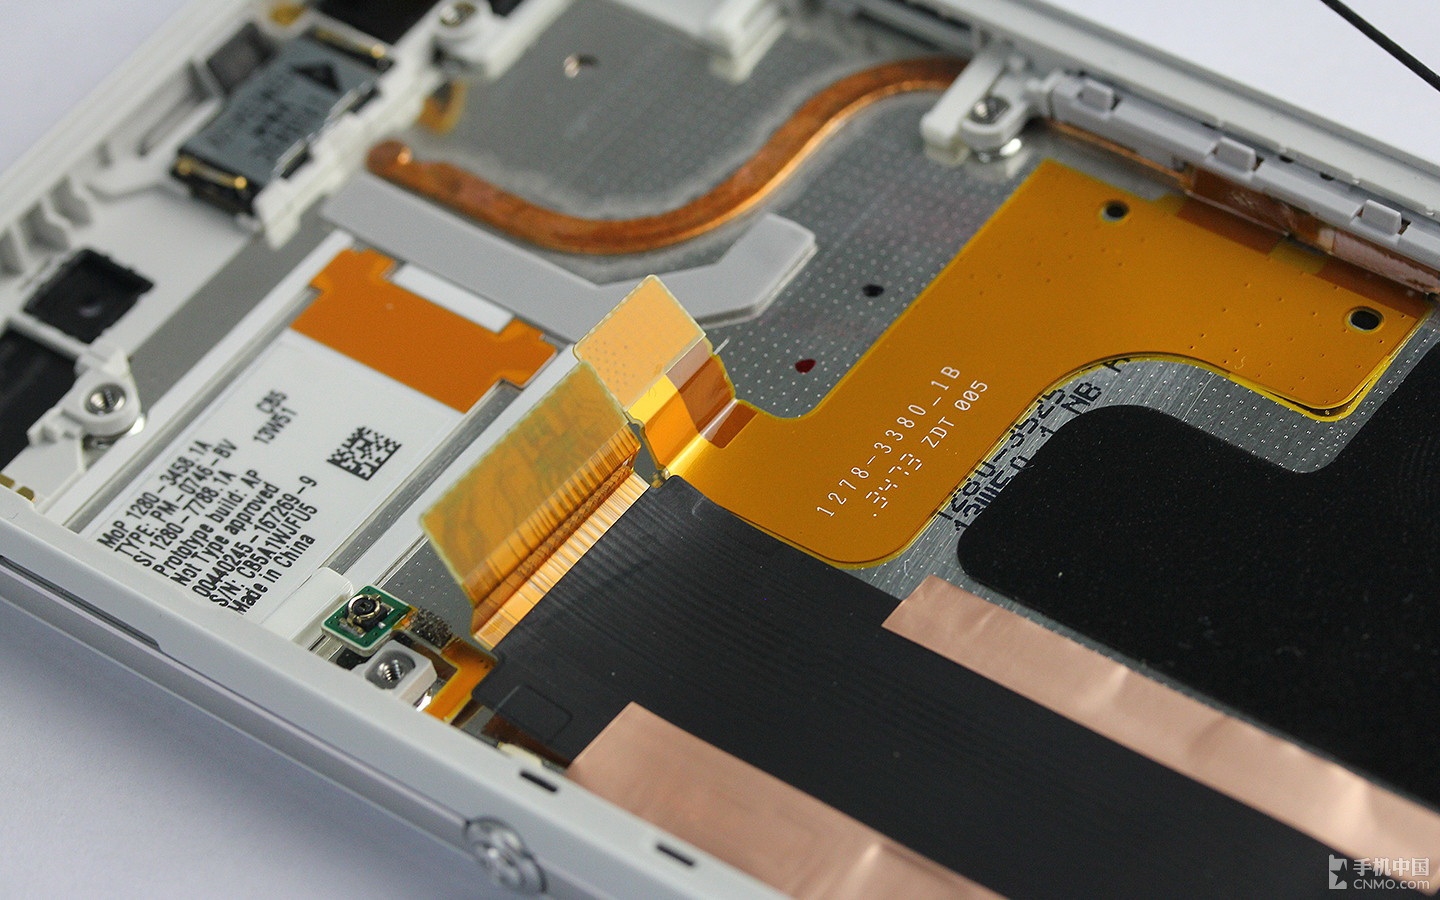
Once the battery was removed, you will need to disconnect the remaining cables and parts. This is to ensure that you don’t damage the motherboard.
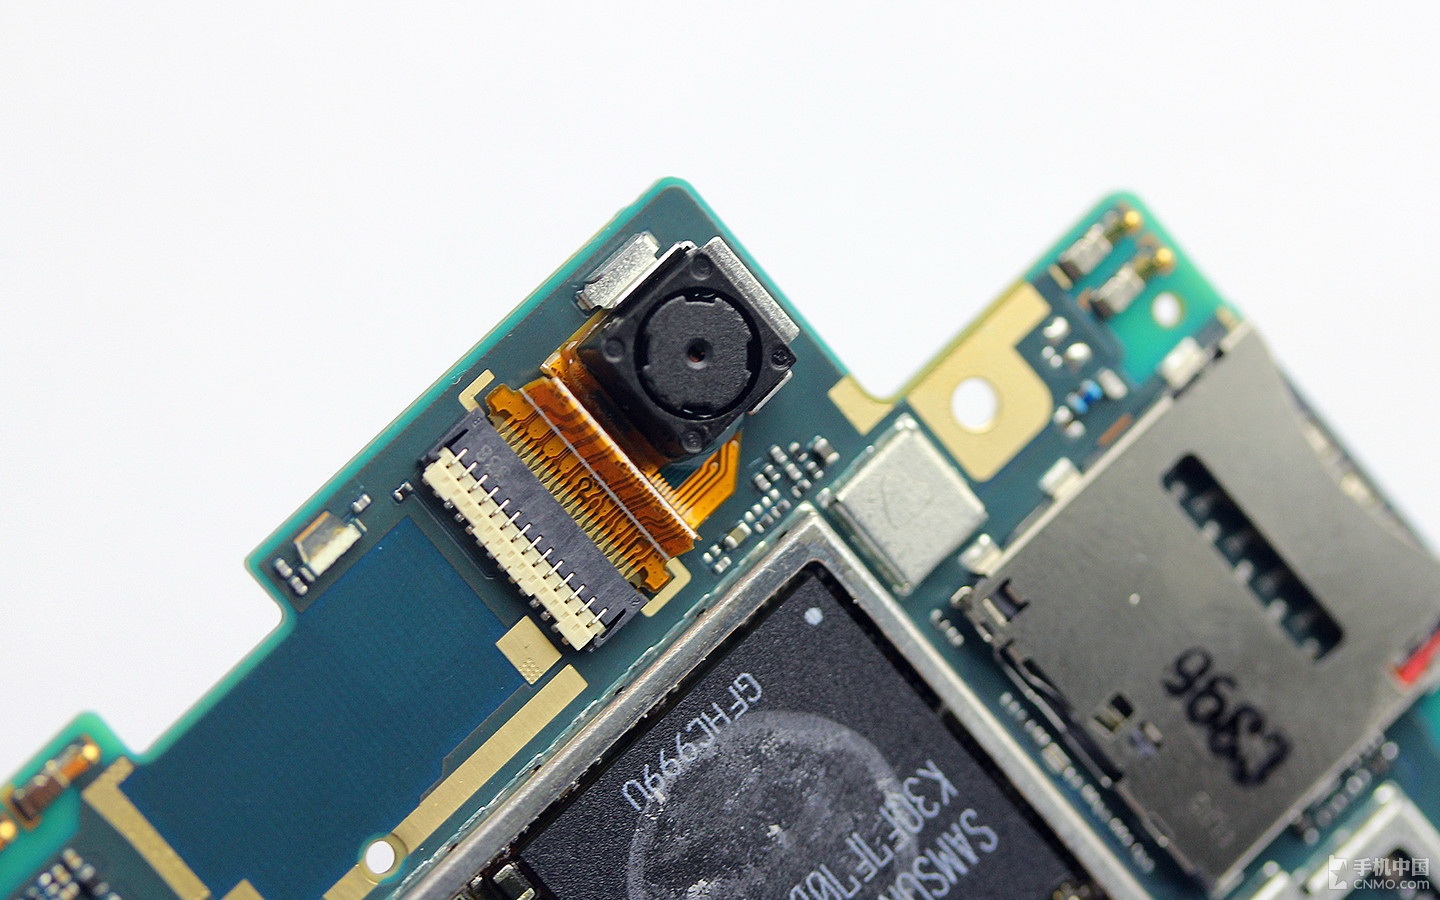
Sony Xperia Z2 rear camera
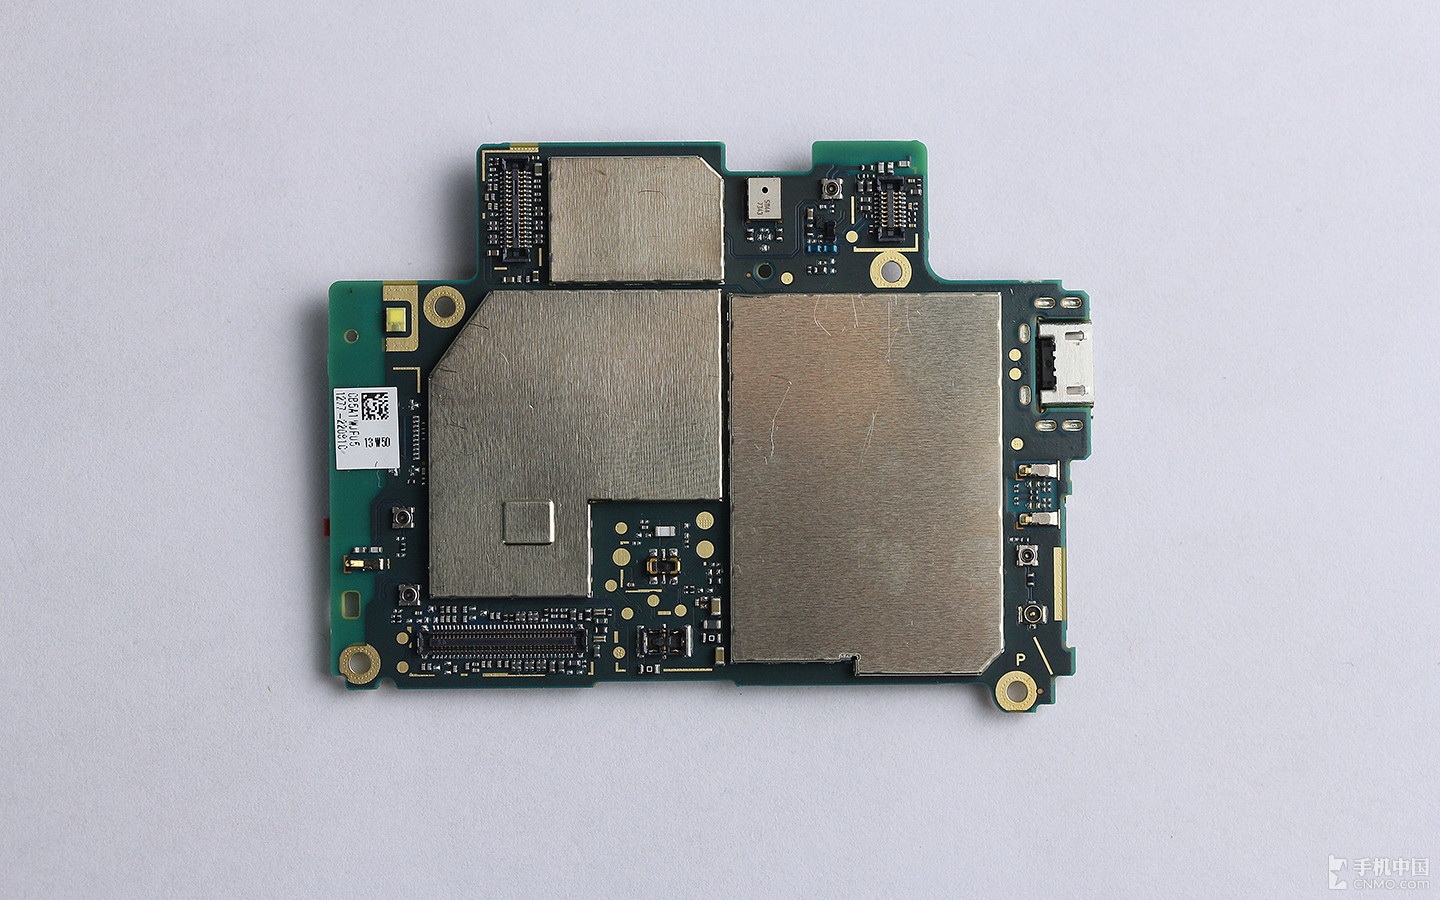
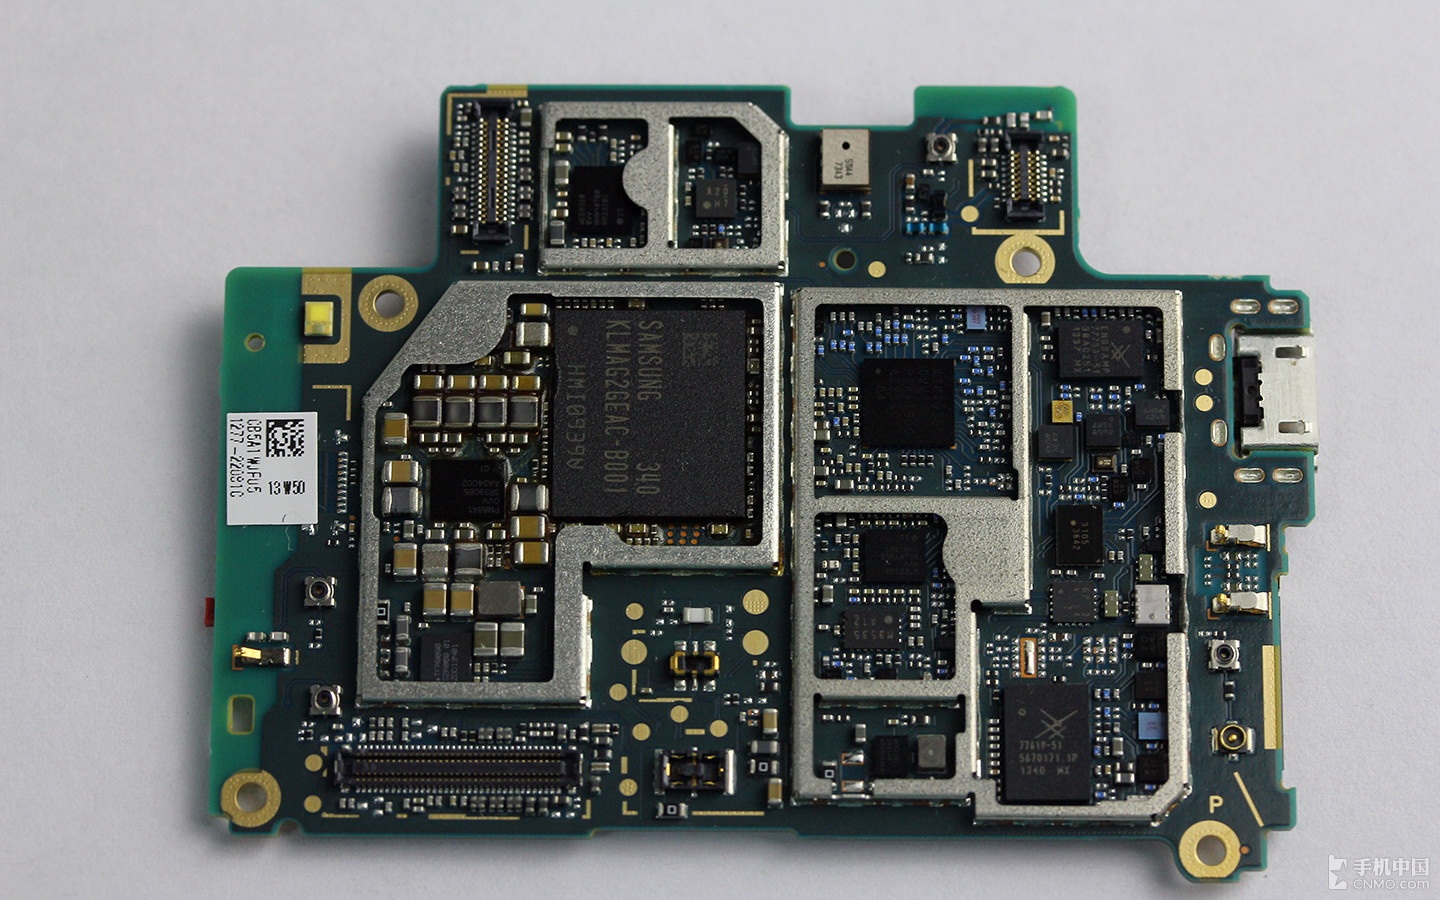
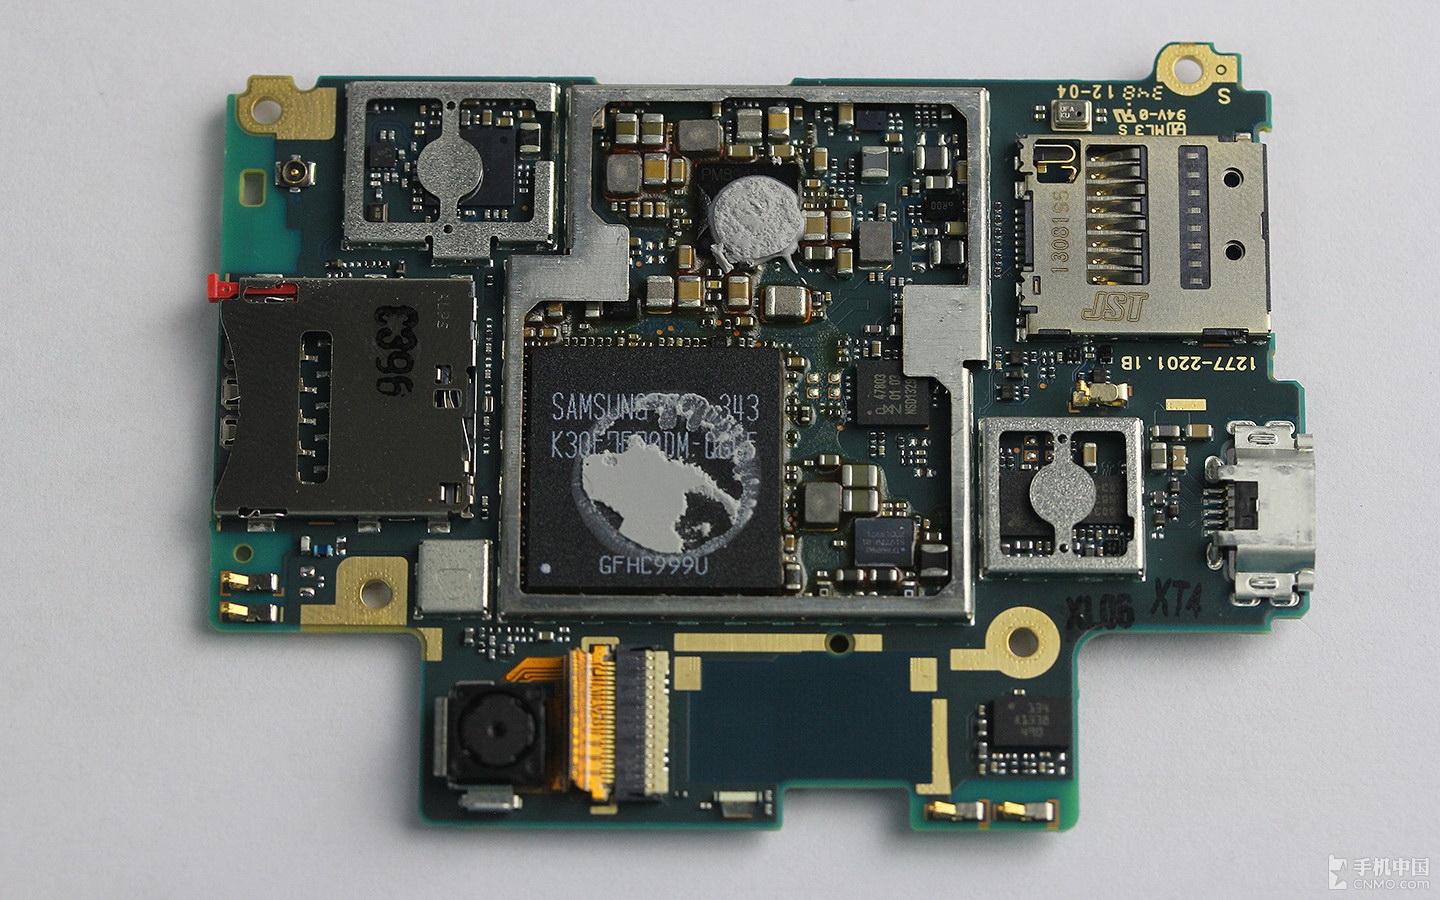
The back of the motherboard
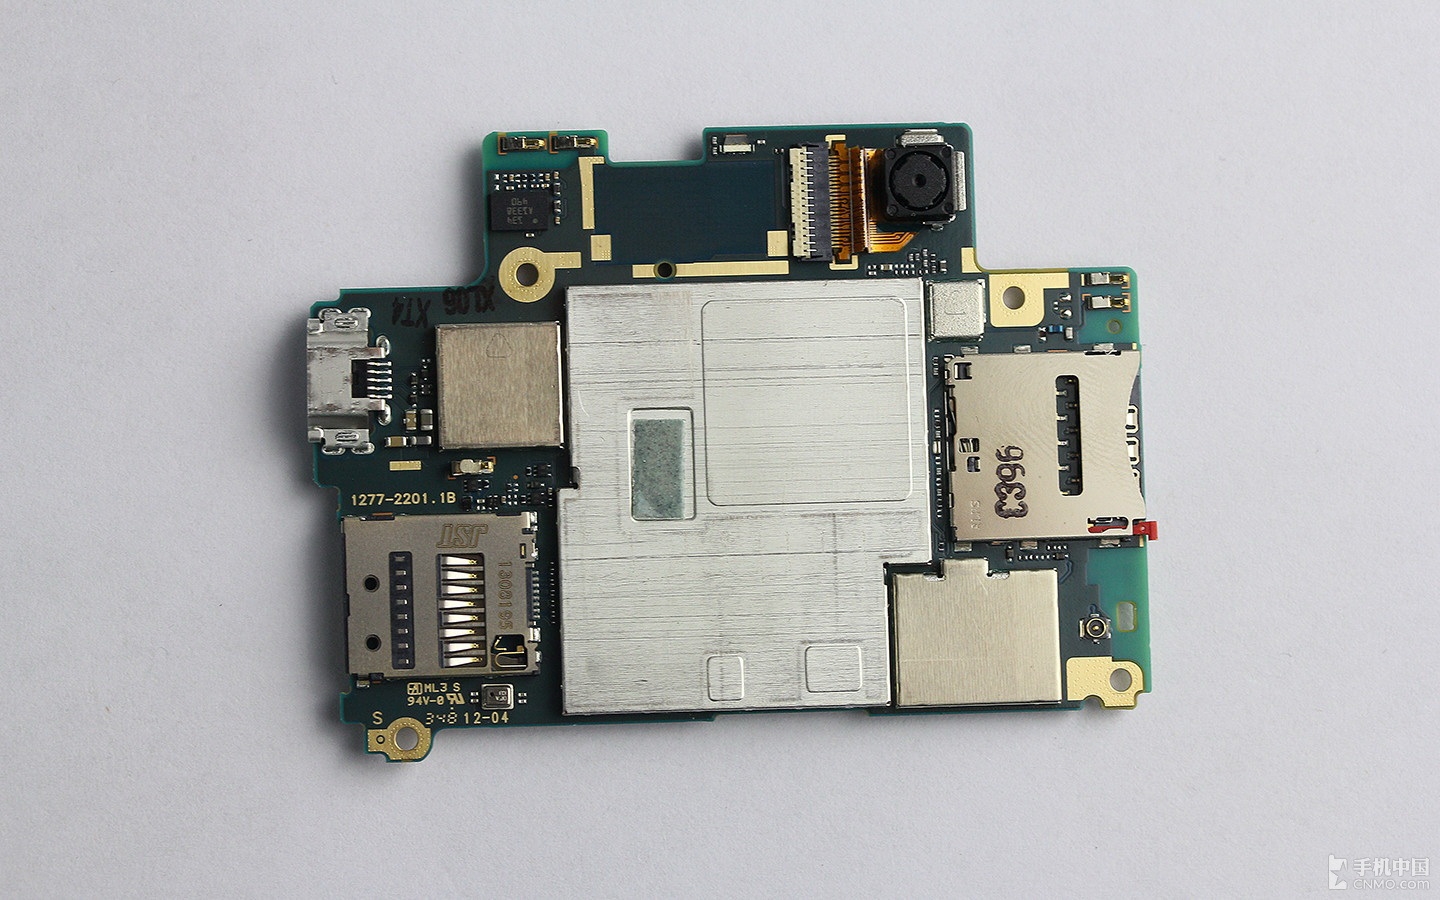
Here is the front view of the motherboard. It shows all of the ports, including microSD memory card slot, micro SIM slot, micro USB port and front-facing camera.
After removing the motherboard, you can see the 3.5mm headphone jack.
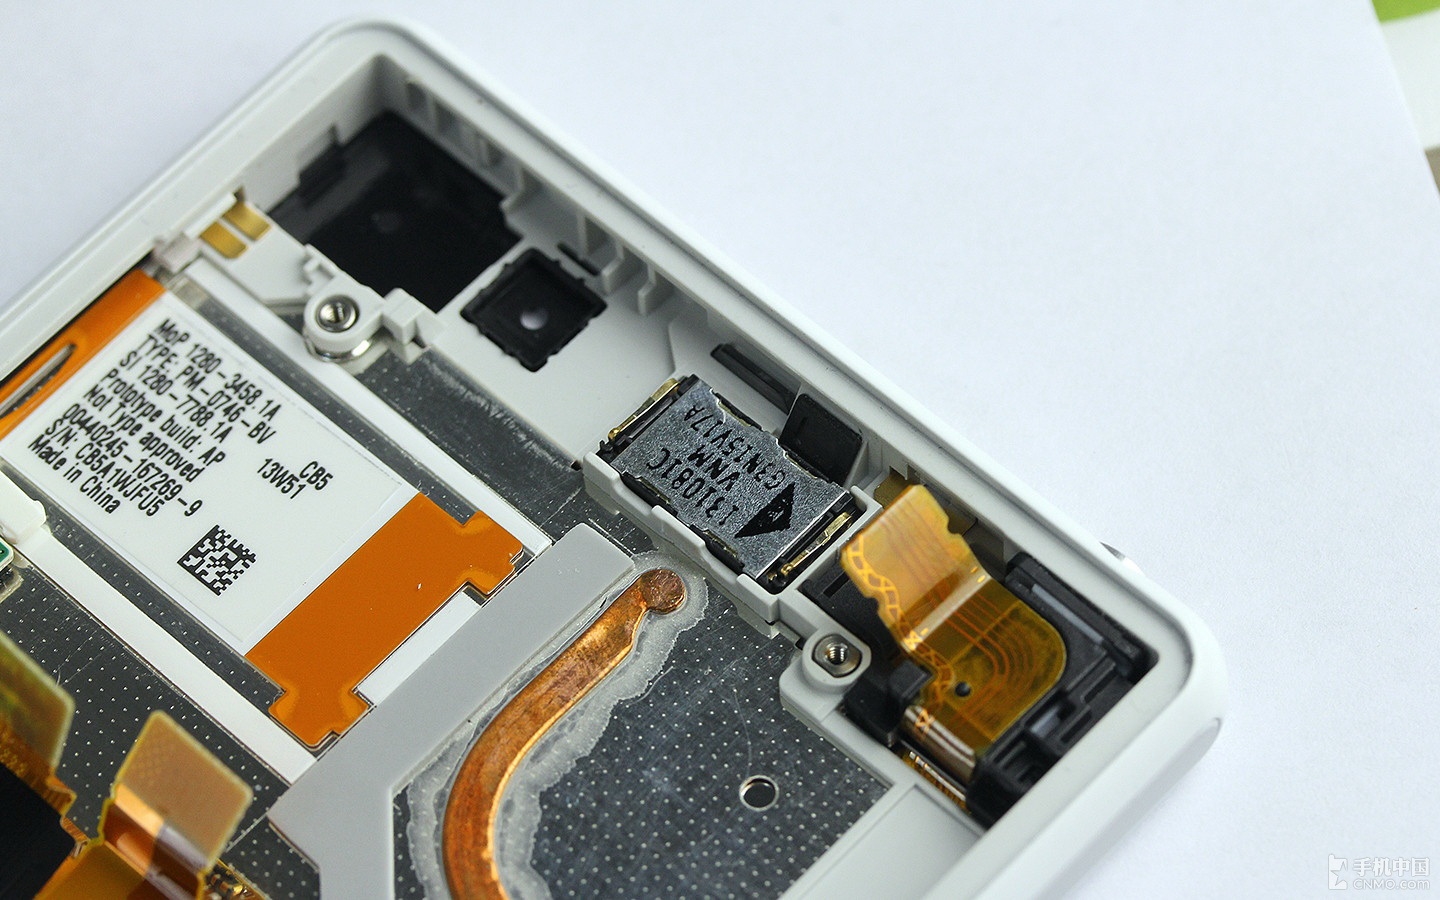
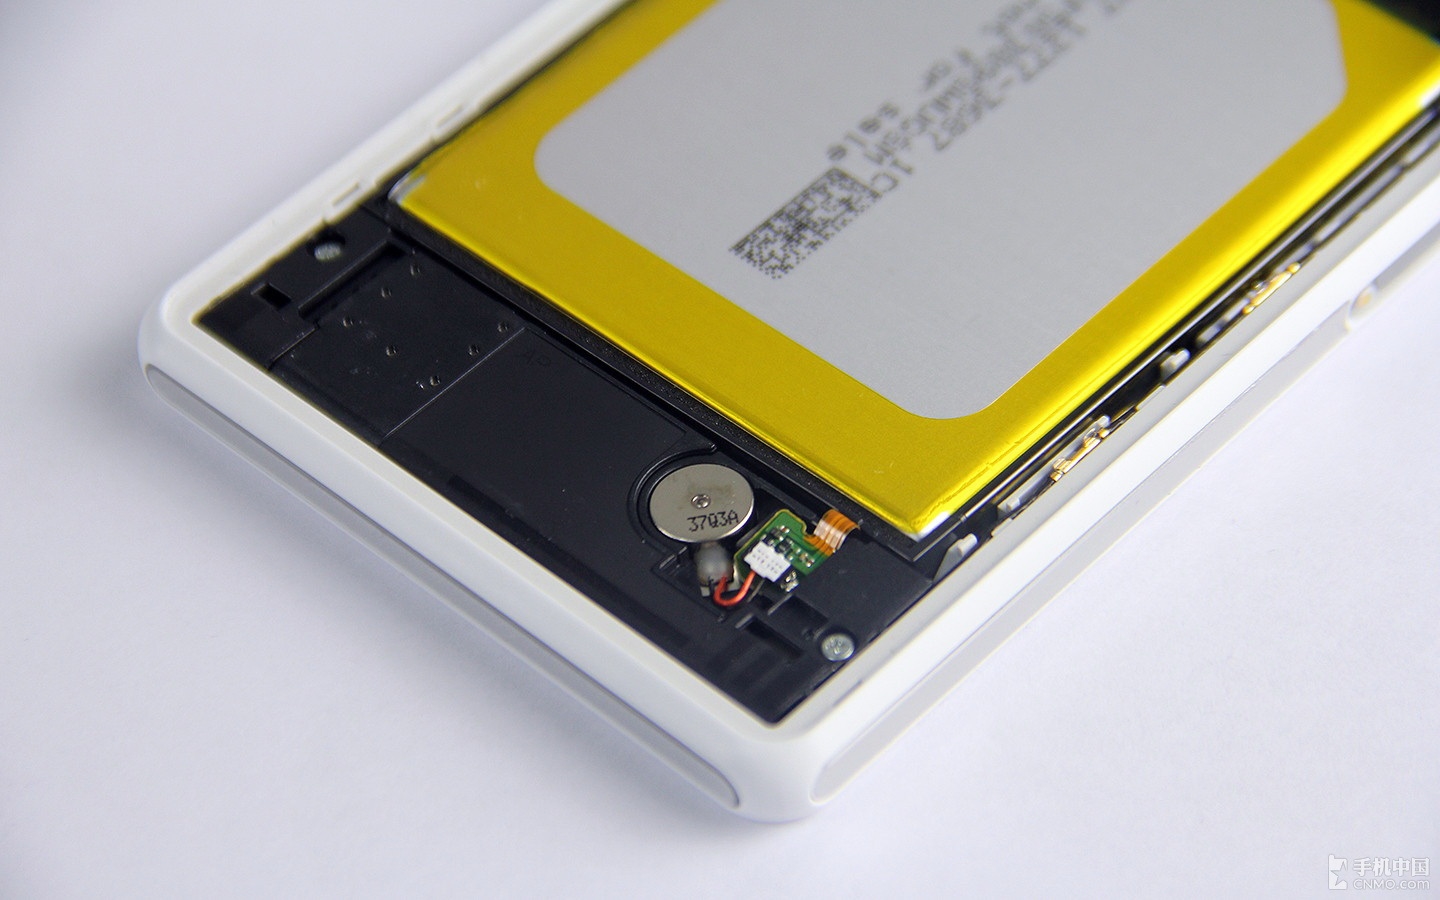
The speaker and vibrator

Another speaker and vibrator
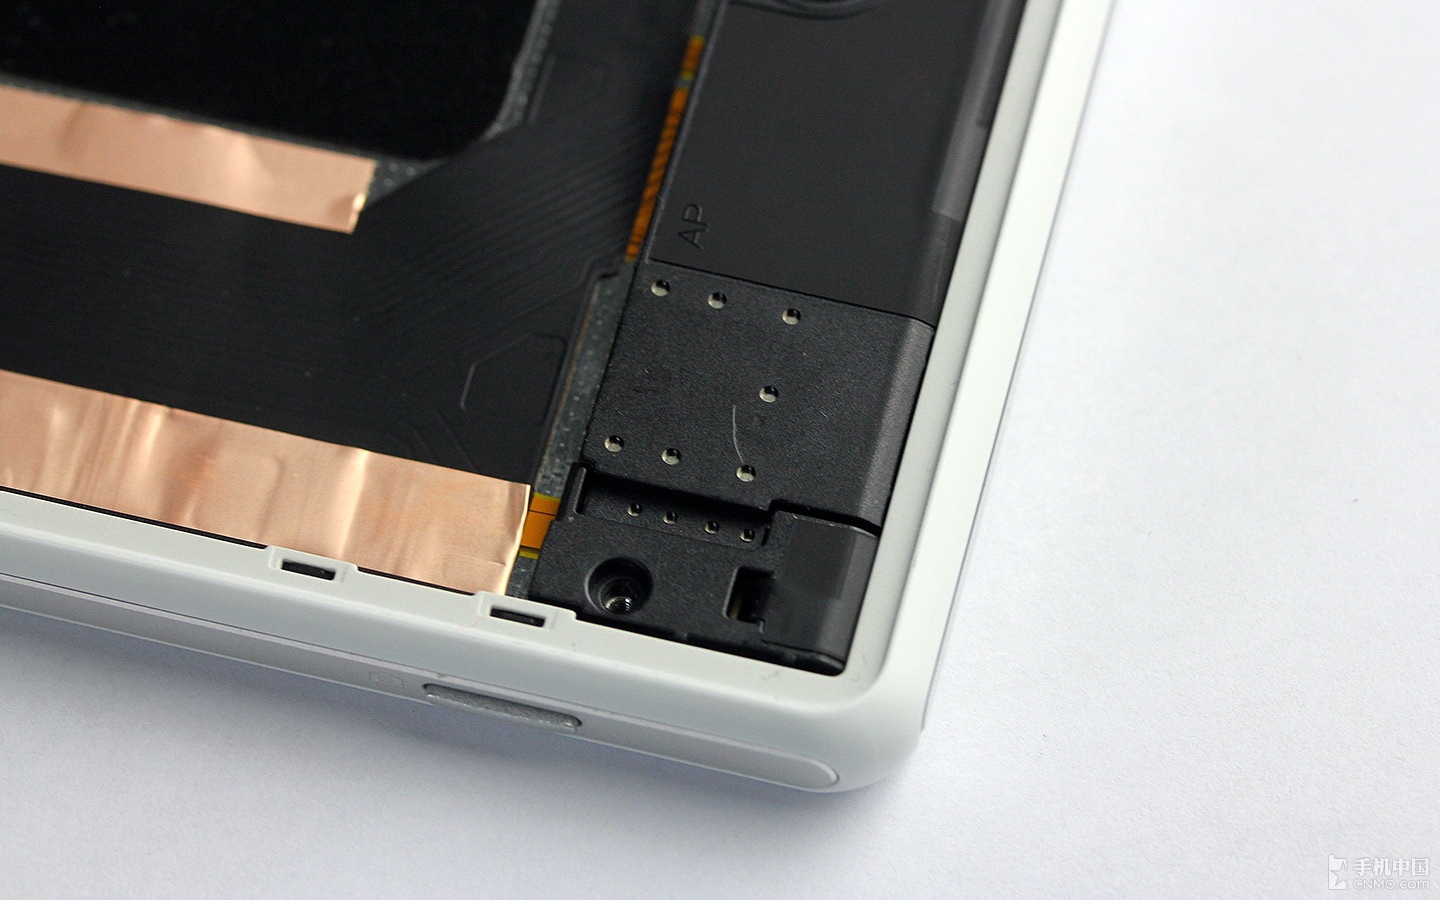
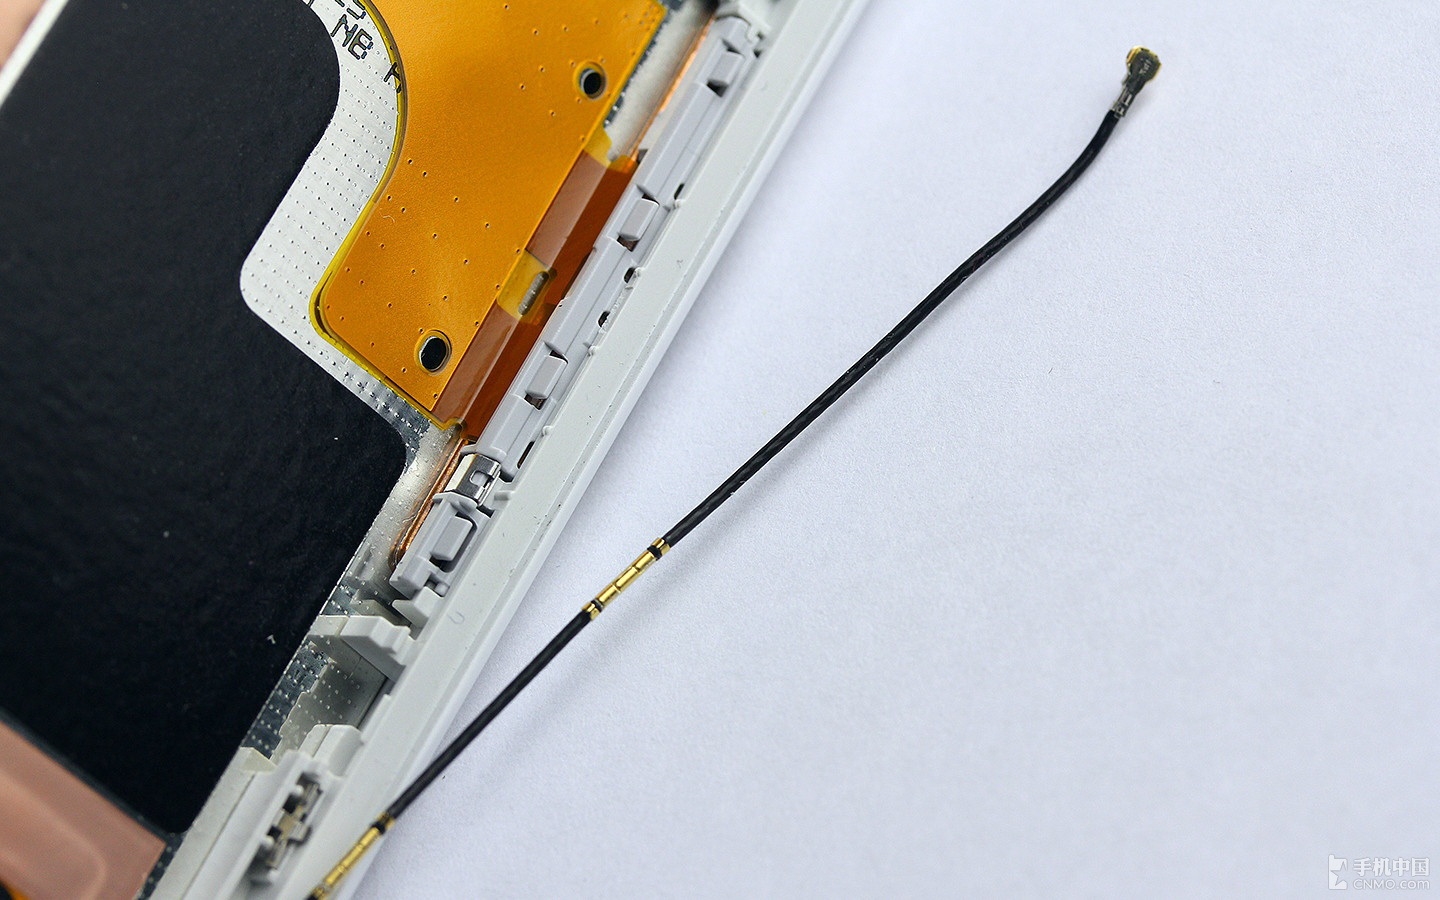
This is the RF cable, used to enhance wireless signals.
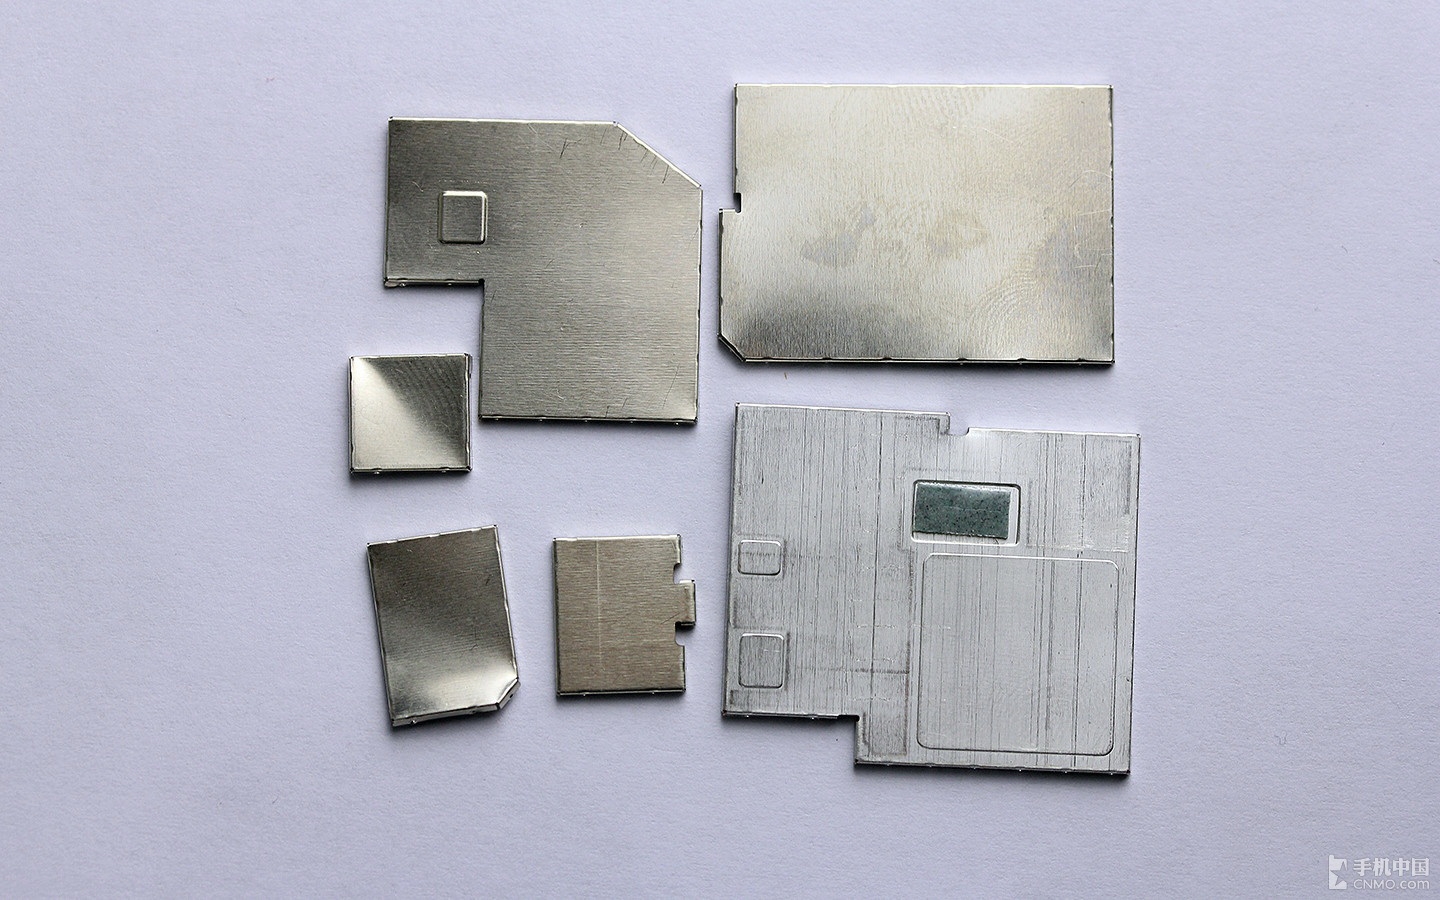
Remove all metal shields covering the chips.
Here you can see the chips on the back of the motherboard.
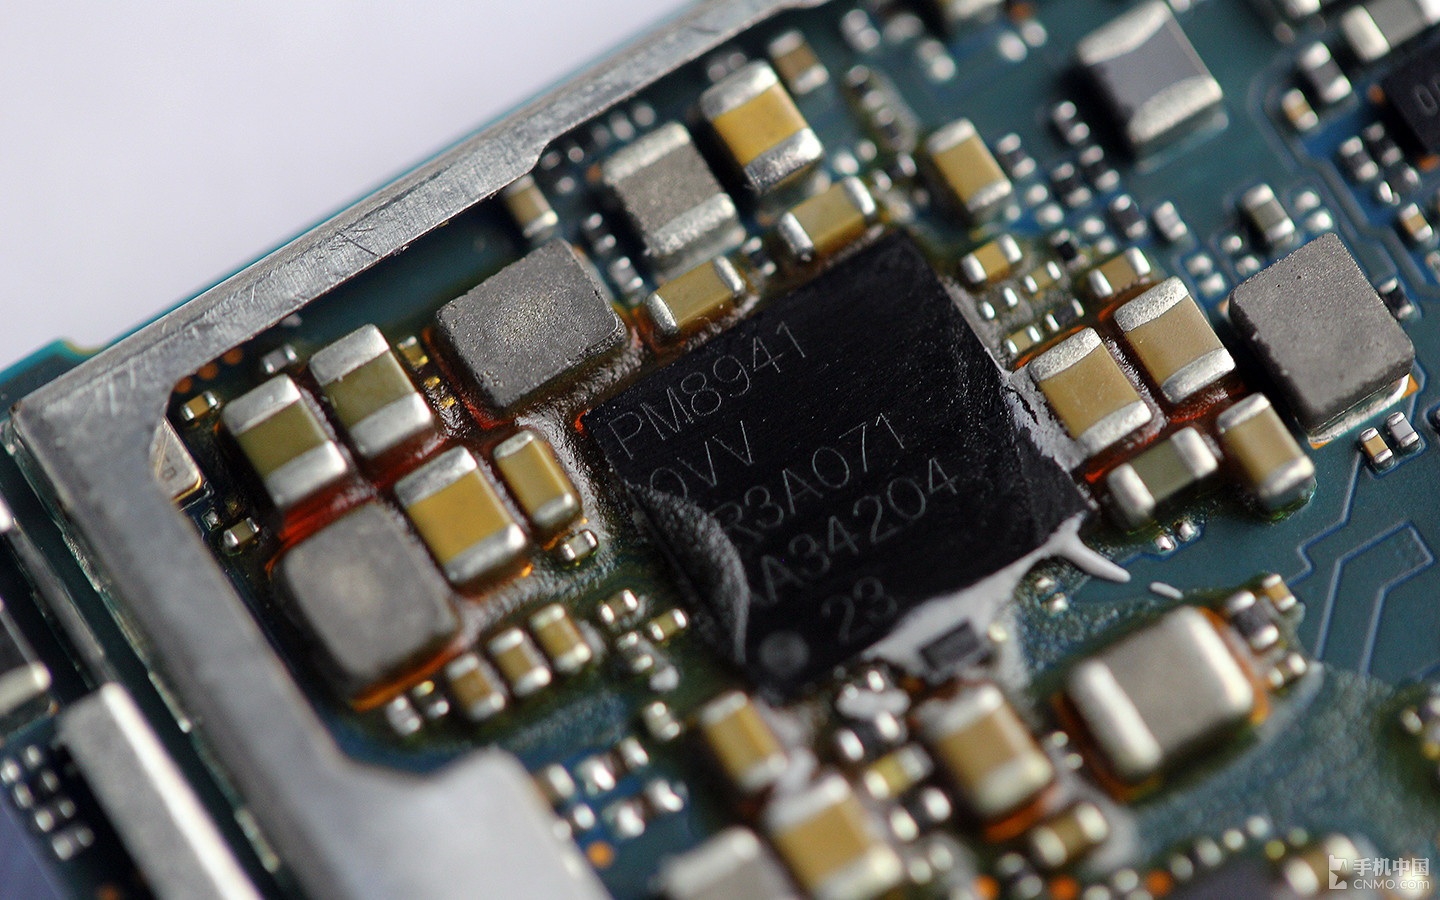
Qualcomm PM8941 power management chip
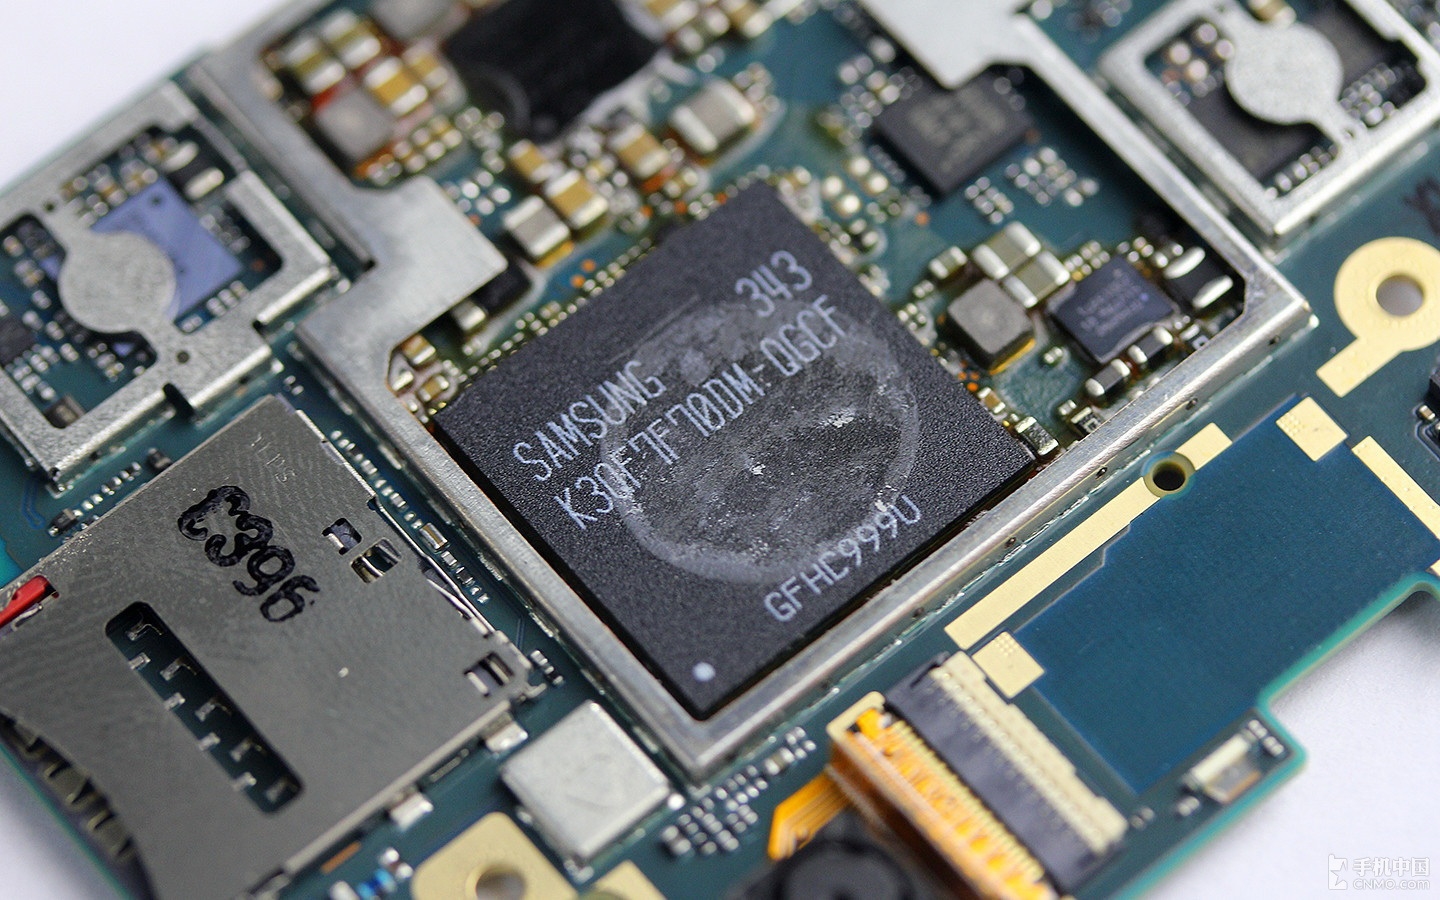
Samsung 3GB RAM (K3QF7F70DM-QGCF)
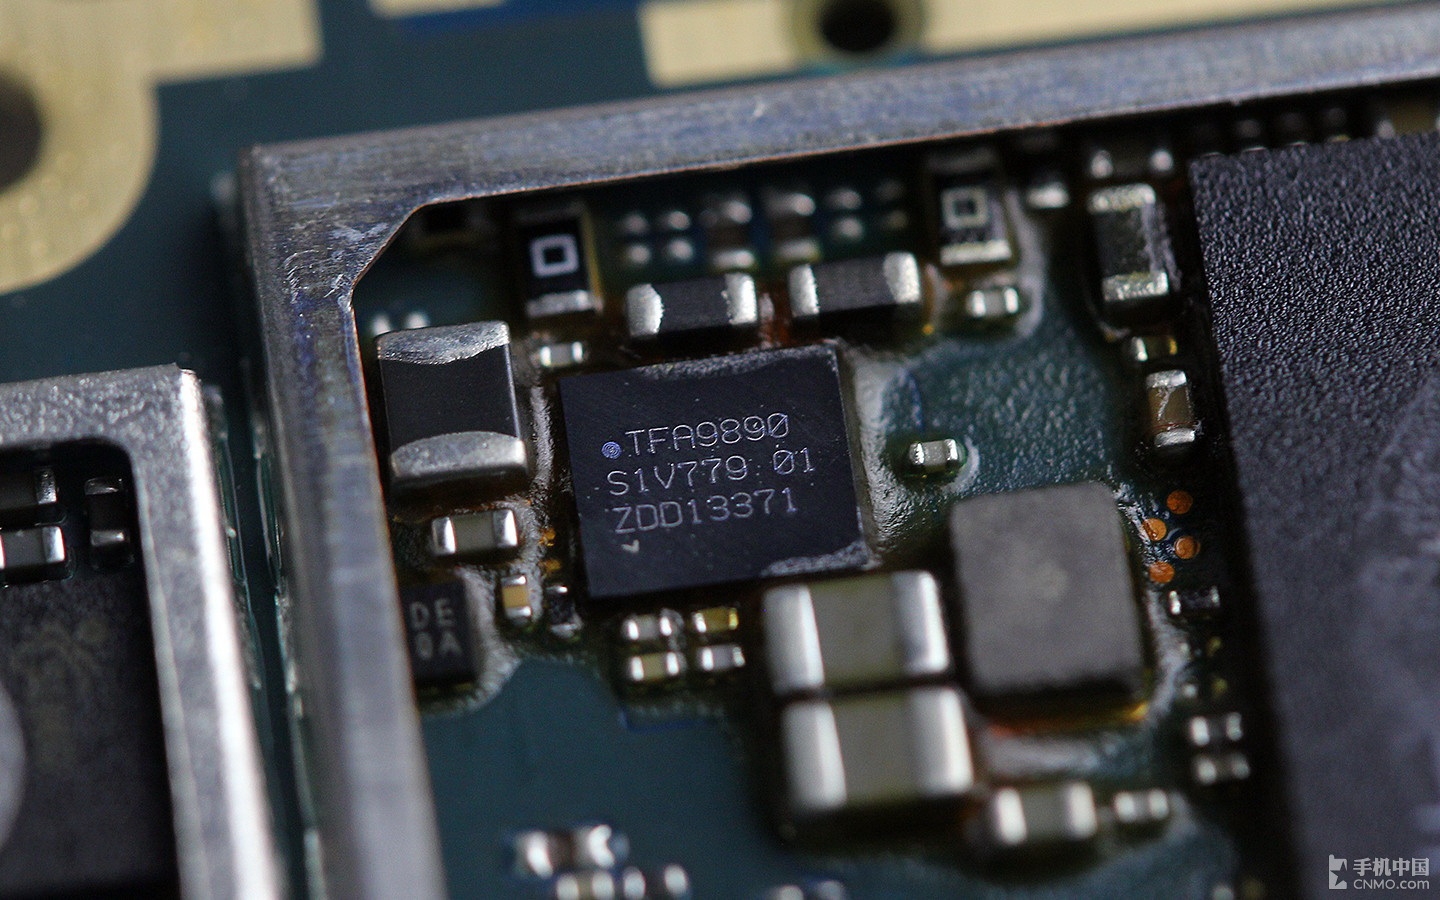
NXP TFA9890 speaker chip
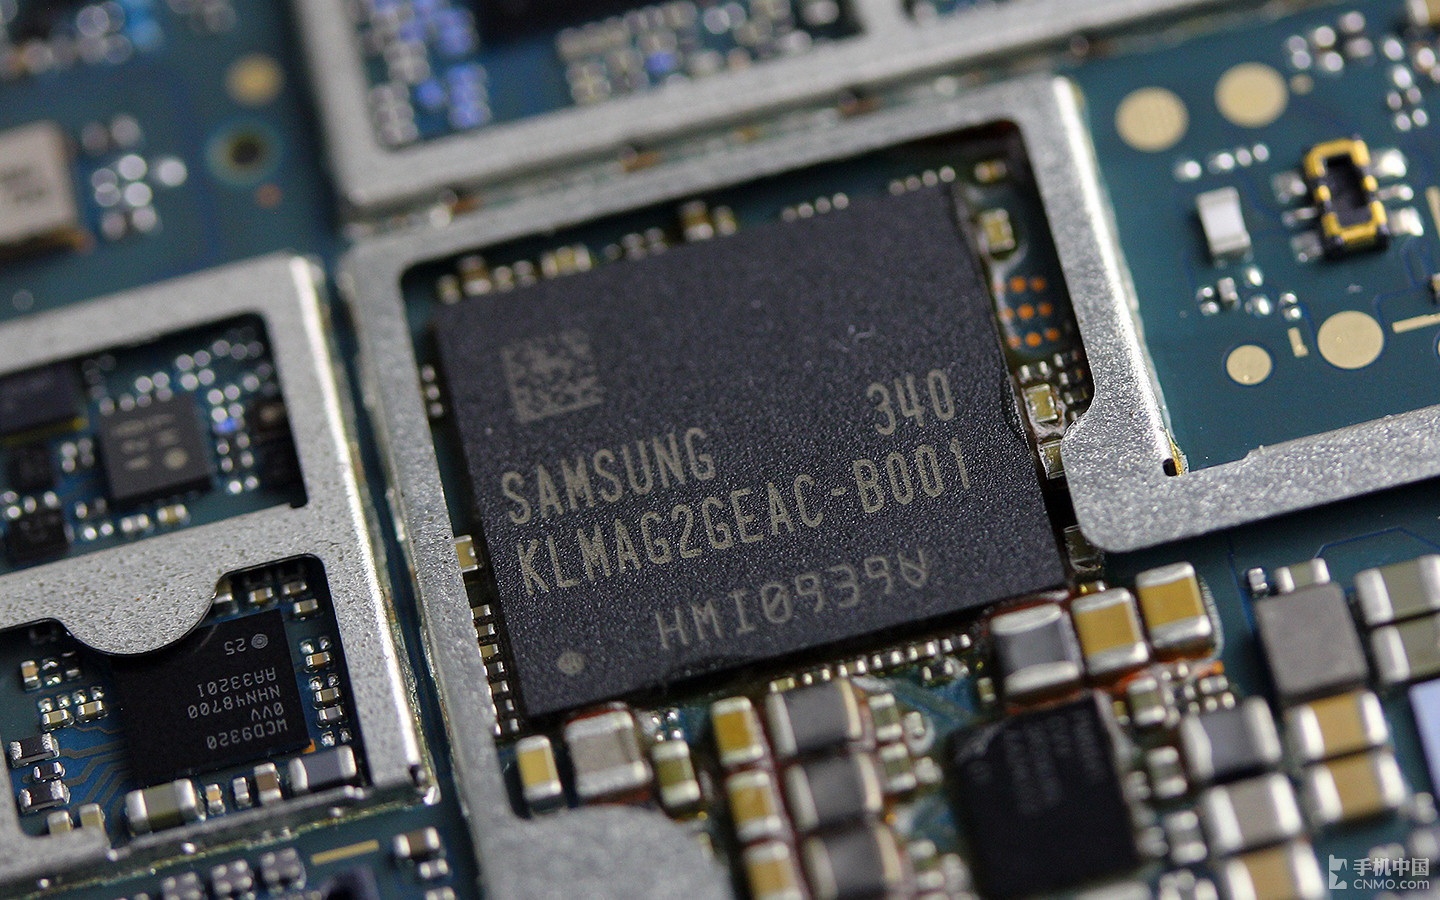
Samsung 16GB memory, model: 340 KLMAG2GEAC-B001
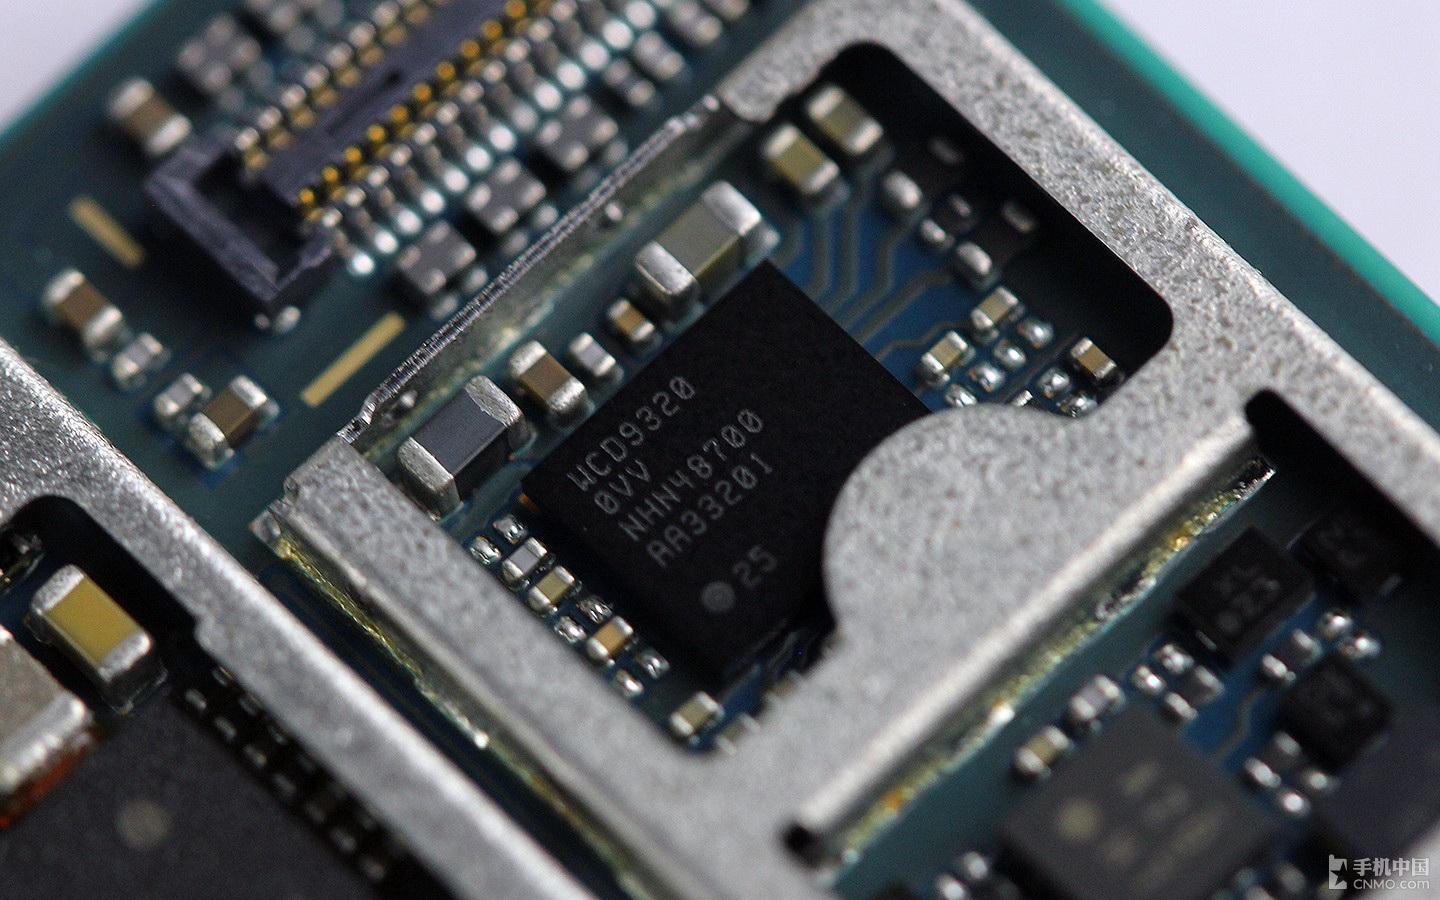
Qualcomm WCD9320 audio decoder
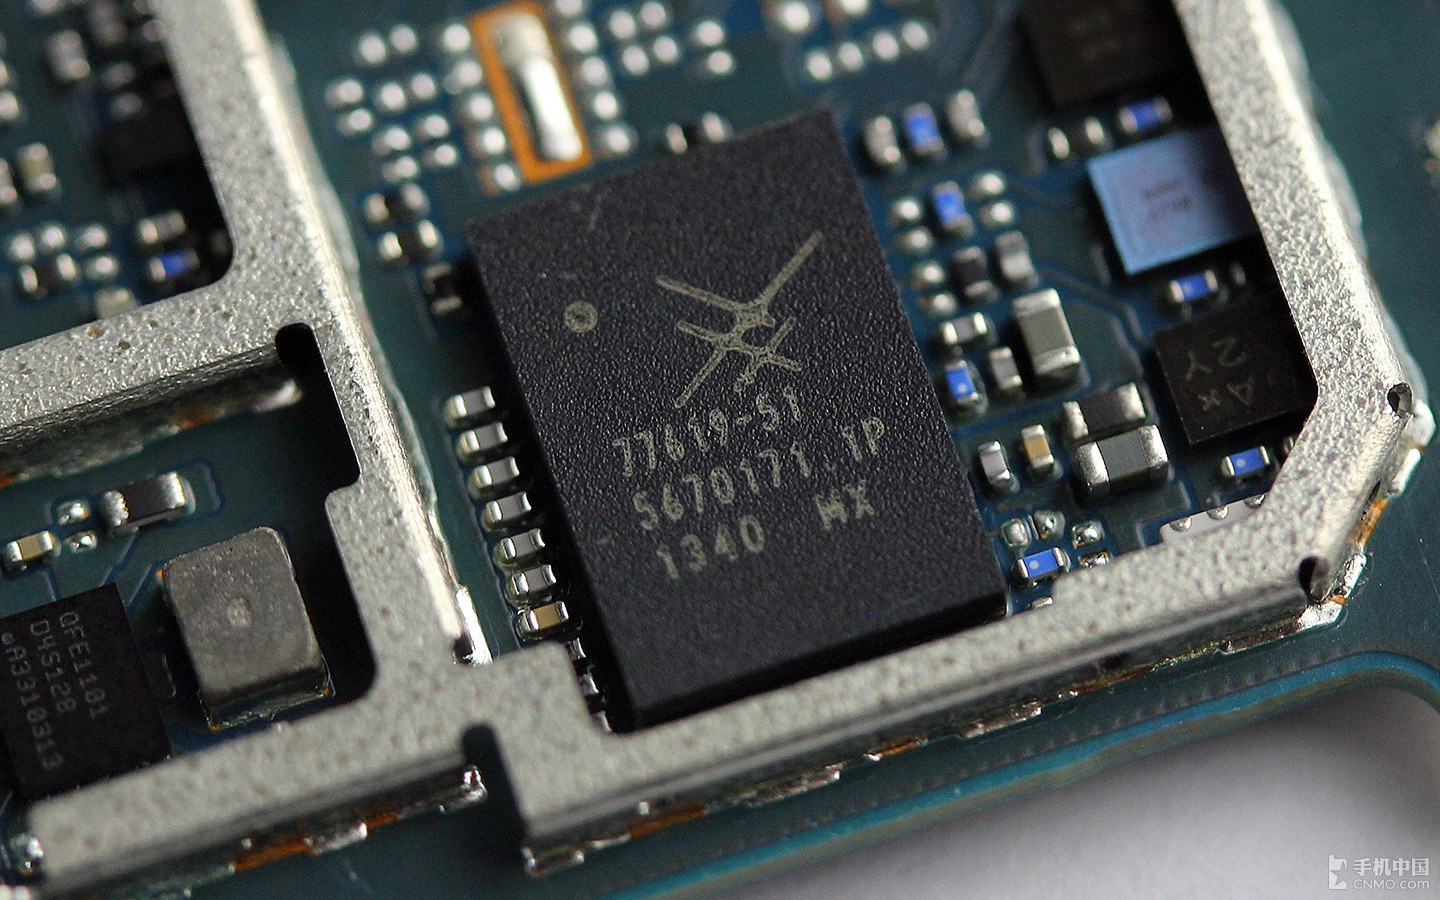
Skyworks SKY77619 multiband, multimode power amplifier
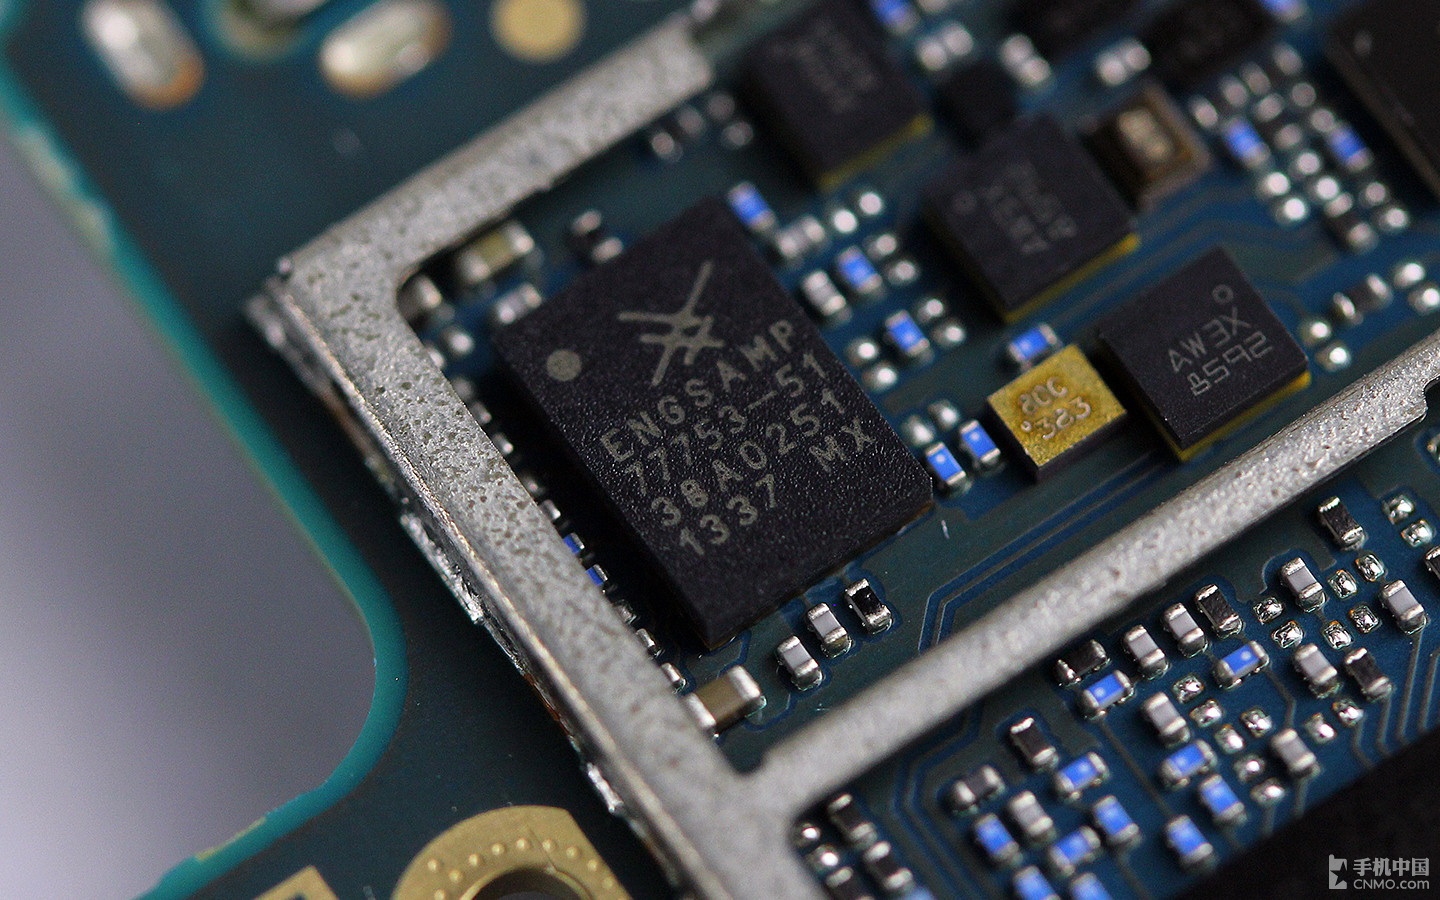
Skyworks SKY77753 power amplifier
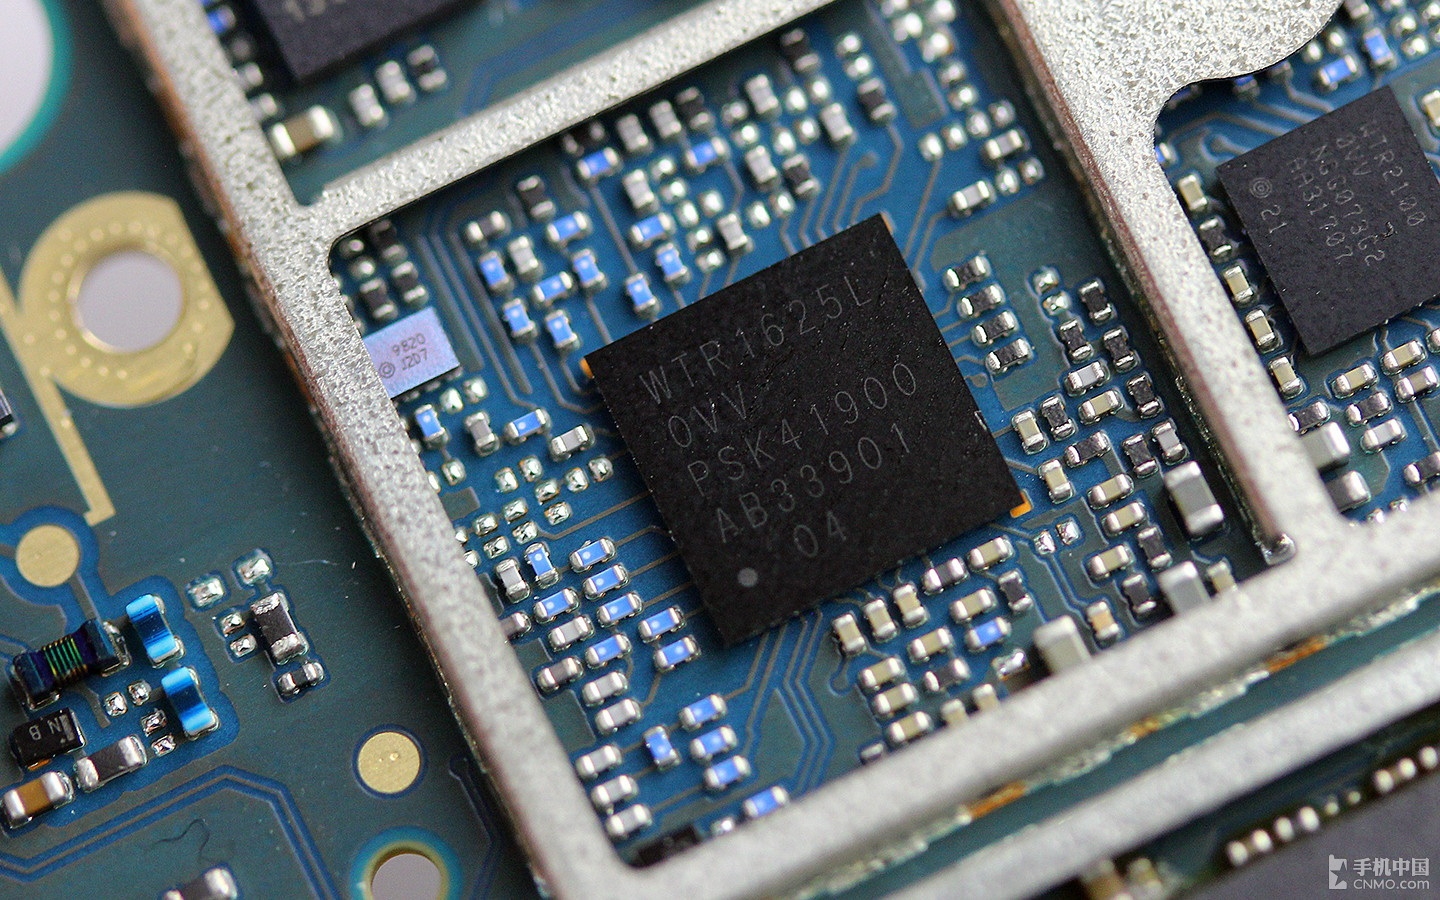
Qualcomm RF Transceiver (WTR1625L)
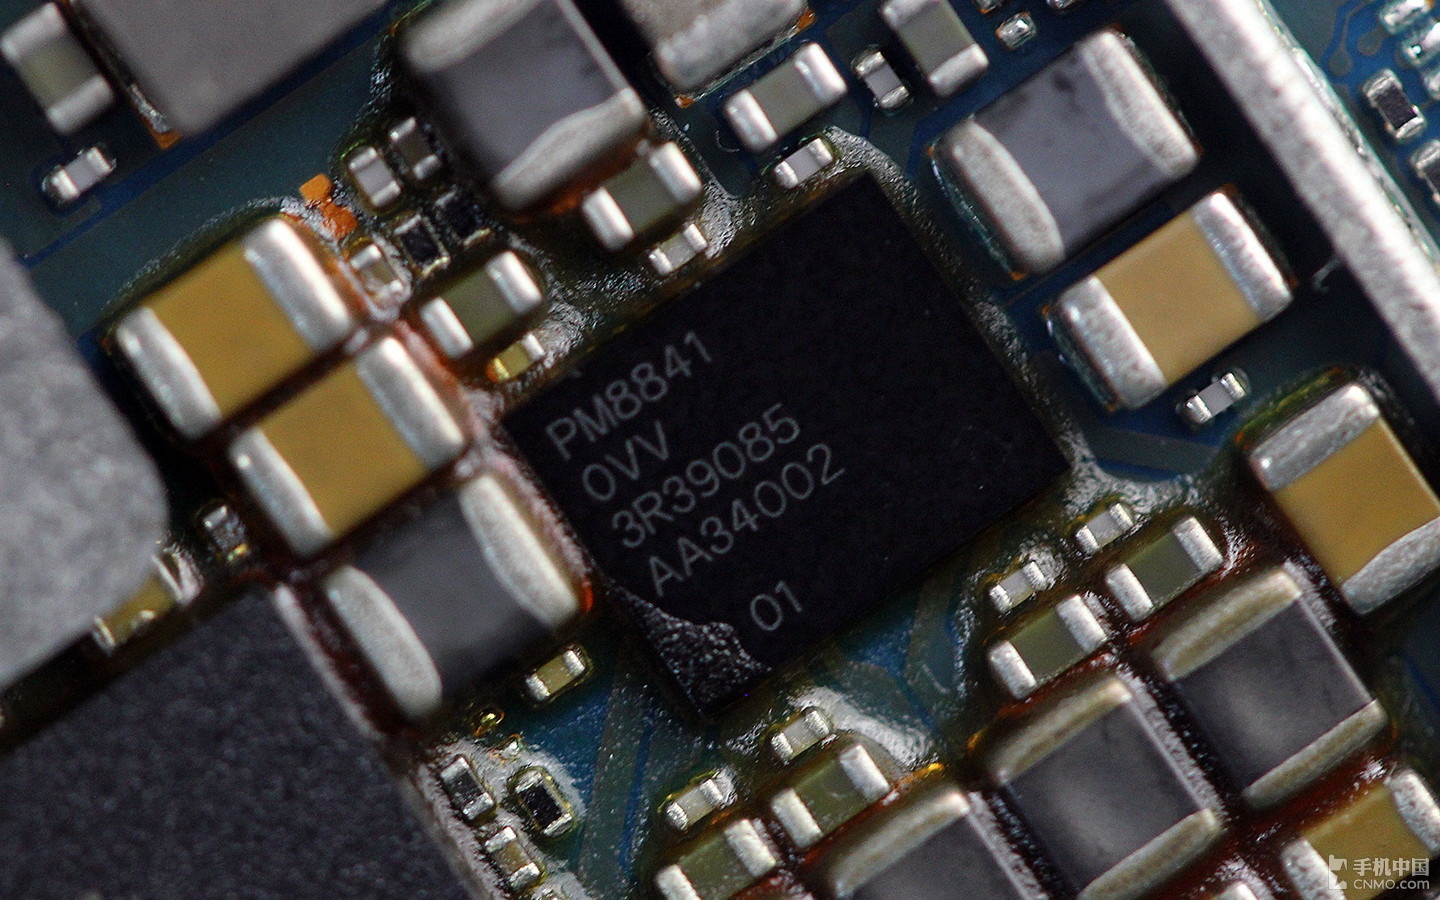
Qualcomm PM8841 power management chip
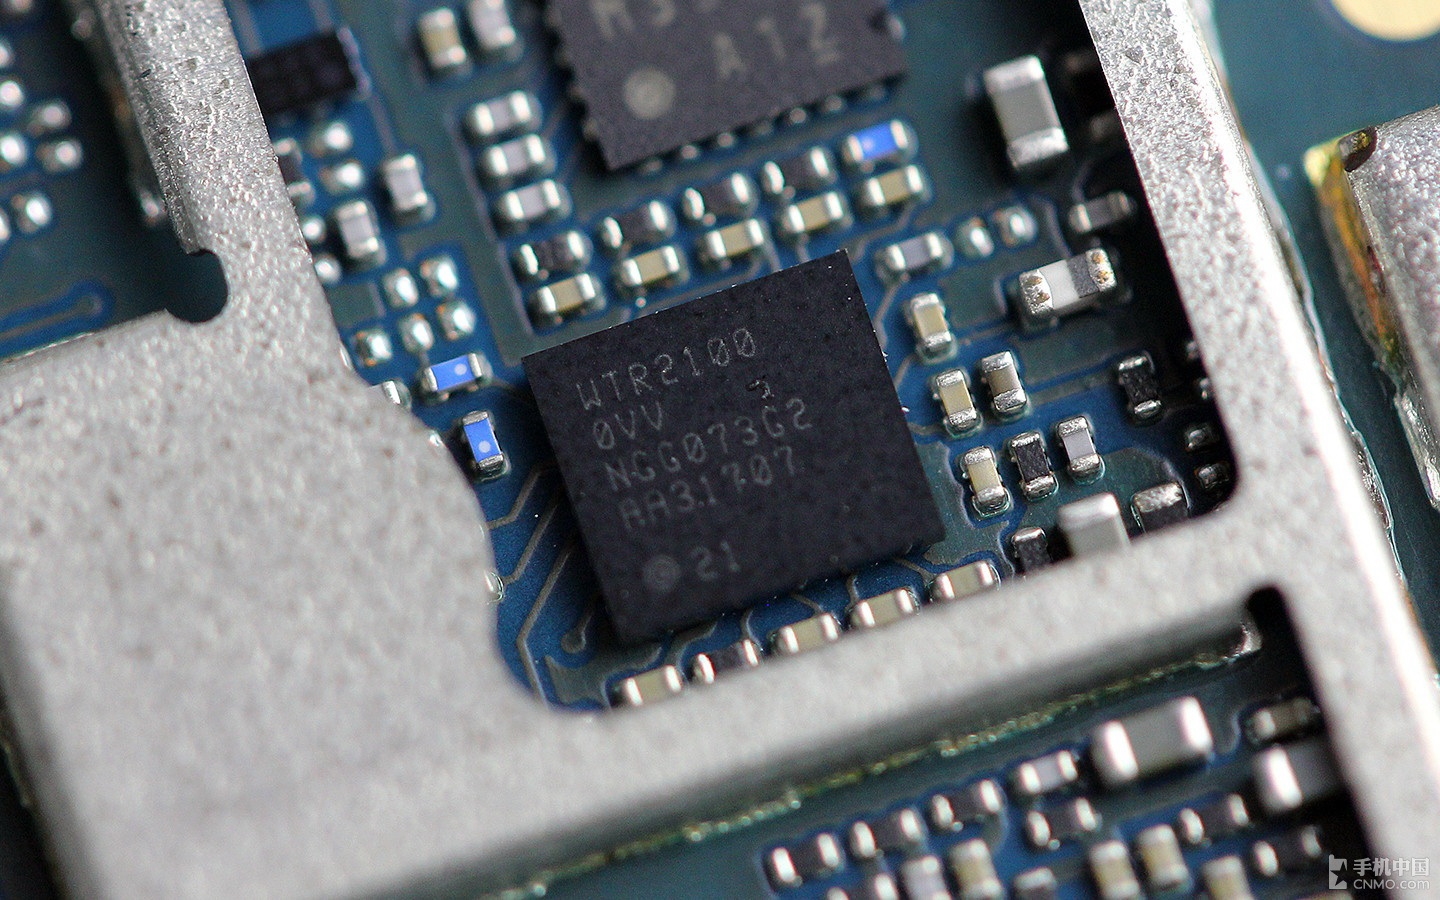
Qualcomm WTR2100 LTE chip
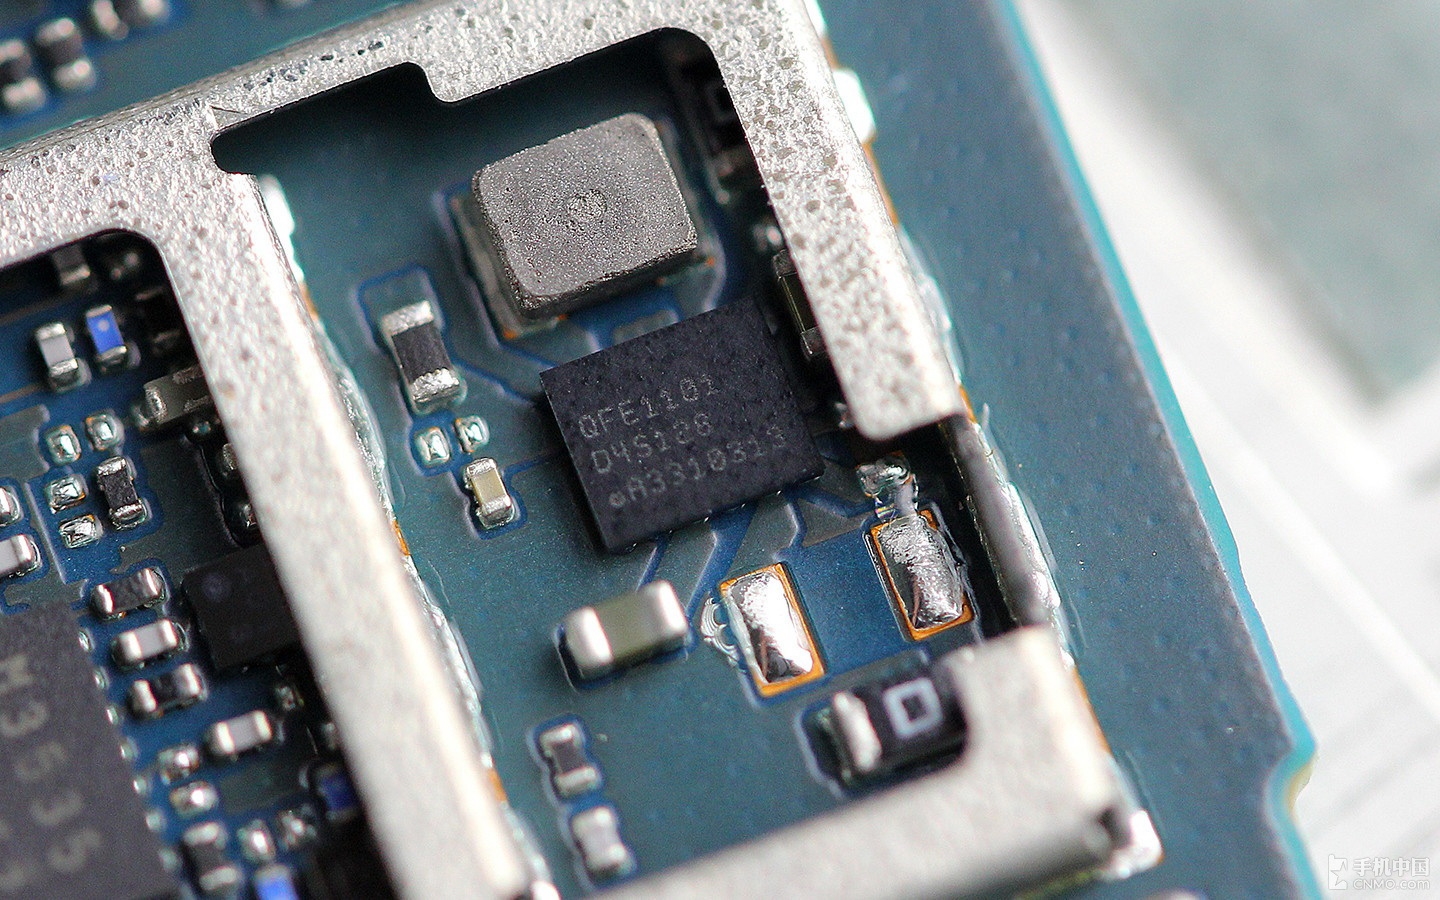
Qualcomm QFE1101 PA power management chip
2.2MP front camera
Here’s micro-SIM card slot
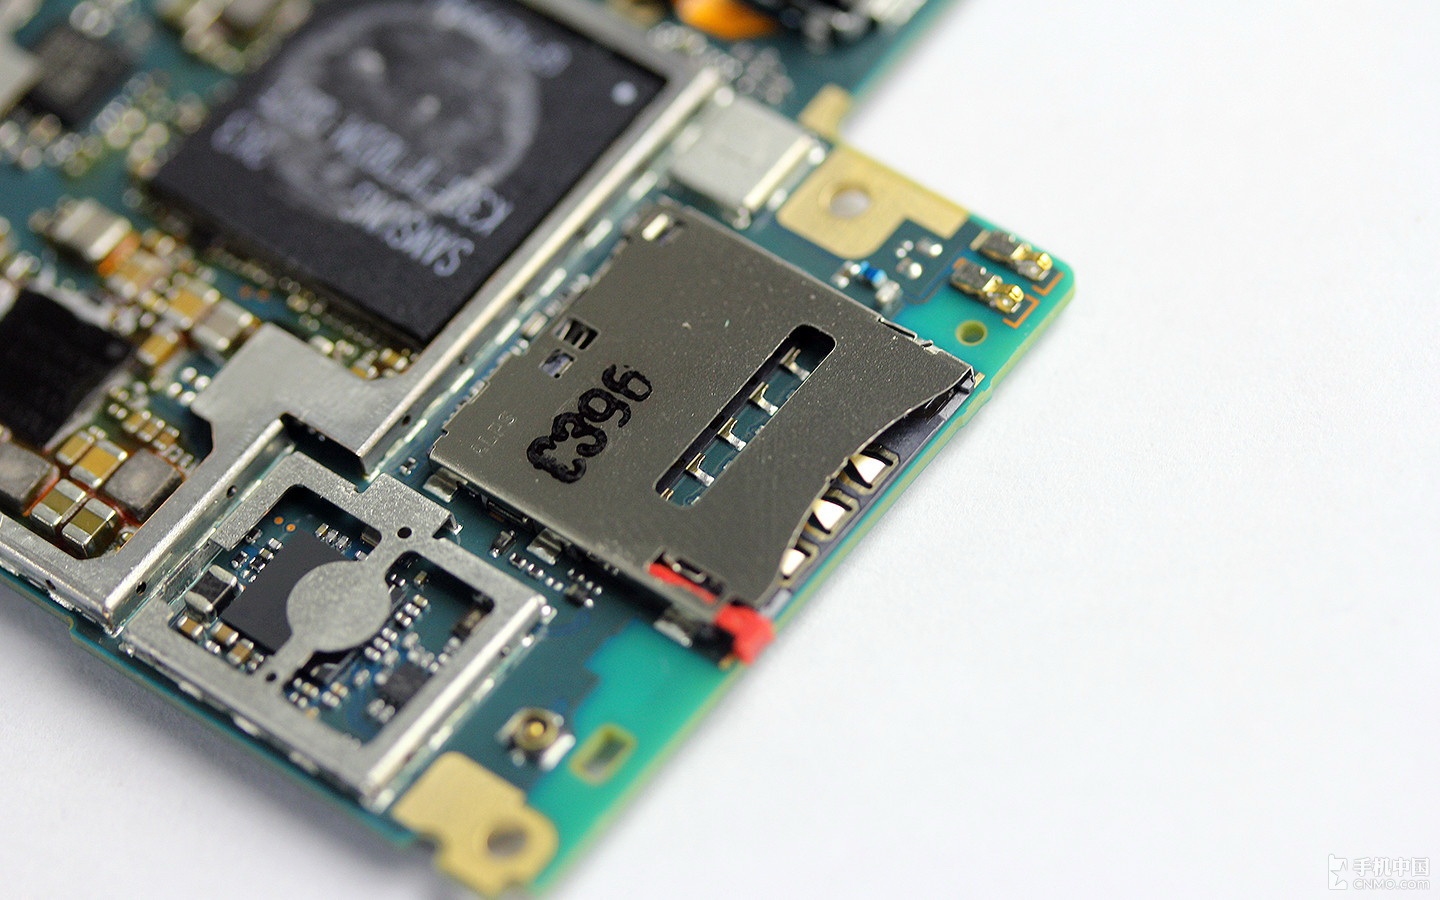
Xperia Z2’s micro SD memory card slot

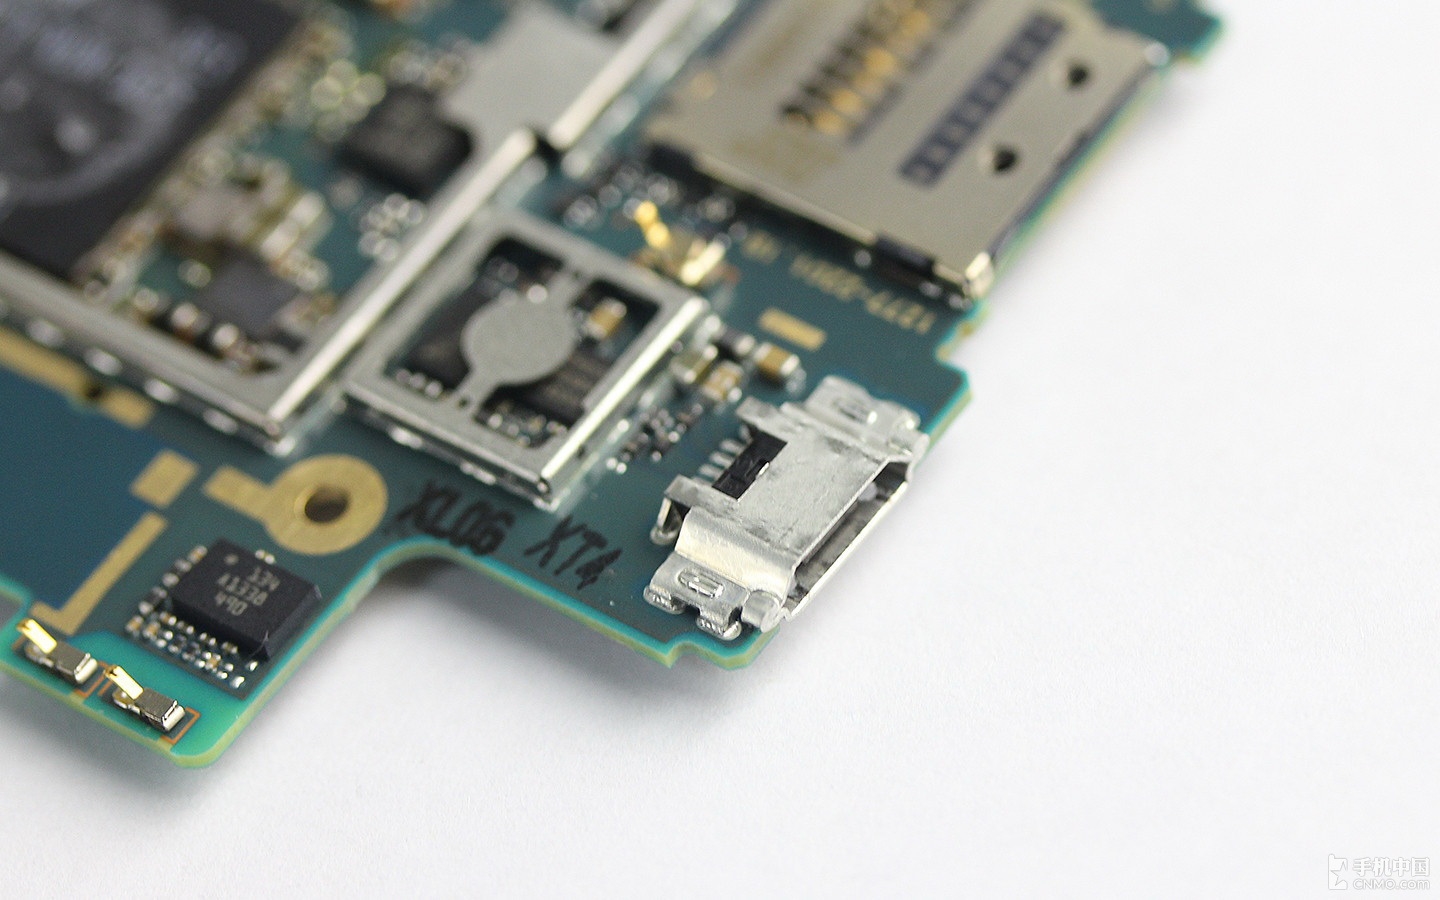
Here’s micro USB port
Via: cnmo.com
Hi
Will you please show me thw wlan ic 8n sony z2