Vivo mobile PhoneVivo X6
Vivo X6 Teardown
In this guide, I’ll explain how to disassemble Vivo X6 to remove the back cover, speaker, battery, camera and motherboard. Refer to this guide. You can repair your Vivo X6.
Want to be the first to see inside the latest gadgets? Follow us on Facebook for the latest news from the MyFixGuide.com.
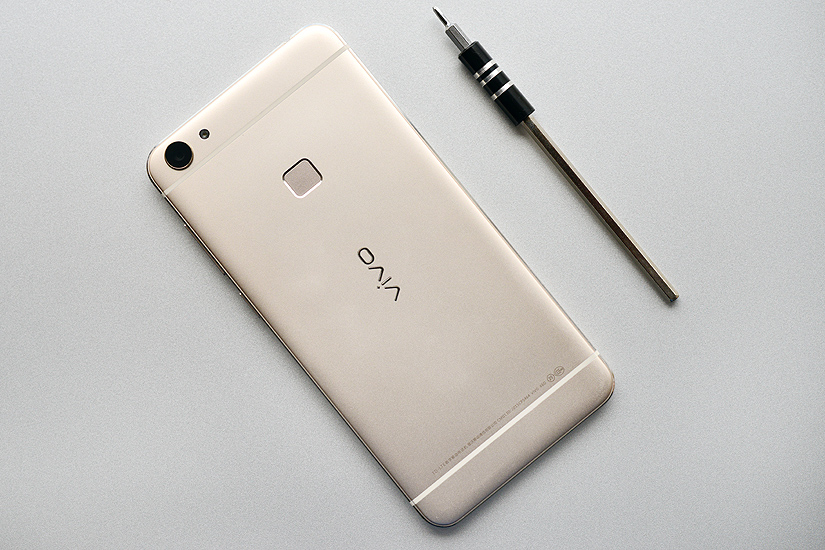
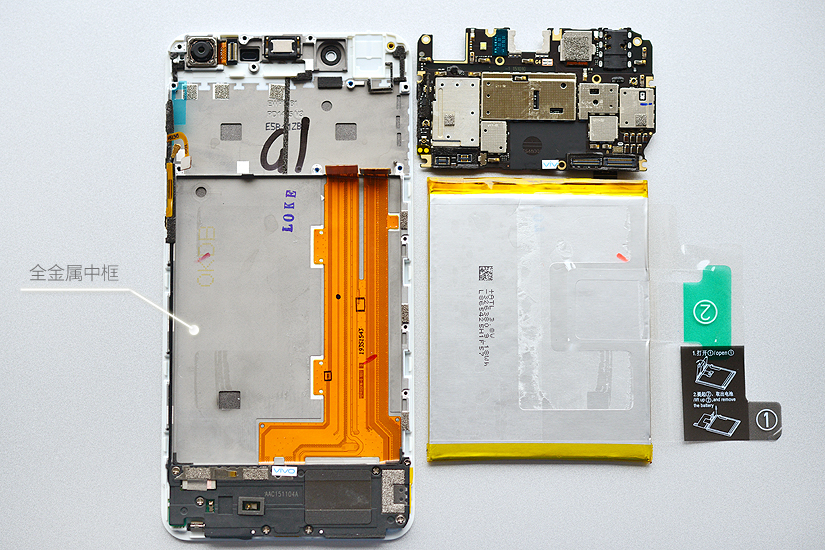
As Vivo’s new flagship phone, Vivo X6 with a metal body, the metal accounting for up to 98.3%. In appearance, Vivo X6 is quite pleasant; the anodized and sandblasted metal body, it also brings a good touch feeling.
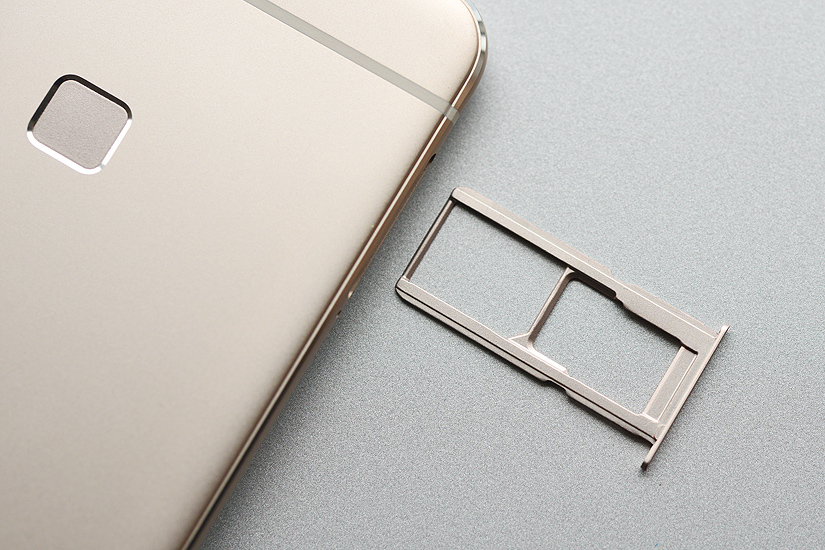
The first step, remove the SIM Card Tray.
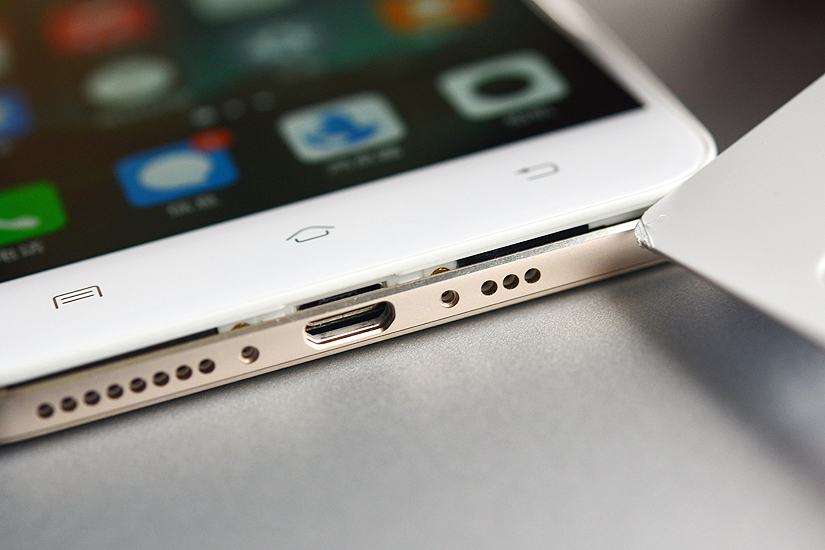
Remove two screws next to the Micro USB port.
Insert a guitar pick, sliding the guitar pick by the edge. The back cover can be removed.
Now the back cover was removed, but the phone still works now.

There is a layer of graphite stickers on the metal back cover.
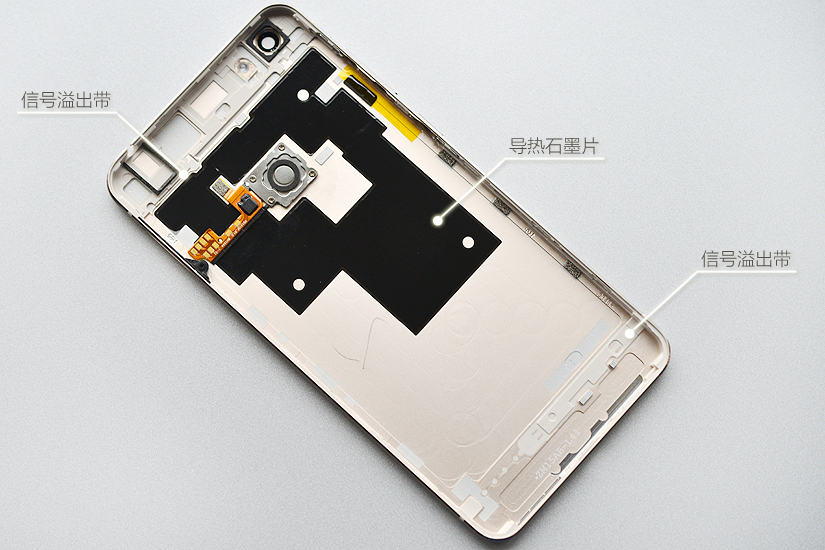
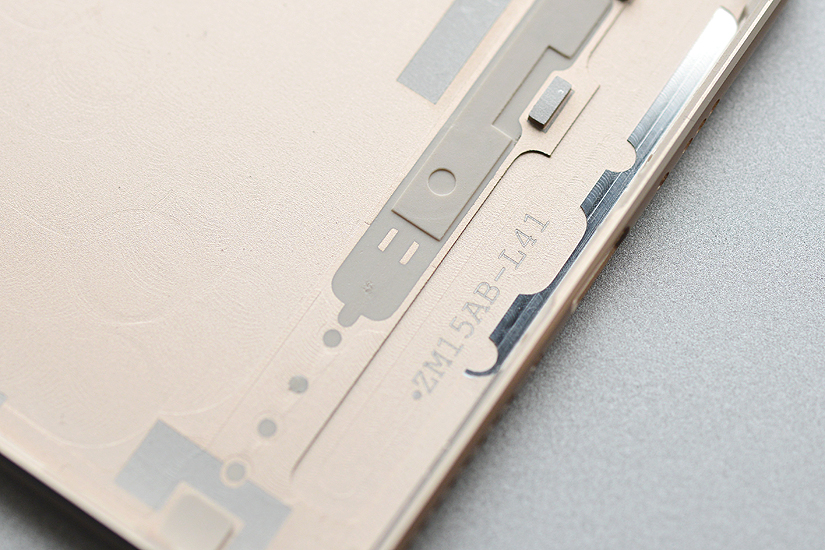
Signal overflow outlet fixed on the metal back cover, you can see the structure is very neat, and no glitches.
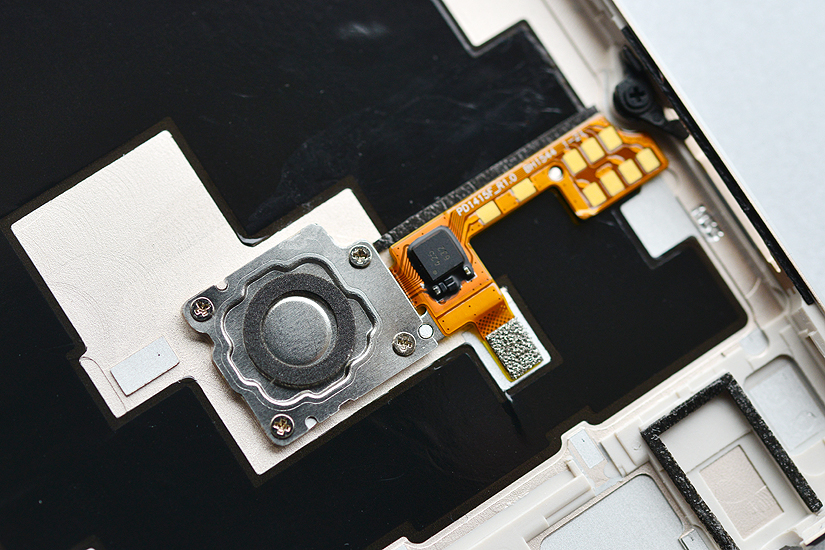
Fingerprint identification component is fixed on the back cover by four screws, generally pressing does not cause loosening.
Vivo X6 internal structure is very compact.
Under the back cover, you can access the battery, camera, speaker and motherboard.
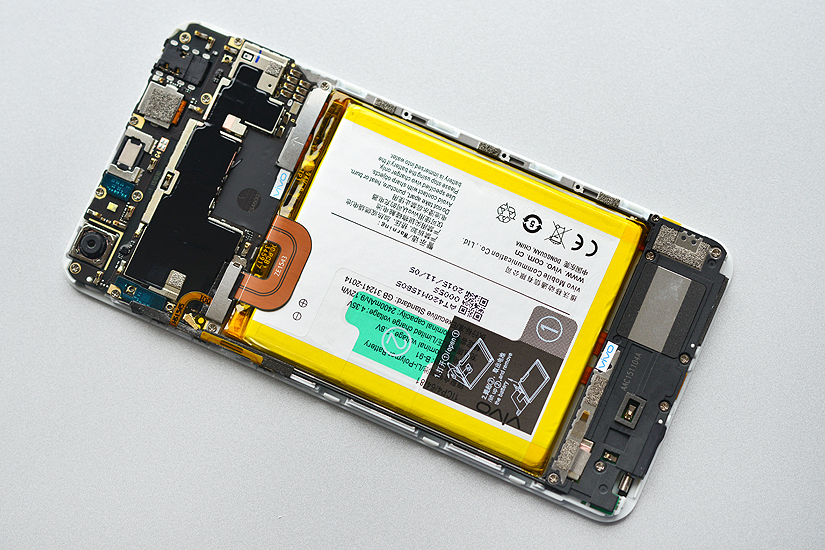
The motherboard is covered by a layer of graphite stickers.
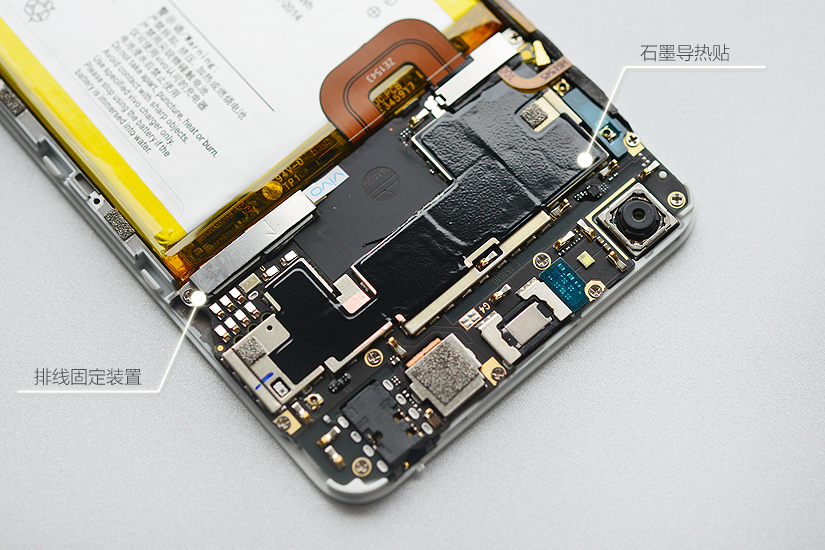
Remove the graphite stickers. The following is a copper sheet.
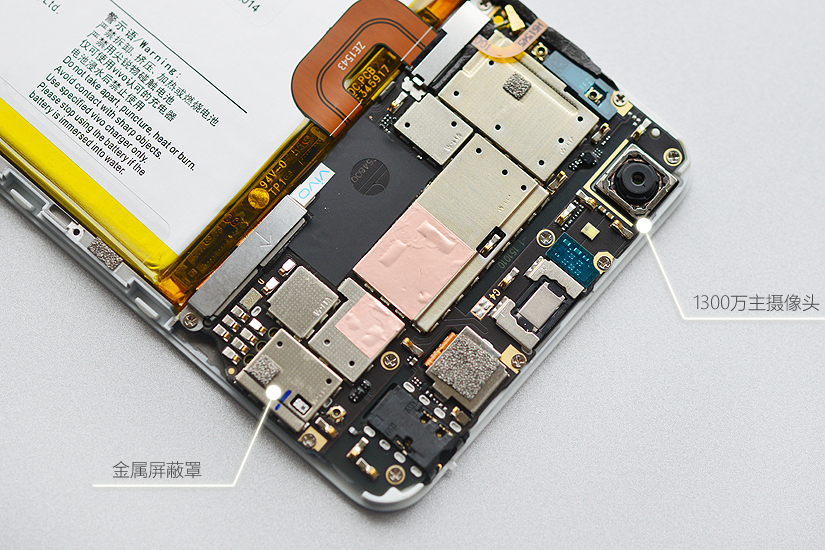
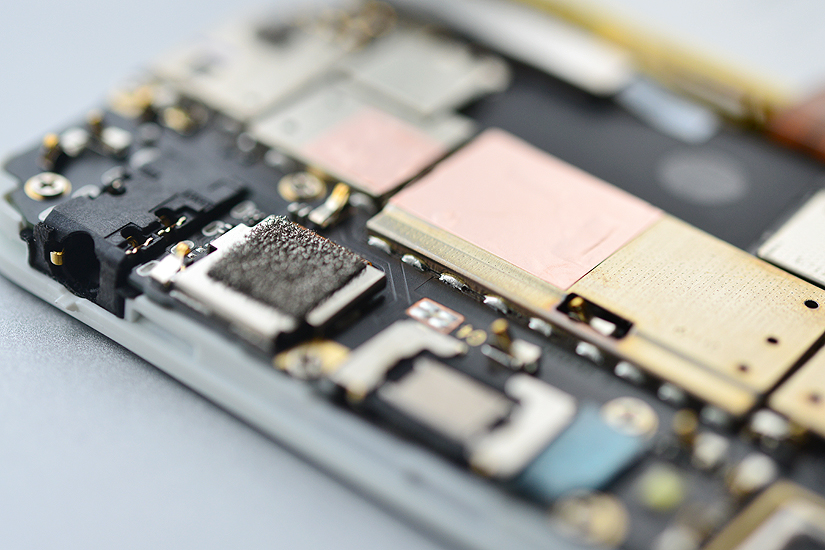
All metal shield was weld on the circuit board. The solder joint is very neat and clean. This process allows the metal shield more stable but also increases the difficulty of maintenance.
Remove the metal sheet. You can disconnect two cables.
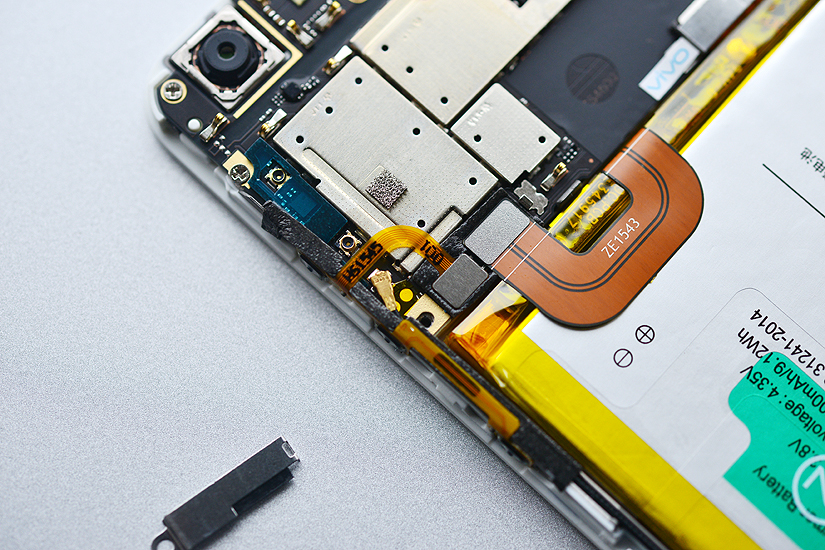
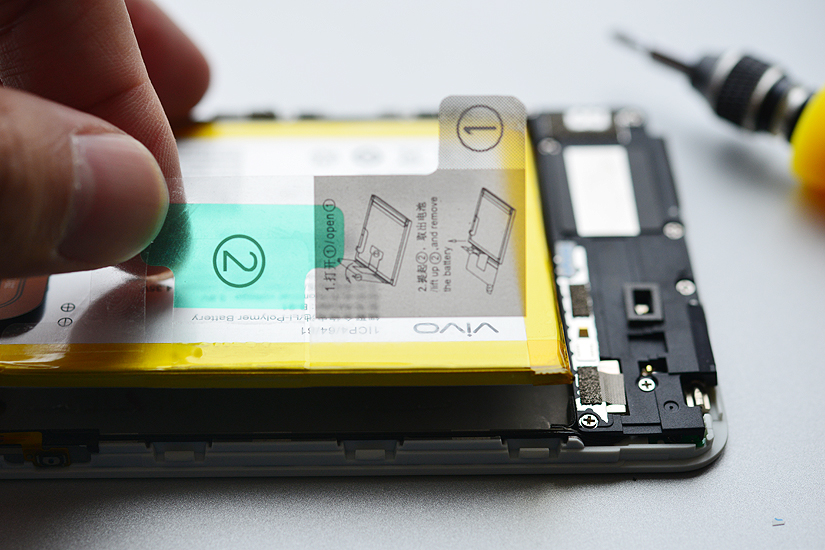
Remove the battery.
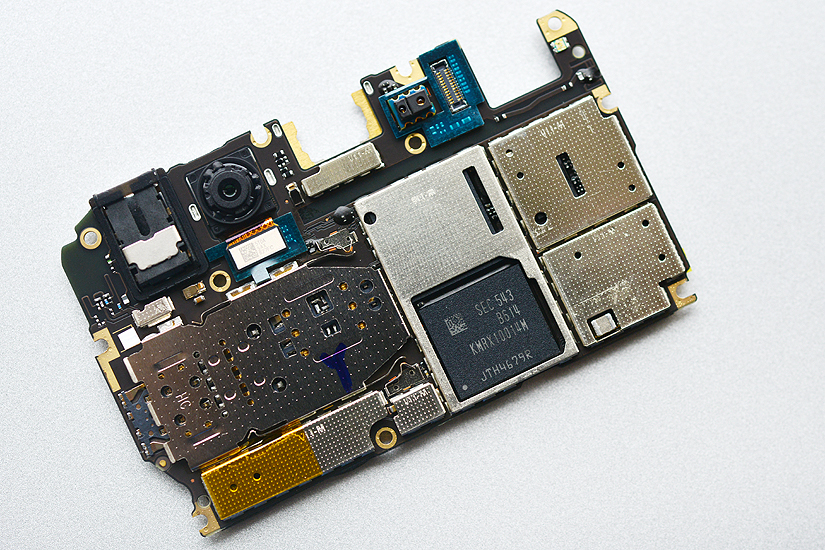
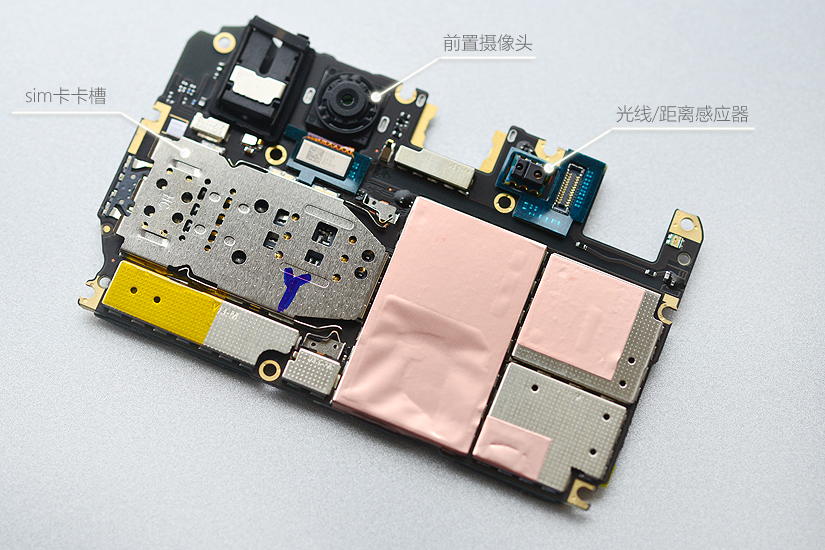
The motherboard also was removed.
All the chips are covered by the metal shield.
Remove the copper sheet. You can see Samsung 32GB ROM.