
Acer Aspire S7-191Acer Laptop
Acer Aspire S7-191 Disassembly
In this guide, I’ll explain how to disassemble Acer Aspire S7-191 to remove and replace the battery, SSD, heat sink, cooling fan, and motherboard.
Want to be the first to see inside of the latest smartphone and laptop? Follow us on Facebook for the latest teardown news.
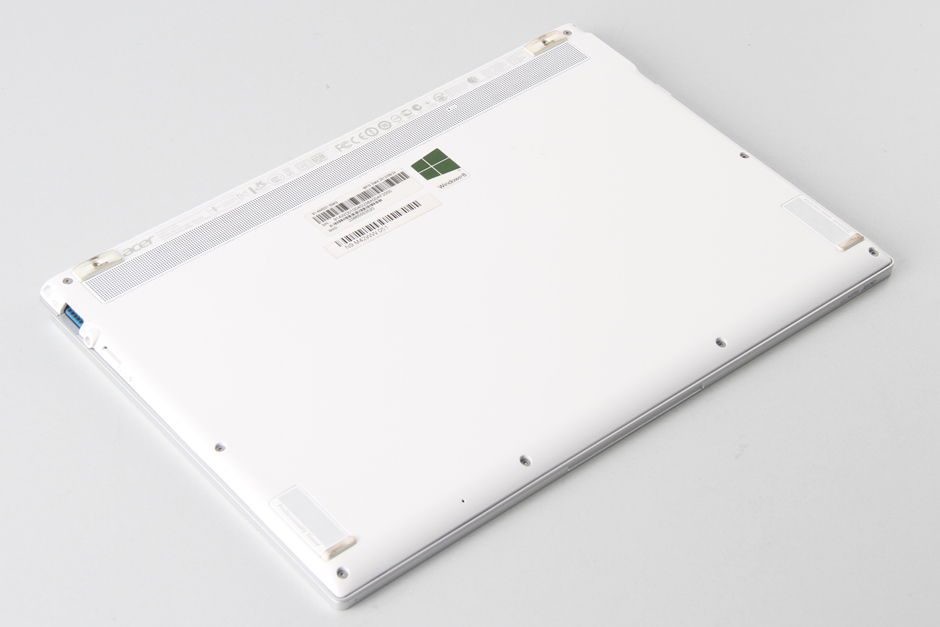
Remove all screws from the bottom case.
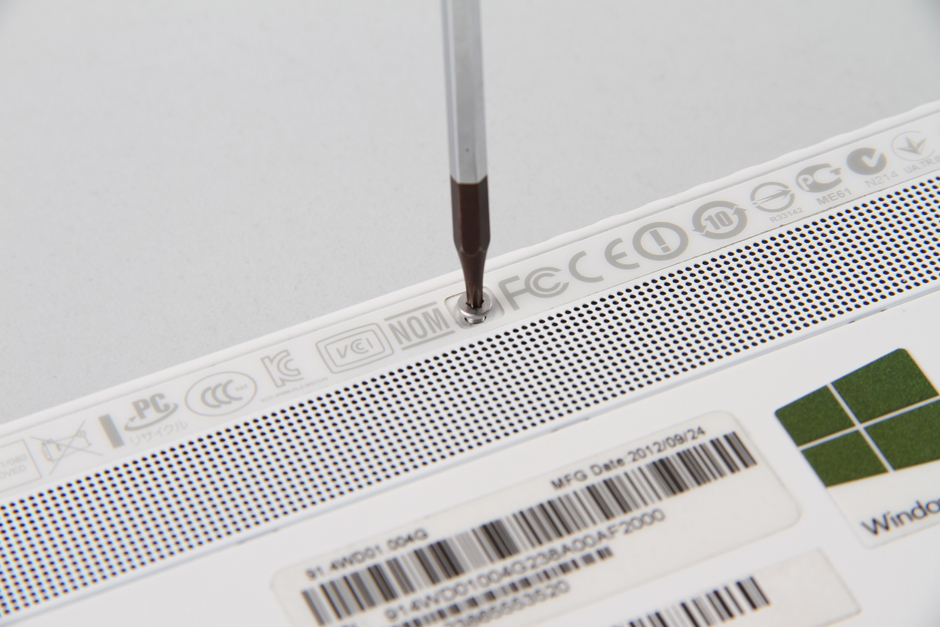
There is one screw under the rubber mat.
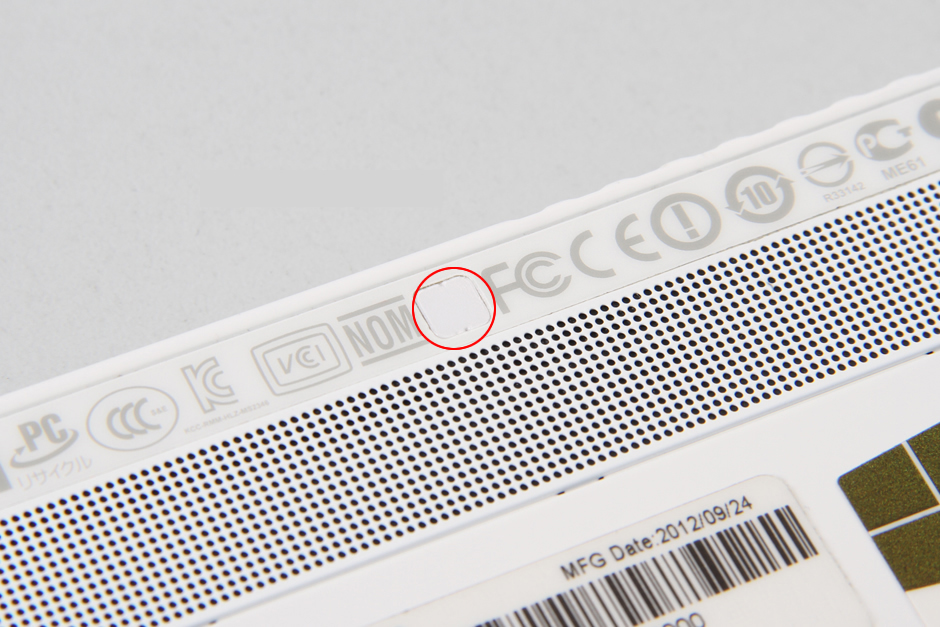
Remove the rubber mat.

Remove the screw.
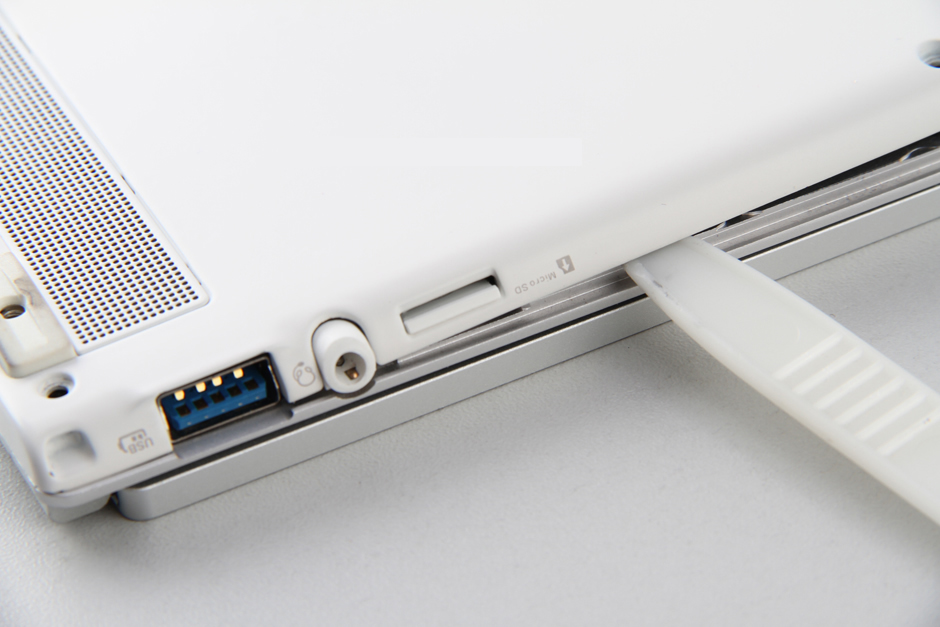
Loosen TF card baffle. The bottom case can be removed.
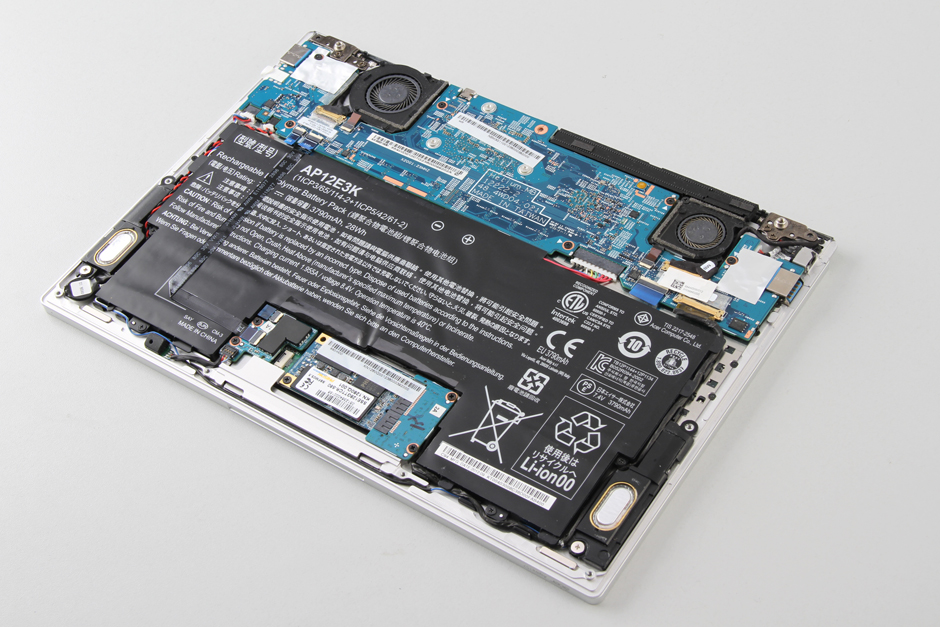
When the bottom case removed, you can get access to the battery, heat sink, cooling fan, SSD, and speakers.
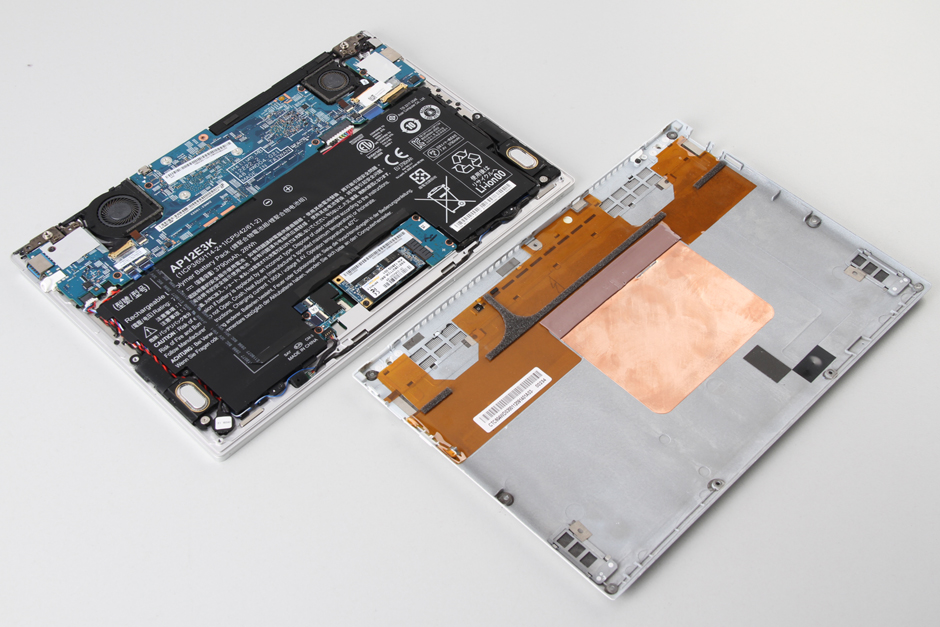
Before removing the battery, we need to disconnect the black cable on the battery.
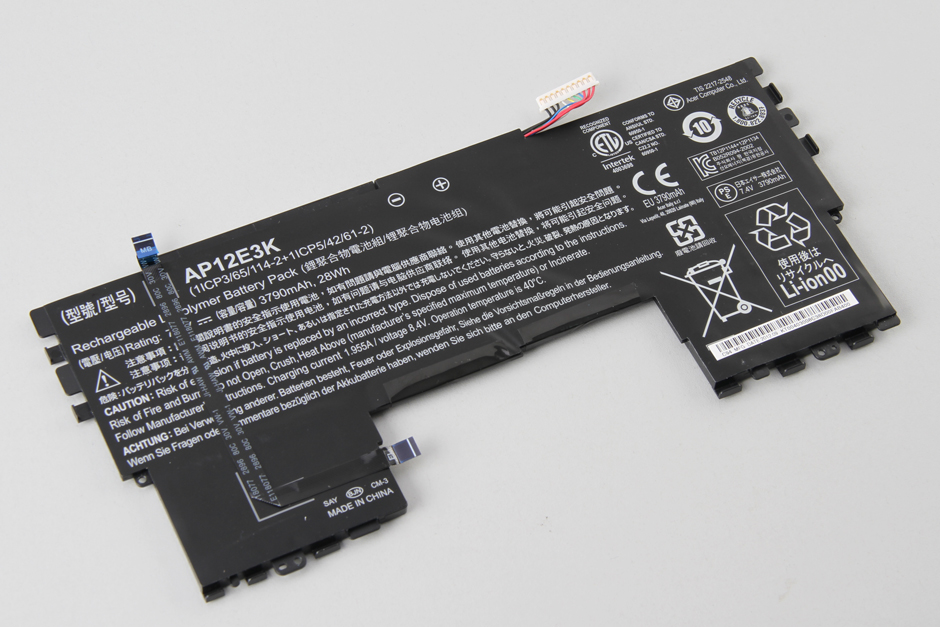
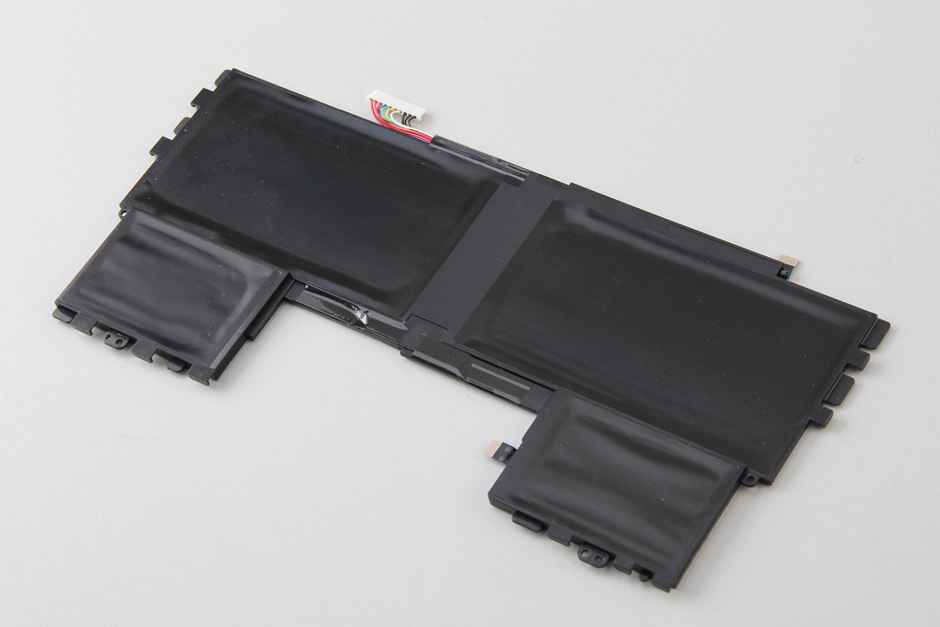
Remove four screws securing the battery and disconnect the battery connector. You can remove the battery.
The laptop comes with a 3790mah, 28wh Li-polymer battery. Acer P/N: AP12E3K.
Remove one screw securing the SSD and take it out from mSATA slot.
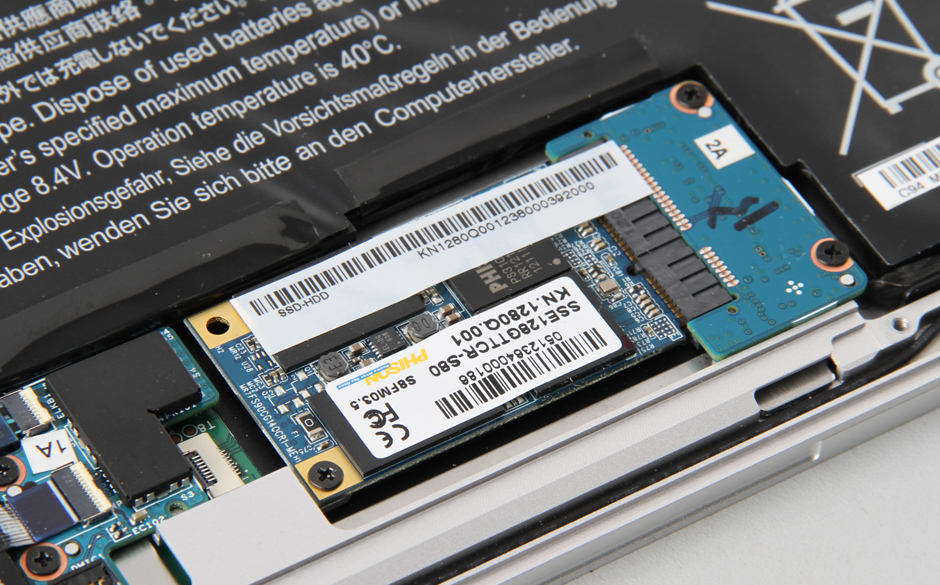
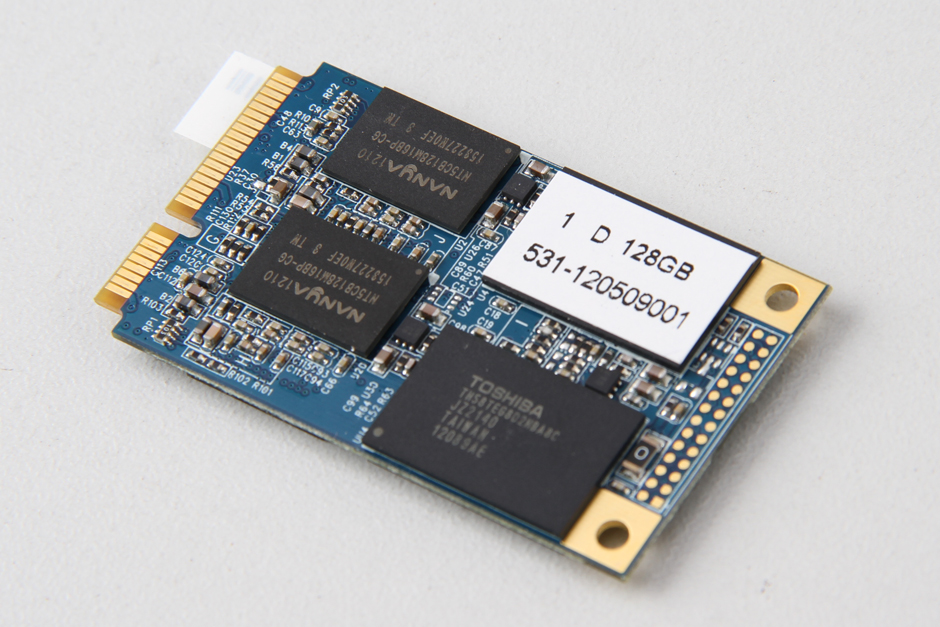
The S7-191 features a Toshiba 128GB SSD.
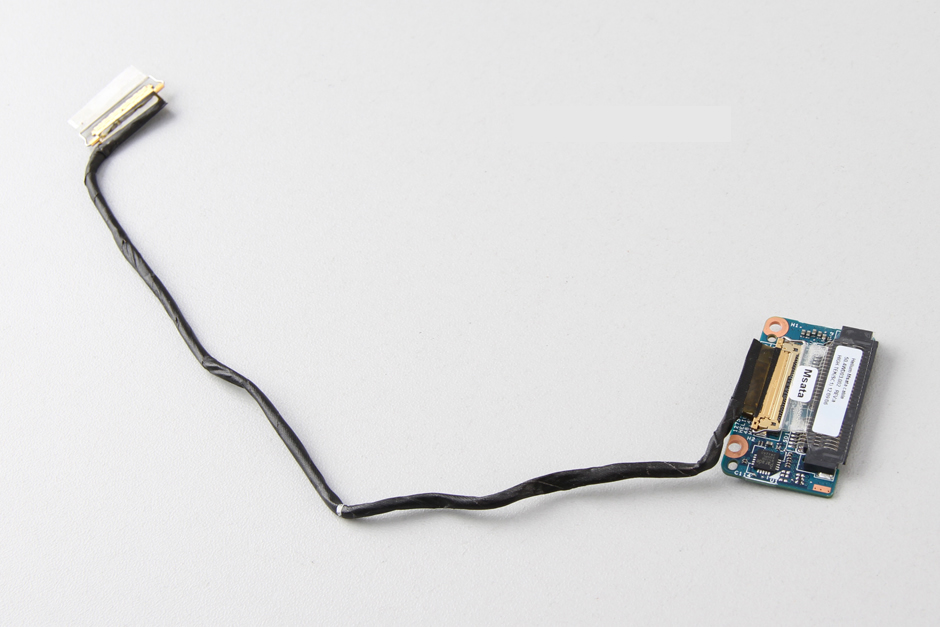
Remove two screws securing the SSD connector module.
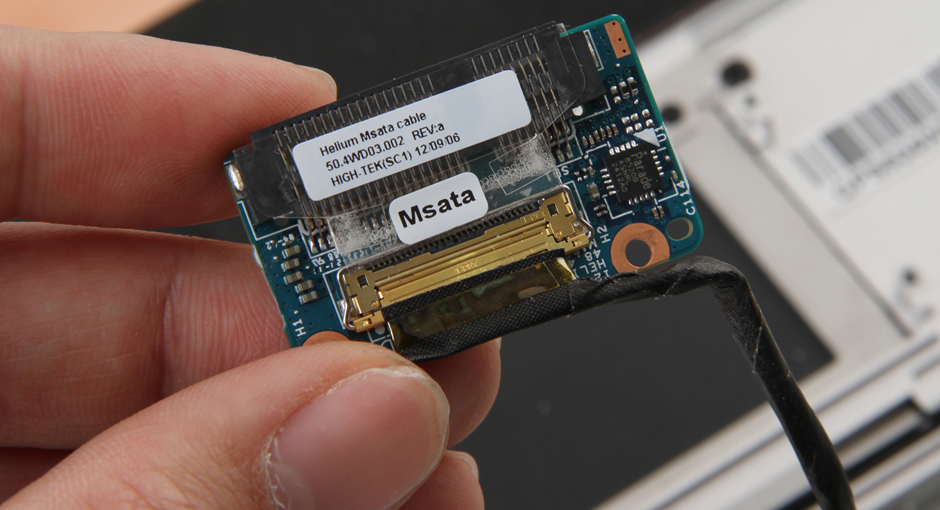
Helium mSATA cable. P/N: 50.4WD03.002.
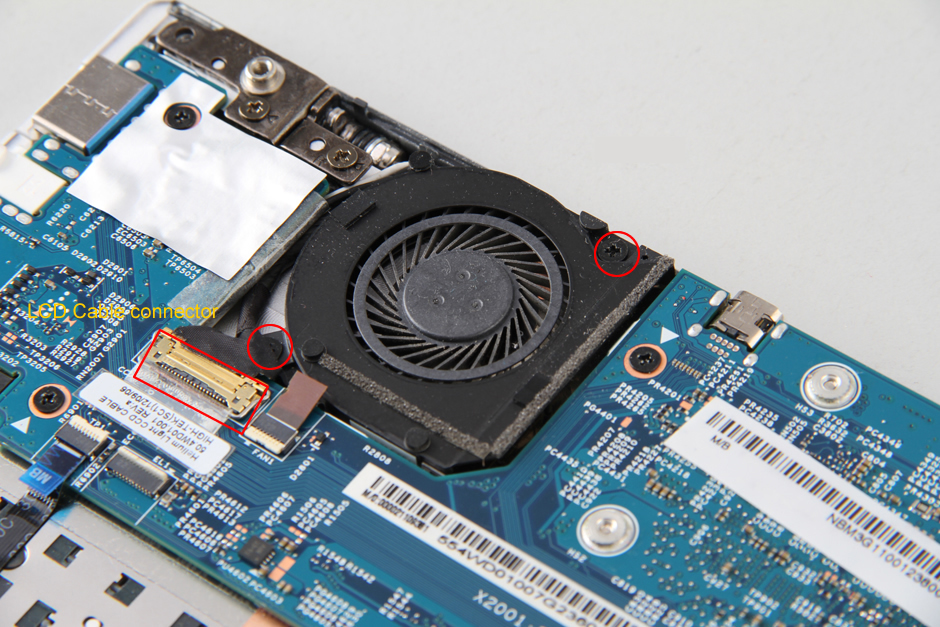
Remove two screws and remove the cooling fan.
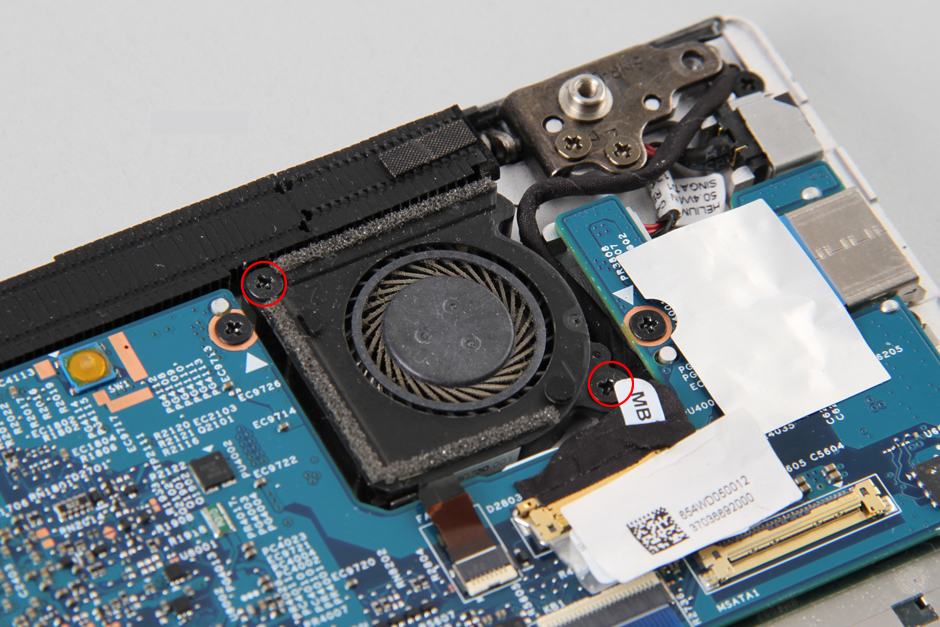
Remove two screws.
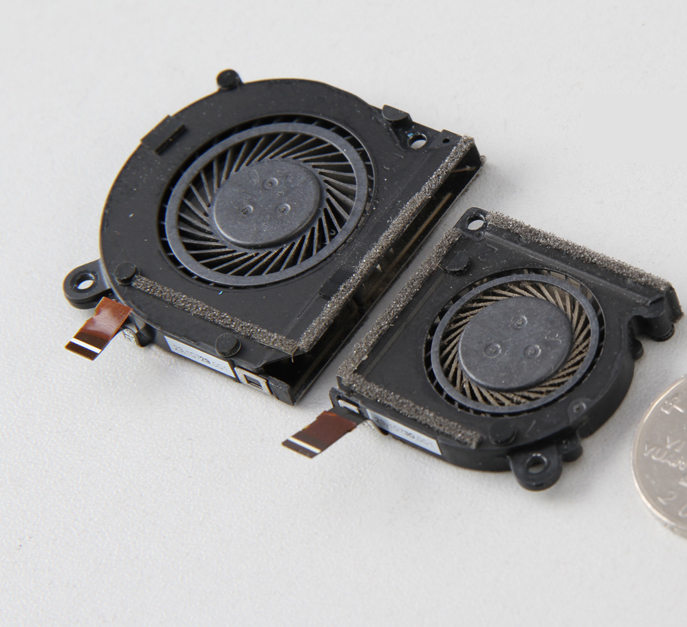
Left and right cooling fan
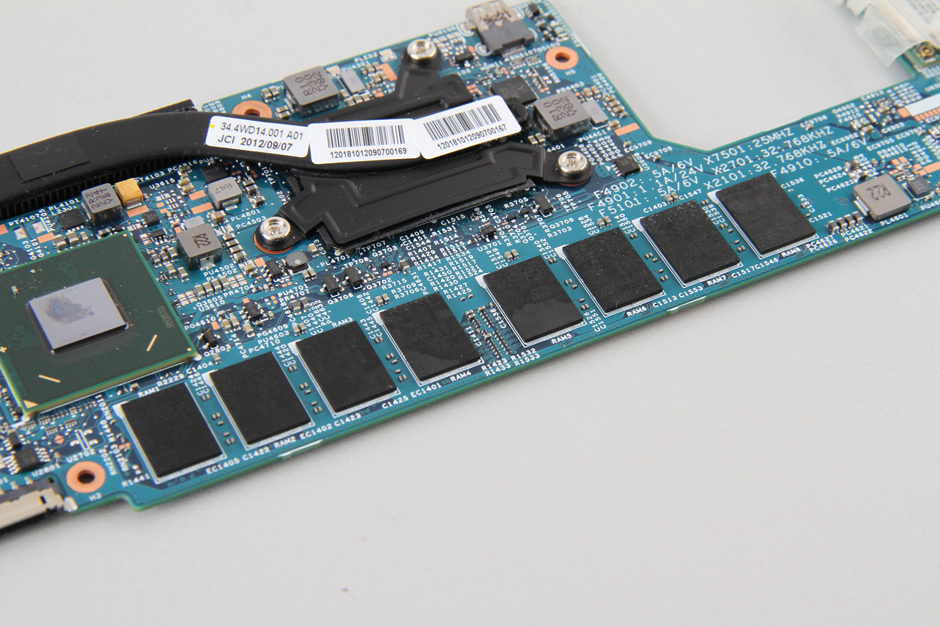
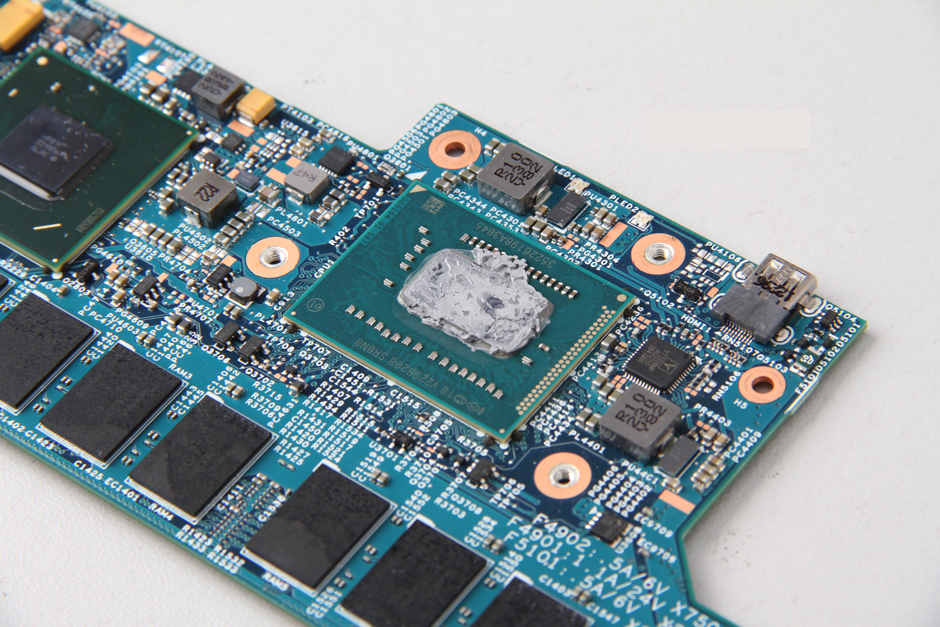
Motherboard
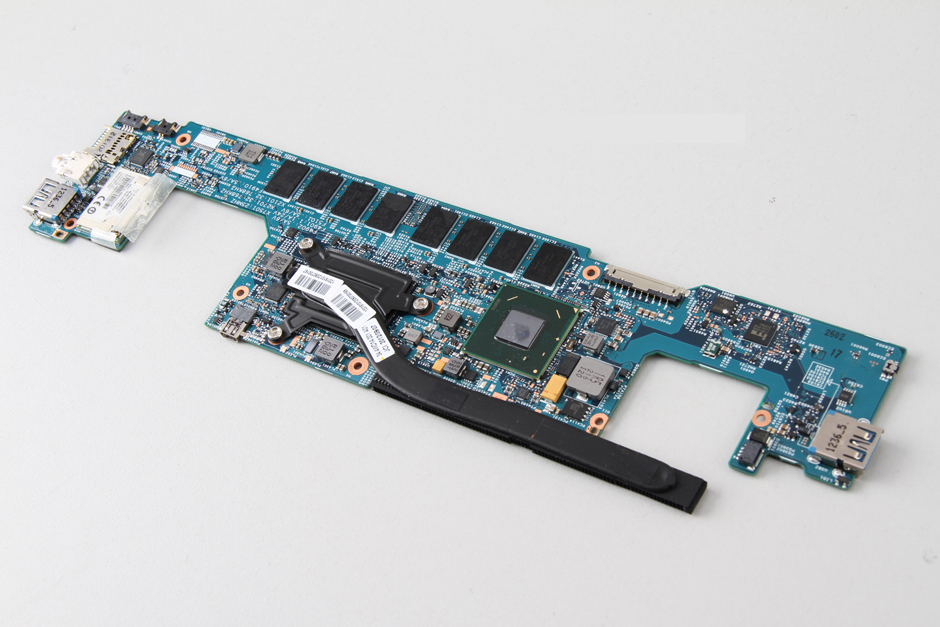
Onboard memory
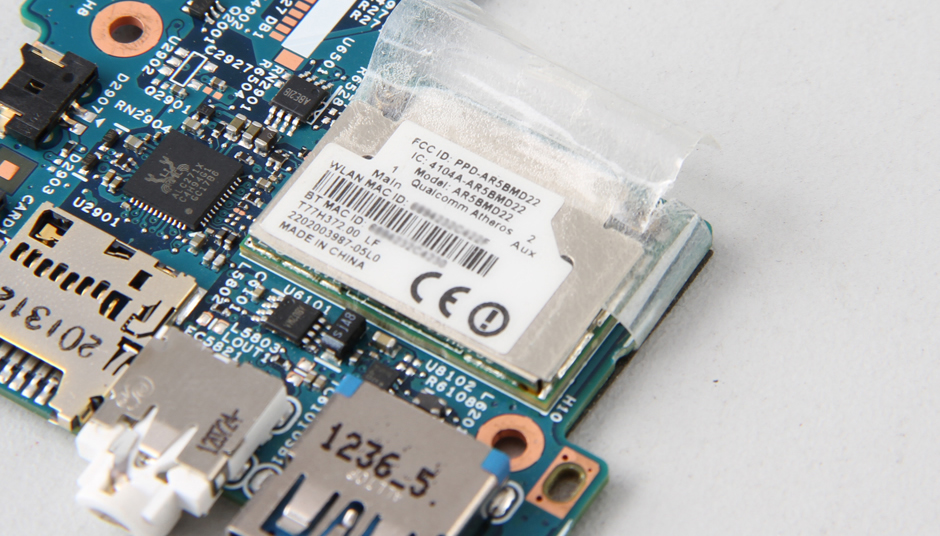
Wireless card soldered to the motherboard.


where can i purchase the tools to take my laptop apart?
it takes one torx bit and a screw driver… pretty much anywhere. Walmart should have them or maybe an electronics store if you want to get precision pieces..
What do I do if I cannot remove the screws to remove the battery?!
Does that s7-191 model have 8gb of RAM or is each individual module essentially 500mb?
4GB > 500MB
can you upgrade the RAM from 4gb to 8gb?
I don’t think so.
Hello, can you help me? locate jumper on this board? I’m trying to reset my bios. Thanks
I’m trying to find this as well…