Vivo held a new product conference to launch its new flagship- the Vivo NEX Dual Display on December 11 last year. One of this full-screen smartphone’s highlights is its dual displays design. It has one display in the front and the other on the back. Today, we will explore its internal structure. Three months ago, we have dismantled Vivo NEX.
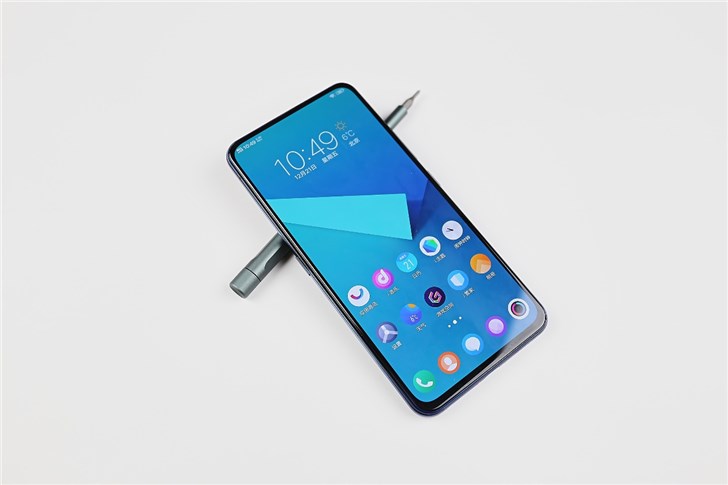
The phone boasts a 6.39-inch display with the resolution of 2340 pixels by 1080 pixels in the front, and its screen ratio reaches up to 91.6%. With such a full screen design, undoubtedly this phone will bring an impressive visual shock.
Besides, it features a 5.49-inch secondary display with the resolution of 1920 pixels by 1080 pixels on the back.
Step 1. Remove the Back Cover (Secondary Display)
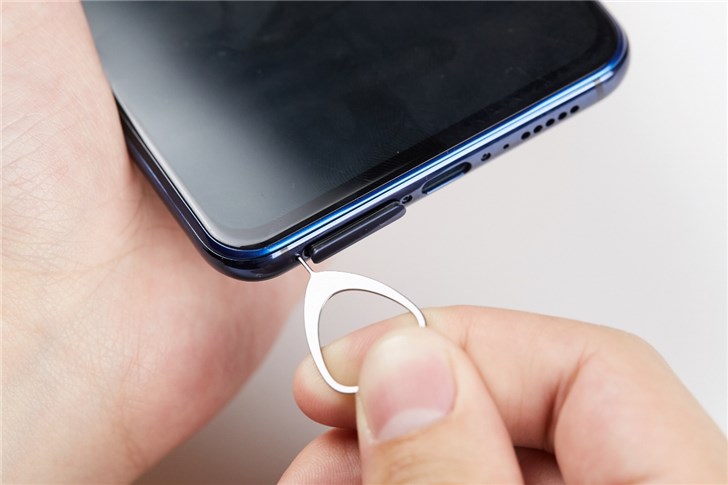
Now let’s start the teardown of this dual-display smartphone. First of all, remove the back cover (or the secondary display since it is placed on the back case). Before tearing down this phone, power off it first. Then use a clip to take out its SIM card tray.
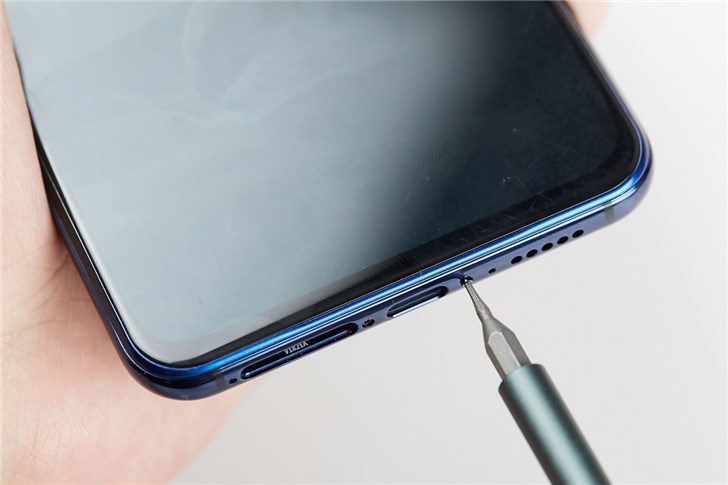
There are two screws around the charging port. Remove the screws with a screwdriver.
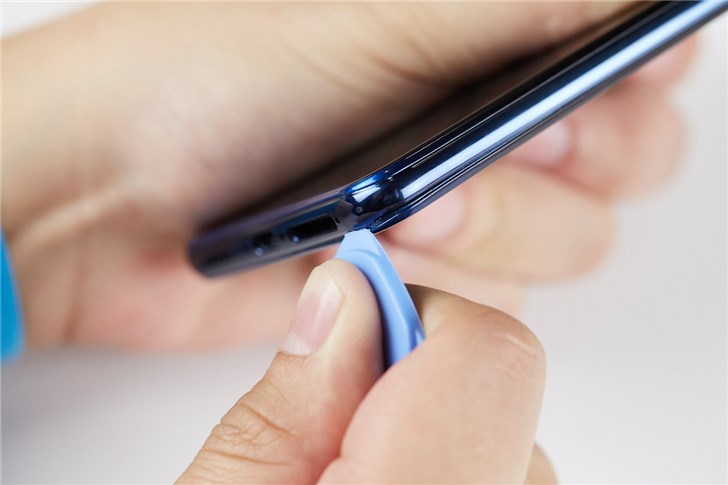
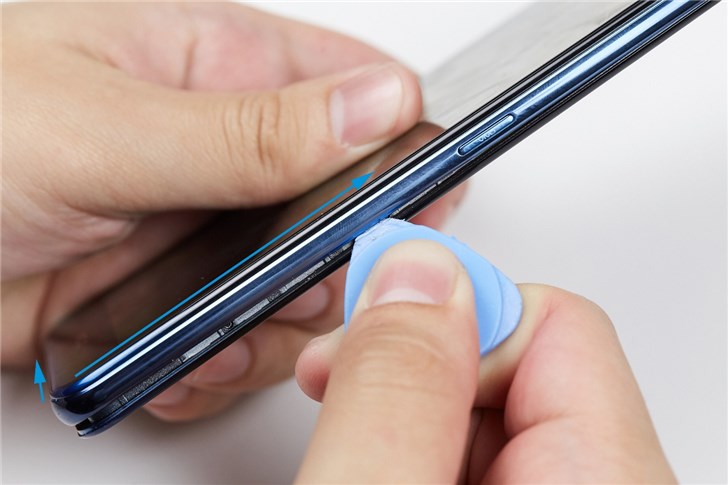
After taking out the screws, insert a plastic card in the slot between the main display and the middle framework. Use the card to widen the slot. Now the back cover is basically separated from the phone body.
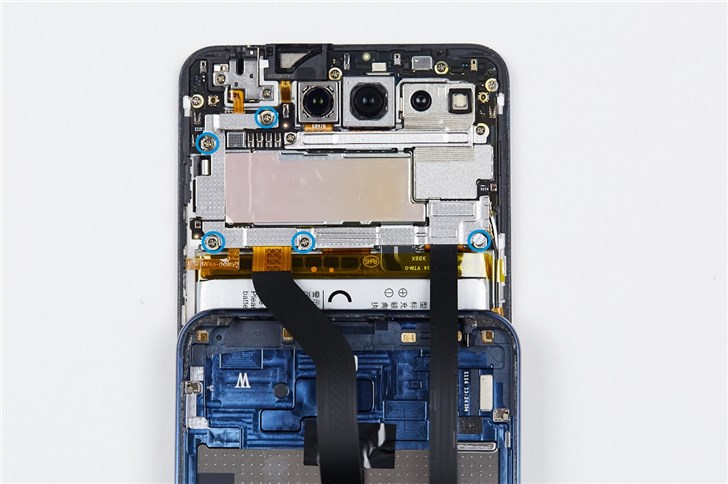
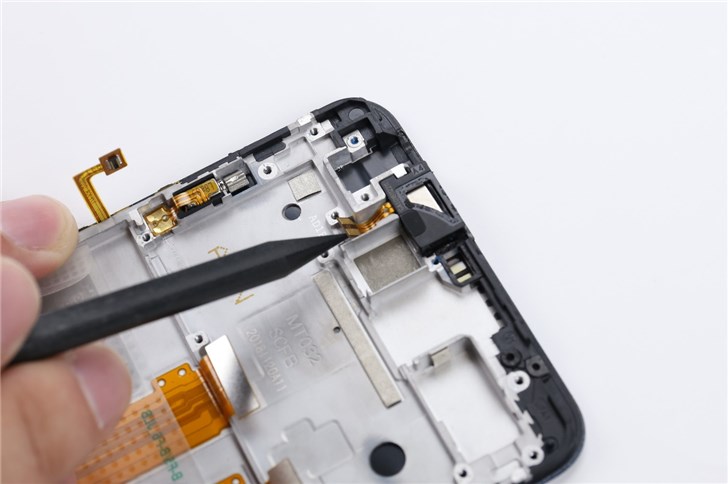
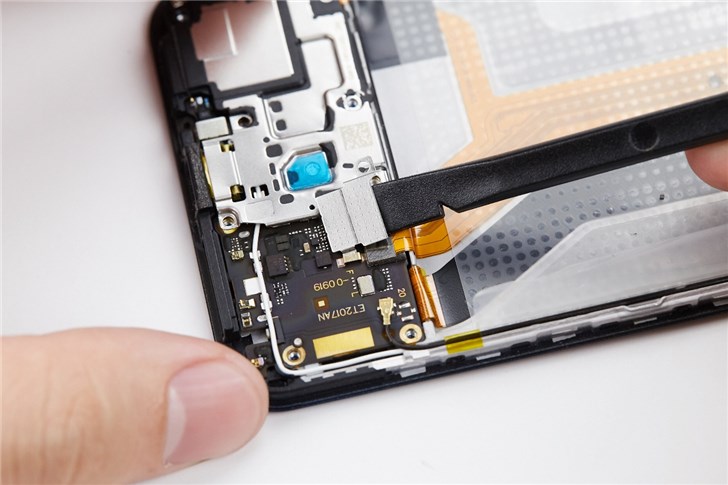
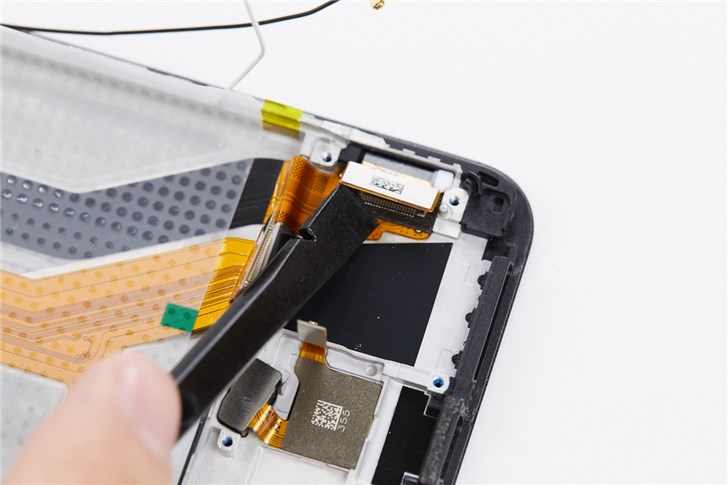
Now disconnect the cables. Remove the screws circled blue in the picture
Take out the metal frame.
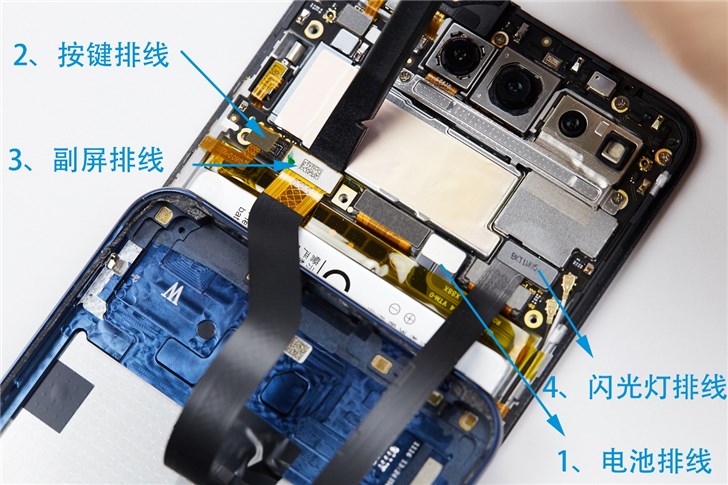
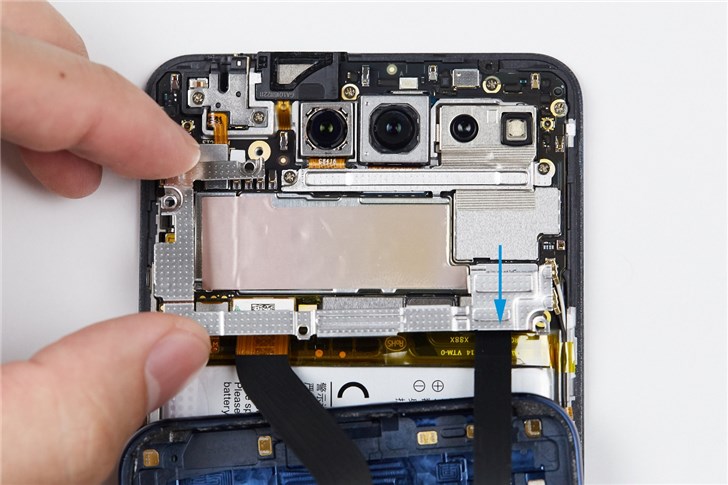
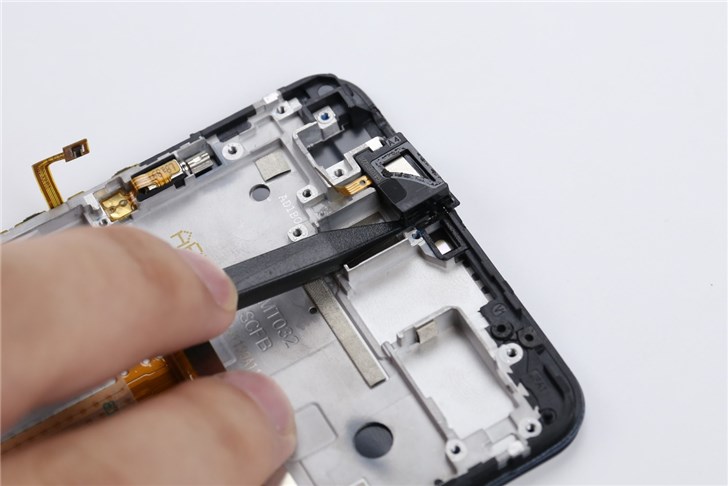
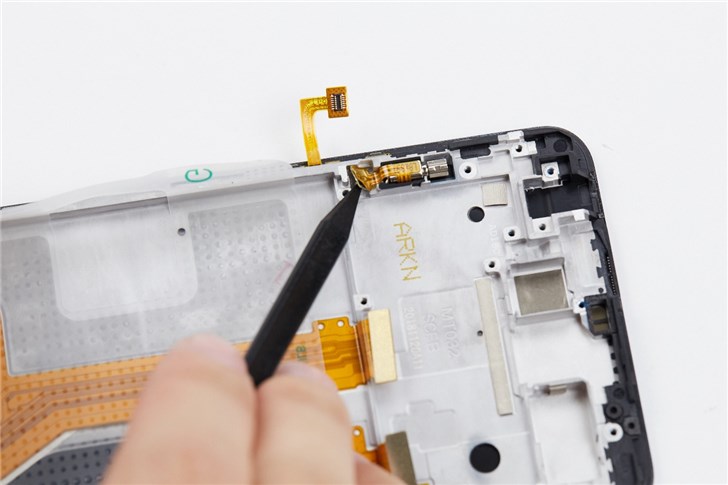
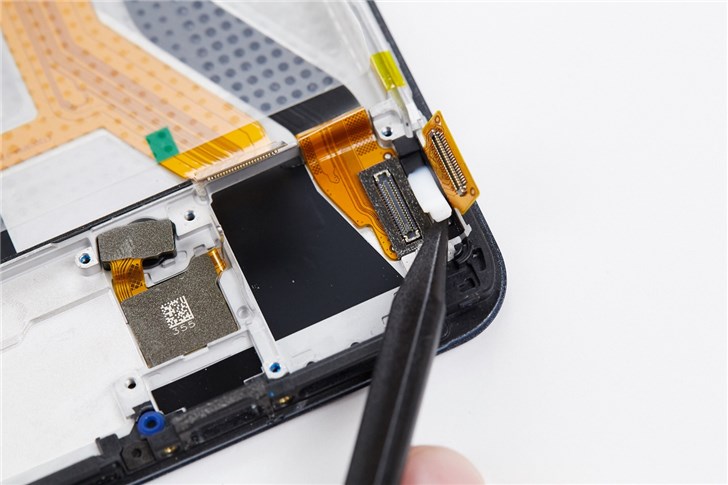
Use an insulated pry to disconnect the cable of the battery, keys, secondary display and the flash. Disconnect the cable of the battery first. Next, the back cover can be completely separated from the main display.
Step 2. Take out the Battery

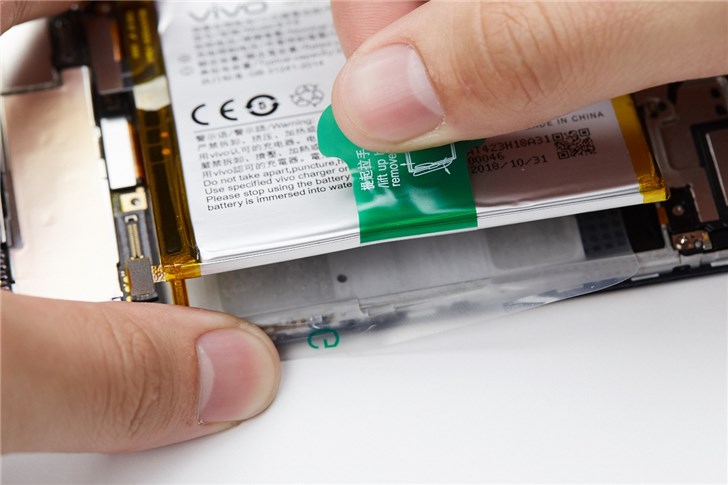
Lift the handle slowly to remove the battery.
Step 3. Tear down the Motherboard
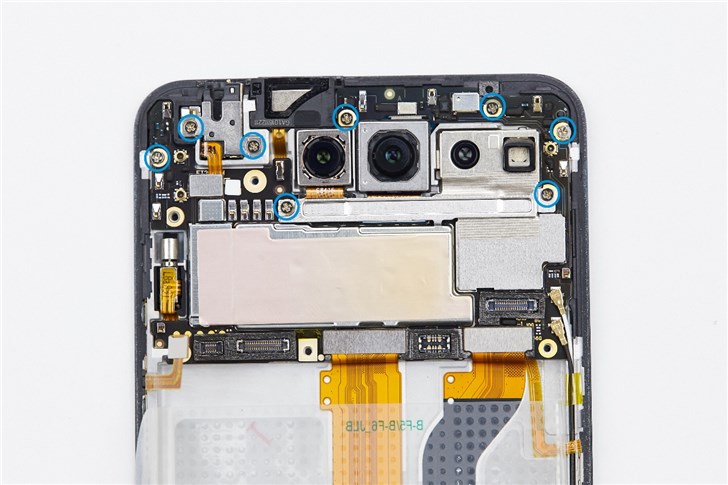
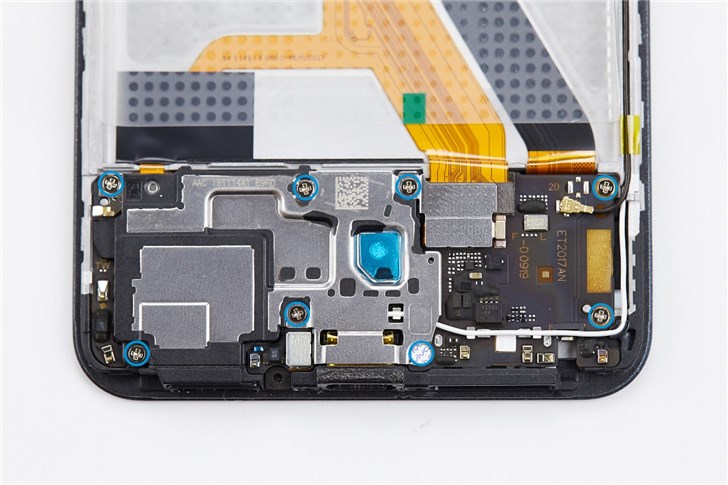
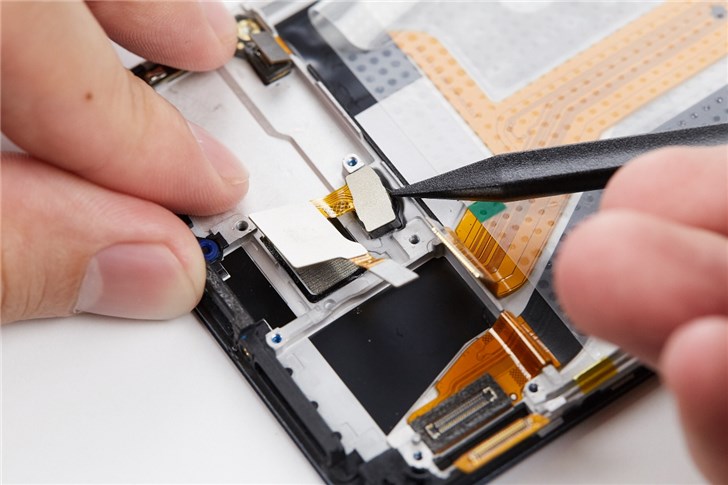
The motherboard is fixed by several screws. So take out the screws marked blue in the picture.
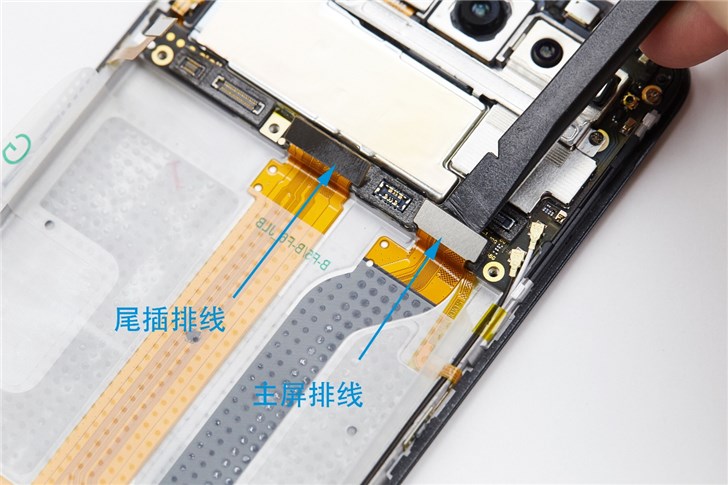
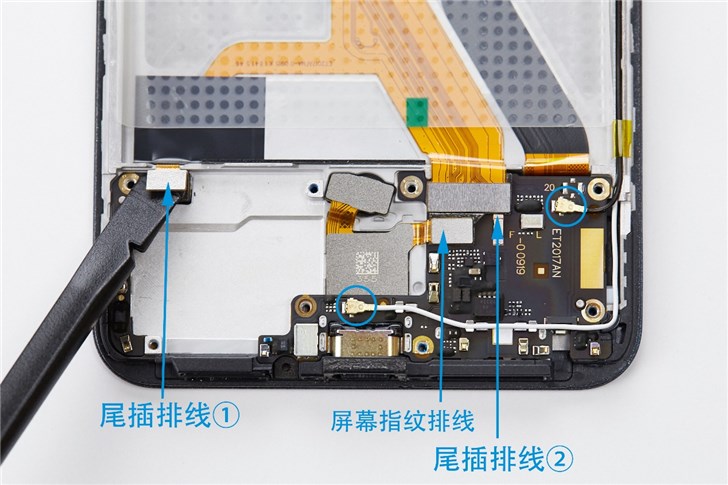
Then disconnect the cable of the charge connector and the main display.
Meanwhile, disconnect two coaxial cables.
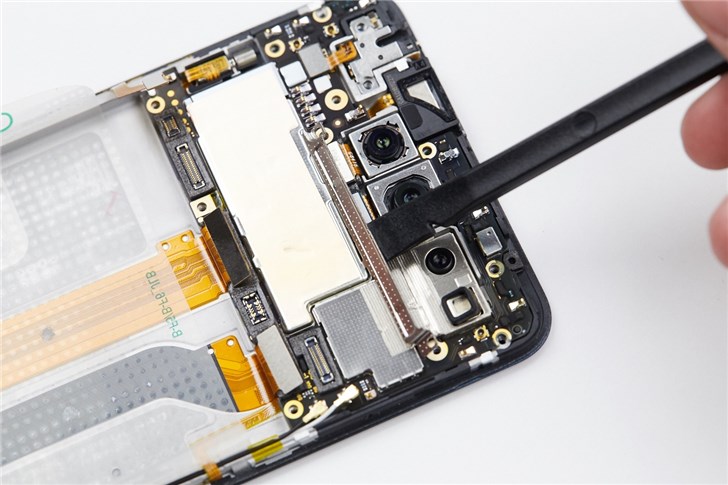
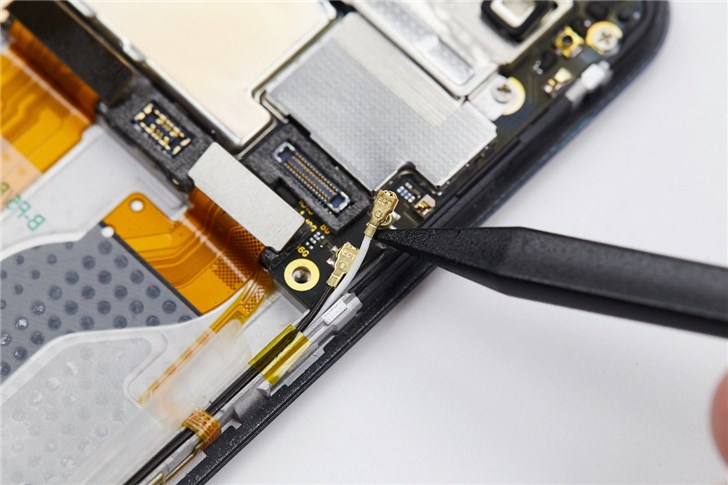
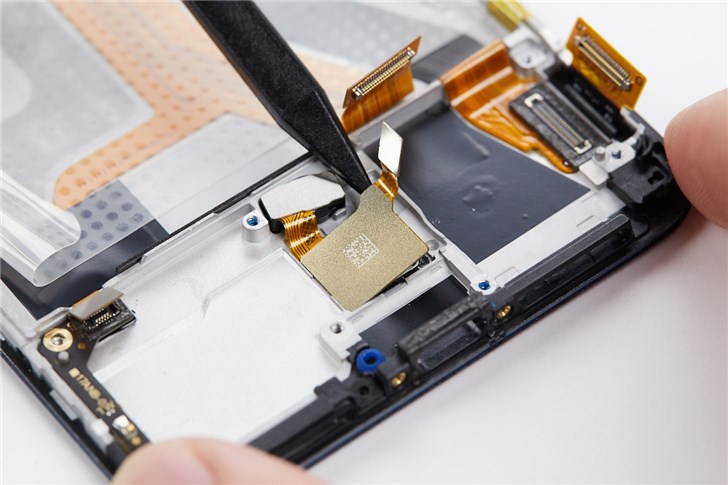
The phone features many cameras and relative sensors. To take out the motherboard, the cable of the cameras need to be disconnected. Before that, remove the metal racket on the cable of the cameras.
Disconnect the metal racket on the earphone plug.
Disconnect all the camera cable and the cable of the earphone plug.
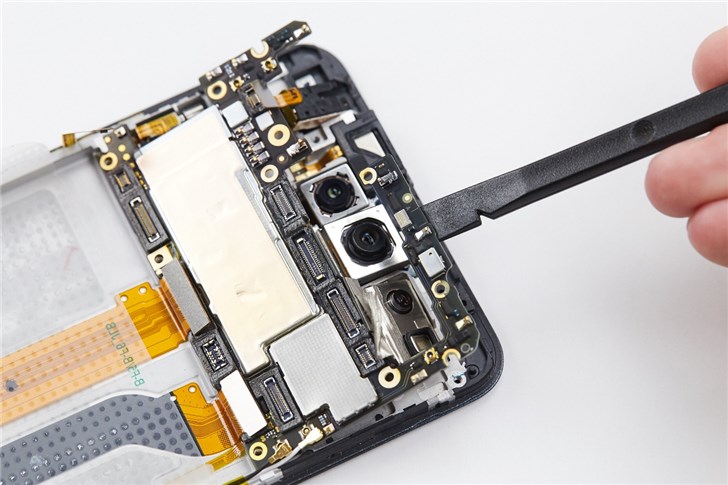
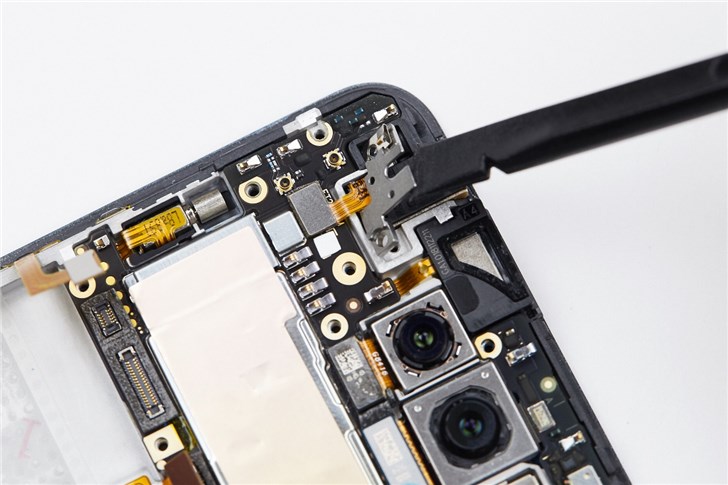
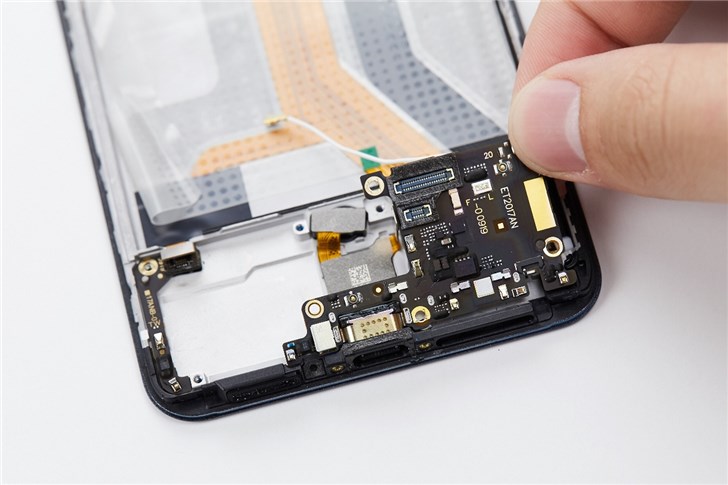
Now, the motherboard can be taken out.
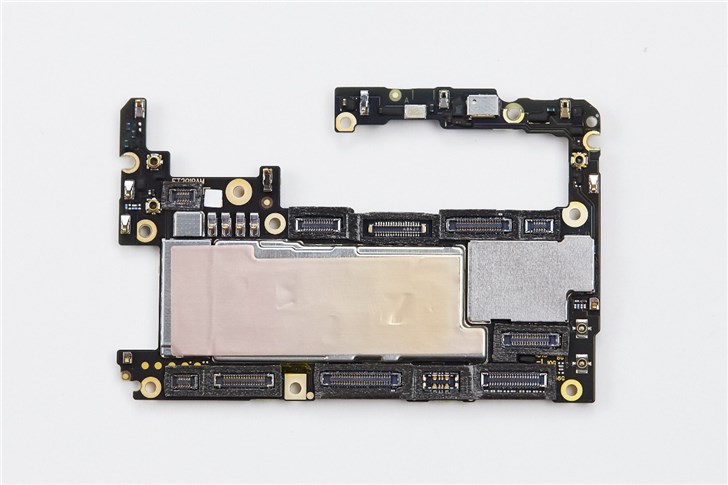
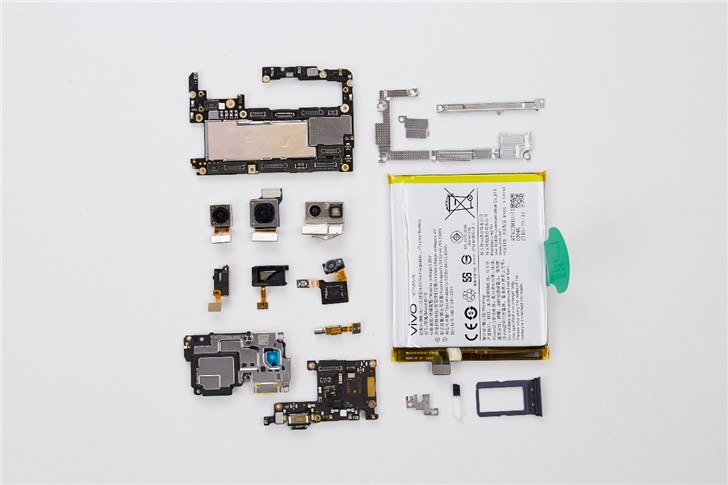
This motherboard has a neat and simple design.
Step 4. Tear down the Cameras
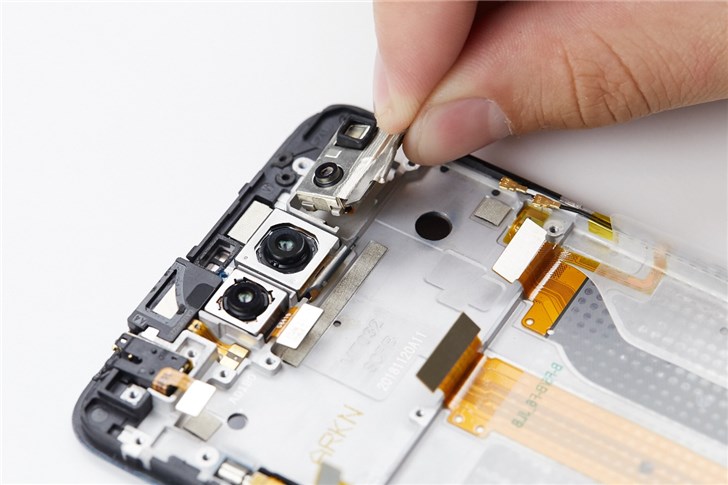
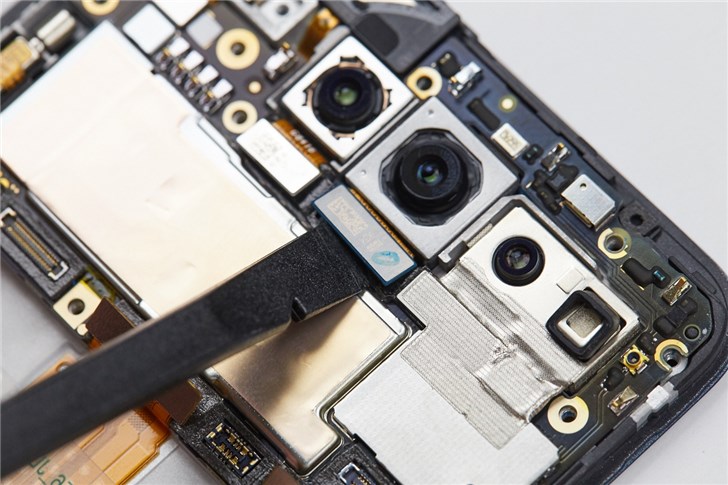
Hold the cable of the camera and lift it up slowly. Then all the cameras can be removed.
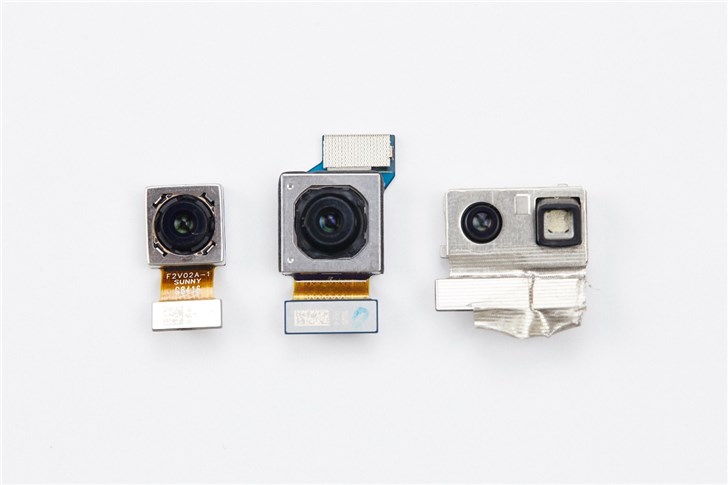
The component on the left is a 2MP camera with the F/1.8 aperture. The one in the middle is a 12MP main camera with the F/1.79 aperture and it uses the IMX363 sensor. The module on the right is a TOF 3D camera which can receive light signal.
Step 5. Take out Jack Plug, Motor Module and Earphone
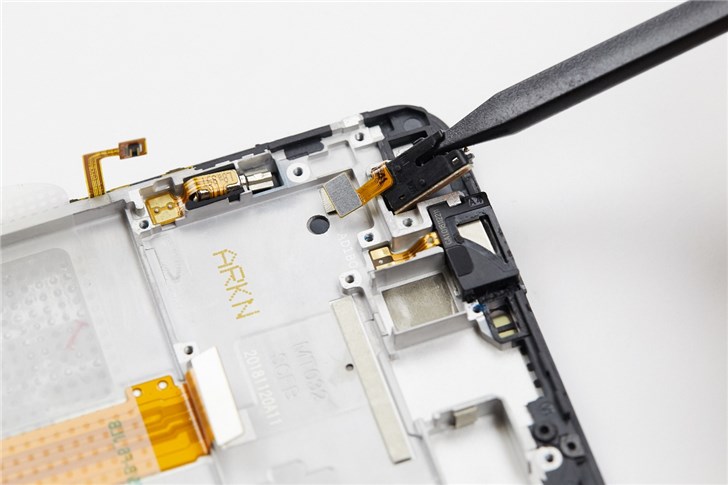
Use the pry to take out the jack plug.
Remove the connector below the cable of FPC with the pry.
Now take out the earphone slowly. The cable of FPC here is so fragile that it is easy to get broken.
Utilize a pry to remove the motor.
Step 6. Take out the Charge Connector
Take out all the screws circled blue in the picture with a screwdriver.
Remove the panel which protects the cable of the charge connector carefully.
Get the frame of the speaker out.
Use the pry to disconnect all the cables circled blue in the picture.
Lift the charge connector up and take it out.
Take out the display jack with a pry.
Remove the waterproof silicone from the FPC of the touchscreen.
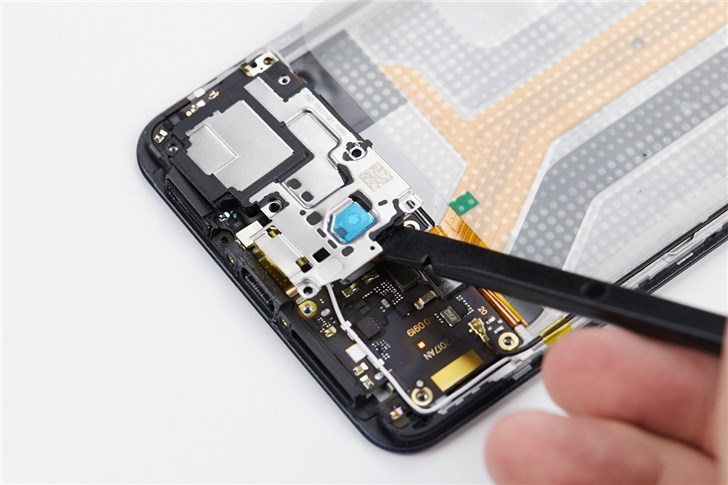
Step 7. Take out the In-Display Fingerprint Reader
Use the pry to remove the IC of the in-display fingerprint reader.
Then lift up the holder of the fingerprint scanner. In this way, the whole under-the-display fingerprint reader can be taken out.
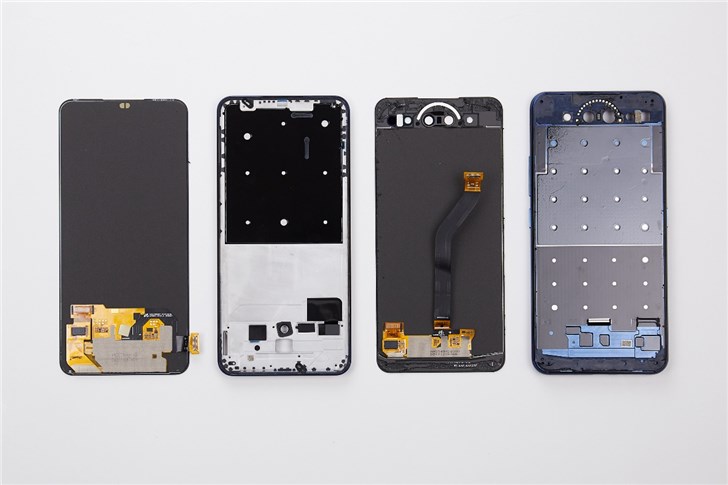
Step 8. Remove the Dual Display
Taking out the dual displays is difficult. If you handle improperly, the phone might be out of work. Therefore, we suggest you turn to a professional person for help if you need to get your display changed.
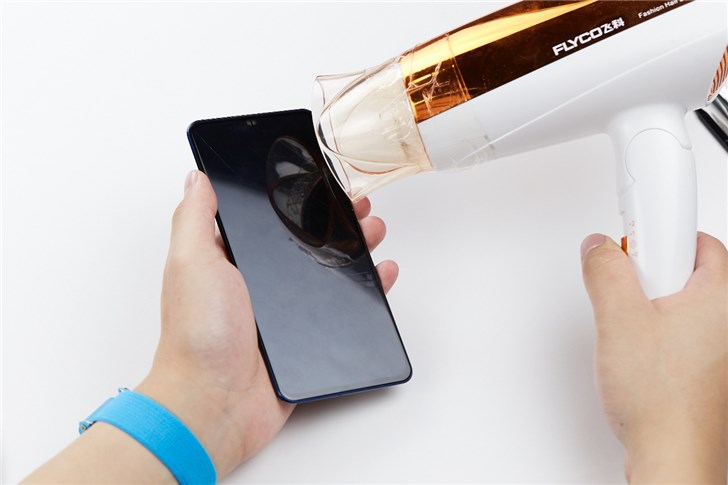
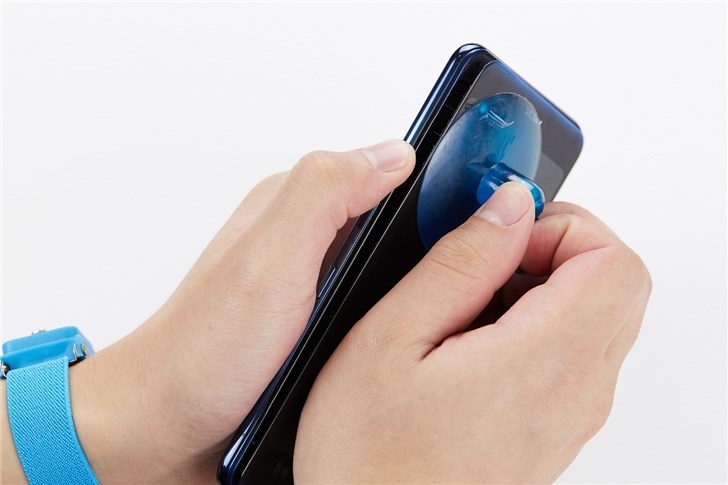
Take out the main display first. Use a hair dryer to heat the four edges of the display evenly for four to five minutes. Don’t focus on one place.
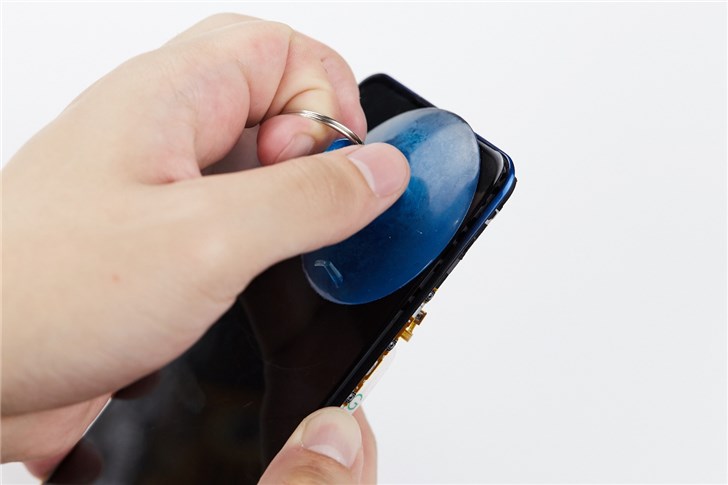
Use a sucker to separate the display from the phone body.
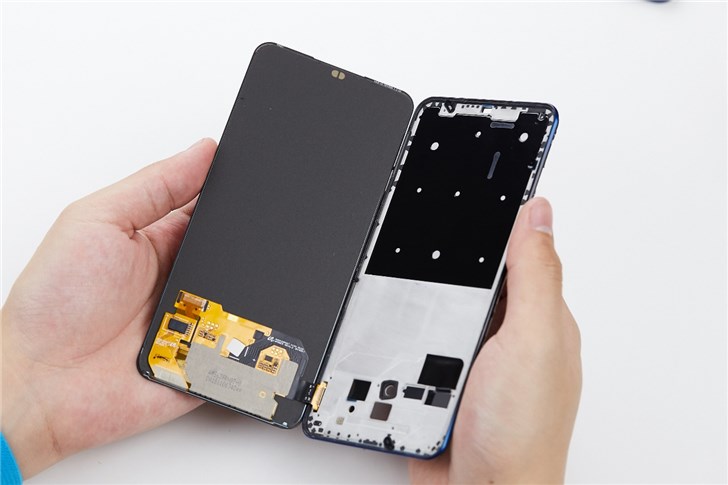
Now the main display is removed.
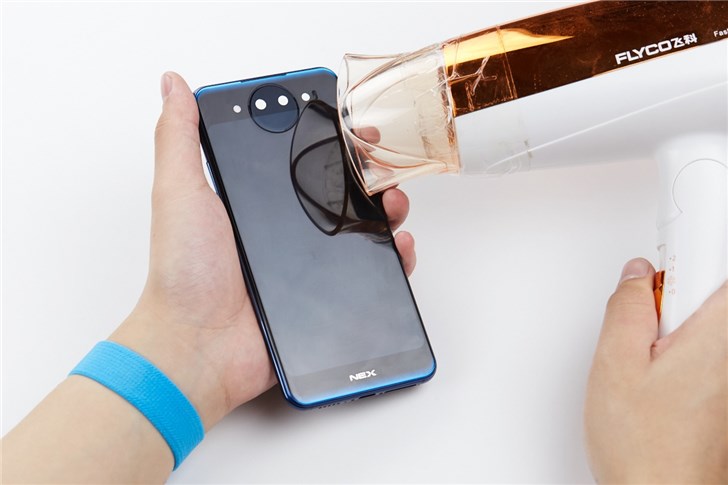
Heat the four edges of the secondary display with a hair dryer for five to eight minutes.
Then use a sucker to take out the secondary display.
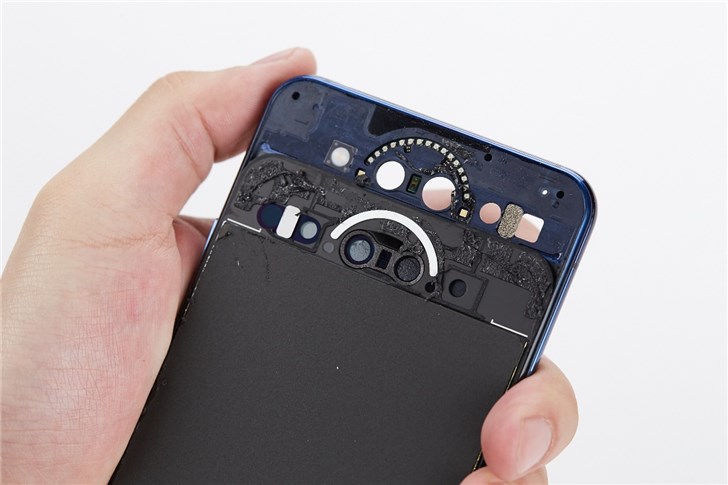
There is much glue around the flash.
Teardown Summary
I find that the teardown process of the Vivo NEX Dual Display is the most difficult one`among all the phones I have torn down. It has a more complicated internal structure than that other phones adopt. Besides, its dual display design increases the difficulty of the teardown process. Therefore, we suggest that you’d better not tear down the NEX Dual Display yourself in case that you may destroy the internal structure of the phone.