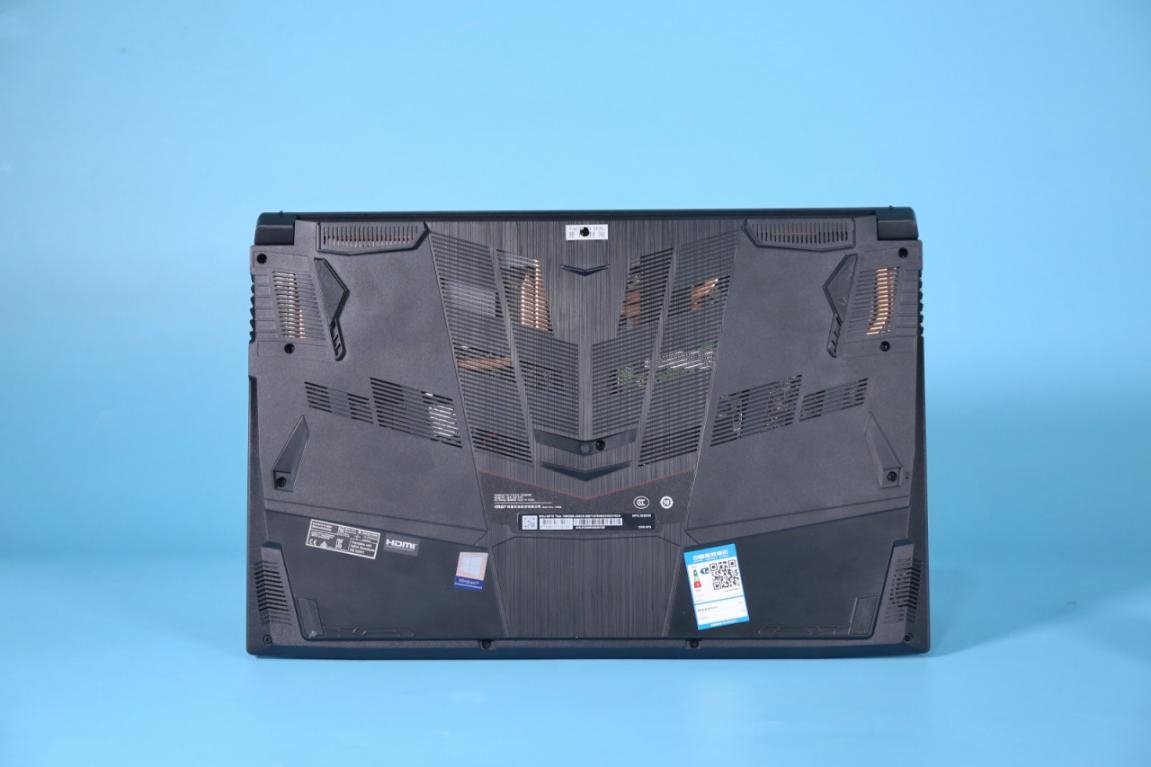
The bottom cover of the MSI GF75 Thin is made of plastic, with many holes distributed on it to improve the heat dissipation performance. From the small holes, the internal copper tube structure can be vaguely seen.
First, remove all the screws that fix the bottom cover. There is a screw covered with MSI’s fragile sticker. If it is damaged, you will lose the warranty, so I recommend you not to upgrade the memory and SSD by yourself during the warranty period.
MSI GF75 Thin adopts a dual fan, four copper tube heat dissipation systems, CPU and GPU are covered by two heat pipes, and equipped with a heat plate to cover the surrounding power supply and video memory, and other components. A single heat pipe on each heat dissipation module has an independent air outlet to ensure heat dissipation efficiency.
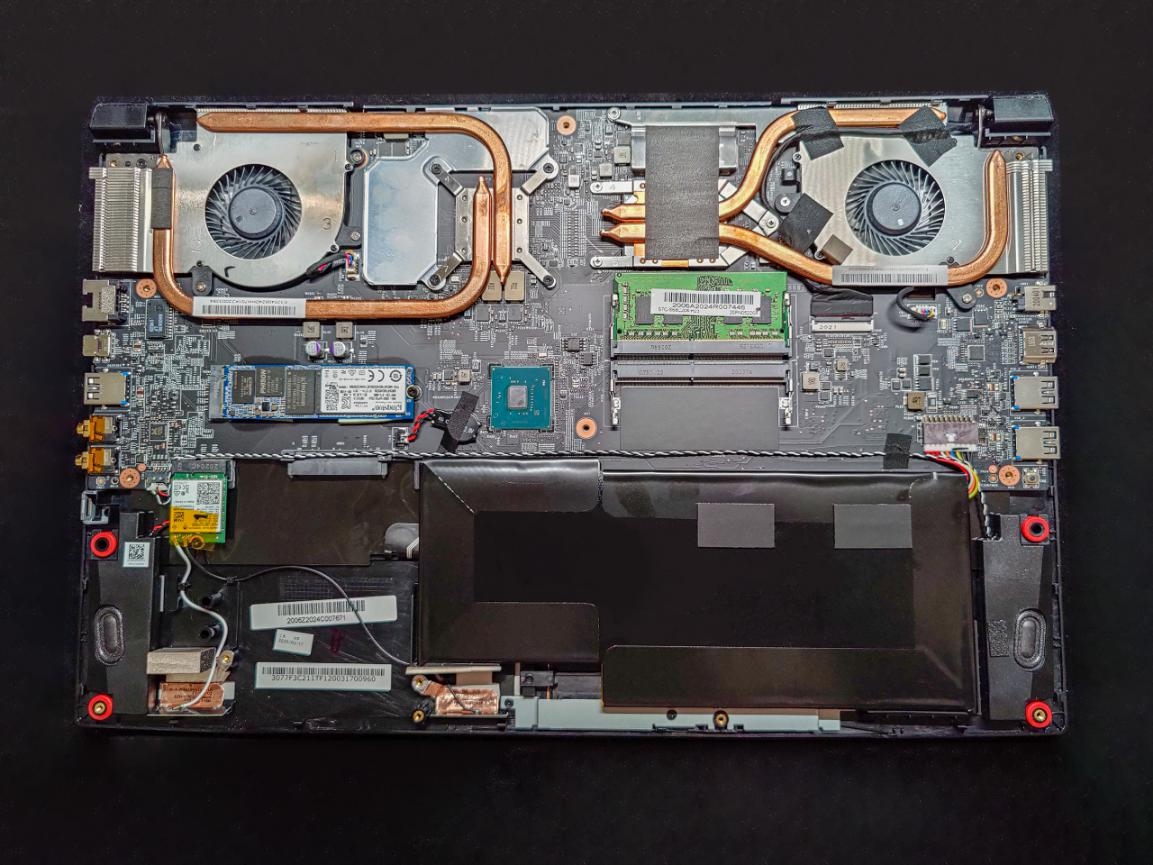
The battery can’t see the specification information. Maybe the battery information is on the back that we can’t see. We use AIDA64 to detect that its capacity is 51Wh.
On the left side of the battery, there is an HDD slot that can be installed with a 2.5-inch hard drive or 2.5-inch SATA SSD. But MSI does not reserve an HDD caddy, so if you want to add SSD, you need to purchase an HDD caddy.
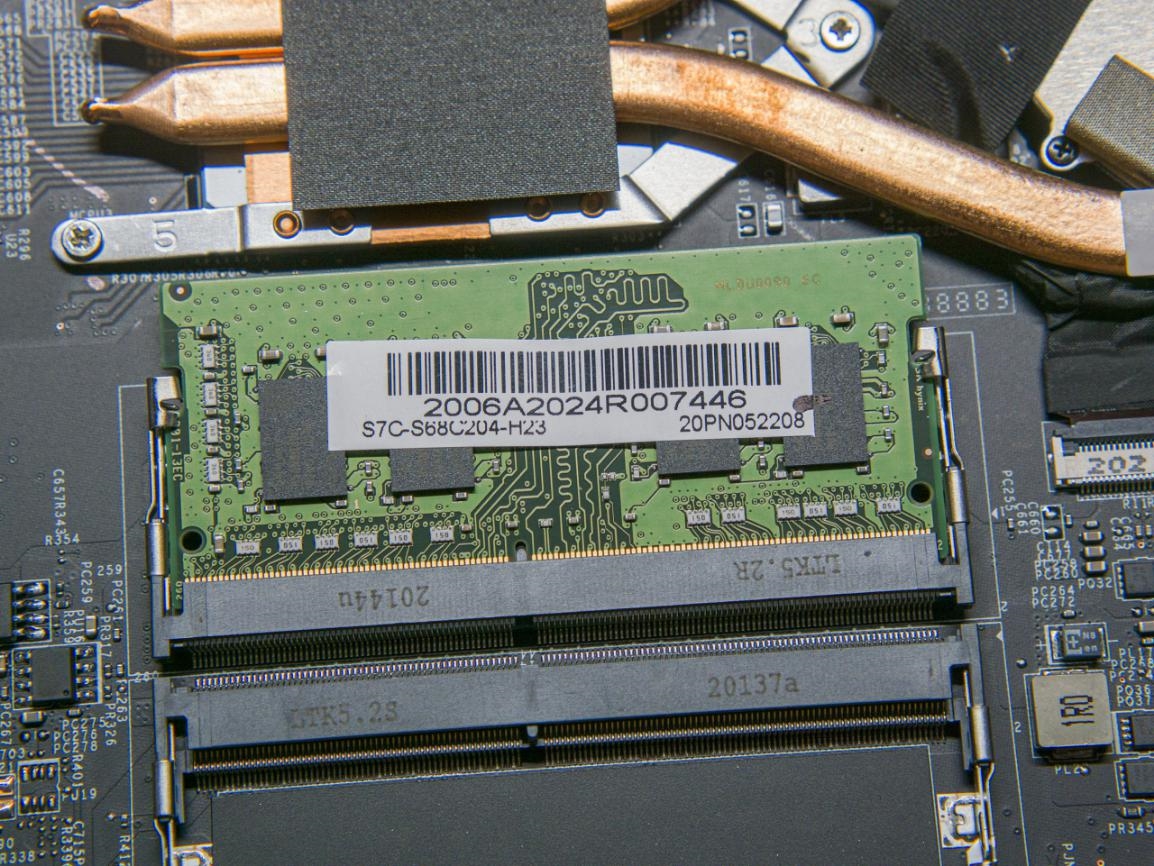
This notebook provides two memory slots. Only one 8GB DDR4 2666MHz memory is inserted in my notebook. It comes from SK Hynix. If necessary, you can add memory to form a dual-channel memory.
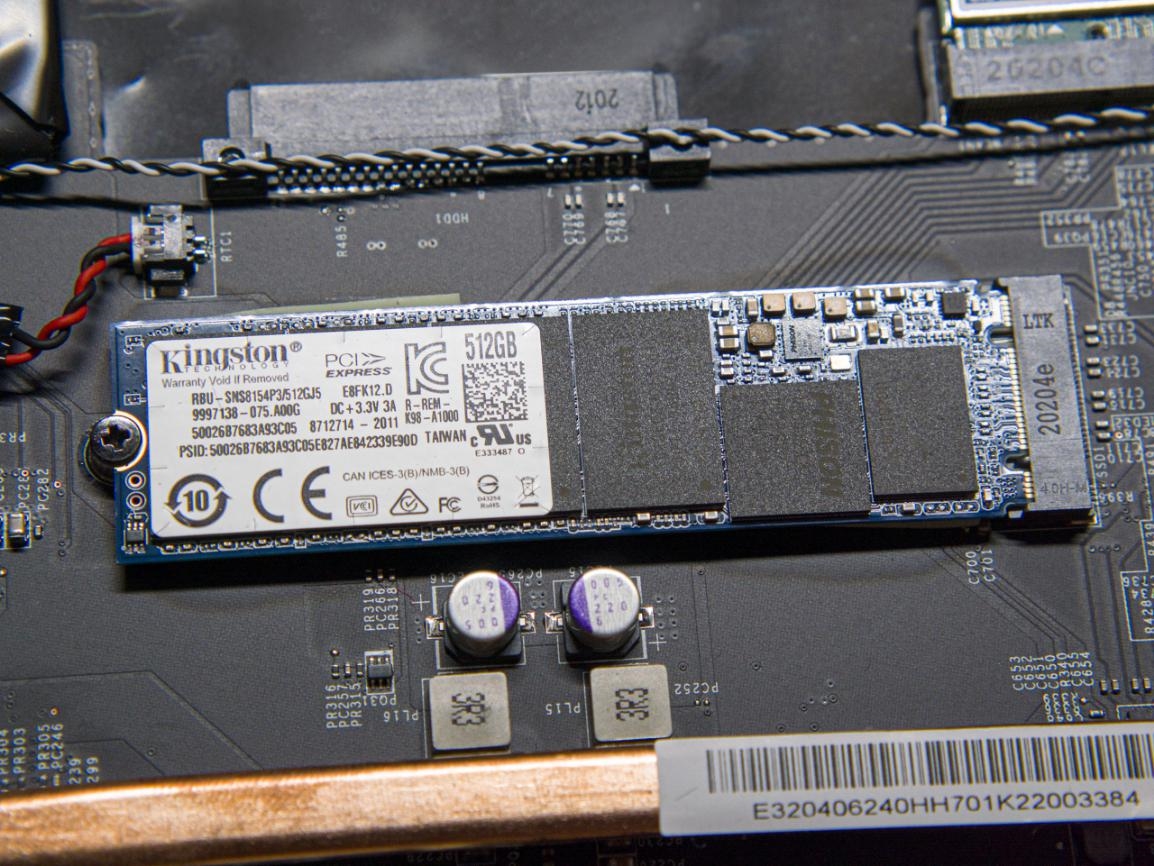
This is Kingston 512GB M.2 SSD and supports NVMe protocol.
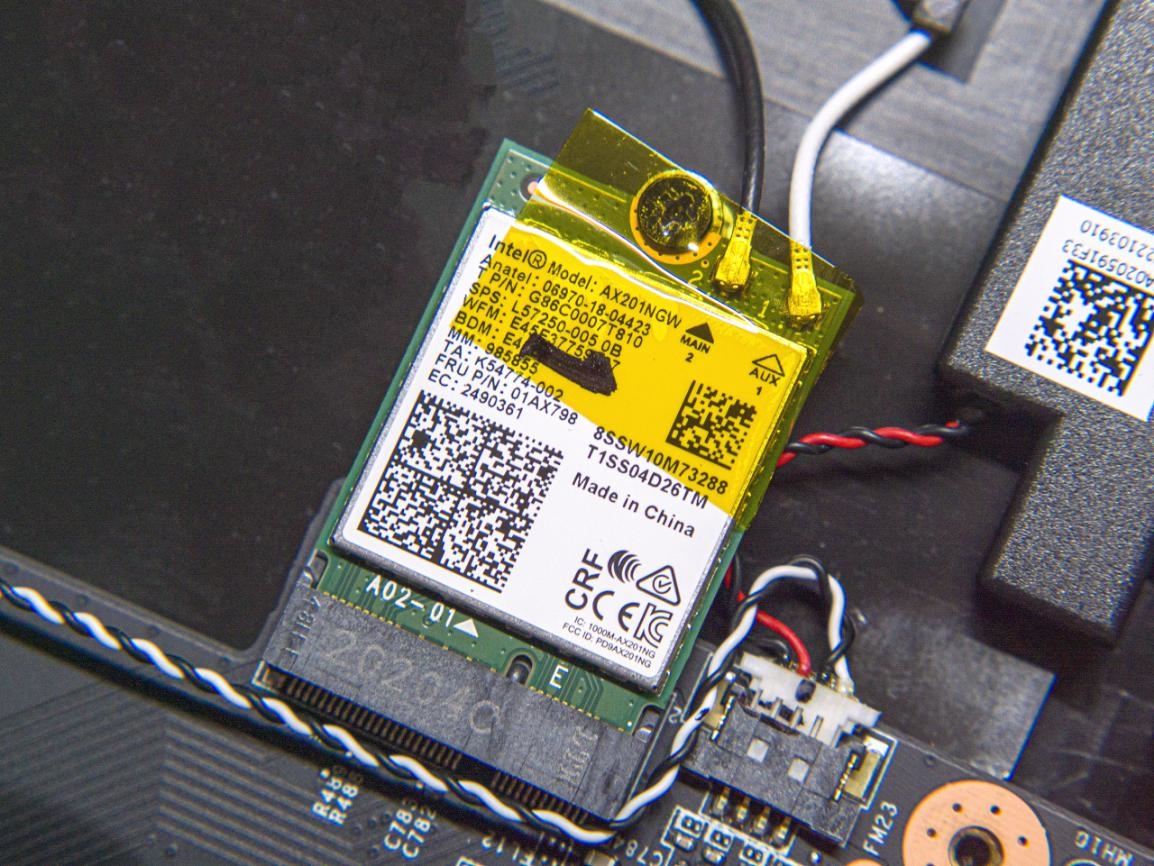
This notebook comes with an AX201NGW wireless network card, which supports up to 2×2 MIMO 160MHz connections under Wi-Fi 6, and the maximum speed is 2.4Gbps.