Dell recently released the XPS 15 2-in-1 laptop with Intel Kaby Lake-G chip. In fact, this laptop has been seen at this year’s CES exhibition, it has built-in 65W Kaby Lake-G processor, of which AMD Radeon Vega M GL core has 20 computing units and 1280 stream processors.
Due to the huge heat generated by this chip, Dell currently only uses the processor on a 15.6-inch thin and light notebook to ensure its heat dissipation, and it is equipped with an extremely luxurious cooling module.
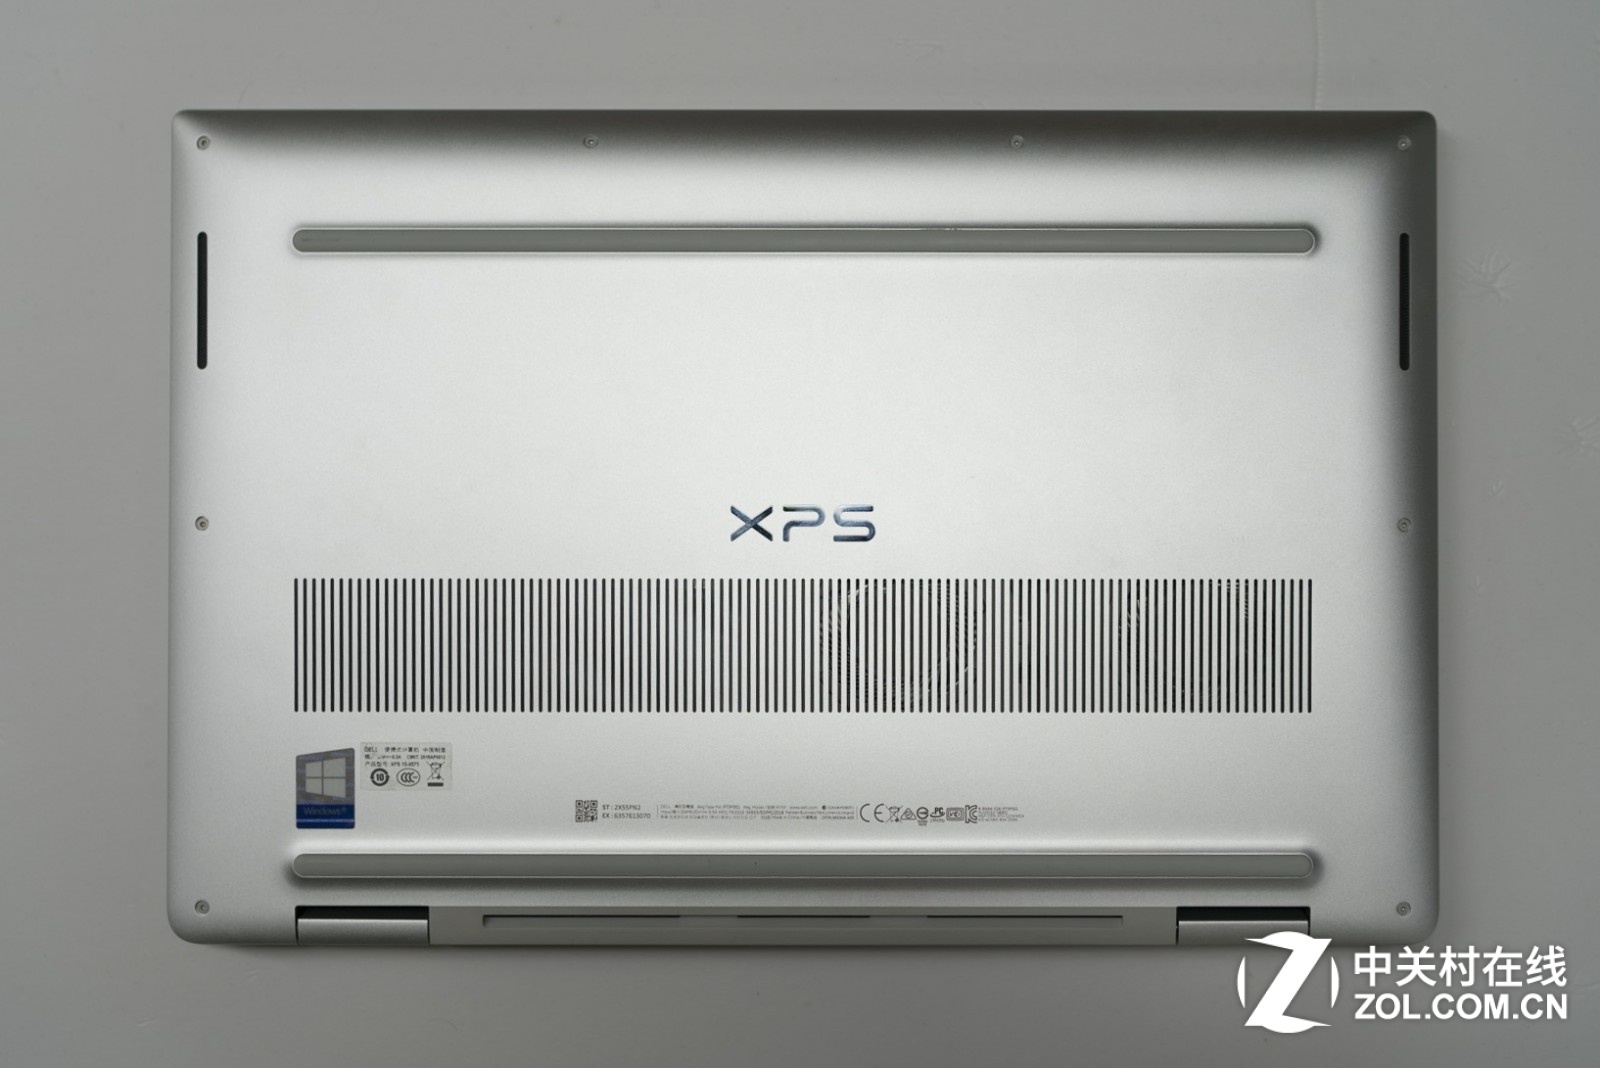
Today, we bring you the disassembly of Dell XPS15 9575 micro-border 2-in-1 laptop. As a high-end product with a price of $2000, what is its internal design? Let’s take a look.
In this guide, I will remove the bottom case of Dell XPS15 9575 to access its internal component. I will remove the battery, M.2 SSD, CMOS battery, heat sink, cooling fan, speaker, and keyboard.
Teardown is what we do! Follow us on Facebook for the latest repair news.
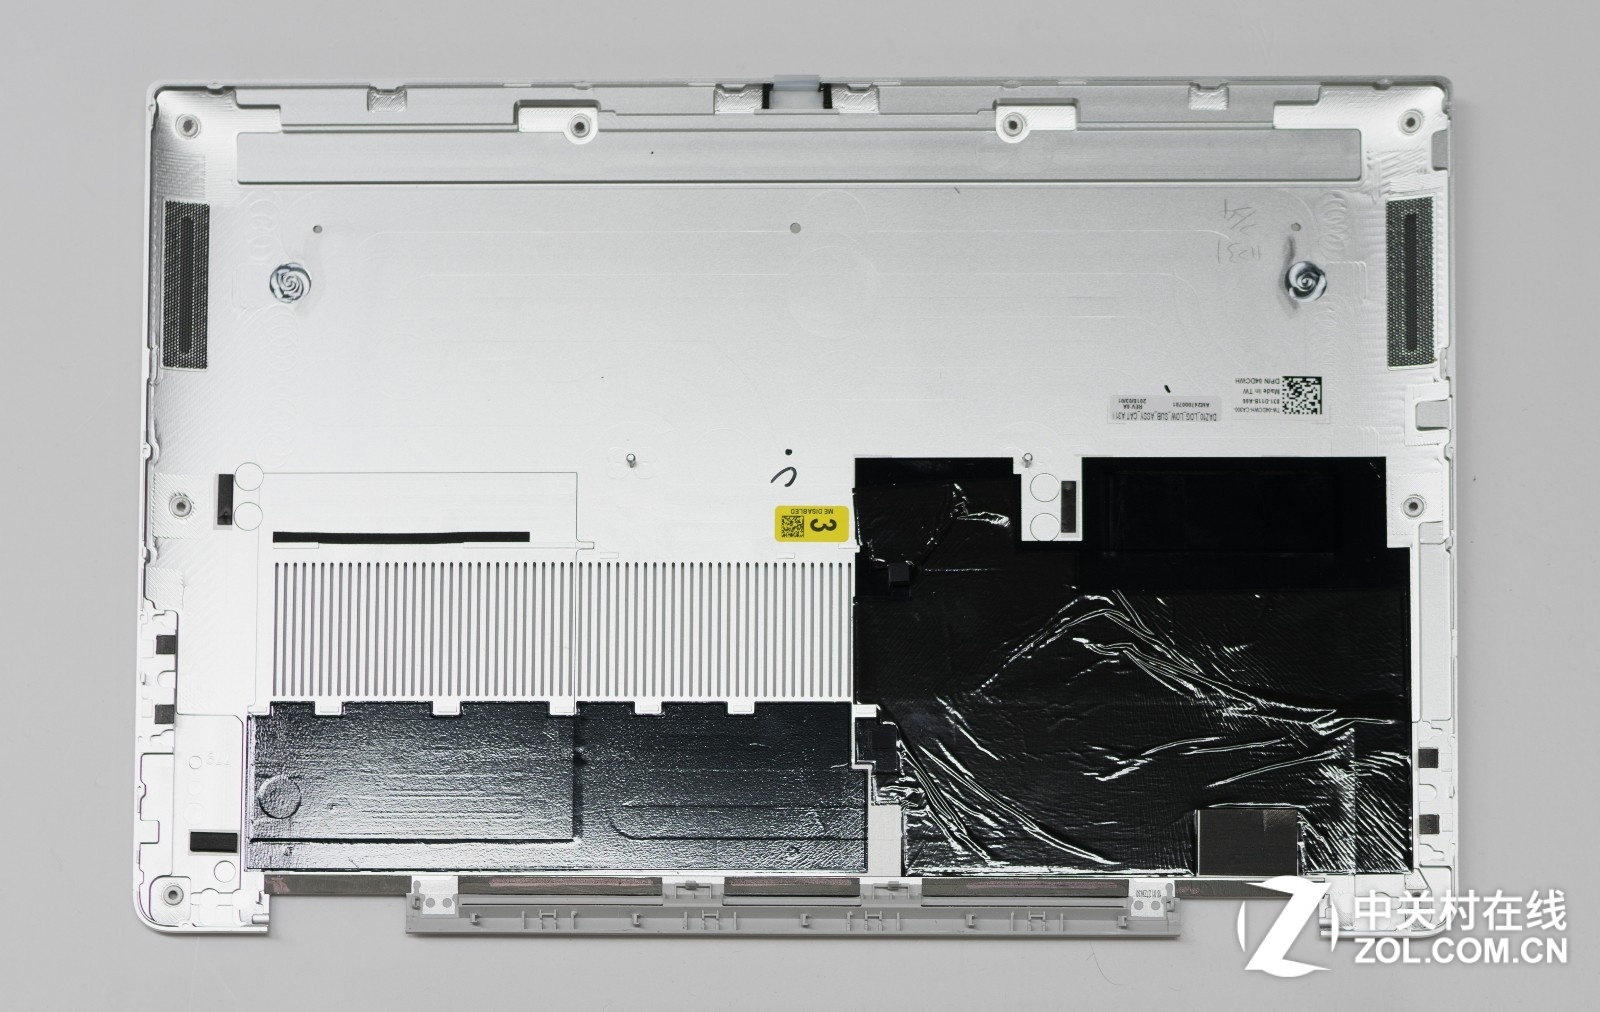
First, we flip the computer, and we unscrew all the screws to fix the bottom case. Then use the plastic pick to slowly pry open the bottom case, because there are a lot of latches on the bottom case, we need to release these latches, then you can easily remove the bottom case.
After unscrewing the screw, the bottom case can be removed. It can be seen that the parts of the fan and the heatsink near the bottom case are covered with insulation material.
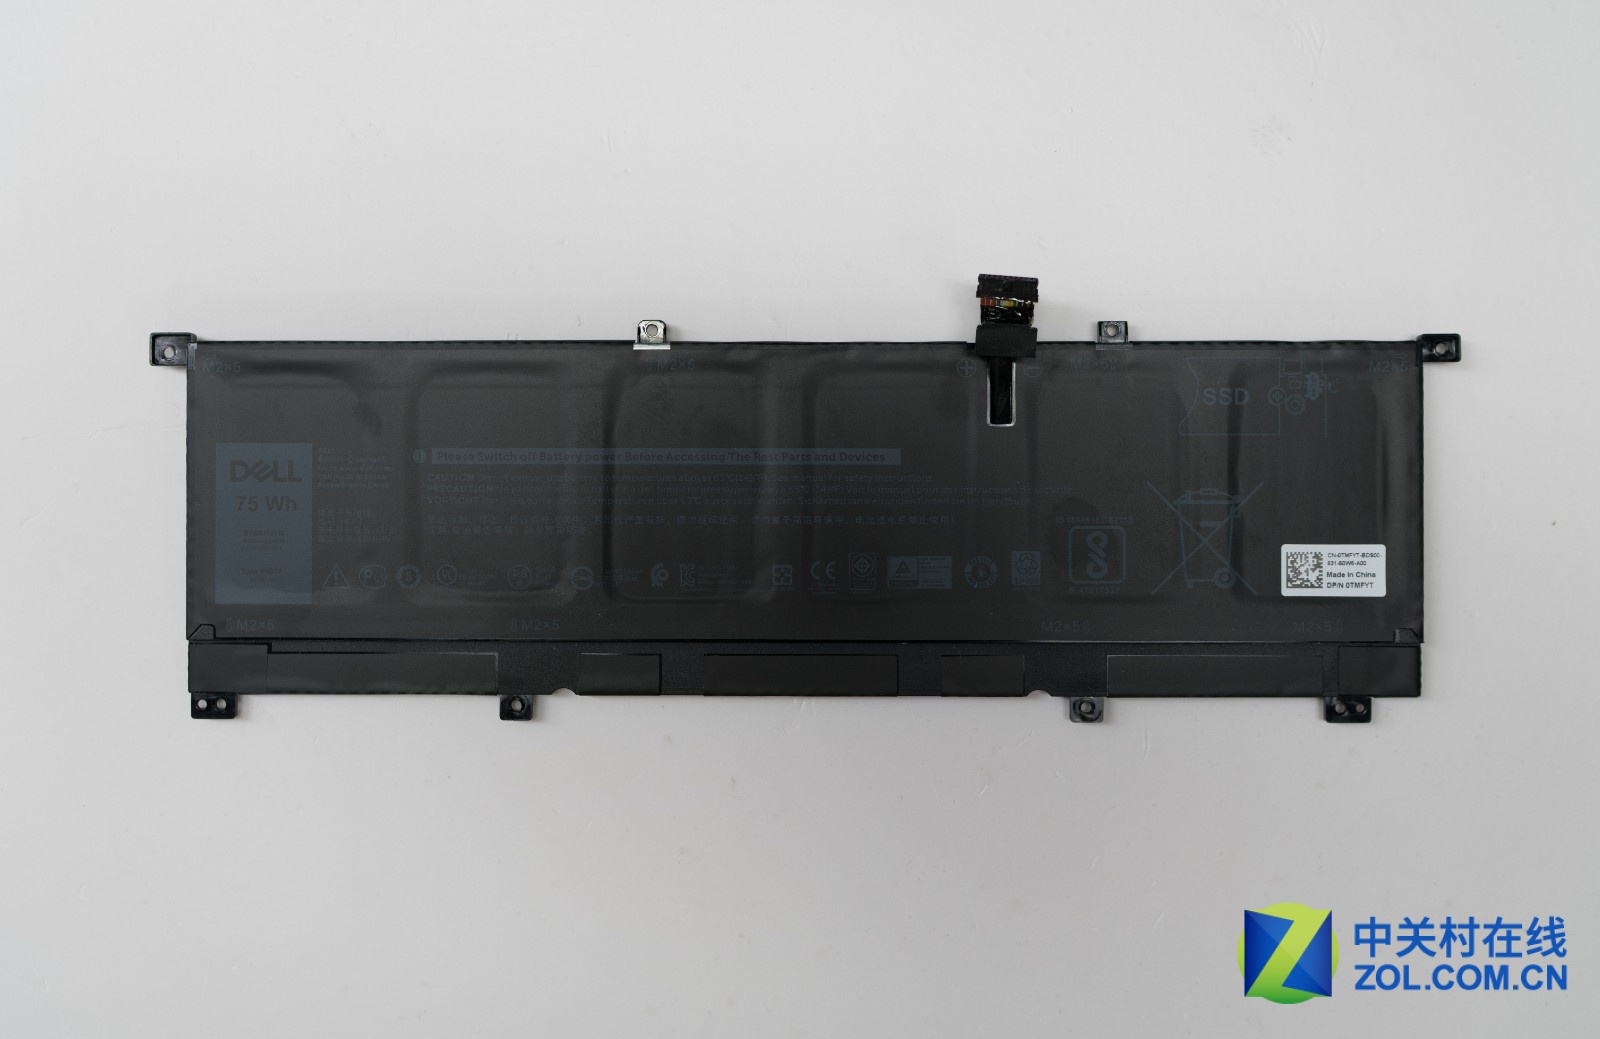
After the bottom case is removed, we can see its internal structure. The Dell XPS15 has two fans and three copper tubes. The CPU and memory are equipped with a metal shield. The M.2 SSD has a cooling pad. The 75Wh battery occupies the entire lower half of the fuselage, which is huge.

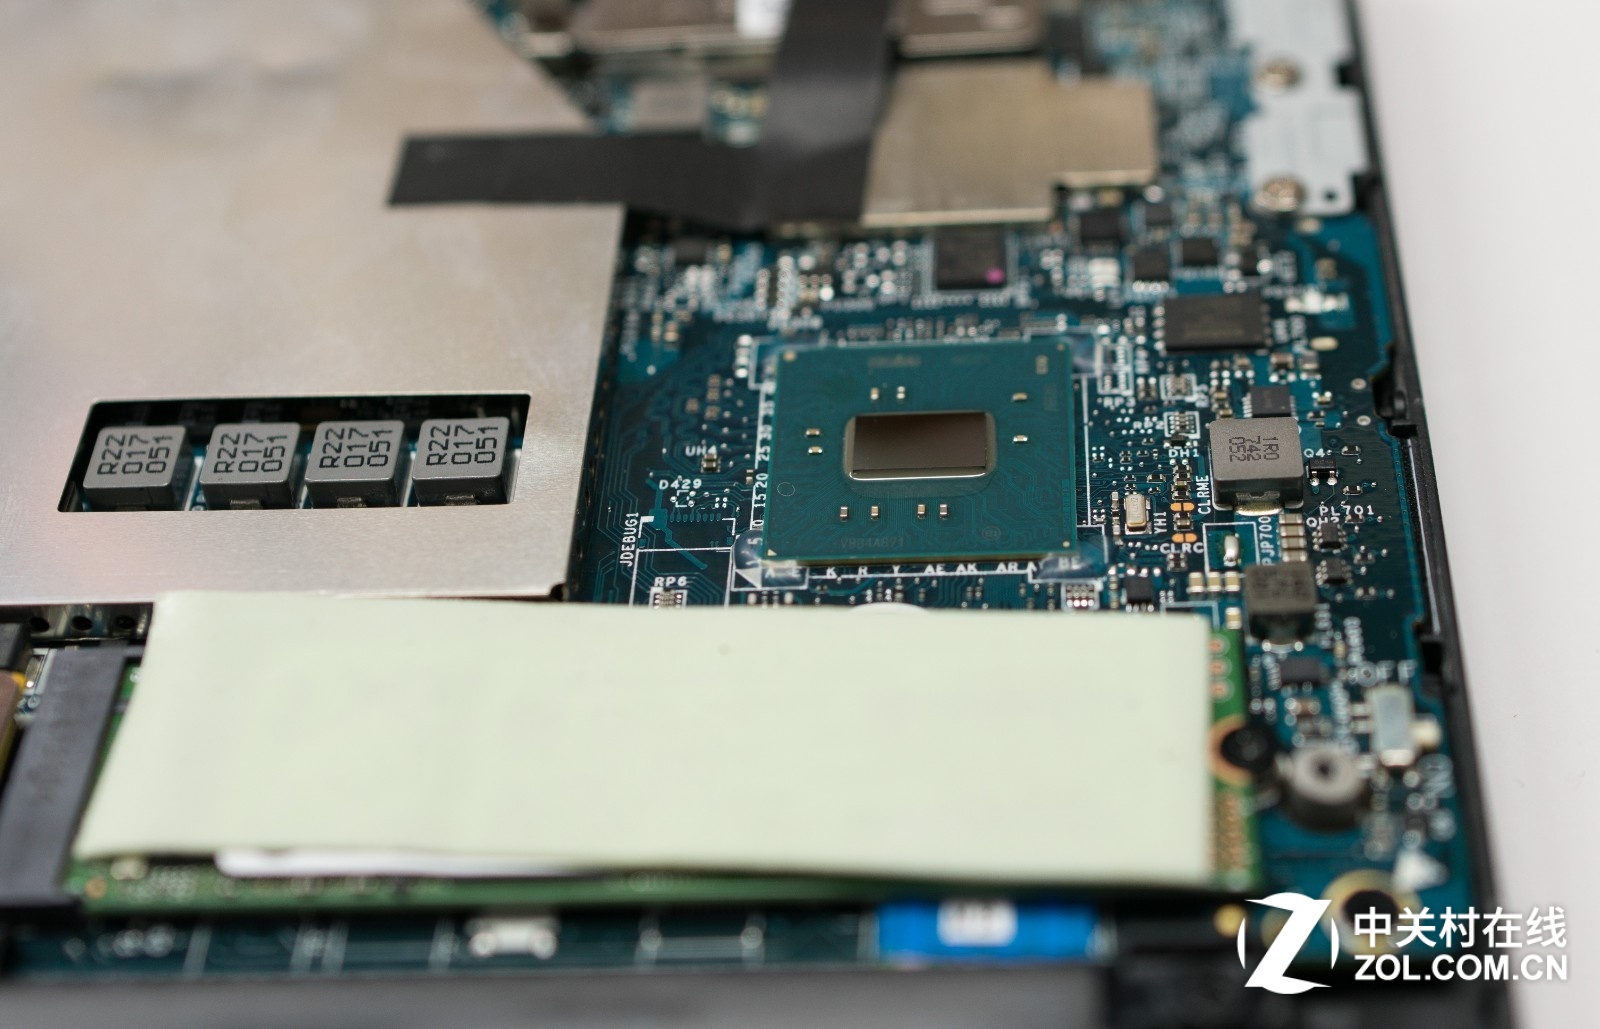
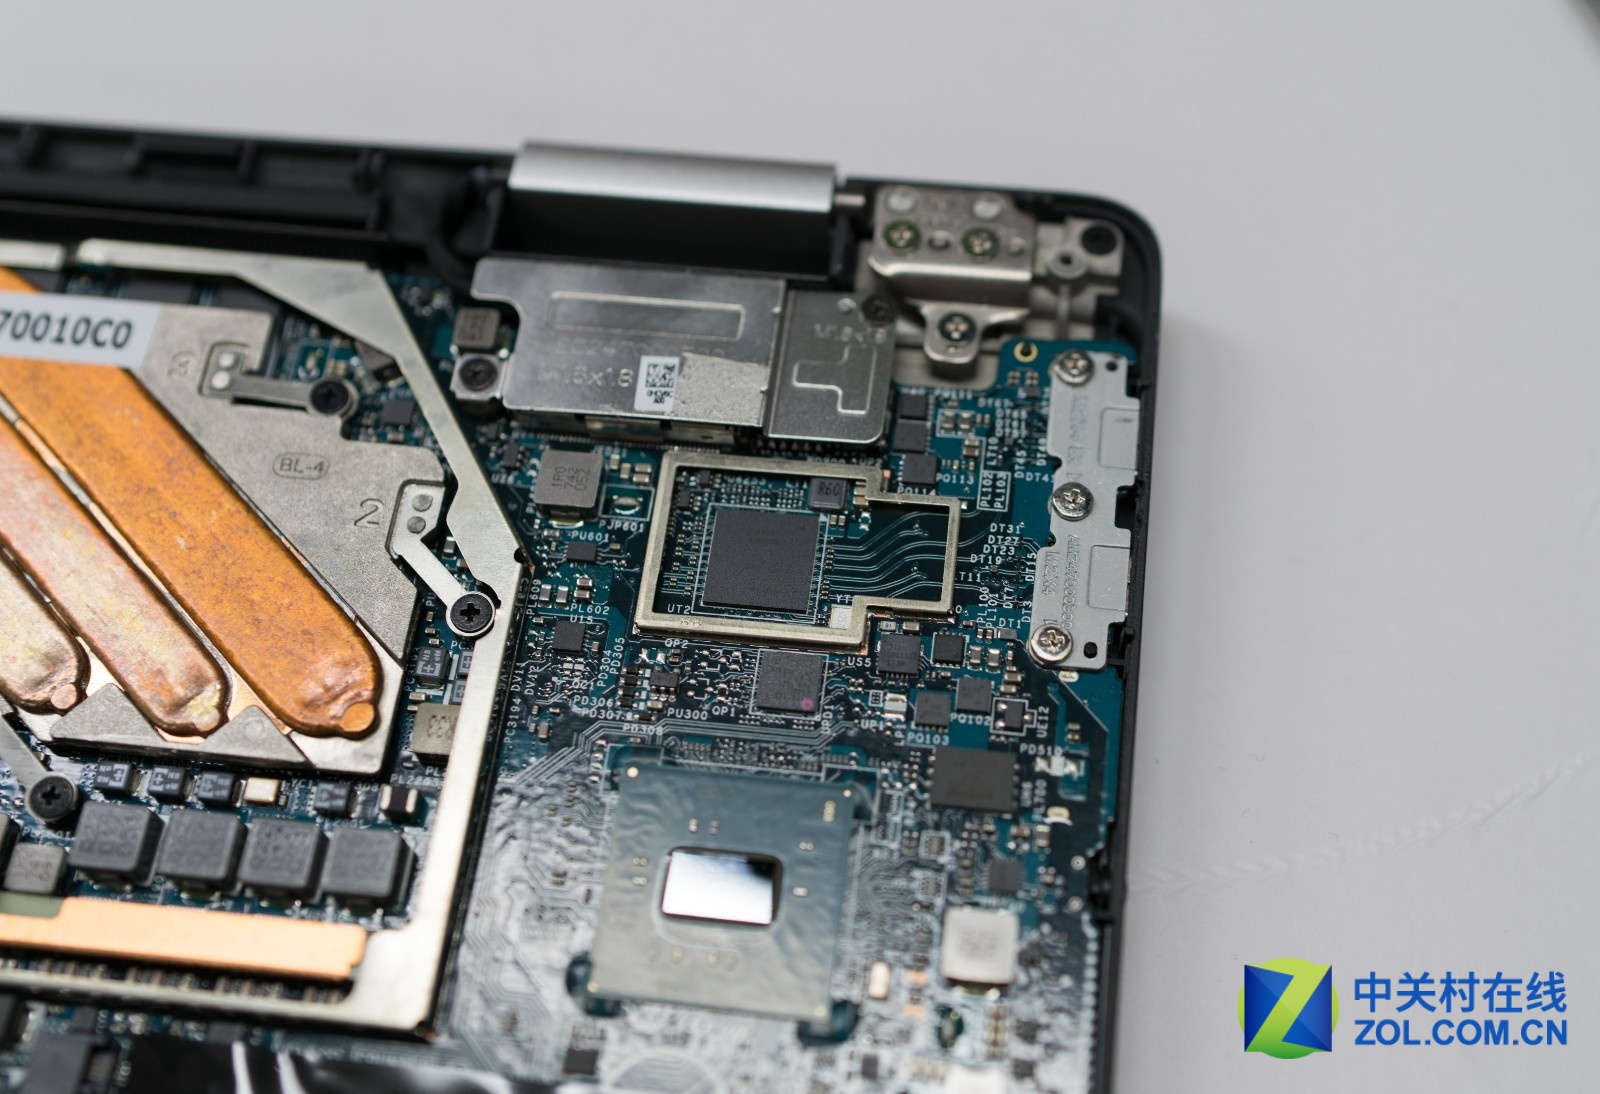
The motherboard PCH chip is on the right side, and there is no auxiliary heat dissipation.
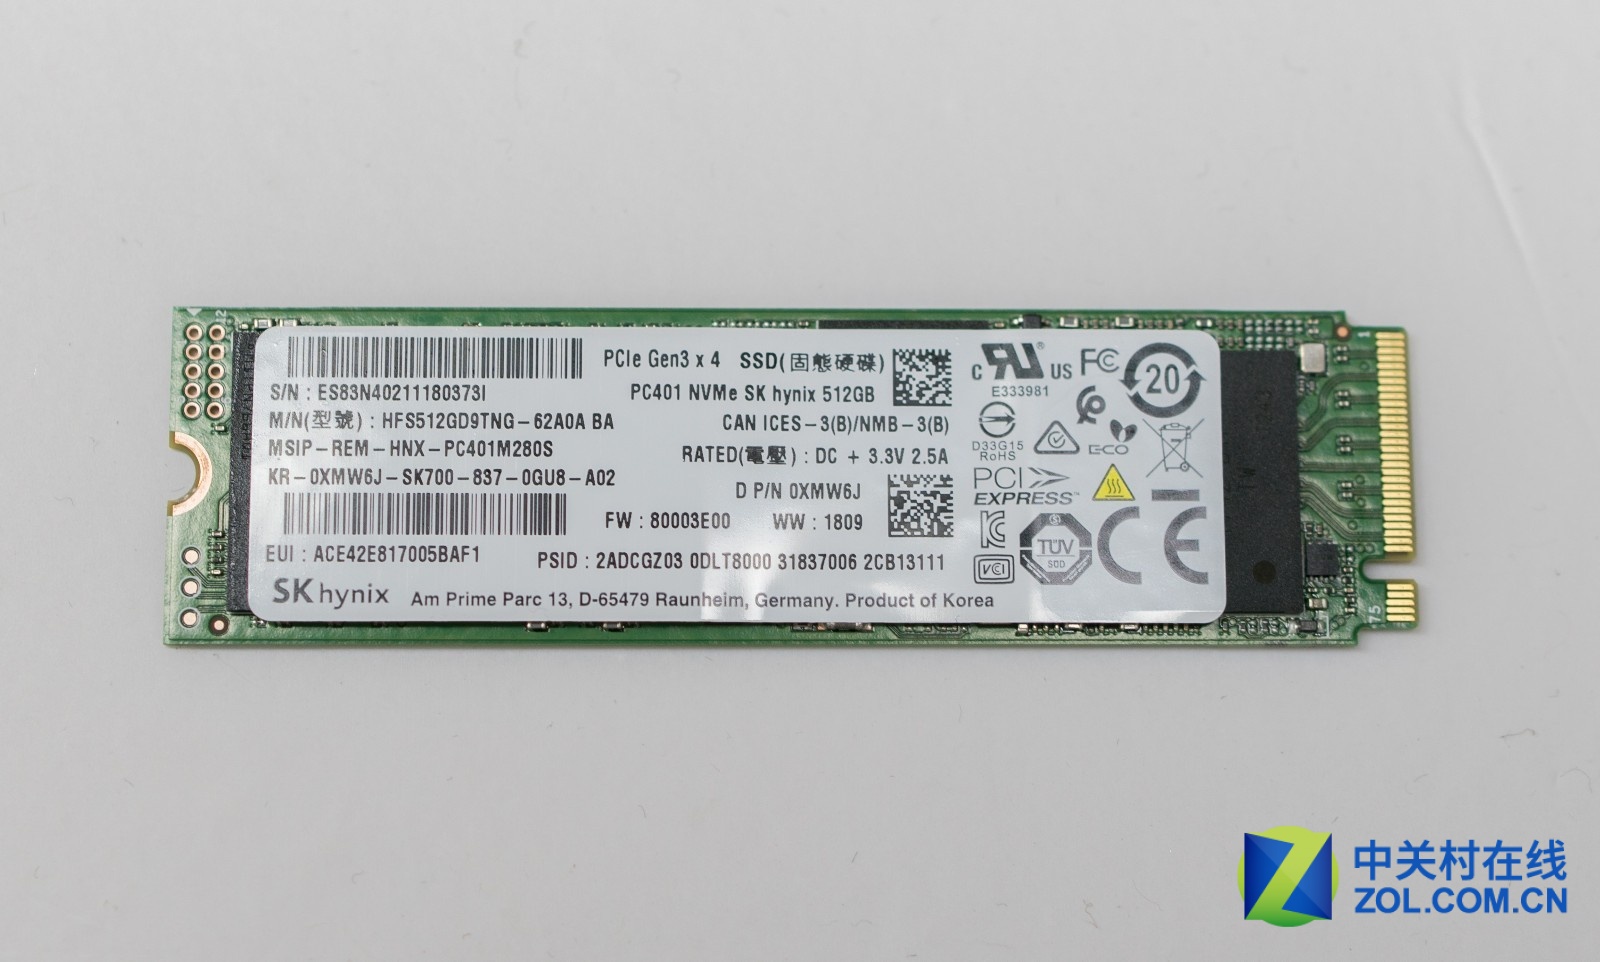
Remove a screw and take out the M.2 SSD, you can see that this is a 512GB PCI-E x4 channel solid state drive, using Hynix chips, which is very common in Dell notebook products.
Disconnect the battery connector from the motherboard, then remove all screws that secure the battery and take out the battery. Its size is very large, you can see that the interior is divided into pieces.
The small PCB on the left side is connected to the main board through a cable with a large number of contacts. From such a large number of contacts, it can be known that this small PCB also contains a lot of functions.

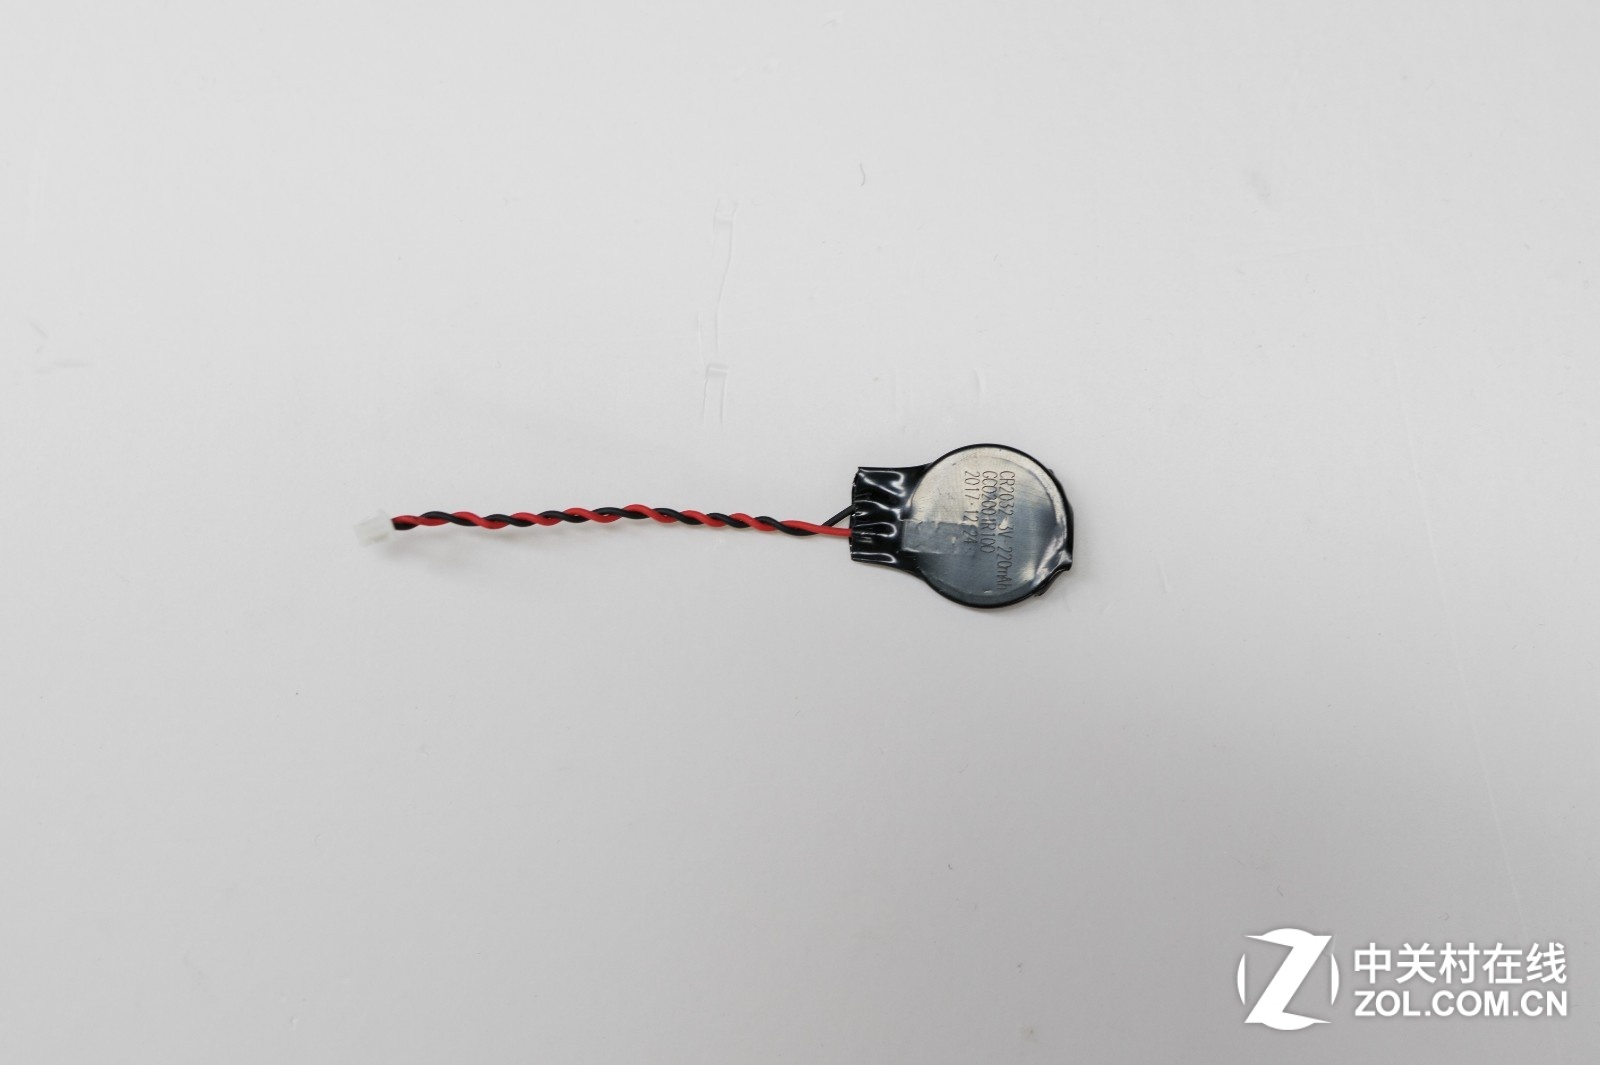
This is the motherboard CMOS battery, which can be removed by disconnecting the cable from the motherboard.
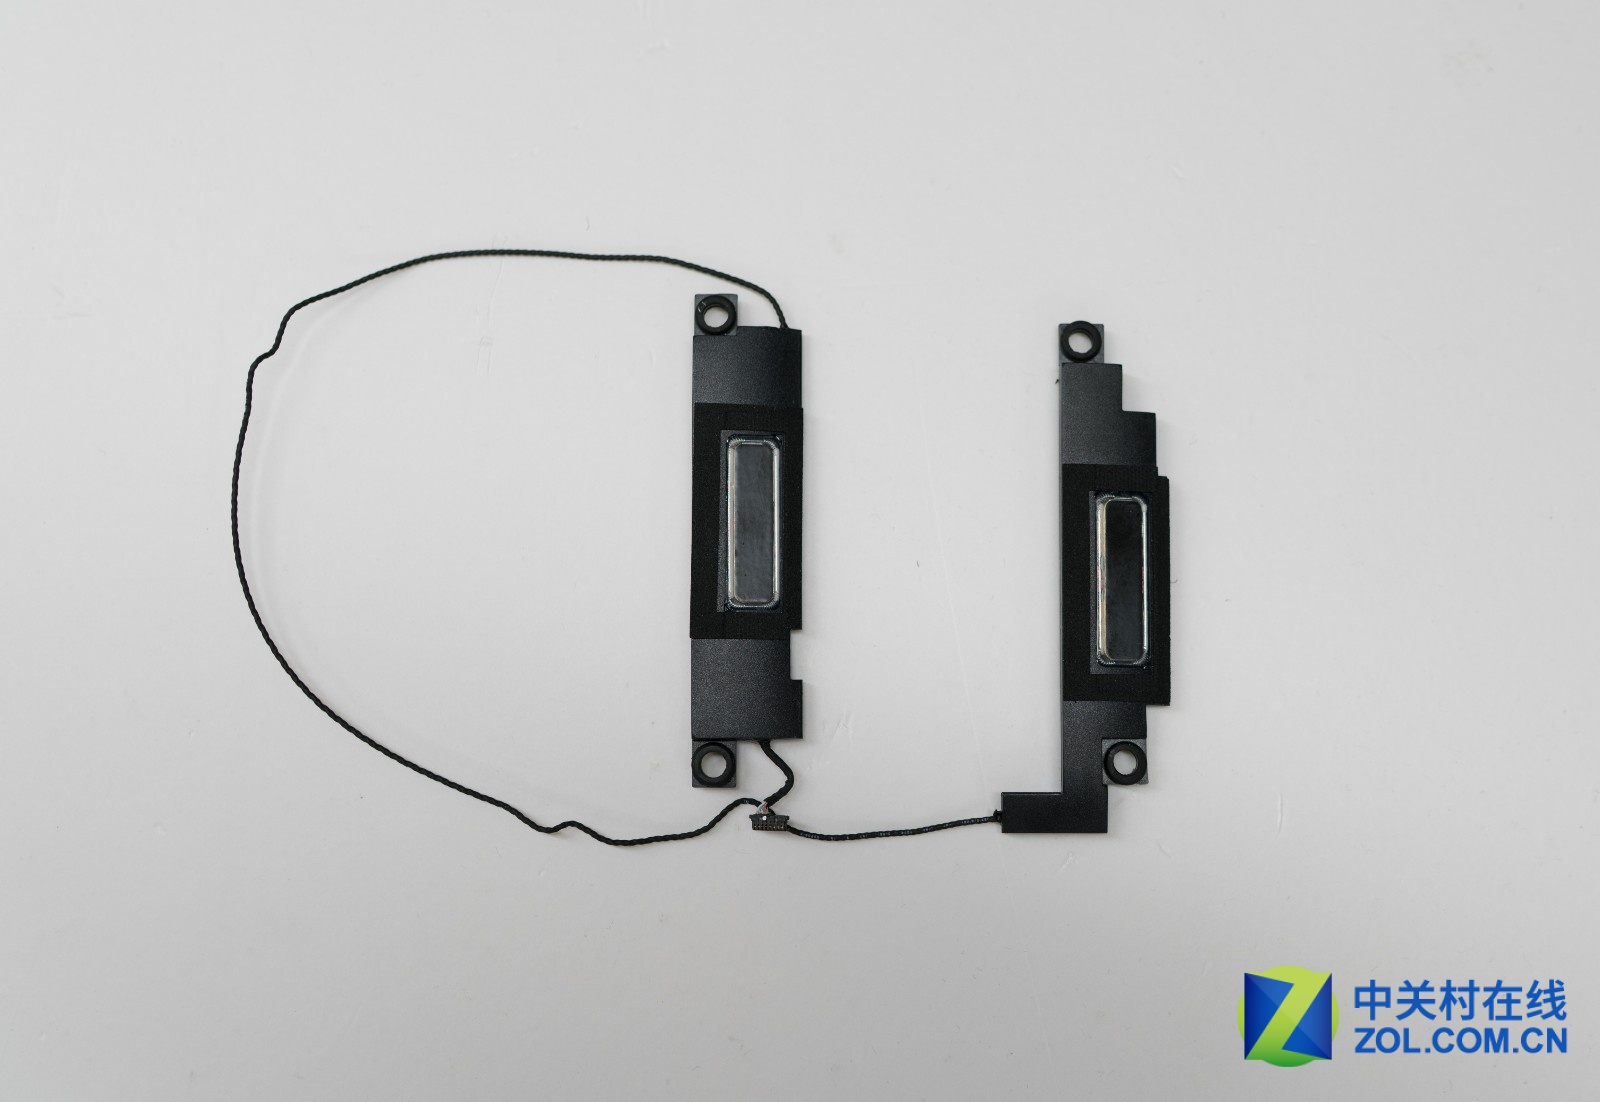
The speakers on the left and right sides of the fuselage, the volume of the cavity is not small, the actual sound performance is good.
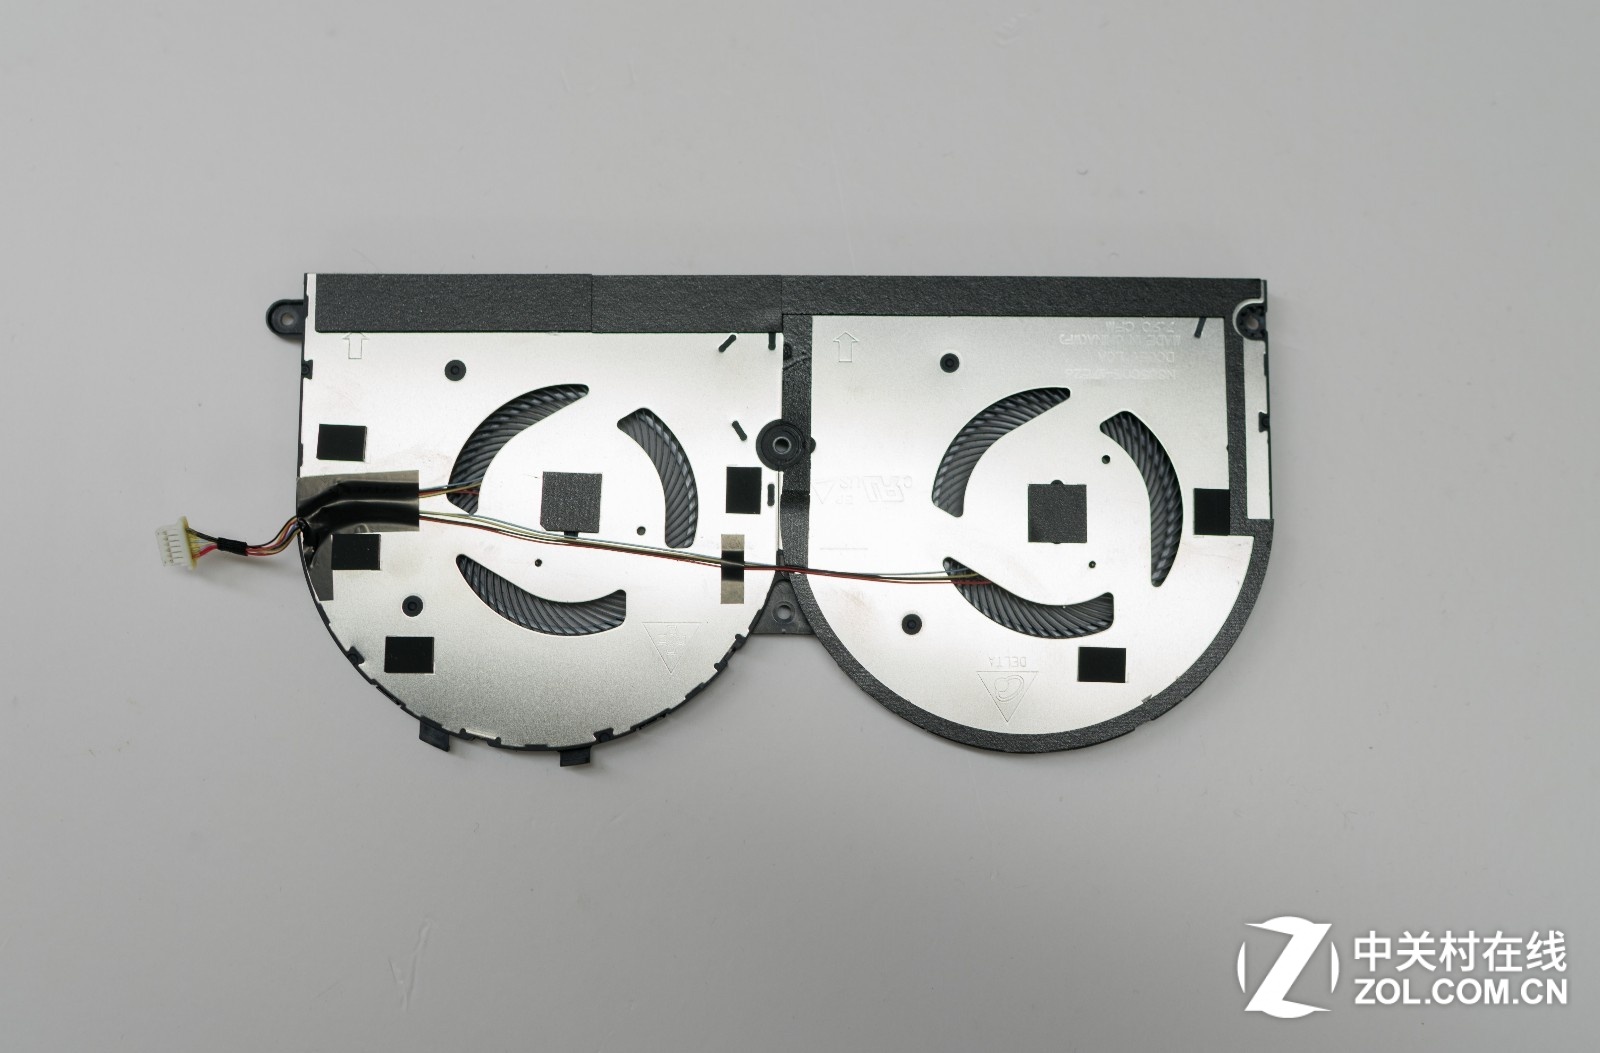
Remove the screws that fix the cooling fan and the heat sink, and disconnect the fan cable from the motherboard to remove the fan and heat sink. You can see that the two fans are one-piece design and the dimensions are relatively close. However, the two fans are limited by the size of the fuselage, so the design is relatively thin, relying on a large number of blades and high speed to obtain better air volume and wind pressure.
It can be seen that a large area of pure copper fins is covered under the heat pipe, and the power supply part of the CPU also has auxiliary heat dissipation measures.
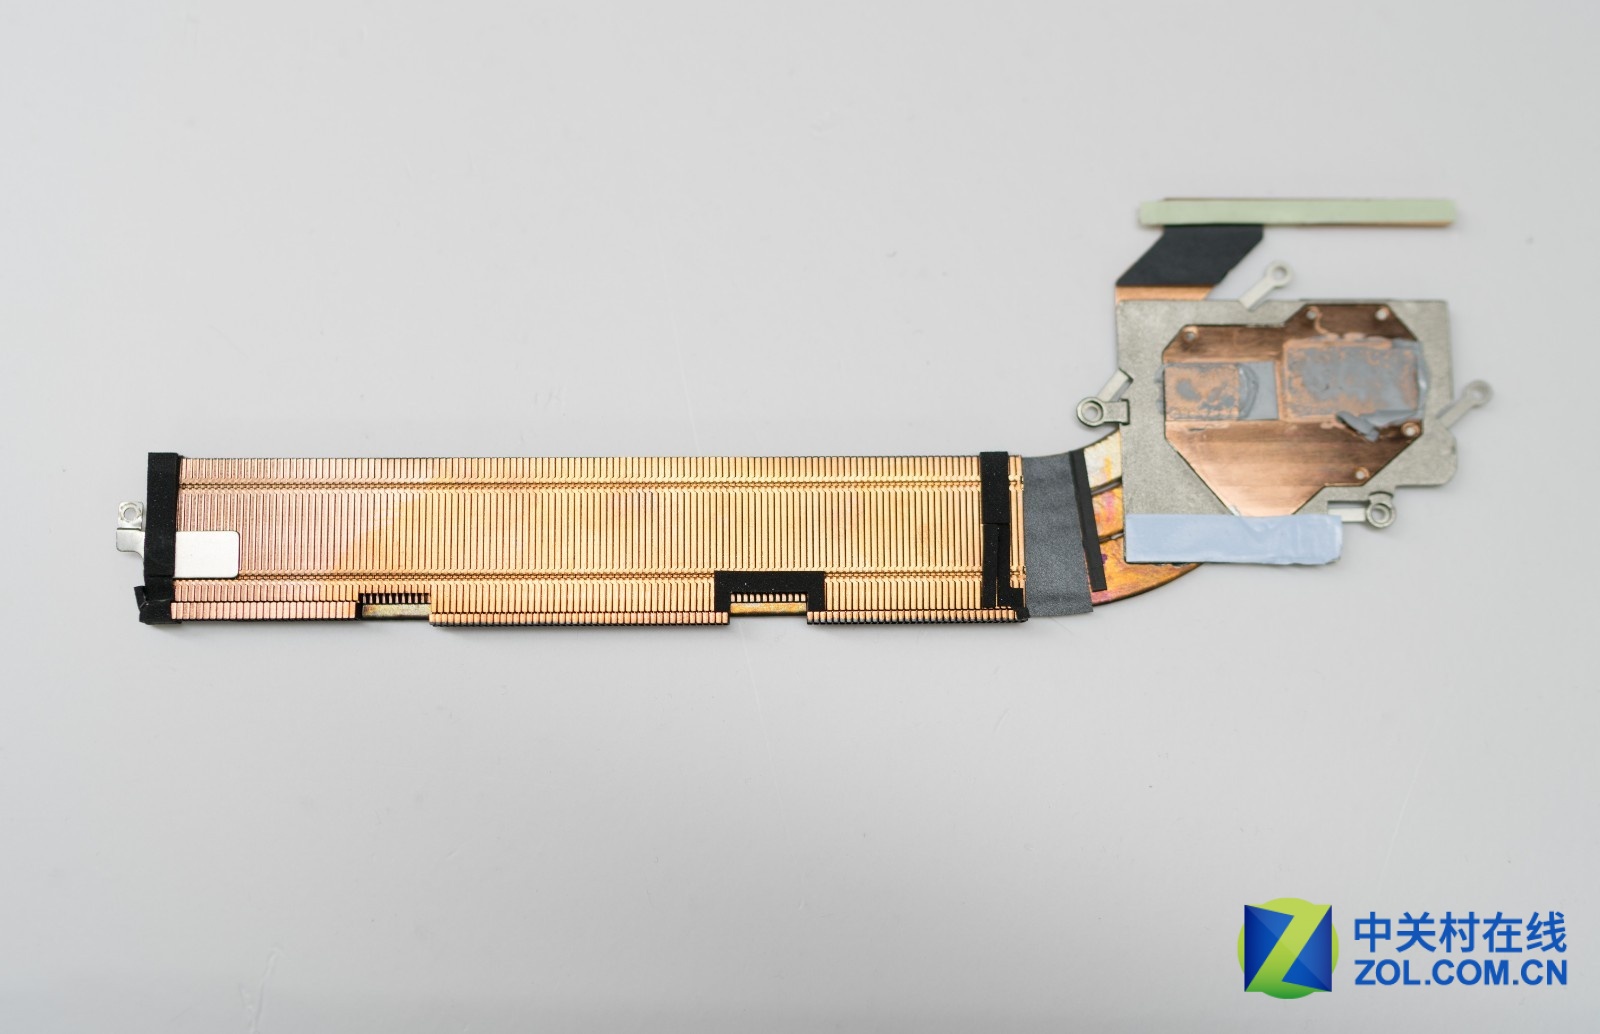
Similar to the case of the fan, the thickness of the fins is also affected by the size of the fuselage. The interior is only about 2-3 mm thick, but the larger area can still bring good heat dissipation efficiency.
This is the complete picture of the motherboard after removing the cooling module, fan, battery, metal shield and solid state drive. If you have to replace the keyboard, you need to remove the motherboard and the USB board on the left.
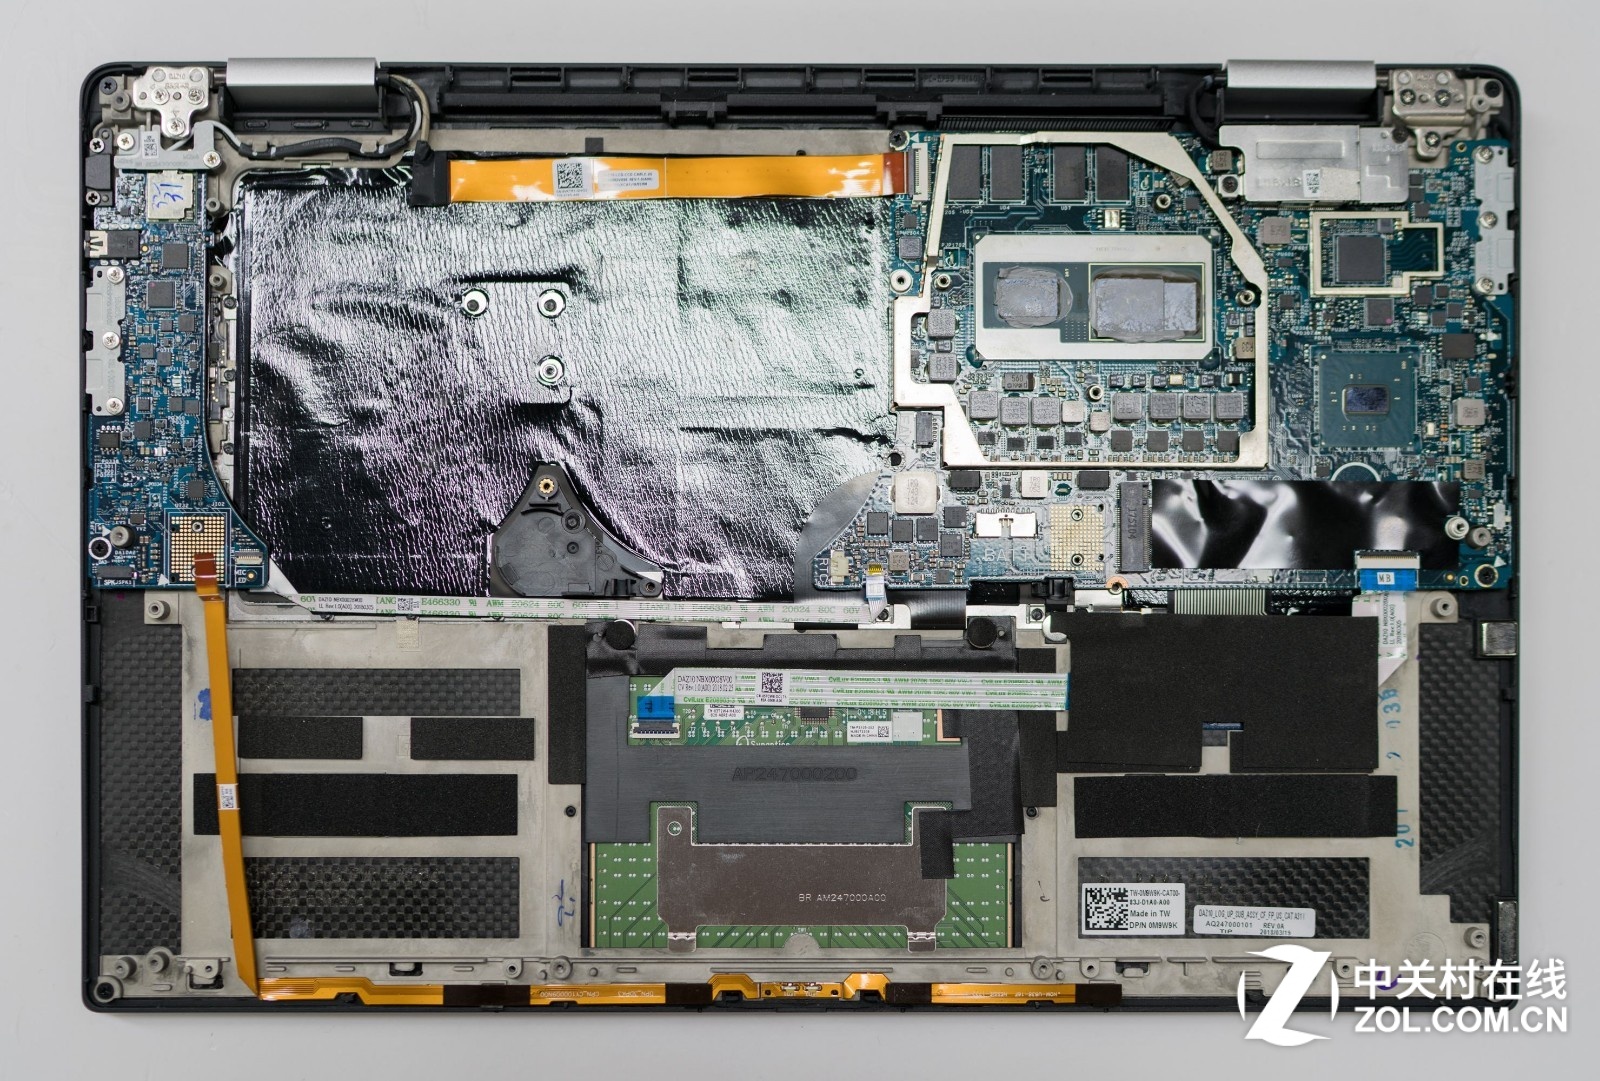
The memory is onboard and hidden inside the metal shield. When opened, you can see the 8GB DDR4 memory consisting of four chips.

The control chip of the Thunderbolt 3 port also has its own metal shield, which shows the rigor of Dell design.
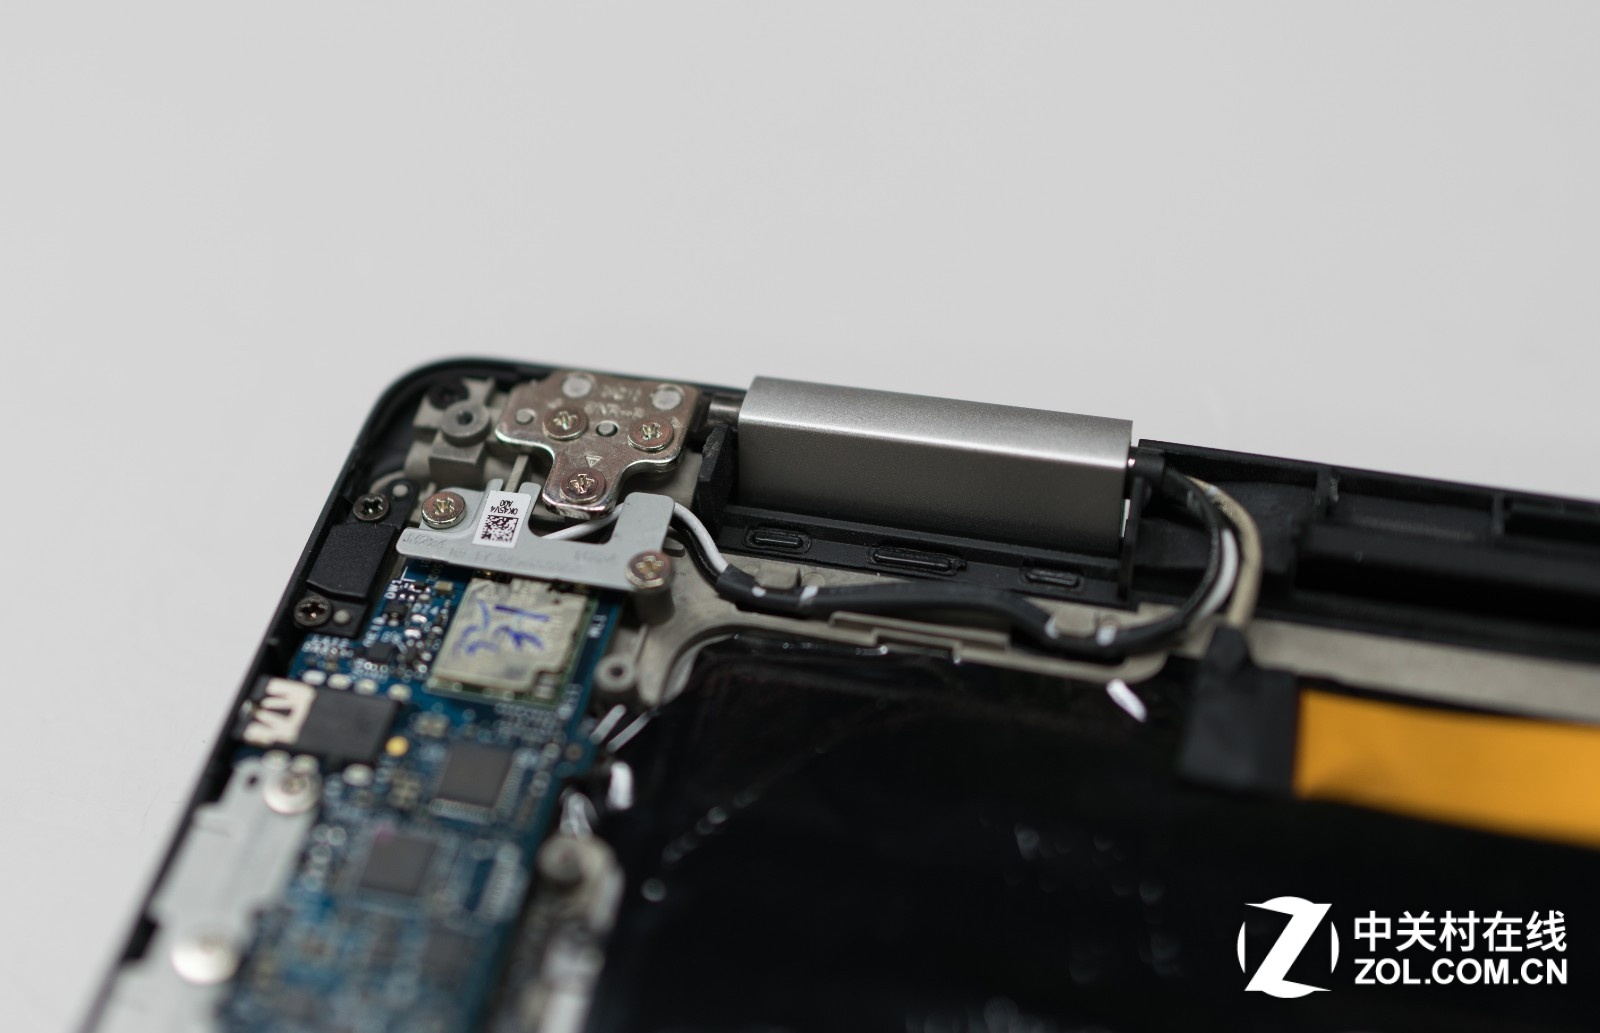
Here are the details of the LCD hinges section, which is equally elaborate and fixed to the fuselage by multiple screws.