In this guide I will show you how to remove Asus ZenBook 14 UX433FN bottom cover, I will also remove the SSD, battery, heatsink, cooling fan, speaker, touchpad, keyboard, palmrest, motherboard, and screen.
Teardown is what we do! Follow us on Facebook for the latest repair news.
It can be seen that the air inlet at the bottom is not really large, and the main air inlet should be on the other side of the LCD hinges. We also noticed that there is a small gap in the front of the fuselage, which also shows that the Asus ZenBook 14 UX433FN is a thin and light laptop that can support one-handed opening and closing.
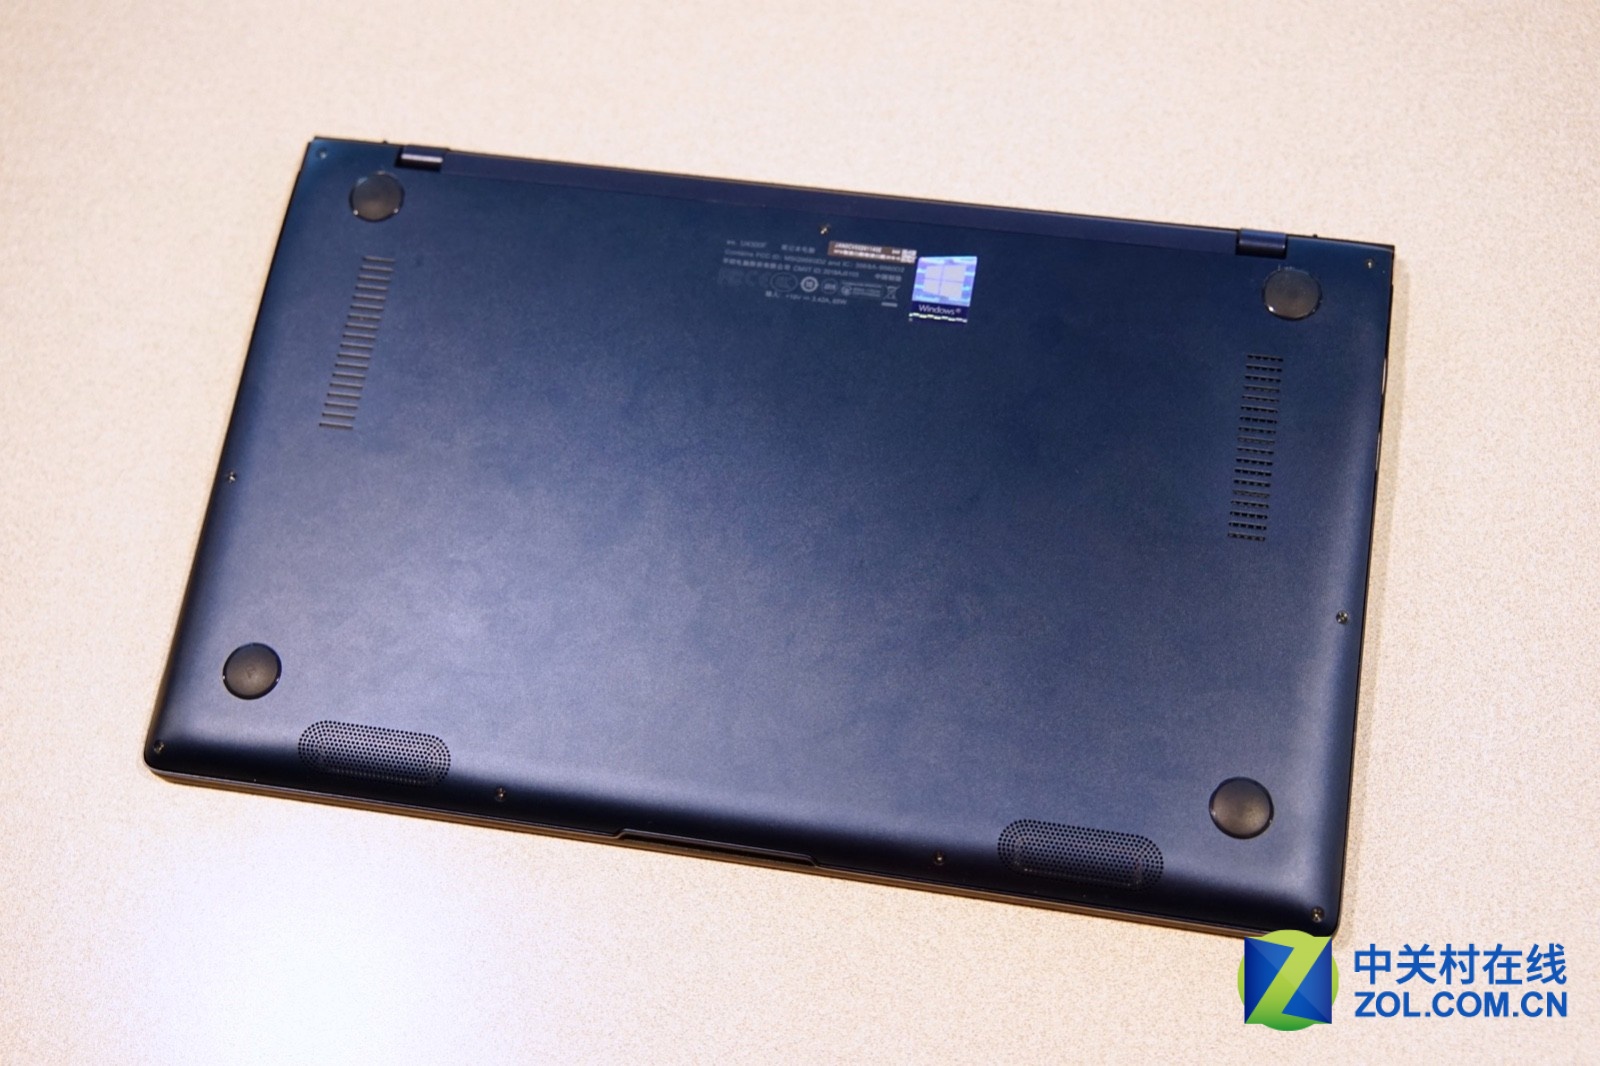
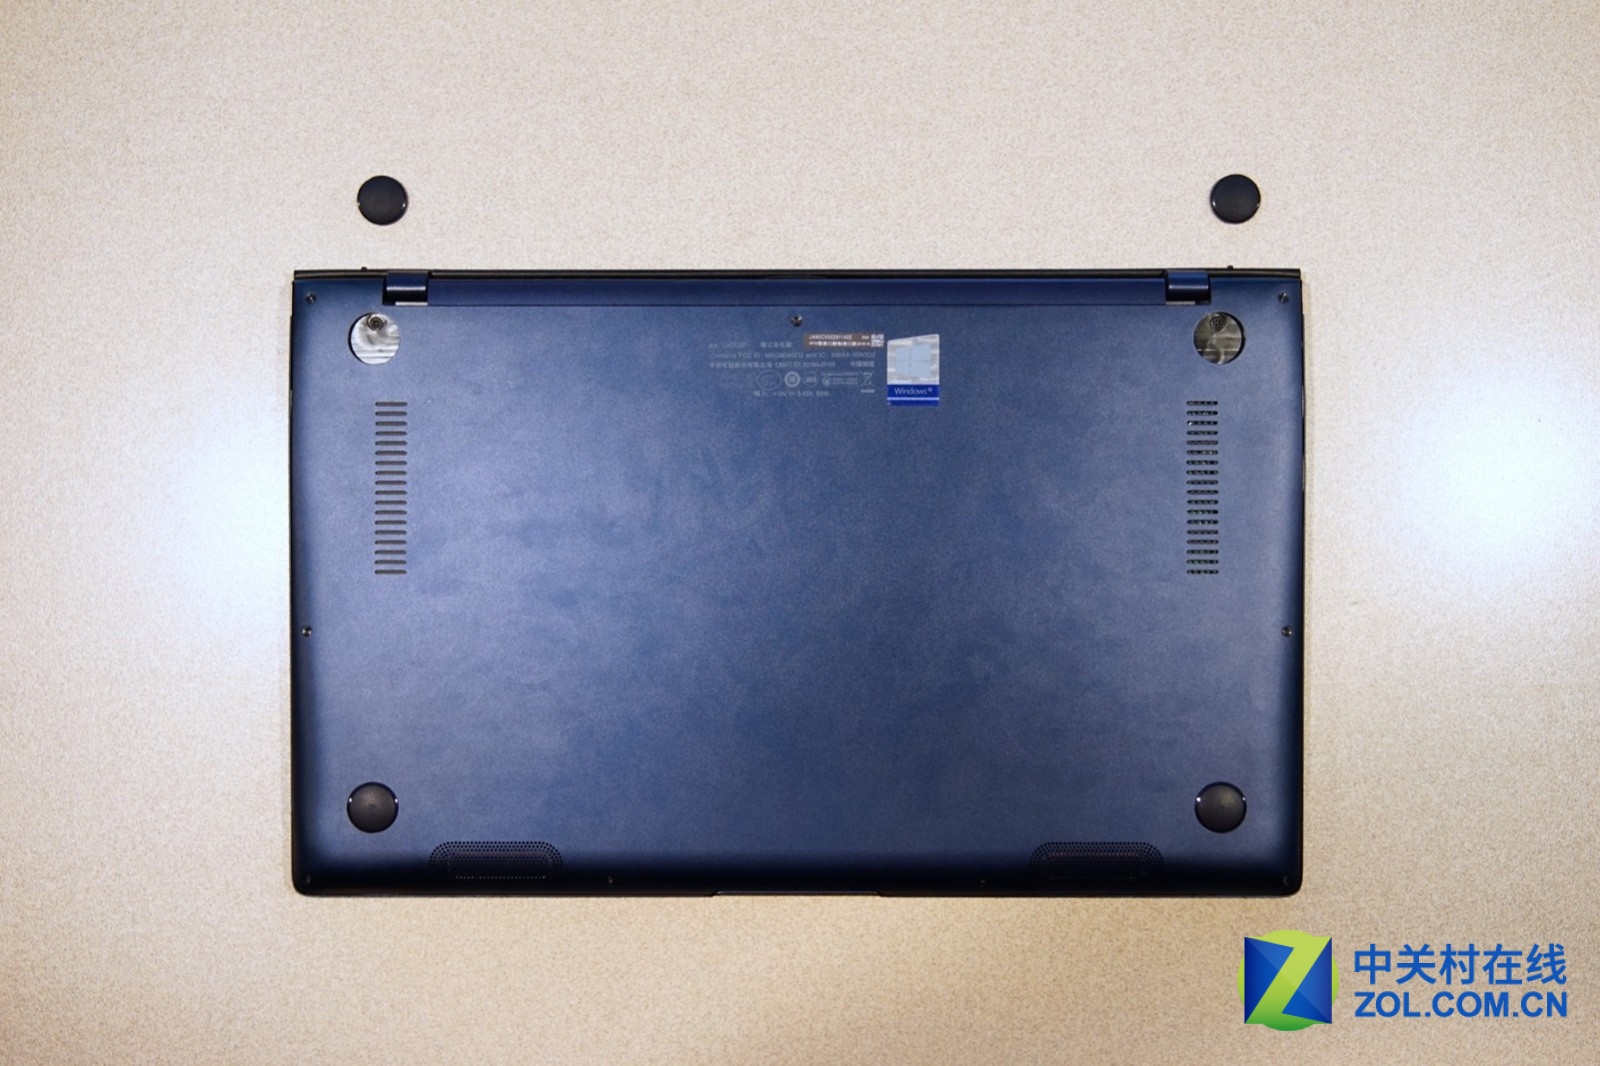
The bottom case is fixed by 9 visible screws, but you need to pay attention to the screws under the two foot pads.
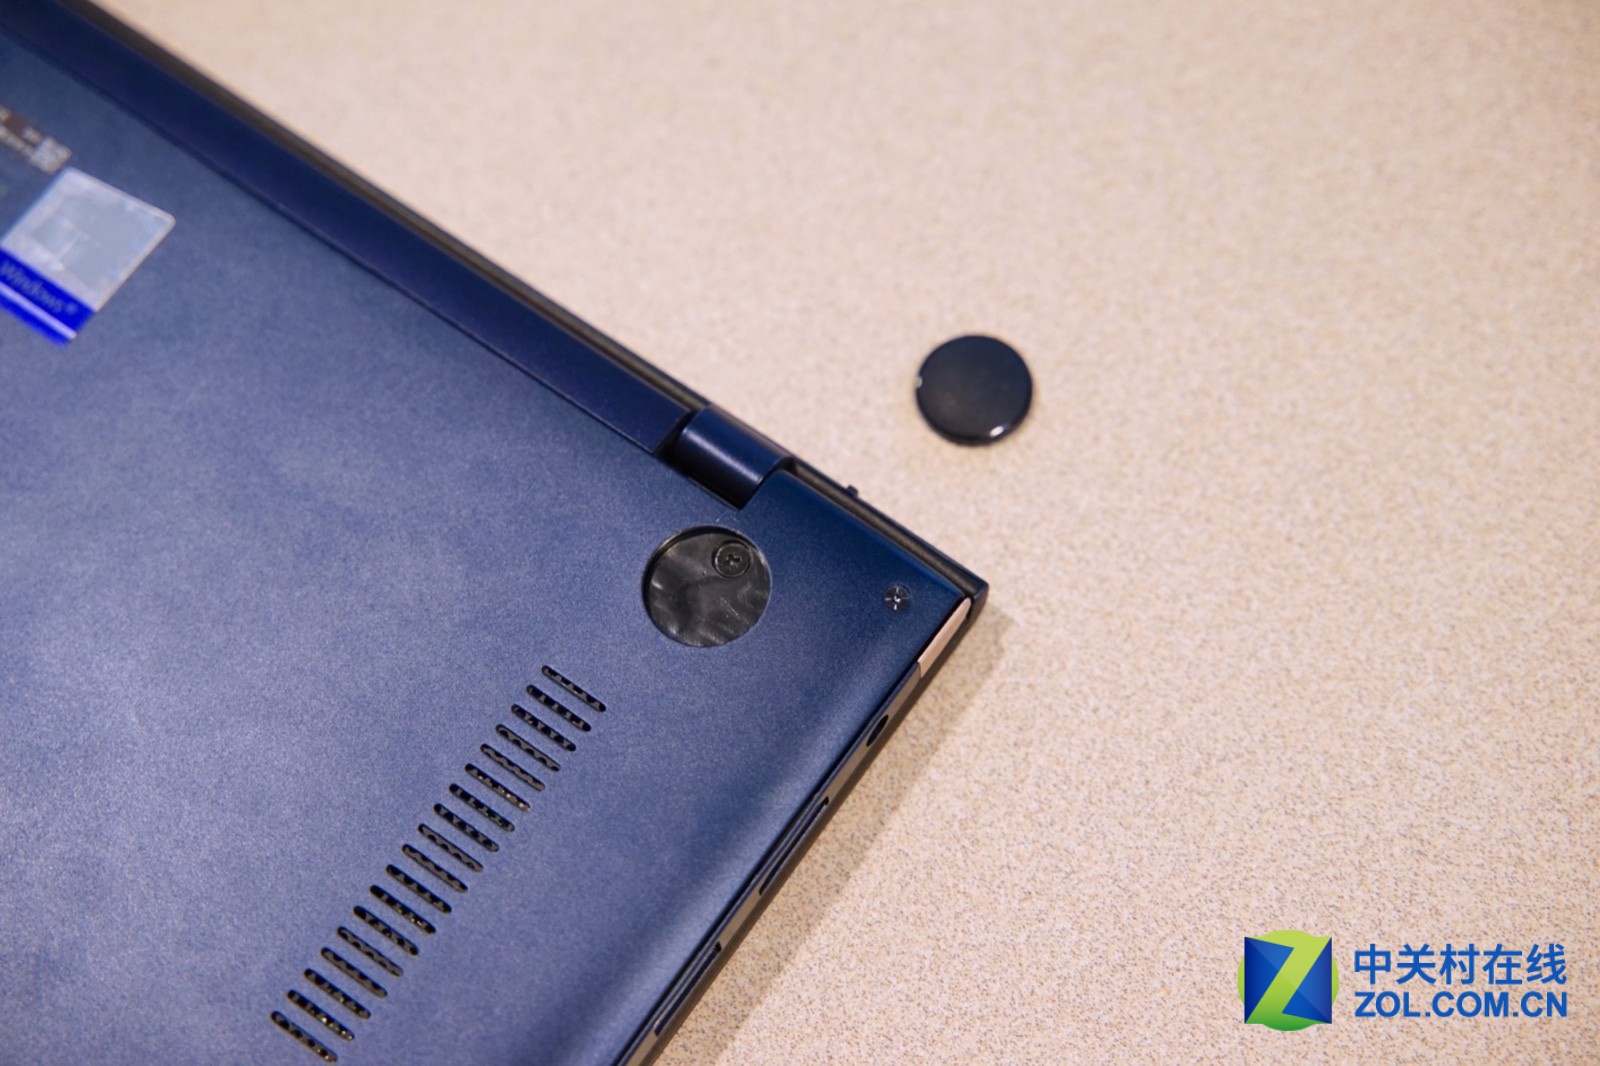
After removing 11 screws, insert a plastic thin tool under the bottom cover and slide the tool to unlock the latches that securing the bottom cover to the palm rest.
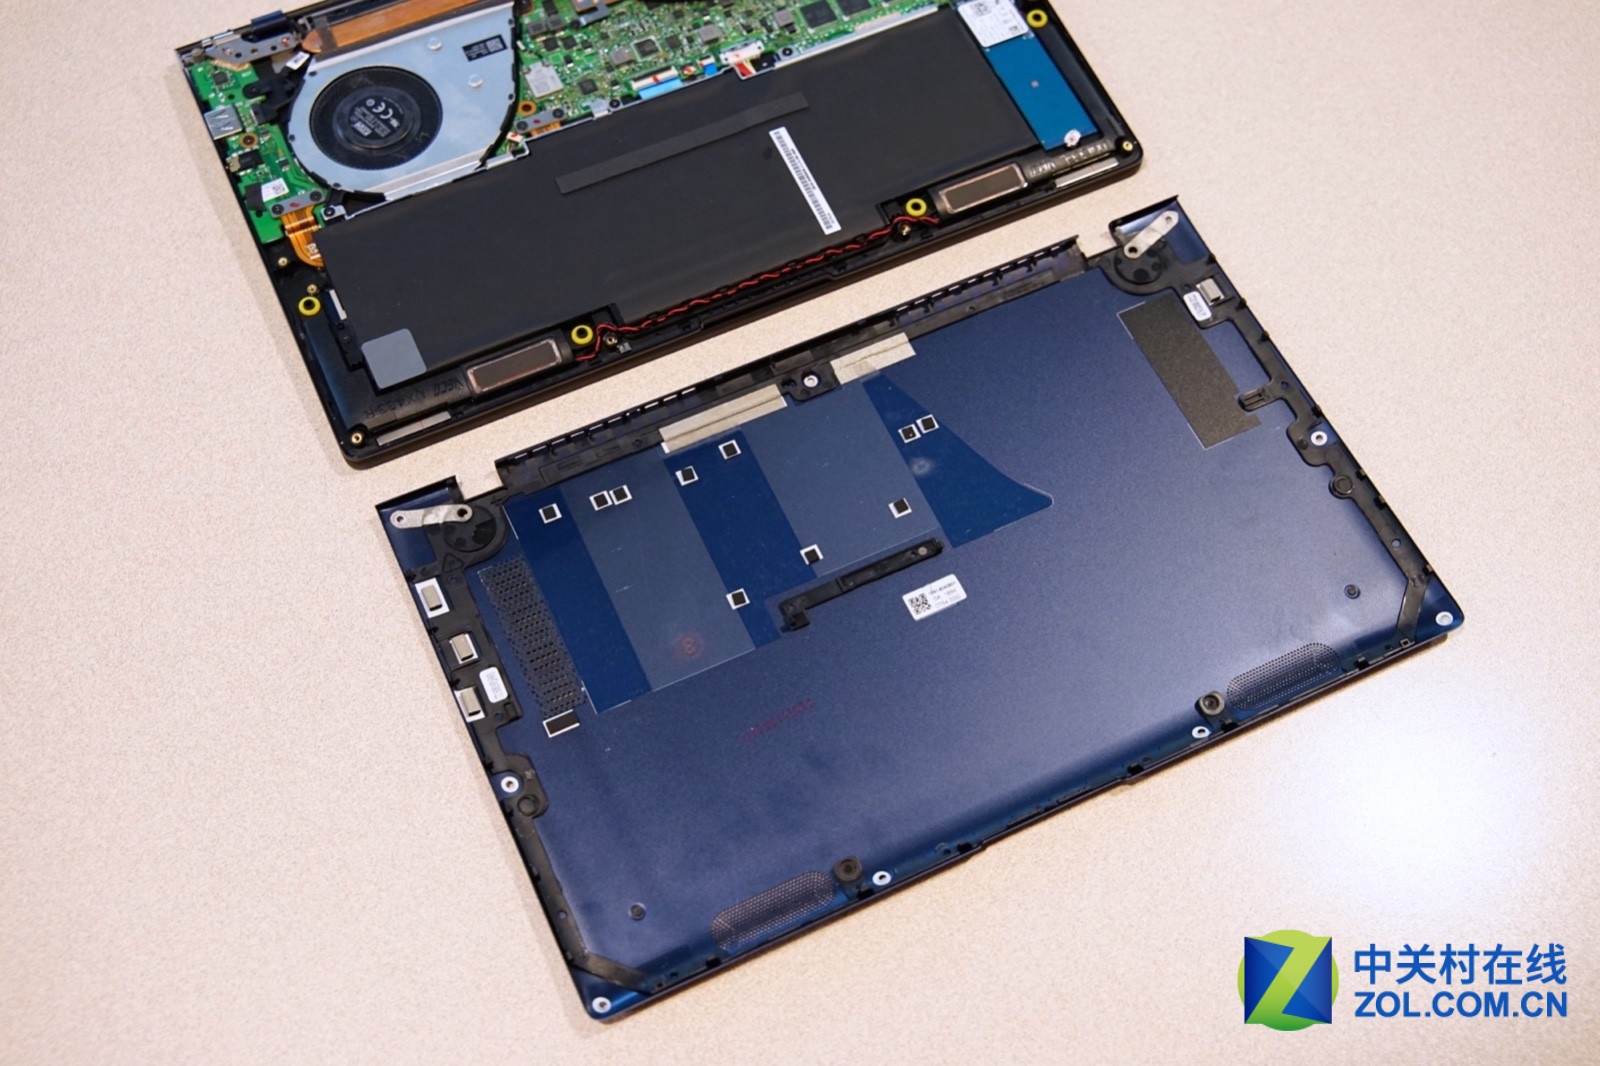
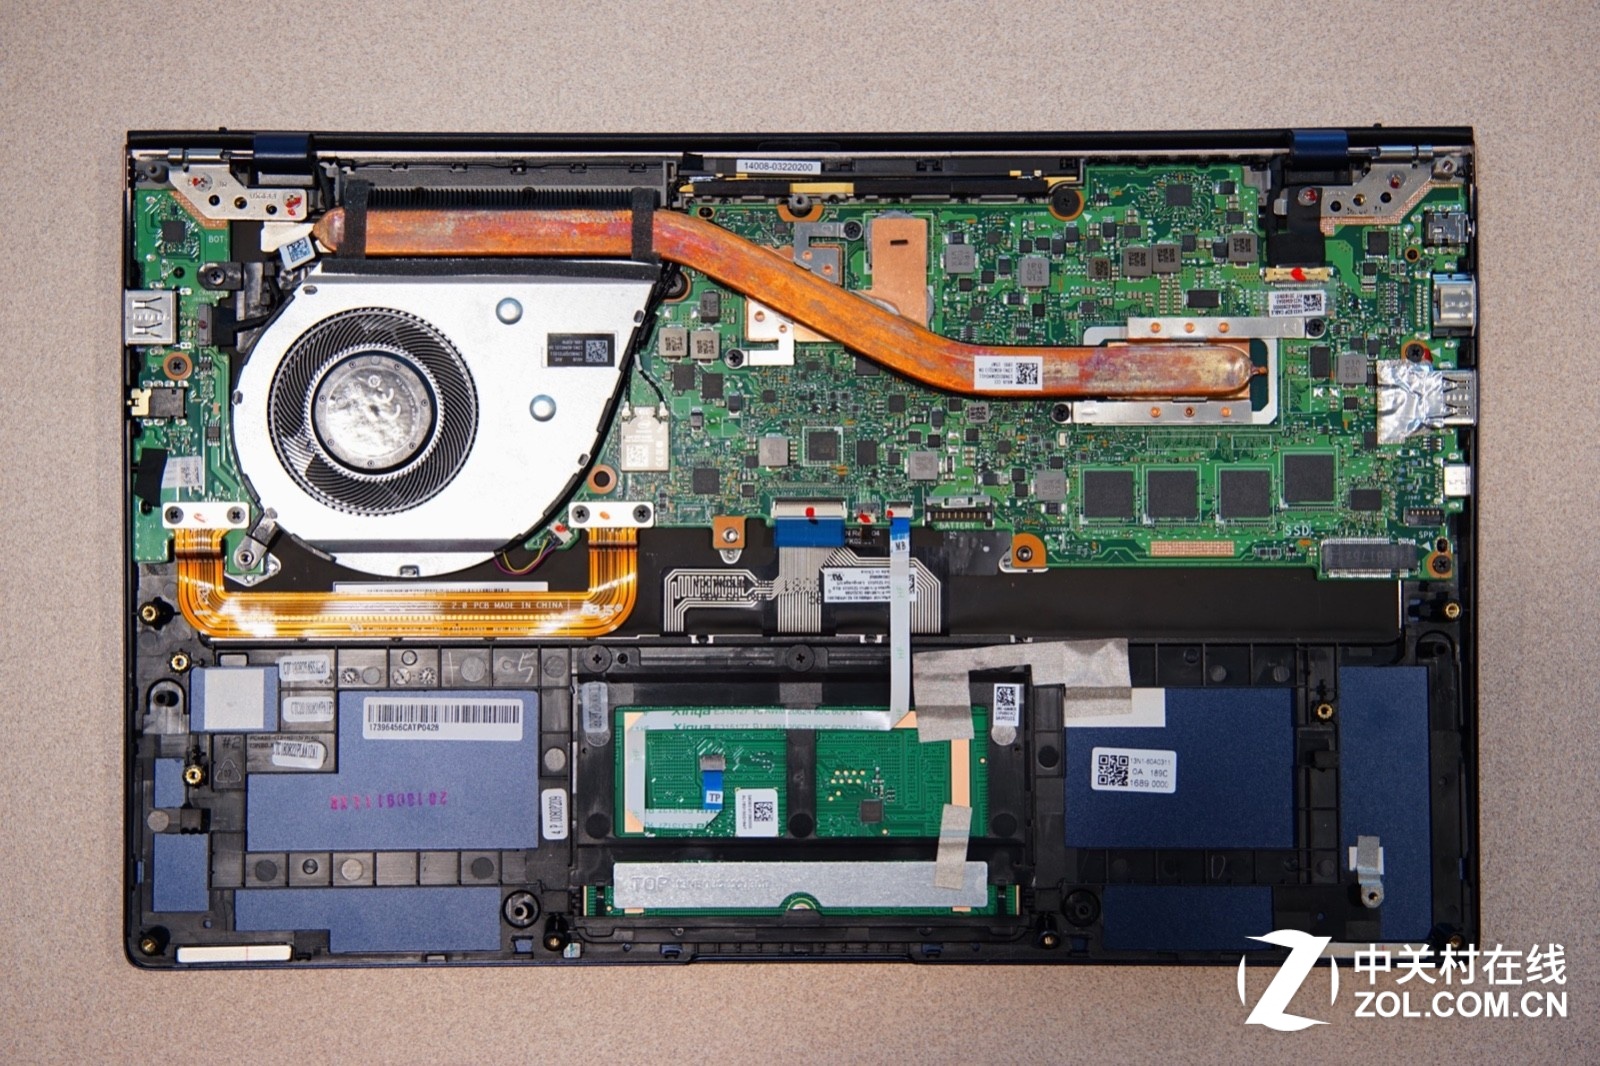
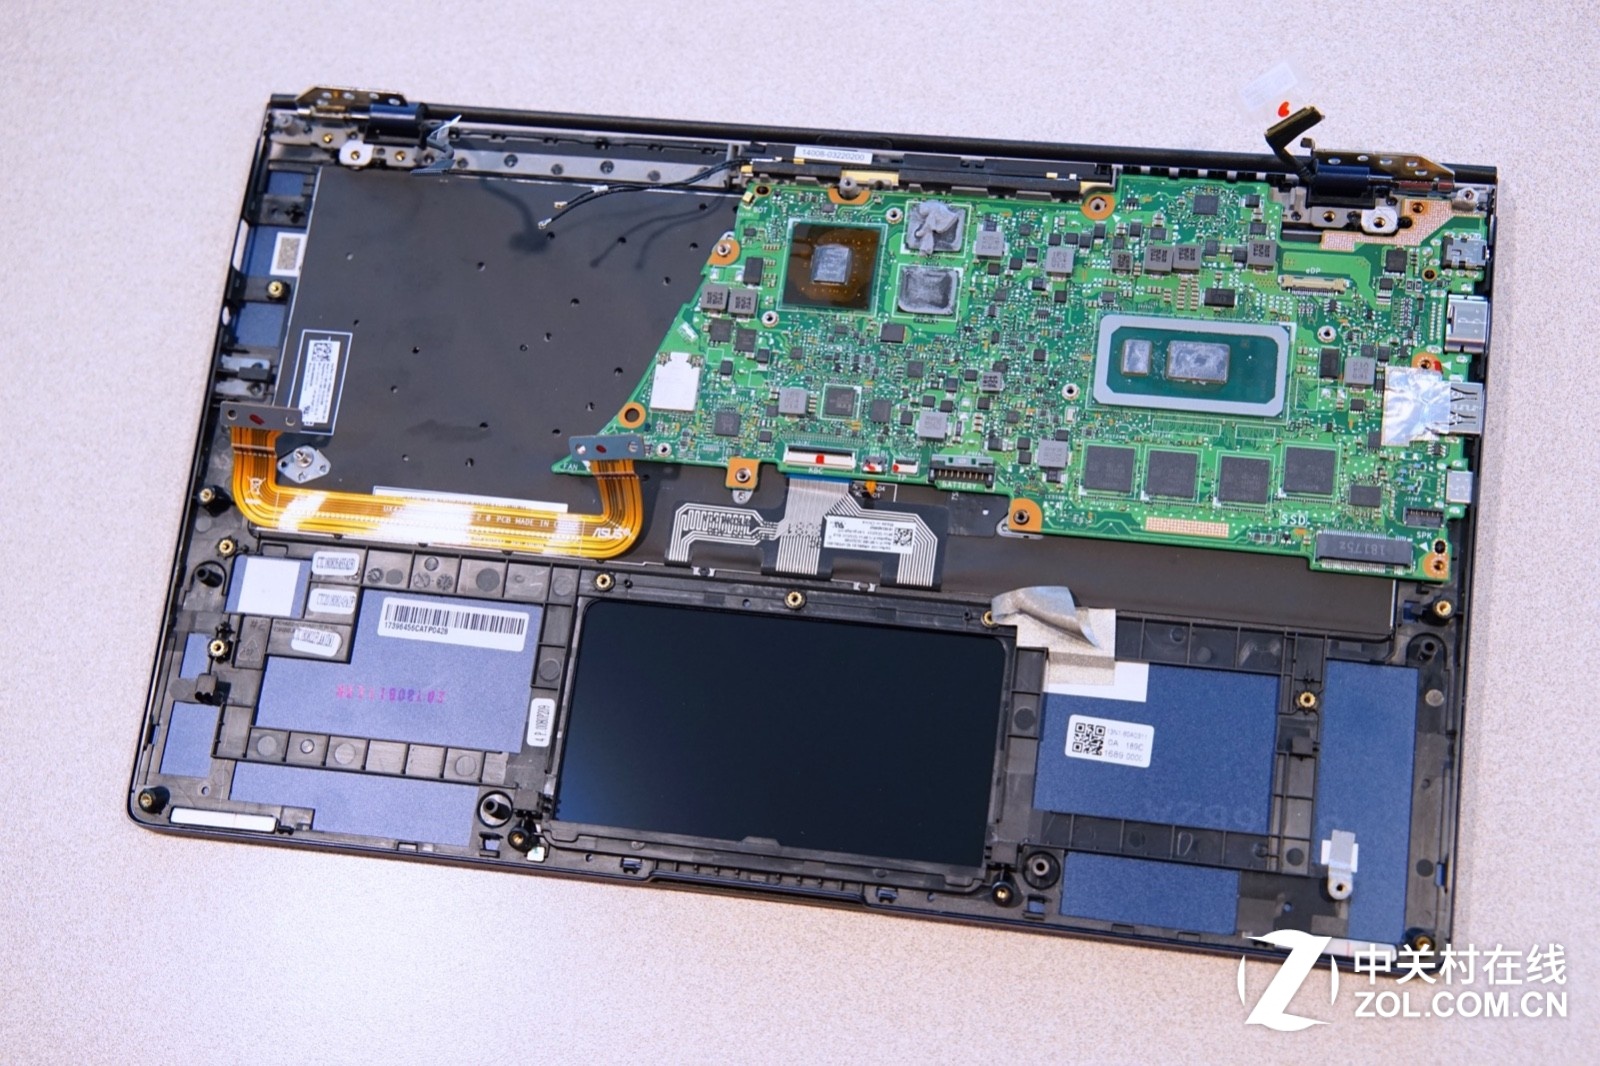
The internal layout of the Asus UX433FN is perfect; each part is neatly placed and has a high internal space utilization.
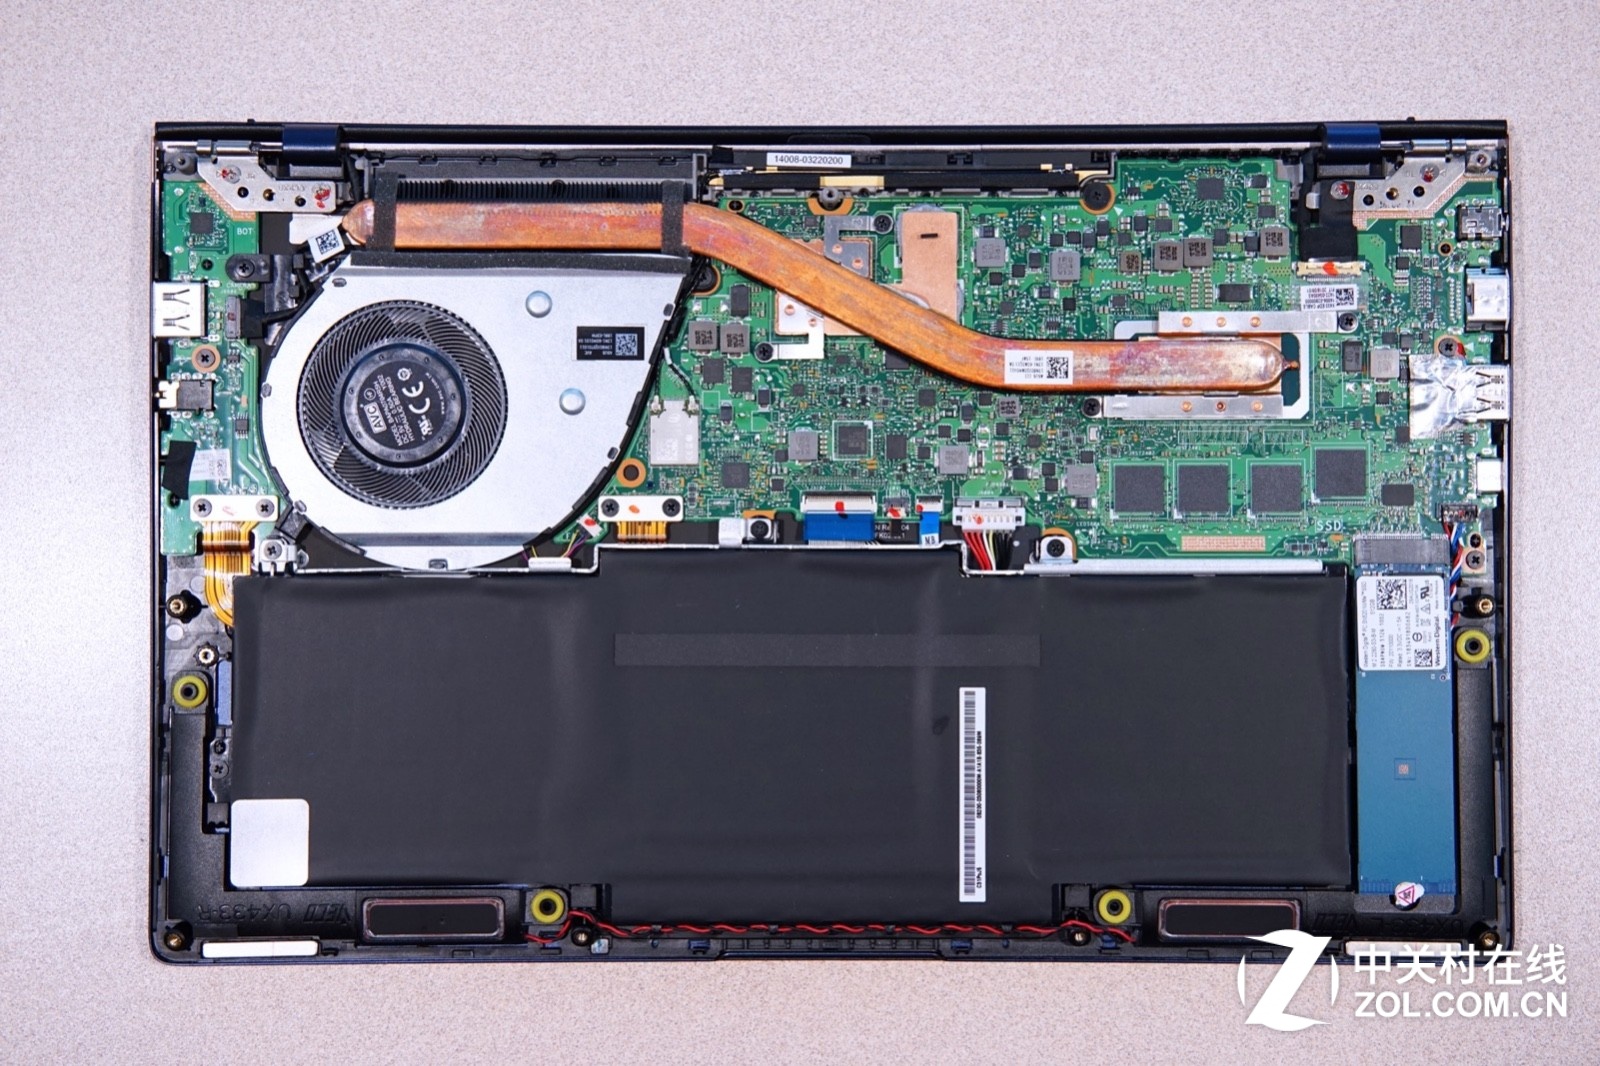
There is a metal piece on the battery to fix and protect the battery. This design is the first time I saw it in a thin and light laptop.
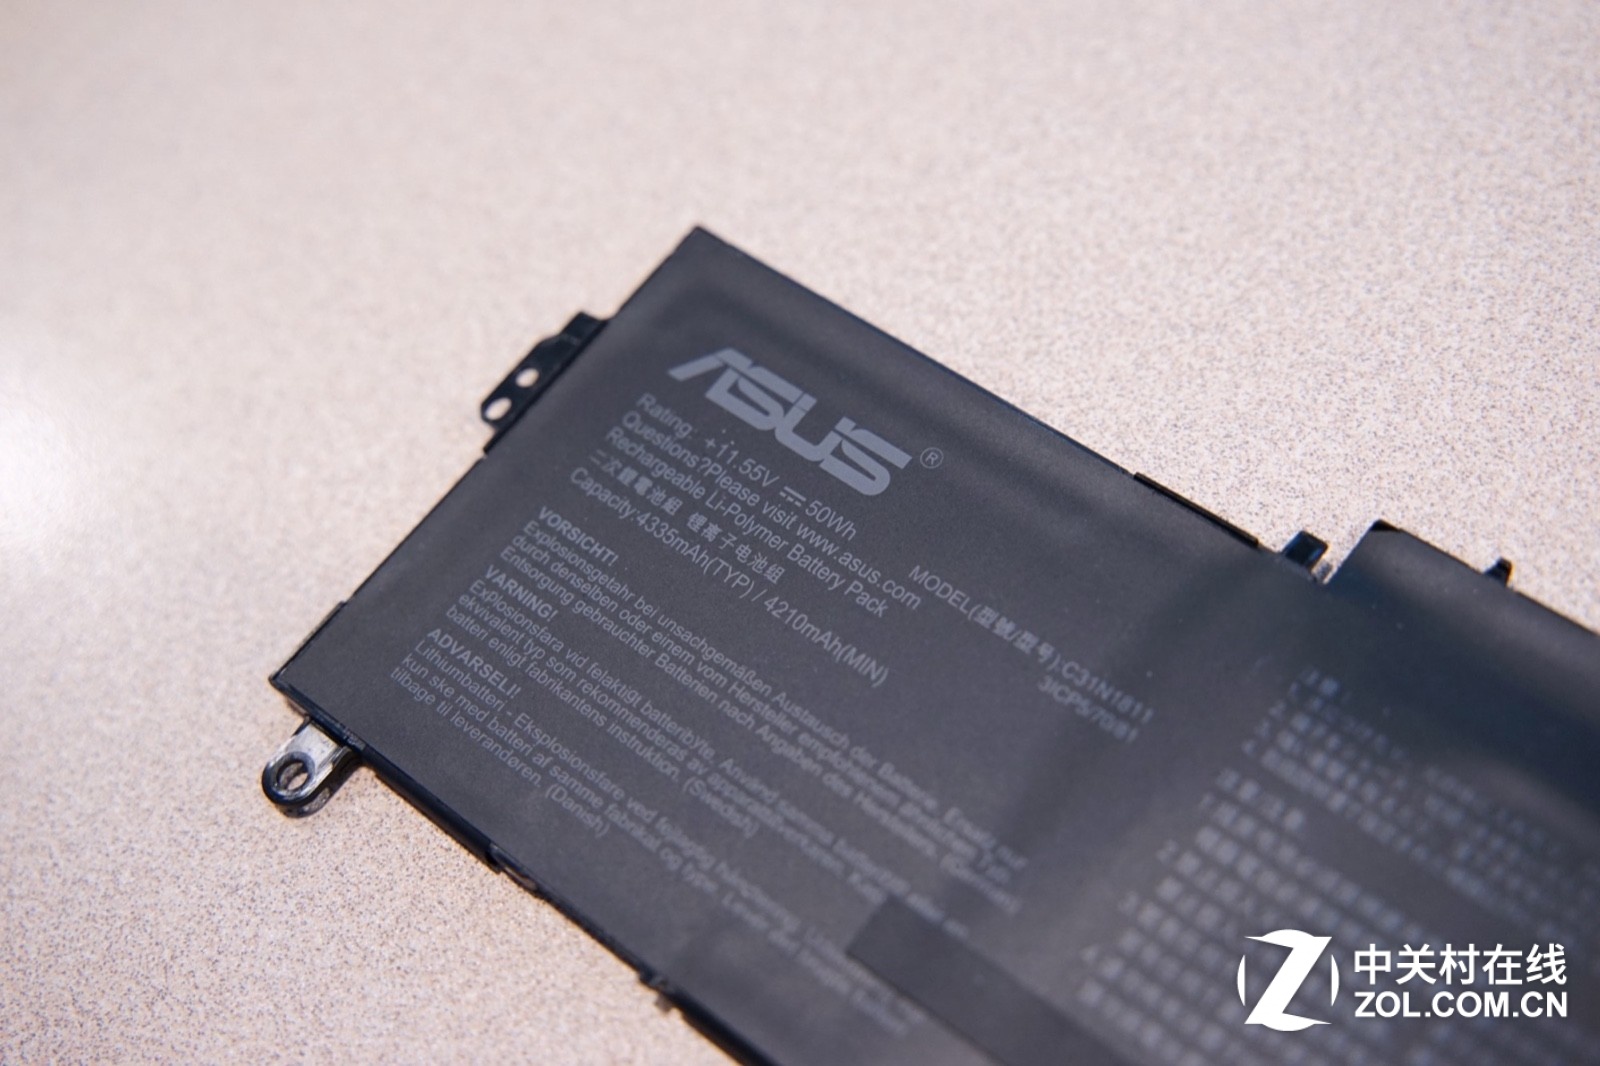
Since the battery occupies nearly half of the space inside, the battery capacity reaches 50 watts, which is relatively large in an ultrabook.
Disconnect the battery cable from the motherboard and remove the screws that secure the battery to remove the battery.
Under the battery, we can access the touchpad module and the keyboard cable, on the right side of the battery is M.2 SSD.
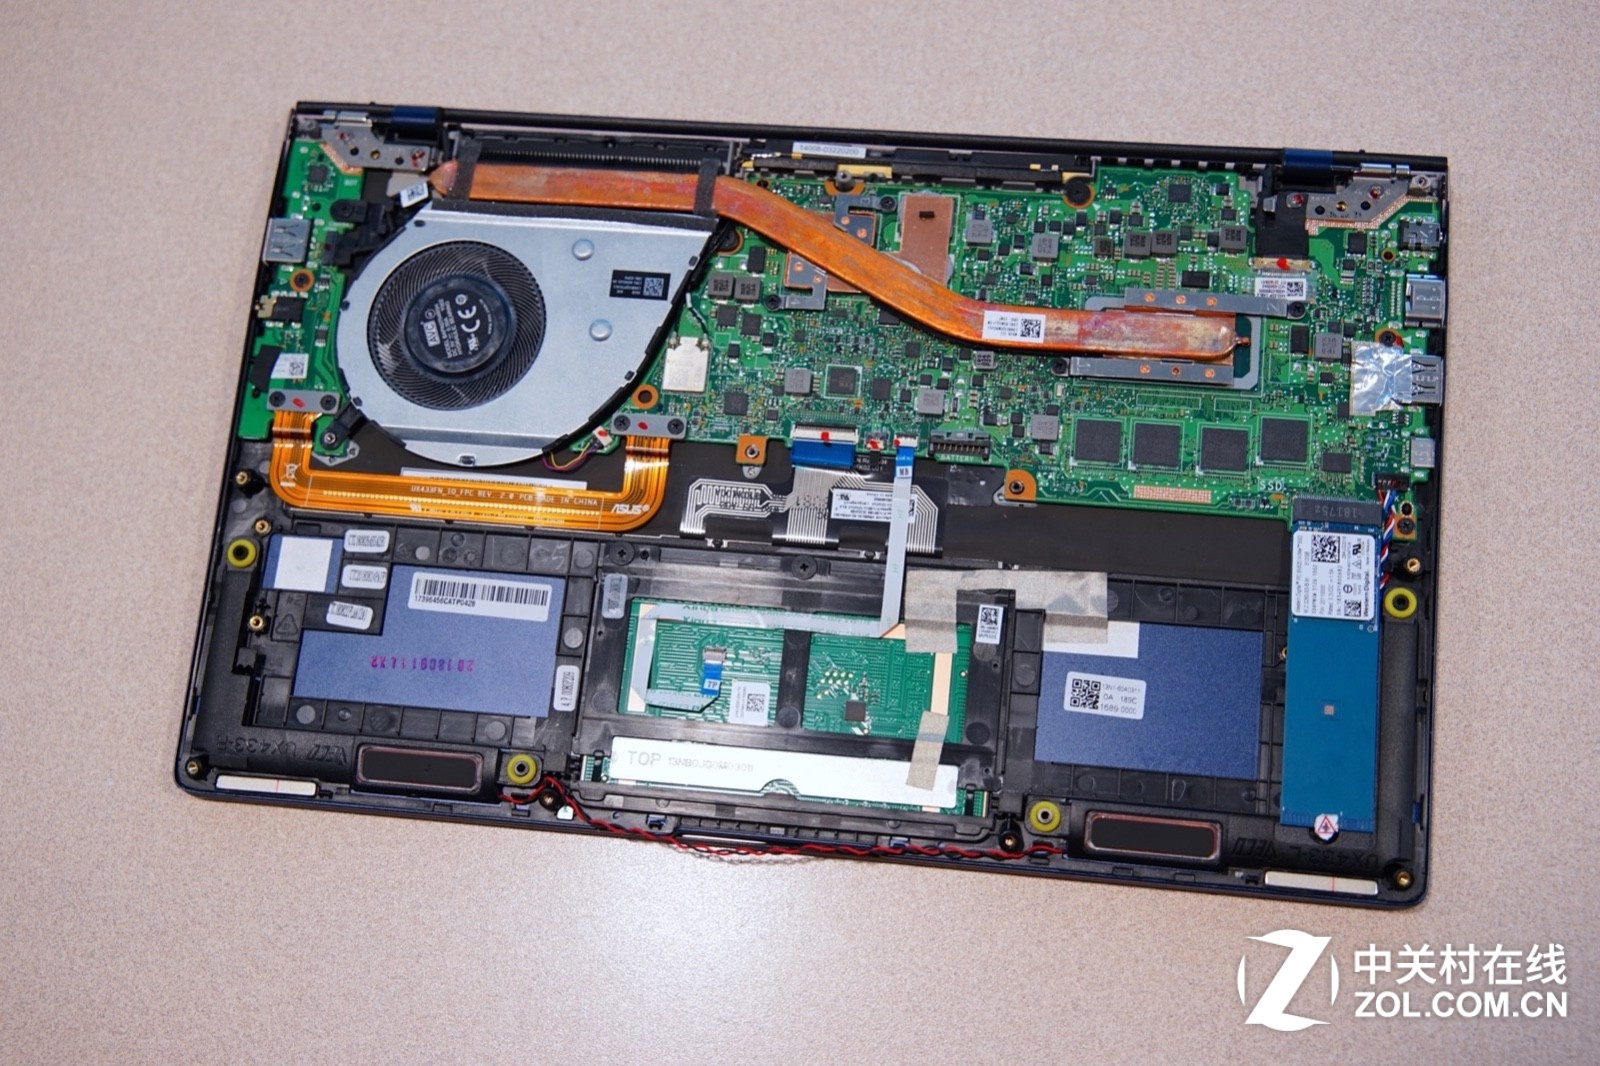
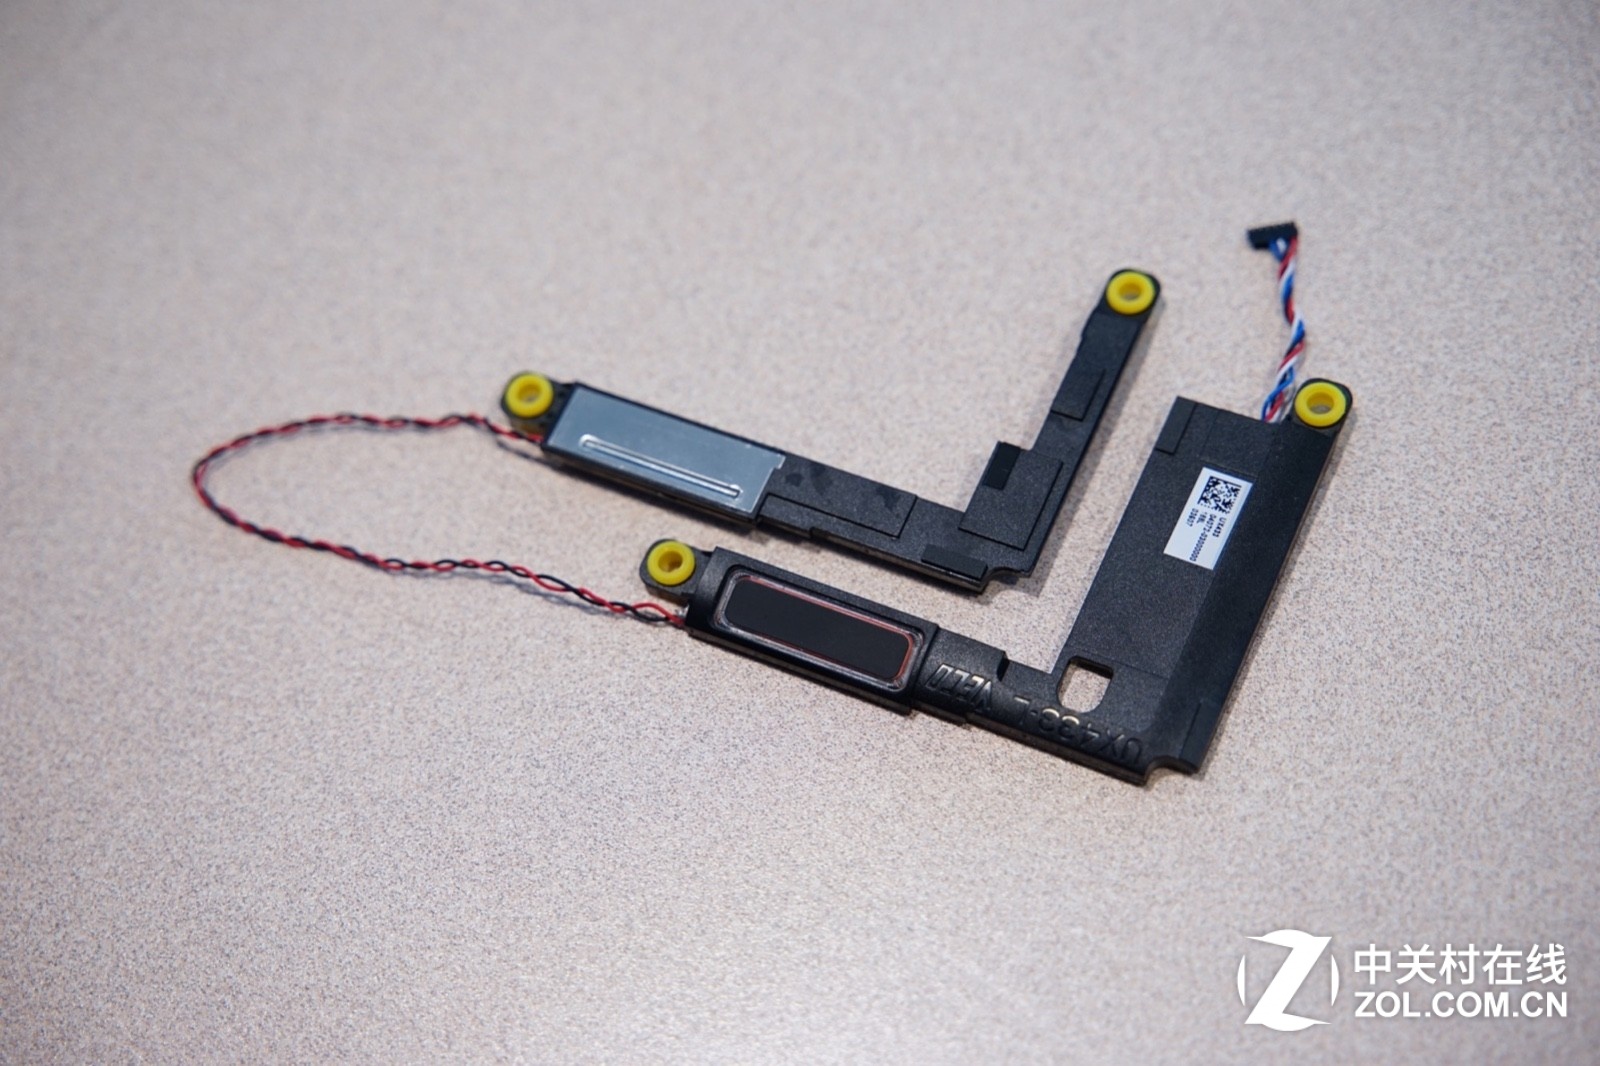
The size of the speaker is still relatively large, which can bring good sound effects.
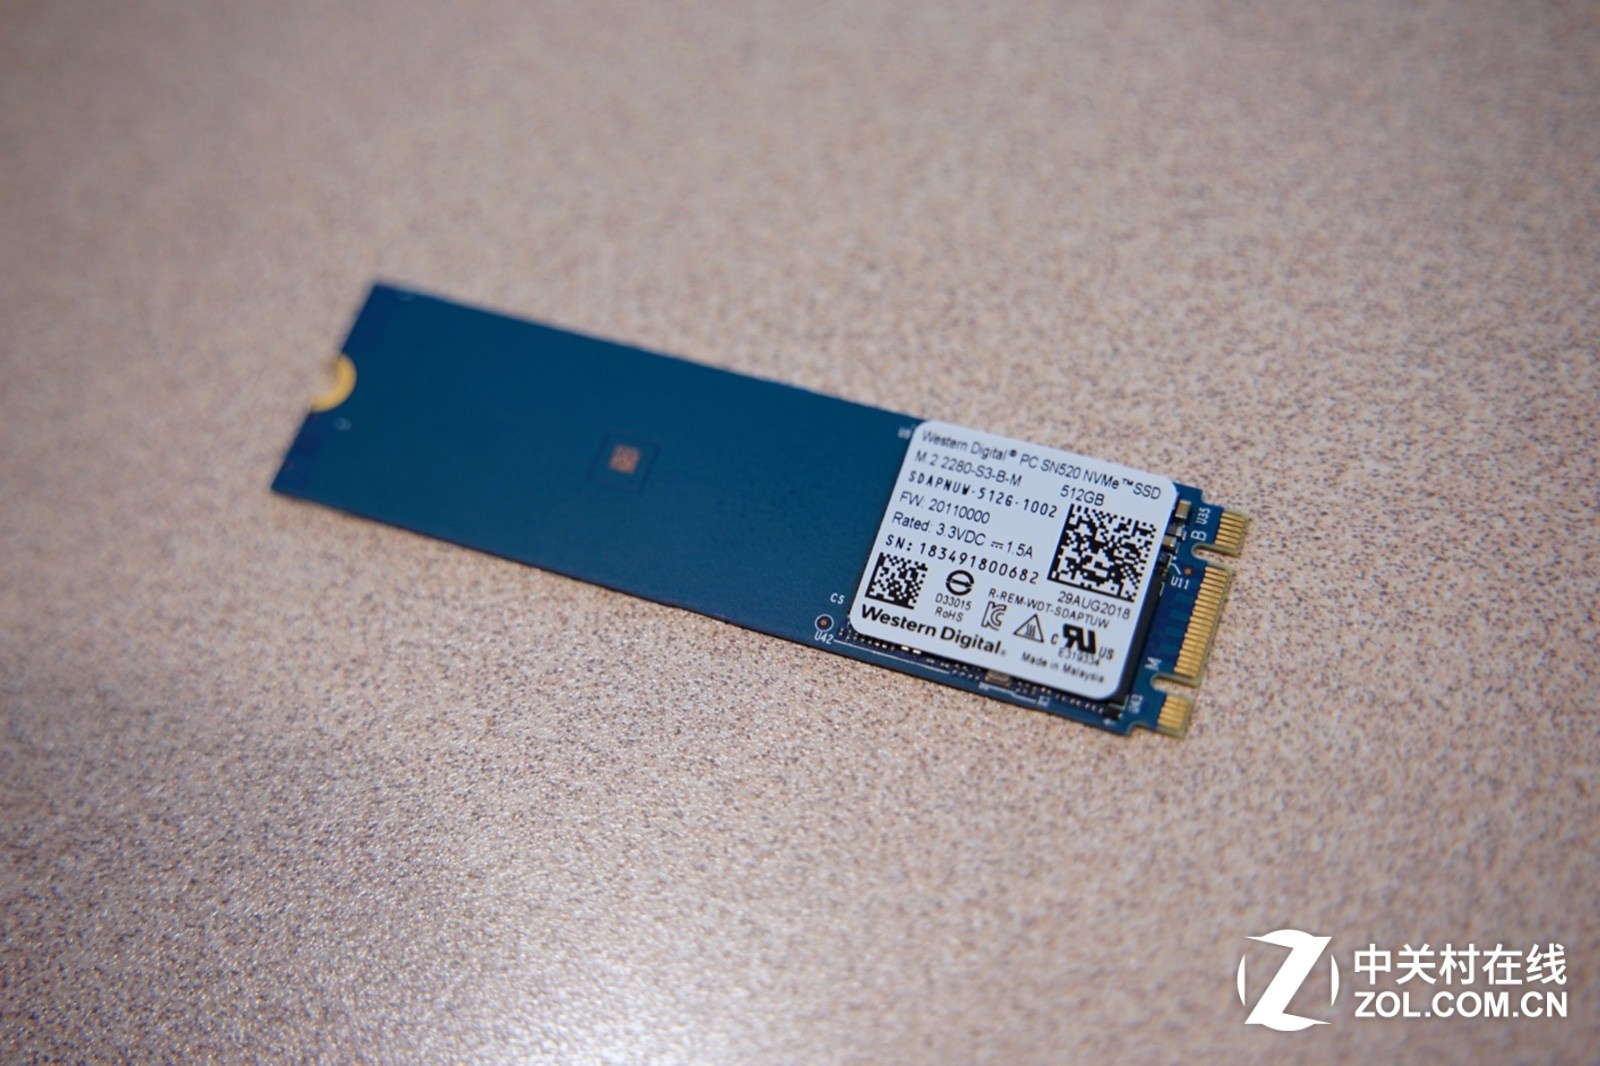
The Asus ZenBook 14 UX433FN comes with a Western Digital 512GB NVMe M.2 SSD, which uses a multi-chip stack design, so the effective area of the board is quite small.
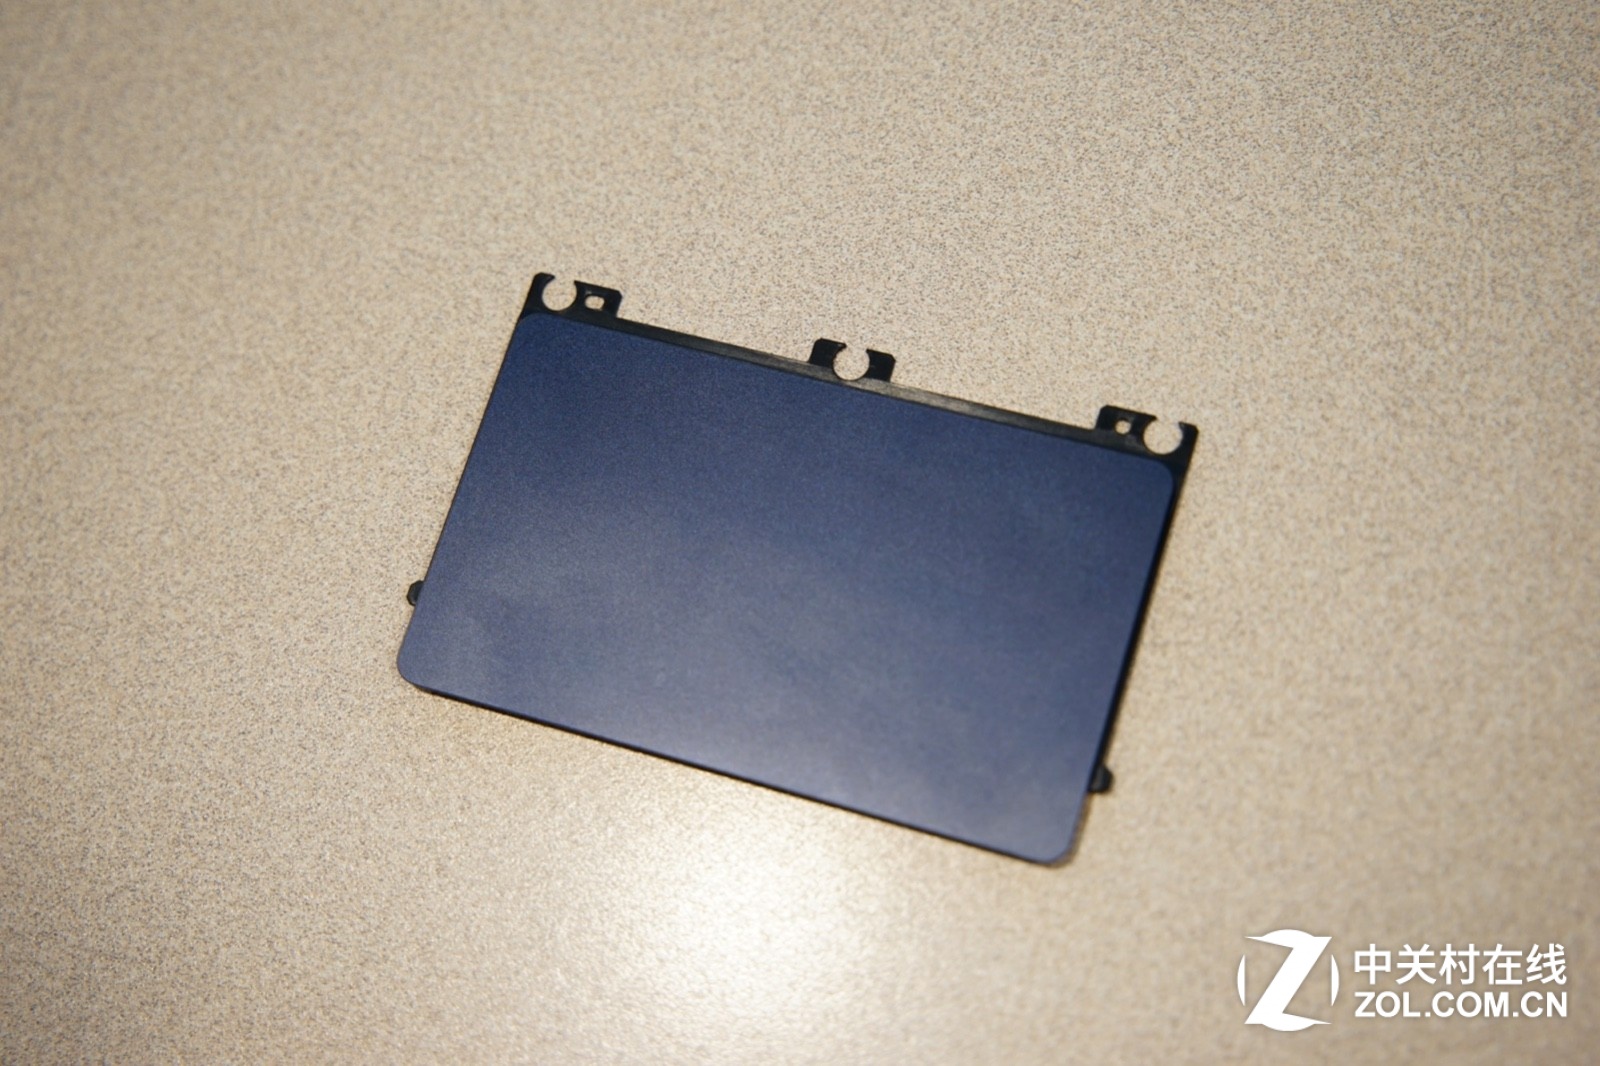
Remove three screws that securing the touchpad and take out the touchpad.
The surface of the touch panel has a layer of glass, which can give users a very good touch feel.
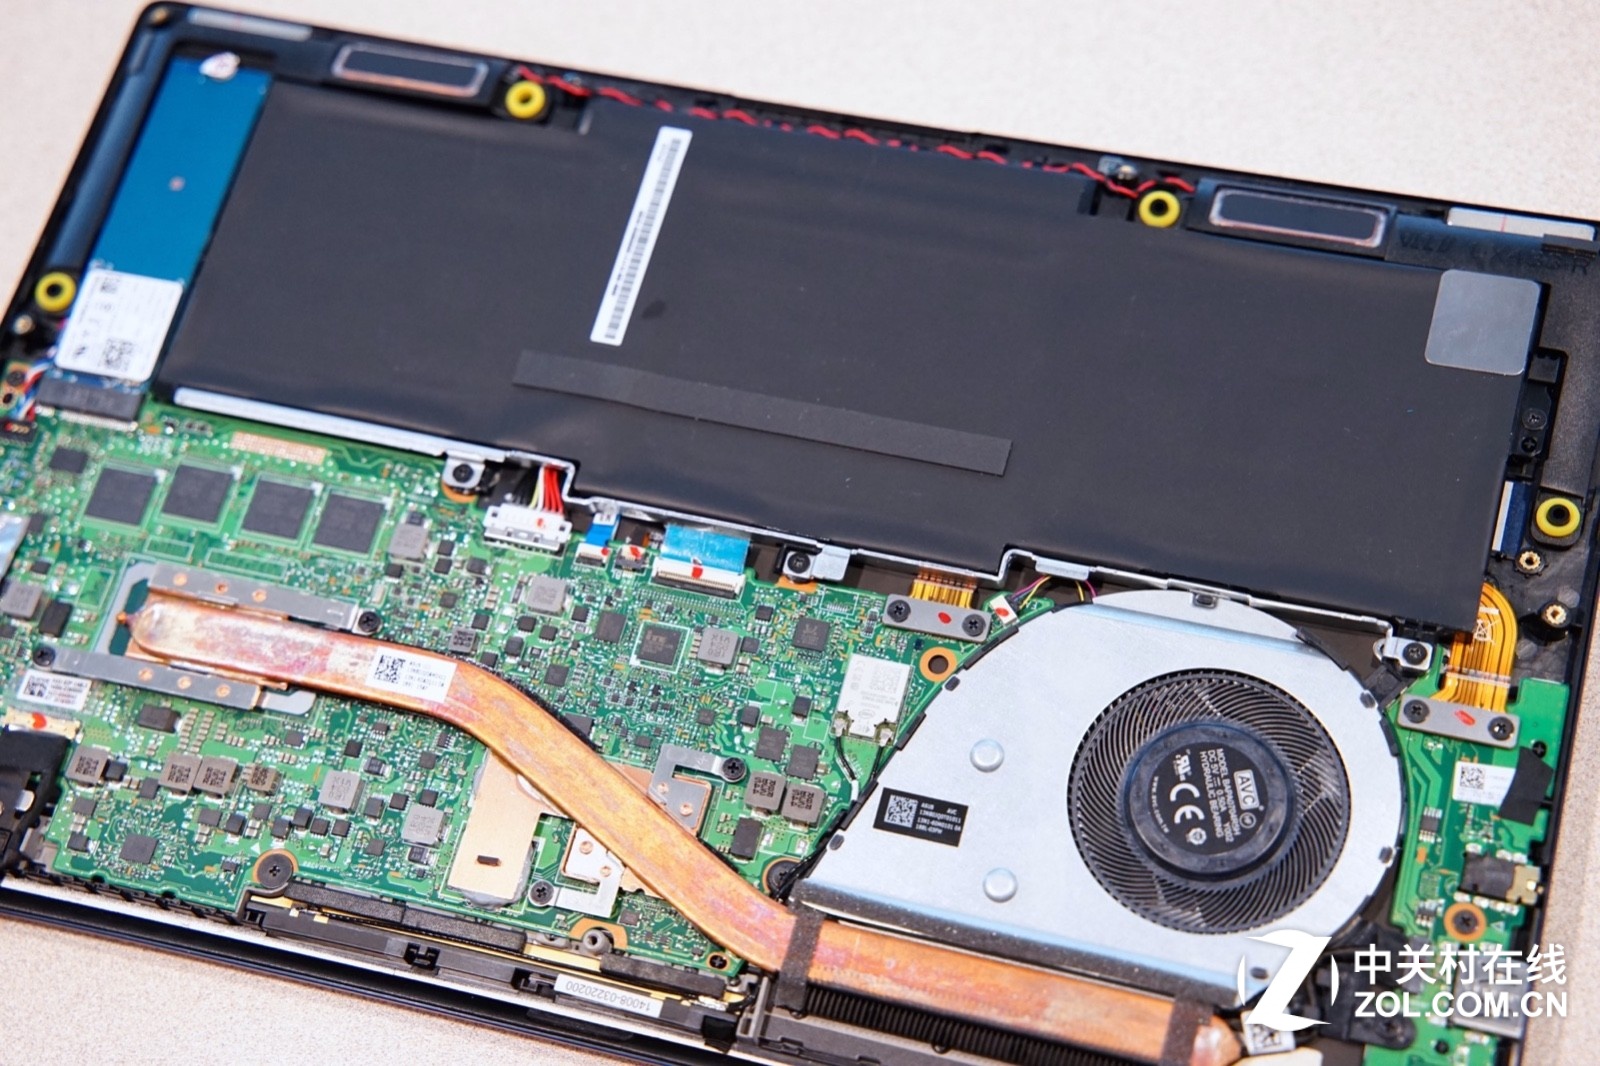
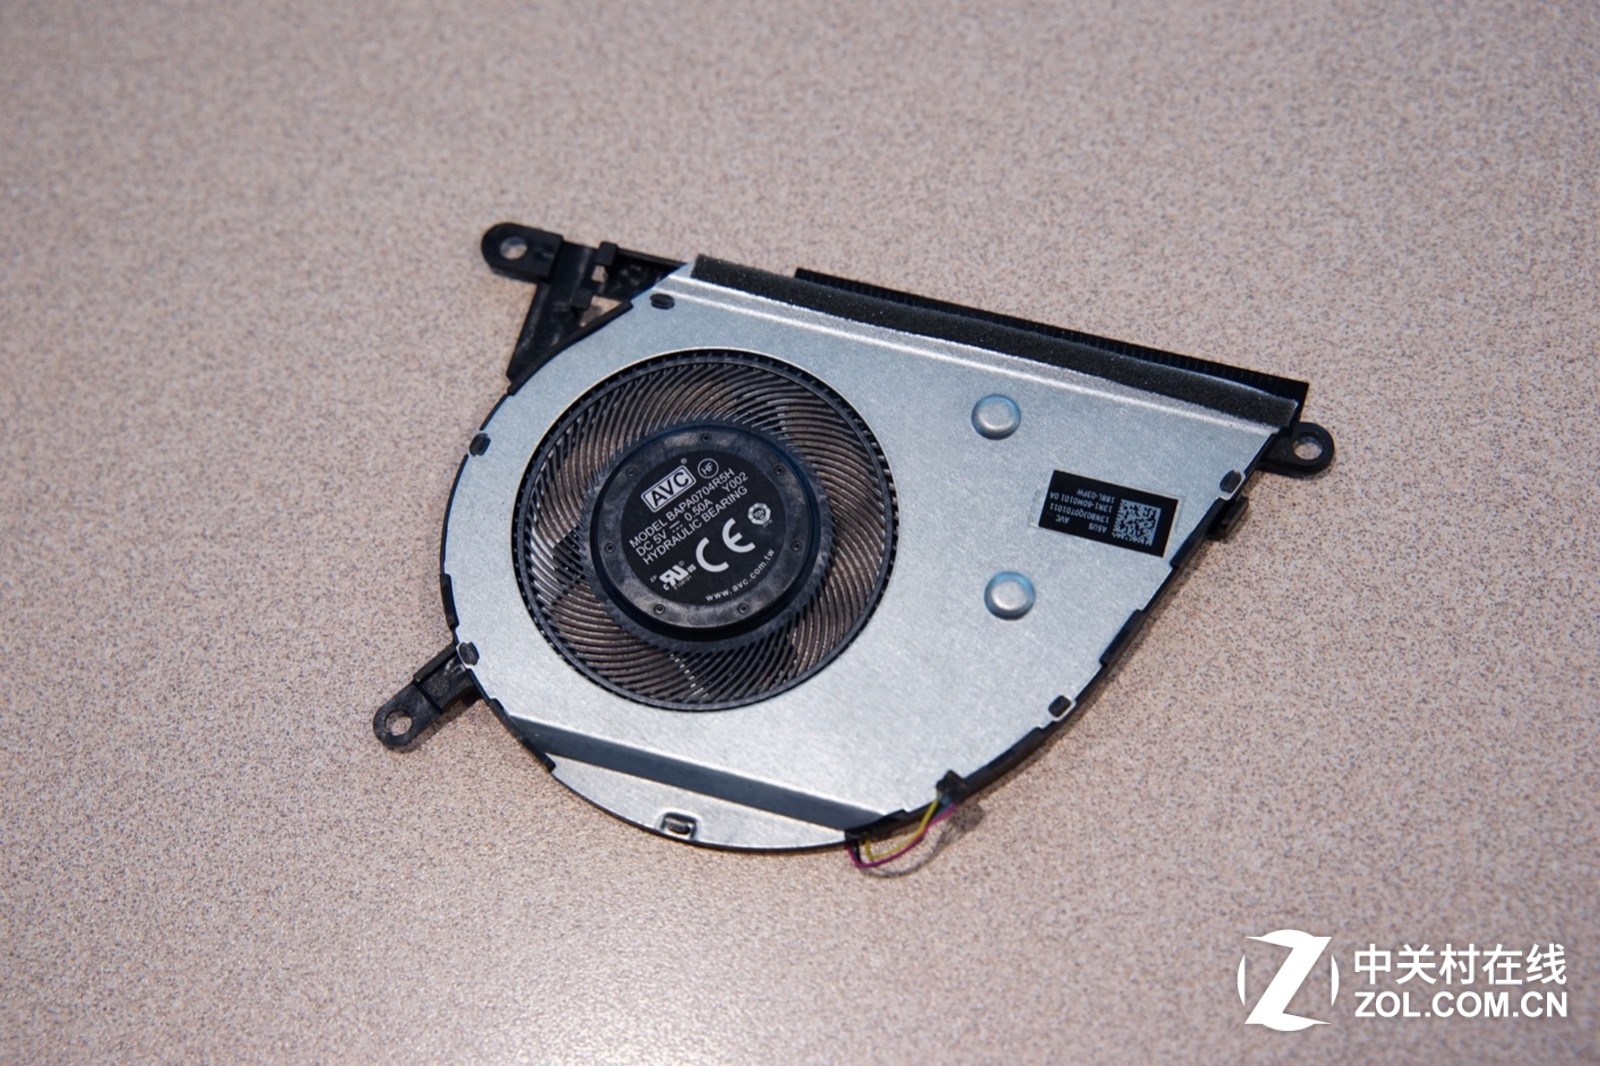
Remove three screws and disconnect the fan cable from the motherboard, then take out the cooling fan.
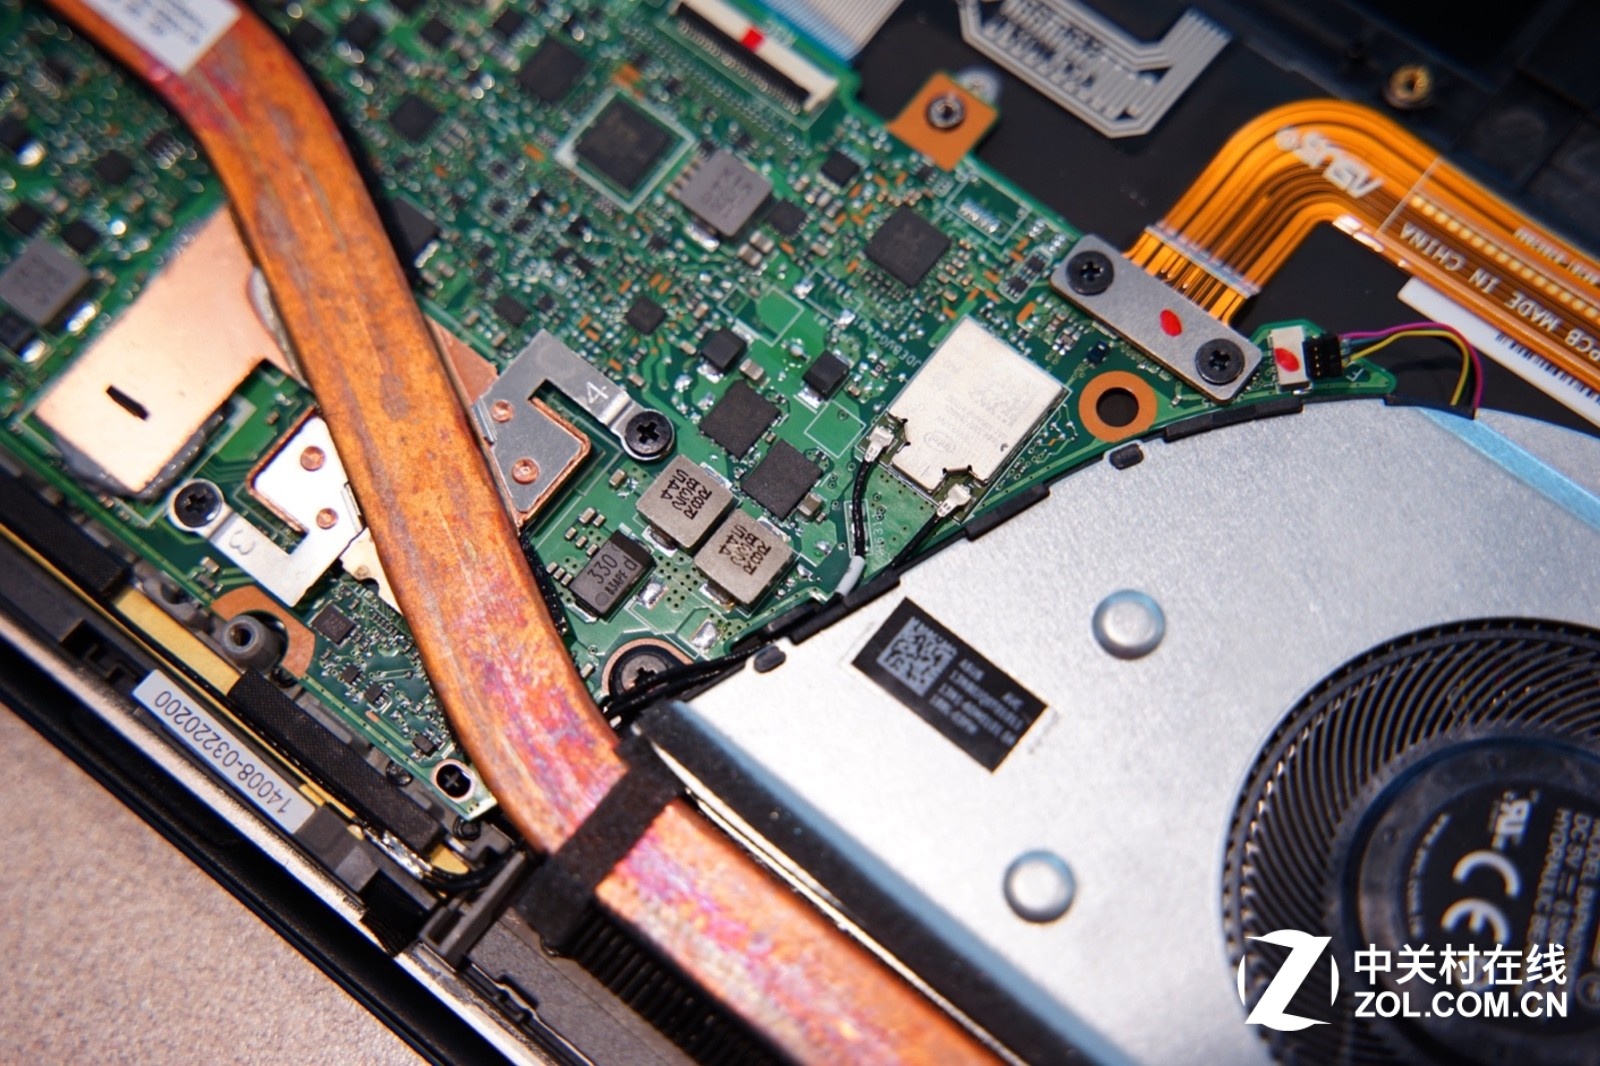
It can be seen that the fan is very thin, but the fan blade area is not small, so even a single CPU fan can bring considerable air volume.
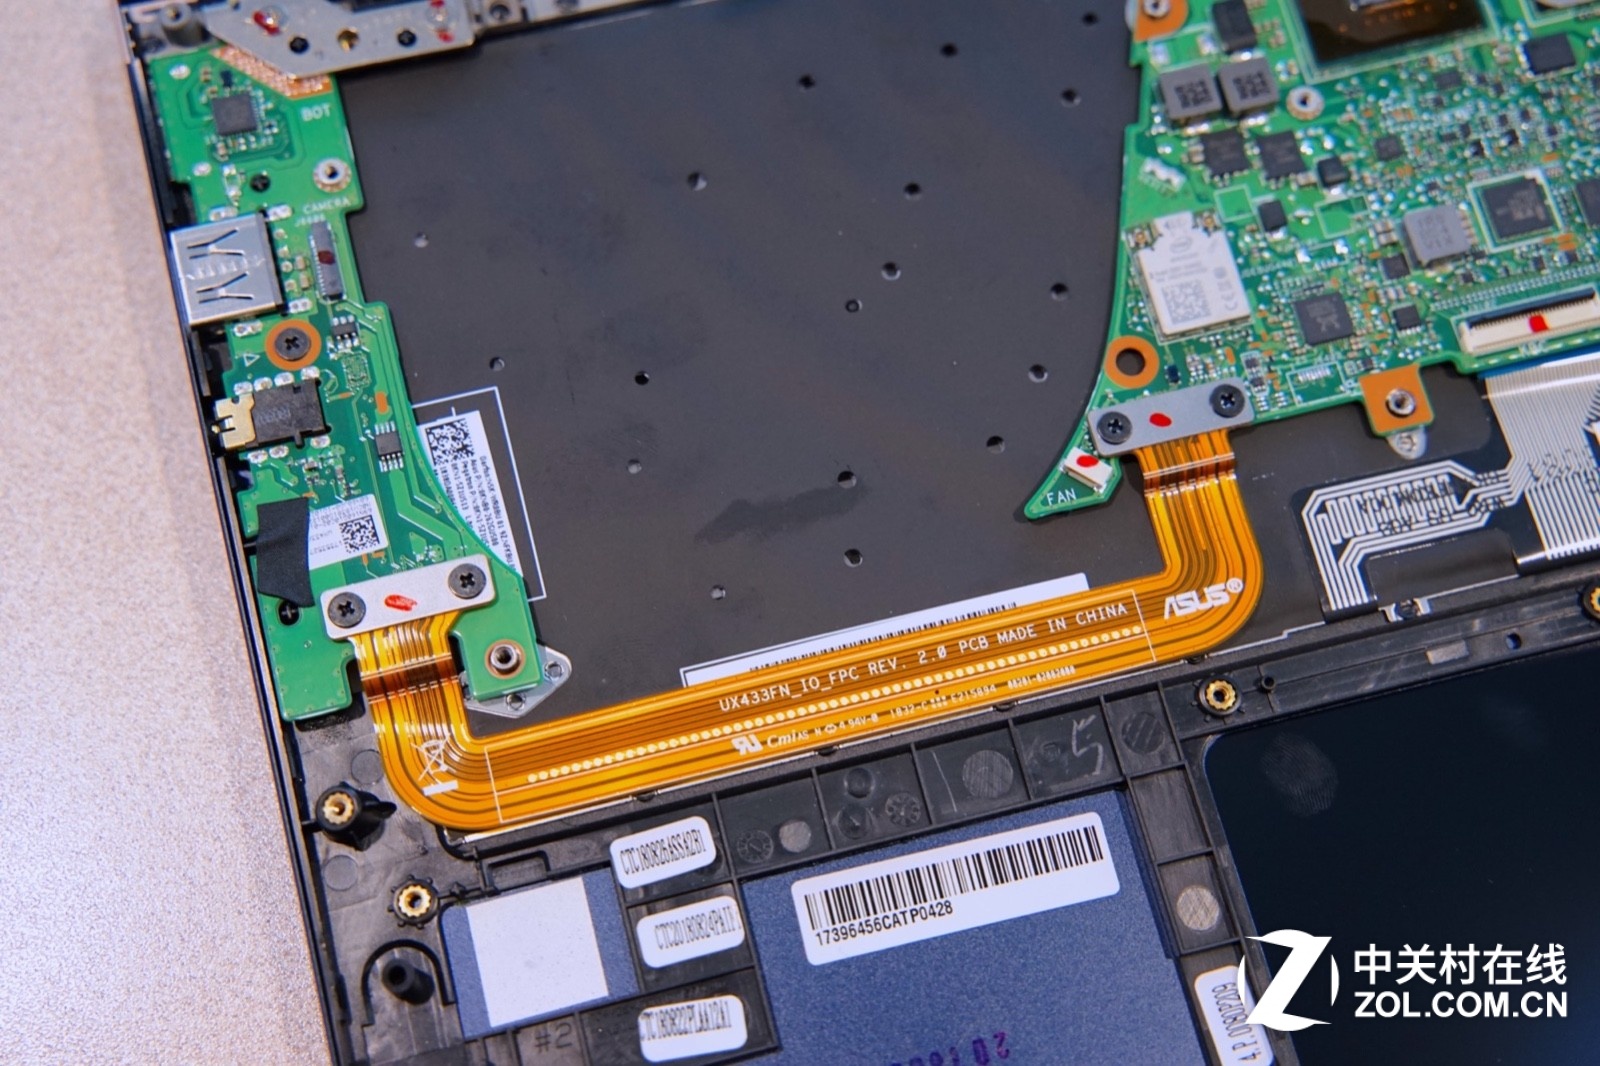
The motherboard is divided into two parts by the fan, so there is a yellow cable to connect the two circuit boards.
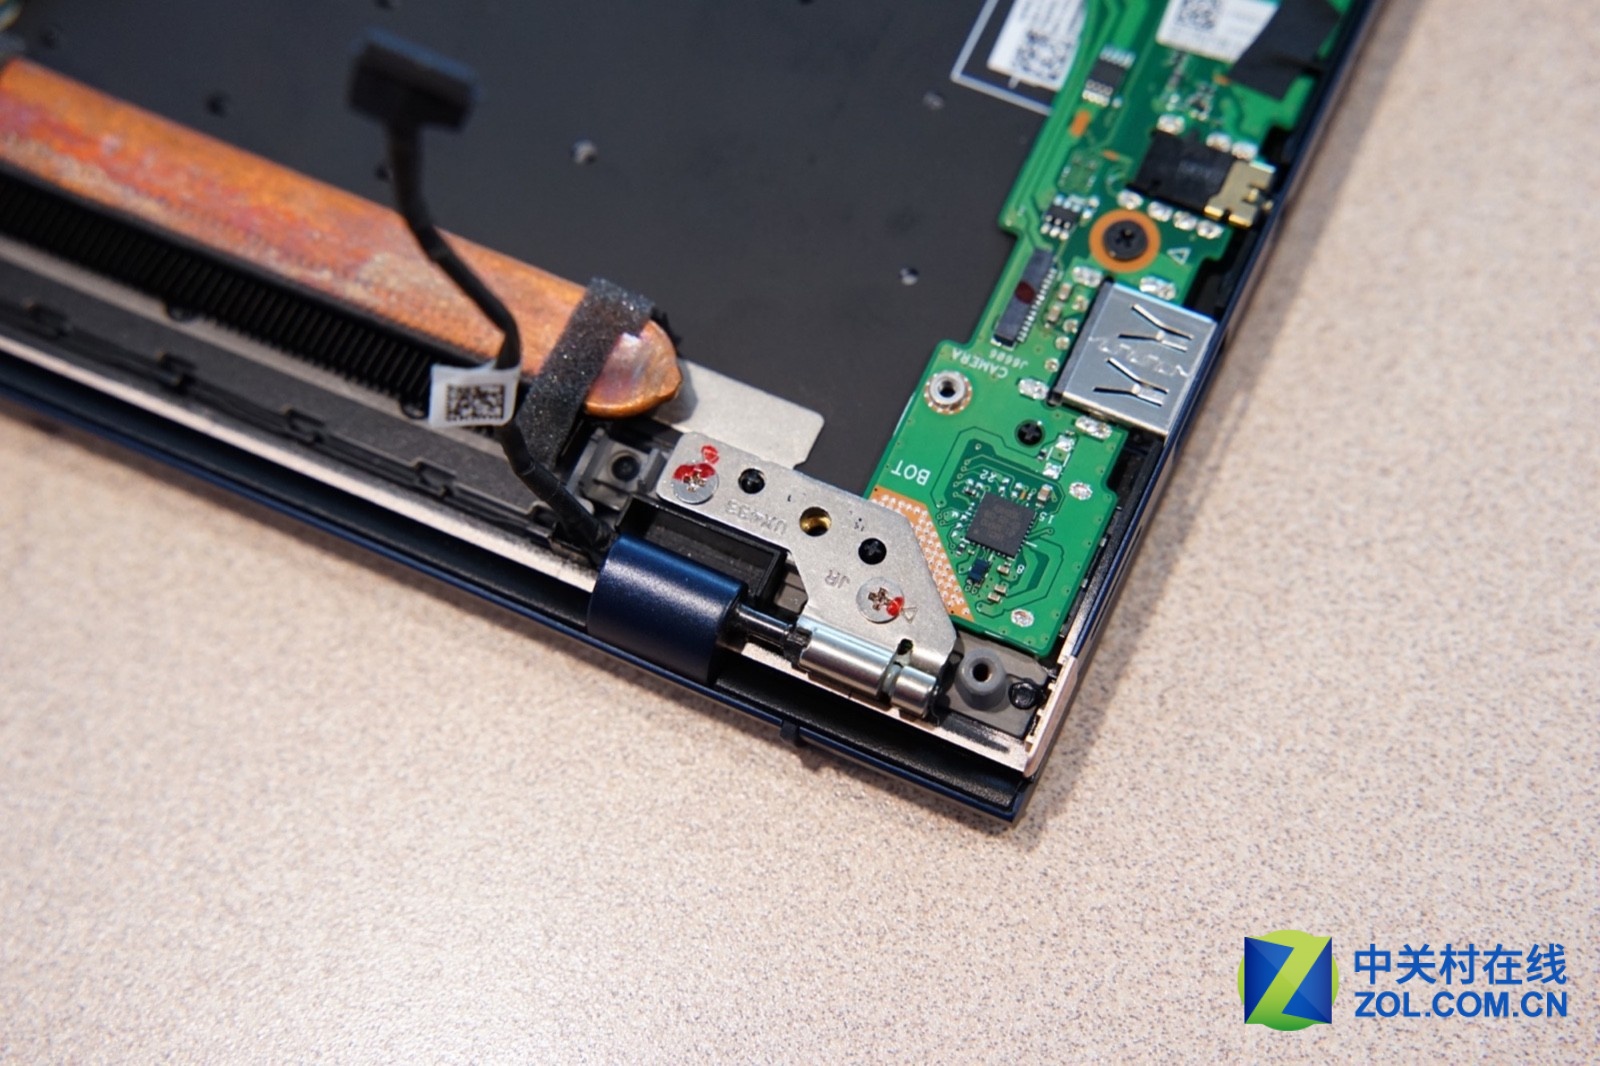
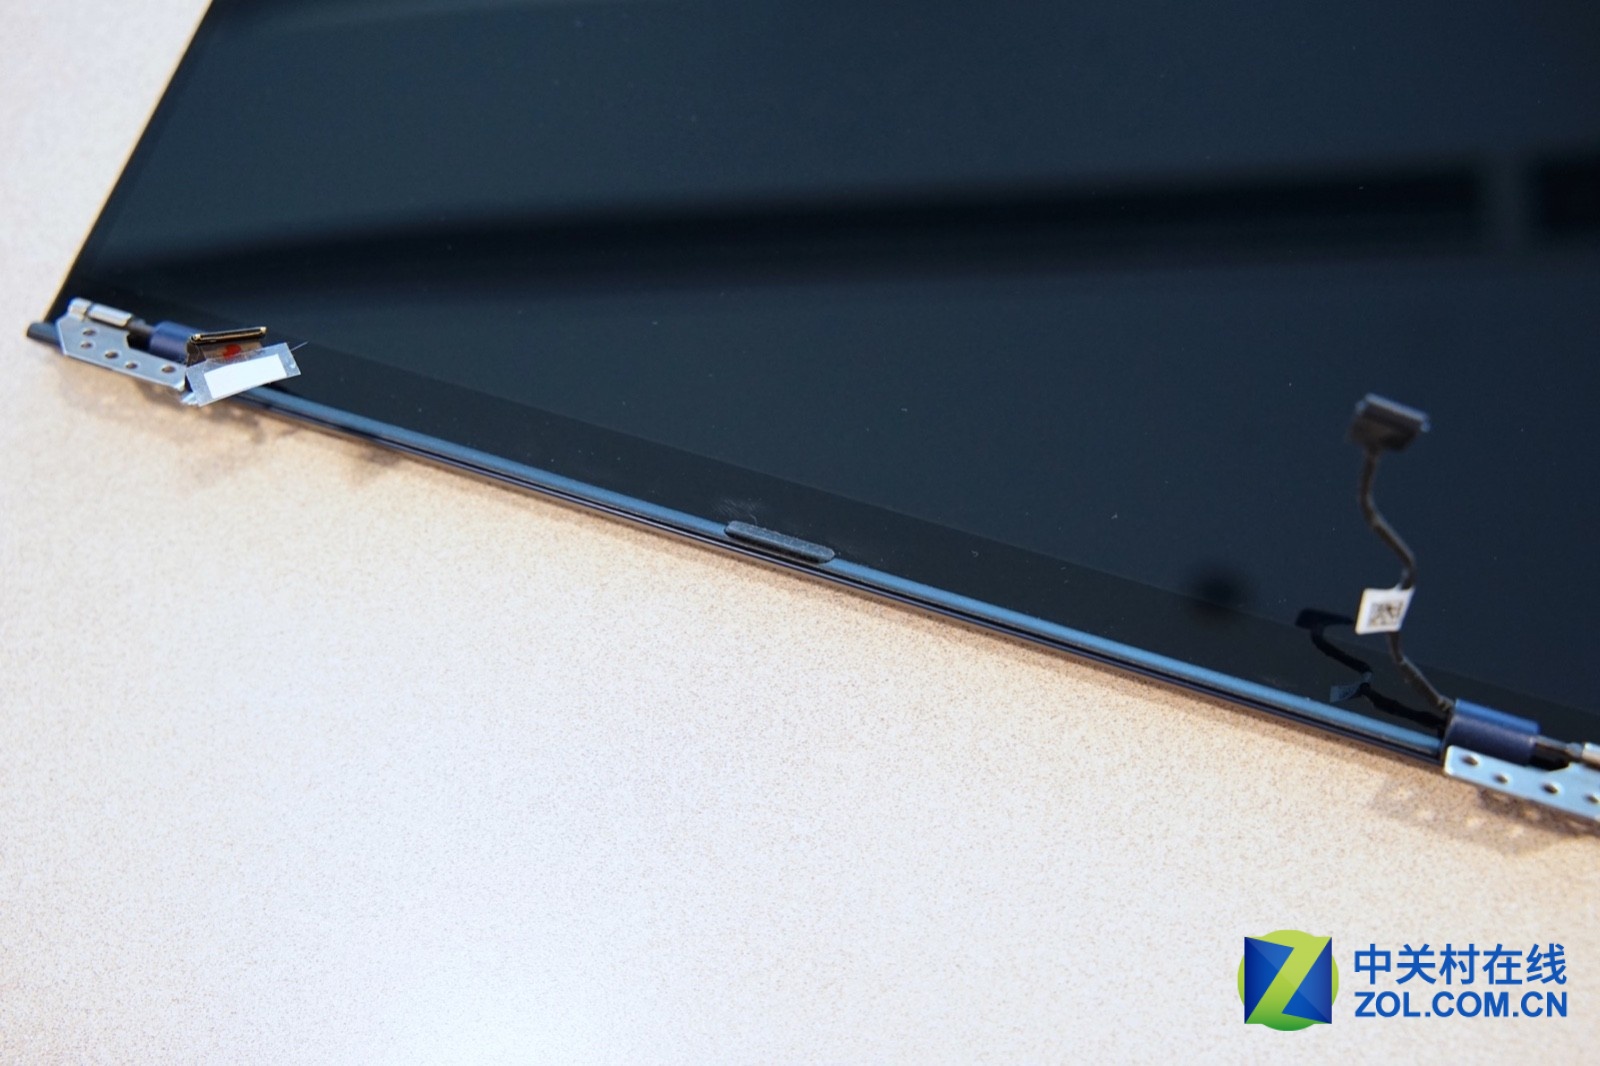
It is worth noting that the LCD hinge is securing on the motherboard, and it is also securing the LCD cable.
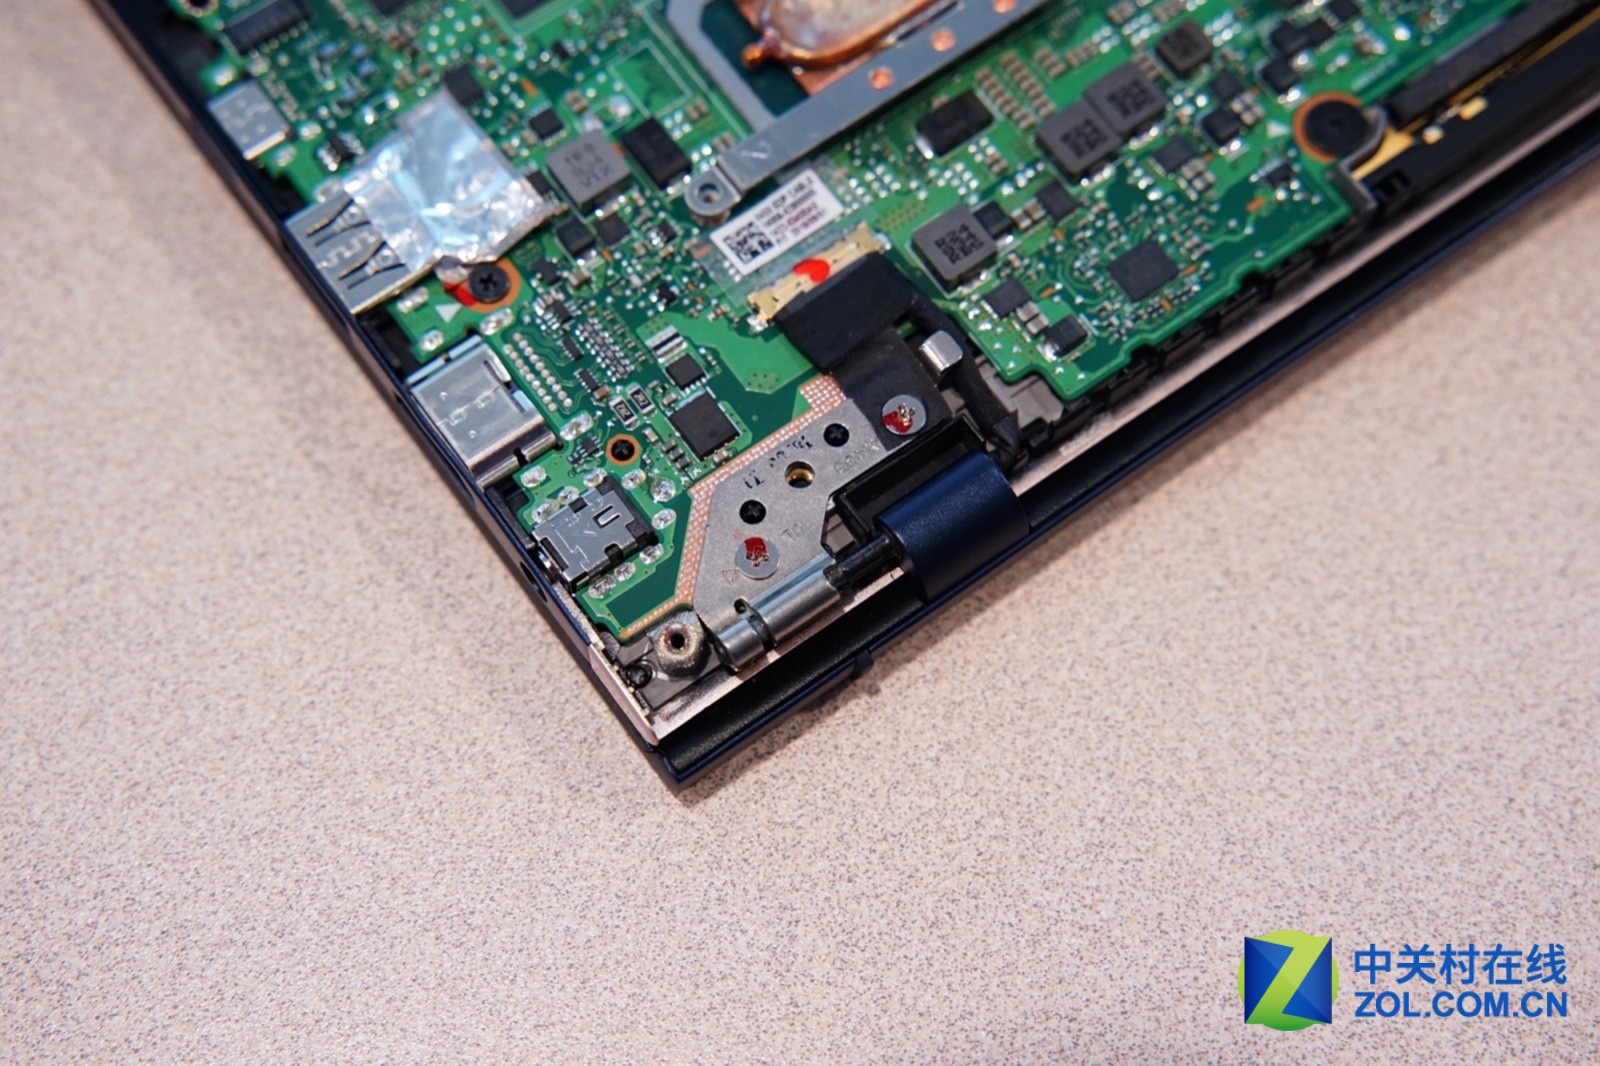
The LCD hinge on the right side not only the securing the circuit board, but also securing the heatsink module. So we need to remove the LCD hinge before we can continue the disassembly work.
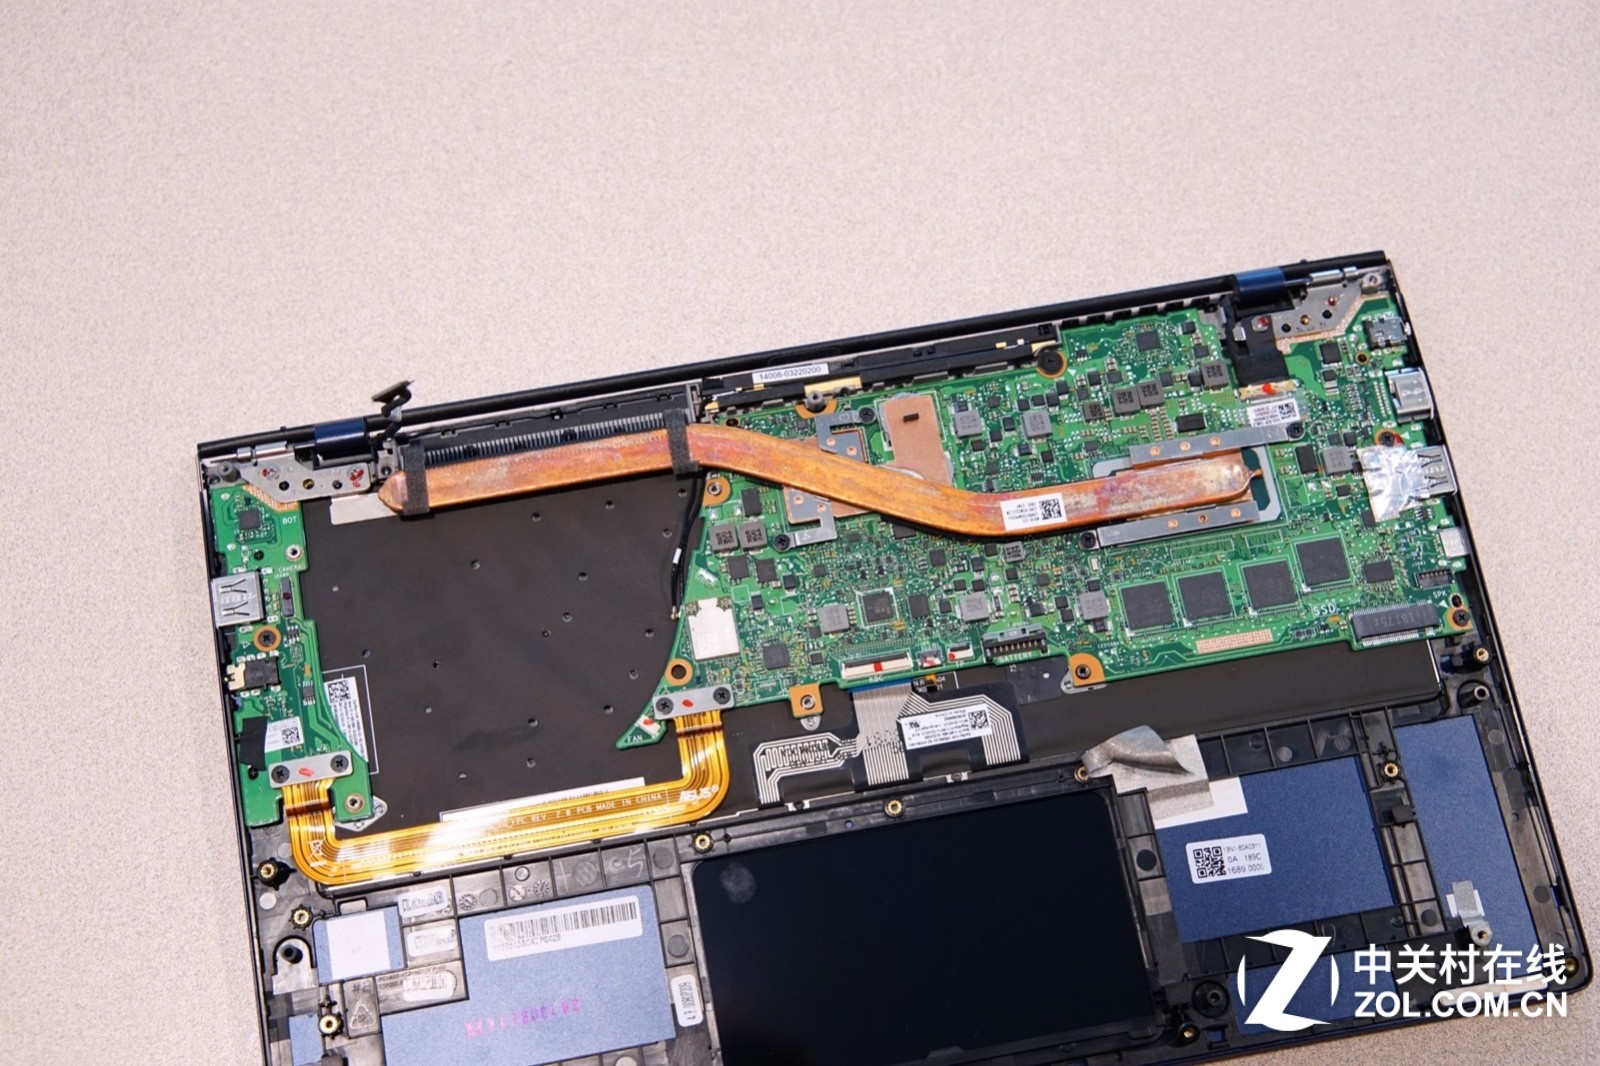
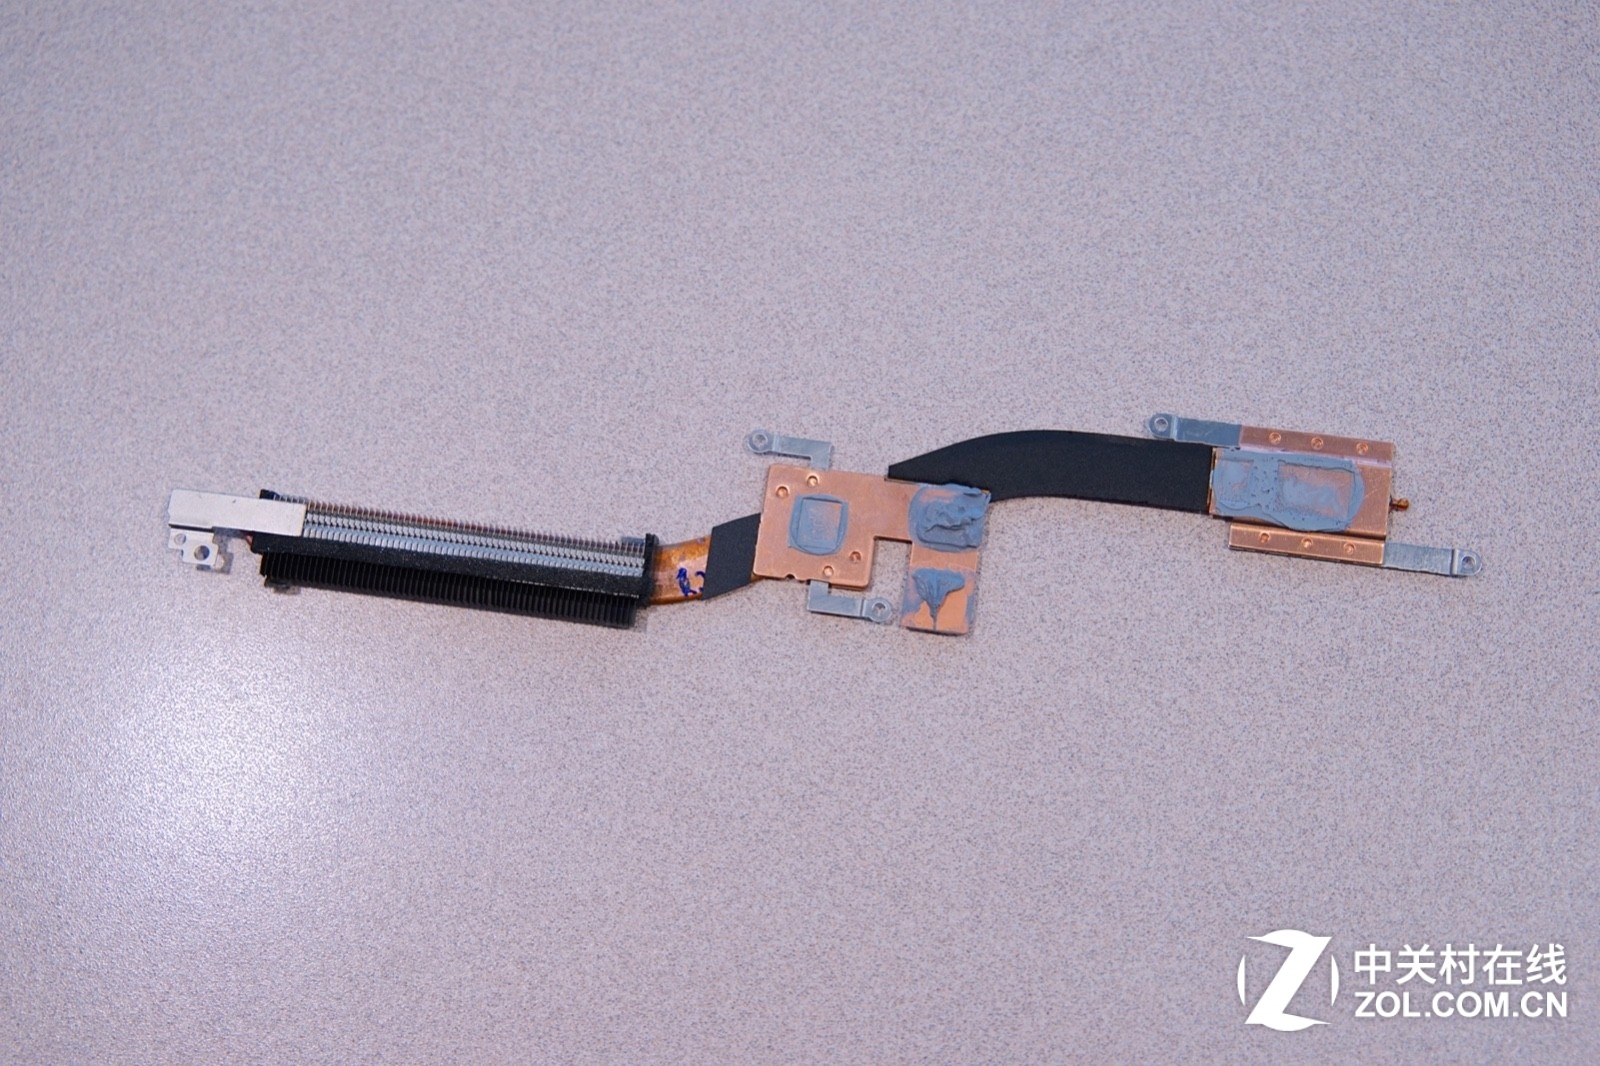
Remove the heatsink module. You can see it is very simple.
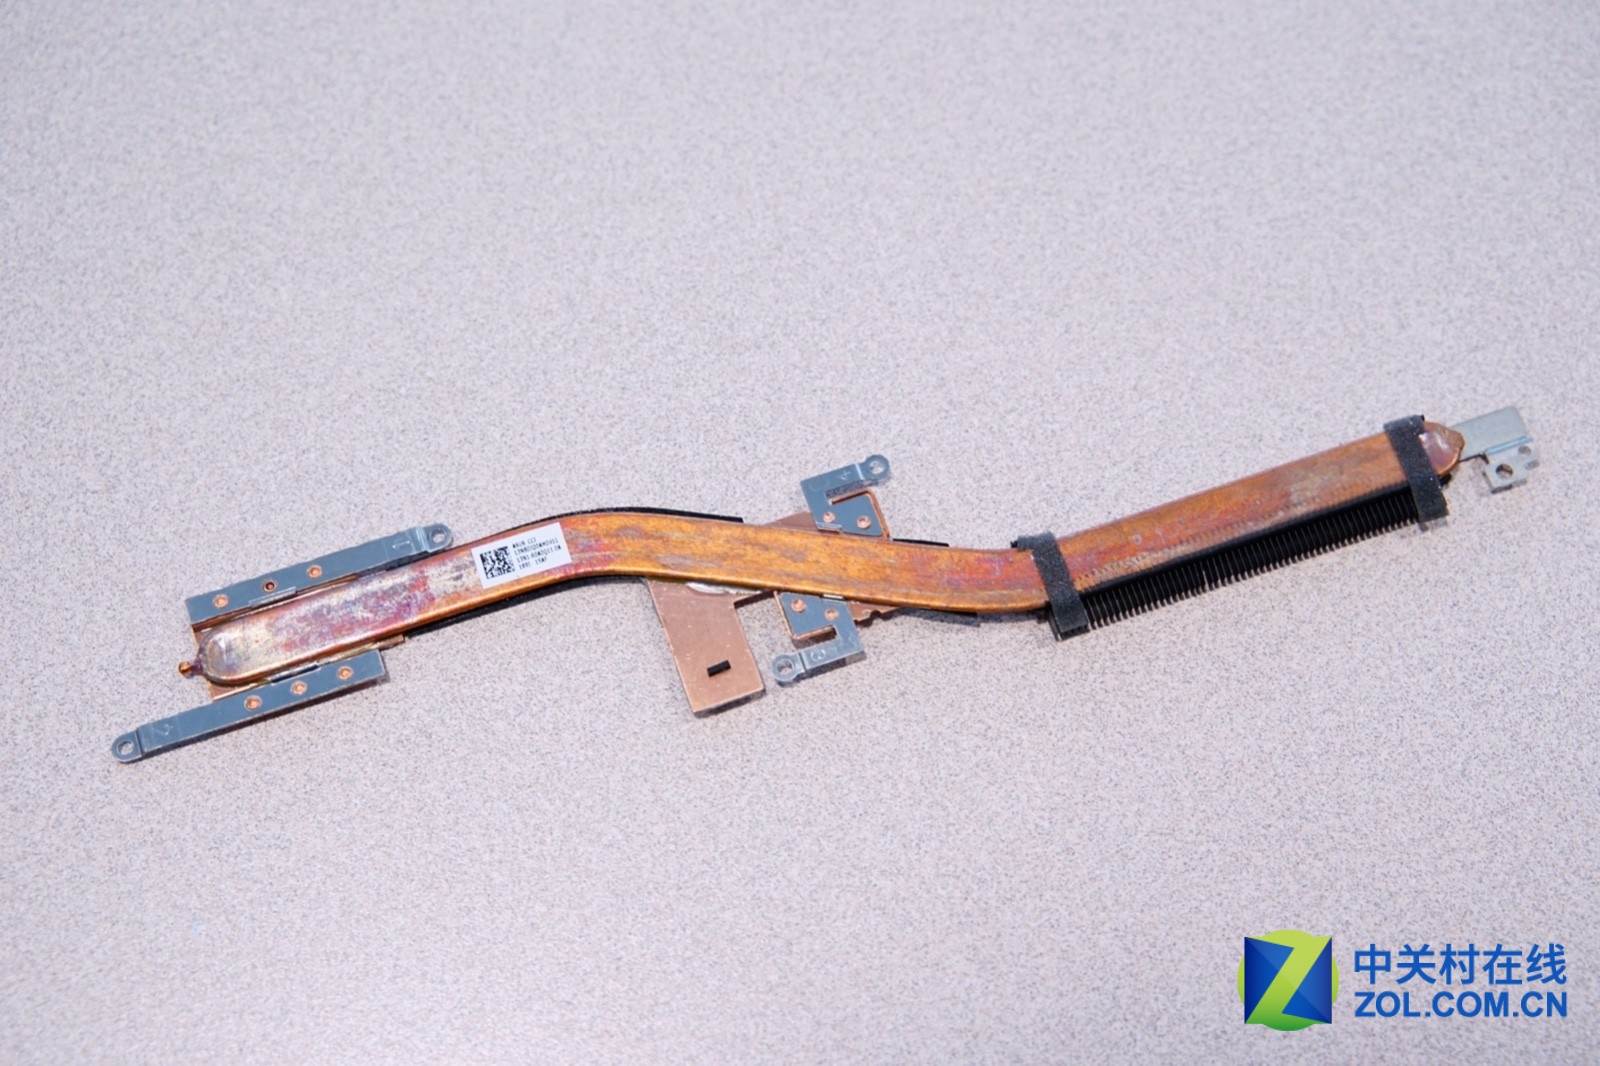
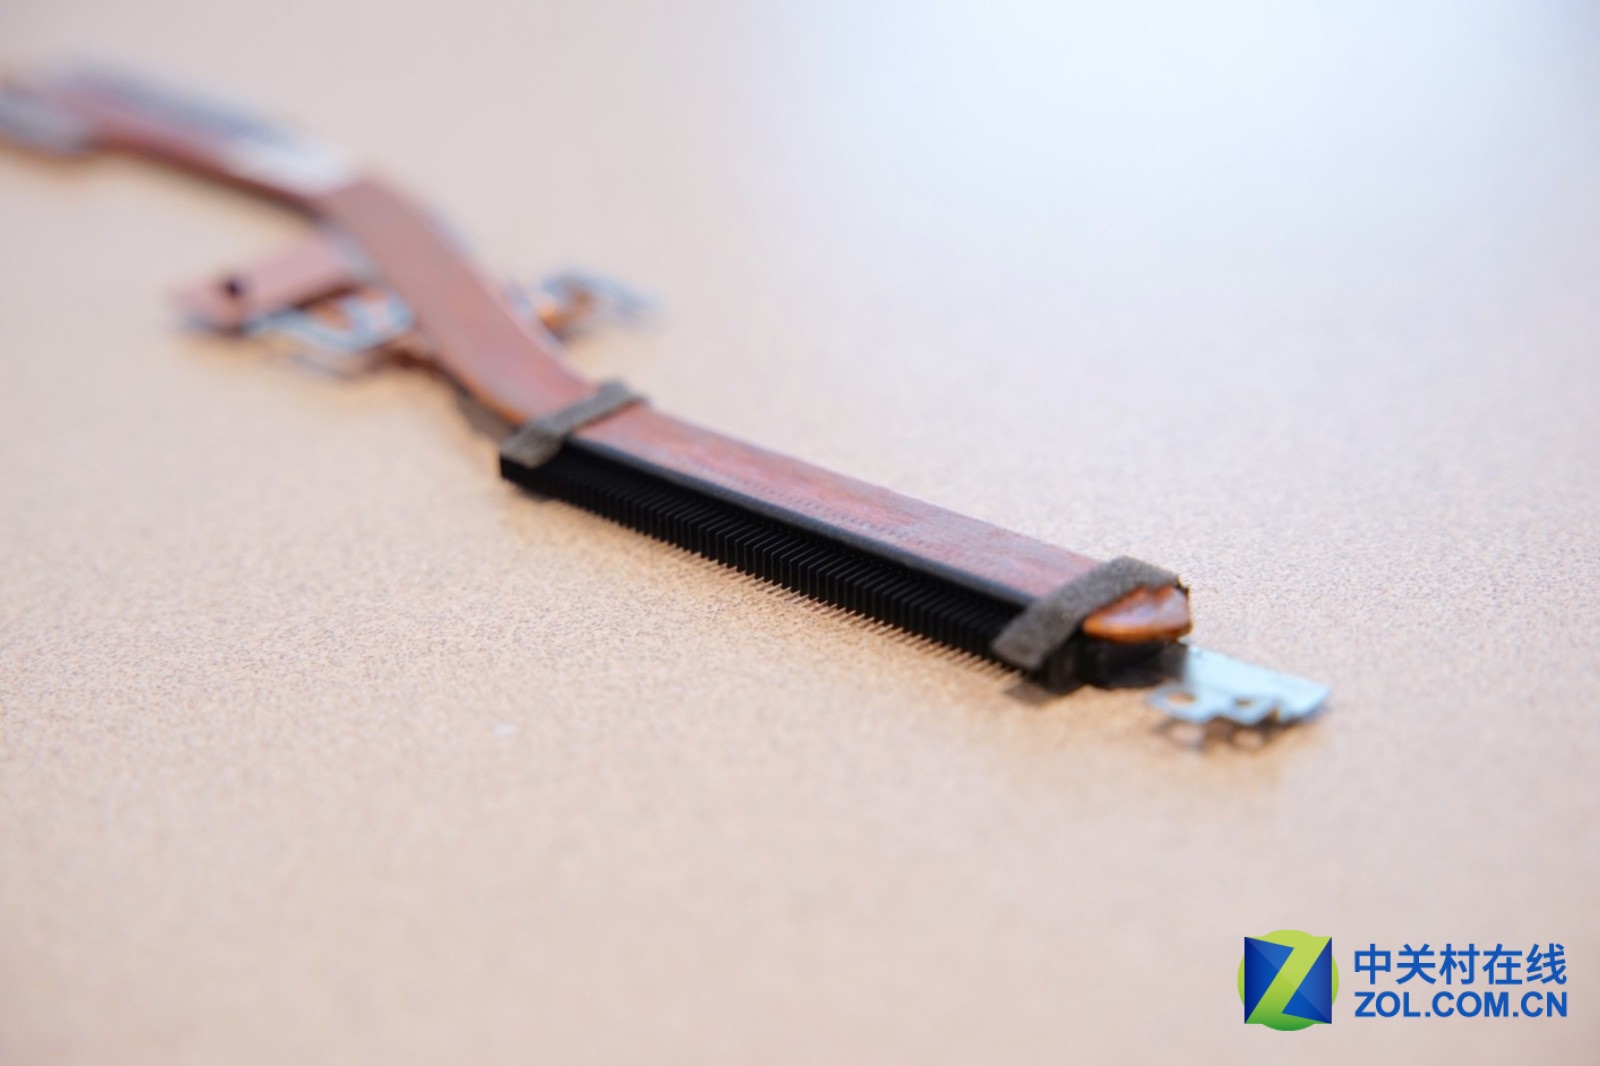
However, from the side view, this heat pipe still has a certain thickness, and with its width of 8mm, it can also achieve a good thermal conductivity.
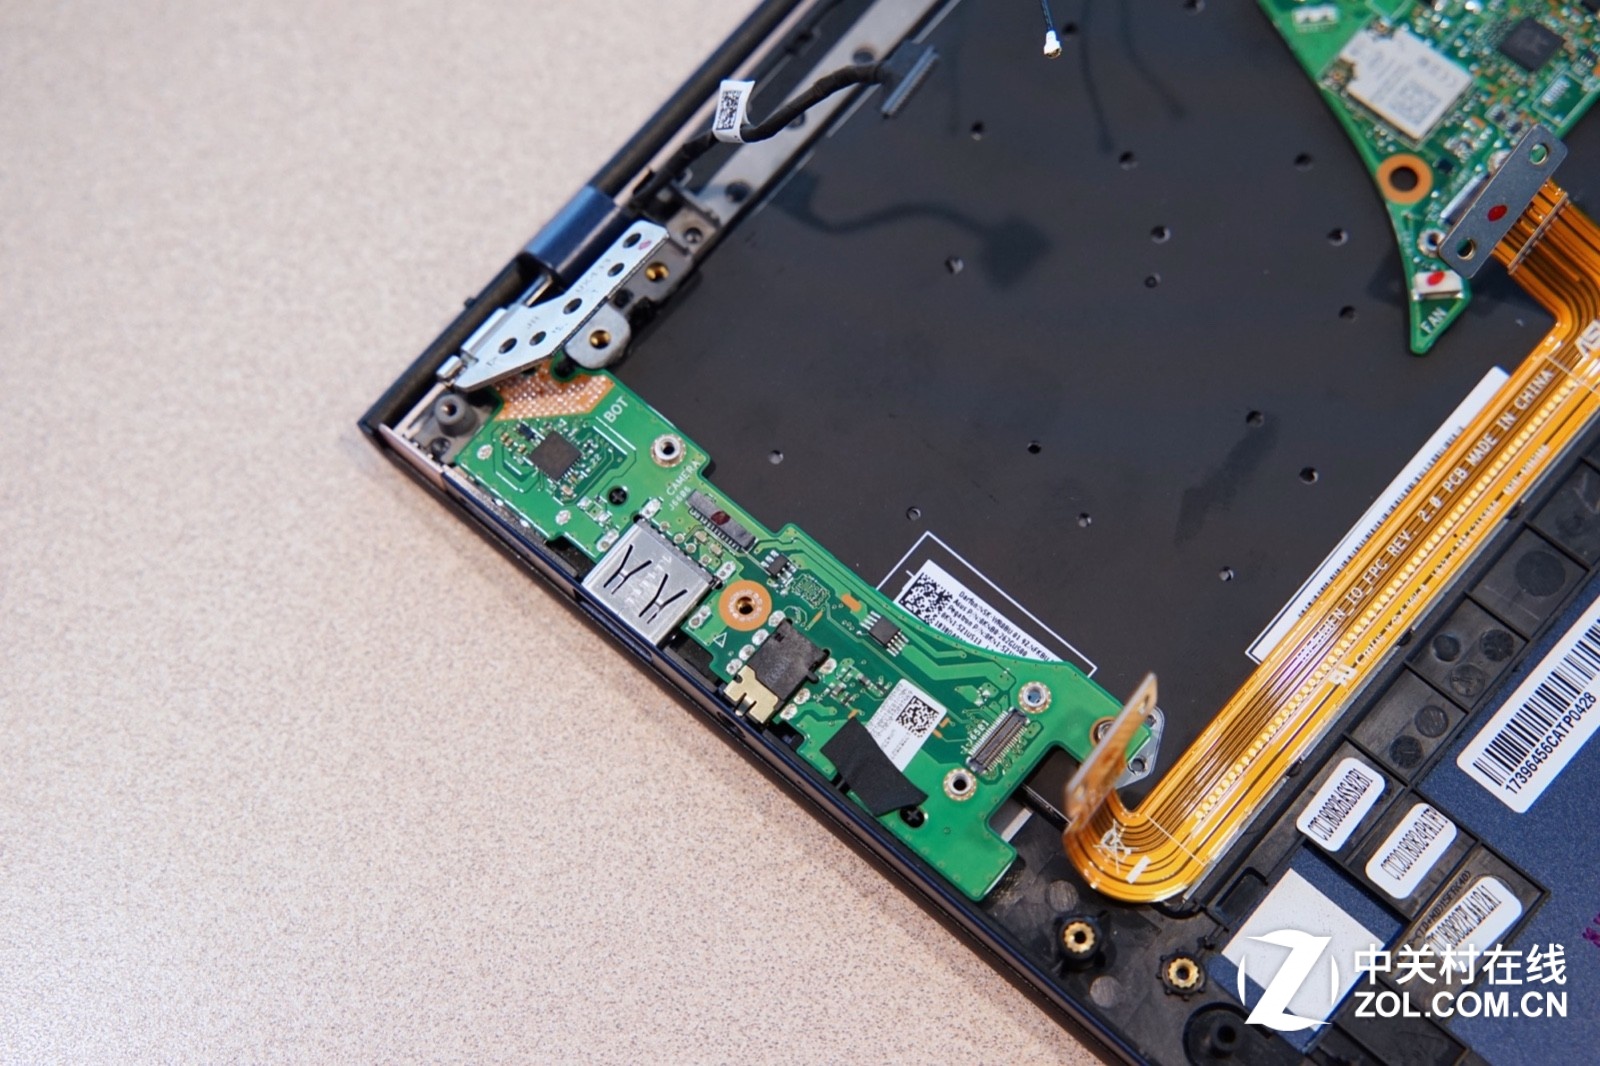
The connection between the I/O board and the motherboard is connected by a yellow cable, and there are screws to fix the connector, which ensures the stability of the connection between the I/O board and the motherboard.
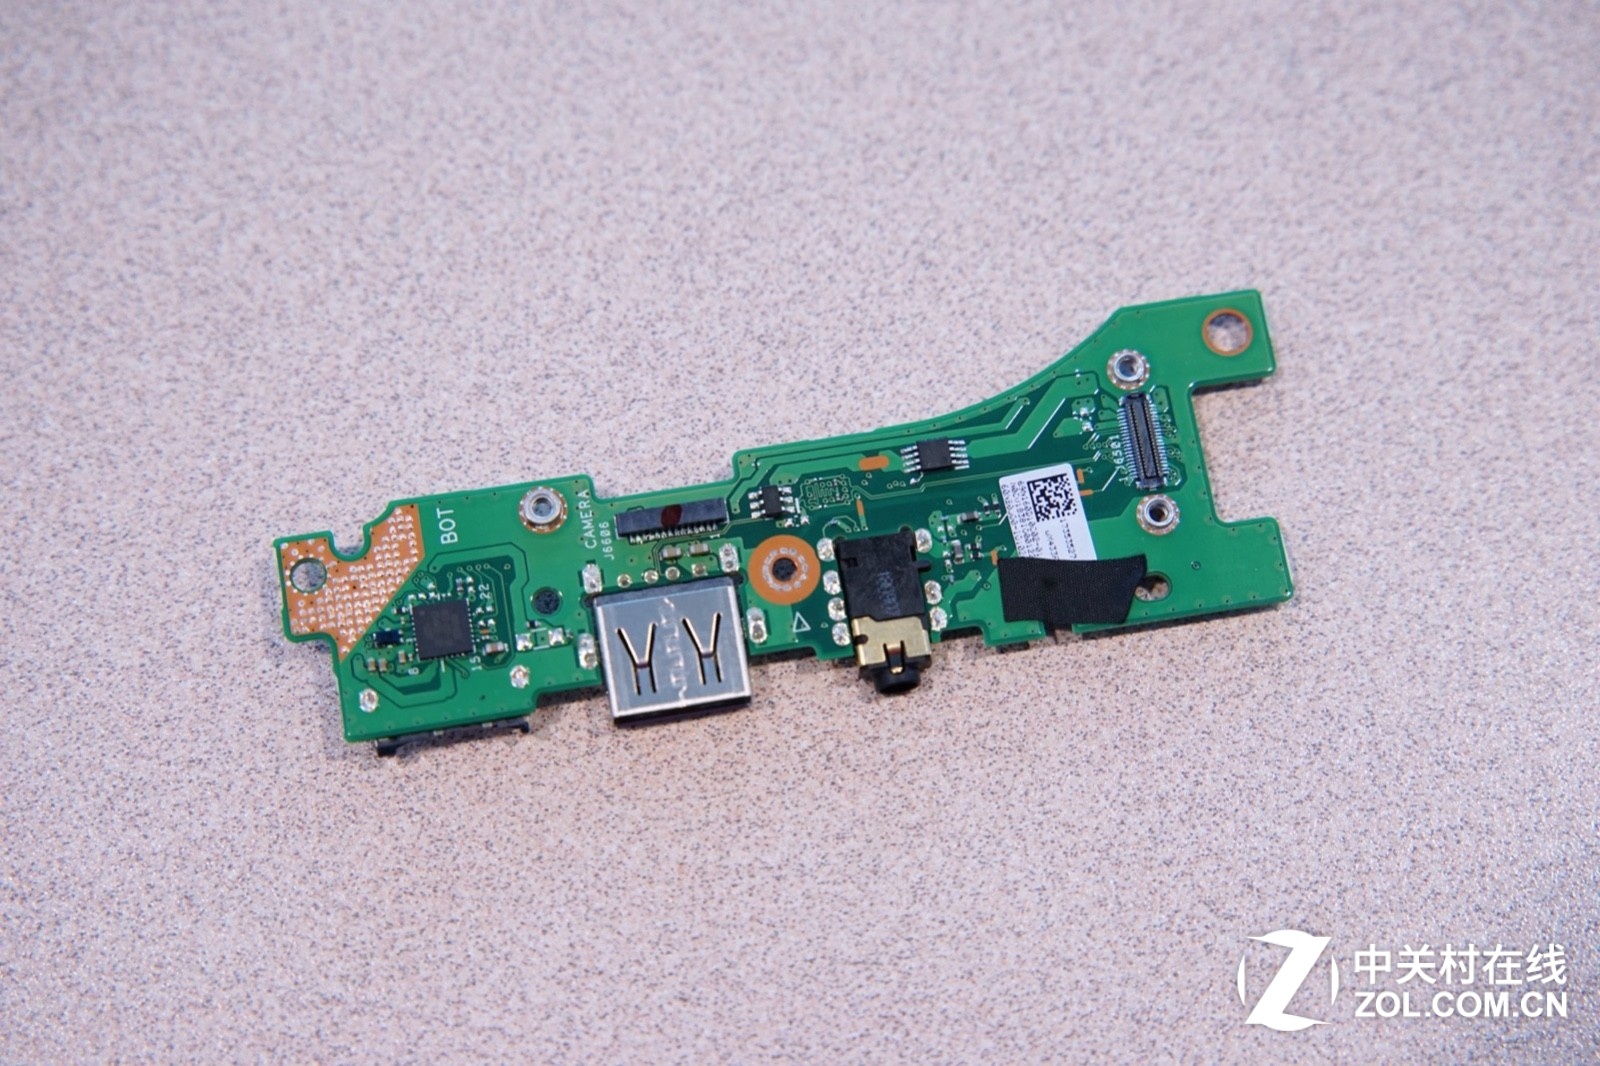
After disconnecting the yellow cable, you can take out the I/O board.
A USB 2.0 port and a 3.5mm headphone jack are integrated on the I/O board
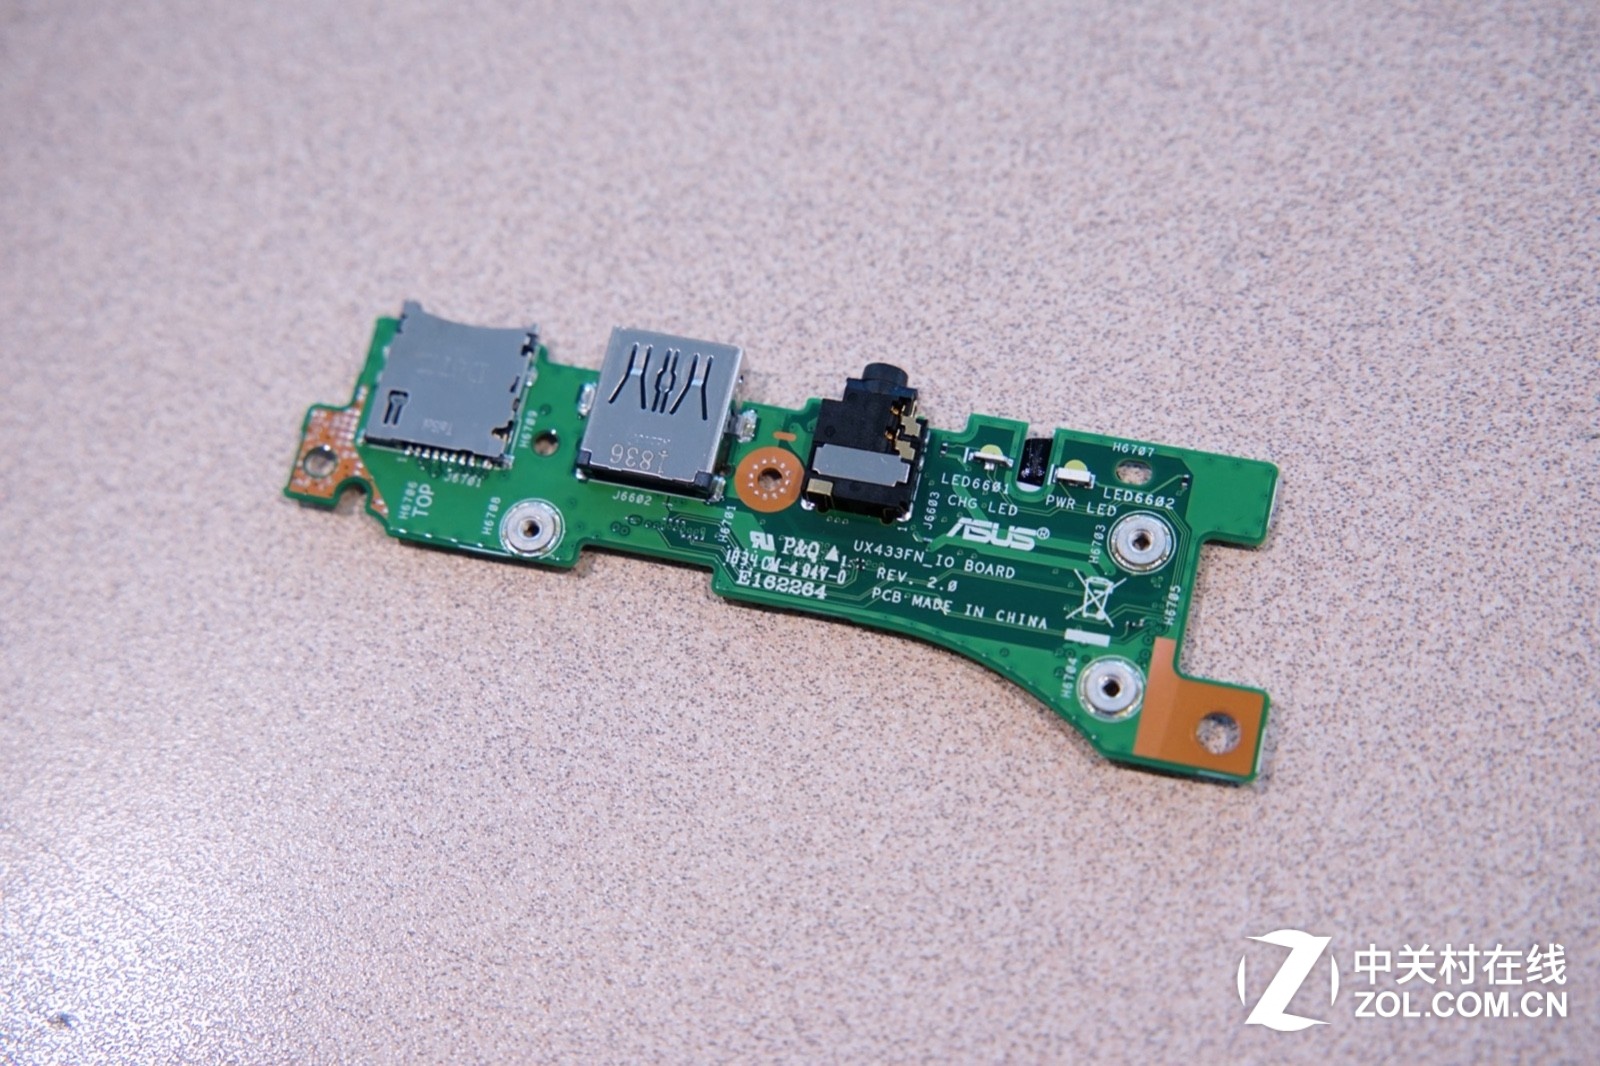
On the back of the board, it can be clearly seen that each component has been marked in great detail.
Now remove the screws that secure the motherboard and disconnect the LCD cable to remove the motherboard.
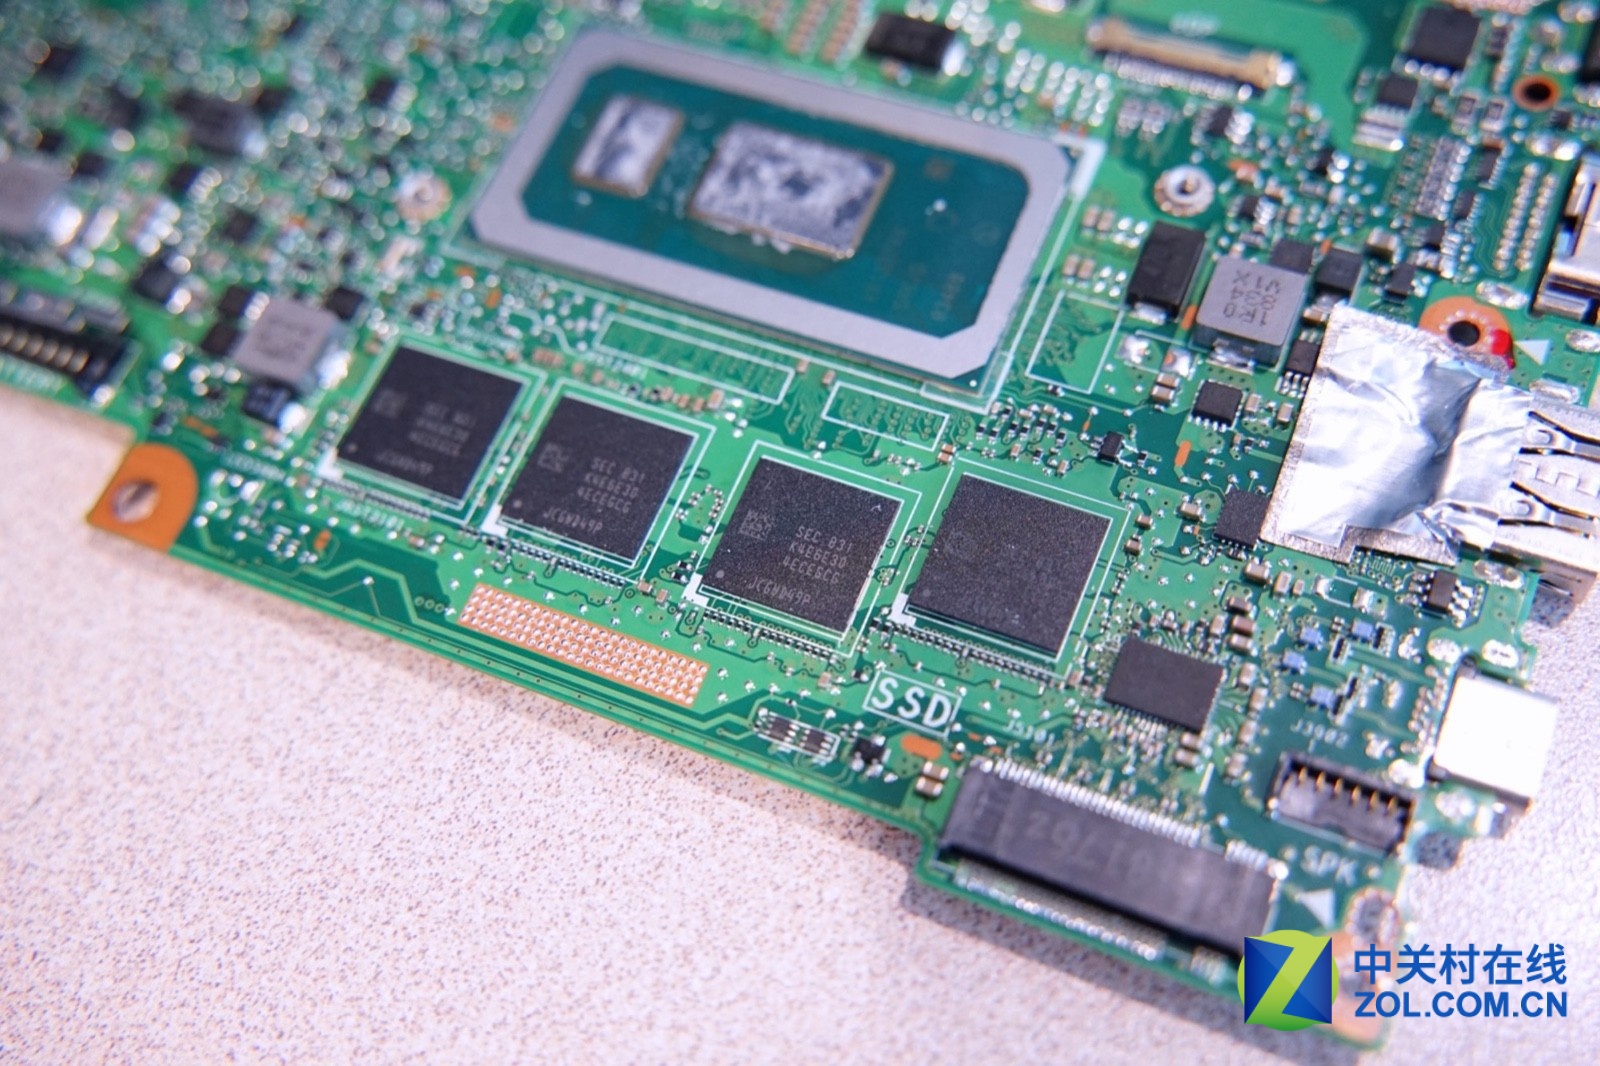
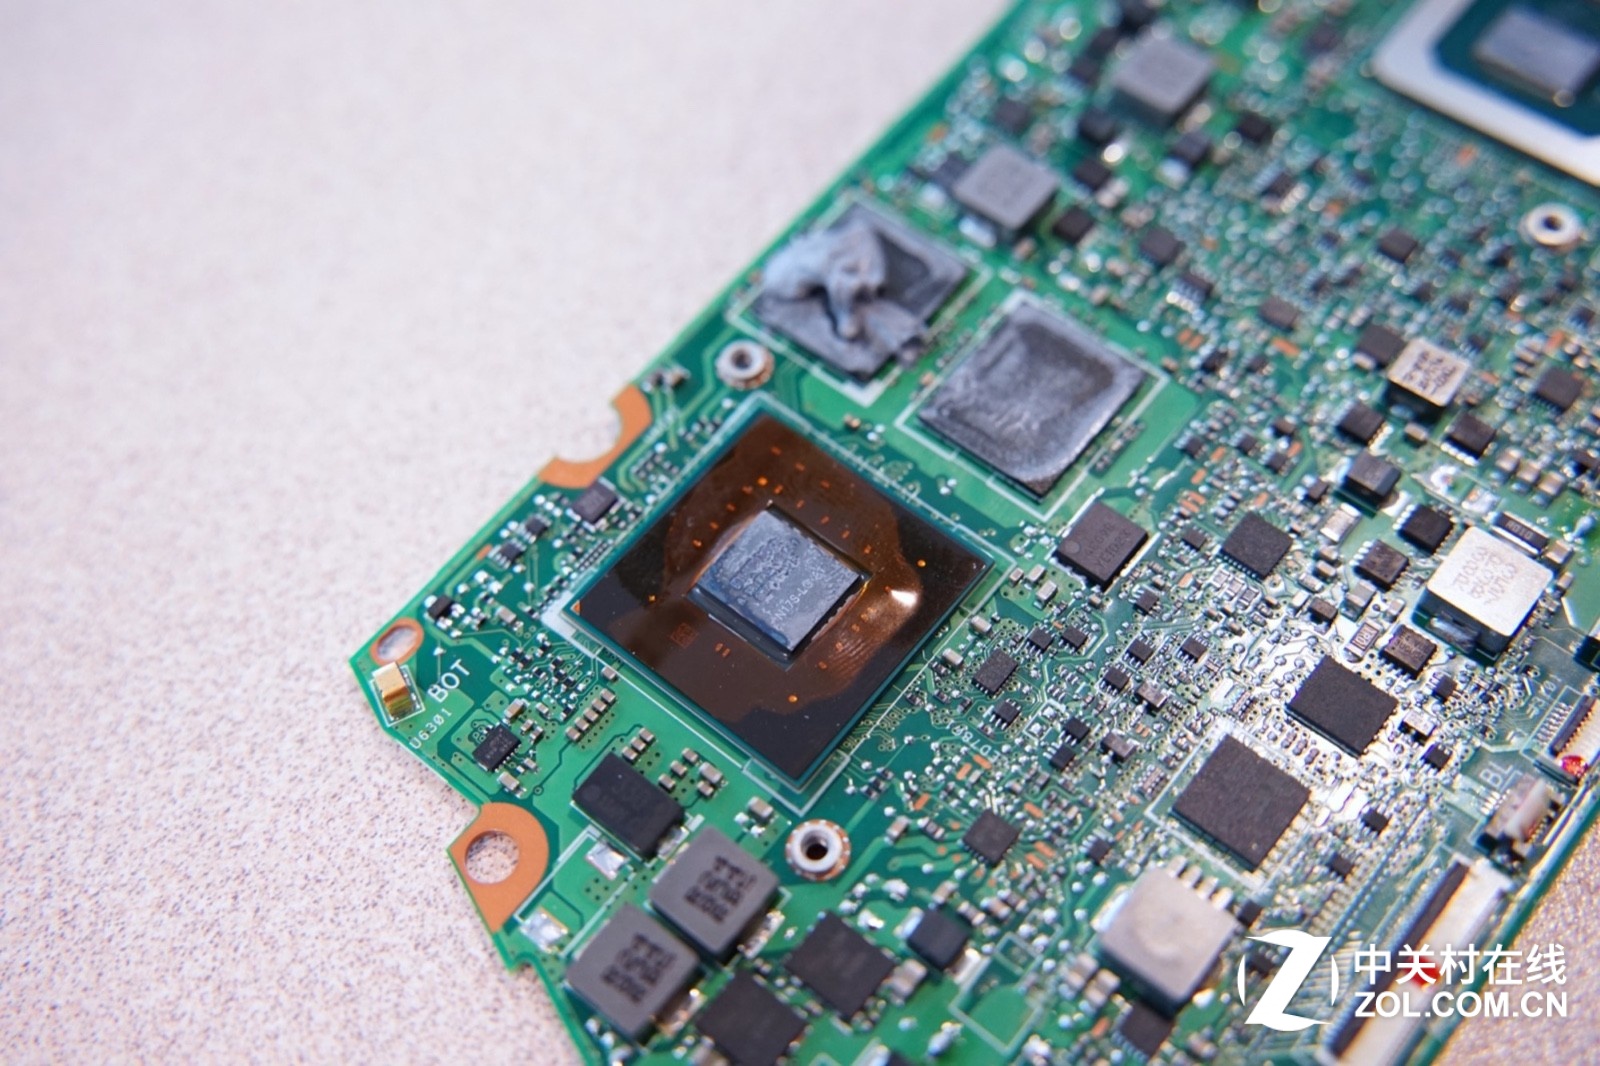
On the front of the motherboard, the various components are still very neatly arranged. They mainly have Intel processors, MX150 graphics cards and 8GB of memory.
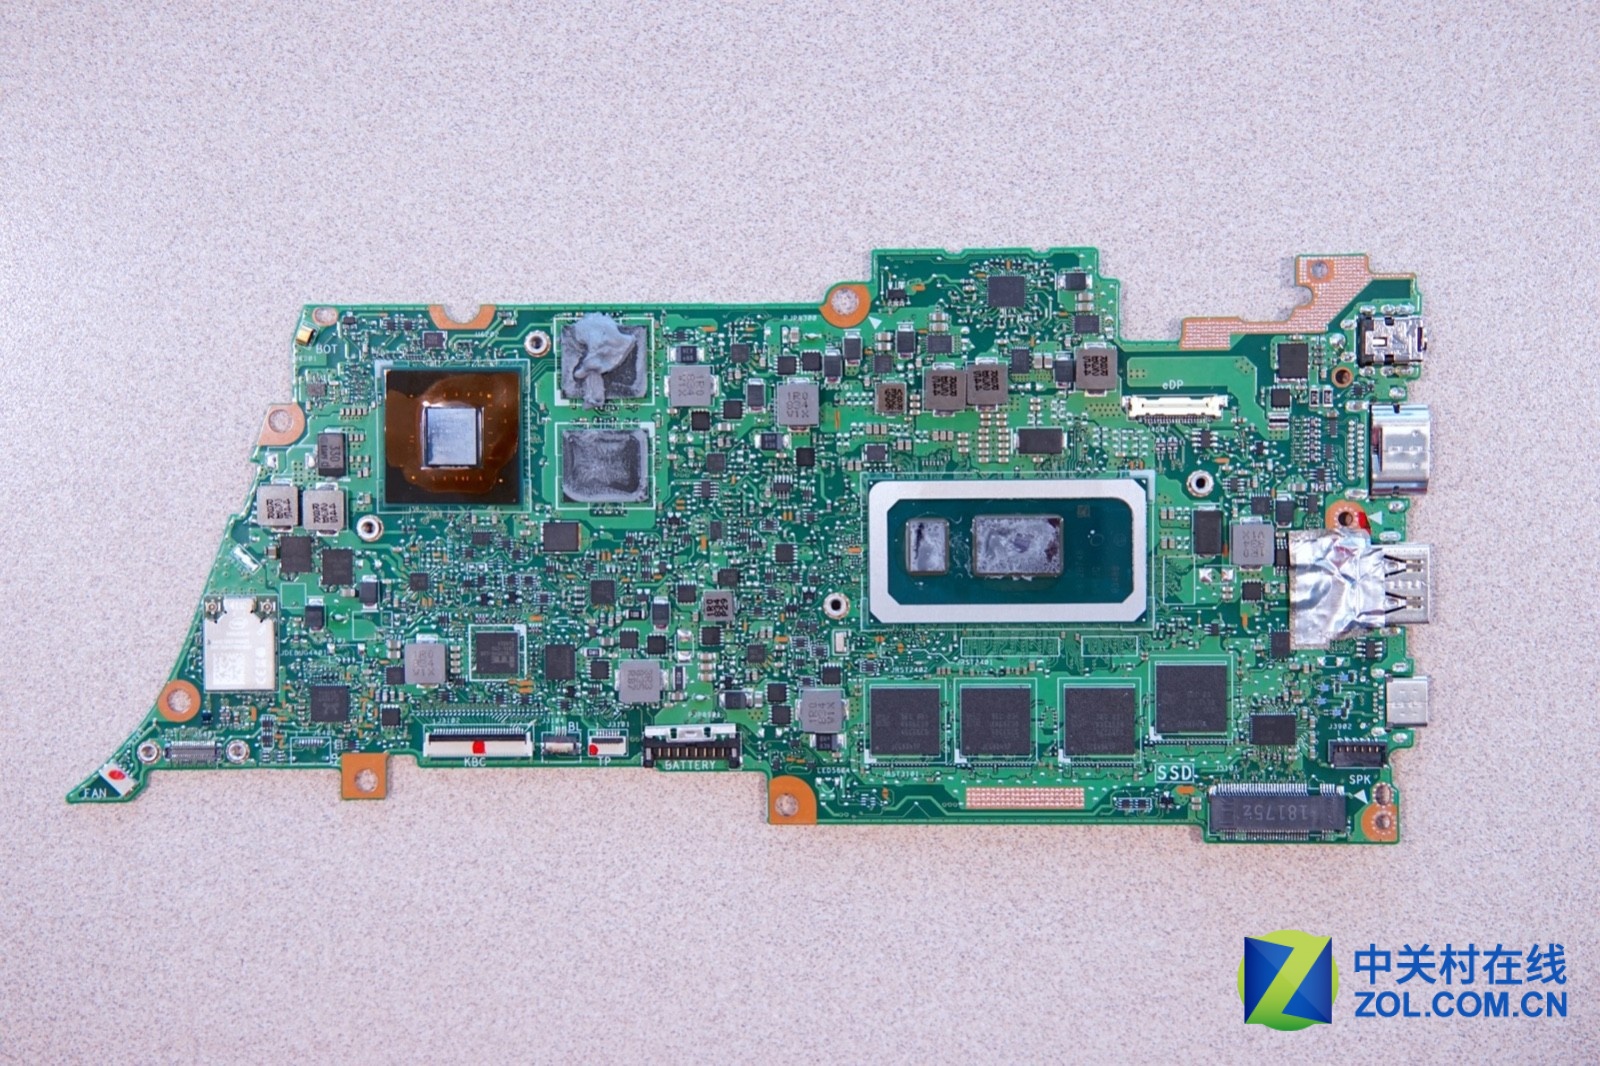
This is 8GB of memory soldered on the motherboard, this laptop does not have a free memory slot, so it is impossible to upgrade the memory.
This is the Intel Core i5-8265U processor.
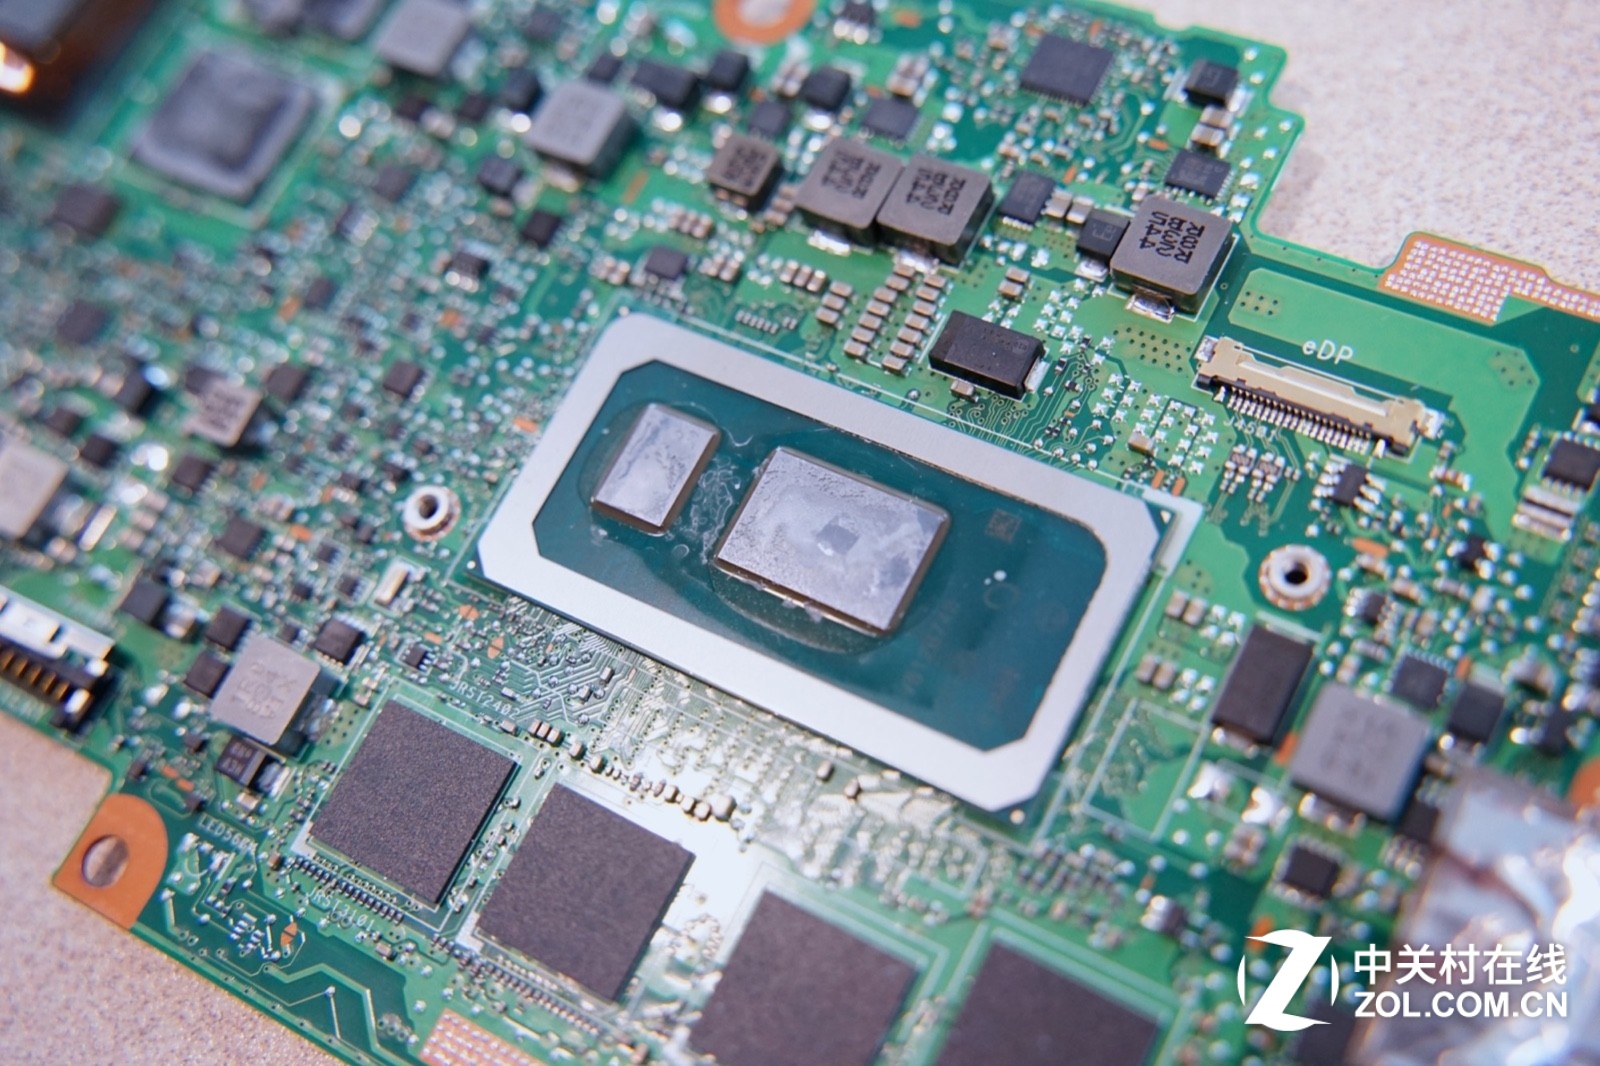
NVIDIA Geforce MX150 discrete graphics with two video memory chips next to it.
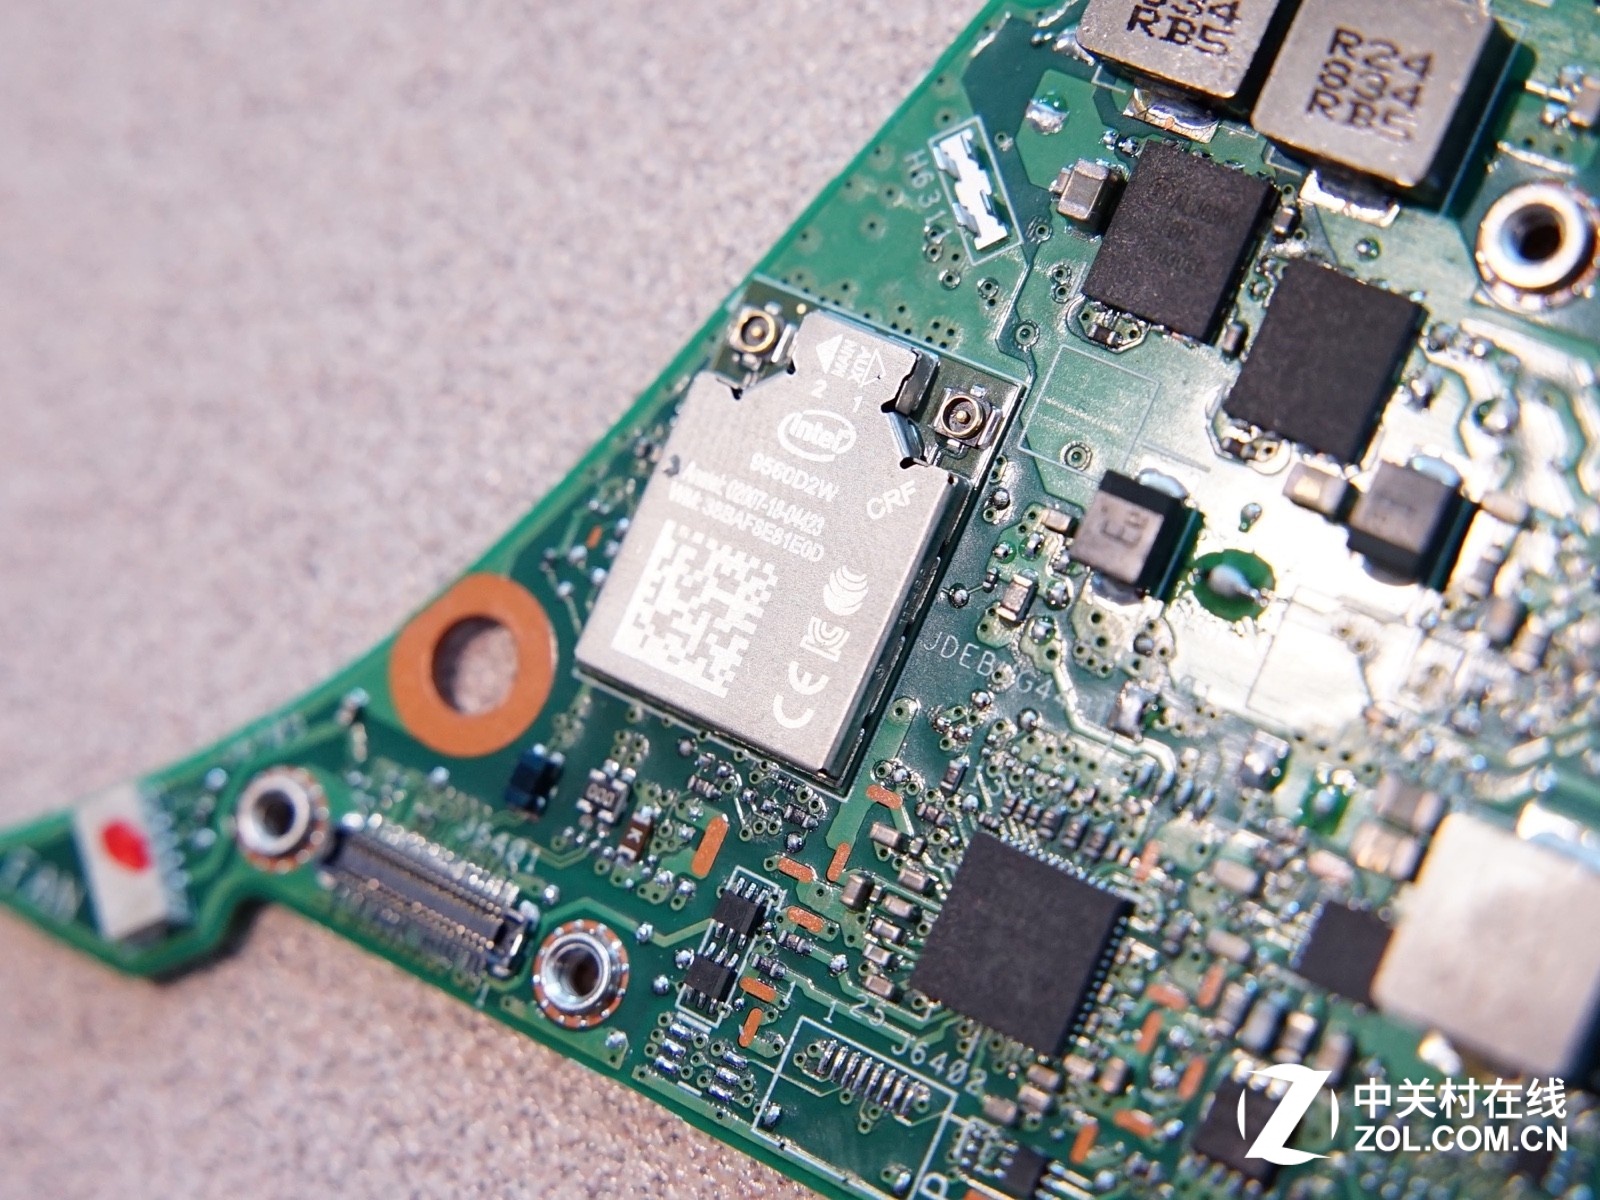
This is Intel 9560 Wi-Fi adapter with Bluetooth 5.0. It is soldered directly to the motherboard, so it cannot be replaced.
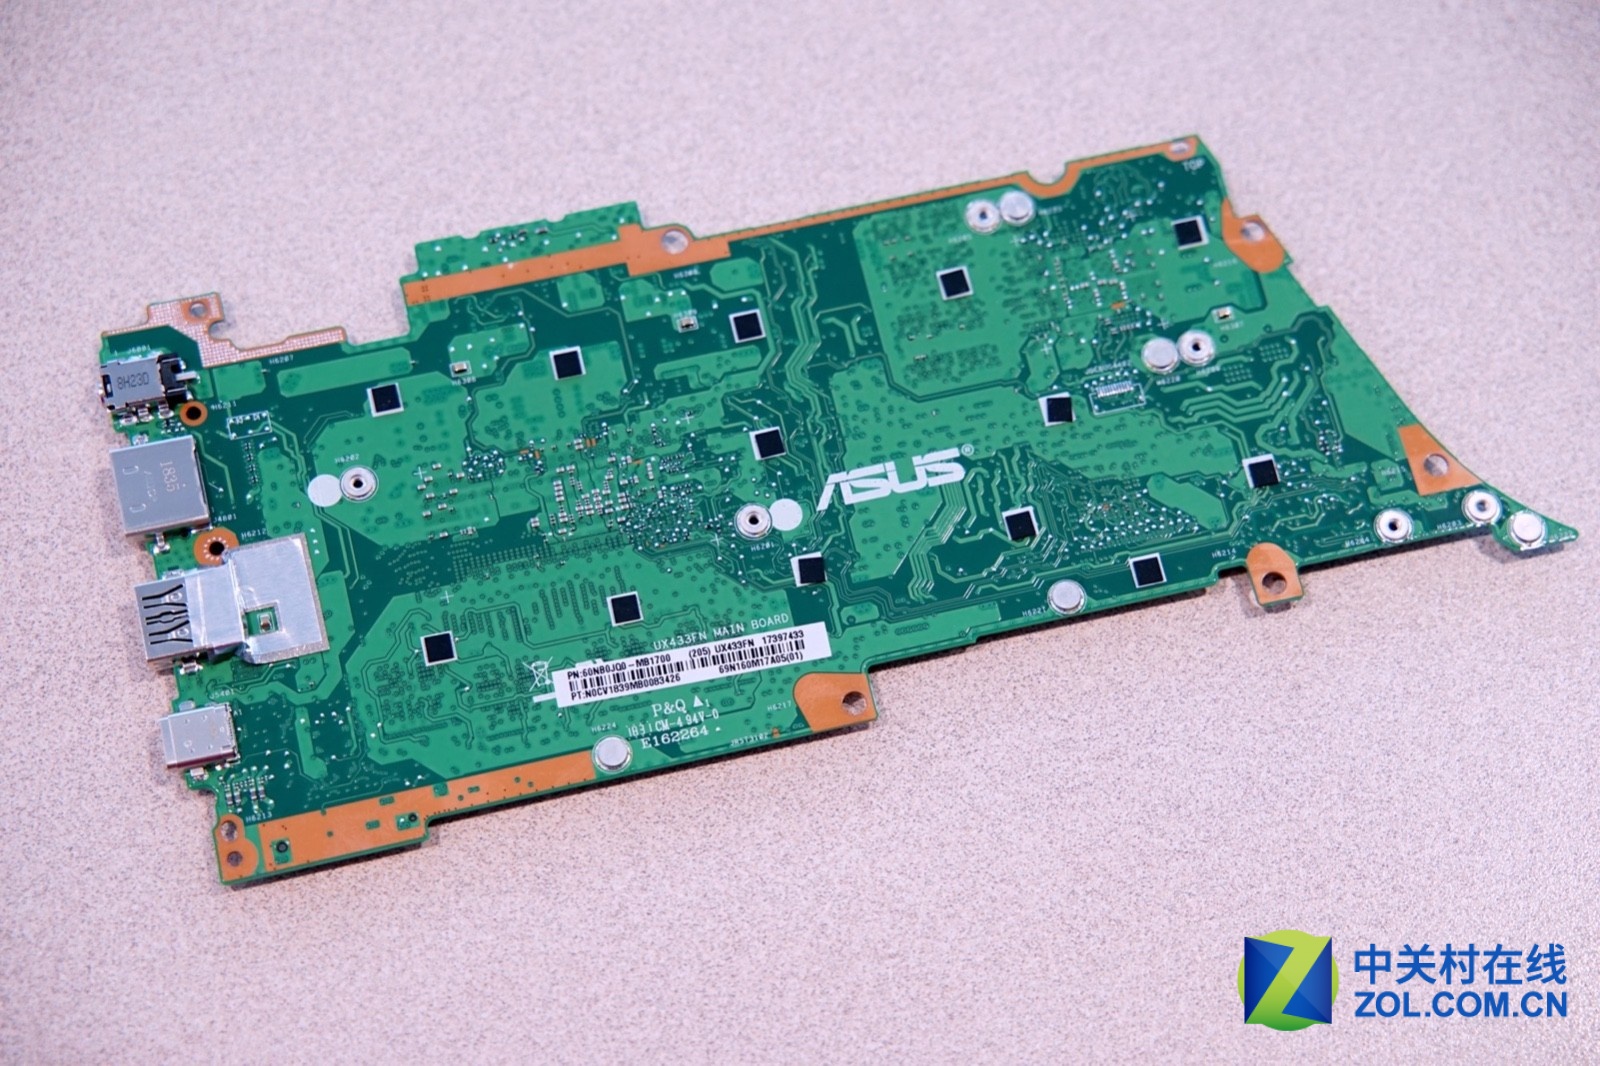
There is no important chip on the back of the motherboard, and there is no insulation sticker, but there are a lot of black insulation blocks on the back of the motherboard.
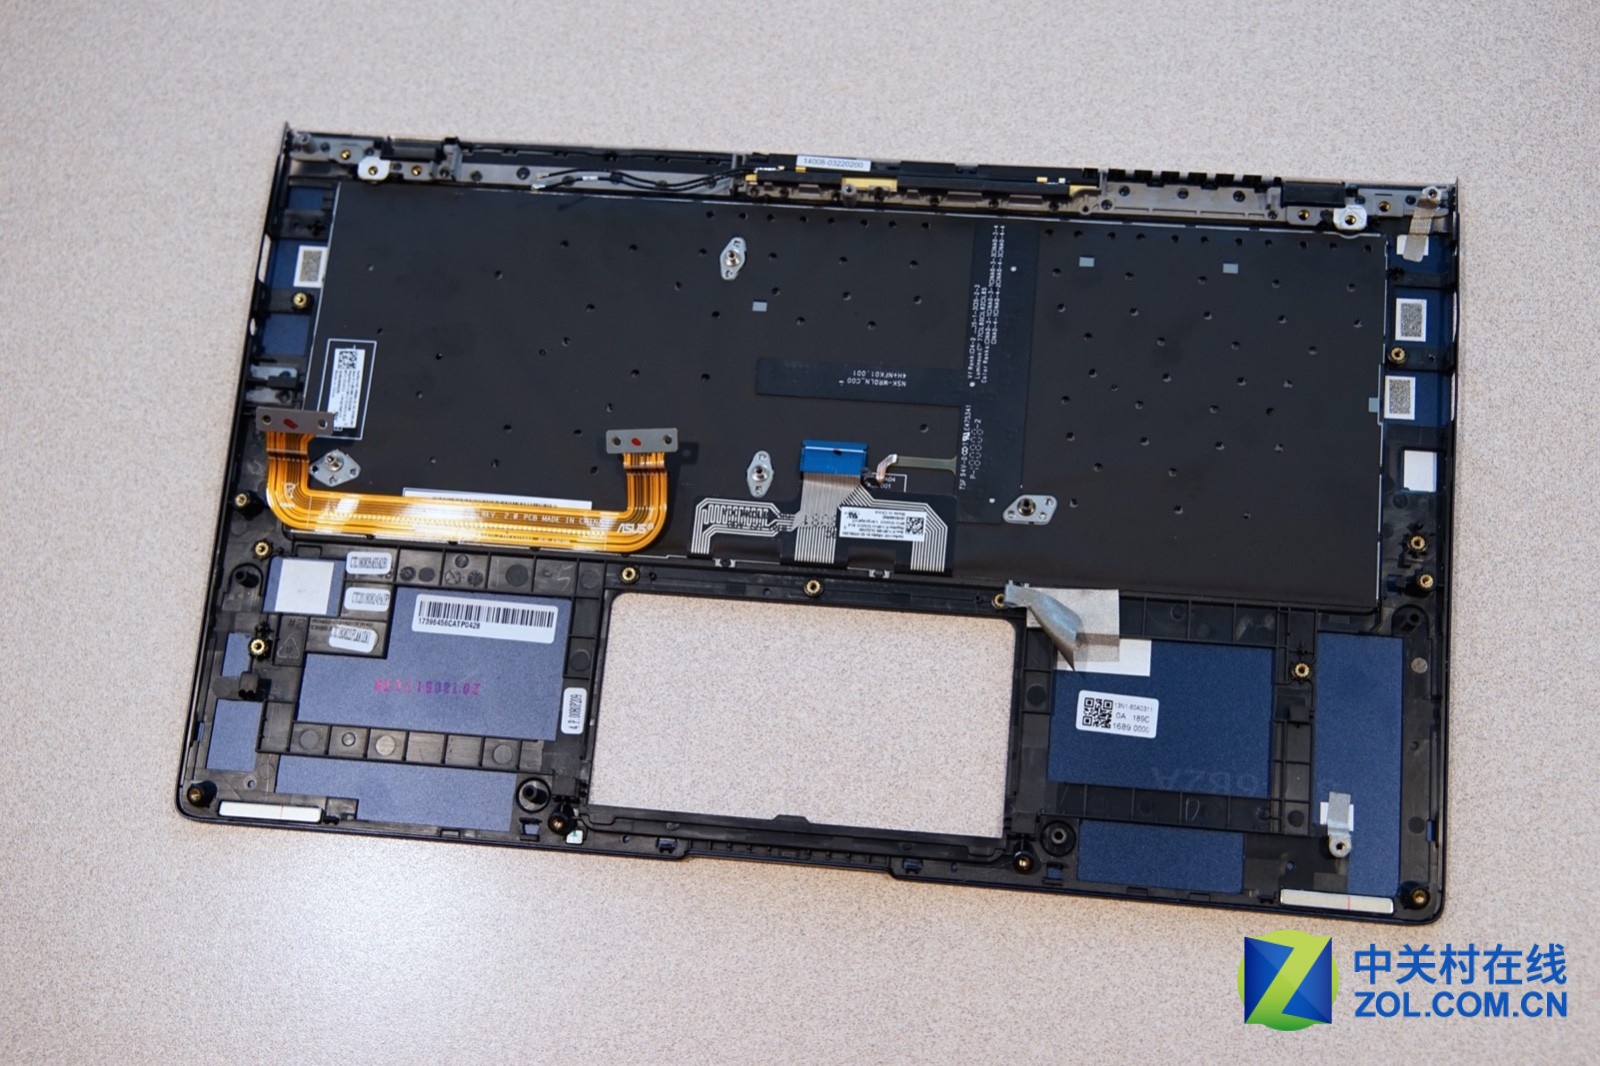
After the motherboard is removed, you can access the keyboard. Its keyboard can be separated from the palm rest, but it may be more difficult.

There is also a foot pad below the screen component. The purpose here is to not touch the body when the screen is fully opened and closed and at the same time play a buffering role.
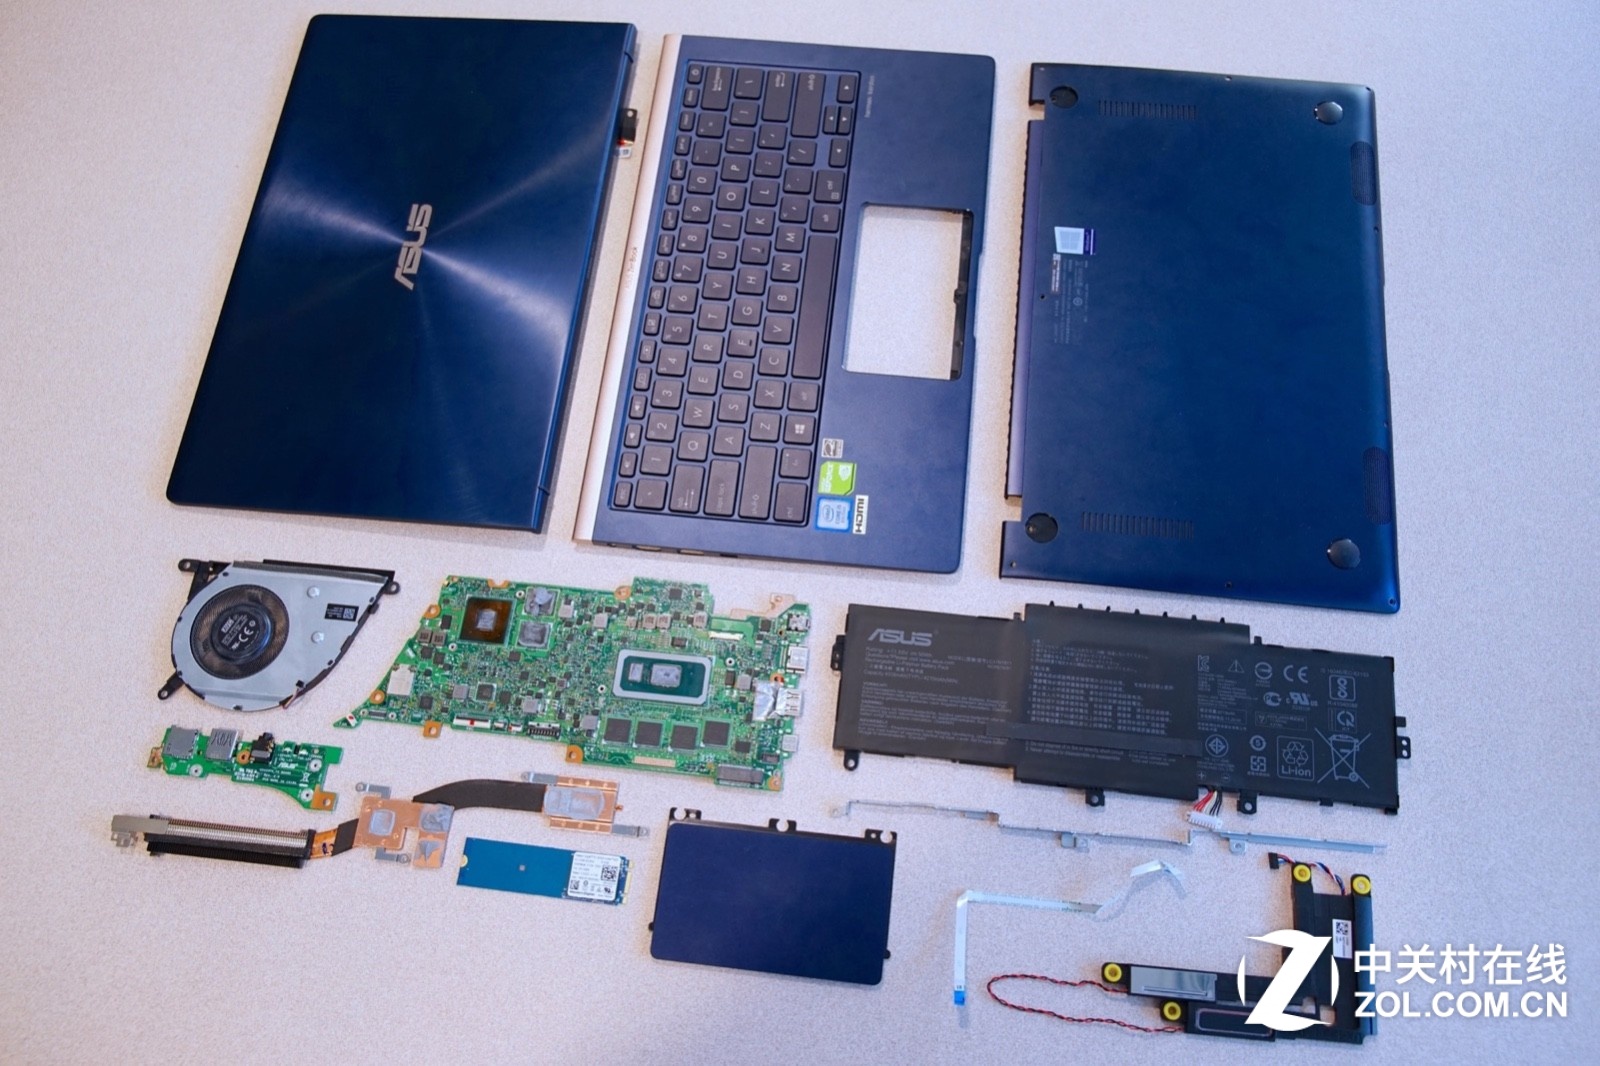
Through this complete disassembly of Asus UX433FN, it is not difficult to find that in such a small body, Asus has utilized the internal space to the extreme, and compared with the traditional size of the laptop, there is no reduction, but more exquisite, which is the best proof of the design ability of the manufacturer.
Related parts:
Original FHD IPS Screen for ASUS ZenBook 14 UX433FA UX433FN