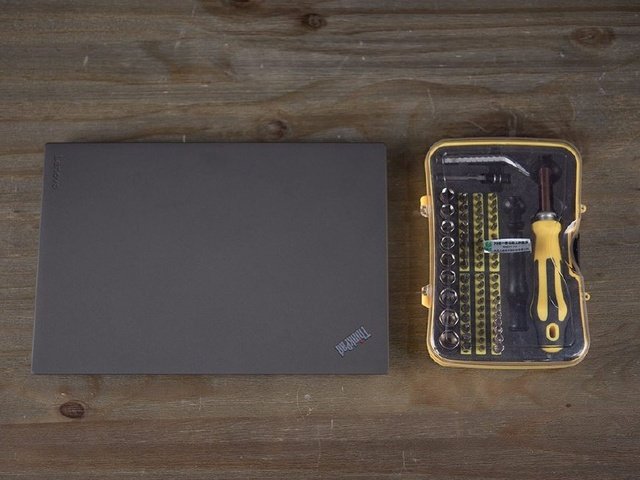
Lenovo ThinkPad X270 is released at the CES show held earlier this year, it is inherited the ThinkPad’s many iconic designs and concepts, but also to find changes in the original basis, making the notebook can provide the better experience to meet the needs of today’s business people.
Teardown is what we do! Follow us on Facebook for the latest repair news.
Unlock and remove the battery.
Remove 8 screws securing the bottom case to the laptop.
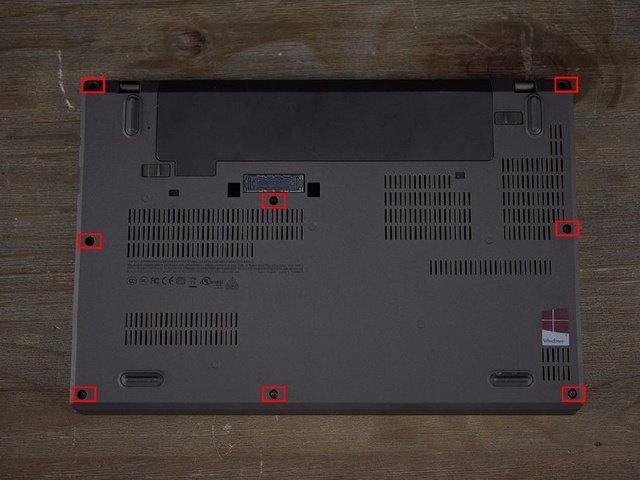
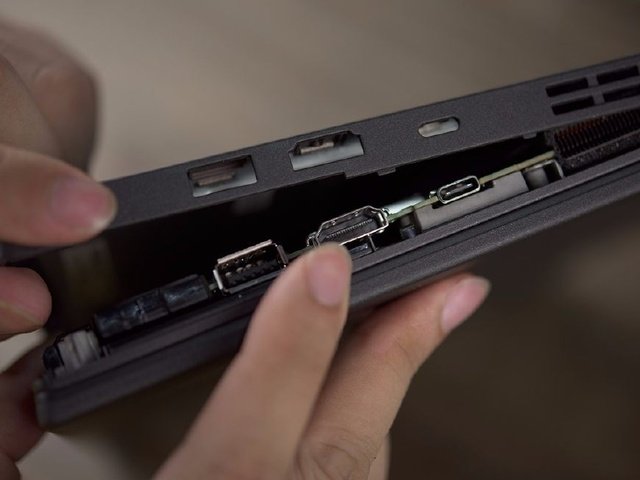
Pry up the bottom case from the corner of the notebook, and then slowly release all the snaps, you can remove the bottom case.
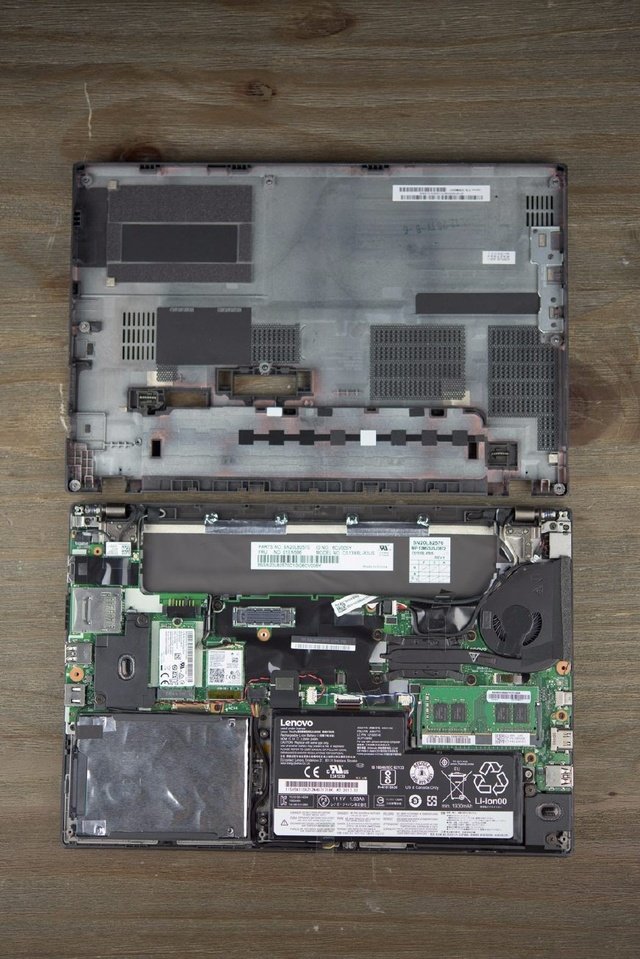
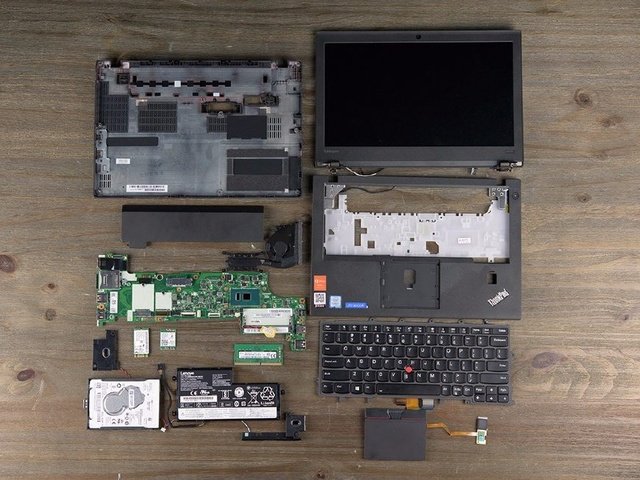
After removing the bottom case, you can get access to the internal battery, RAM, SSD, Wi-Fi card, HDD, speaker, cooling fan module and motherboard.
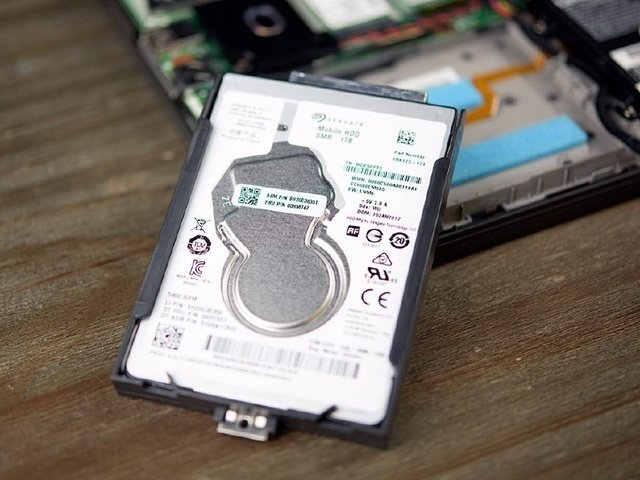
In the lower left corner is Seagate’s 1TB hard disk, while the ThinkPad X270 uses dual hard disk designs, respectively, 128G SSD and 1TB mechanical hard drive.
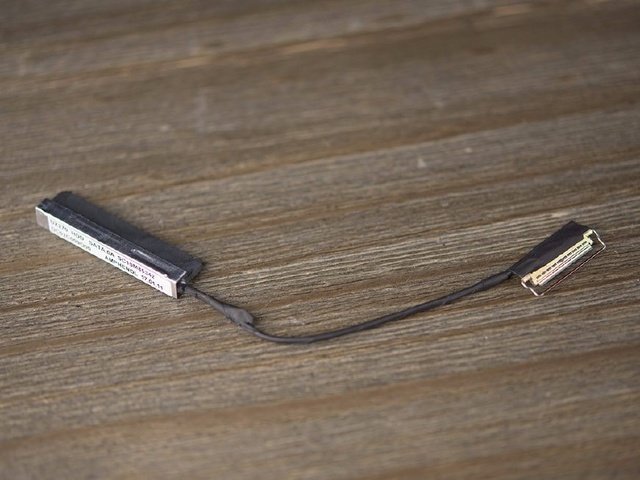
HDD’s SATA cable
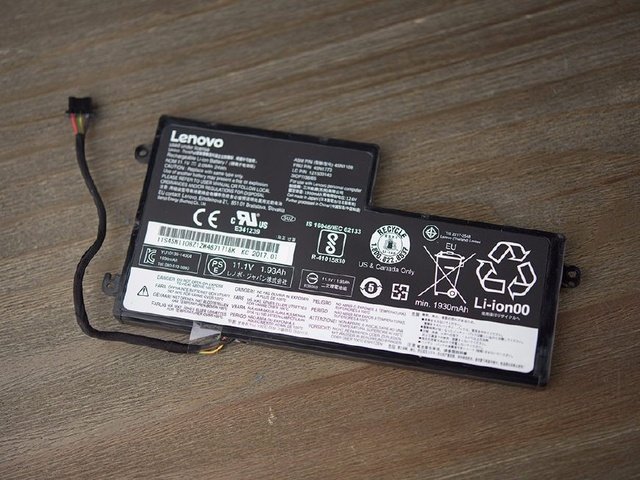
This is a built-in lithium battery, it is a 1930mAh lithium battery manufactured by Sanyo Energy, the output voltage is 11.1V, and the power is 24Wh.
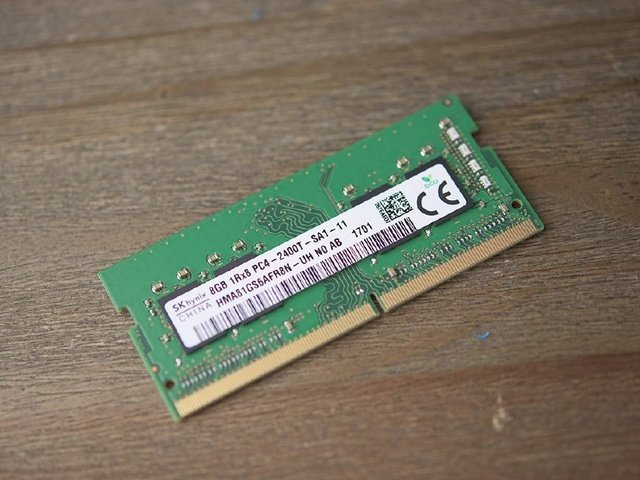
Lenovo ThinkPad X270 only has one memory slot, if you need to upgrade the memory, you only need to replace it with a larger memory.
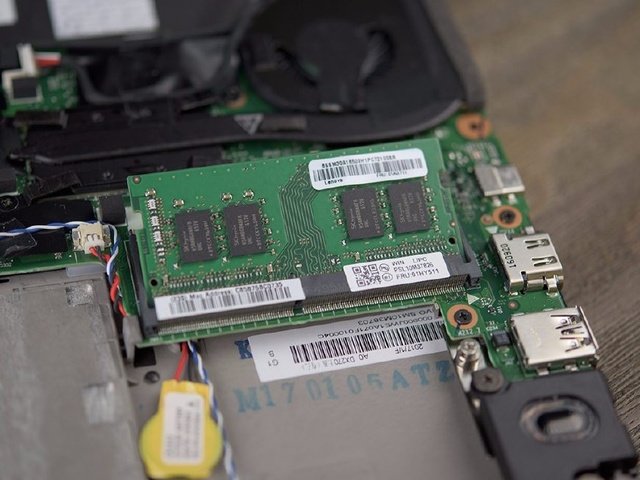
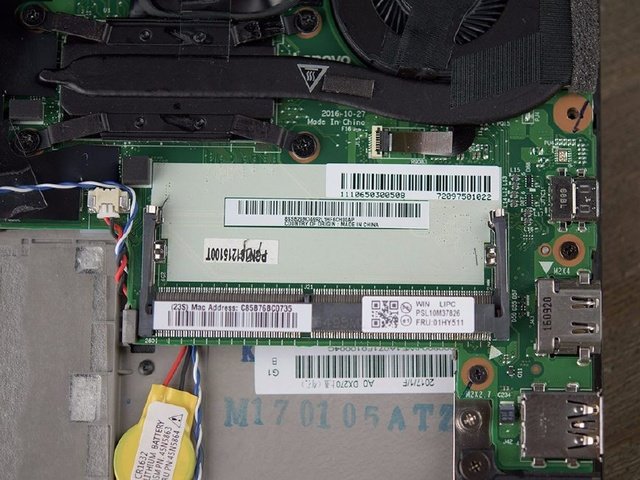
SK Hynix 8GB DDR4-2400MHz RAM
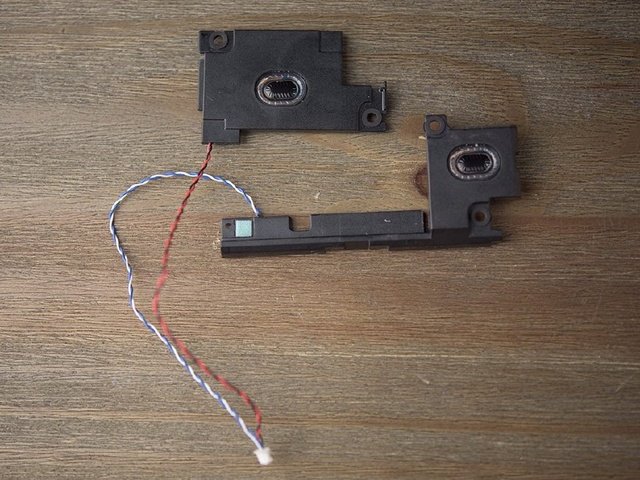
On the left side of the laptop motherboard, the SSD and the wireless network card are installed, and we see that the speakers are next to the SSD slot.
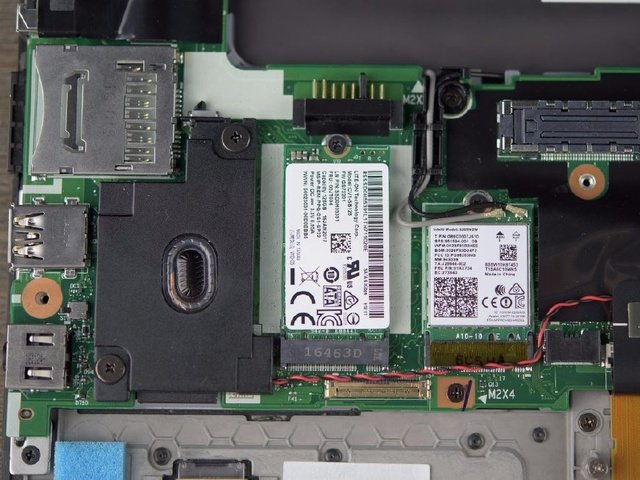
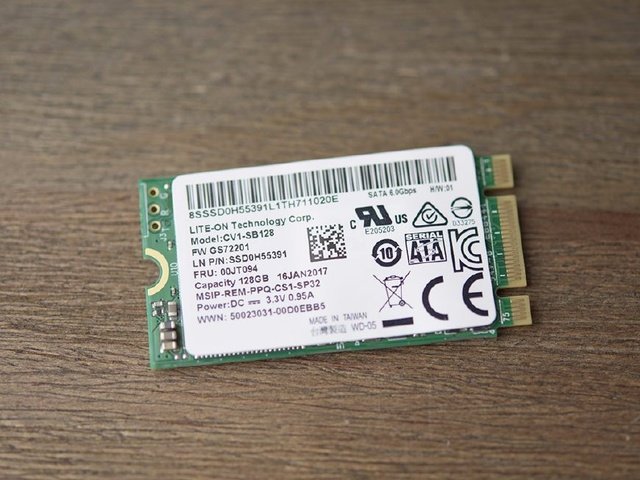
LITE-ON CV1-SB128 128GB SATA3 M.2 SSD, Lenovo P/N: 00JT094.
Intel Wireless-AC 8265NGW NGFF Dual Band 802.11AC 867Mbps MU-MIMO Wi-Fi Card with BT 4.2

Disconnect the speaker cable from the motherboard.
It is worth noting that the speaker cable is located below the motherboard, so it is necessary to disassemble the fixed screws of the main board first when disconnecting the cable.
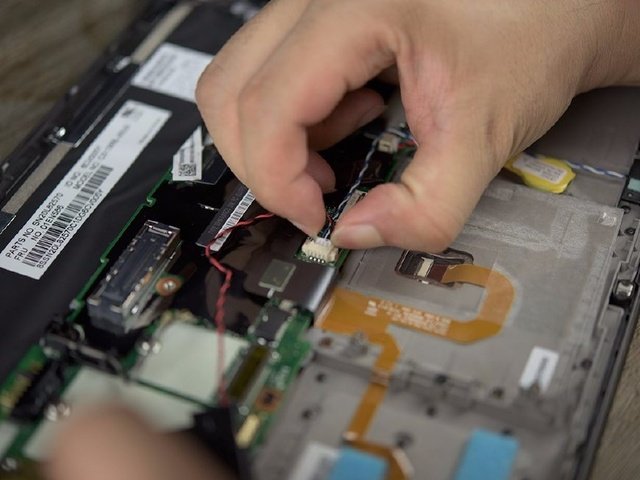
Its speaker uses an oval-shaped diaphragm sounding unit, the sound source reflection of the vocal mode.
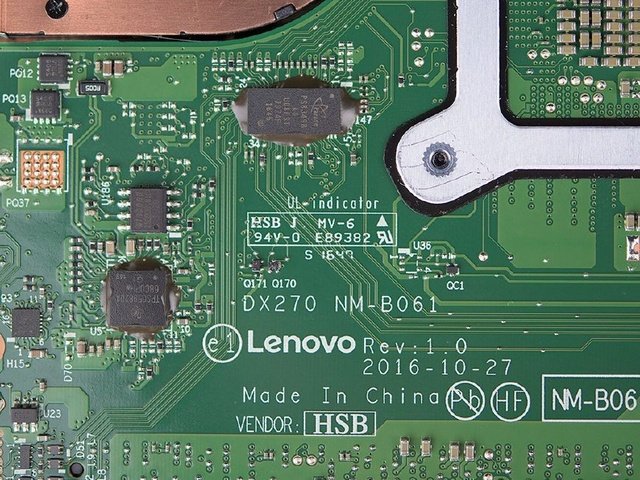
Lenovo ThinkPad X270 motherboard
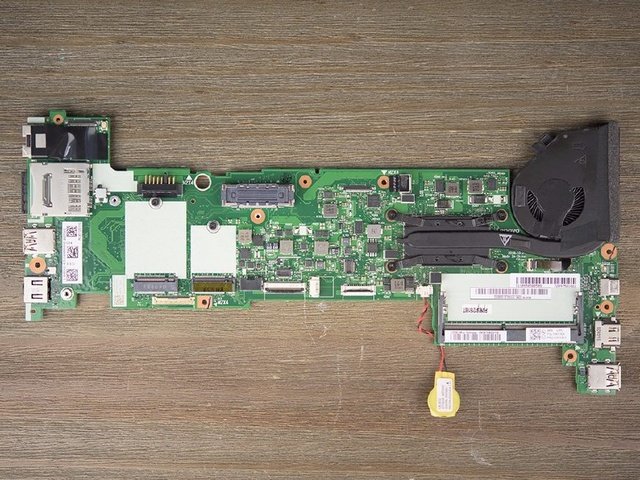
On the back of the motherboard is covered with a black protective film.
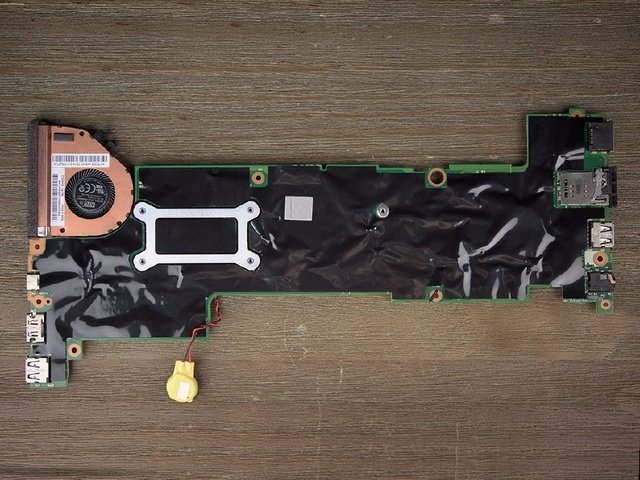
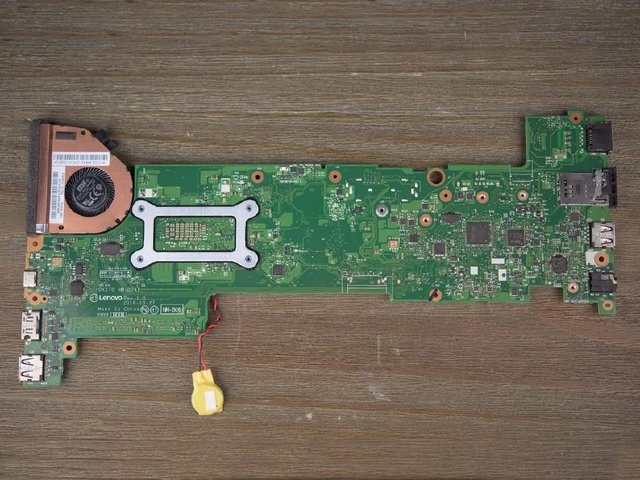
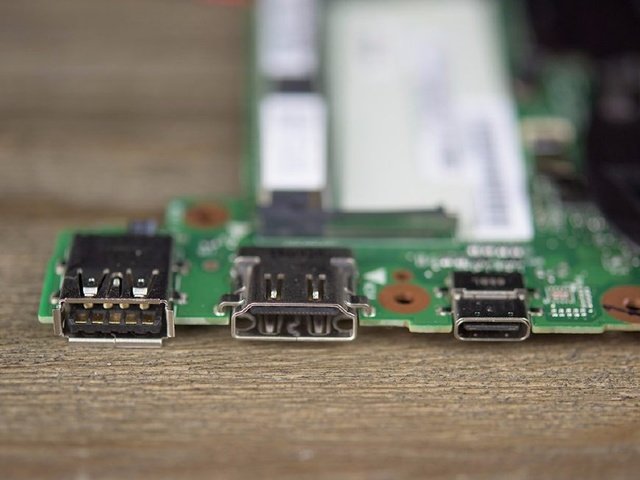
The left and right sides of the motherboard are respectively welded with many ports, including an RJ45 jack, an SD card reader, a SIM card slot, a USB 3.0 port, a headset/microphone jack, a USB Type-C (Thunderbolt 3) port, an HDMI port, a USB 3.0 port.

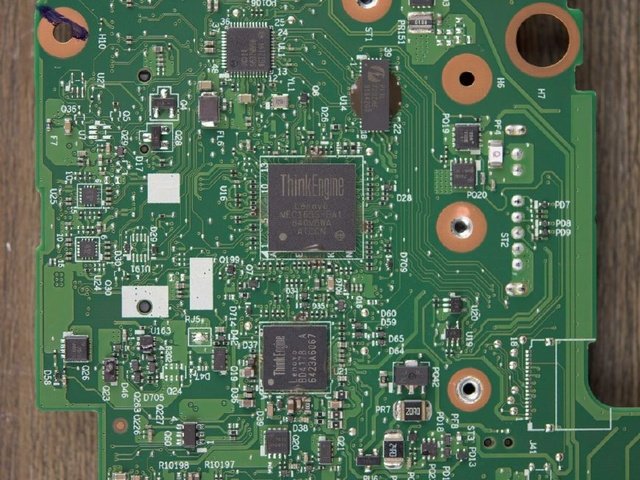
After removing the protective film on the back of the motherboard, you can see some control chips, and the most notable are two ThinkEngine chips, The main purpose of the chip is to convert the power supply of the entire laptop.
Intel’s Core i7-7500 processor directly soldered to the motherboard, and the surface of the chip with a protective film around, after tearing the protective film can see the chip model code.
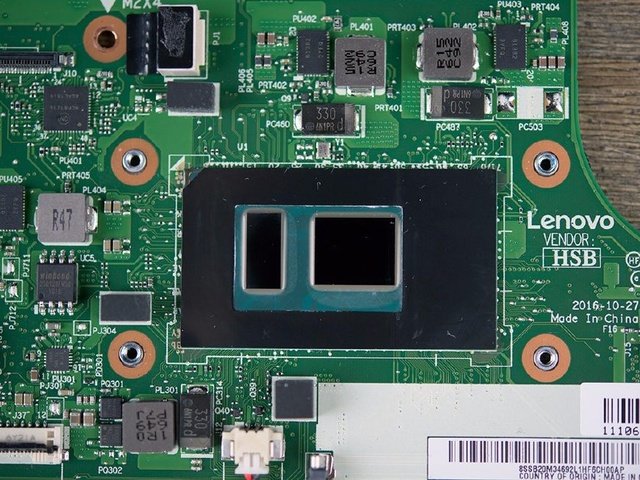
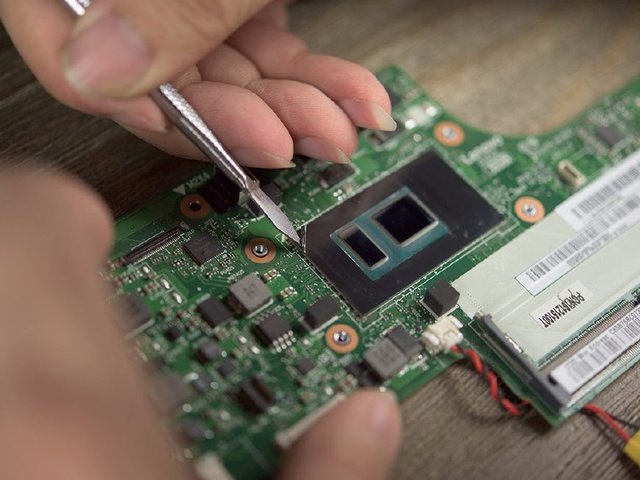
Intel Core i7-7500 processor

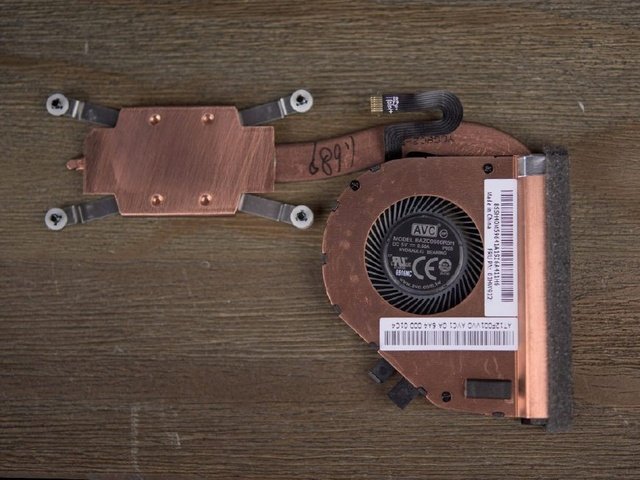
It uses a dual-heat pipe single turbo fan design, copper pipe to ensure the cooling efficiency, and with AVC’s 5V, 0.5A turbo fan.
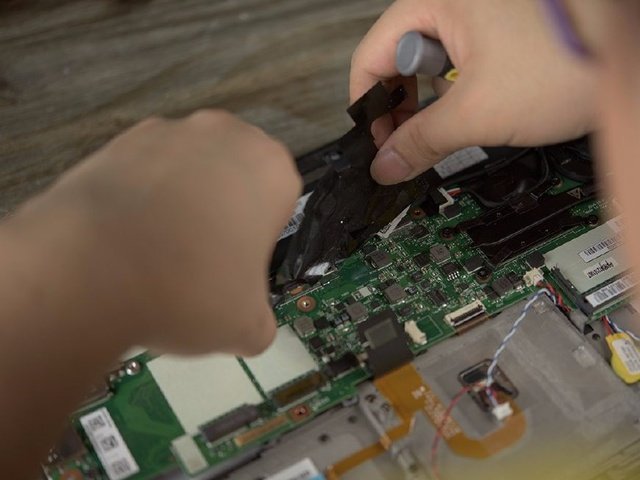
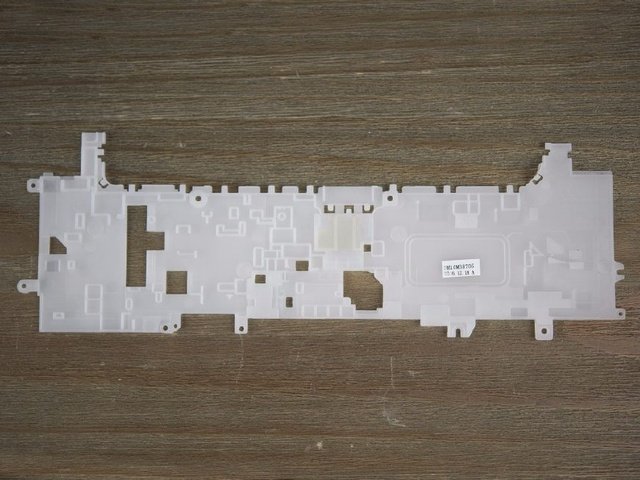
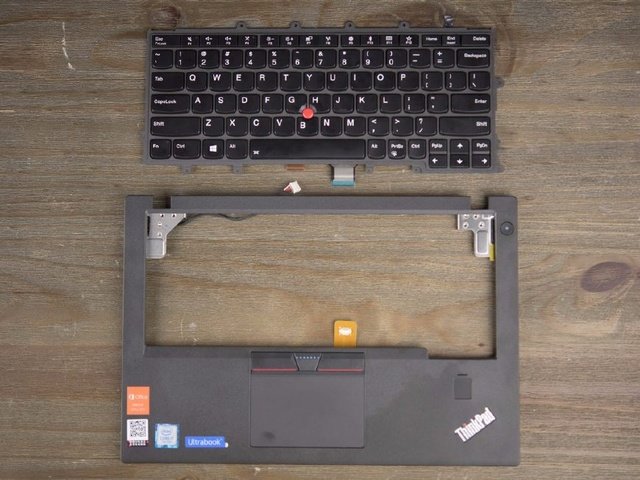
After removing the motherboards, battery, and mechanical hard drives, all that remains is the screen, keyboard, touchpad, and fingerprint reader. The white plastic plate behind the laptop keyboard is the spacer used to fix the motherboard.
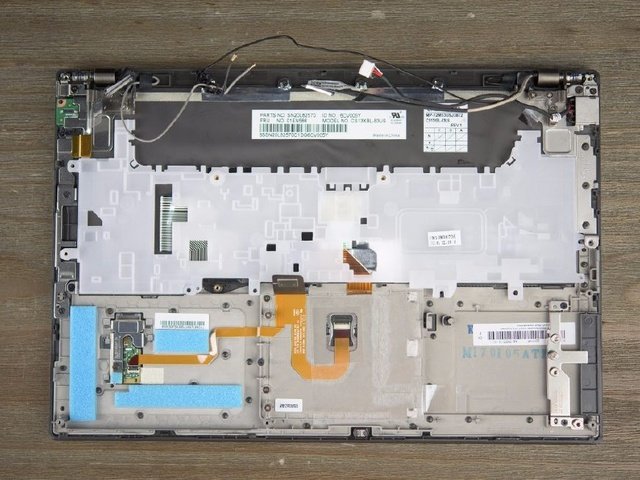
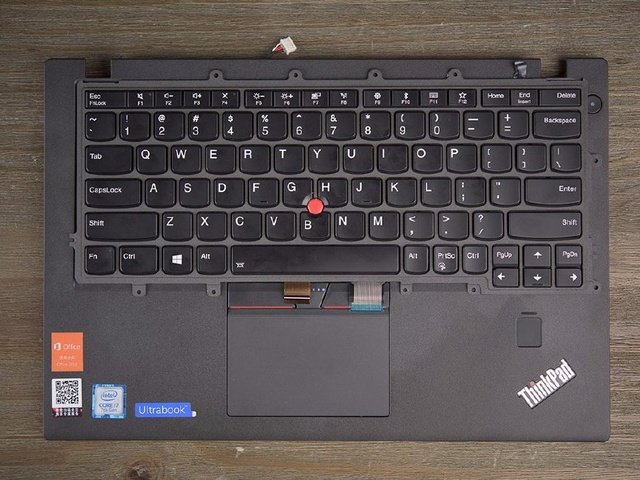
ThinkPad X270 palm rest and keyboard
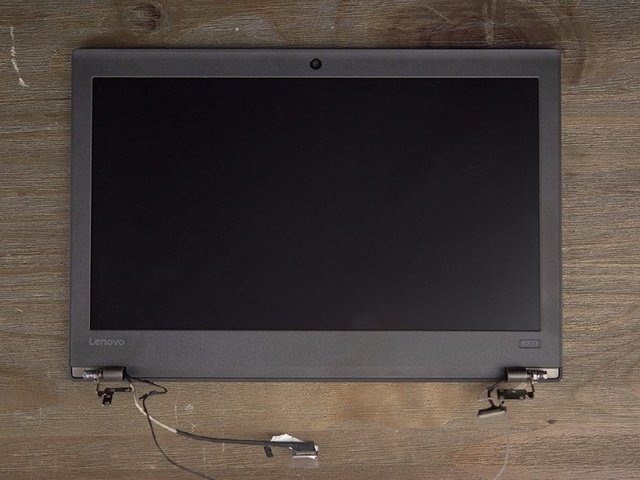
After removing the screw securing the LCD hinges, it is easy to separate the screen and the palm rest.
ThinkPad X270 display assembly
ThinkPad X270 keyboard, the keyboard you can find at our laptop parts store.
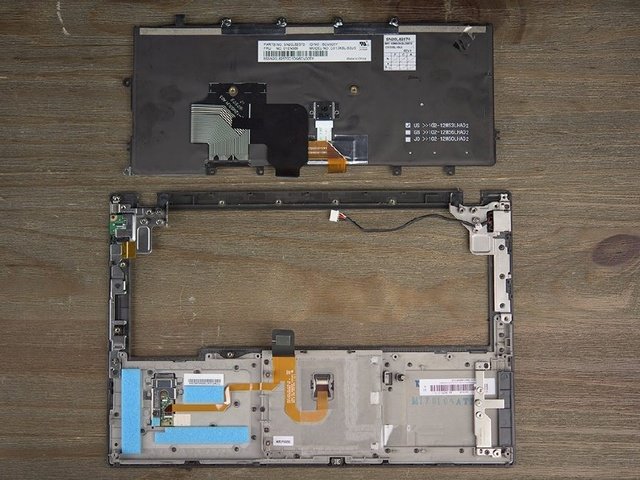
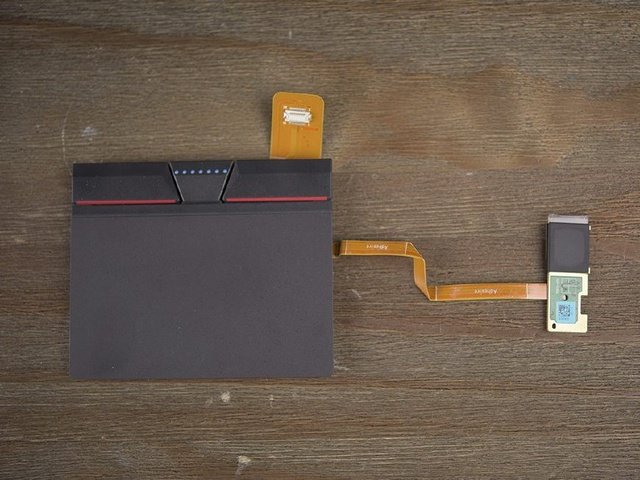
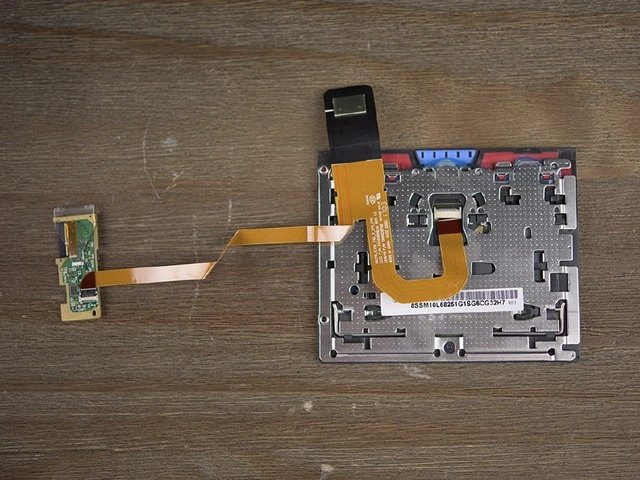
Remove the screws securing the touchpad and fingerprint module, then remove the touchpad and fingerprint module.

Related Parts:
Cooling Fan for Lenovo ThinkPad X270 – 01HW912 01HW913 01HW914
Genuine Keyboard for Lenovo ThinkPad X270 – 01EN548 01EN586 01EP024 01EP062
Genuine Keyboard for Lenovo ThinkPad X270 – 01EN548 01EN586 01EP024 01EP062
FHD Touch Screen for Lenovo ThinkPad X280 X270 – 01HY494 01HY495