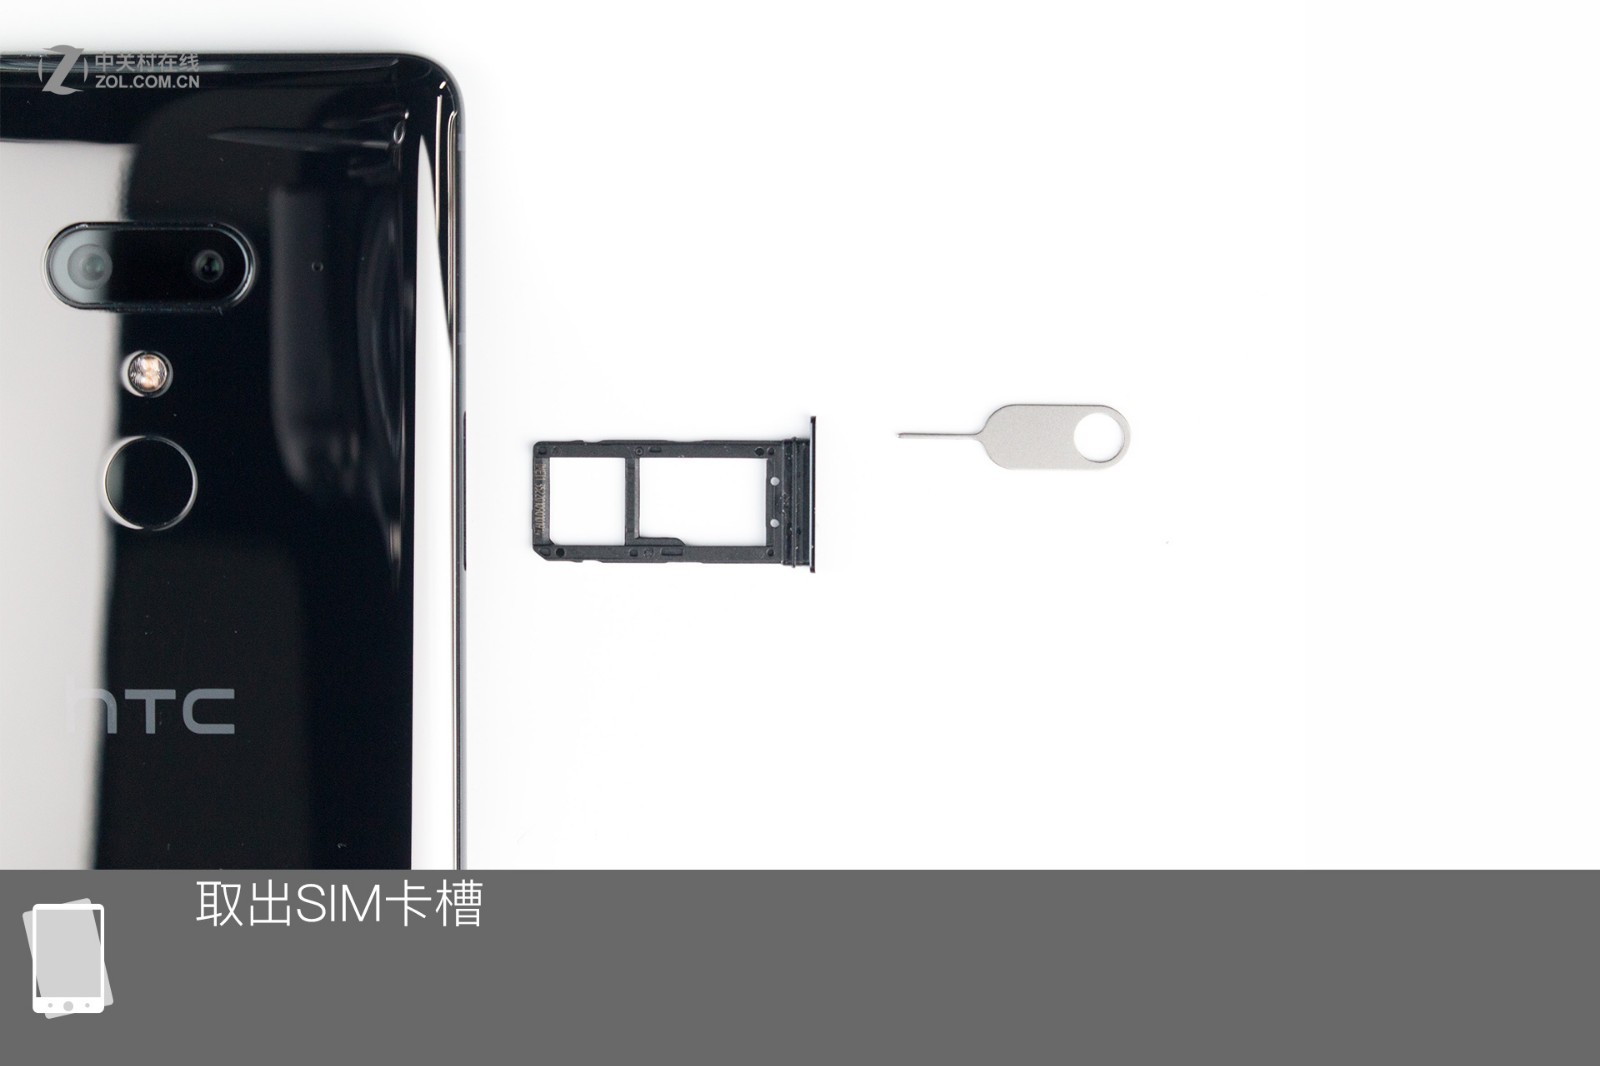
Two months ago, HTC officially launched the HTC U12+. This smartphone features a 6-inch 2K Super LCD and is powered by a Qualcomm Snapdragon 845 SoC. Today, we will take apart the HTC U12+ to explore its internal structure.
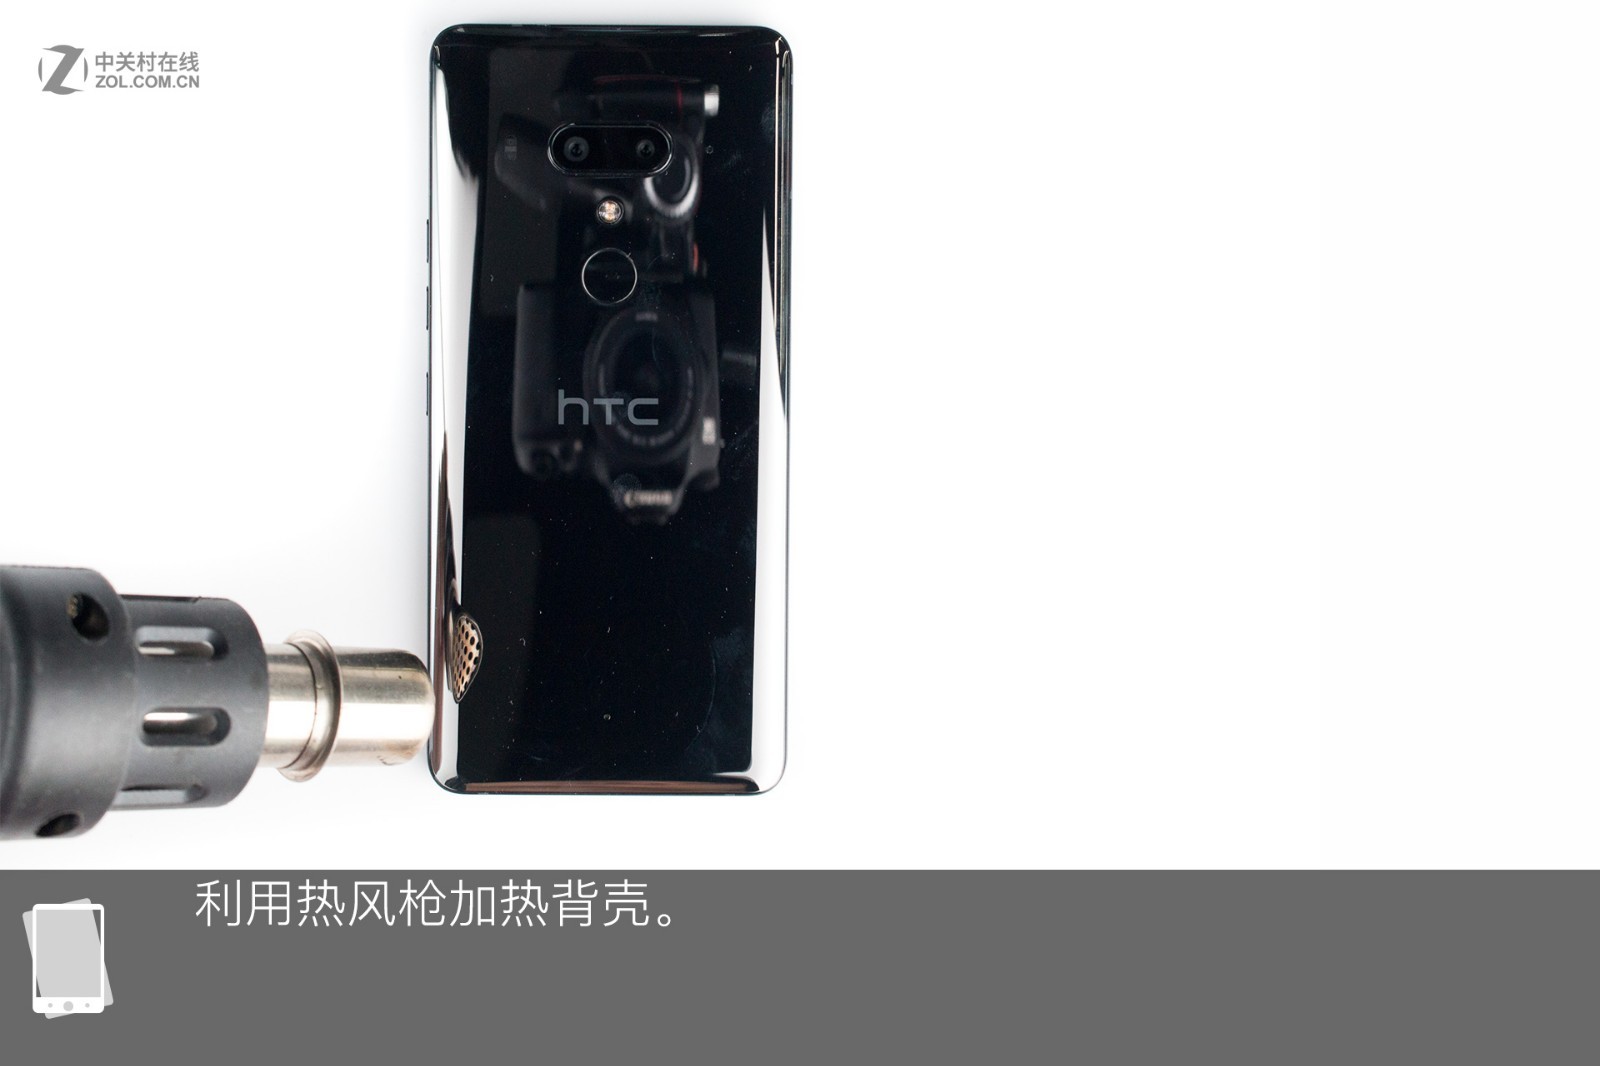
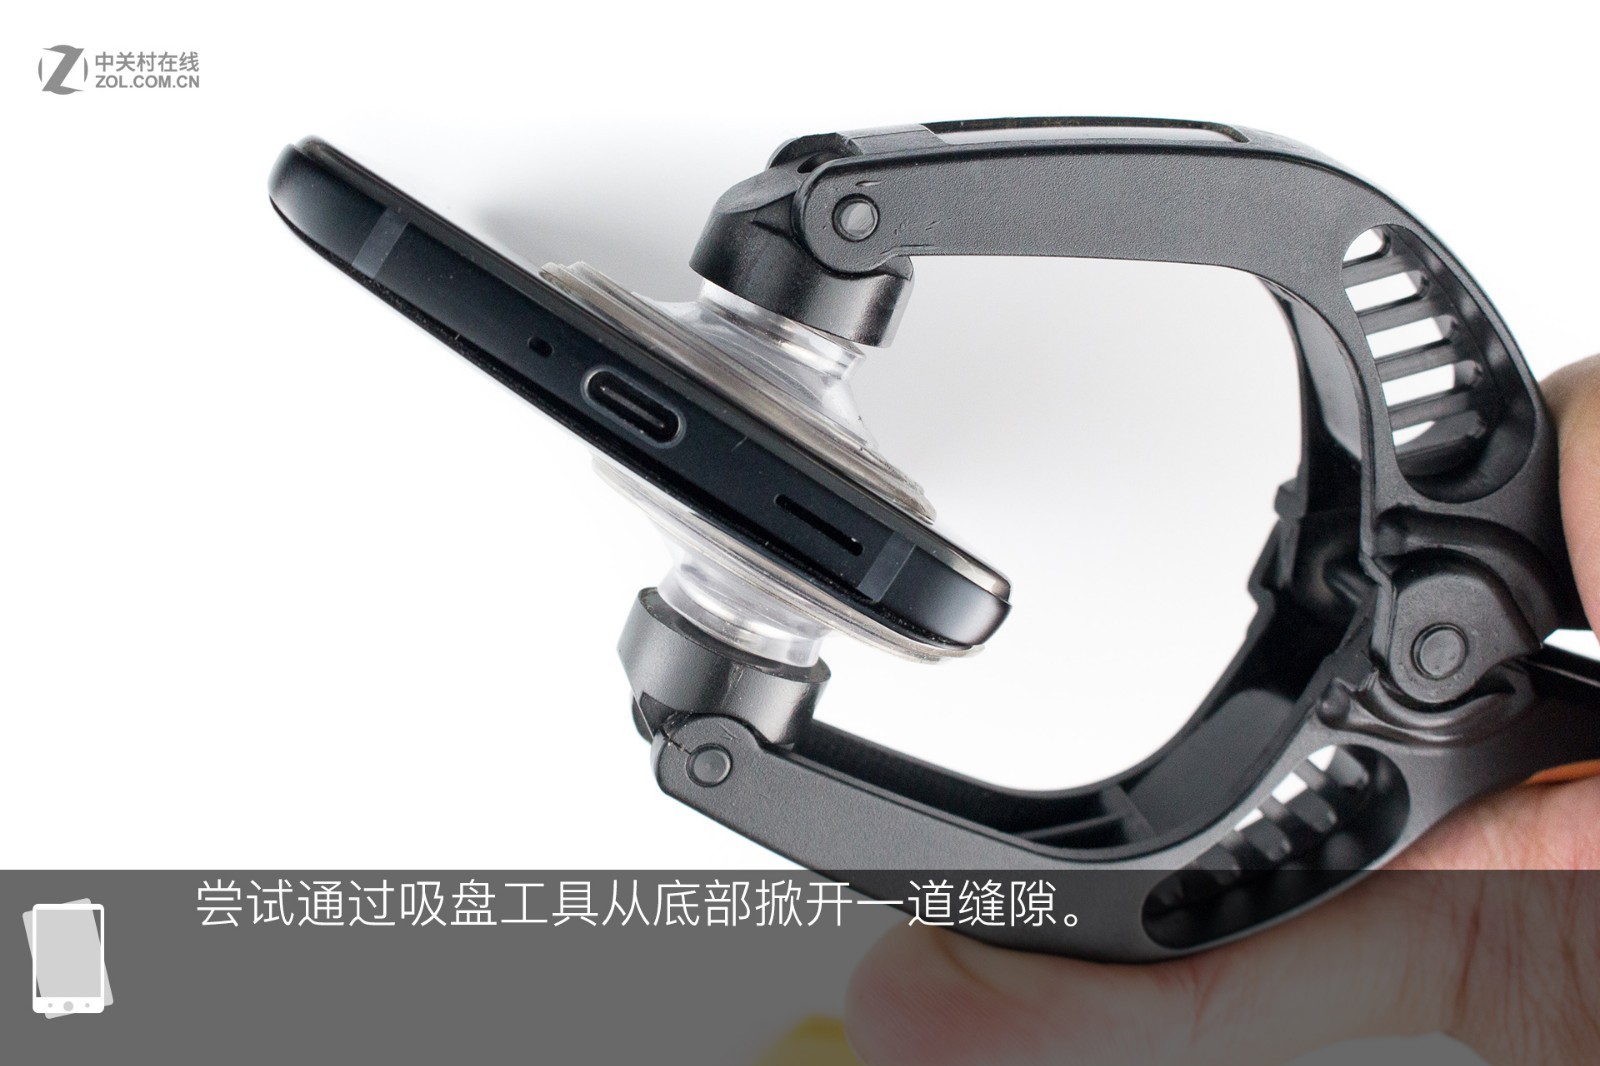
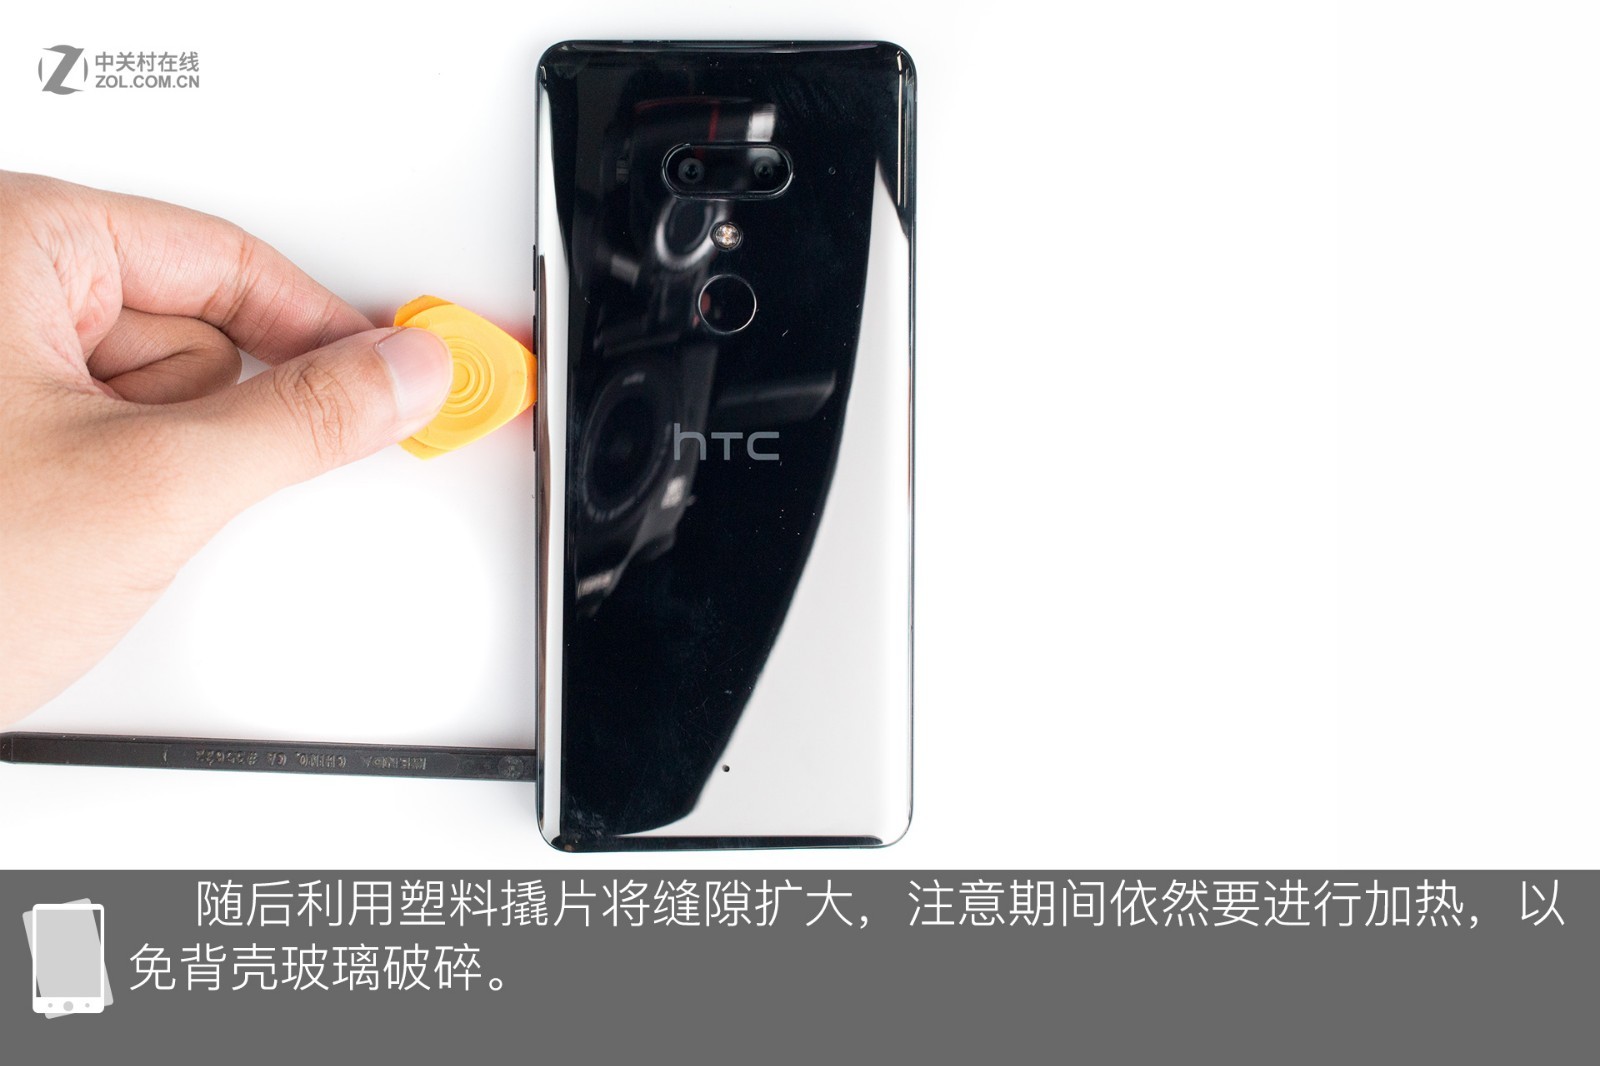
First, remove the SIM card tray. Next, heat the back cover with a heat gun. Then, try to separate the back cover from the phone body using a suction cup. After that, insert a pick into the opened gap. During this process, continue to heat the back cover to prevent the glass from breaking.
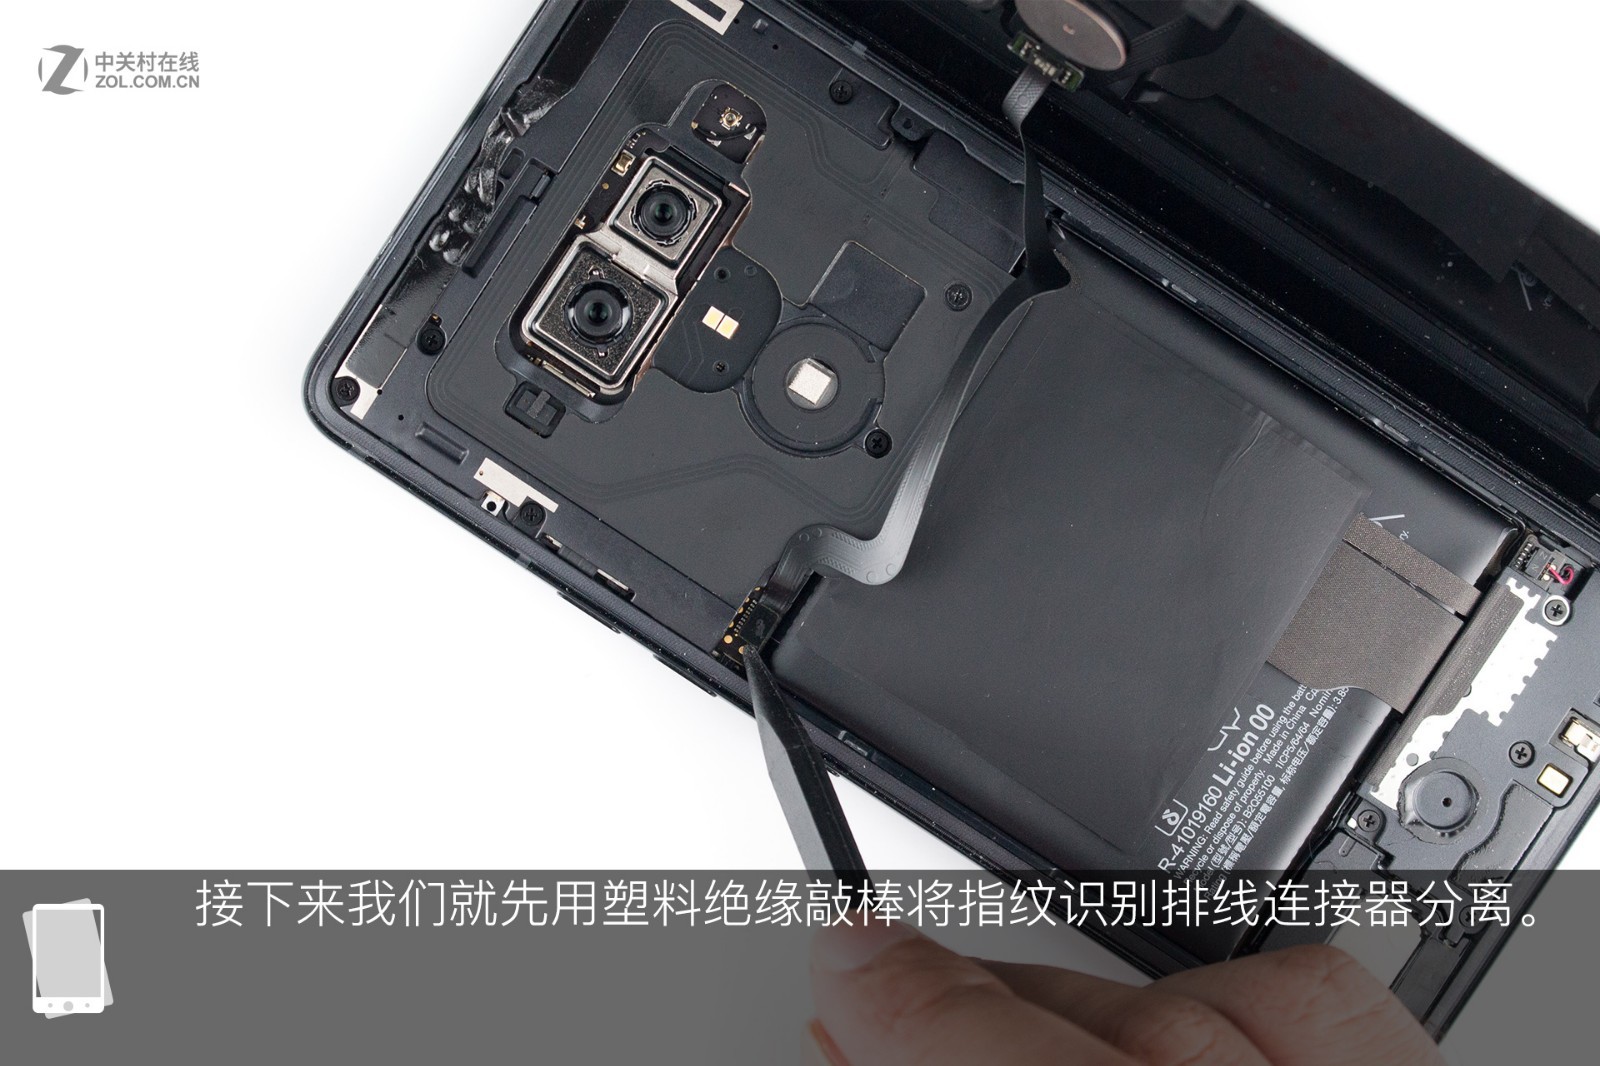
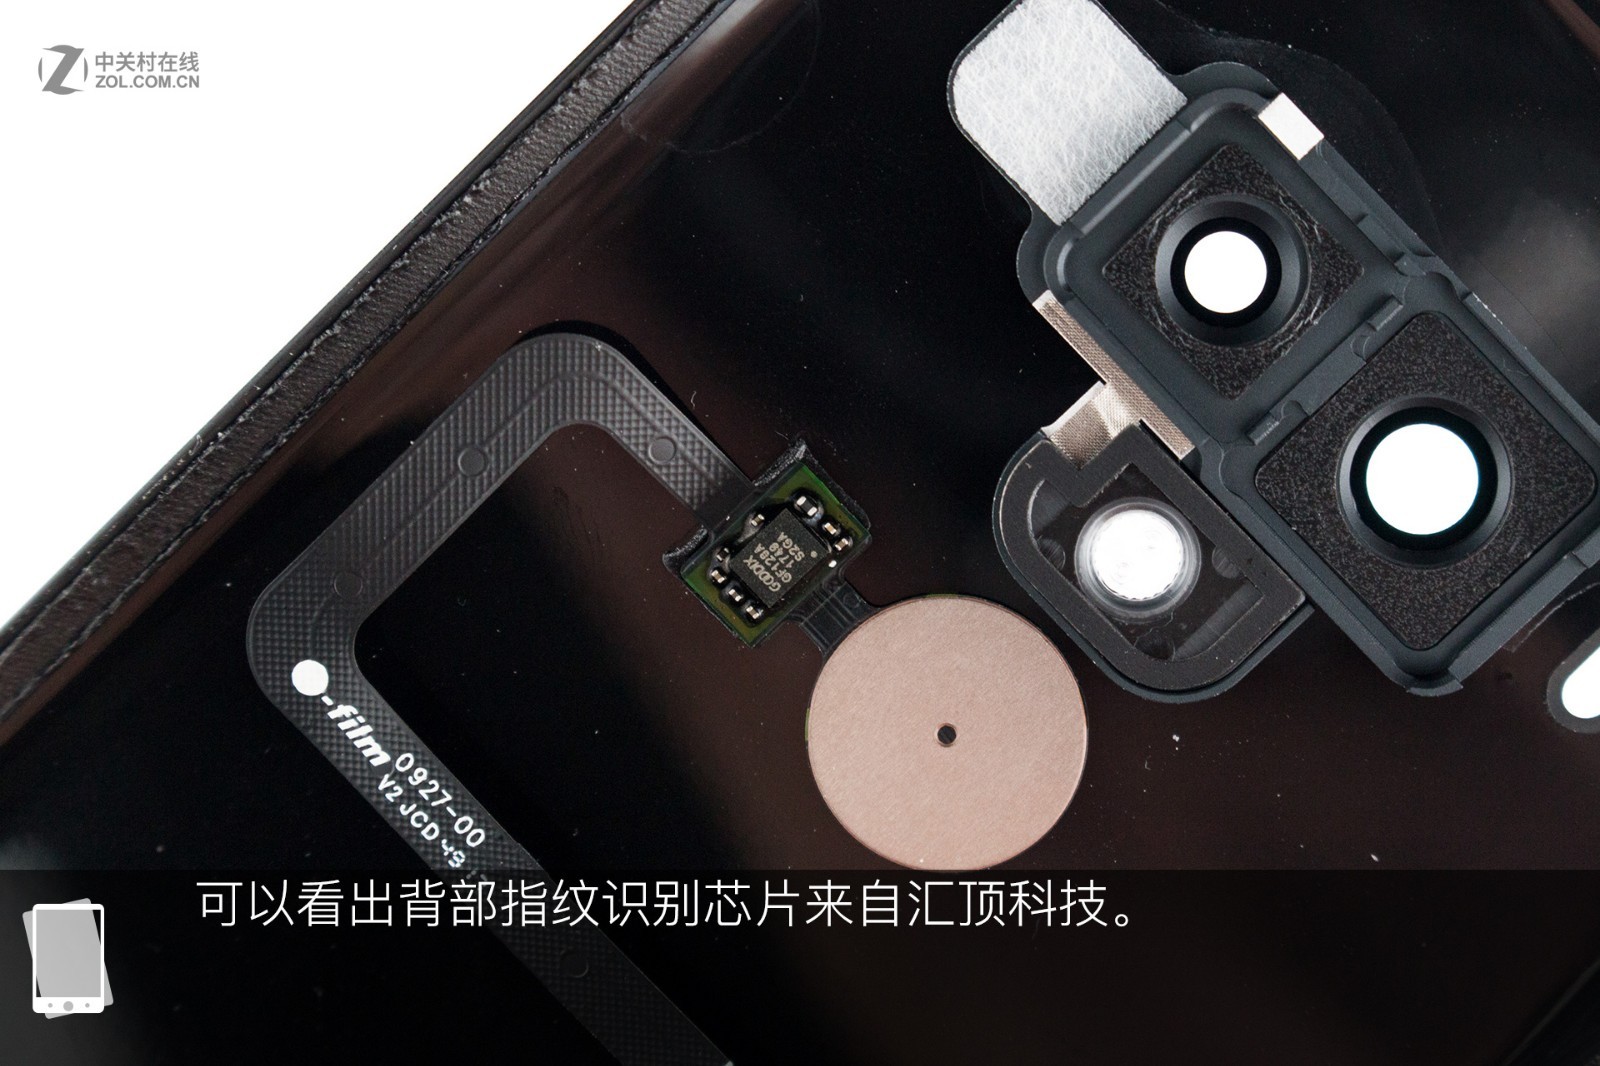
Use a plastic-insulated pry bar to disconnect the fingerprint reader cable. At this point, the back cover has been successfully removed. The fingerprint reader chip on the back cover is provided by GOODiX. Many people might be curious whether the internal design of the U12 with a transparent back cover differs from the version with a semi-transparent back cover. After removing the black cover, we found that the internal structure of its transparent back cover version is the same as that of the semi-transparent back cover version.
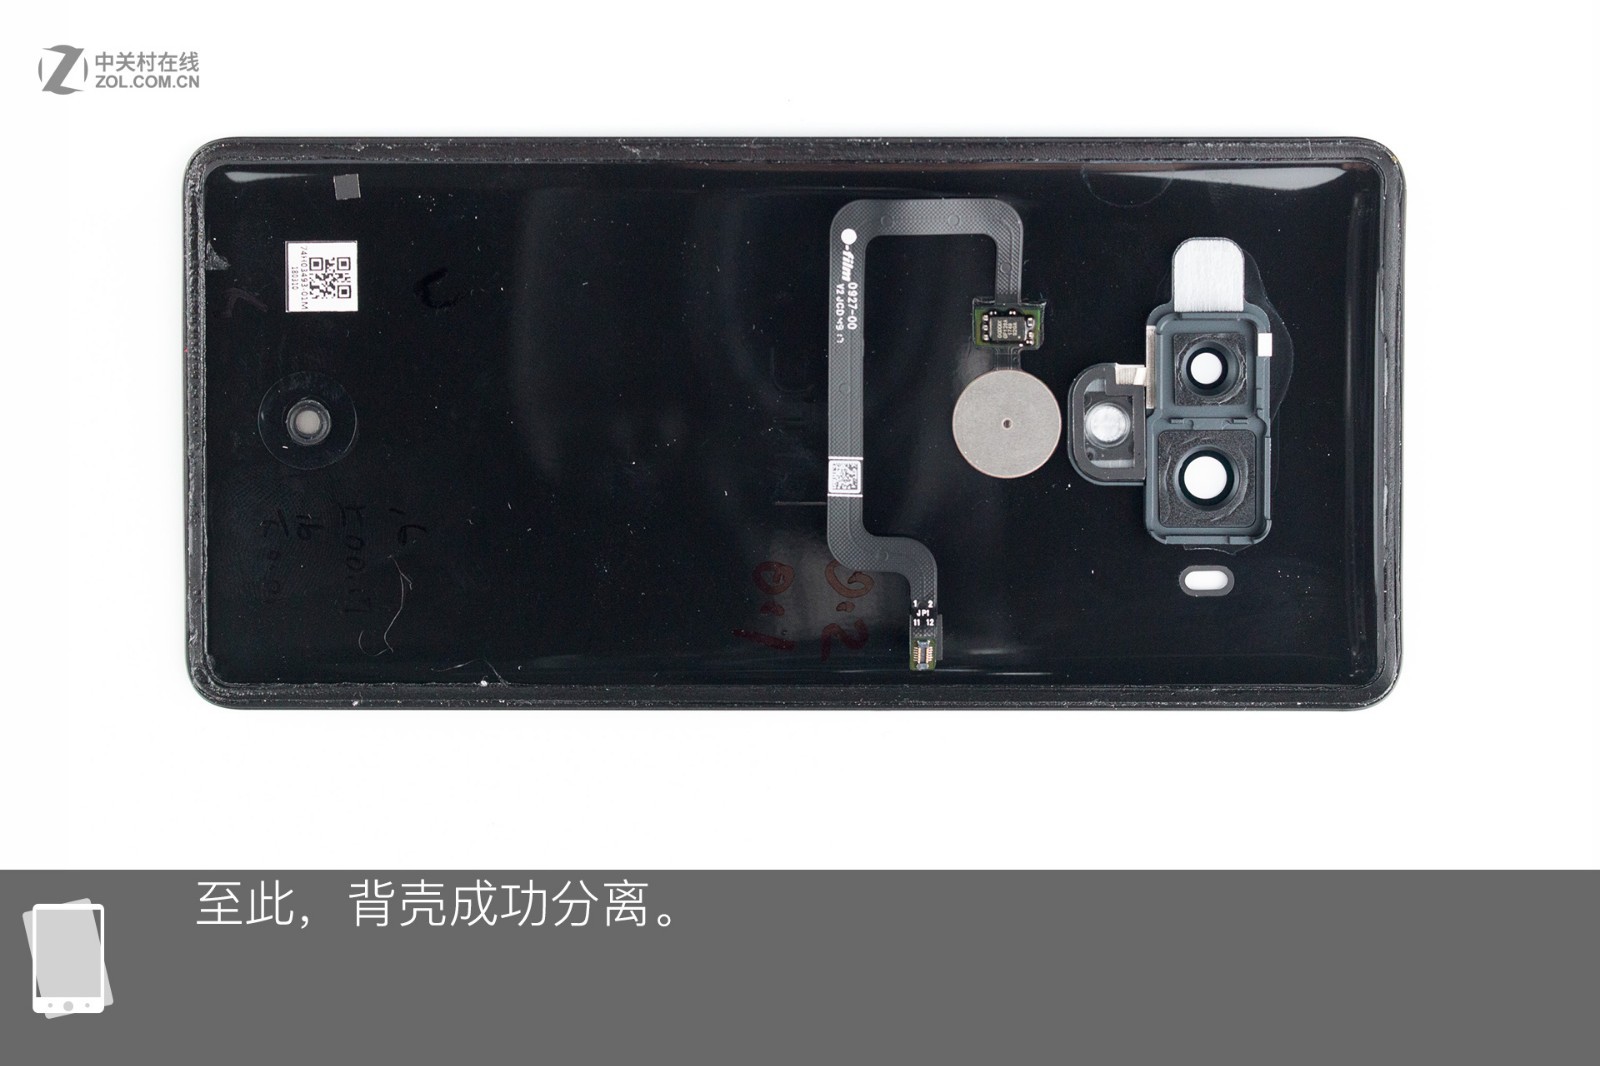
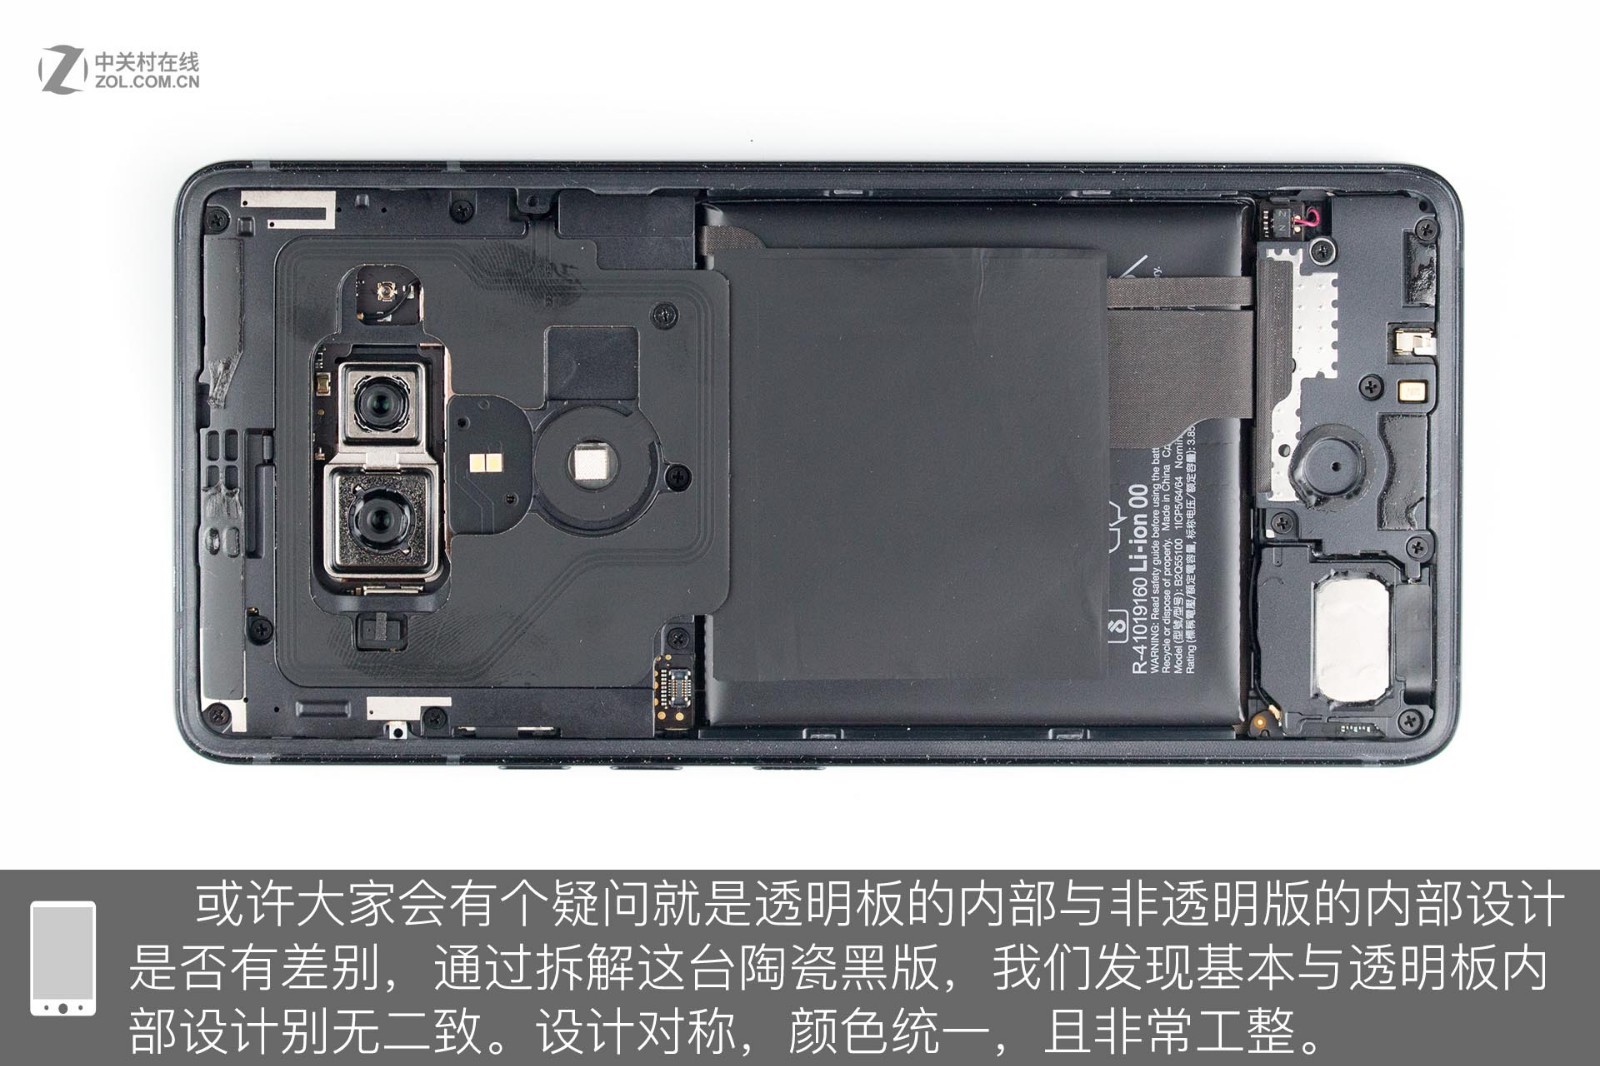
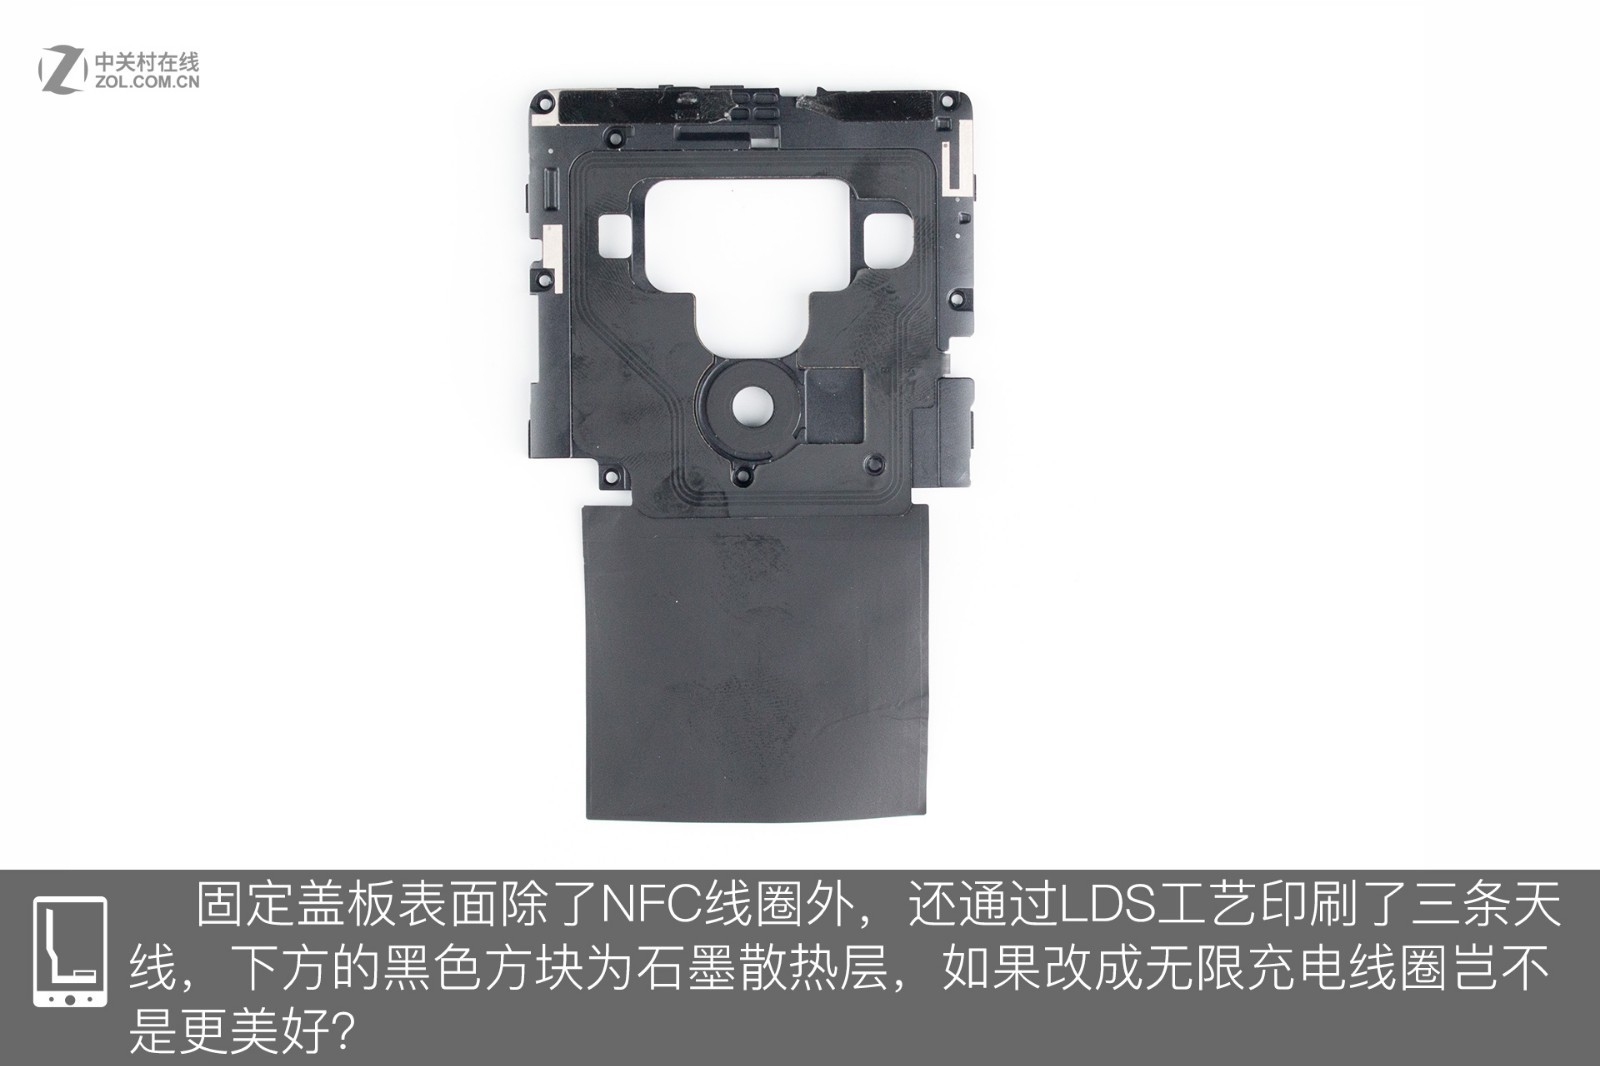
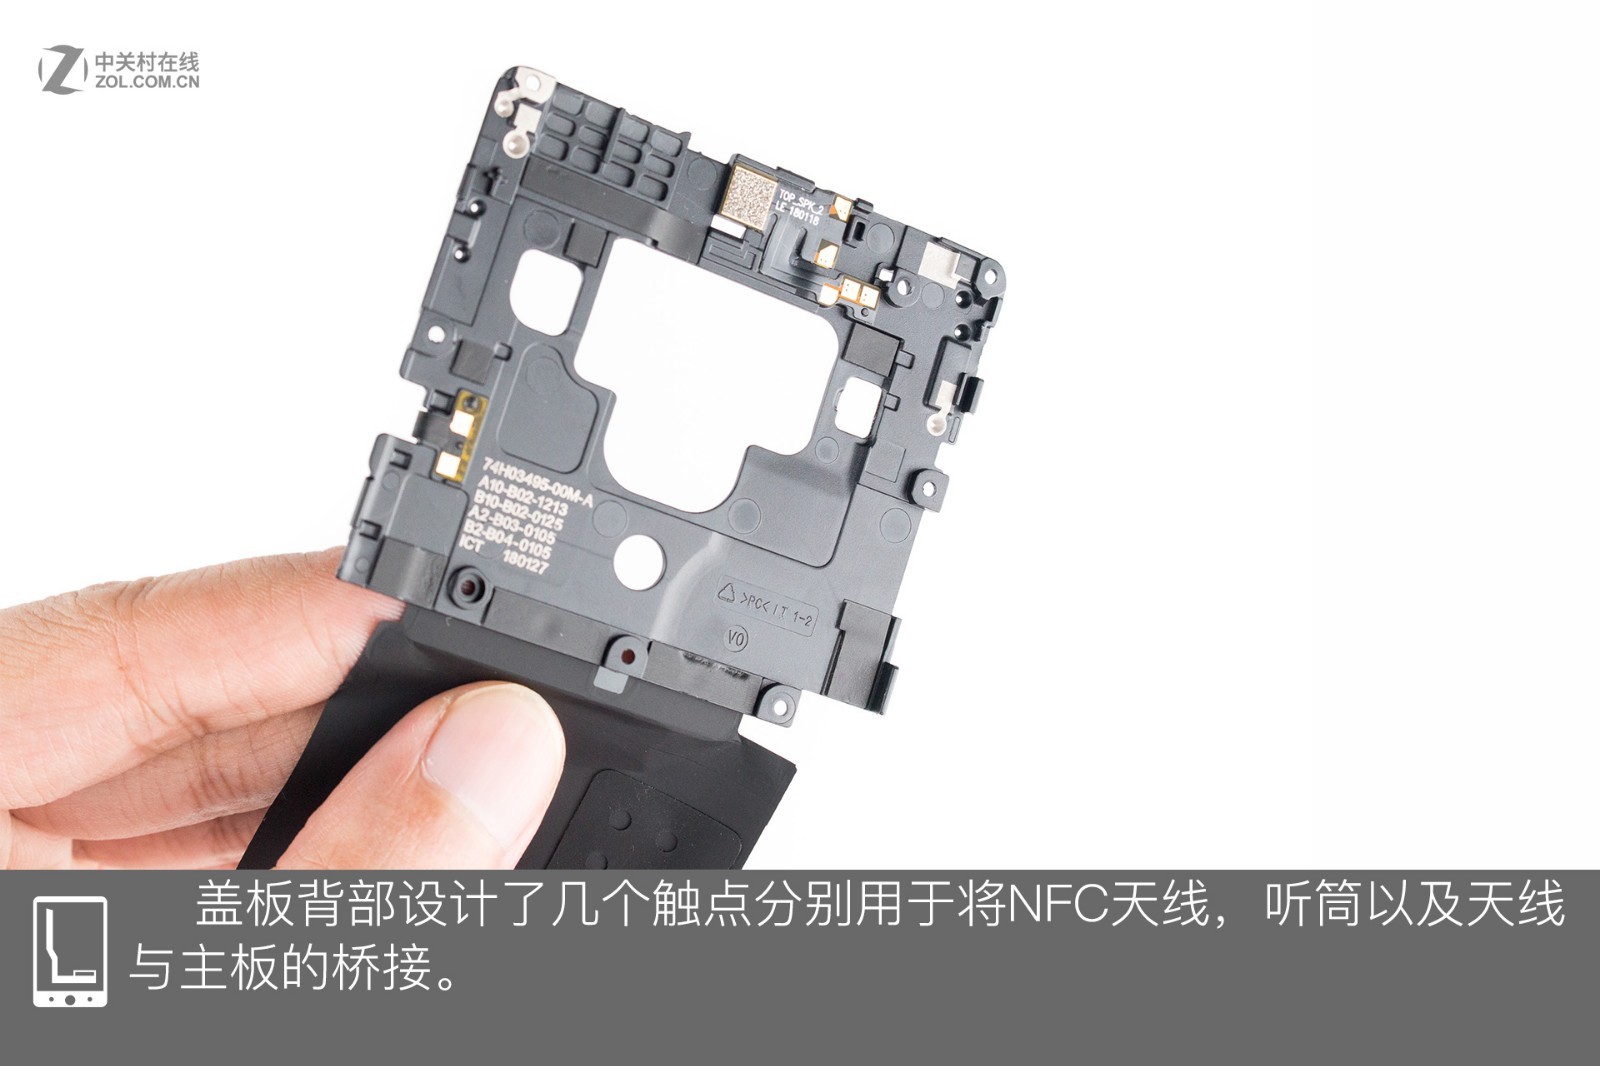
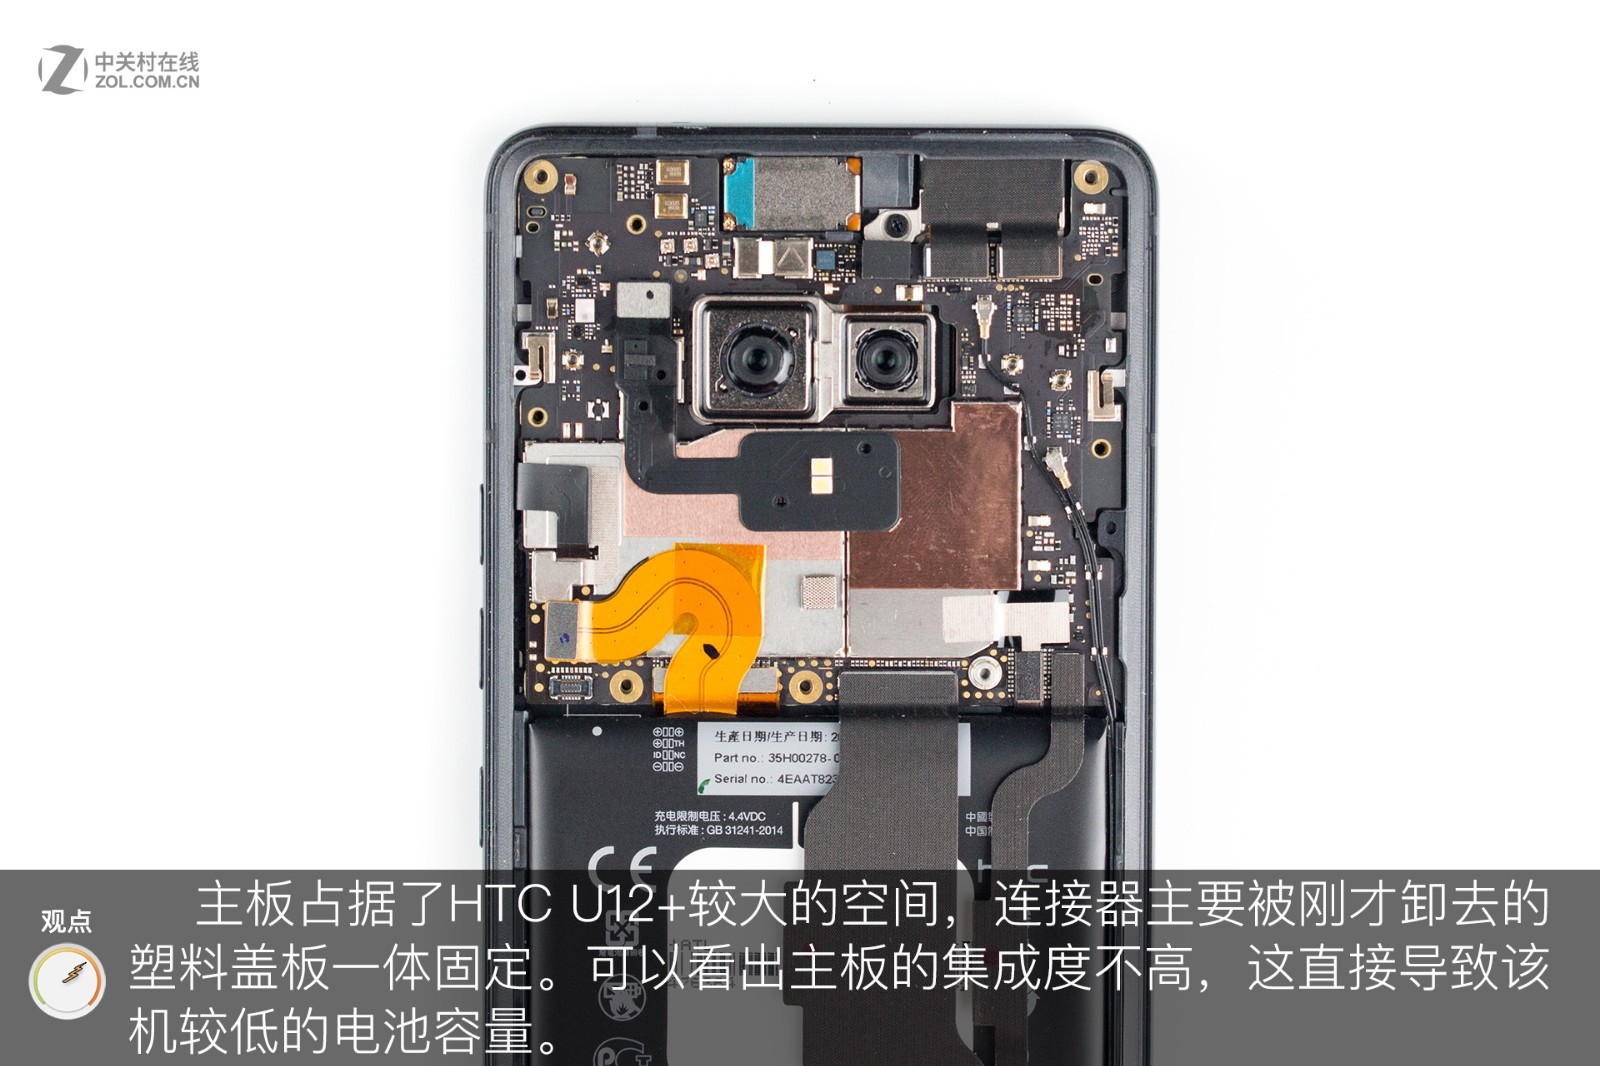
In addition to the NFC coil, there are three antenna lines on the cover plate manufactured using LDS technology. The black section below is a graphite layer used for heat dissipation. Several contact points are designed on the back of the cover plate to connect the NFC antenna, headphone jack, and antenna lines to the motherboard. The motherboard occupies a large portion of the internal space, and the connectors are mainly secured with a plastic board (which has been removed). The motherboard has relatively low integration, resulting in a smaller battery capacity for the phone.
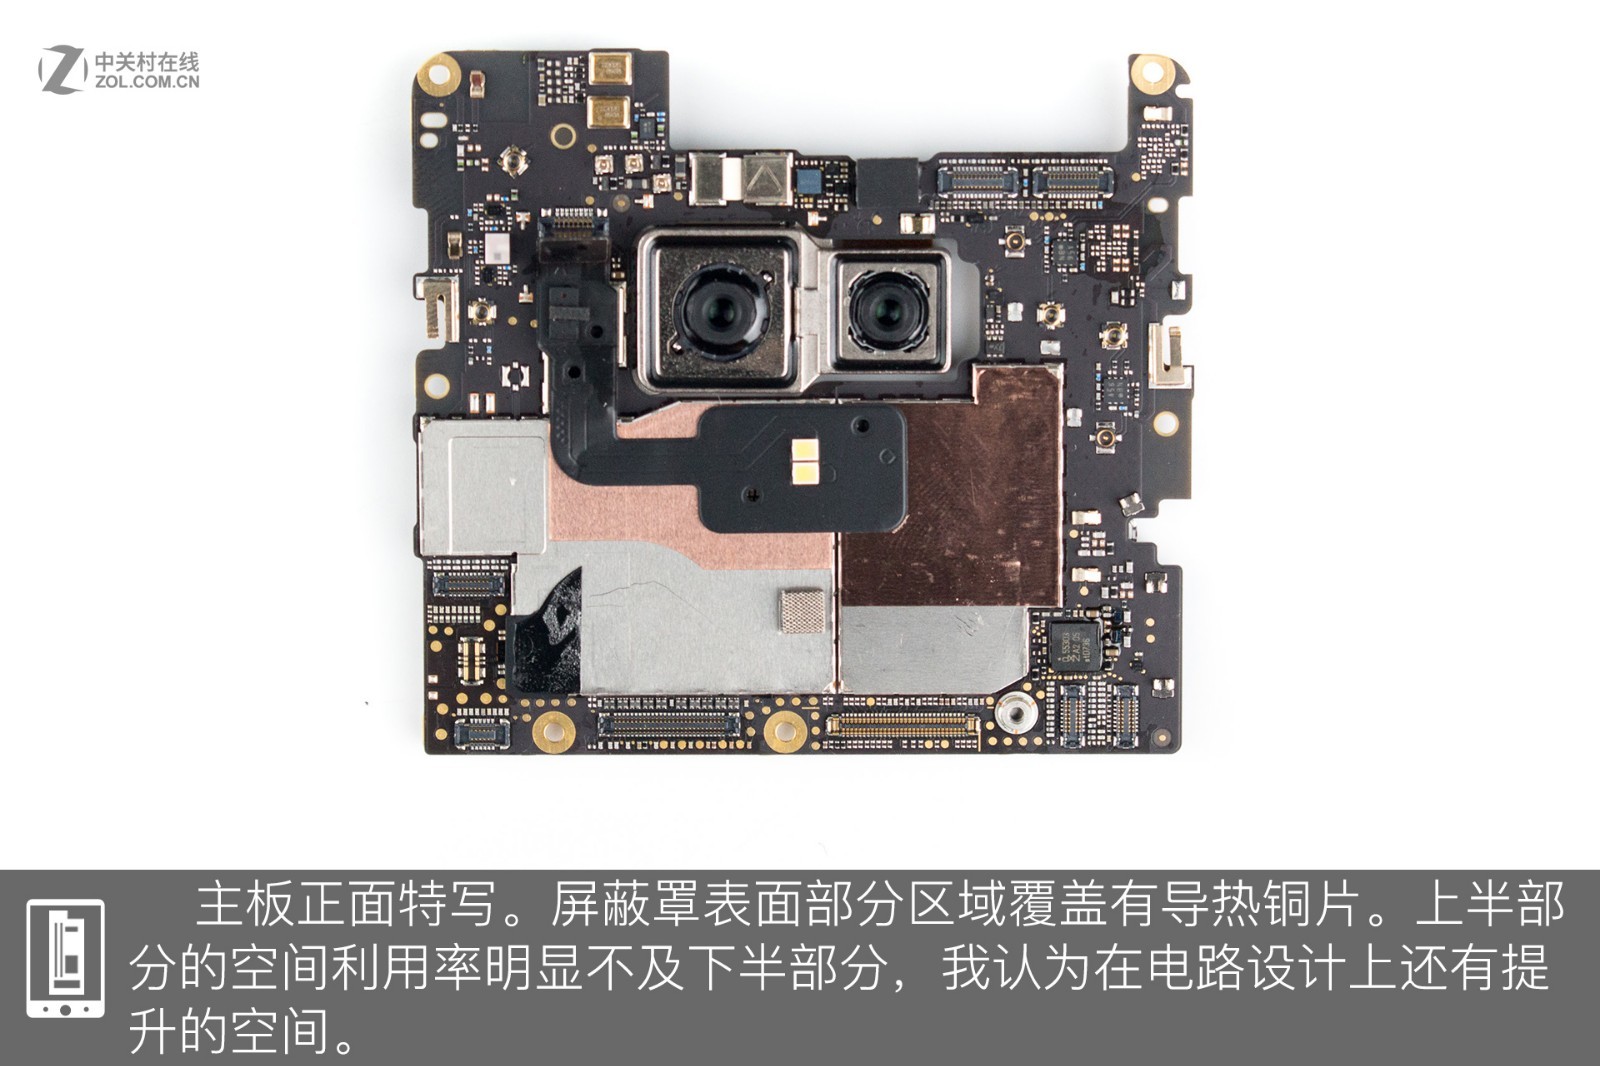
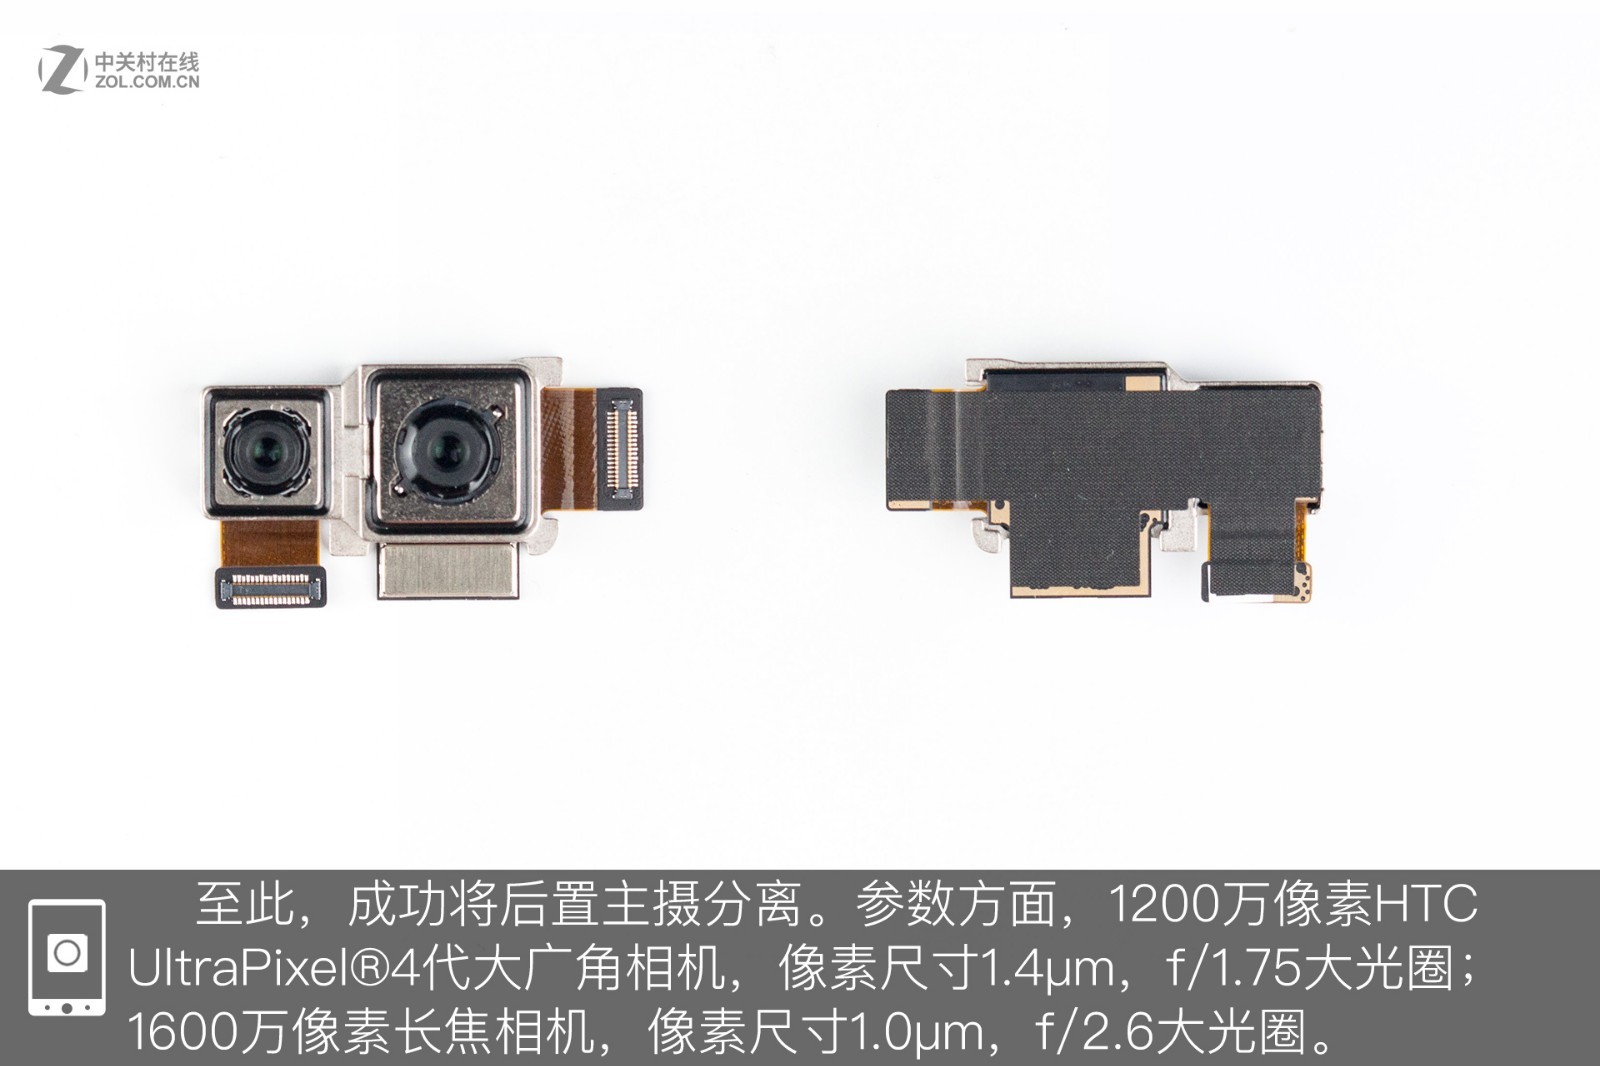
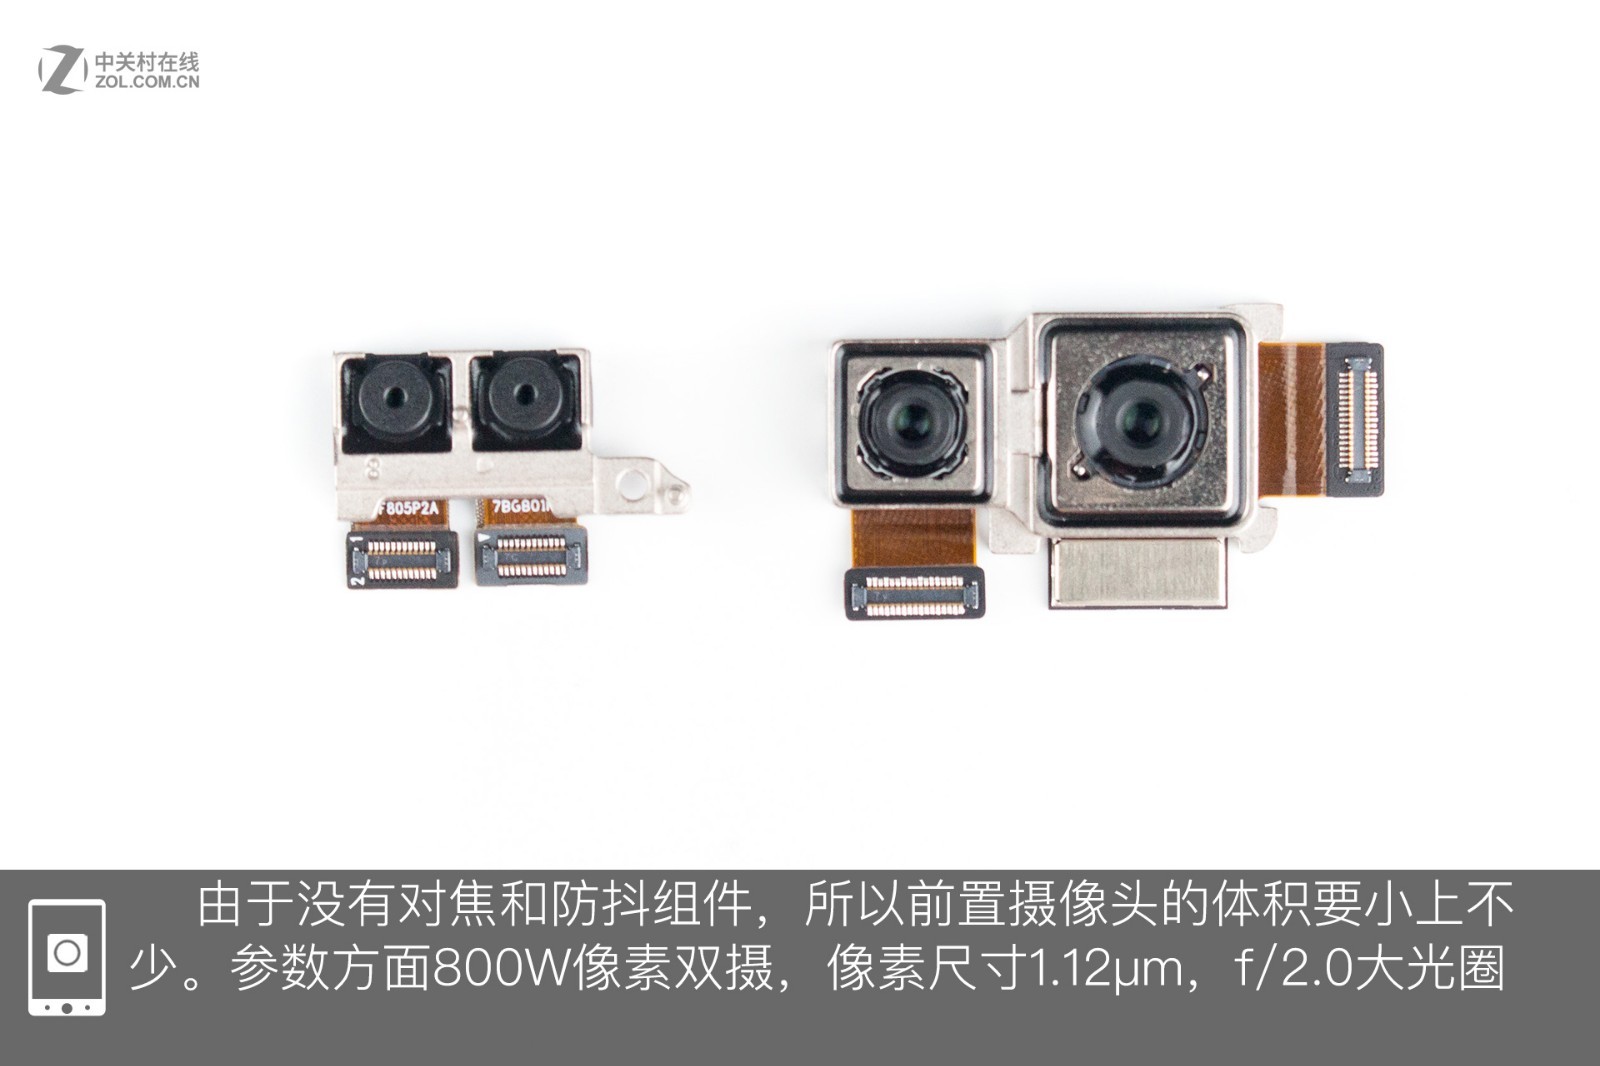
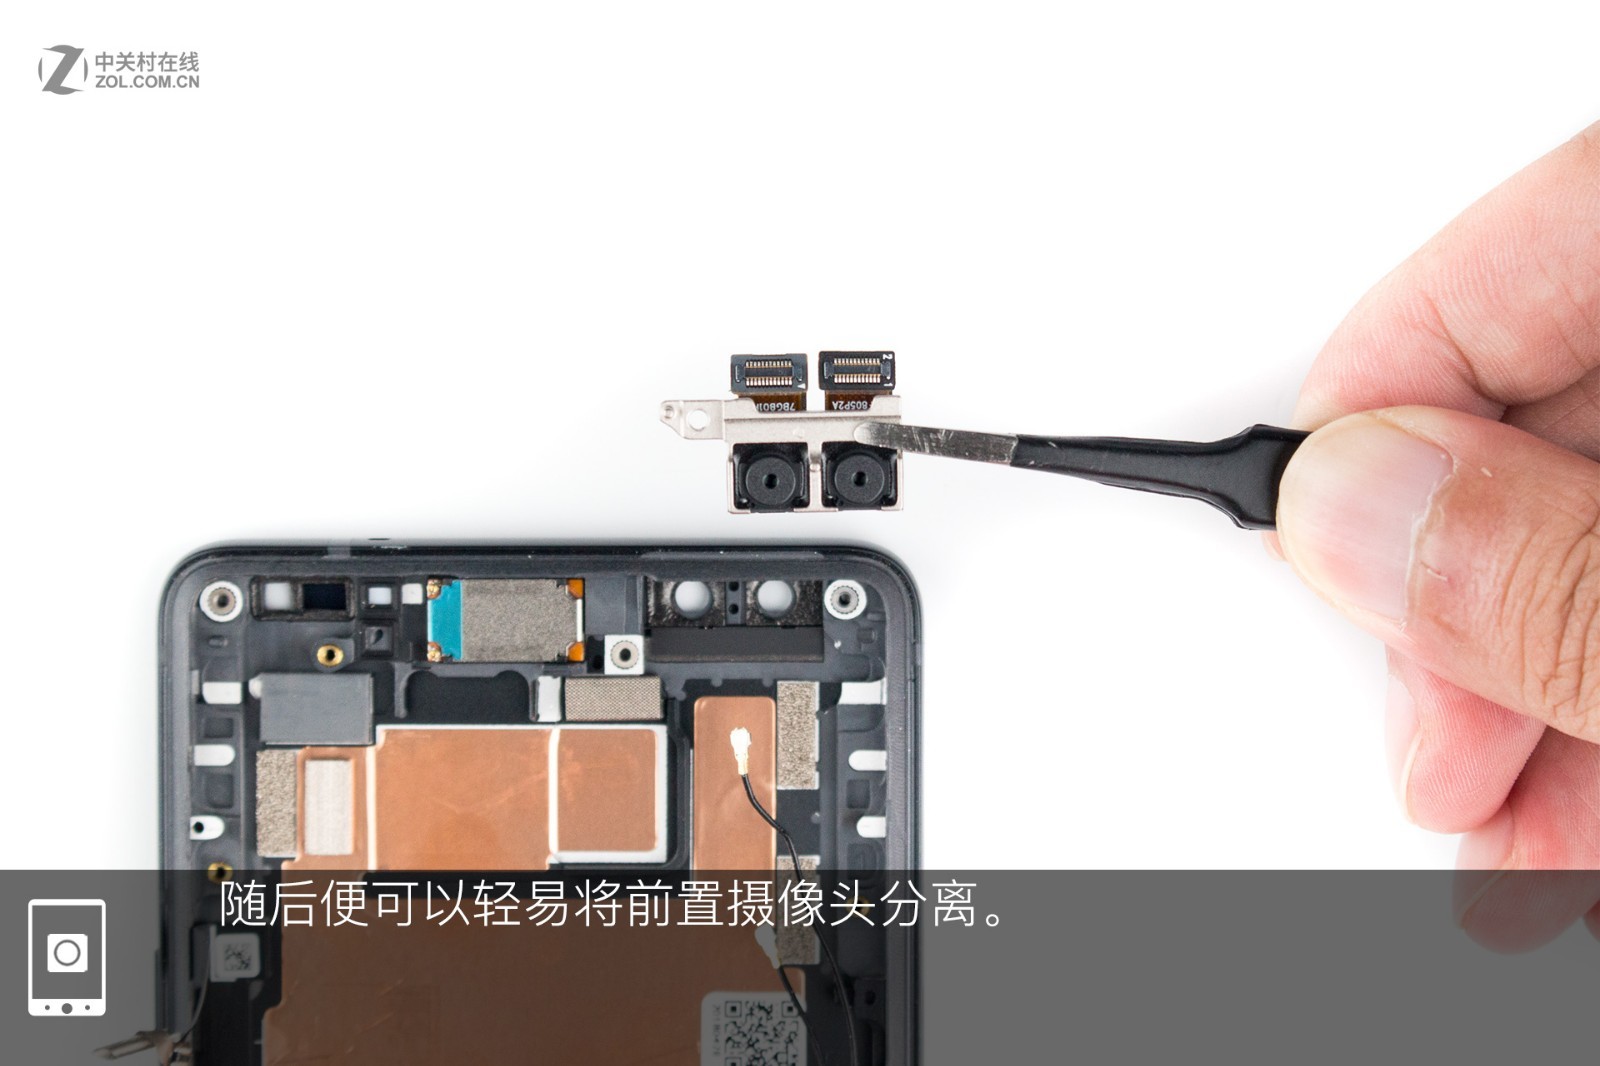
This is the front side of the motherboard. Some part of the metal shielding is covered by a thermal copper foil. The space utilization at the top is lower than at the bottom. I believe the circuit design could be further optimized. The rear main camera has now been completely removed. The dual rear camera specifications are as follows: a 12MP HTC UltraPixel fourth-generation wide-angle lens with a 1.0um pixel size and an f/2.6 aperture; a 16MP telephoto lens with a 1.0um pixel size and an f/2.6 aperture. The front dual camera is smaller in size because it lacks autofocus and image stabilization components. Its specifications are as follows: an 8MP sensor with a 1.12μm pixel size and an f/2.0 aperture.
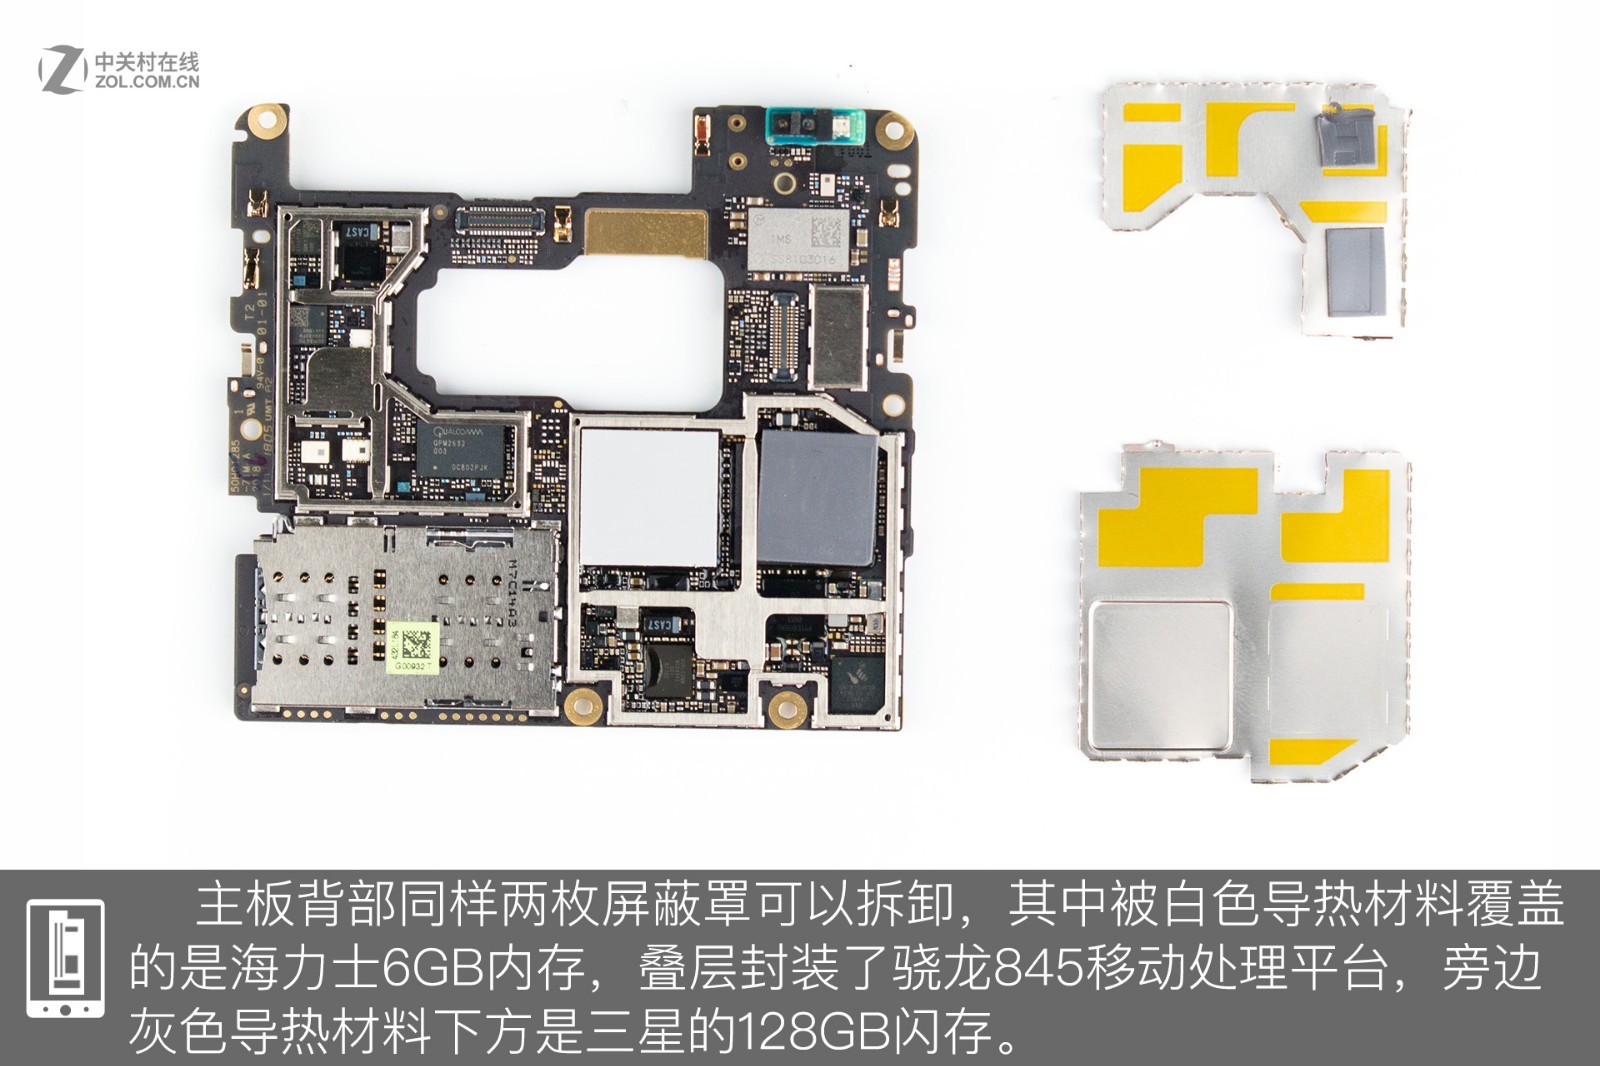
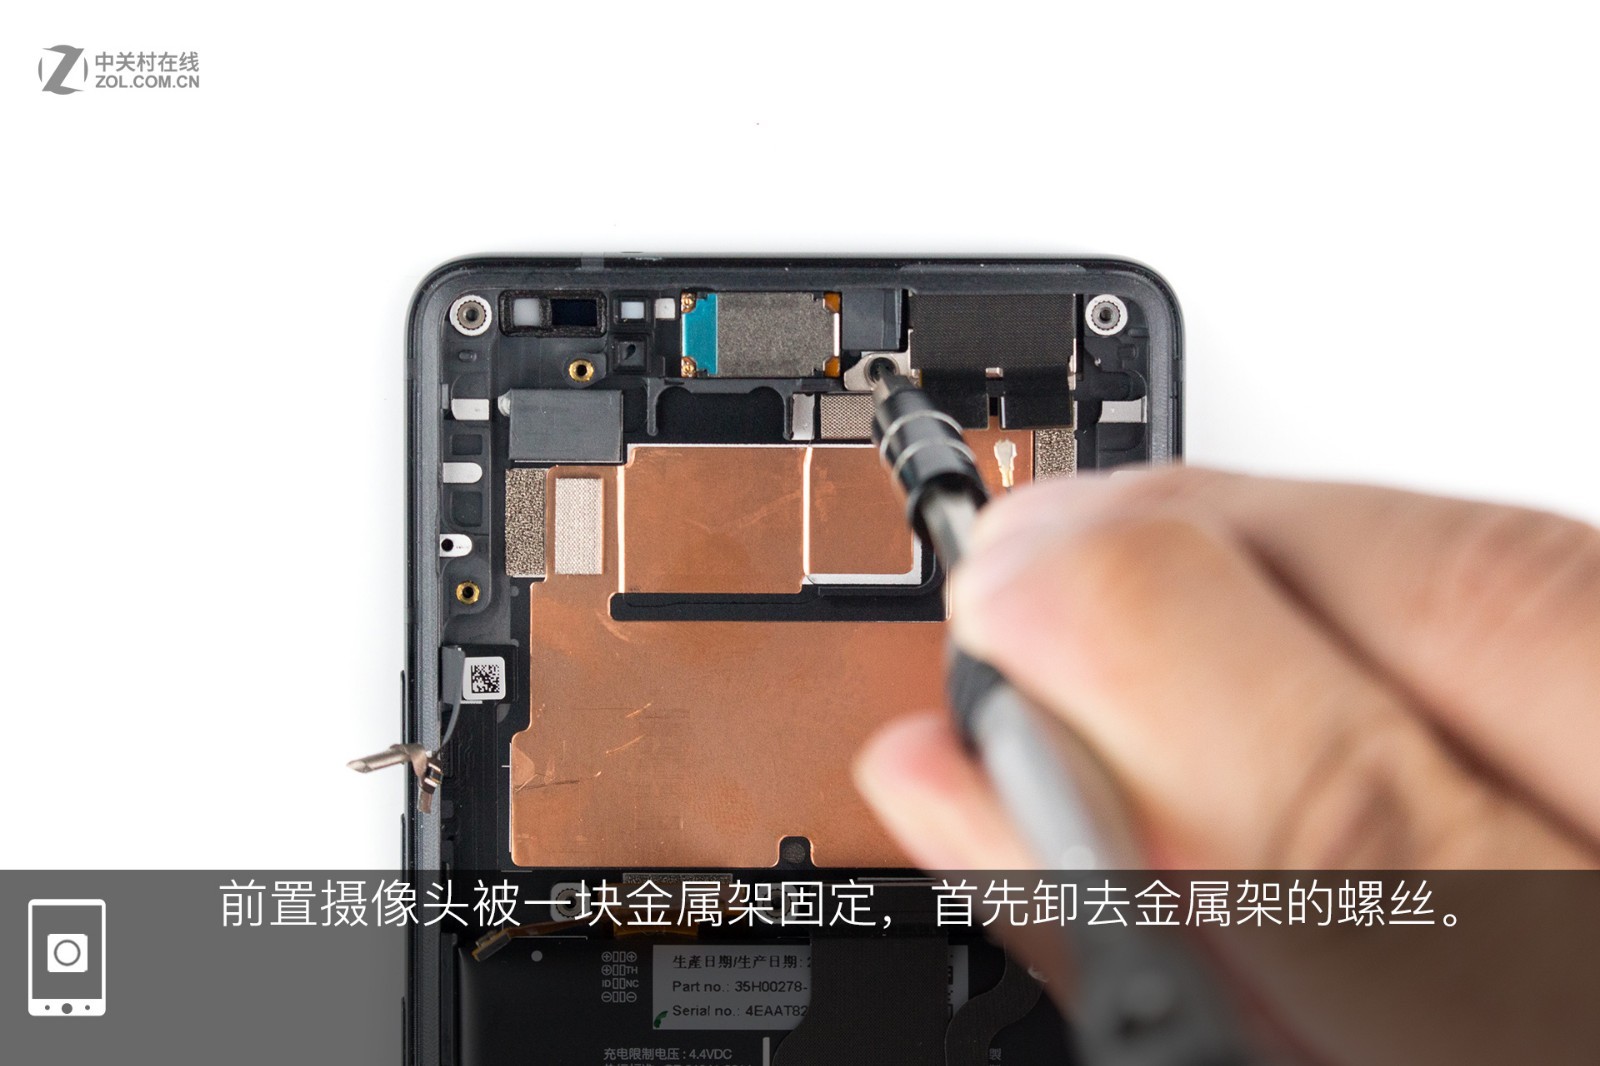
After removing the two metal shields on the front of the motherboard, the three core chips of the RF circuit can be seen coated with thermal grease. Additionally, there is an empty solder pad on the left side. The two metal shields on the back of the motherboard are also removable. The components covered with white thermal grease are the SK Hynix 6GB memory chip, while the Qualcomm Snapdragon 845 chip is packaged under it. The components covered with gray thermal grease are the Samsung 128GB ROM. Its front camera is secured by a metal bracket. Now, by removing the screws that secure the metal bracket, the front dual-camera module can be easily removed.

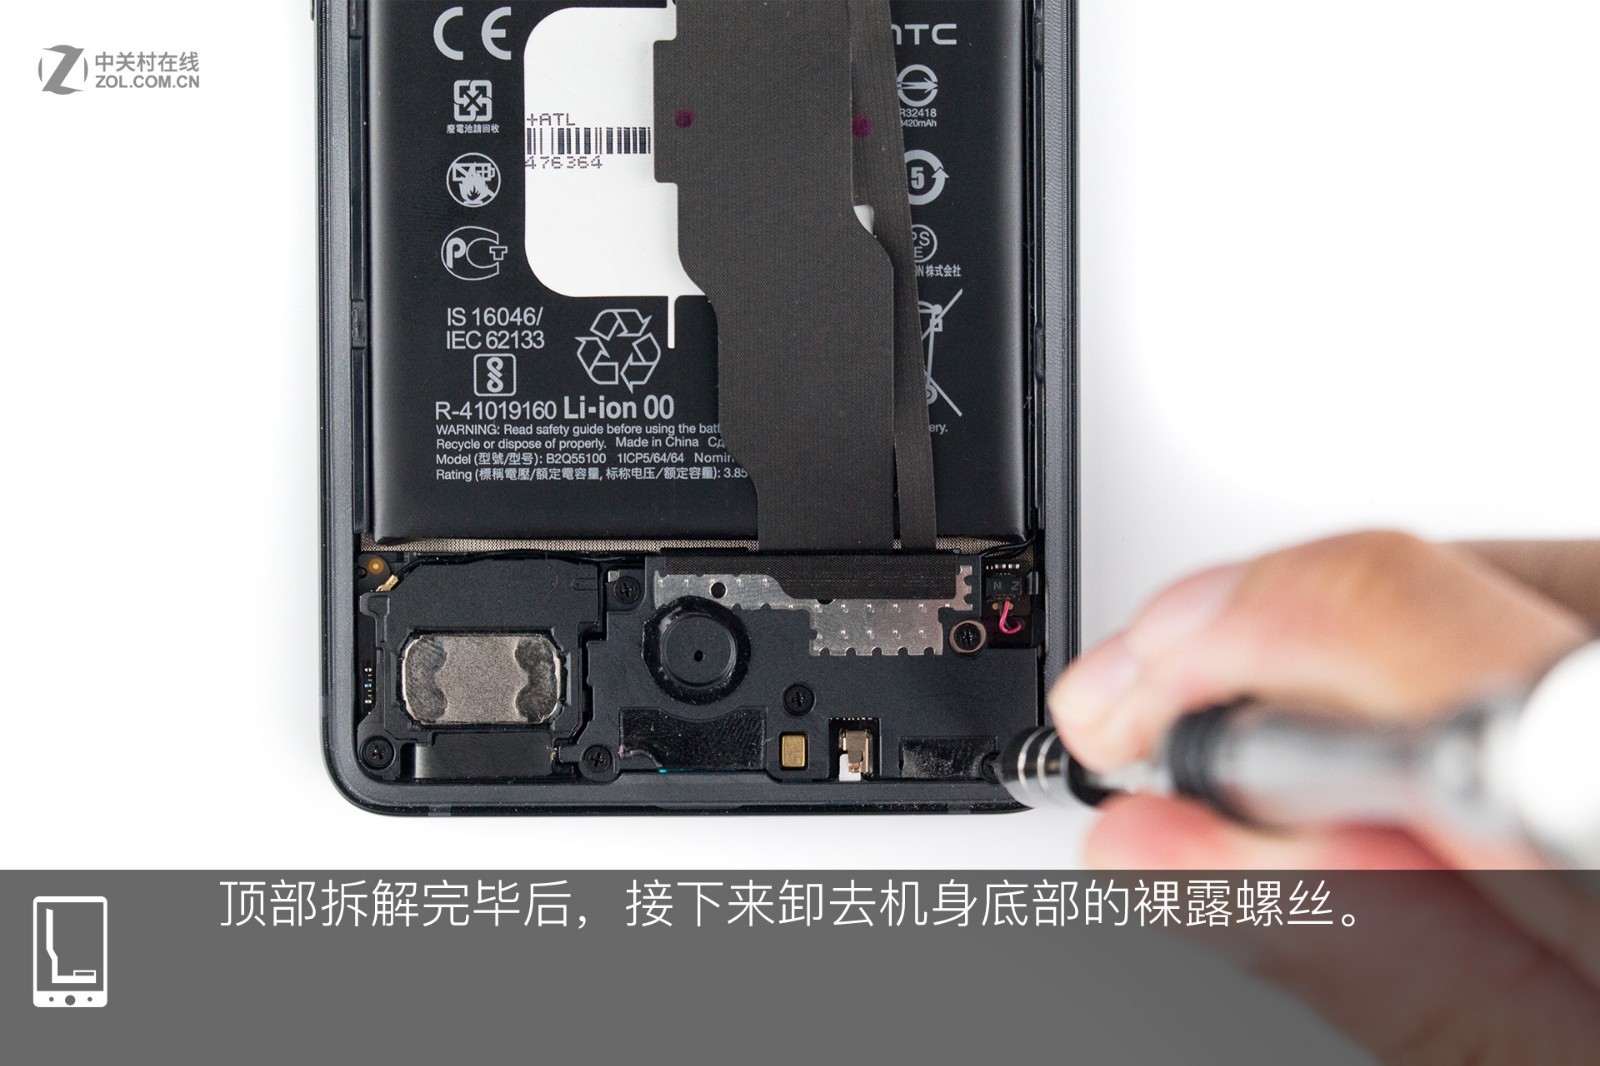
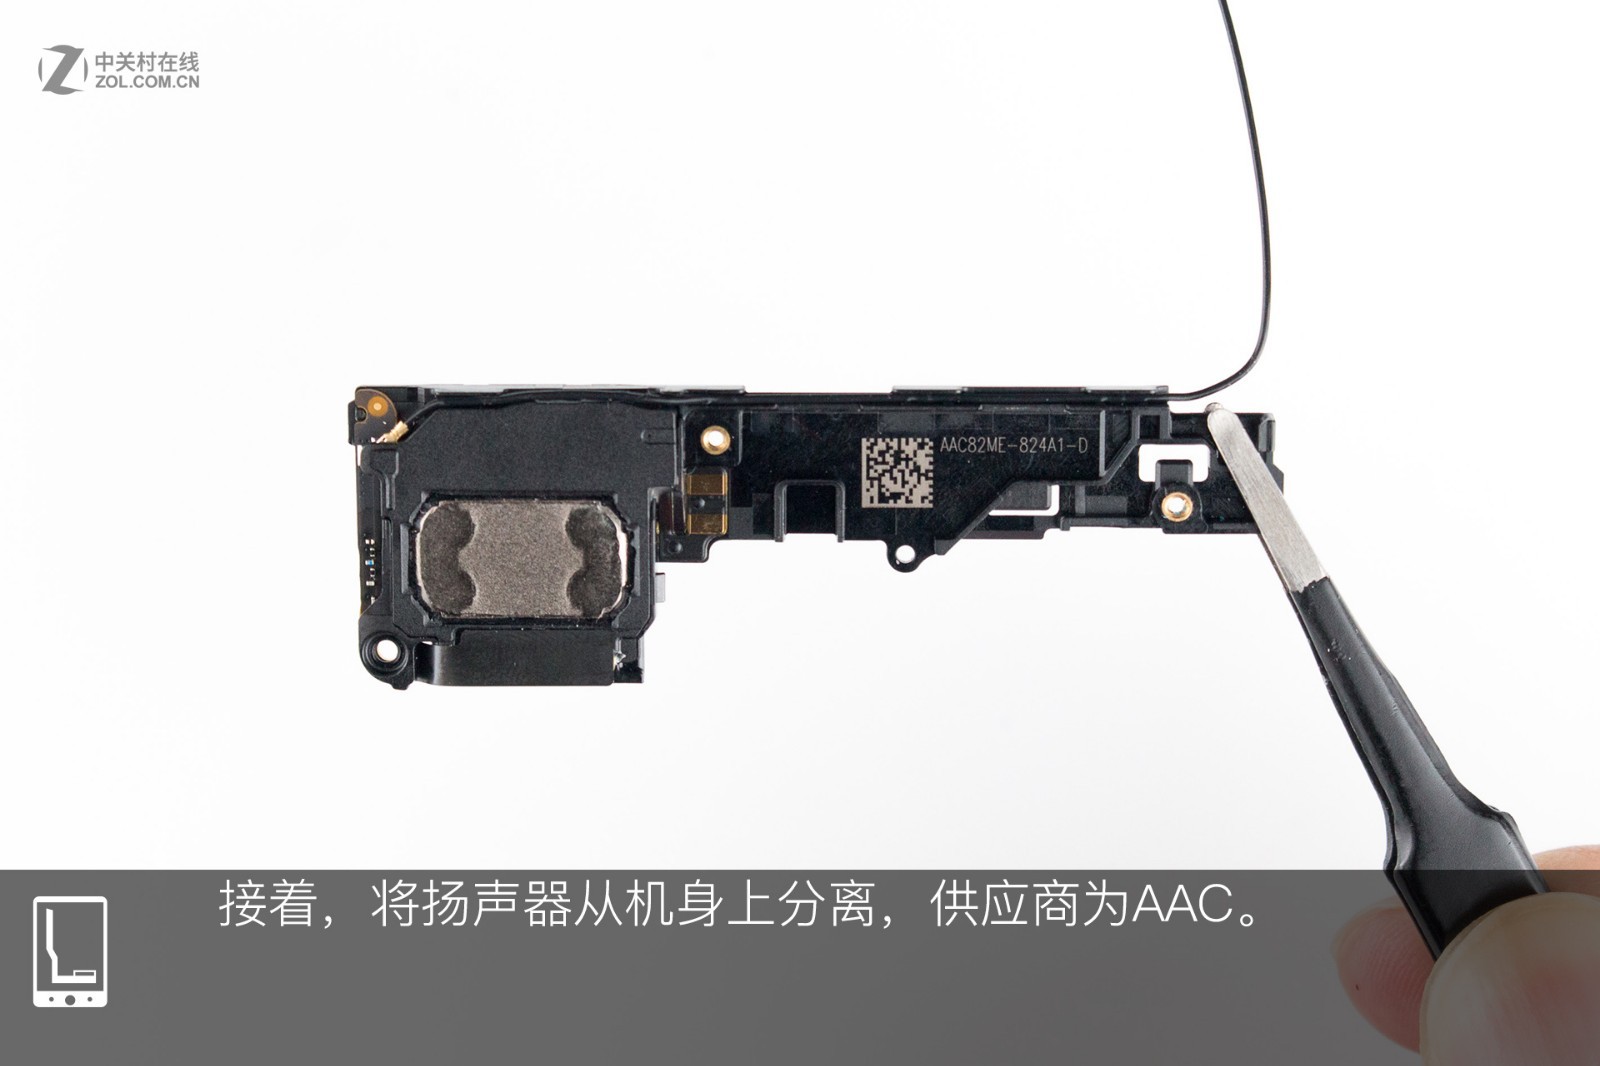
After finishing the teardown on the top part, remove the screws at the bottom. This is a linear vibrator, and if this component is missing, the phone’s interactive experience will be affected. Next, remove the speaker unit, which is manufactured by AAC. A large number of white particles can be seen in the blue area on the back of the speaker, which is AAC’s patented technology. This technology significantly enhances the low-frequency performance when the phone plays music, undoubtedly providing an excellent audio experience for this smartphone.
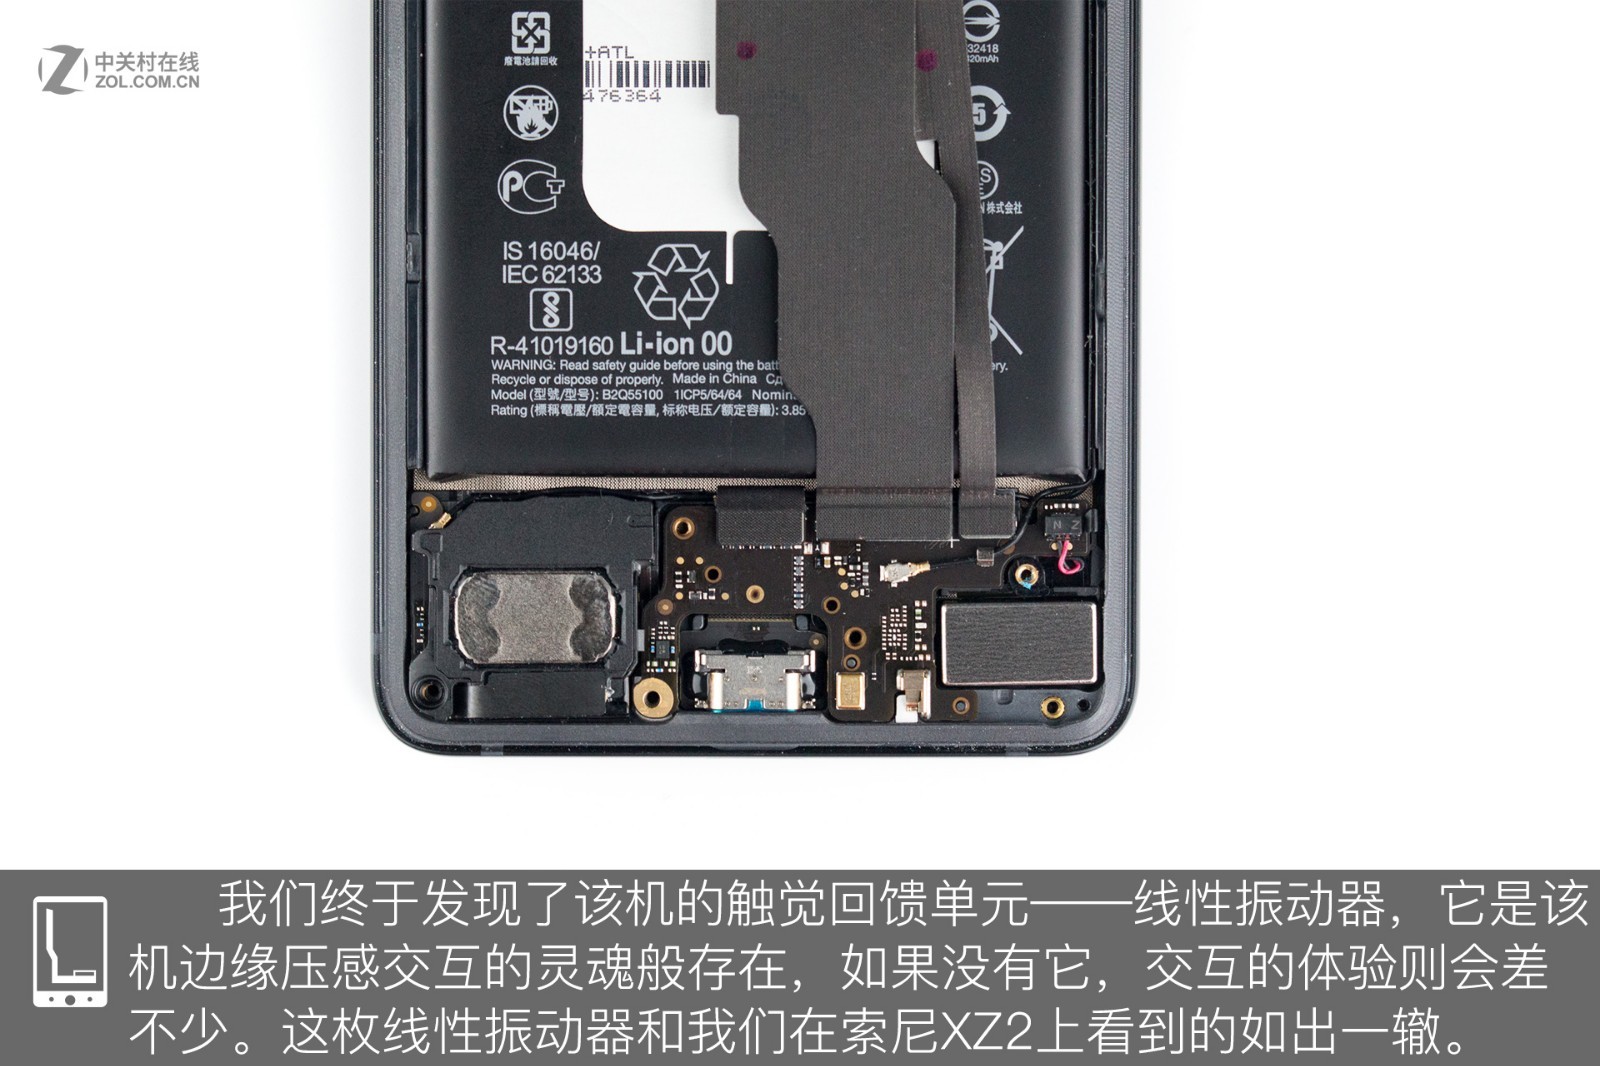

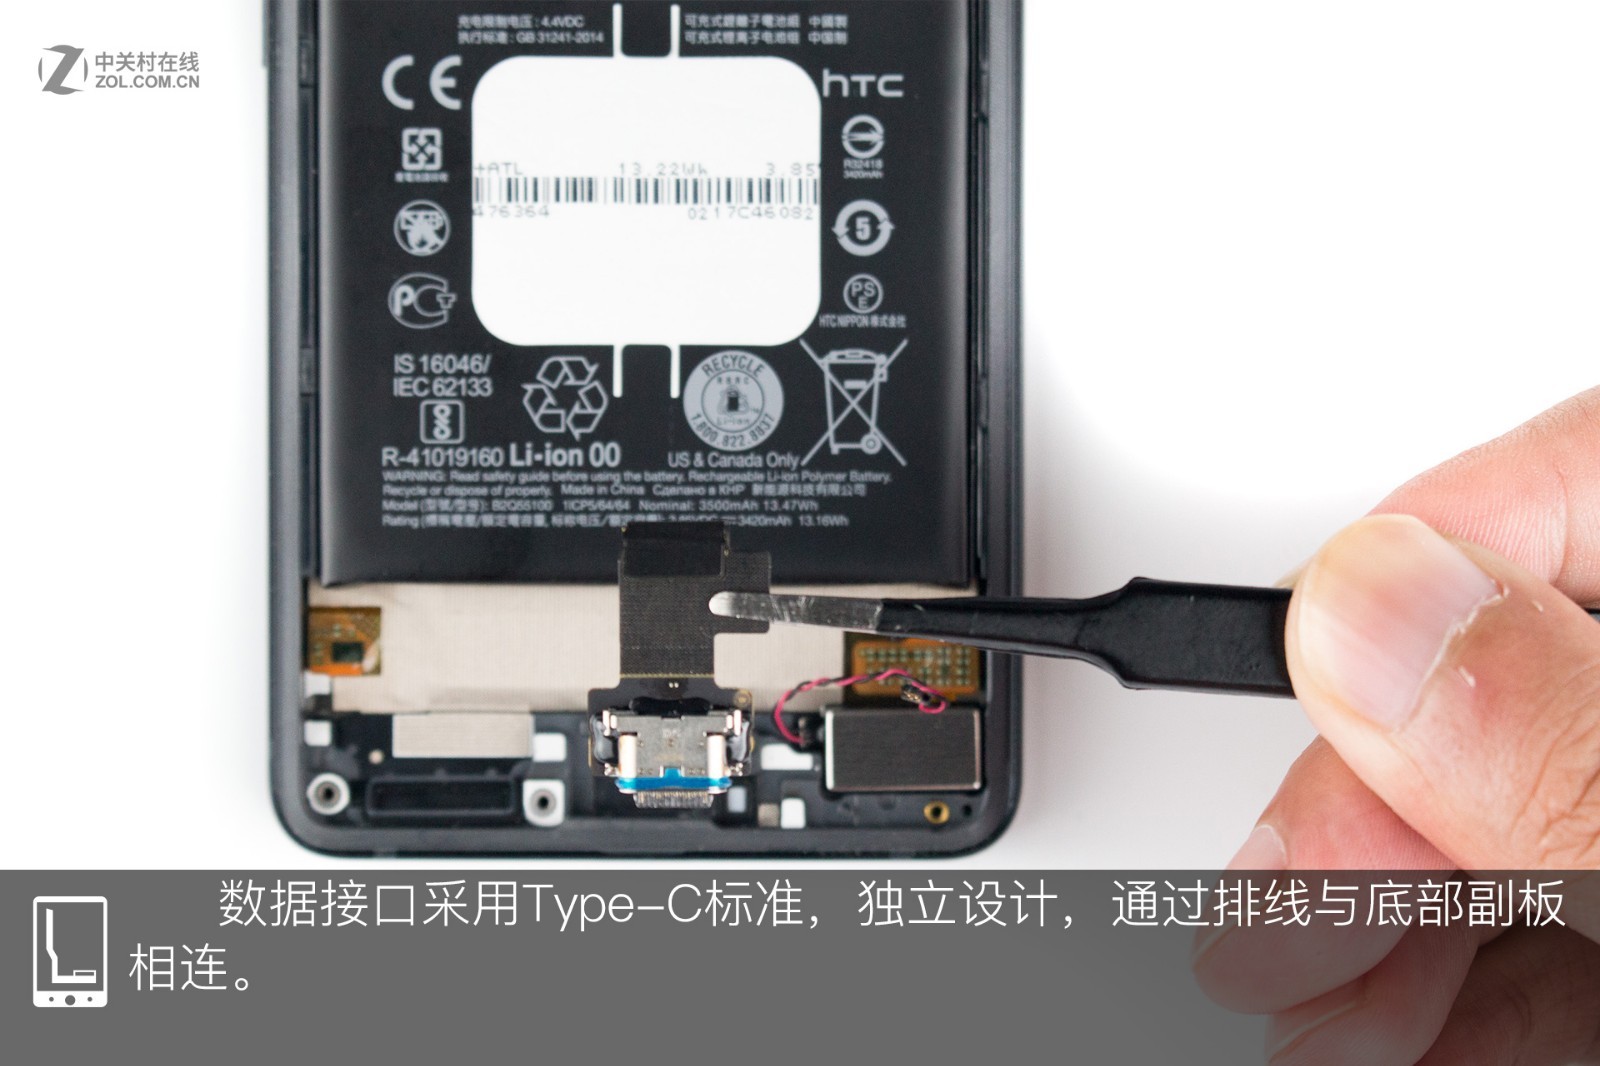
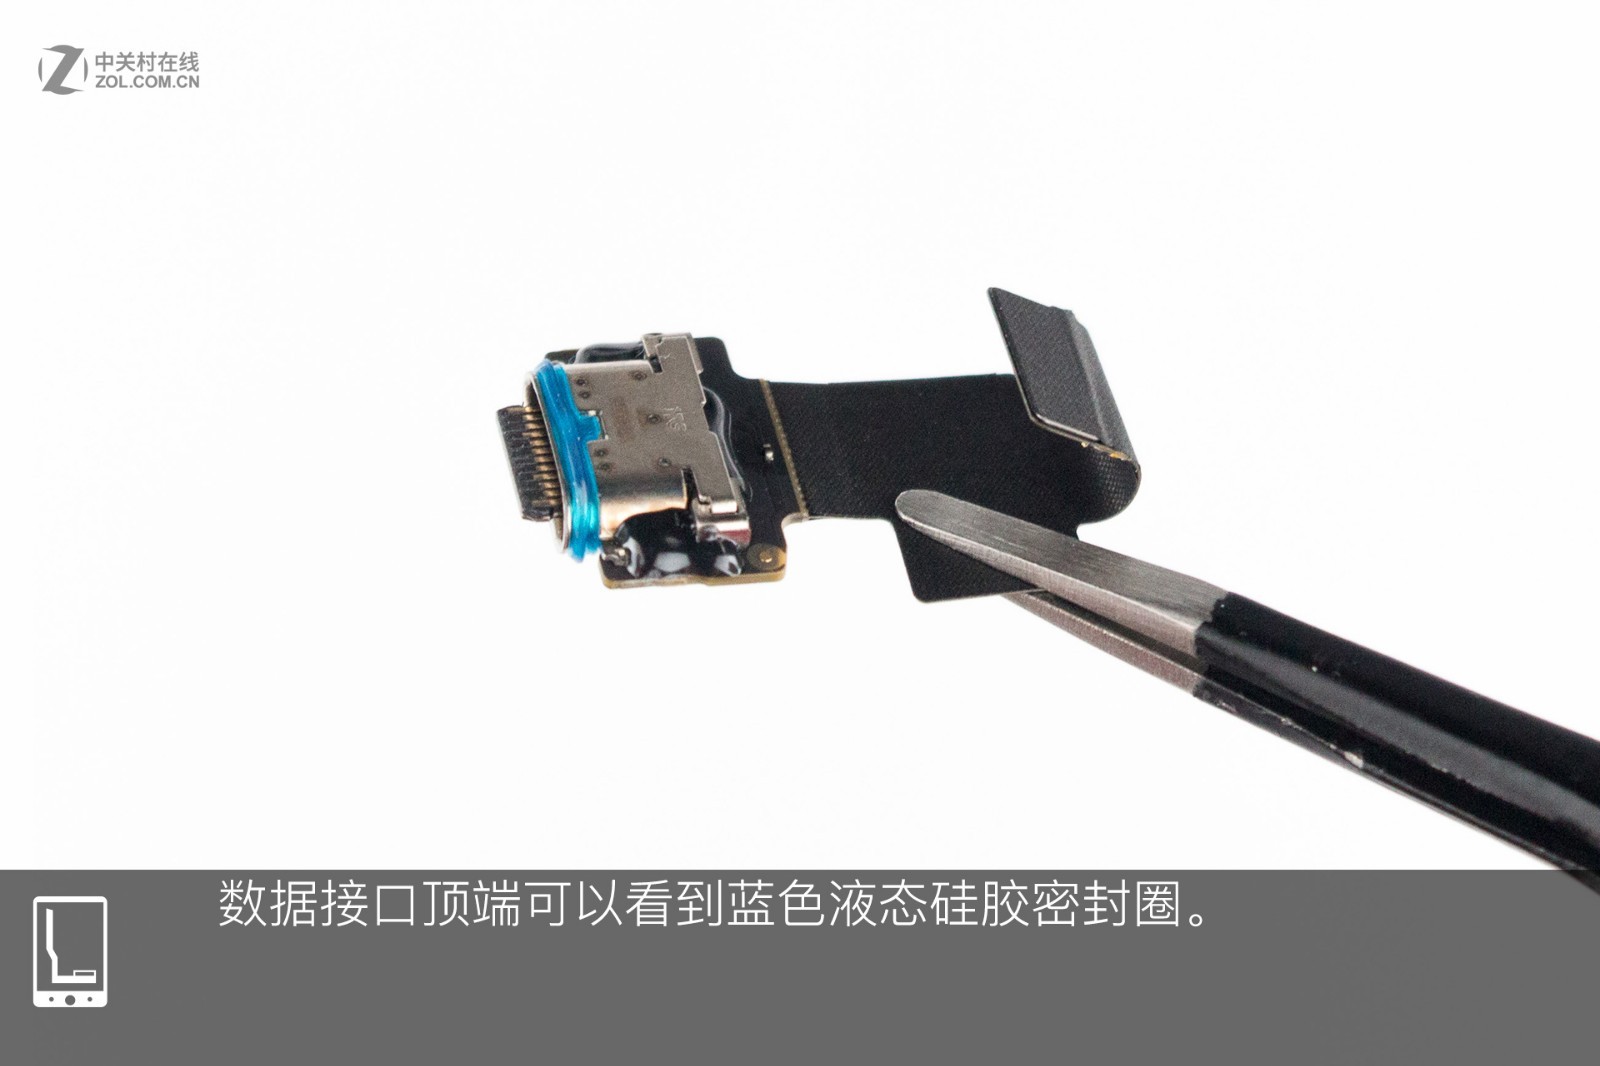
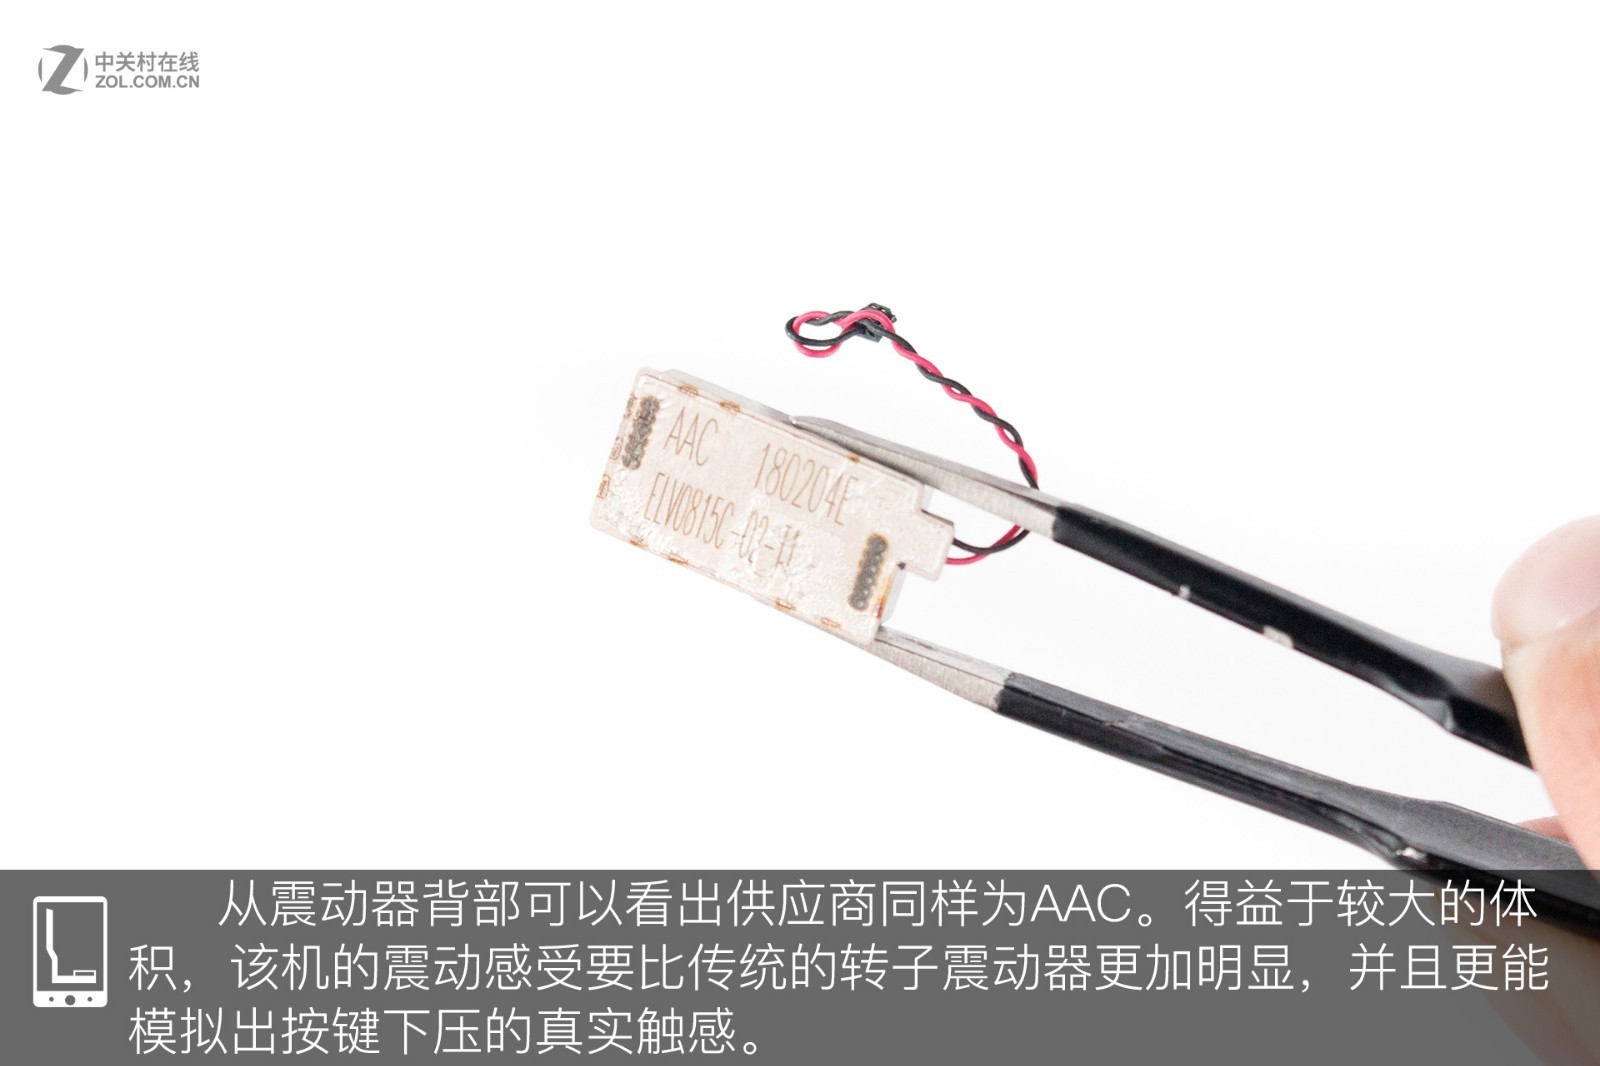
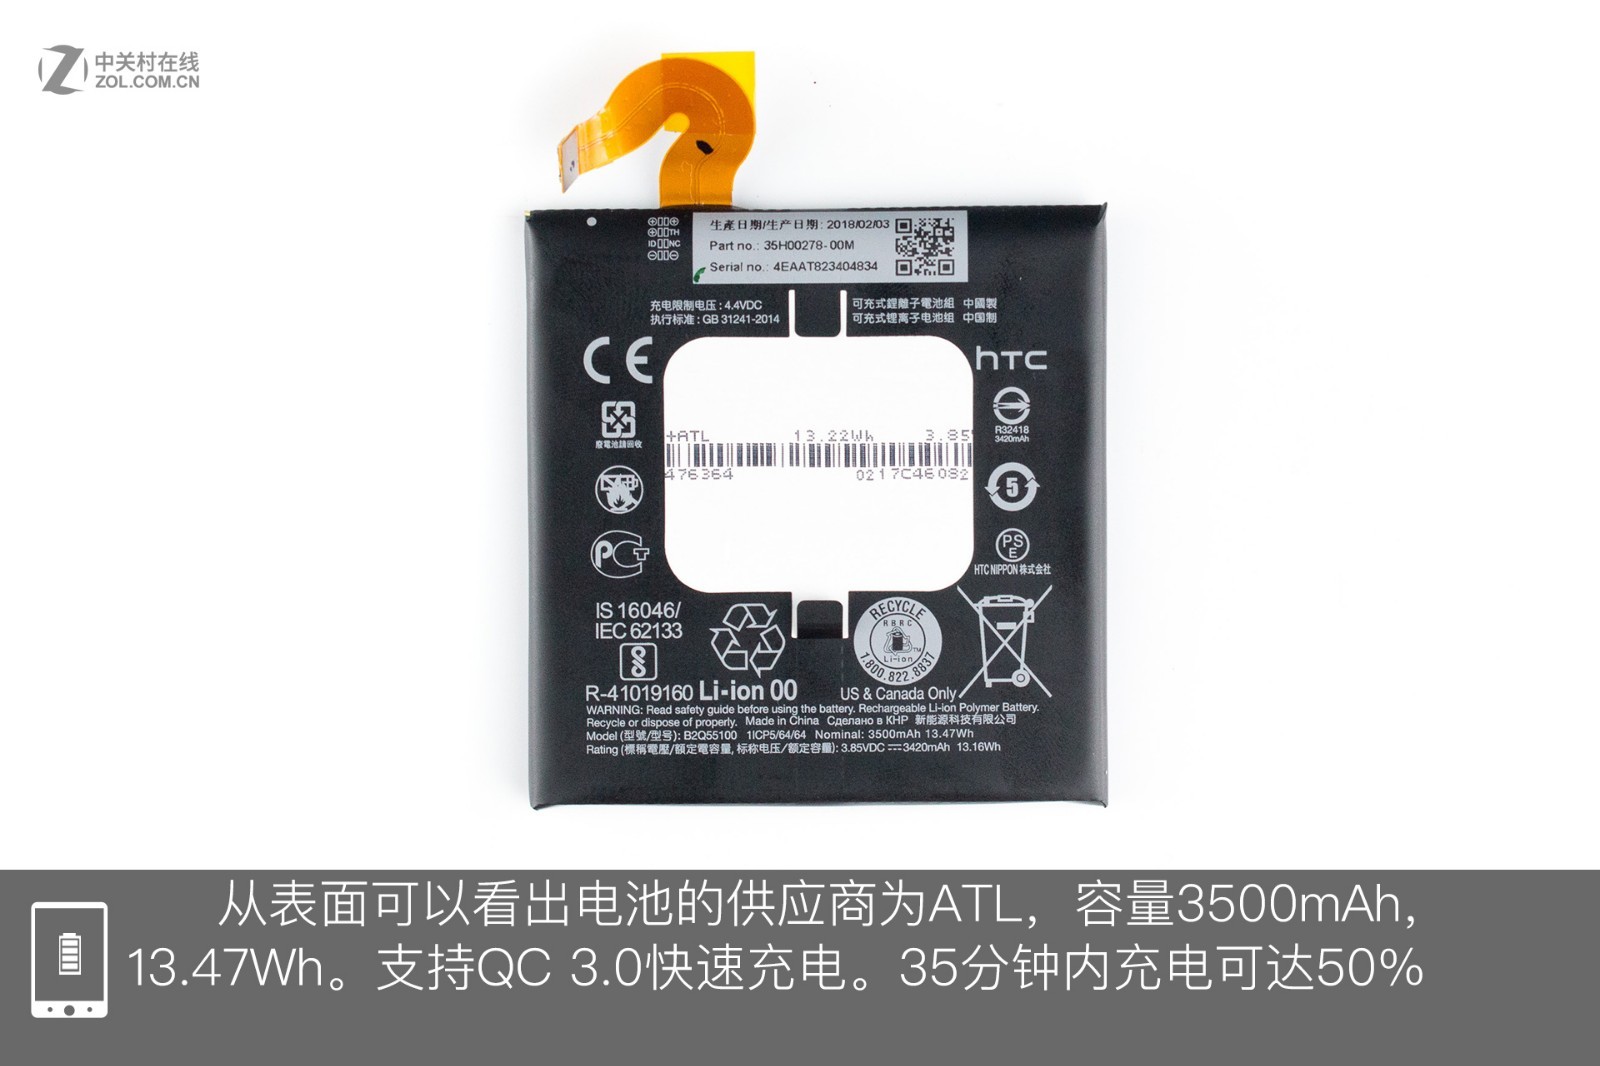
Its Type-C port is designed as an independent module, which is connected to the sub-board via a cable. The blue sealing ring on the top of the port is clearly visible. The information on the back of the speaker indicates that this vibrator is also provided by AAC. Thanks to its large-volume design, this linear vibrator performs better than a rotor vibrator. The battery is manufactured by ATL. It has a capacity of 3500 mAh (13.47 Wh) and supports QC3.0 fast charging. This battery can achieve a 50% charge in 35 minutes. Now, I have completed the teardown of the smartphone. The teardown reveals that both the component layout and sealing performance are of a high standard, but unfortunately, this phone does not support wireless charging.
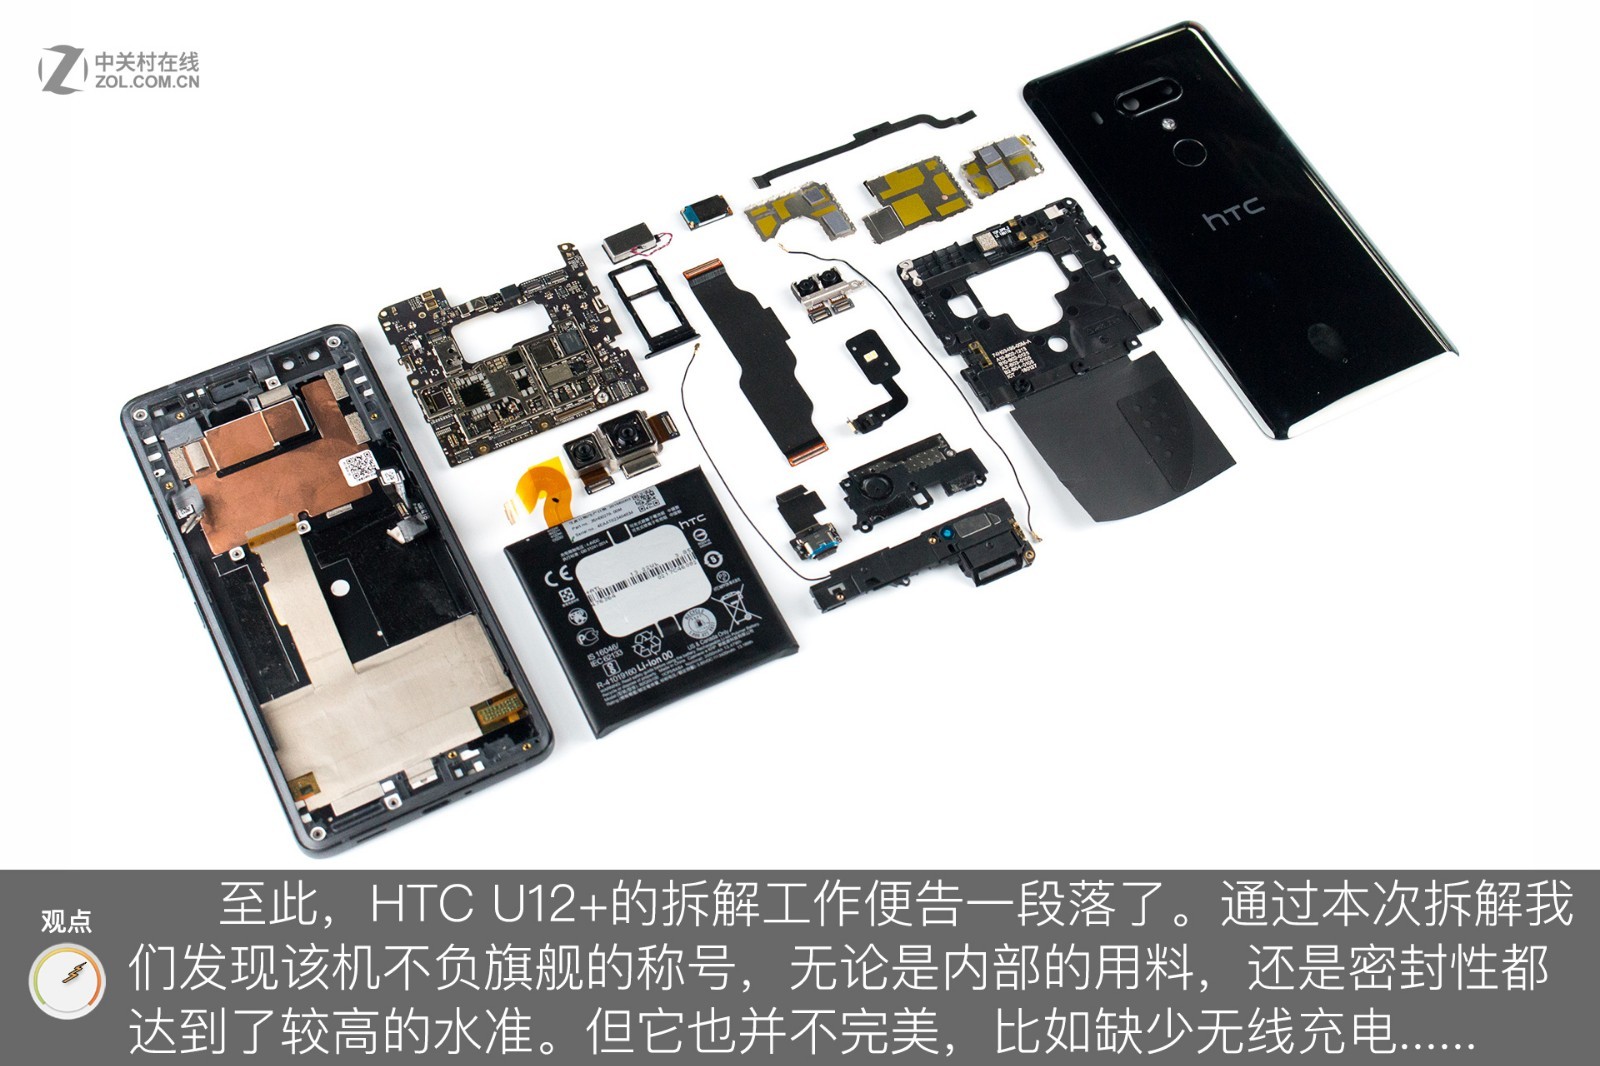
Summary
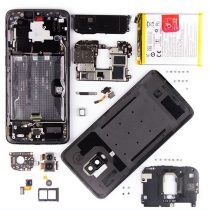
As a smartphone with an IP68 waterproof rating, the HTC U12+ teardown is undoubtedly not easy. For example, removing the back cover is difficult because it is tightly fixed with double-sided adhesive. The back cover’s curved design also makes it more difficult to remove. After removing the back cover, we found that the phone adopts the three-stage design. The smartphone only uses 15 screws because its components are highly integrated. Given the complexity of the teardown, we do not recommend that users attempt to disassemble the phone themselves.
My phone won’t charge anymore. I replaced the C port, and it still won’t charge. I have some priceless photos I would love to recover on this phone. Is there a way to fix my phone or a way to find the location of the phone’s internal memory and put it in a different phone so I can get those photos back?
Why don’t you try to replace a battery?
So I replaced the battery and the Type-C port. Nothing, still no power. I guess those priceless photos are gone forever. I have a new phone, which has almost become a paperweight.