
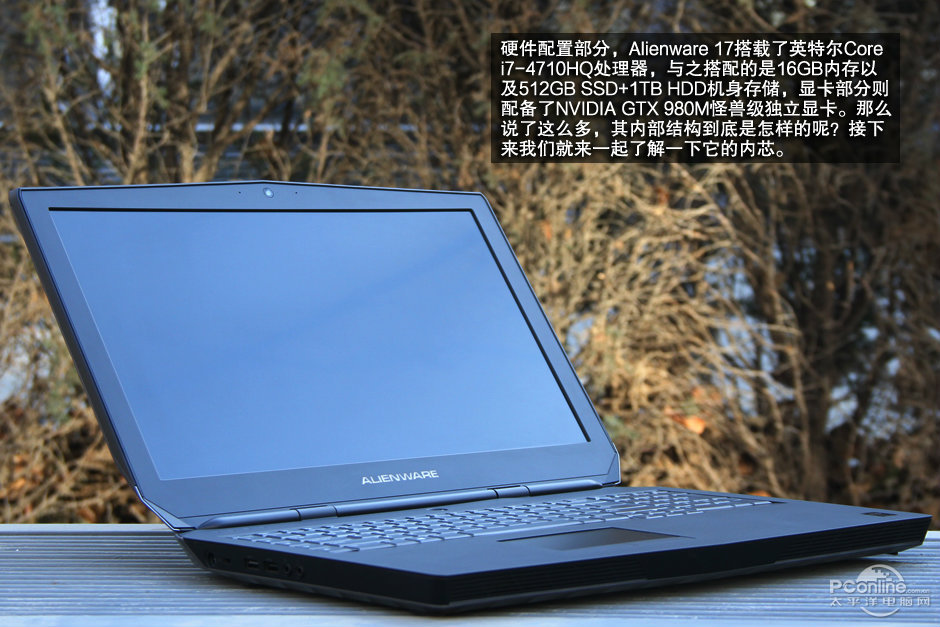
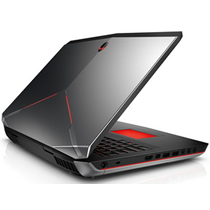
The Alienware 17 R2 is one of Dell’s latest gaming laptops. This laptop features a 17.3-inch display, a fourth-generation Intel Core i7-4710HQ processor, 16GB of RAM, and an NVIDIA GeForce GTX 980M graphics card. It comes pre-installed with Windows 8.1, allowing you to play games, surf the web, and handle all your digital entertainment needs right out of the box.
This laptop is specifically designed for gaming. Gaming laptops are equipped with high-end CPUs and graphics cards, allowing players to enjoy the latest released games with high resolutions and high frame rates. To support the high-performance components, these devices are generally thicker and heavier.
Want to be the first to see inside the latest gadgets? Follow us on Facebook for the latest news from MyFixGuide.com.
Specification
Screen: 17.3 inch 16:9, 1920×1080 pixel IPS screen
Processor: Intel Core i7-4710HQ 2.5 GHz processor (6M cache, up to 3.50 GHz)
Graphics: NVIDIA GeForce GTX 980M 4GB GDDR5
Memory: 16GB DDR3L 1600 (2 x DIMMs)
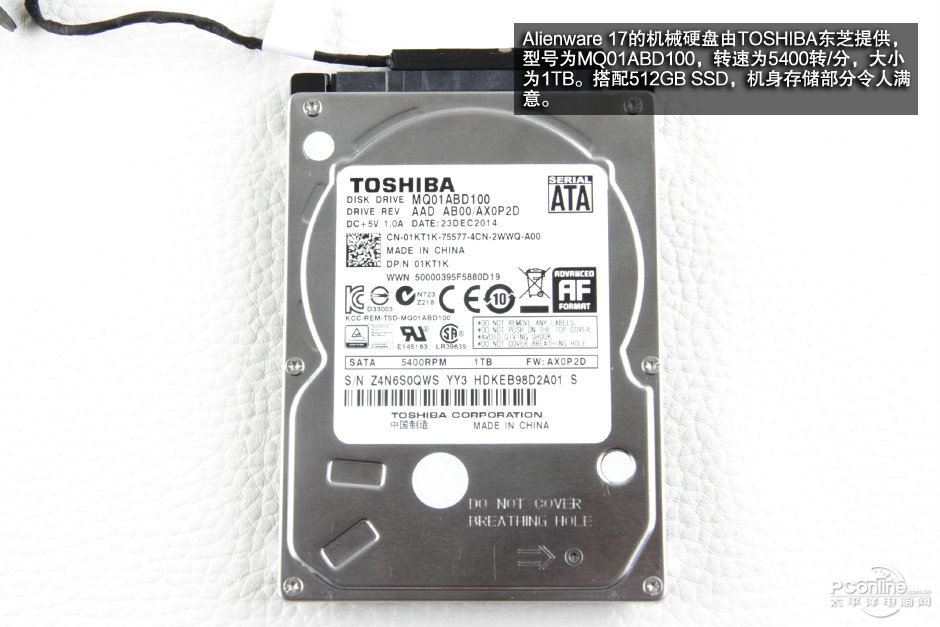
Storage: 1TB 2.5-inch 5400 RPM HDD, 512GB M.2 SSD
Connectivity: Killer Wireless-n/a/ac 1525 Wireless Network Adapter (a/b/g/n/ac), Bluetooth 4.1
Ports: 4x USB 3.0 / 3.1 Gen1, 1x HDMI, 1x DisplayPort, 1x Kensington lock, 1x 3.5mm audio jack, 1x Card Reader, 1x port for the Alienware graphic amplifier
Battery: 96 Wh Lithium-Ion battery
Operating system: Windows 8.1
Size: 430 × 291.9 × 34.4mm
Weight: 3.78kg
1. Remove the service cover
Remove the two screws securing the service cover.
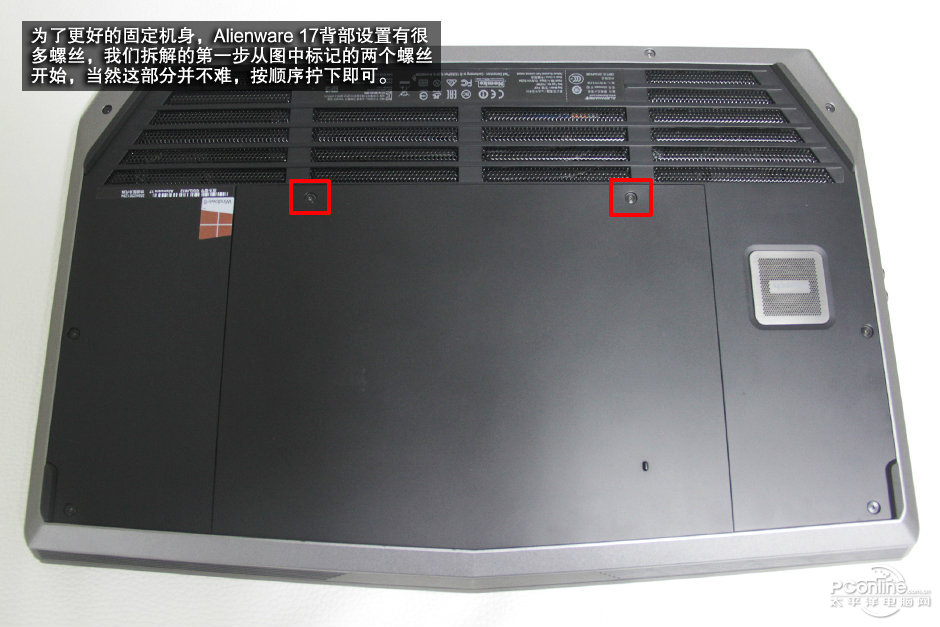
Slide down and remove the service cover.
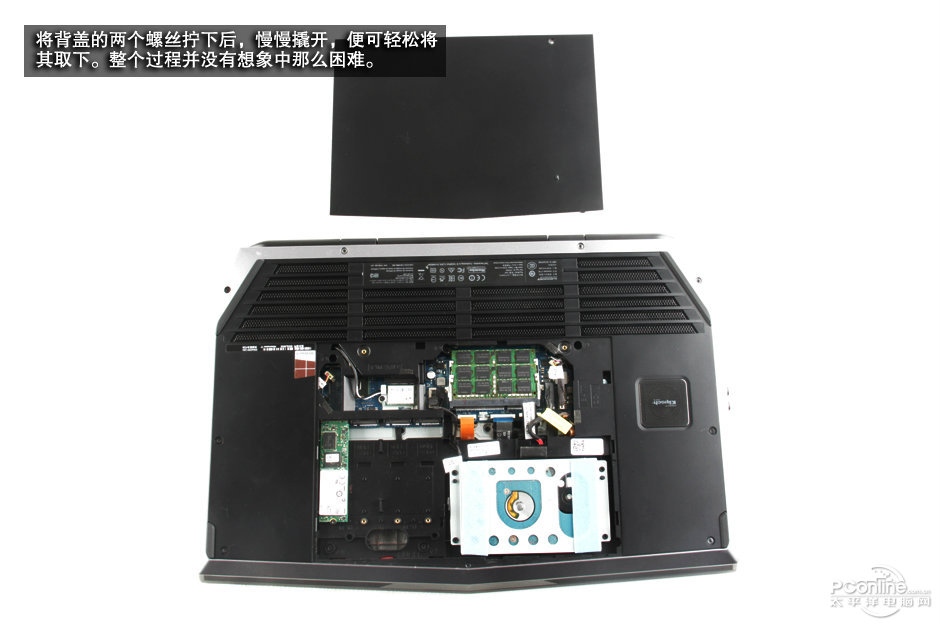
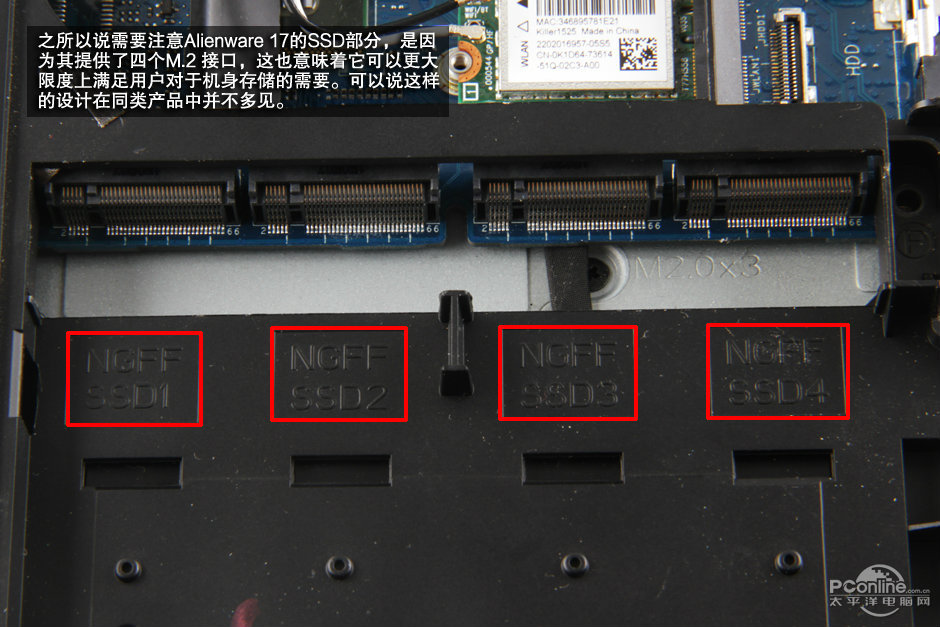
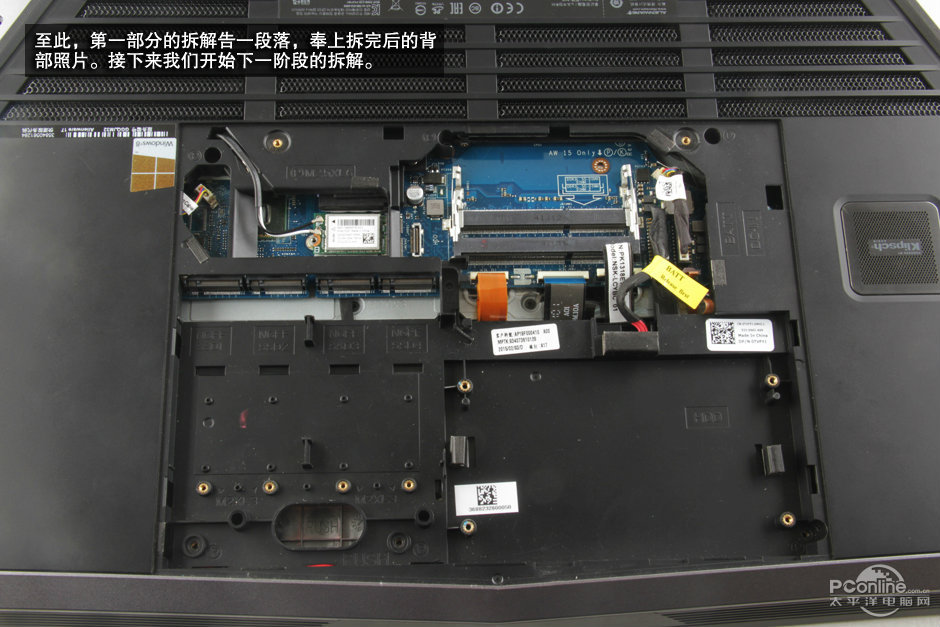
Under the cover, you can access the hard drive, wireless card, two RAMs, one SSD, and three spare M.2 SSD slots.
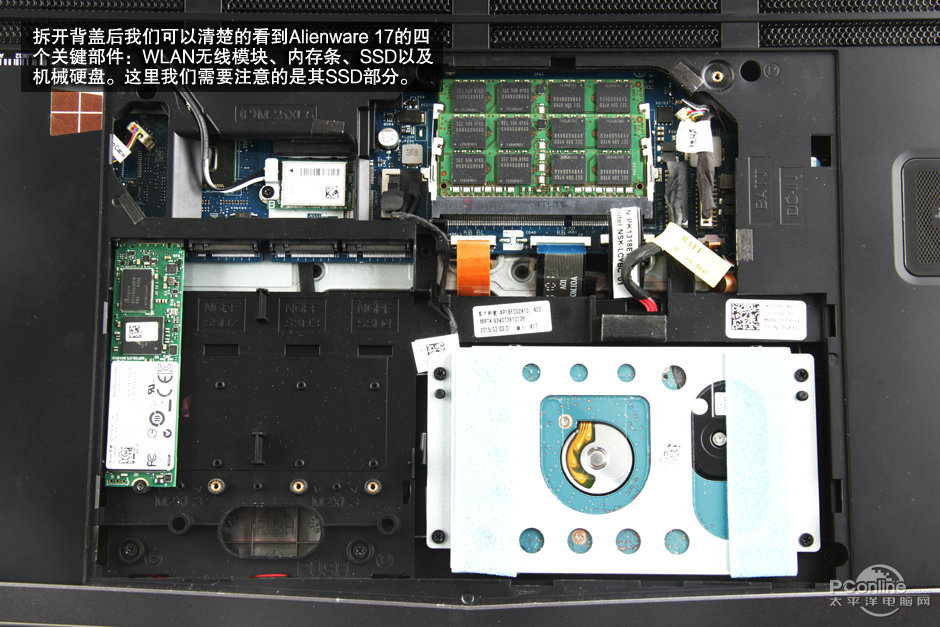
This Alienware 17 R2 features four M.2 SSD slots.
2. Remove the RAM modules
Use your nails to separate the clips on both sides, and the memory module will pop out automatically.
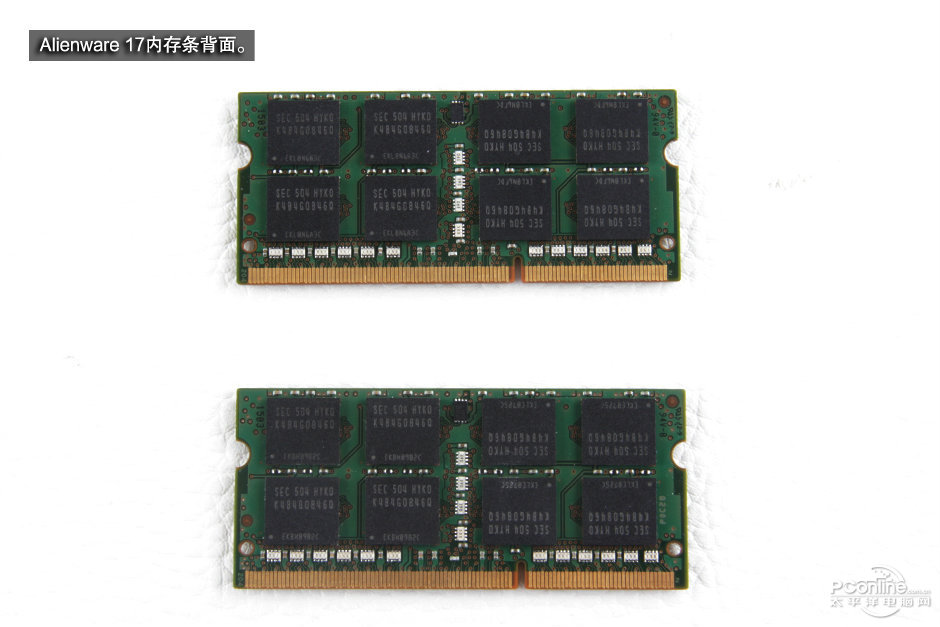
This Alienware 17 R2 comes with two Samsung 8GB PC3L-12800S RAM modules.

2. Remove the SSD
Remove the screw securing the SSD and carefully remove it from the M.2 slot.
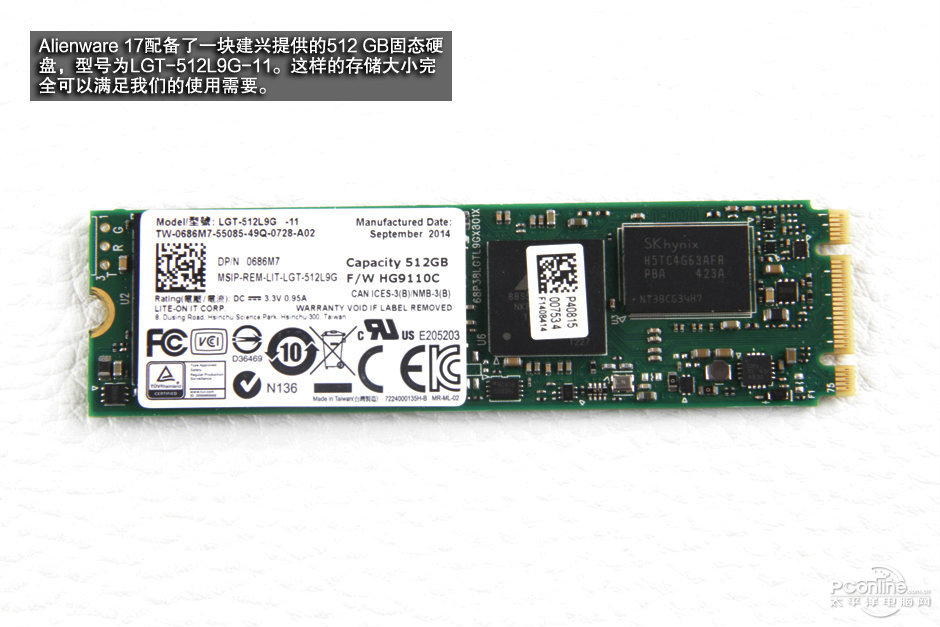
The Alienware 17 R2 comes with a Lite-On LGT-512L9G SSD; its Dell part number is 0686M7.
Lite-On LGT-512L9G SSD Specification
Random read speed up to 85,000 IOPS, random write speed up to 75,000 IOPS.
Lite-On L9G 512GB’s random read speed is 85,000 IOPS, which is 13% faster than the average 512 GB SSD.
Lite-On L9G 512GB’s random write speed is 75,000 IOPS, which is 15% faster than the average 512 GB SSD.
Sequential read speed up to 520 MB/s, sequential write speed up to 440 MB/s.
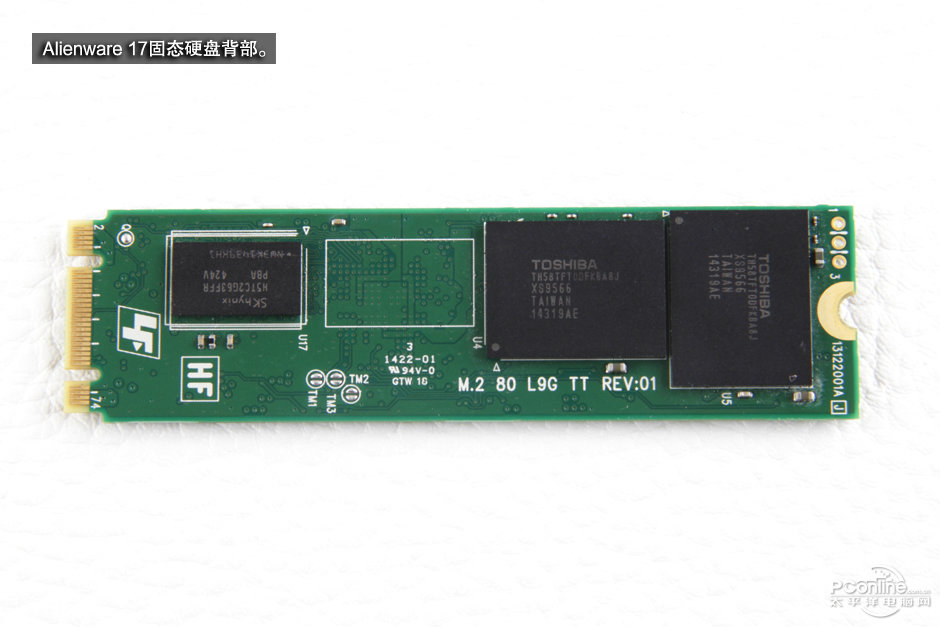
From the back of the SSD, the size is 22 mm x 80 mm.
3. Remove the hard drive
Remove the four screws securing the hard drive module and disconnect the HDD cable from the motherboard.
Lift it and remove it from the laptop.
The Alienware 17 R2 features a Toshiba 1TB 5400 RPM MQ01ABD100 hard drive, with a Dell part number of 01KT1K.
4. Remove the palm rest and keyboard
Remove all visible screws from the bottom cover.
Turn over the laptop. Pry up the palm rest with a pry bar or similar tool.
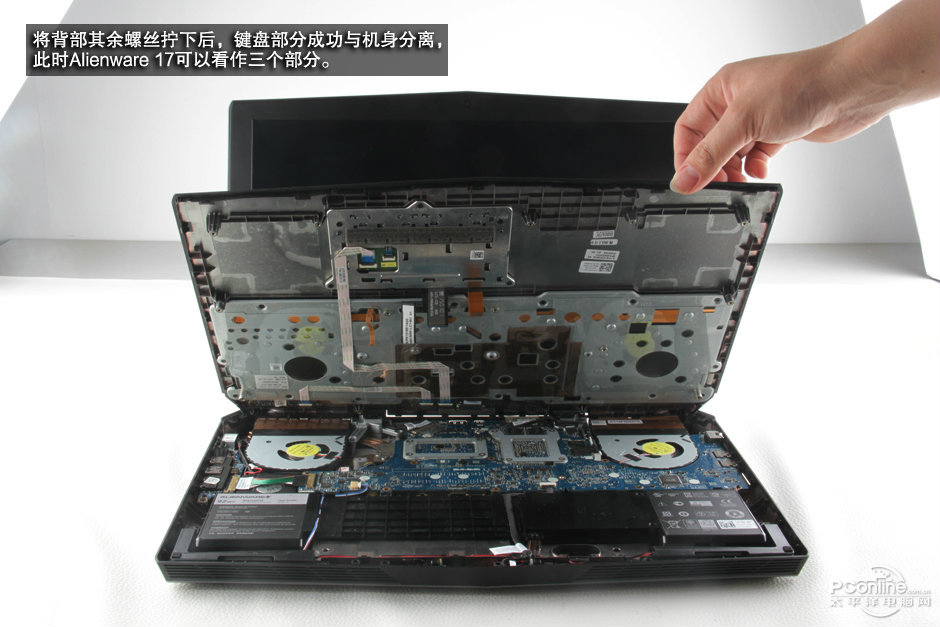
Lift the palm rest. There are still some cables connecting the palm rest to the motherboard.
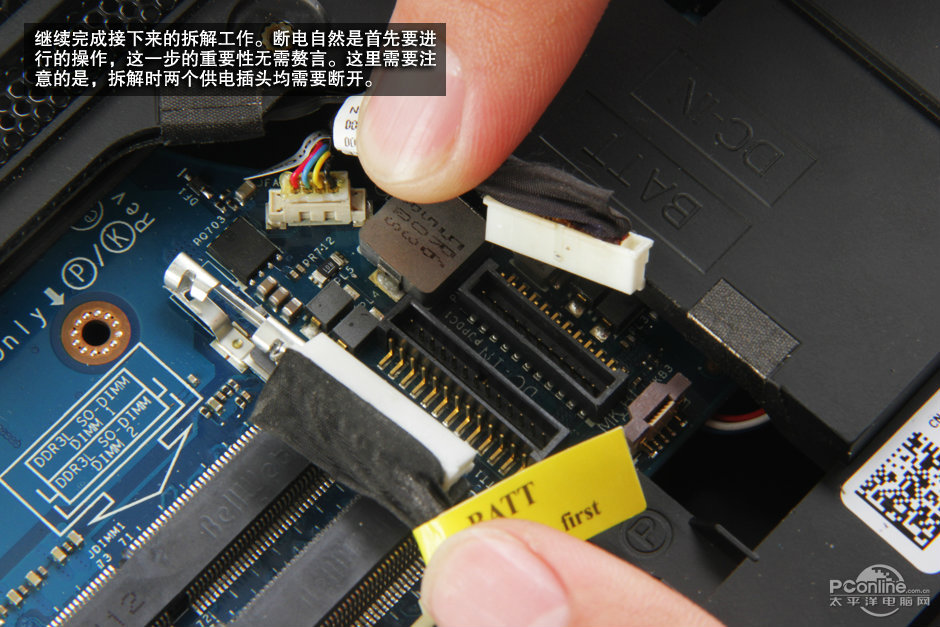
Before disconnecting the cables, we should first disconnect the battery.
5. Disconnect the battery connector
Disconnect the battery connector from the motherboard.
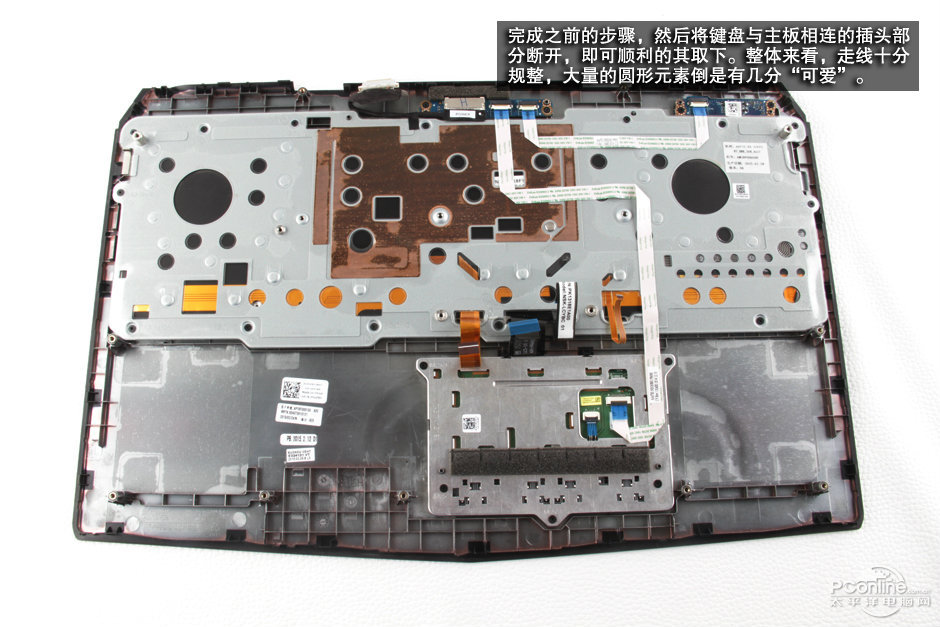
Disconnect the keyboard cable and touchpad cable from the motherboard. You can remove the palm rest.
On the back of the palm rest, you can access the touchpad keyboard and two small boards.
Now, you can remove the keyboard and replace it with a new keyboard.
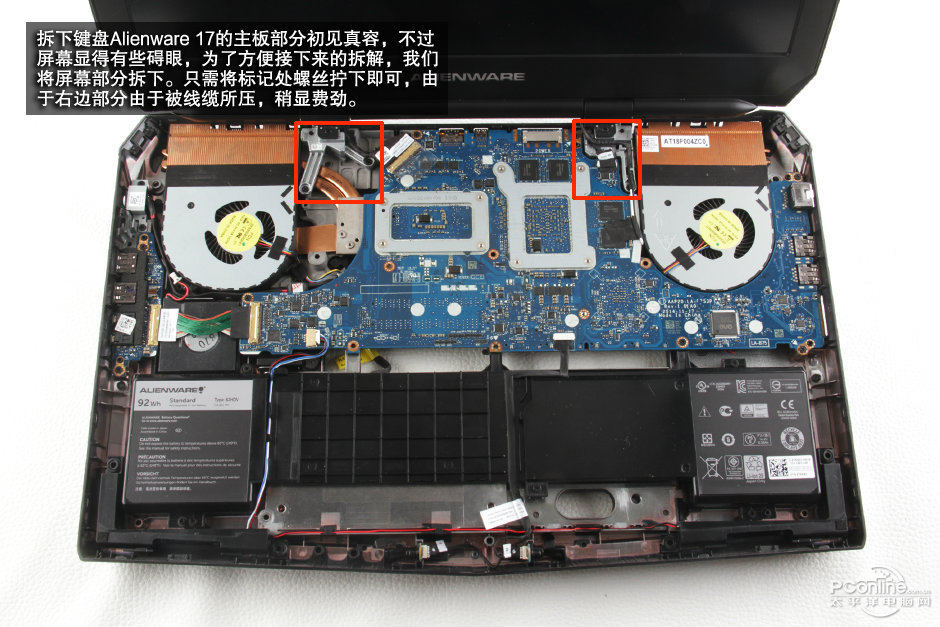
6. Remove the screen assembly
To remove the motherboard, we must first remove the screen assembly.
Remove all screws securing the LCD hinges (left and right) and disconnect the LCD cable from the motherboard. You can remove the screen assembly.
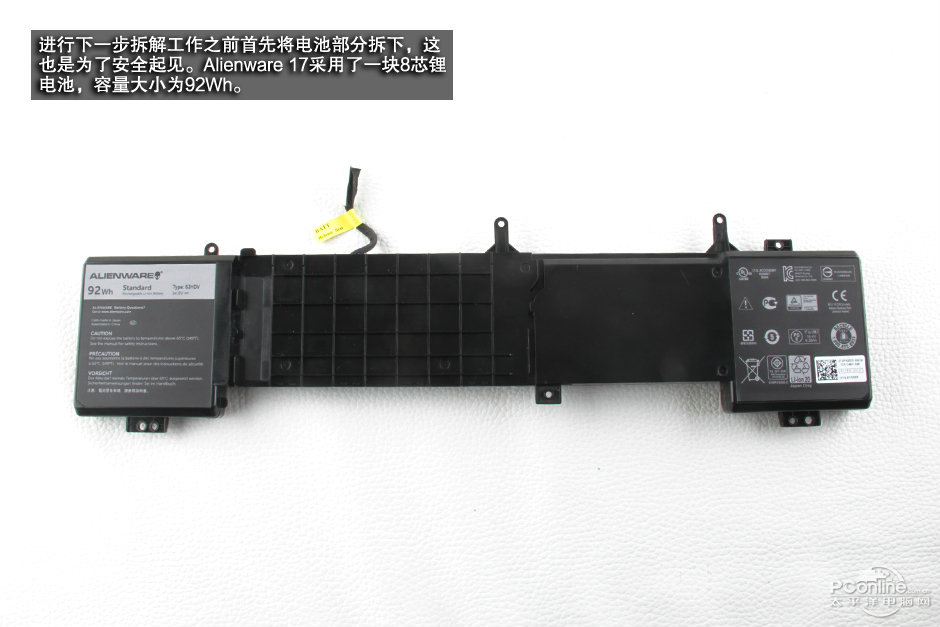
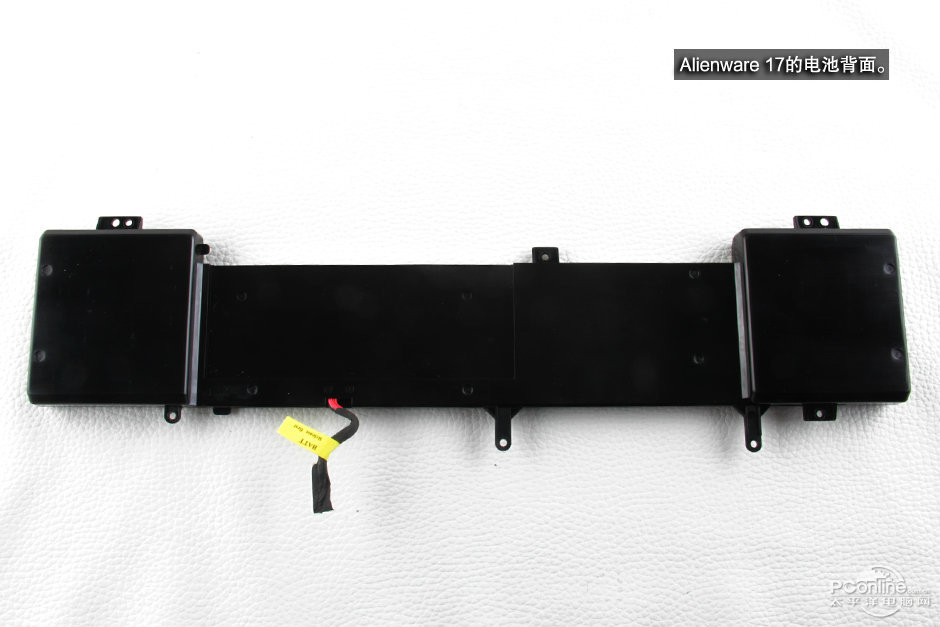
7. Remove the battery
Remove all screws securing the battery. Lift and remove it.
The gaming laptop features a 92Wh battery. The battery life lasts up to 6 hours and 25 minutes, which is impressive.
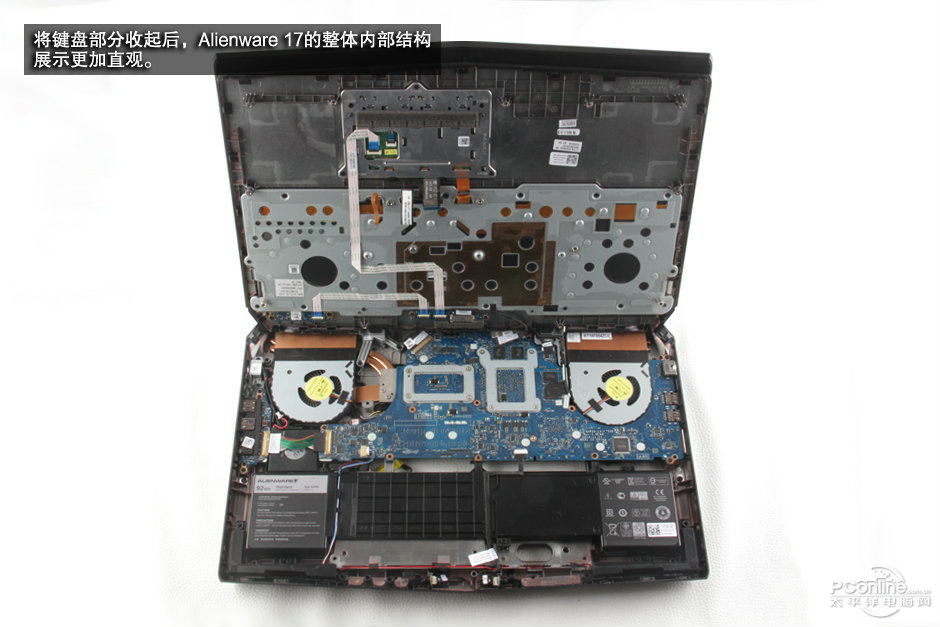
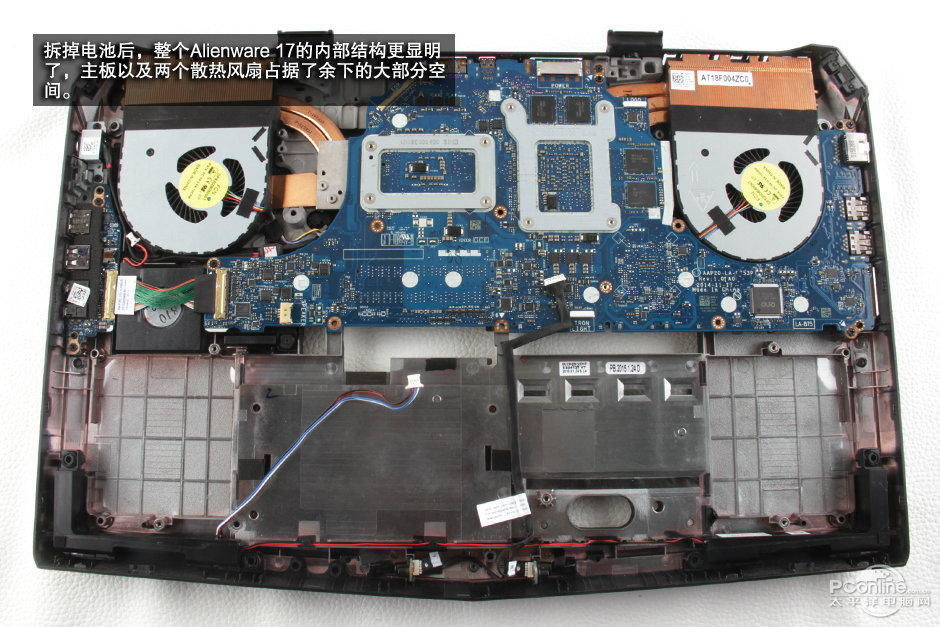
7. Remove the motherboard
When the screen assembly is removed, you can access the motherboard, speakers, DC jack, USB board, heat sink, and cooling fan module.
Disconnect the speaker cable and USB board cable from the motherboard.
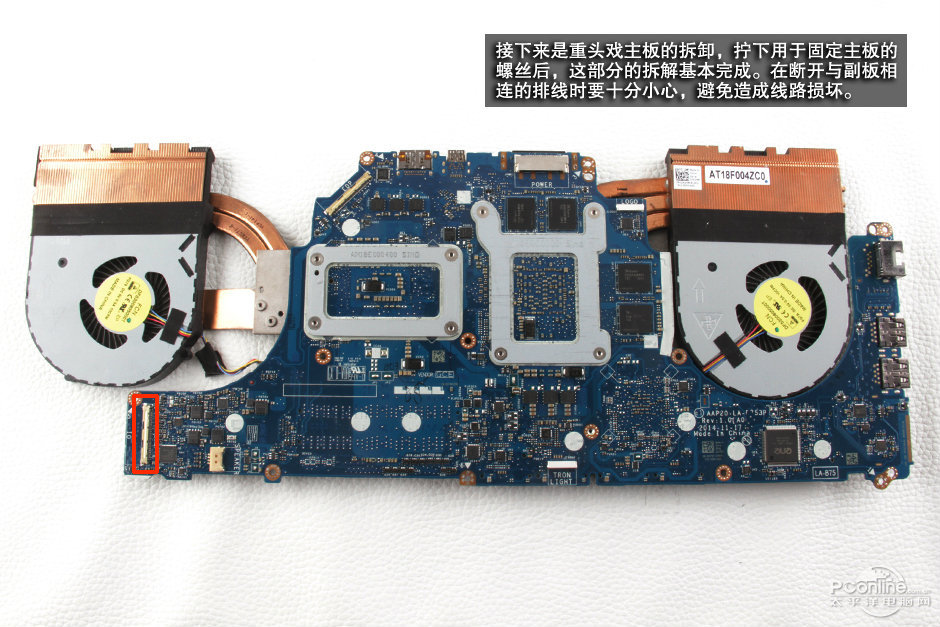
Remove all screws securing the motherboard, and then lift and remove the motherboard from the laptop.
Alienware 17 R2 motherboard
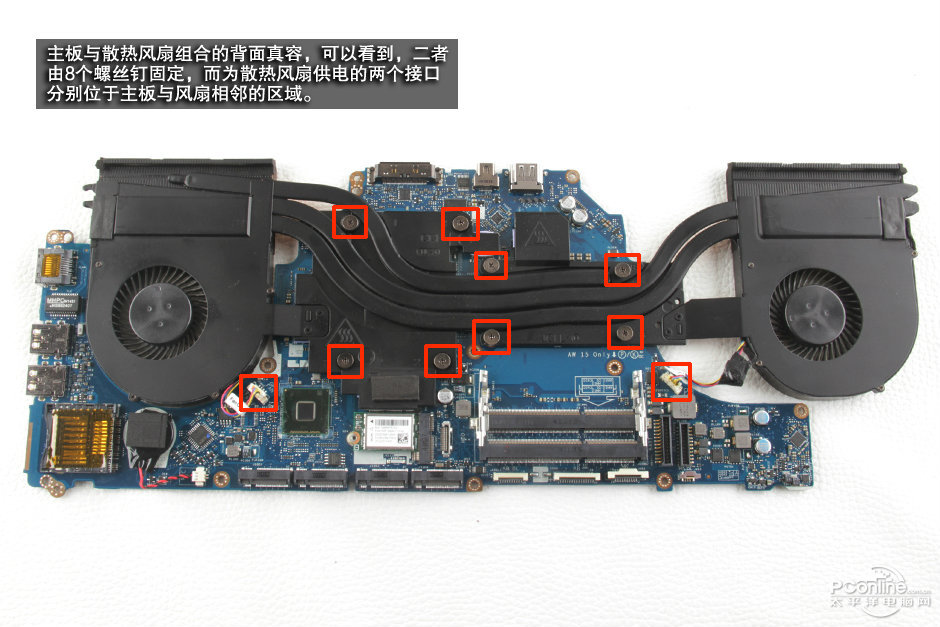
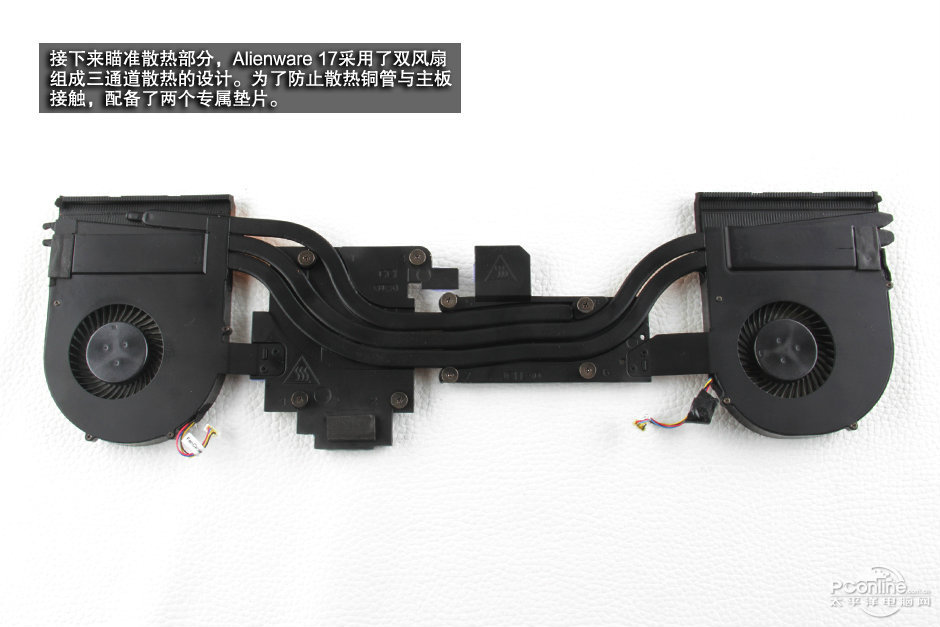
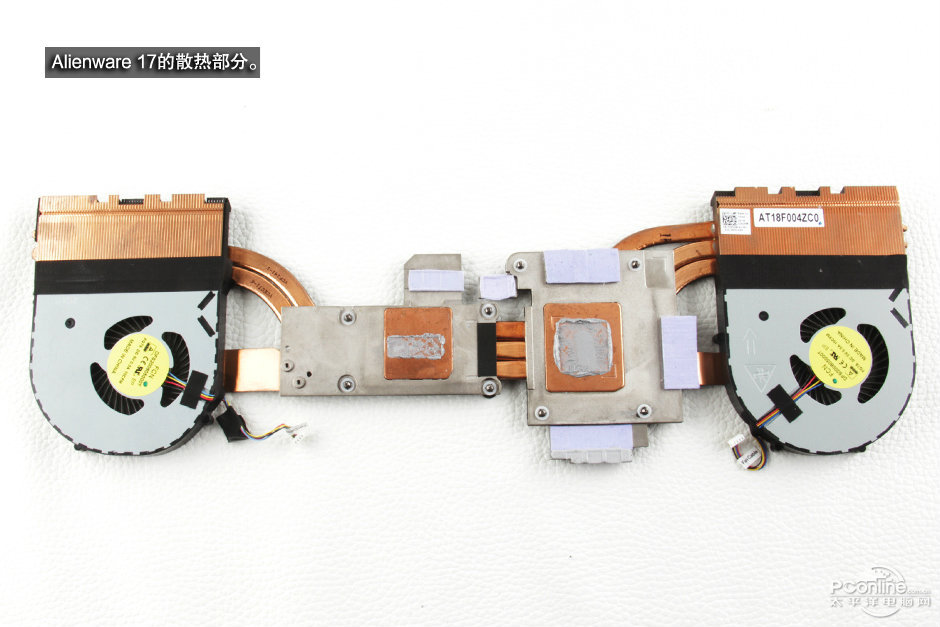
8. Remove the heat sink and cooling fan
Loosen the eight screws securing the heat sink.
Disconnect the two fan cables from the motherboard. You can remove the heat sink and cooling fan module.
9. Remove the wireless card
Unplug the two antennas and remove the screw. You can remove the wireless card.
The laptop features a Killer1525 wireless card. The Dell part number is 0K1D64.

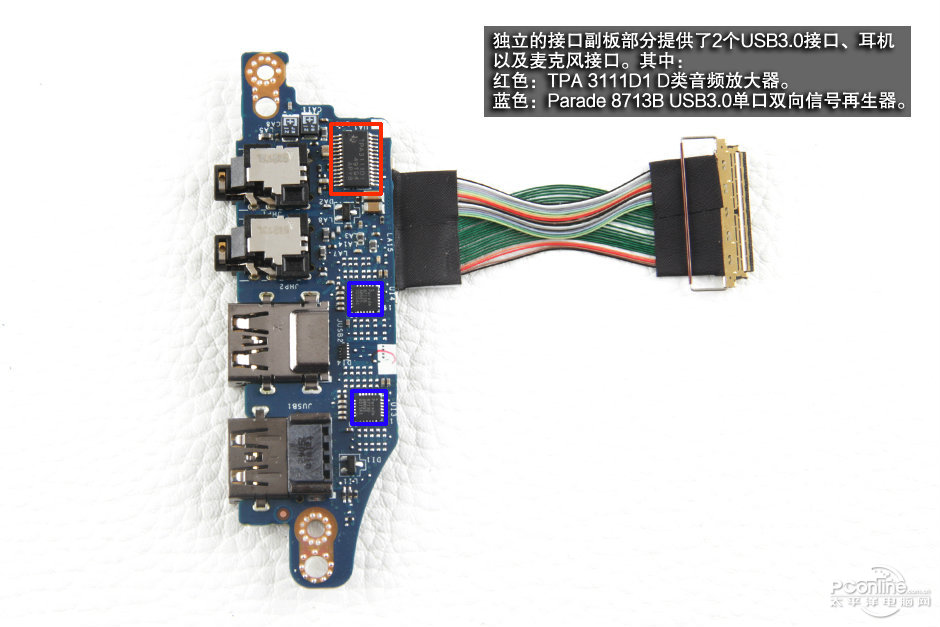
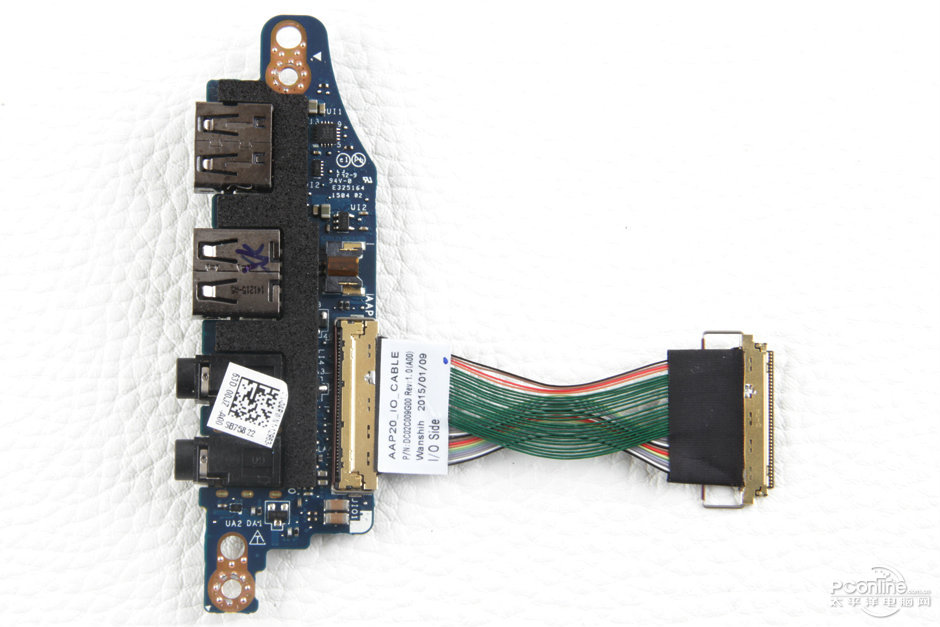
10. Remove the USB board
Remove the two screws securing the board.
The USB board has two USB 3.0 ports, a headset jack, and a microphone jack.
Red: TPA 311D1 Class D audio amplifier
Blue: Parade 8713B USB 3.0 repeater/redrive, bidirectional
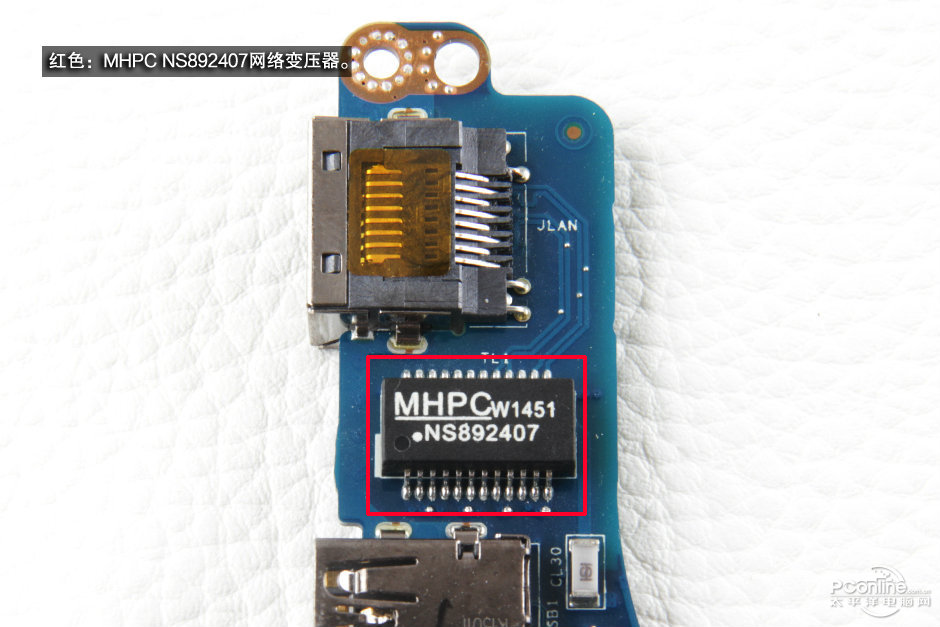
11. Chips on the motherboard
Red: MHPC NS892407 Network Transformers
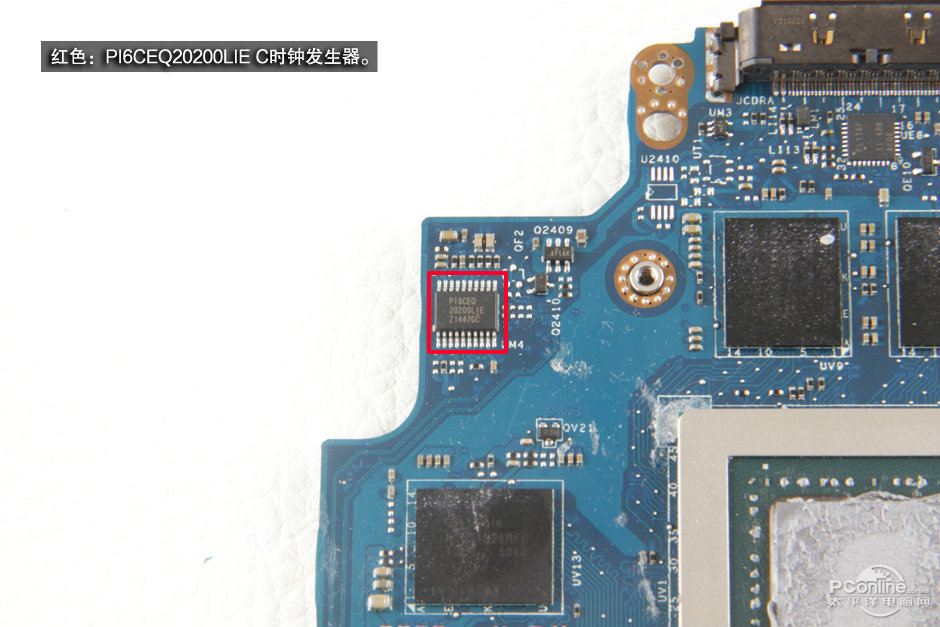
Red: Pericom PI6CEQ20200LIE C Clock Generator
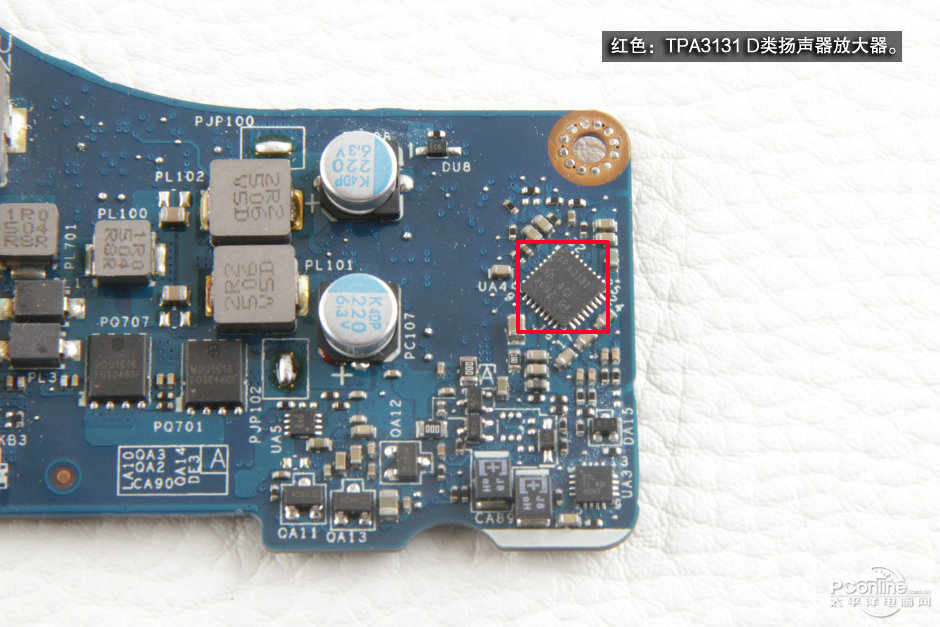
Red: TPA3131 Class D audio amplifier
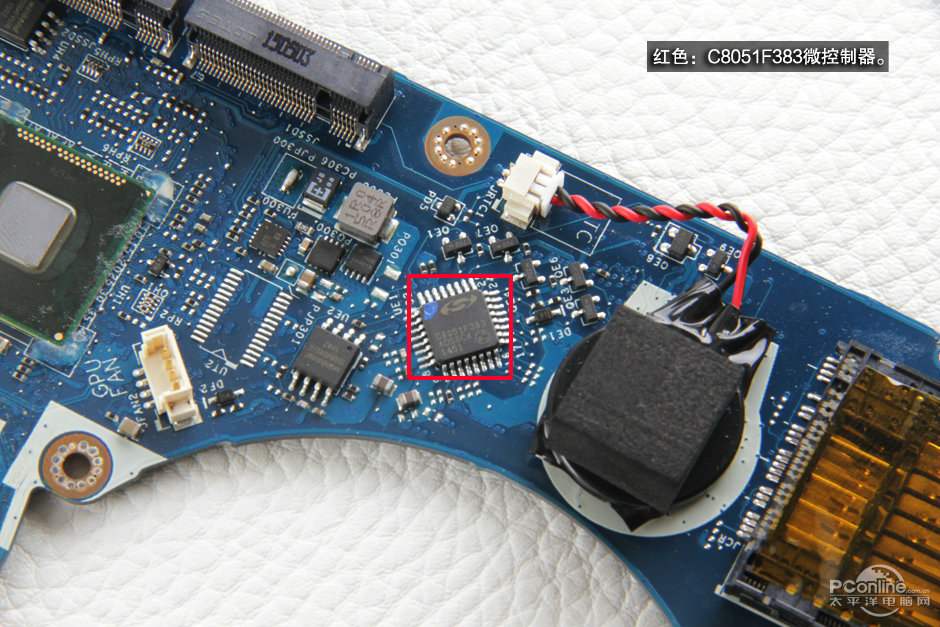
Red: C8051F383 microcontroller
Red: CREATIVE CAL132 audio chip

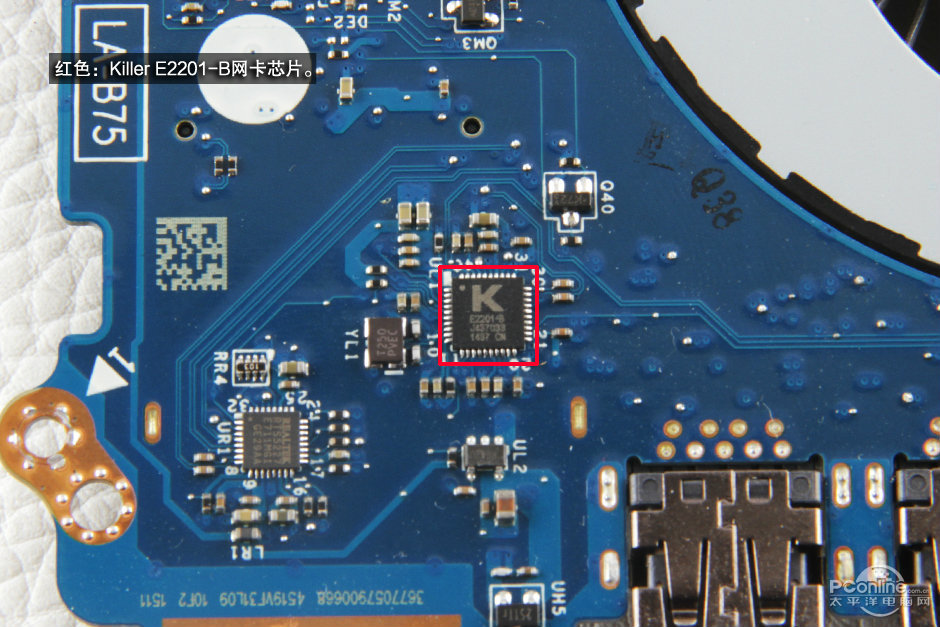
Red: Killer E2201-B network card chip
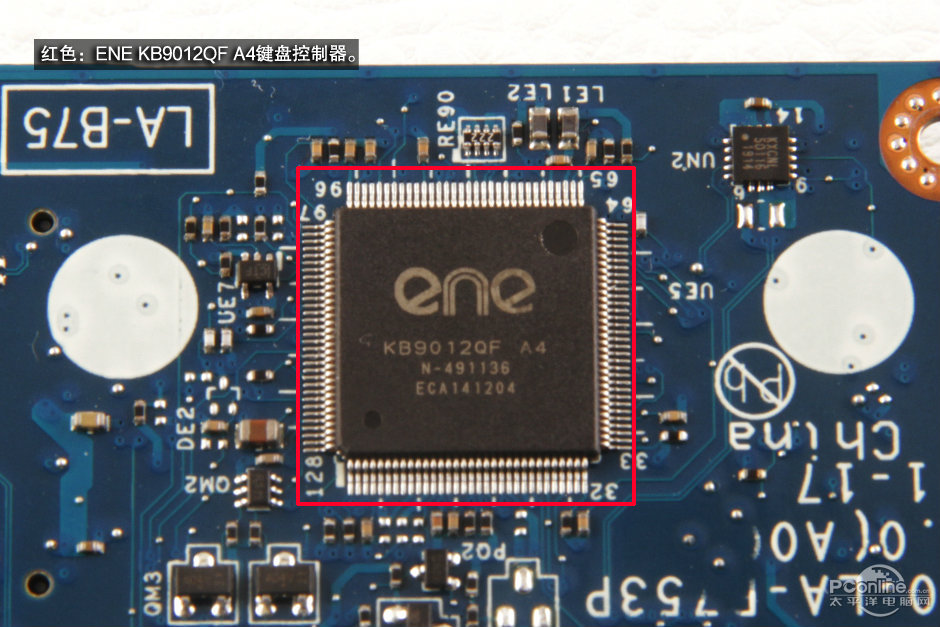
Red: ENE KB9012QF A4 Keyboard Controller
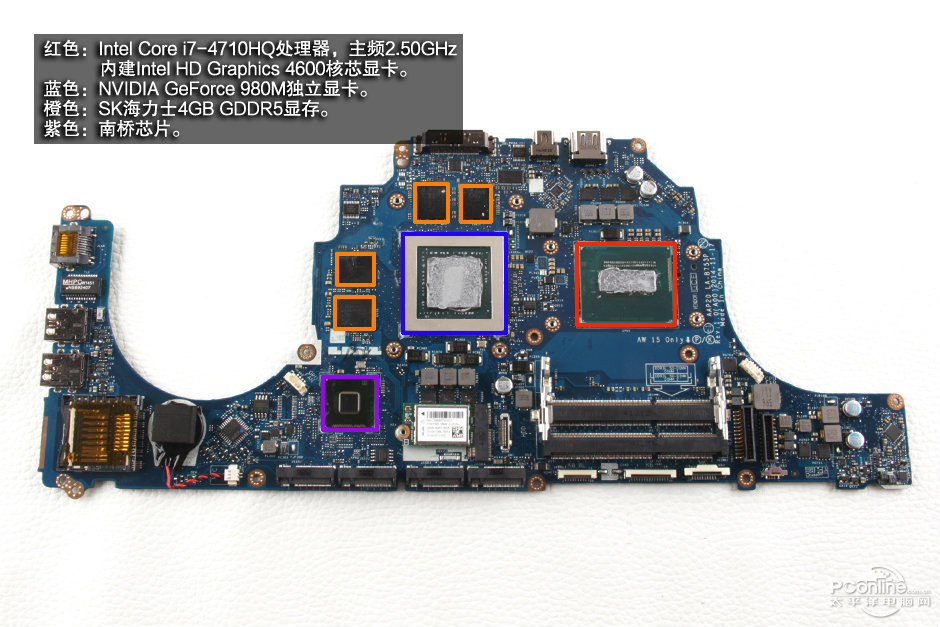
Red: Intel Core i7-4710HQ 2.5 GHz processor (6M Cache, up to 3.50 GHz)
Blue: NVIDIA GeForce GTX 980M 4GB GDDR5
Orange: SK Hynix 4GB GDDR5 video memory
Purple: South Bridge chip
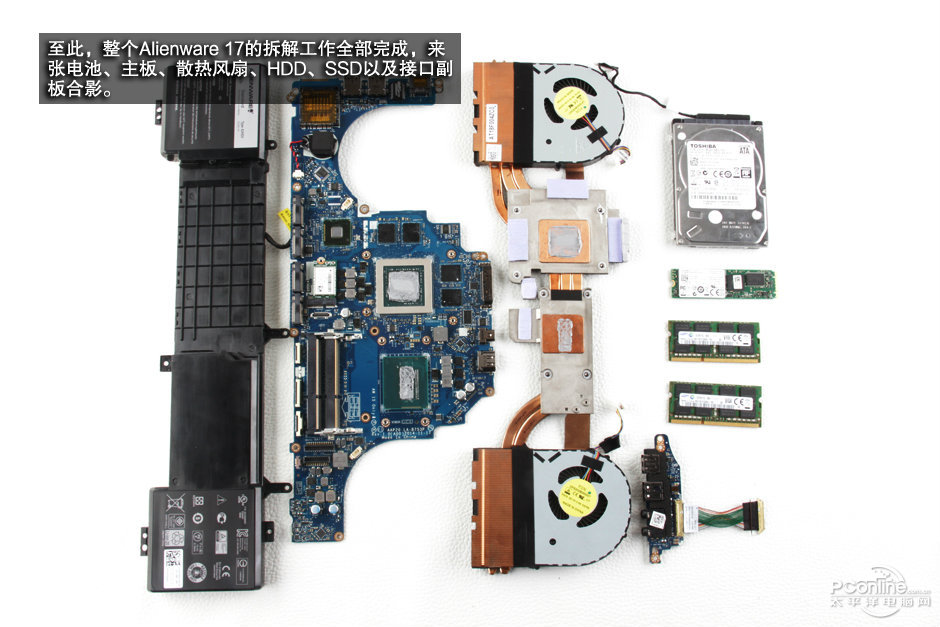
Alienware 17 R2 internal parts
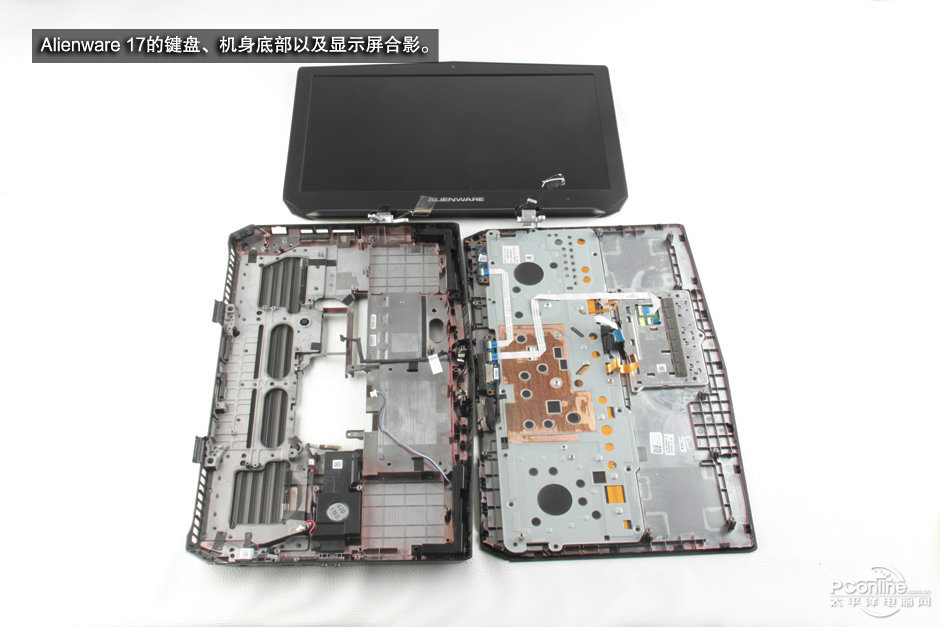
Alienware 17 R2 bottom cover, palm rest, and display assembly
Alienware 17 has MXM graphics cards. Is it soldered to the motherboard?
Hi
The MXM graphics card is not soldered to the motherboard. You can remove and replace it.