In this guide, I will explain how to disassemble the HP Pavilion 13. I will remove the battery, RAM, wireless card, keyboard, palm rest, hard drive, heat sink, cooling fan, and motherboard.
Looking for more funny teardowns? Follow us on Facebook for all the latest repair news.
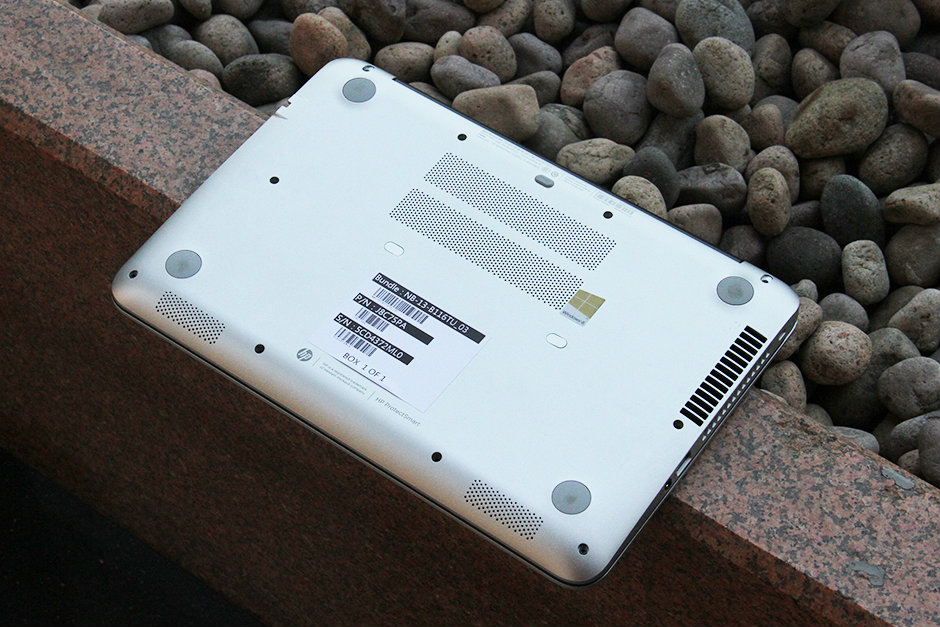
The laptop model is HP Pavilion 13-B116TU, P/N: J8C75PA.
First, remove all screws from the bottom cover.
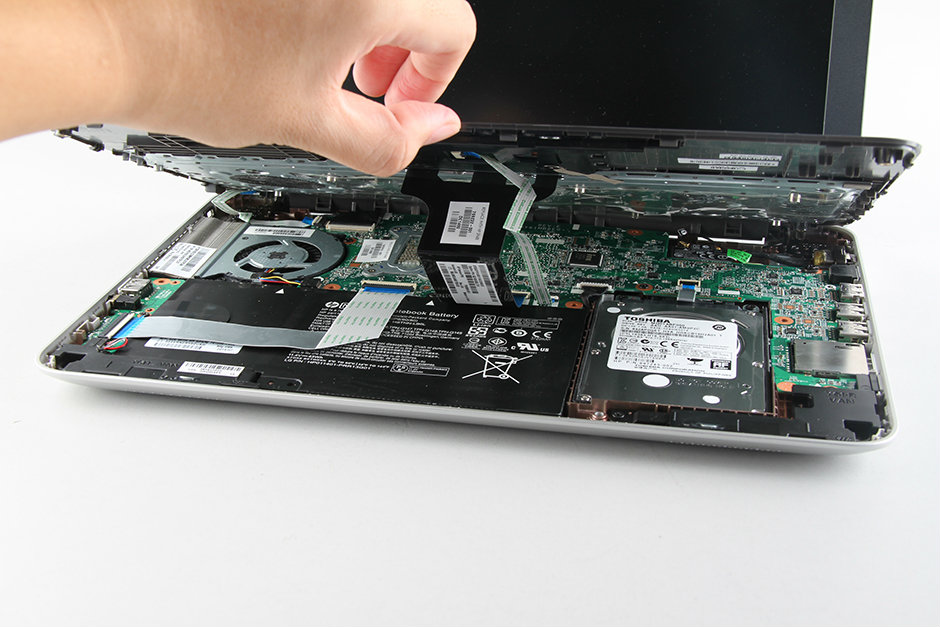
Open the laptop and insert a plastic pry tool between the bottom cover and palm rest. There are some clips on the palm rest to secure it to the bottom cover. Slide the pry tool to unlock all the clips to remove the palm rest.
Be careful, as the keyboard and touchpad cables are still connected to the motherboard.
Disconnect the keyboard cable and touchpad cable, and then remove the palm rest.
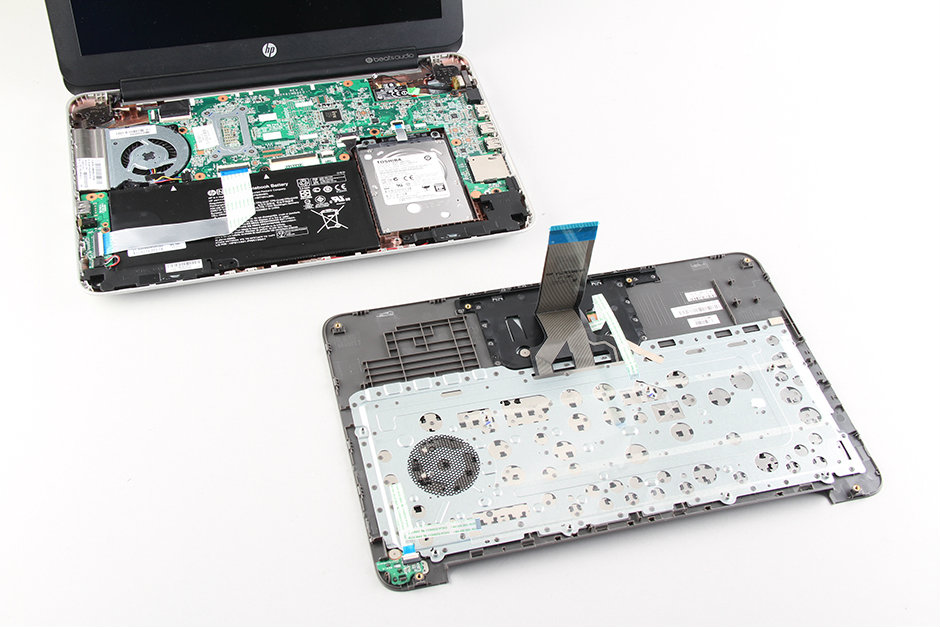
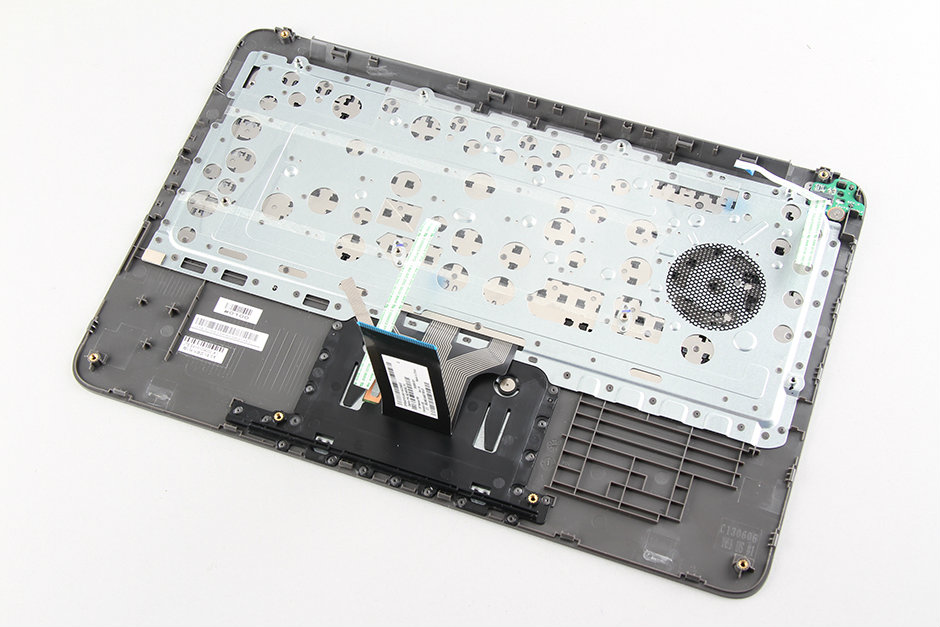
On the back of the palm rest, you can access the keyboard and palm rest assembly. Its keyboard is soldered onto the palm rest, and you need to use a soldering iron to melt the plastic anchors to remove the keyboard. For users without repair experience, replacing the keyboard is not easy.
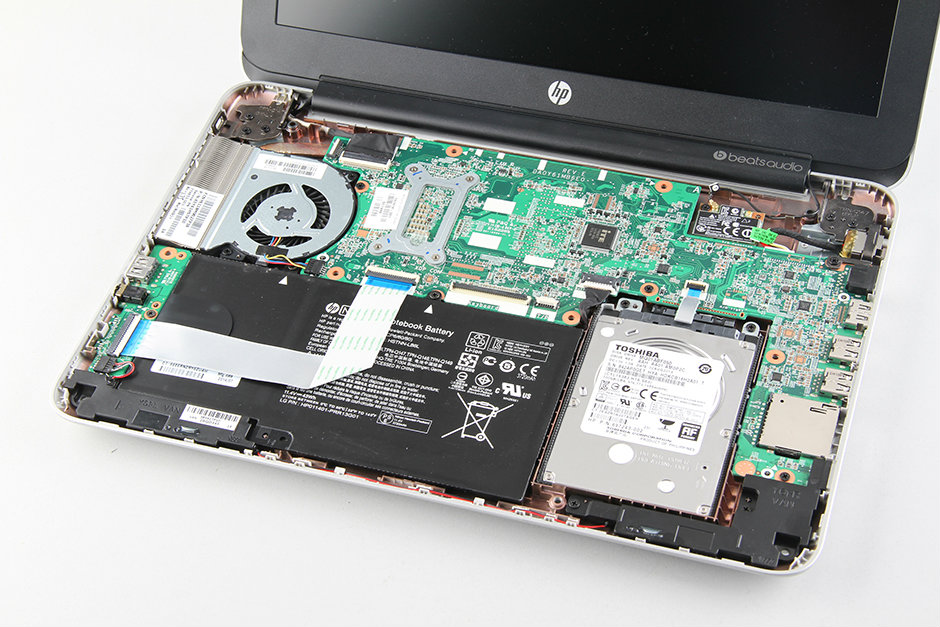
Under the palm rest, you can access the battery, hard drive, speaker, and cooling fan.
Disconnect the white cable and battery power cable. Remove the screws securing the battery.
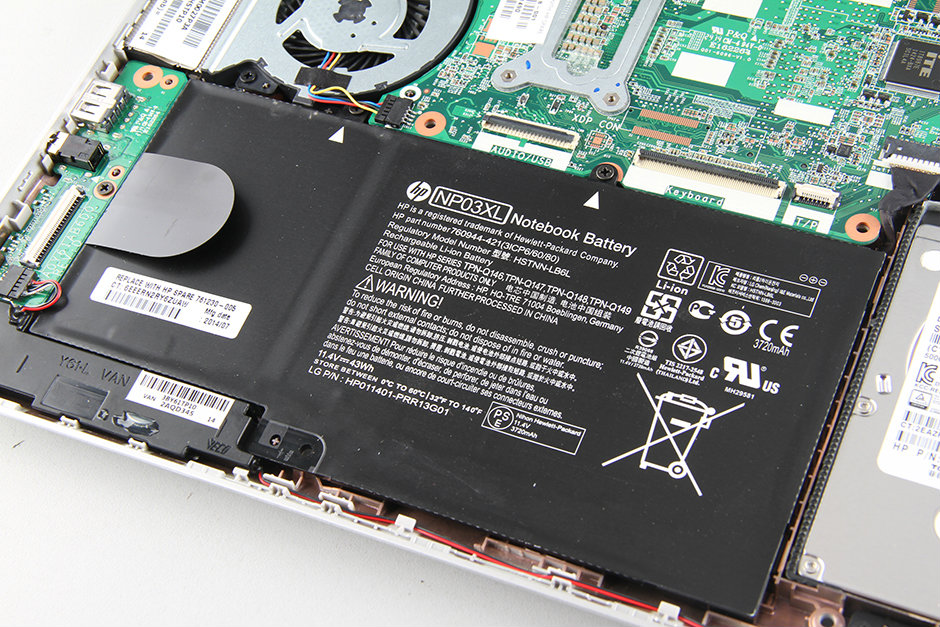
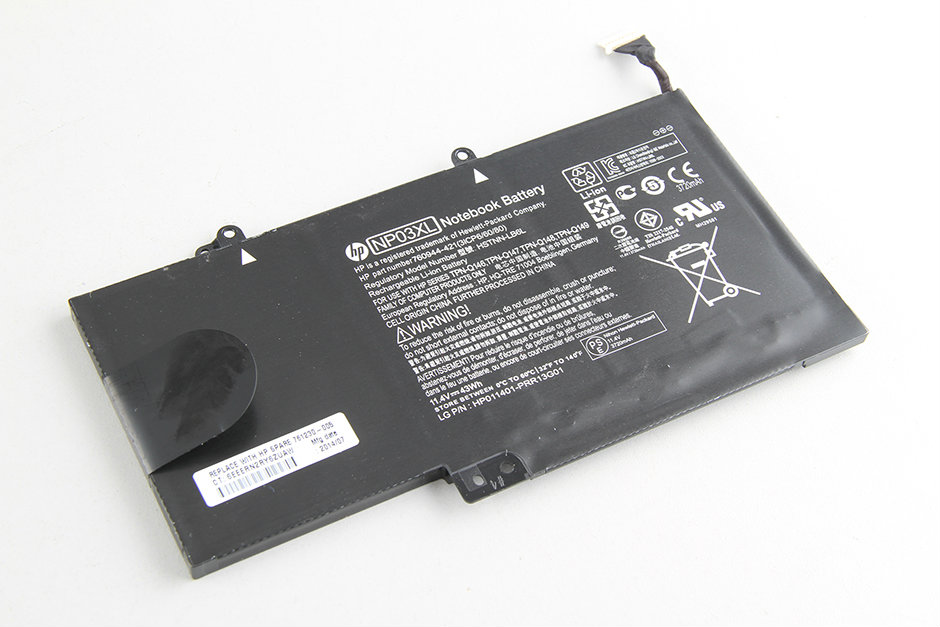
The HP Pavilion 13 comes with an 11.4V, 43Wh Li-ion battery. The HP part numbers are 760944-421 and HSTNN-LB6L. The battery cells should come from LG because the battery has the LG P/N: HP-011401-PRR13G01.
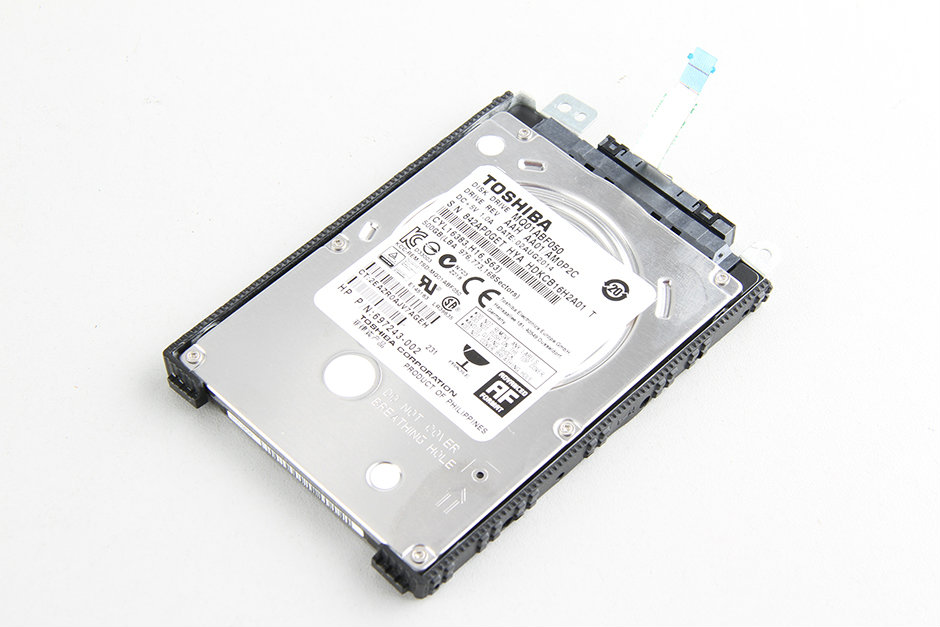
Disconnect the cable, remove the two screws securing the hard drive, and then remove the hard drive.
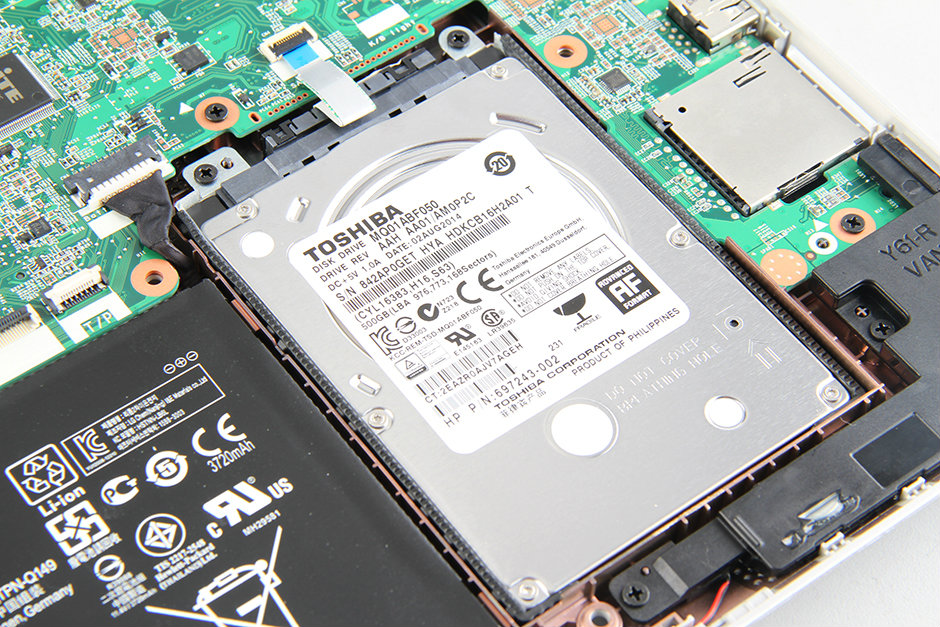
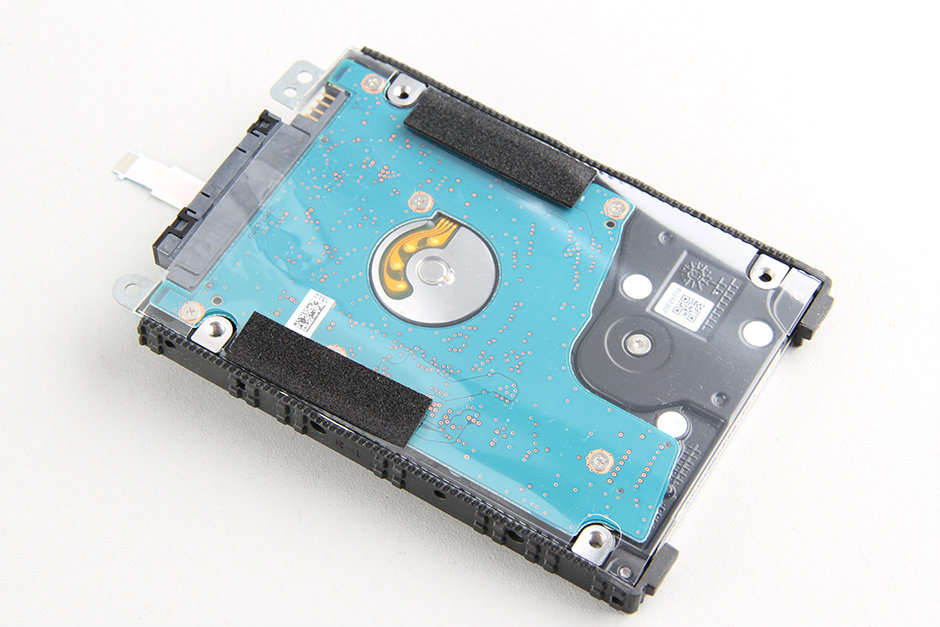
The HP Pavilion 13 comes with a Toshiba 500GB 5400 RPM hard drive. The hard drive is mounted on a plastic bracket. If you want to upgrade the hard drive, you need to remove it and install it on the new hard drive.
Disconnect the wireless card antenna and remove one screw. You can remove the wireless card.
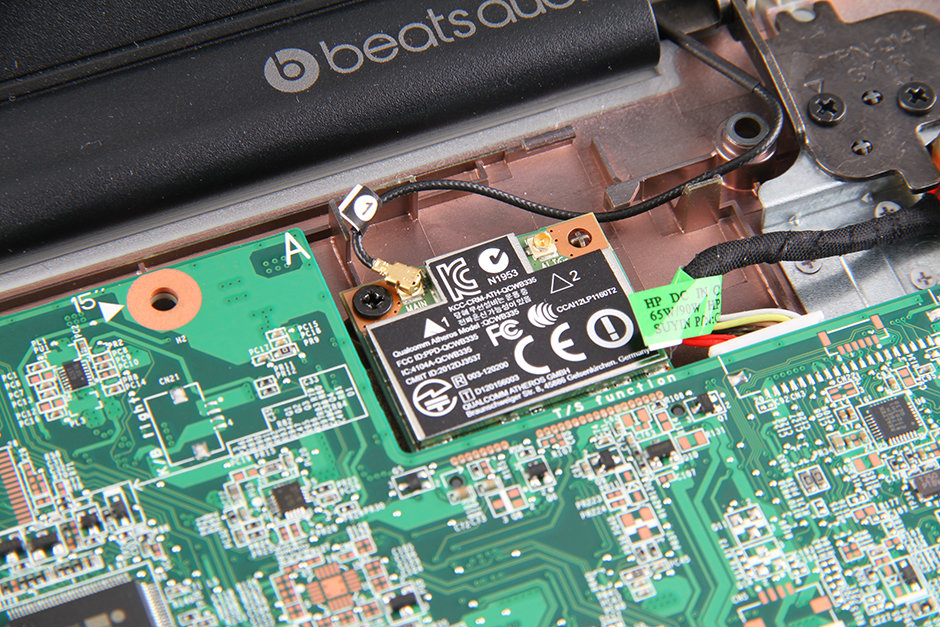
The HP Pavilion 13 features a Qualcomm Atheros QCWB335 wireless card.
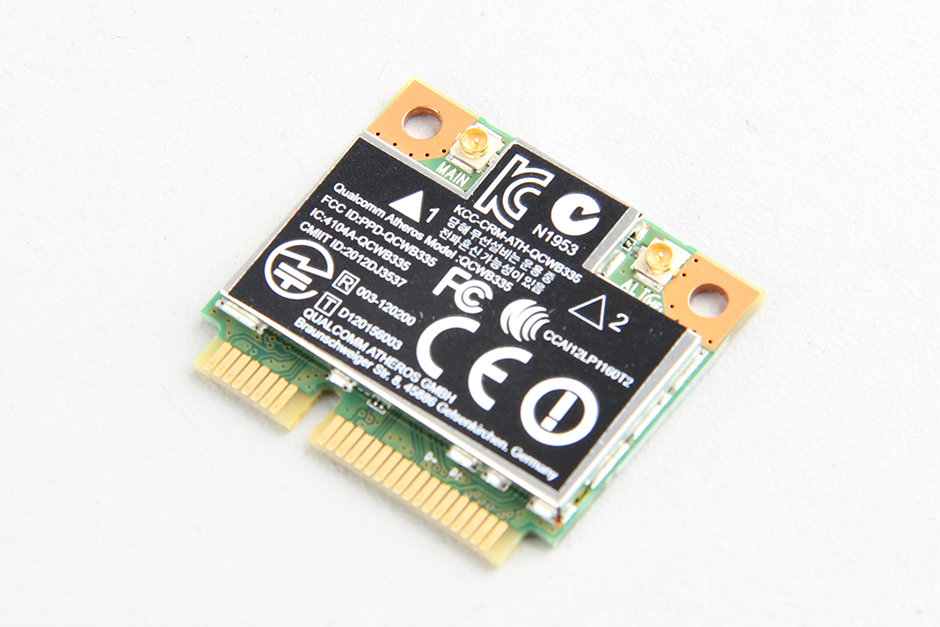
The part numbers of the wireless card are 733476-001 and 733268-001.

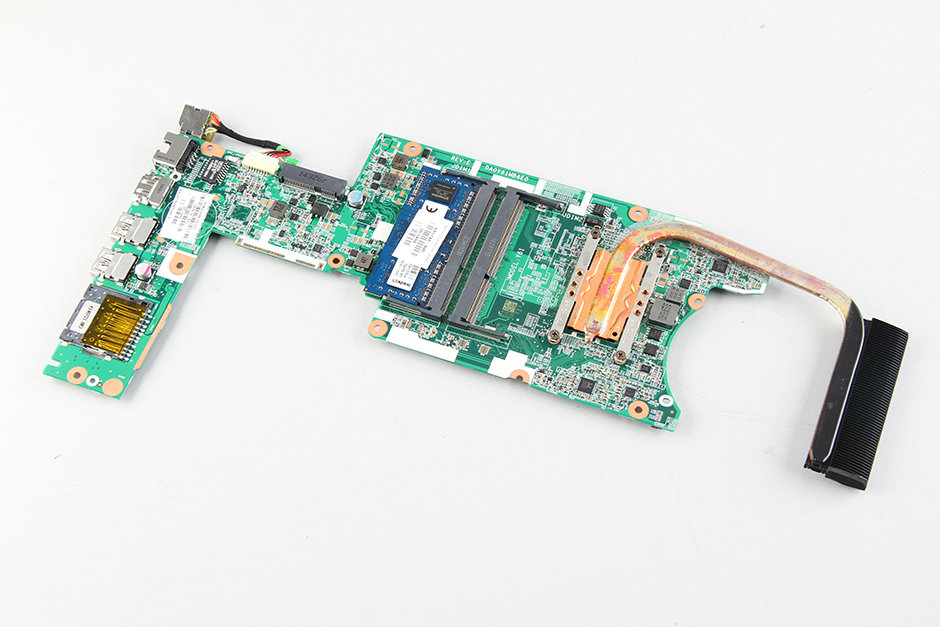
Remove all screws securing the motherboard and disconnect all ribbon cables. Lift the motherboard from one side with your hand and wiggle it until it fully detaches from the laptop.
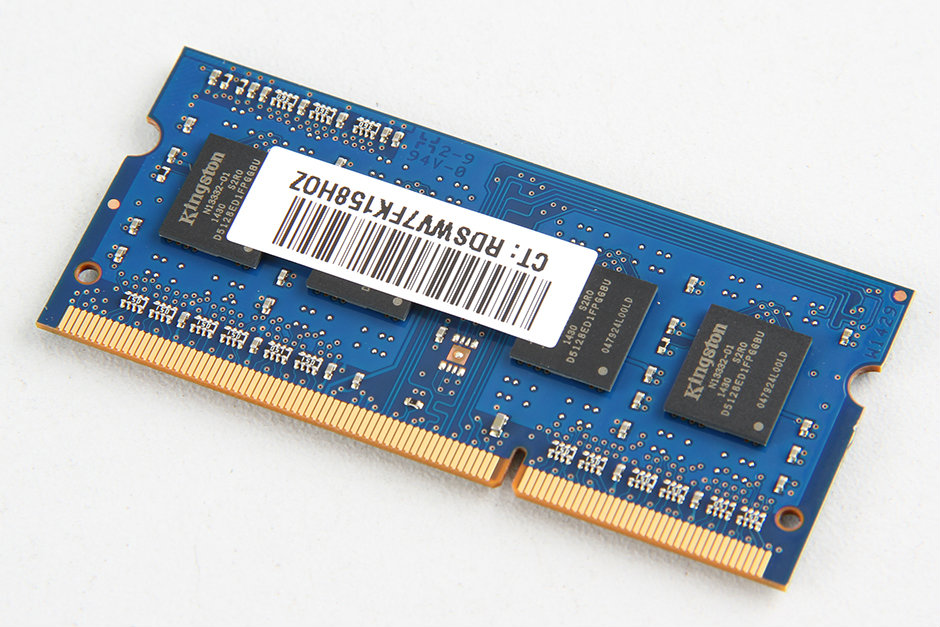
This laptop comes with two memory slots, allowing you to add another memory module to upgrade the memory.
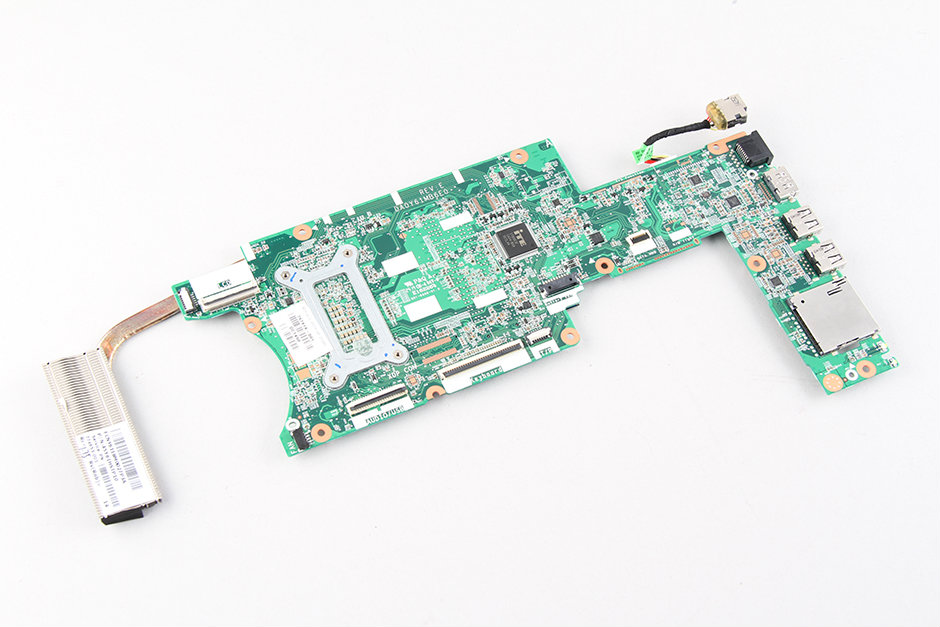
The back of the motherboard has no components, only a few small chips.
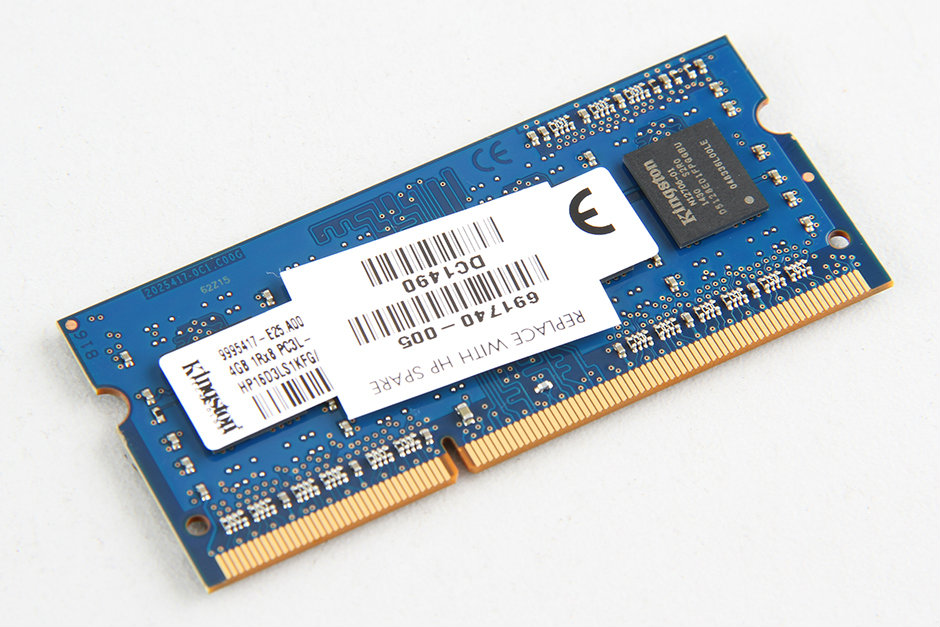
The HP Pavilion 13 comes with a 4GB Kingston PC3L-12800S RAM module.
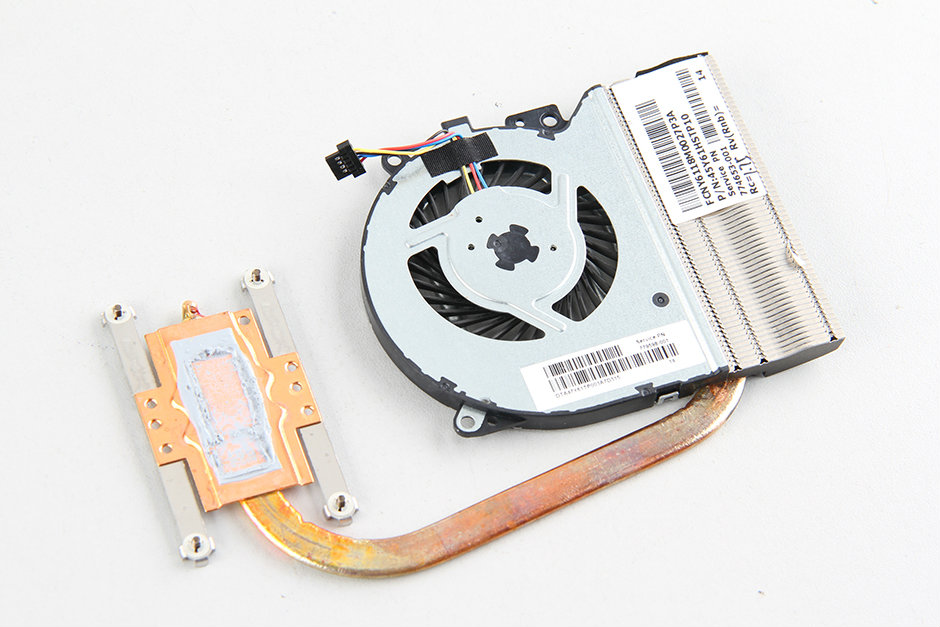
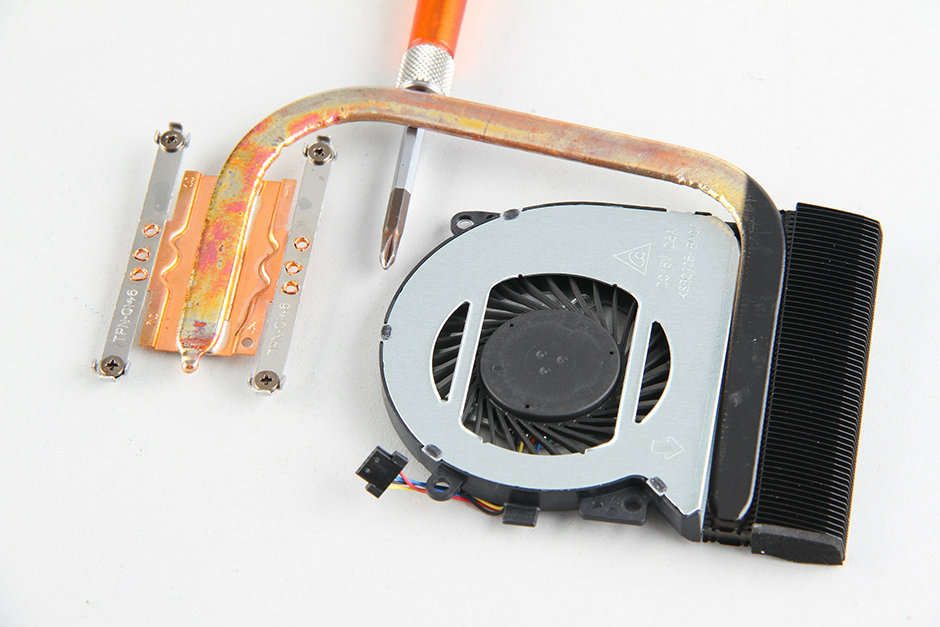
Remove the two screws securing the fan and loosen the four screws holding the heat sink in place. Disconnect the battery cable from the motherboard to remove the cooling system.
Now there is only a USB board and a speaker on the bottom cover.
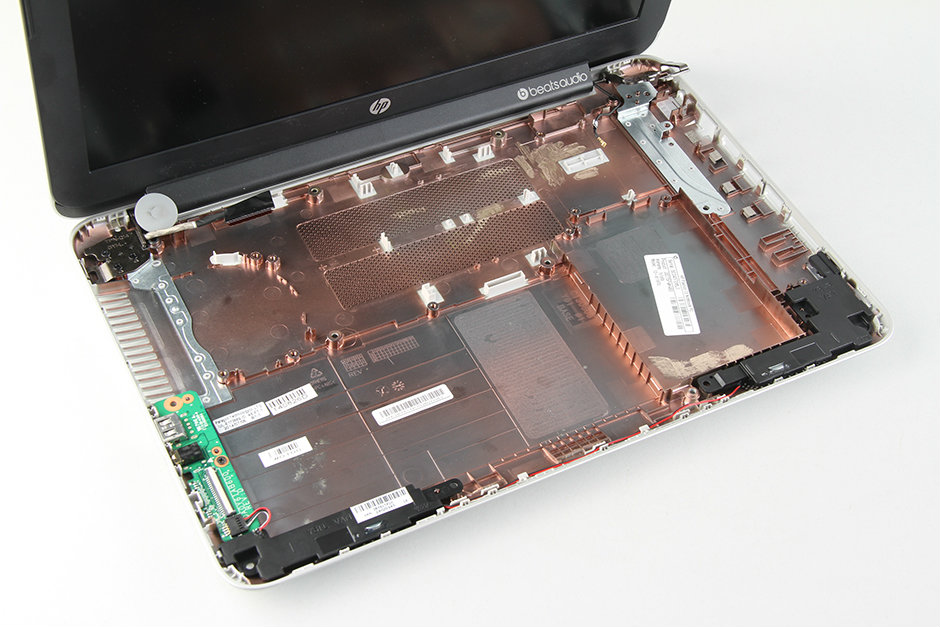
HP Pavilion 13 internal parts
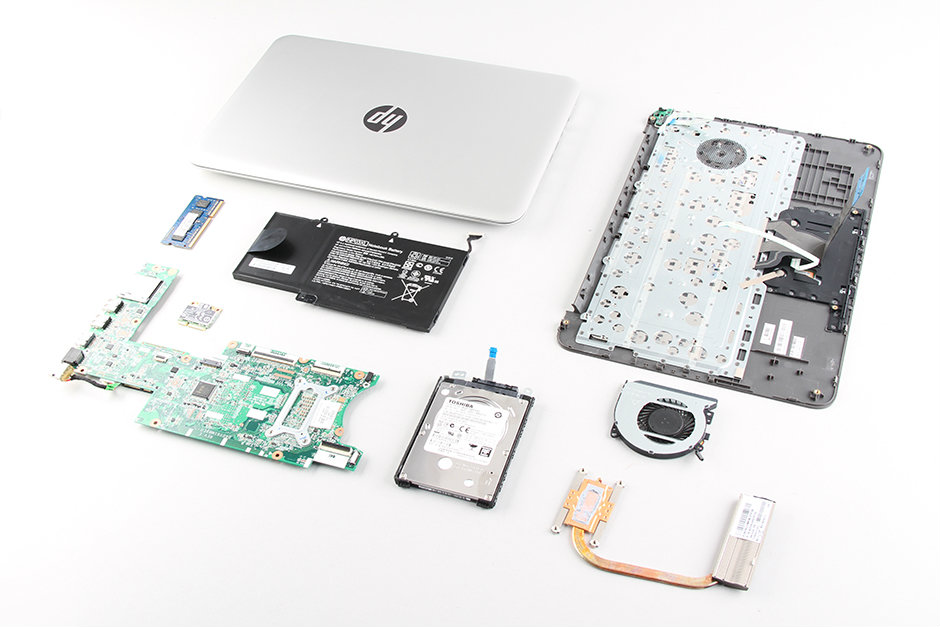

Note: There are screws under the two back rubber feet and under the two centre slots covered by egg-shaped grey stickers, as well as the 10 exposed screws that need to be undone to remove the bottom case.
Good call! I couldn’t get off till I found another article that mentioned these. Re-seated the wireless card and fixed my wireless connection problem. I didn’t have a plastic spudger or pry bar to lift the palm rest, but I used a Swiss army knife and a large flathead jeweler’s screwdriver to the same effect. The keyboard assembly WILL come out without breaking, even if it seems like it’s about to. Just make sure to clip it all back in place later. It makes the same horrible cracking sound as it does when you’re taking it apart.
Please, what happens when you disable the laptop from the security boot option in the settings?
Can I add 8GB of RAM to this laptop?