The Meizu Pro 7 Plus has been officially launched. The phone features a secondary screen design and introduces a new interaction mode on the back of the device. The inclusion of the secondary screen requires the phone to have a large-capacity battery. How is this design achieved? Today, we will disassemble the Meizu Pro 7 Plus to explore its internal structure.

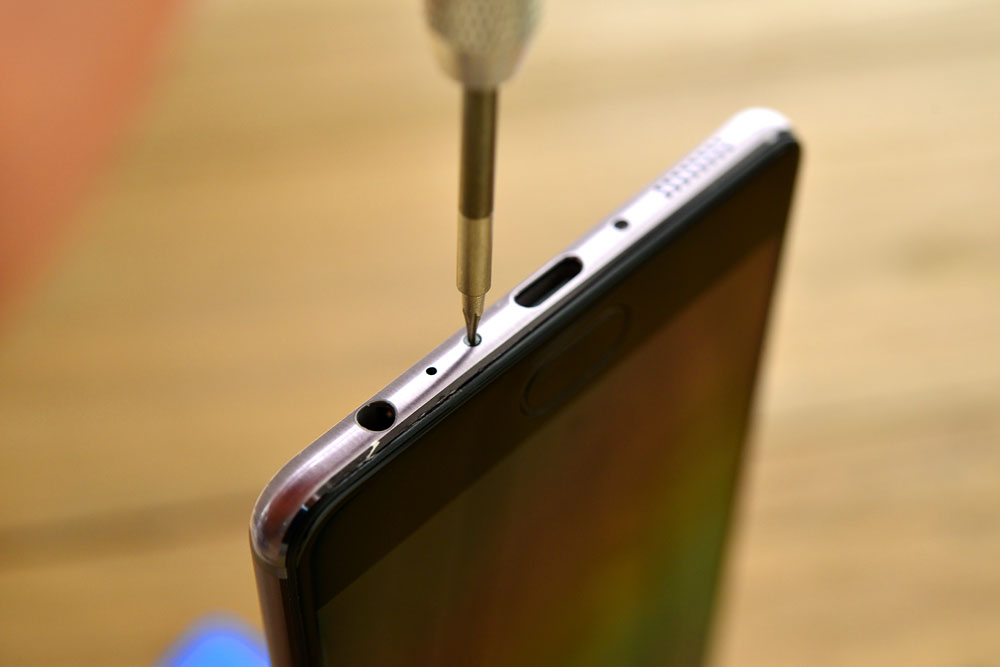
To disassemble the Meizu Pro 7 Plus, first remove the two screws located on both sides of the USB port. The screws are the same as those used in the iPhone and have the same specifications as the screws used in most cell phones today.
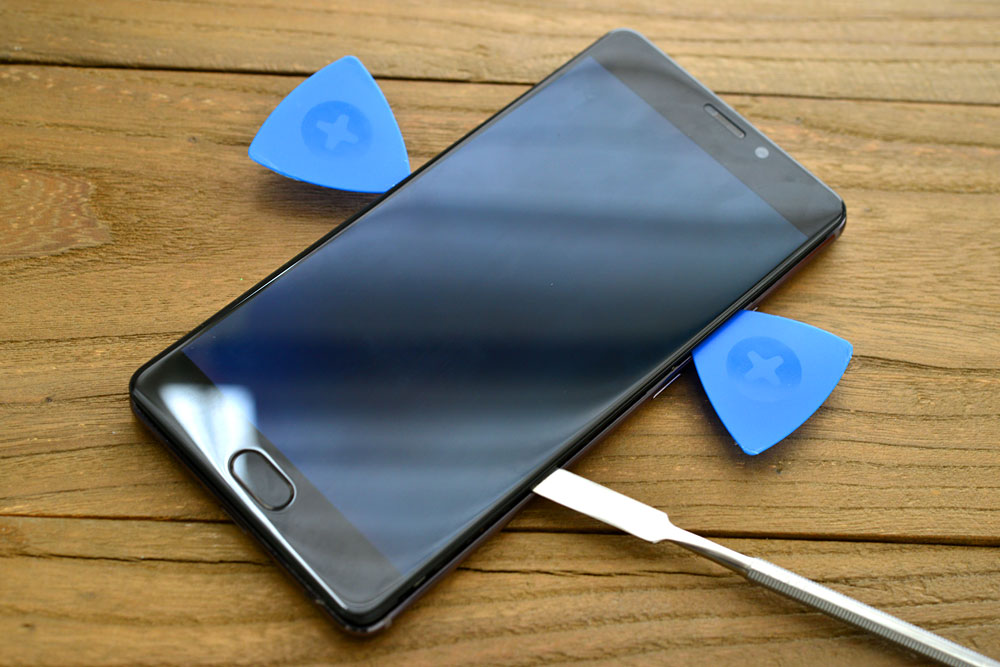
After removing the screws, insert a pick between the screen and the body. Slide the pick to separate the screen. The phone screen is attached to the body via clips.
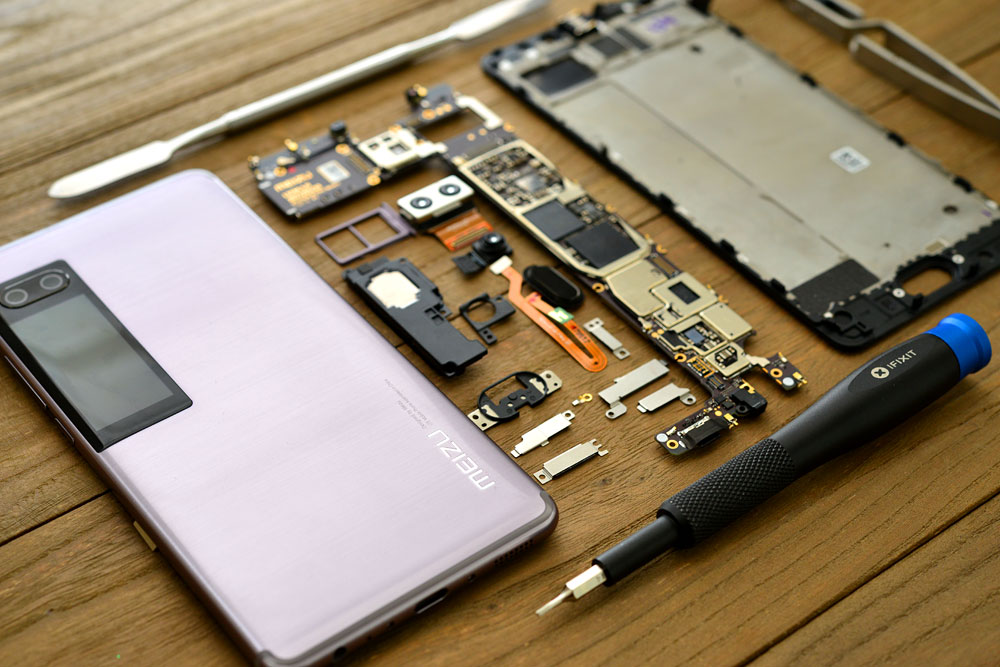
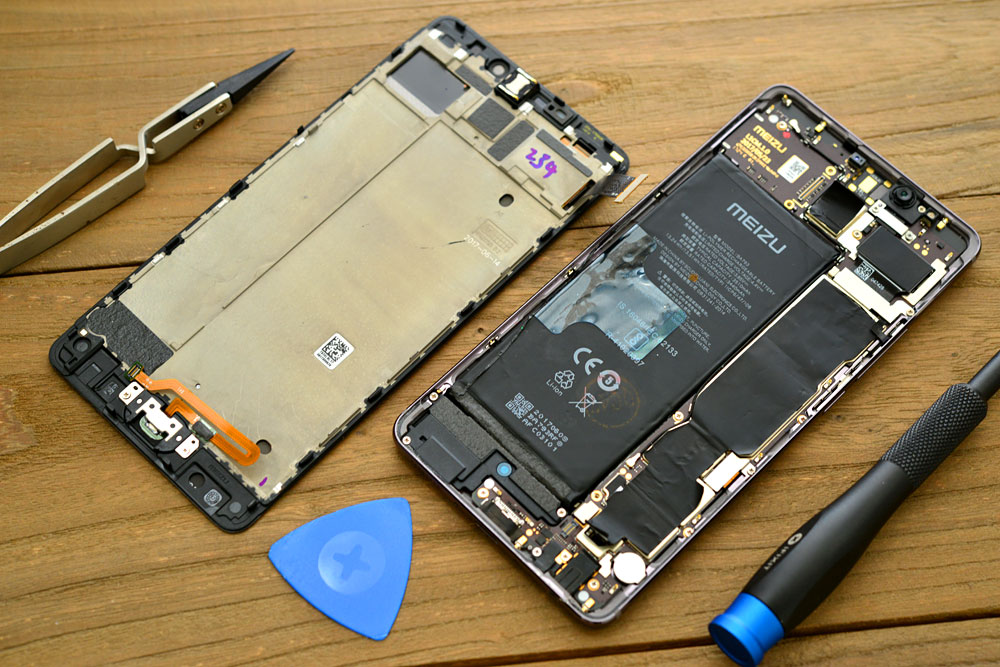
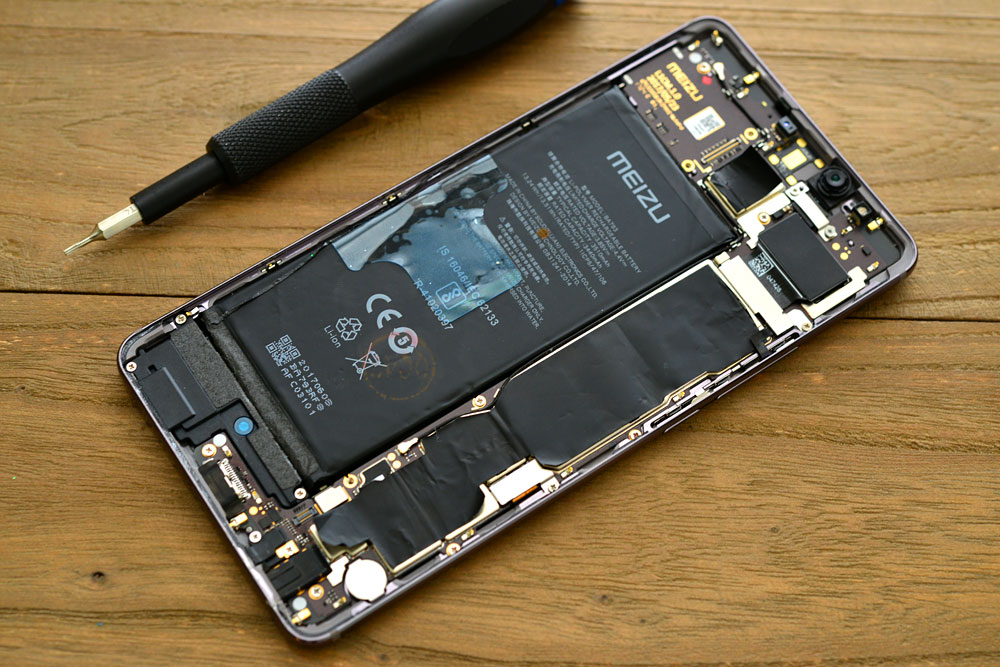
After removing the screen, we can see that the main screen is connected to the motherboard via a flex cable. The main screen is glued to the middle frame. The motherboard is directly mounted on the back cover, which is different from the design of previous Meizu phones. The motherboard is installed on the back cover. This design takes into consideration the installation of the rear screen.
The phone features a super AMOLED main screen that is easy to control. It also adopts an AMOLED secondary screen. Although the phone features two screens, it maintains a slim profile.
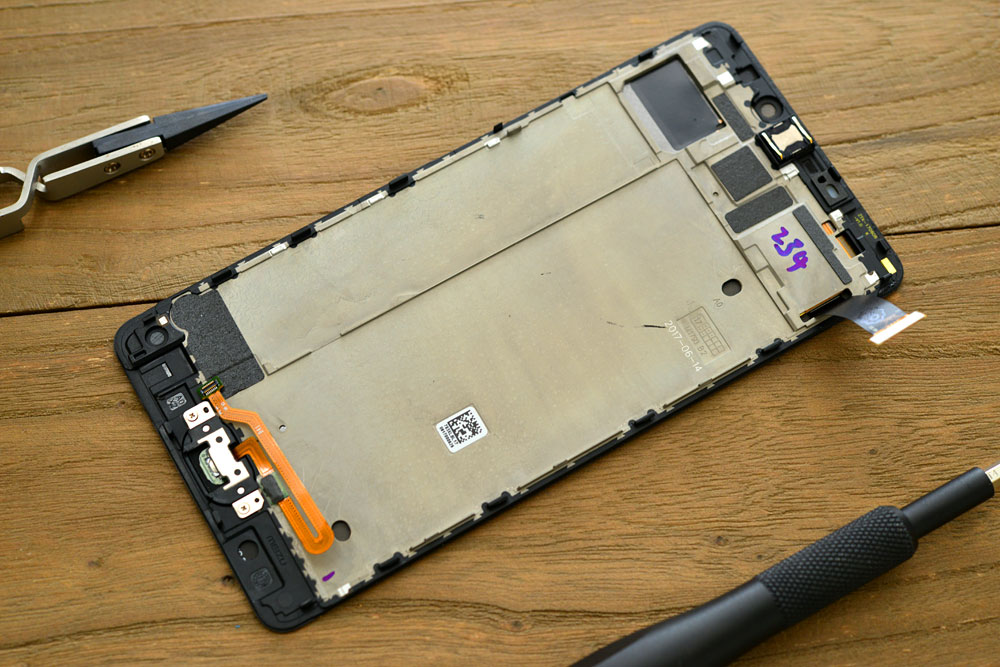
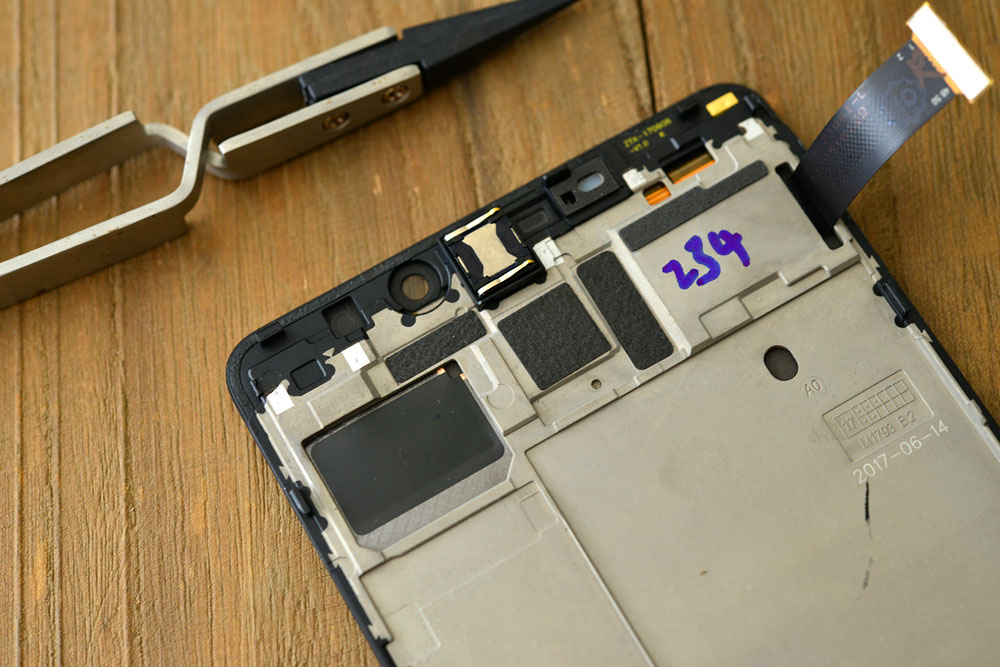
The front panel has openings for the front camera, infrared sensor, and proximity sensor.
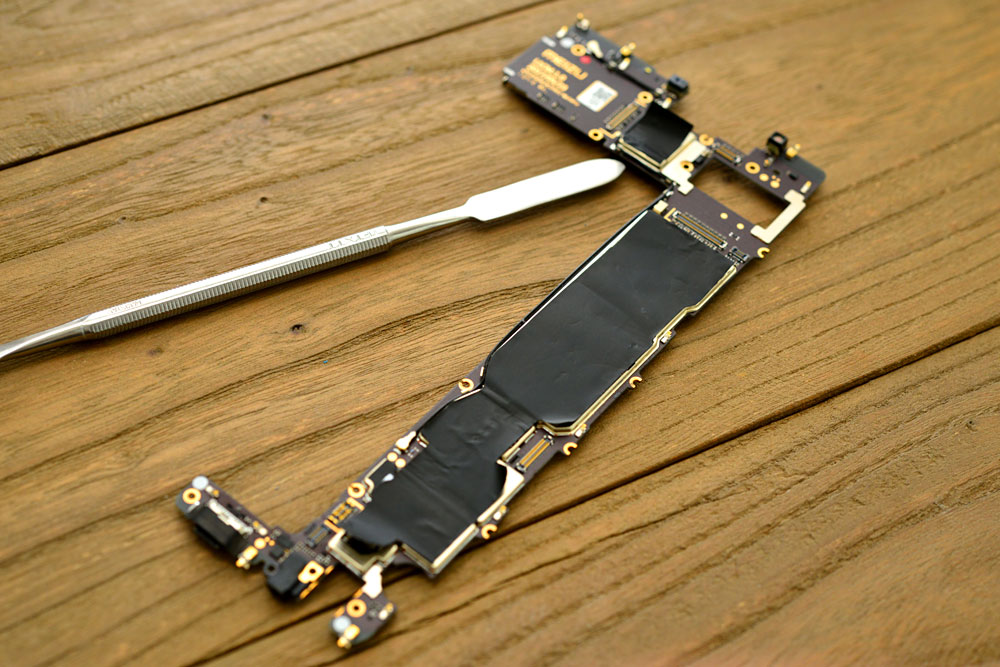
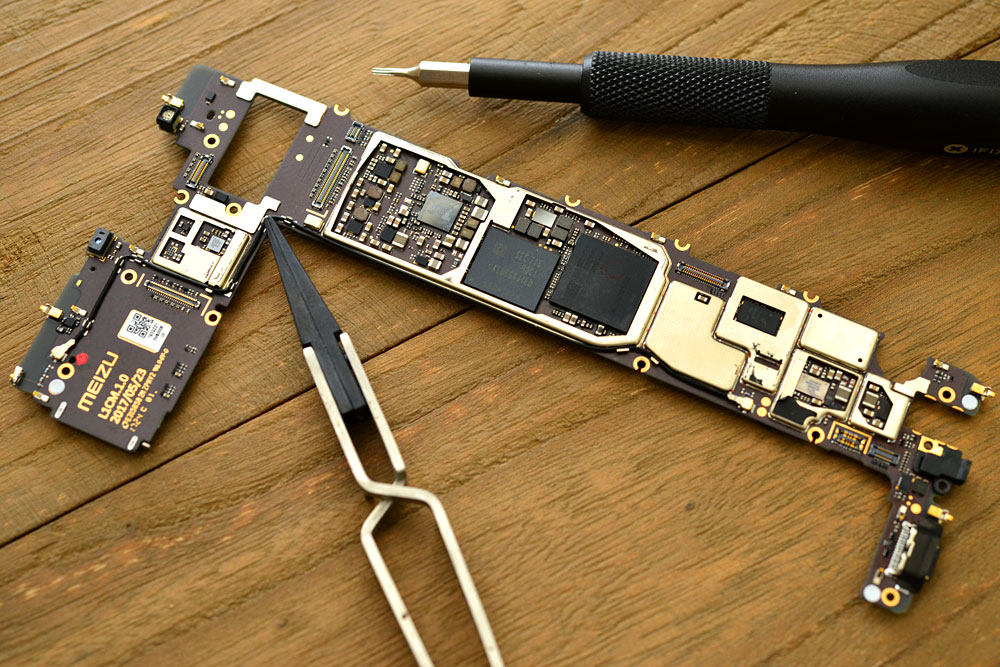
This phone uses an L-shaped motherboard design instead of a three-segment structure, as the rear screen occupies part of the battery space. Adopting a three-segment design would significantly increase its design and manufacturing costs.
We noticed that the PCB board is printed with the Meizu logo and marked with the production date and PCB version number. The PCB is manufactured by a large PCB manufacturer that has provided PCB manufacturing services for many flagship products.

The PCB shield of the Meizu Pro 7 Plus is covered with black graphite conductive paste. Uncover the paste, and the chip will be spotted. This graphite conductive paste not only supports heat dissipation but also has shielding functions.
Close-up of the phone after removing the motherboard.
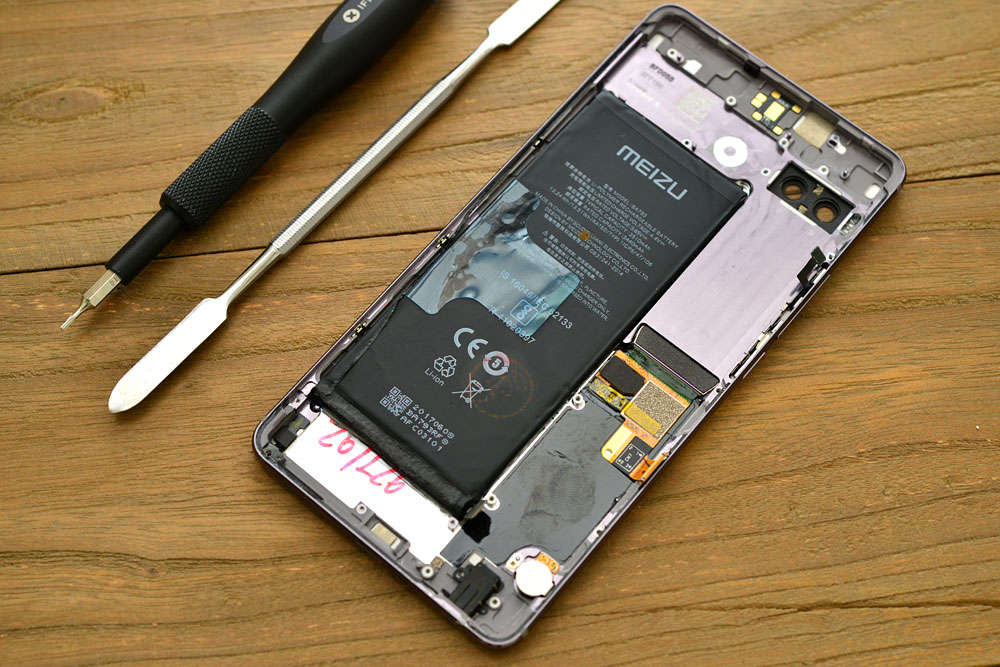
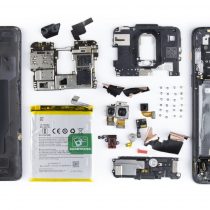
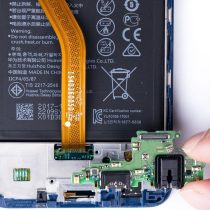
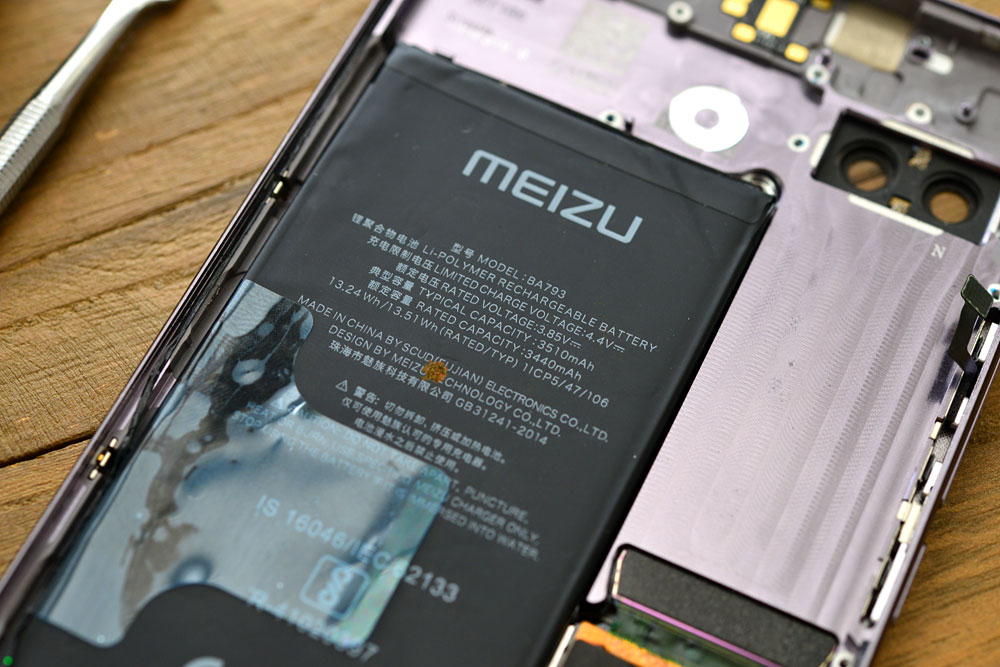
This phone features a 3500mAh battery and uses mCharge 4.0 QC fast charging technology, which supports 25W fast charging.
The Meizu Pro 7 Plus adopts a CNC process on its back cover to install the rear screen.
It uses the mosaic technique to install the rear screen in the back cover, which has very high installation requirements. The rear screen is fully embedded in the back cover and cannot be removed.
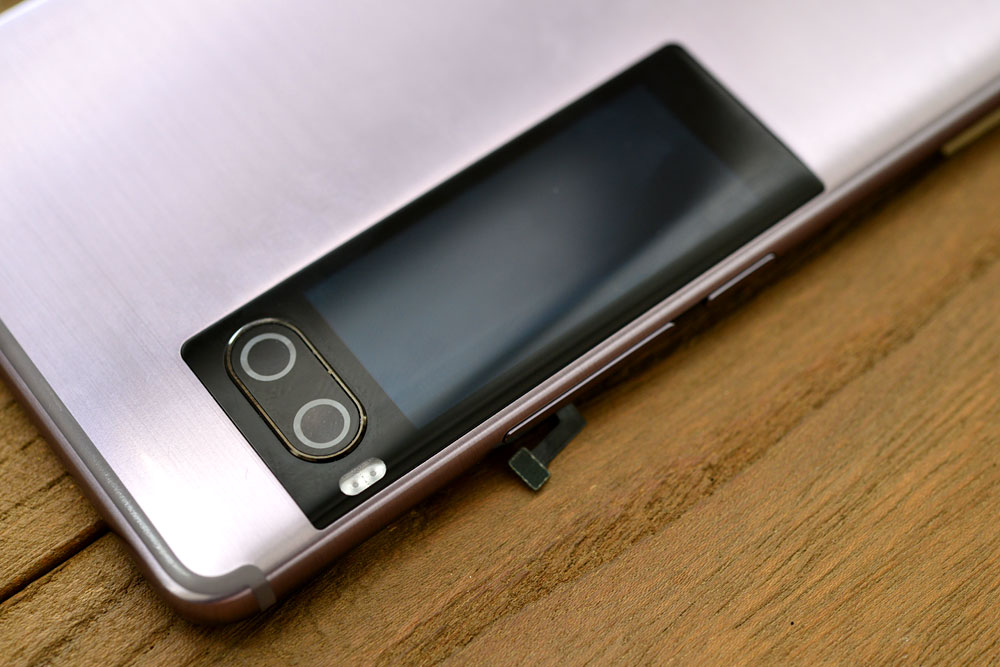
The screen layout design is quite sophisticated, which requires high-level craftsmanship. Meizu has invested a lot in the design of the rear screen.

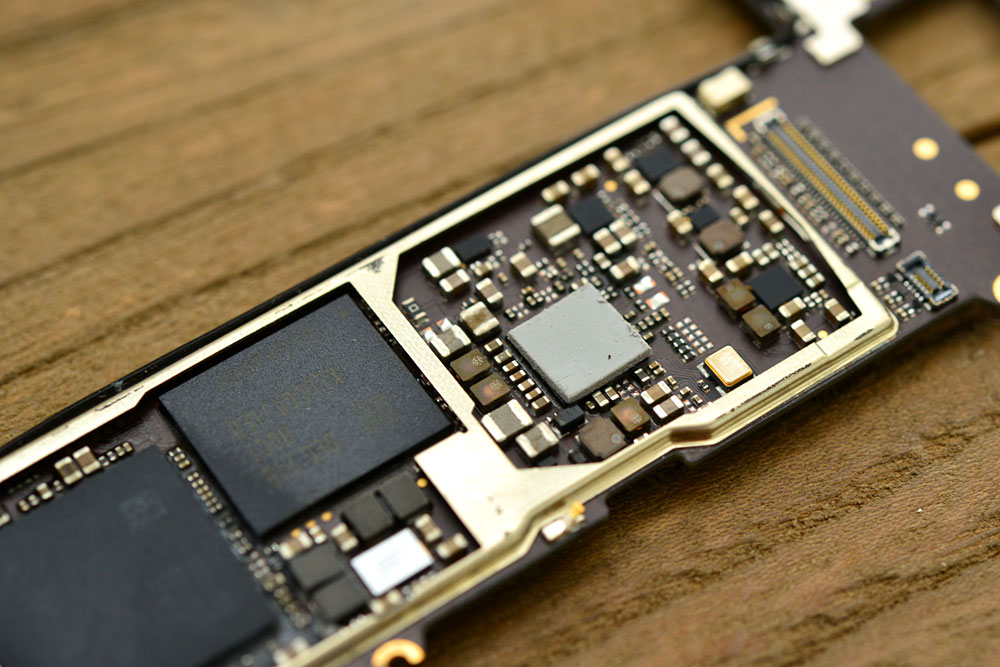
Peeling off the graphite thermal film on the PCB reveals various chips on the motherboard. The main chips of the Meizu Pro 7 Plus are located on the front of the PCB.
Some chips have thermal paste, which can effectively dissipate the heat generated by the chip.
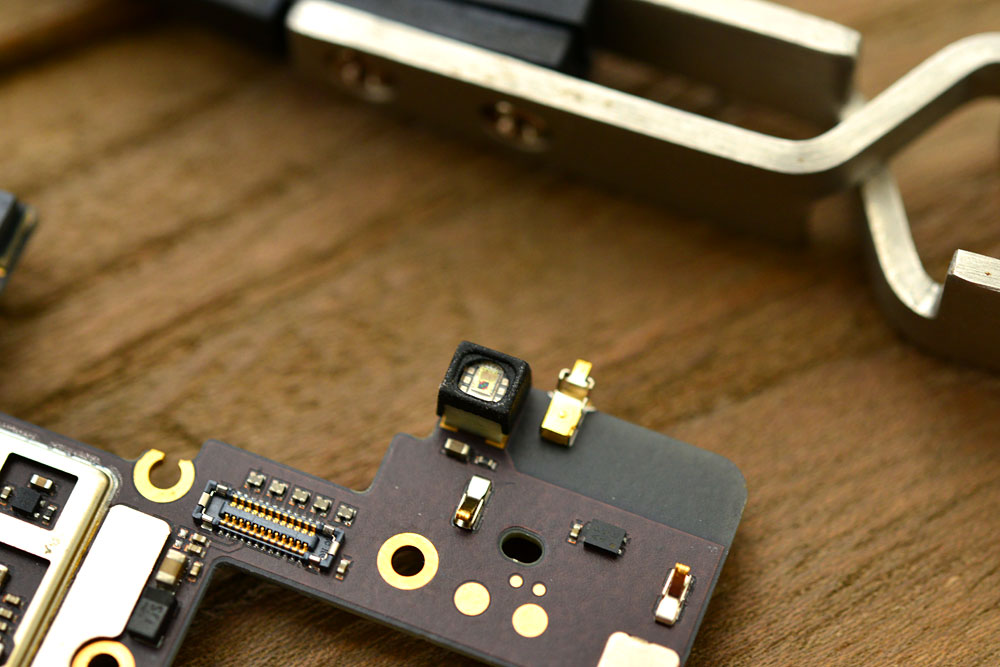
The infrared sensor on the PCB is used to measure the distance between the phone and the user’s face during a call.
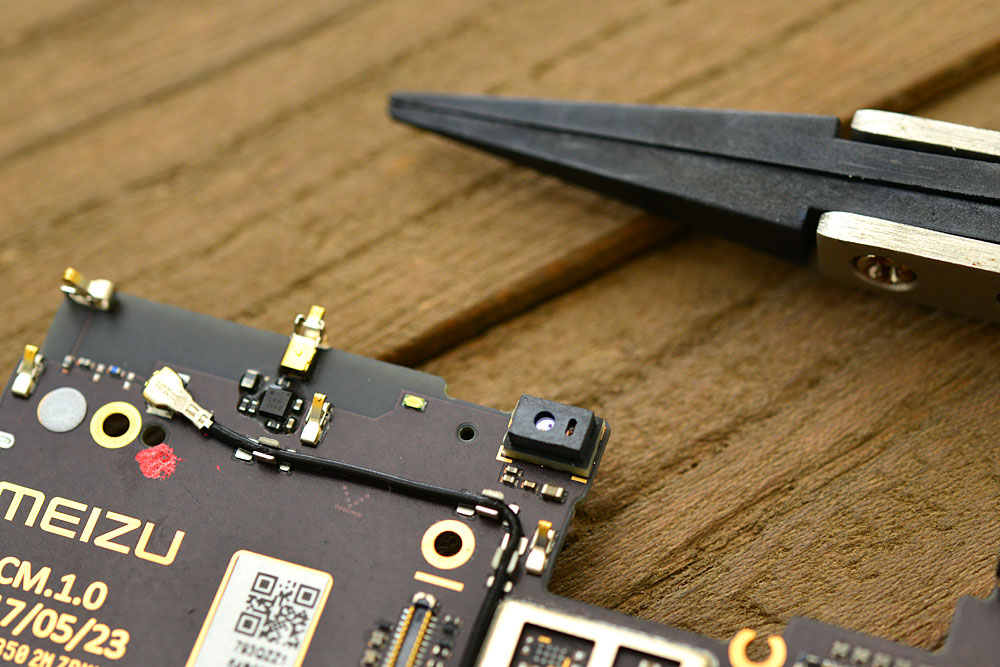
The light sensor is located on the other side. It controls the screen brightness by sensing light.
The Meizu Pro 7 Plus uses LPDDR4X storage and comes with 6GB of RAM. Its memory chip and CPU adopt a double-layer packaging design to save PCB space. The Meizu Pro 7 Plus is powered by the MediaTek Helio X30 processor. The processor has two Cortex-A73 cores, four Cortex-A53 cores, and four Cortex-A35 cores. It uses a 10nm process, which has good performance and lower power consumption.
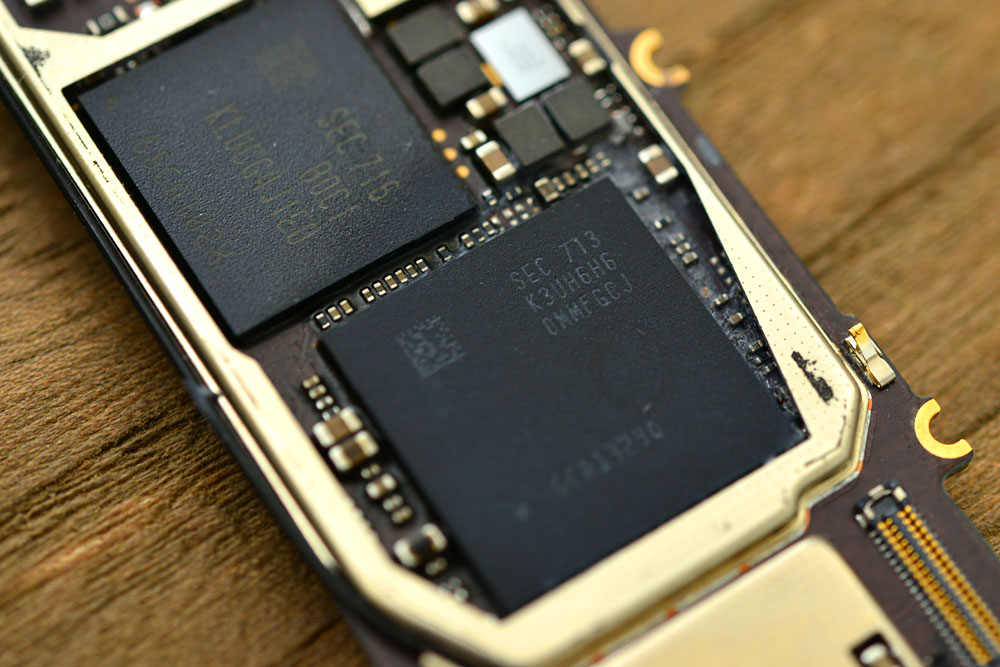
The Meizu Pro 7 Plus uses Samsung UFS storage chips with 64GB of ROM. UFS storage chips provide faster read and write speeds.

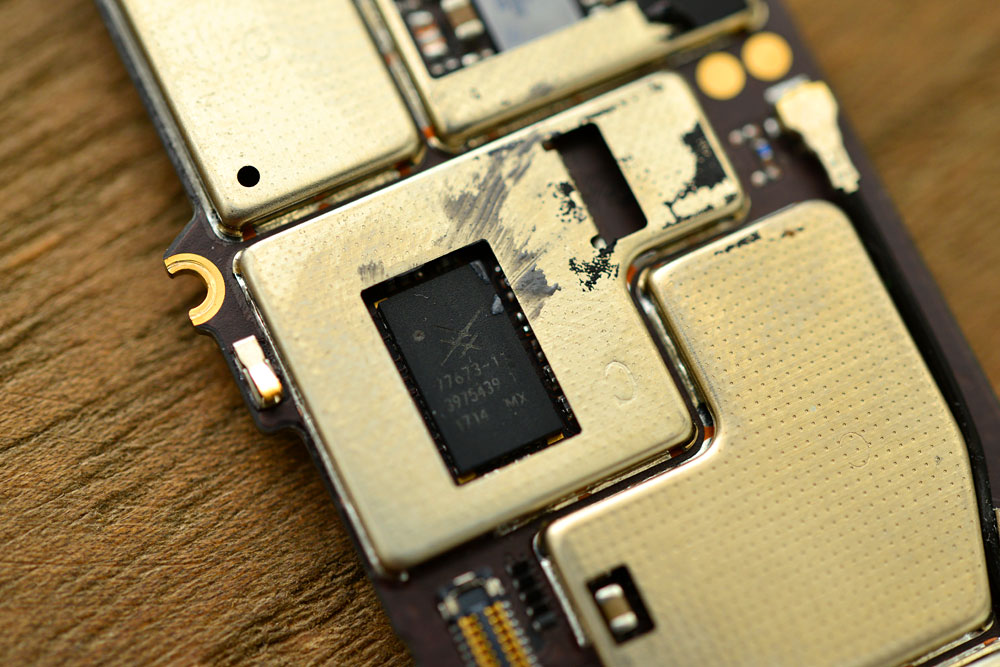
The Skyworks 77673-11 is a signal amplifier suitable for all networks, used for sending and receiving signals.
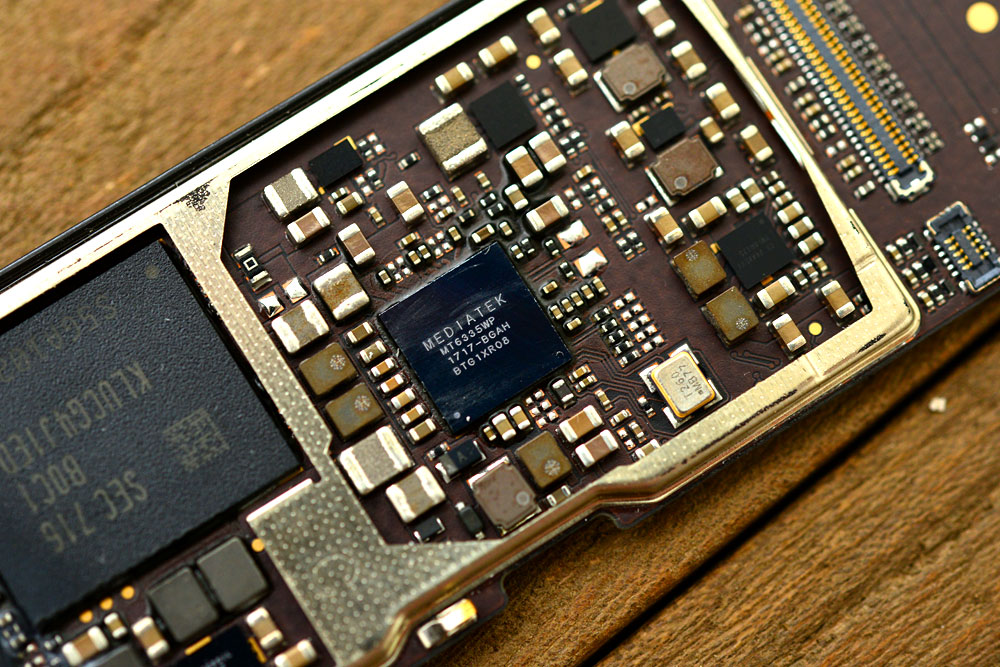
The MT6336WP is a power management chip designed to work with the Helio X30.
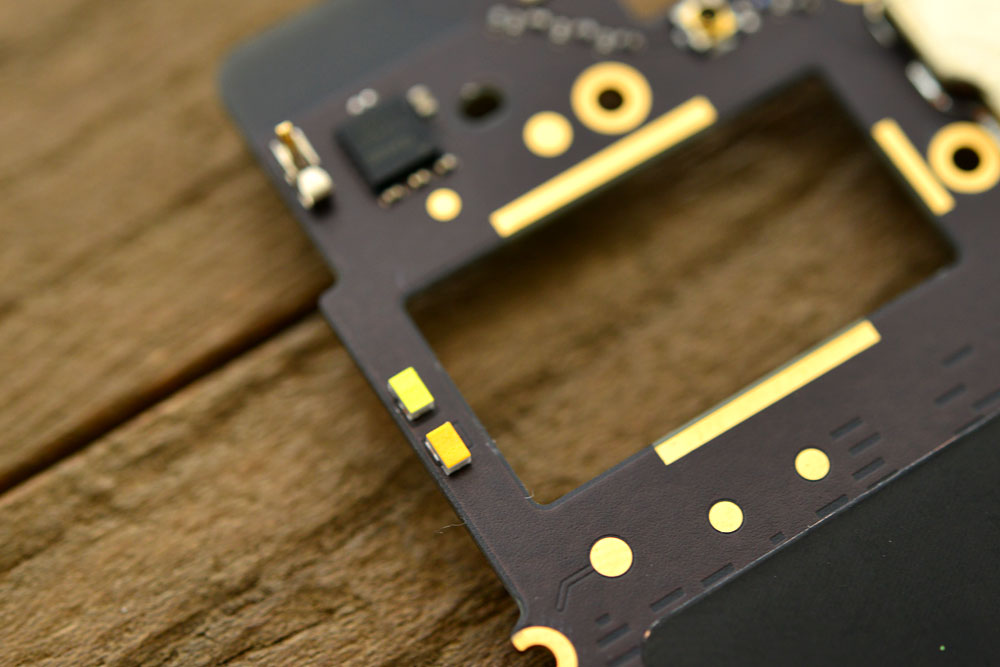
The dual-color LED is located on the back side of the PCB.
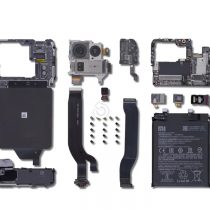
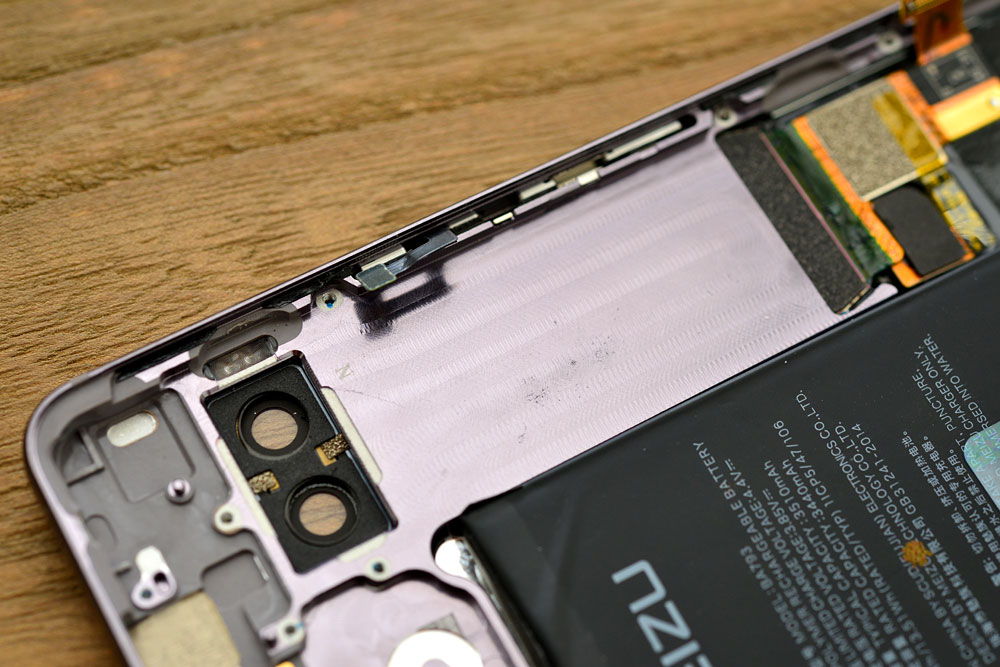
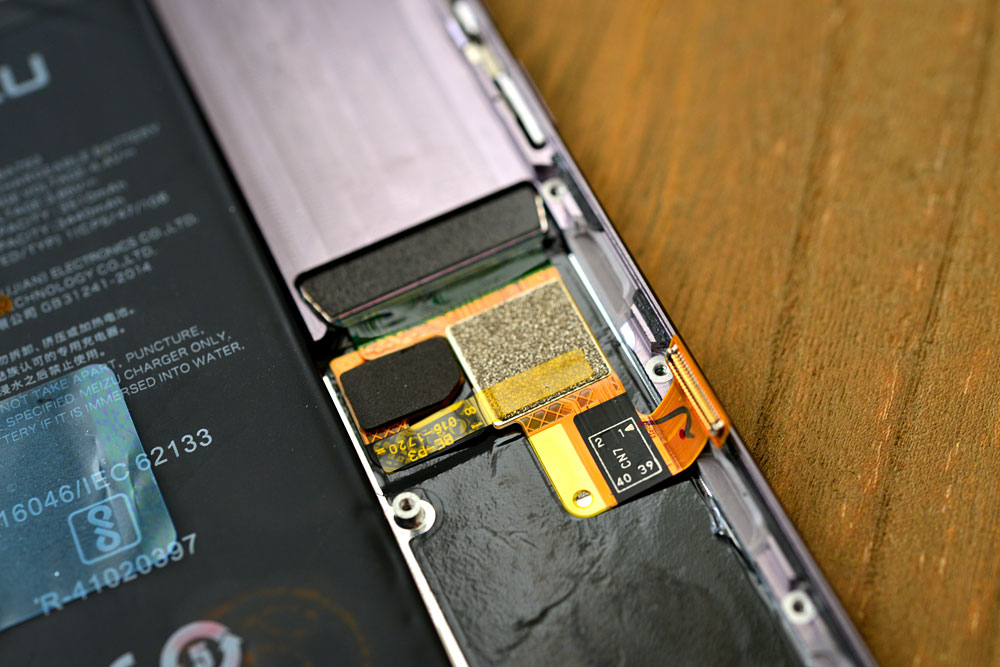
The Meizu Pro 7 Plus features a dual camera setup with a 12MP sensor (colorful) and a 12MP sensor (black and white) sealed together to avoid image formation problems during installation. It also features a 16MP front camera.

The Meizu Pro 7 Plus features an all-new design on its internal structure to accommodate a rear screen. It adopts an L-shaped PCB and has an optimized design on the back cover, which makes the installation of the rear screen more refined.
The Meizu Pro 7 Plus features AMOLED screens on both the main and rear displays, which helps in controlling the phone’s thickness. It uses high-quality materials and components, making it more difficult to disassemble compared to previous Meizu phones due to its more complex manufacturing process.