Last month, OPPO officially held a new product launch event to introduce the OPPO R17 and OPPO R17 Pro. The OPPO R17 is the first smartphone to feature Corning’s sixth-generation Gorilla Glass. This phone is also powered by a Qualcomm Snapdragon 670 processor and has an AI dual-rear camera. Today, we will take apart the OPPO R17 to see its internal design and explore the secret of the under-screen fingerprint scanner.
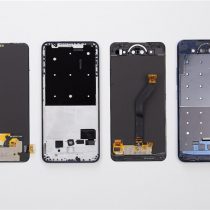
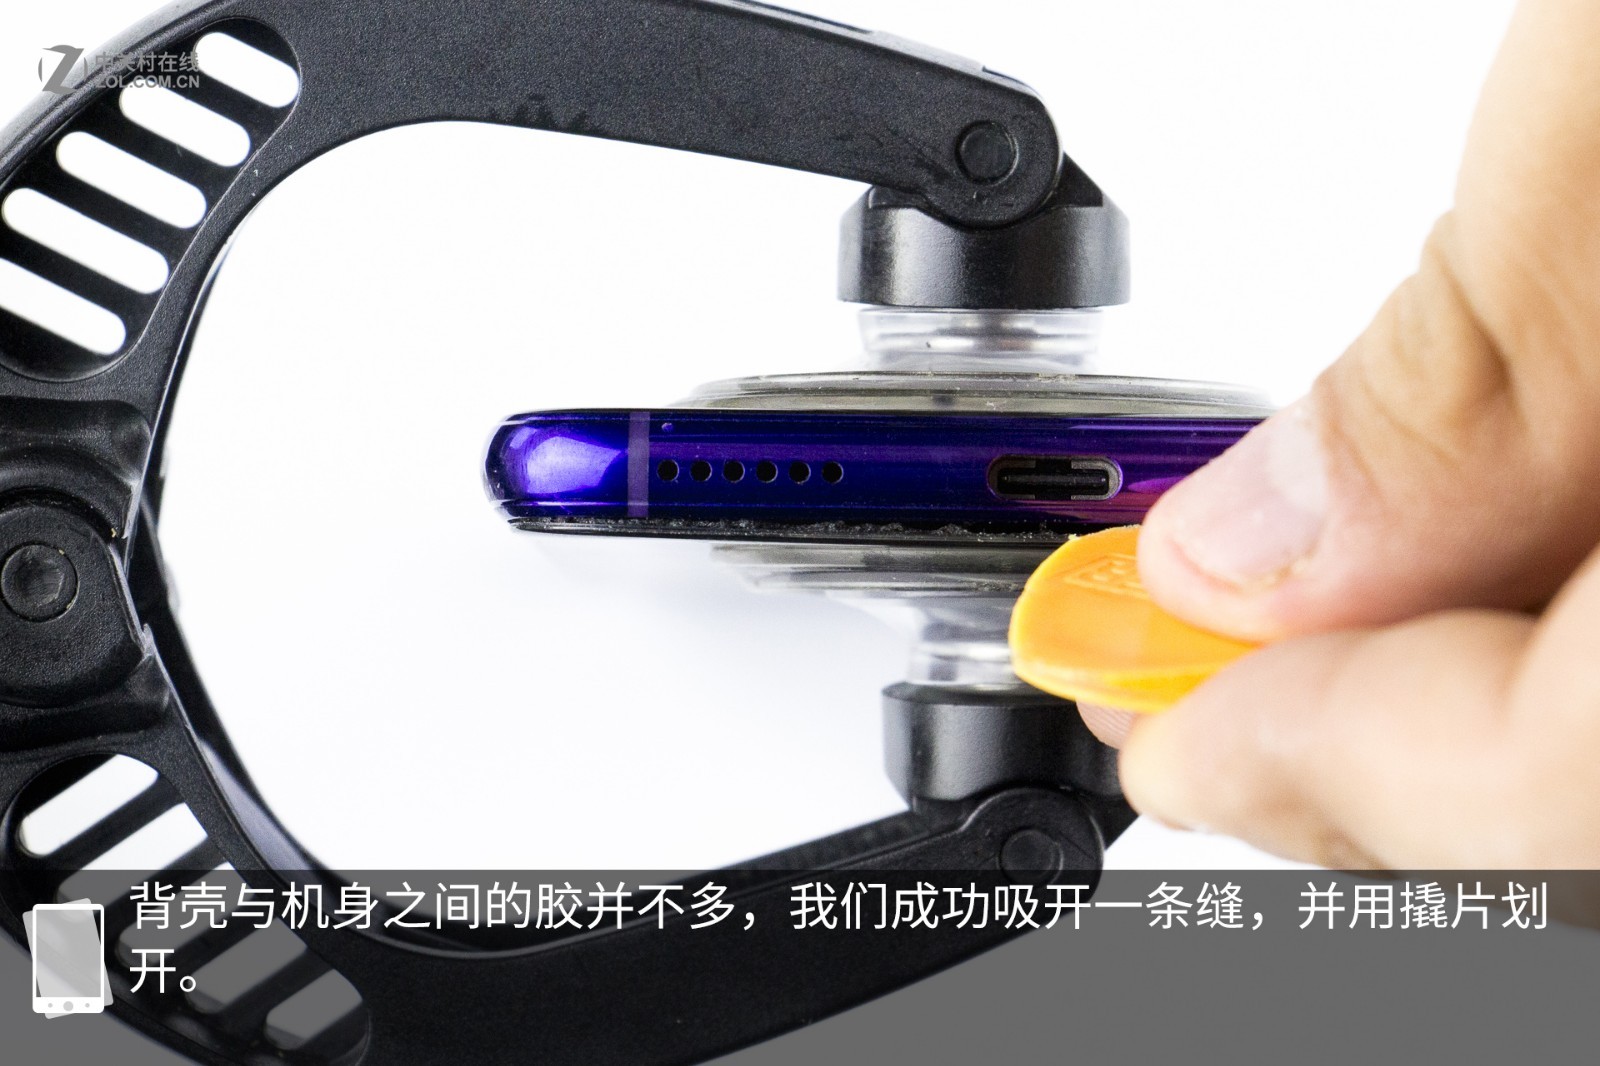
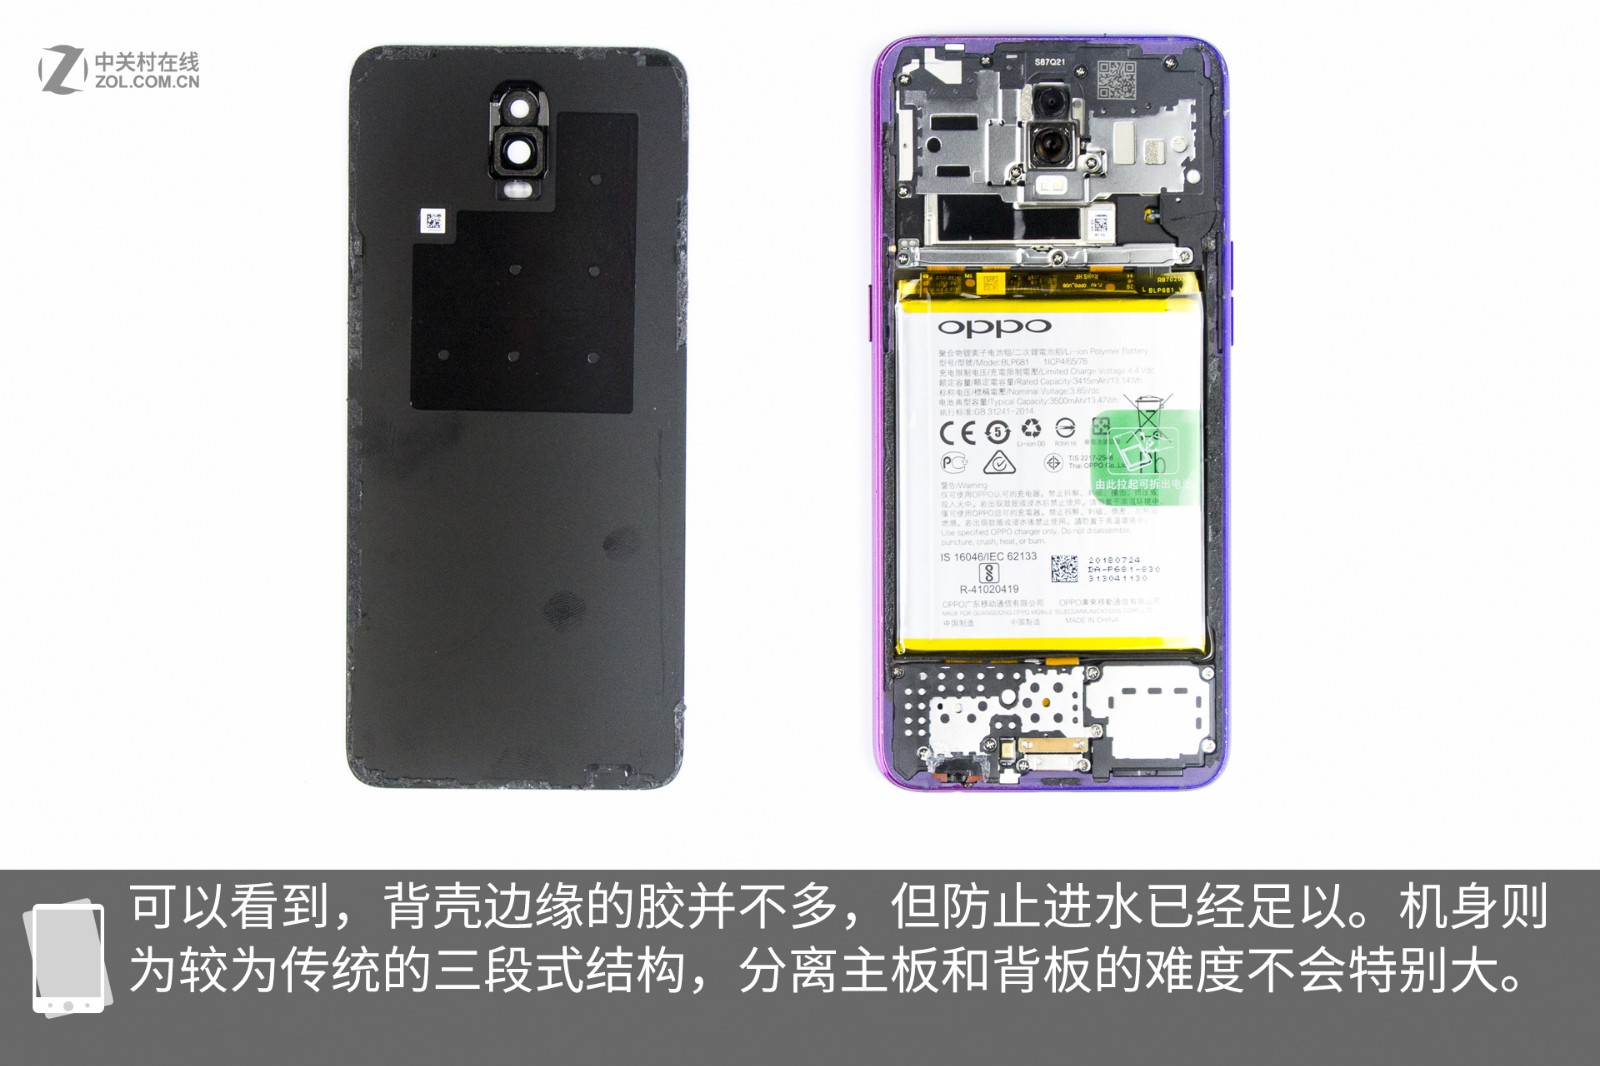
First, remove the SIM card tray. Then use a suction cup to pry a gap between the phone body and the back cover, and insert a pick to slide it along the edge of the back cover. At this point, the back cover can be removed. Although the glue on the edge of the back cover is relatively thin, it is enough to prevent moisture from entering. Additionally, the phone adopts a traditional three-section structural design.
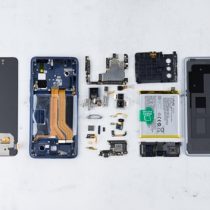
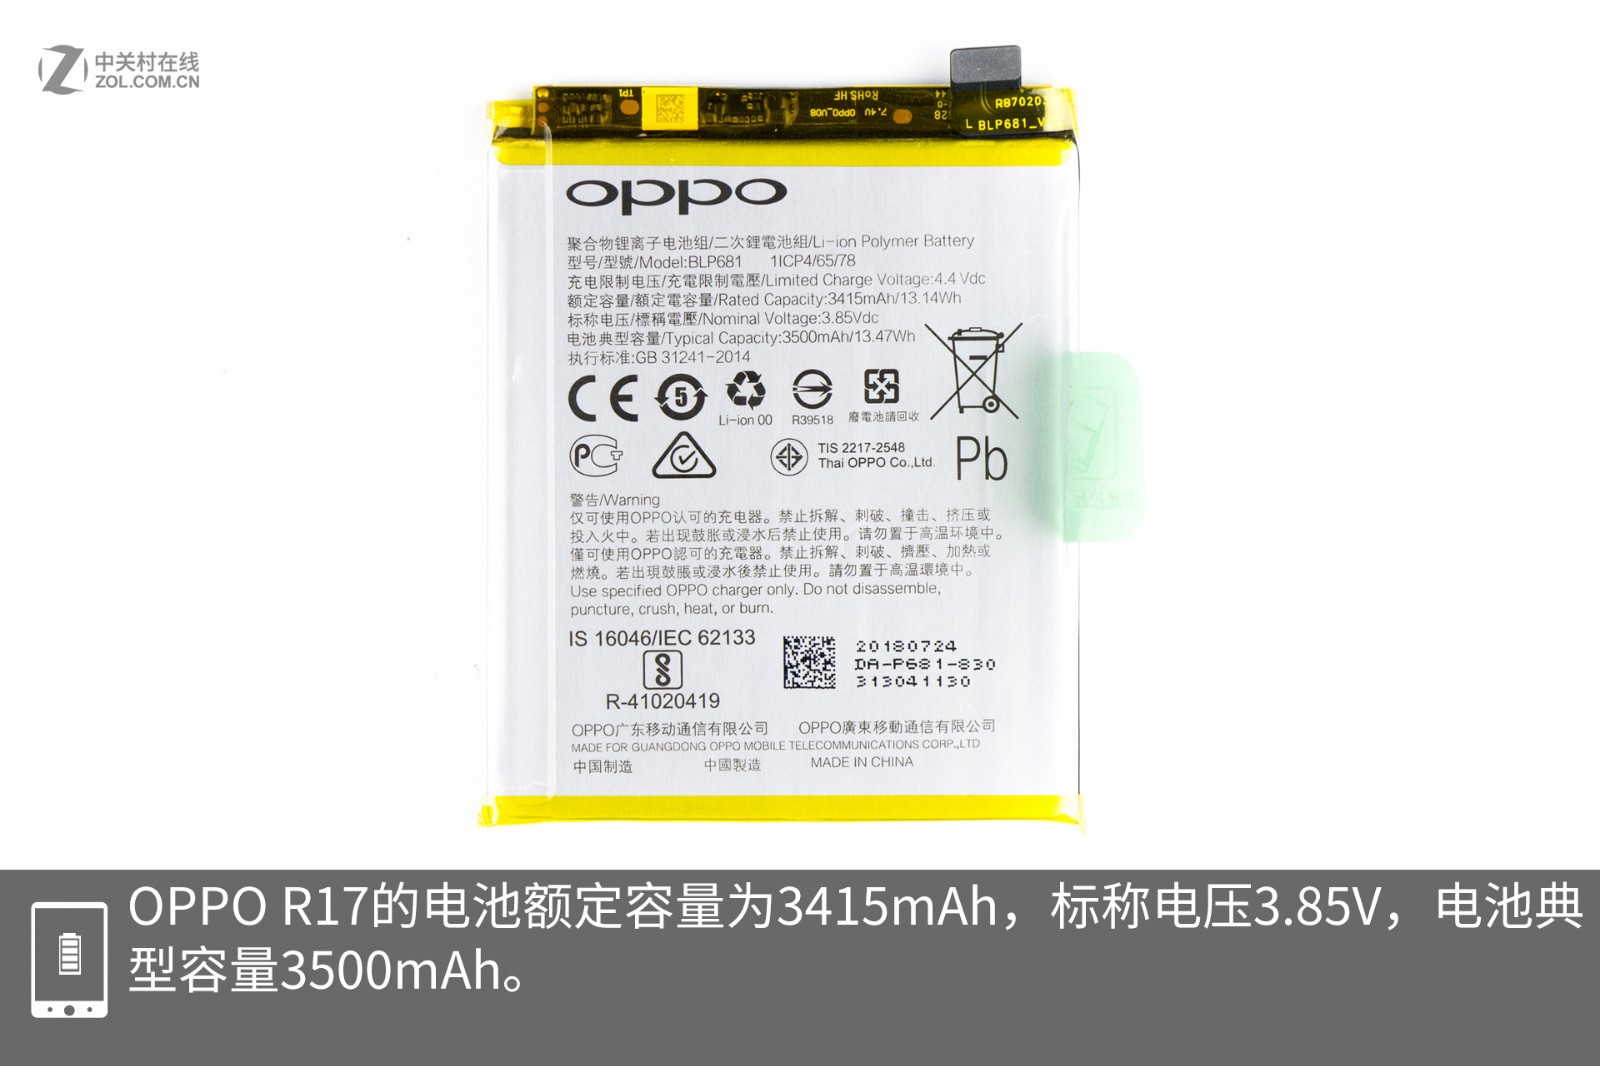
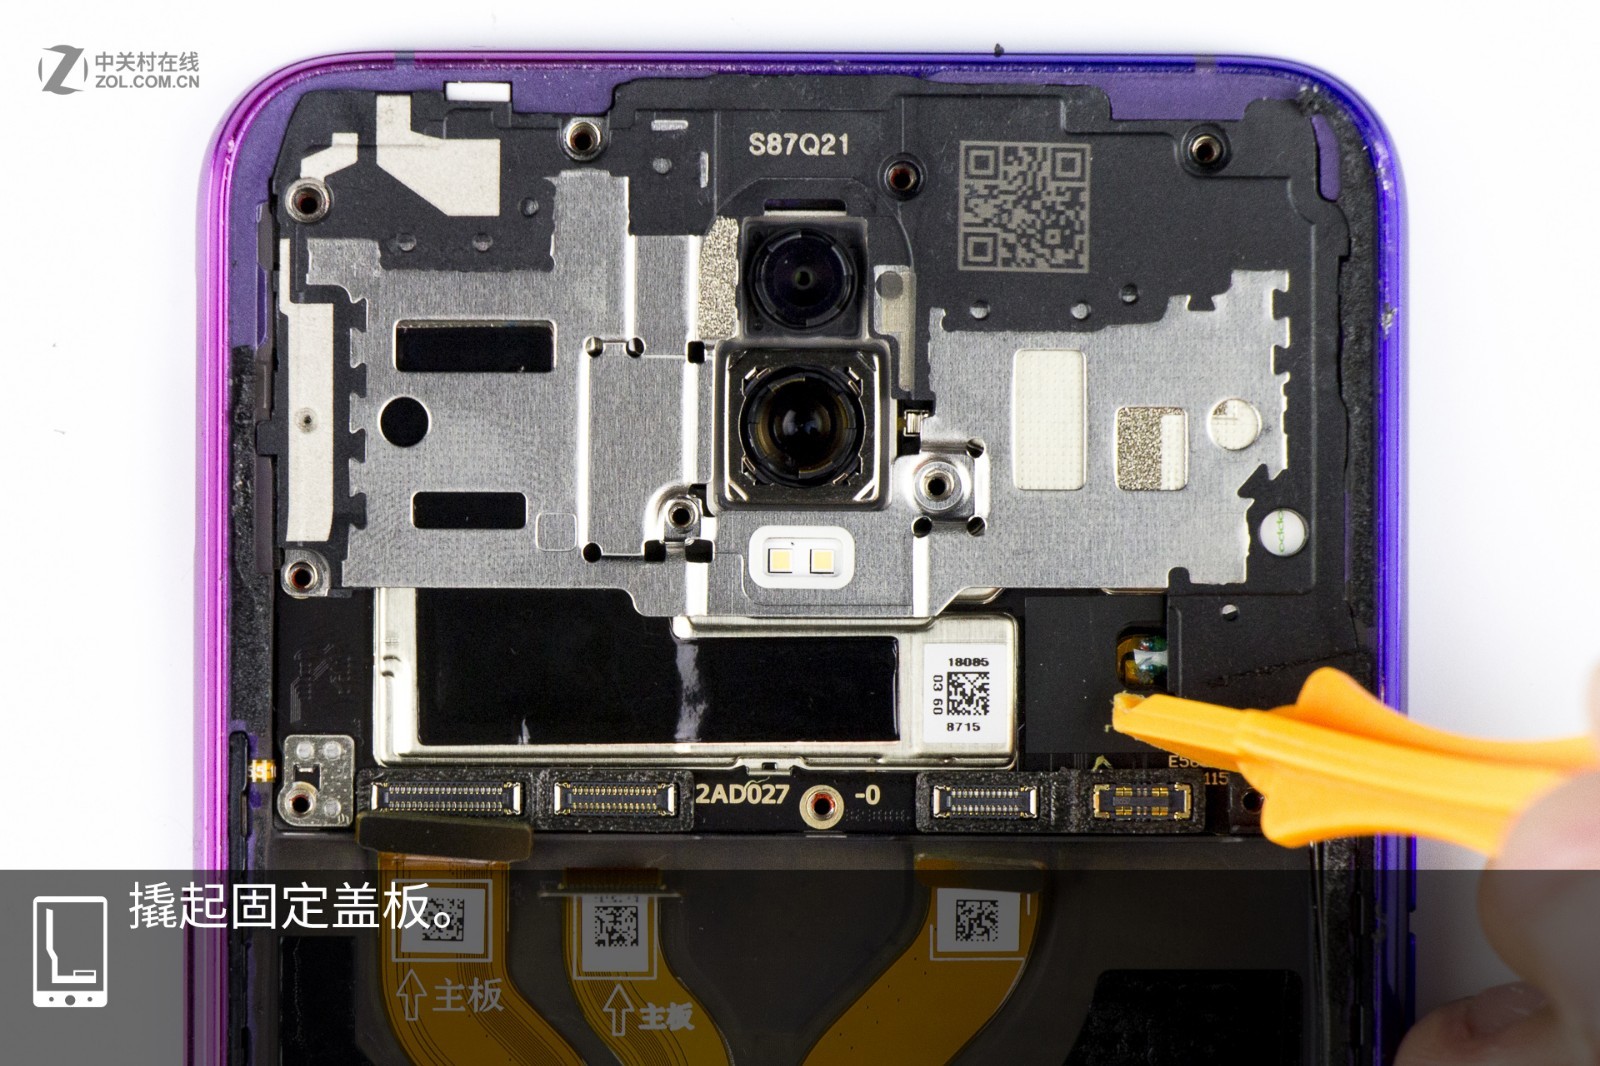
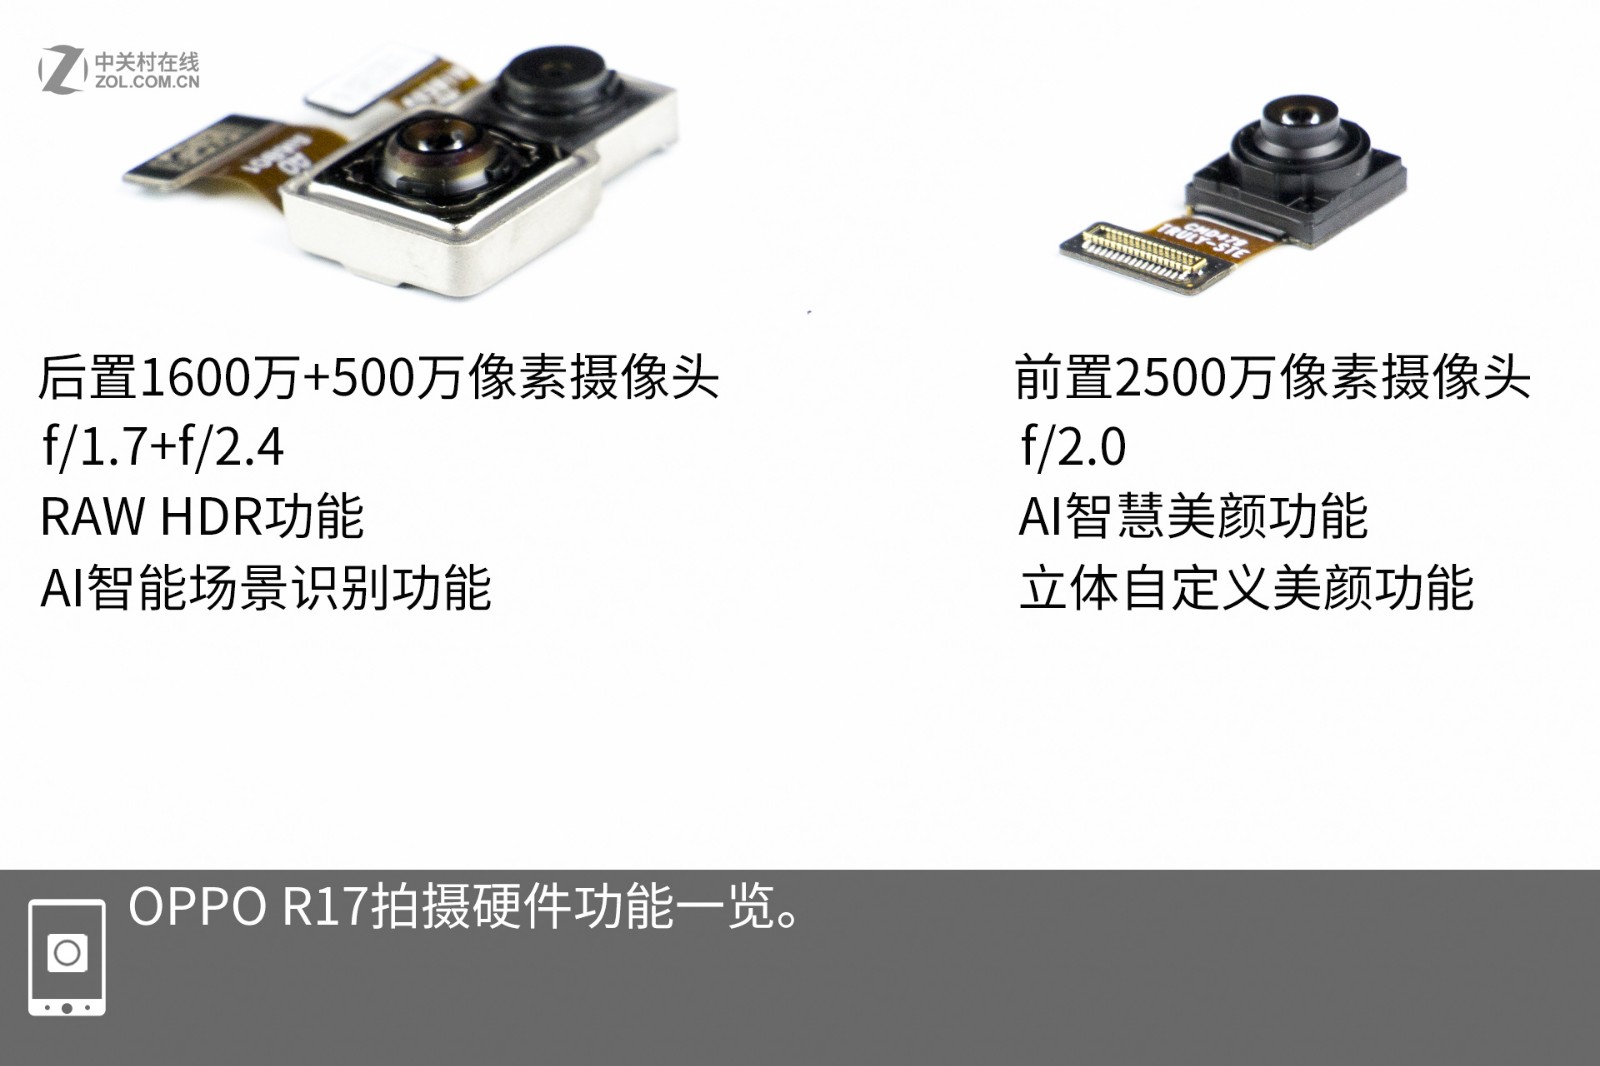
The phone comes with a 3415mAh battery, with a standard voltage of 3.85V and a typical capacity of 3500mAh. The camera module can be accessed after removing the large metal shield. This smartphone features a dual rear camera setup with 16MP and 5MP sensors (F/1.7, F/2.4), supporting RAW HDR technology and AI scene recognition. Additionally, it comes with a 25MP F/2.0 front camera for selfies, which supports AI beauty features.
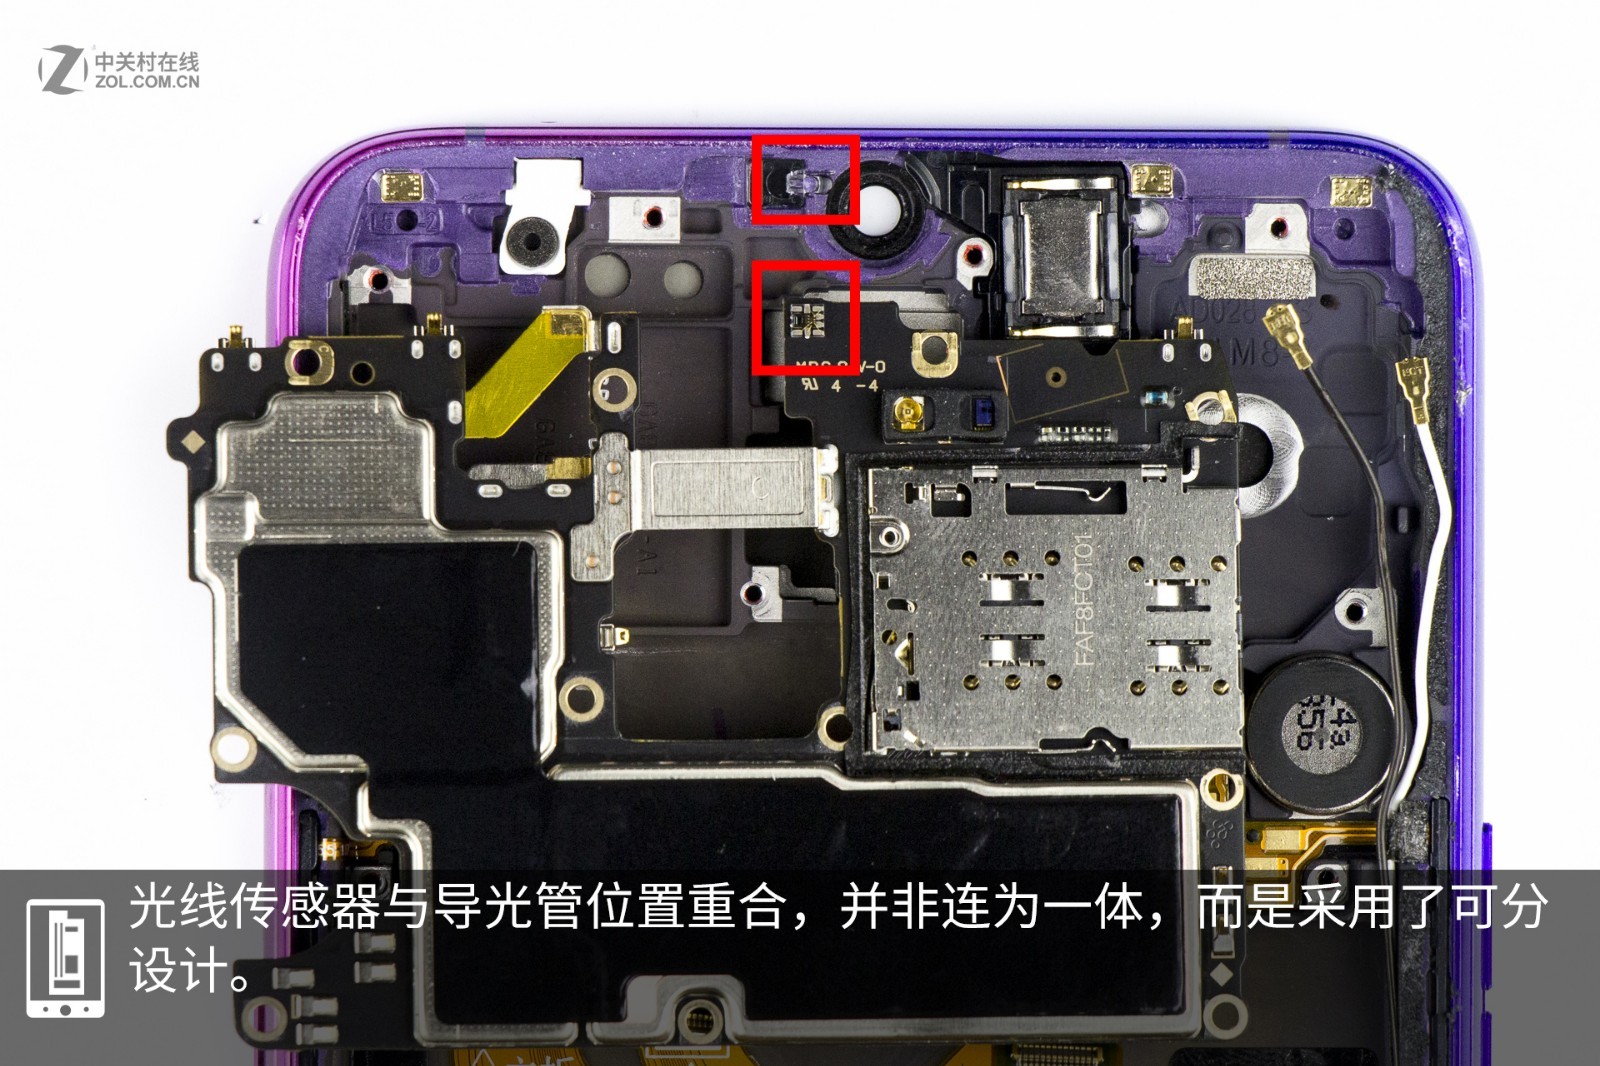
Except for the proximity sensor under the screen, there is an infrared sensor below it. The infrared sensor can work normally through the AMOLED screen. The light sensor and the light guide tube are located in the same position and can be separated from each other.

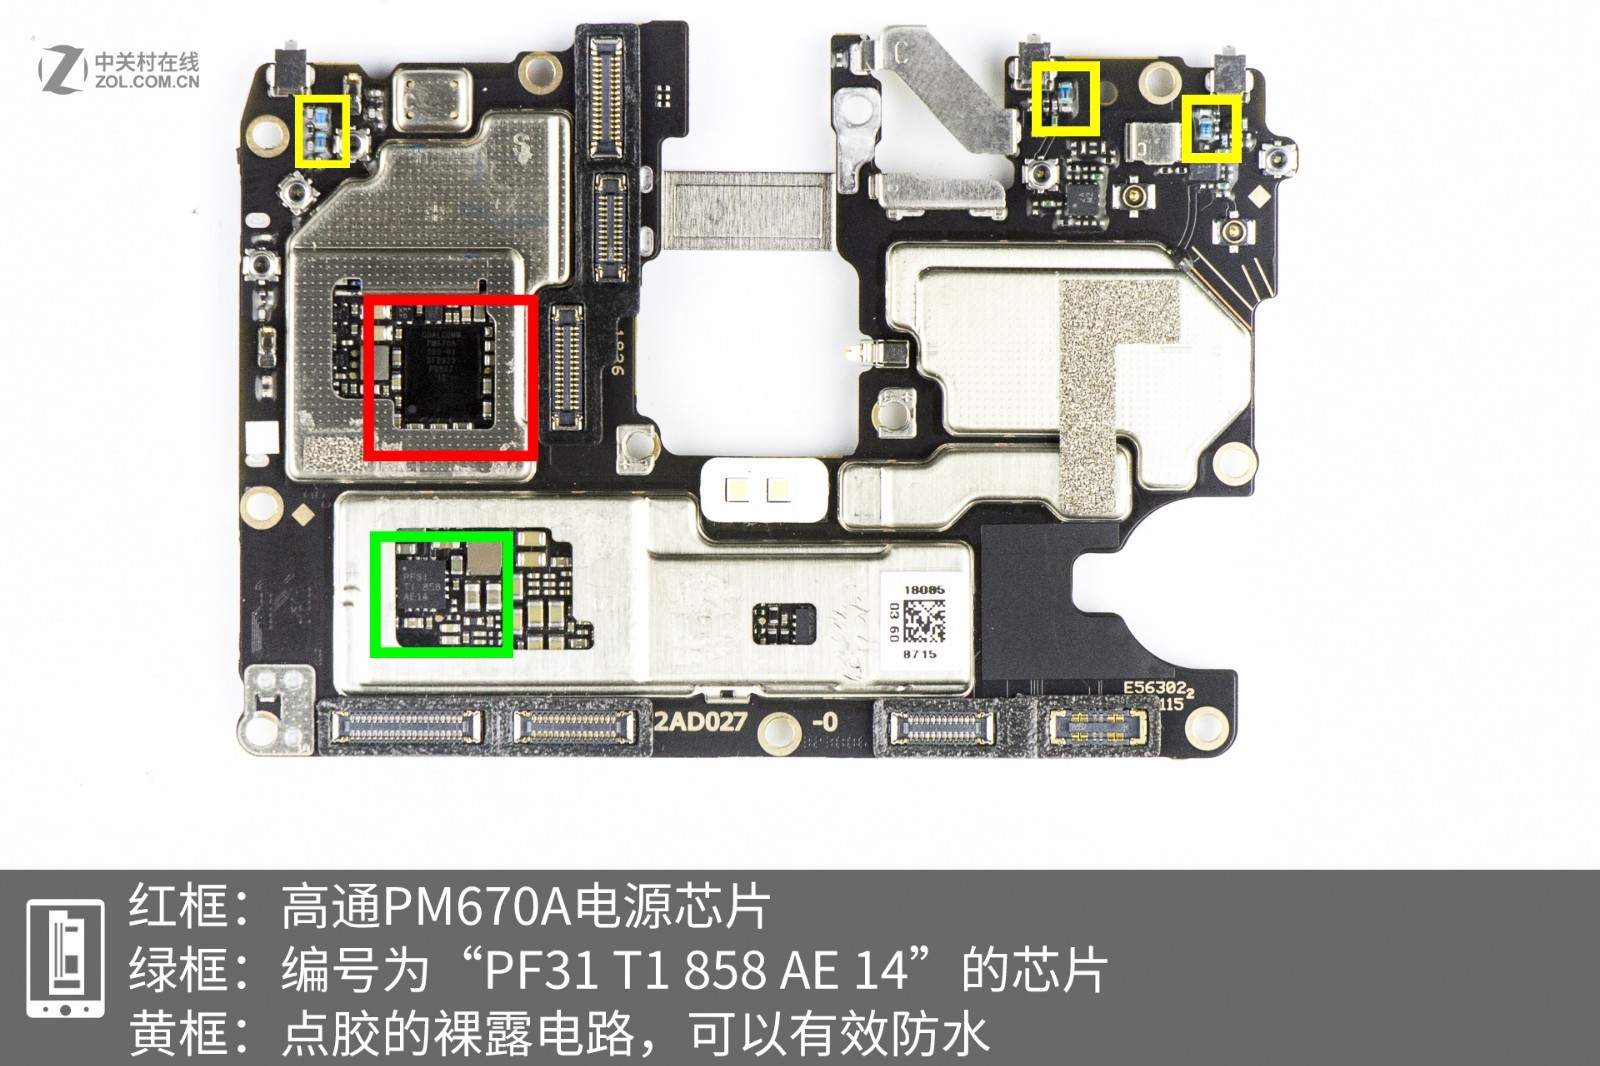
The part circled in red is the Qualcomm PM670A power management chip. The component circled in green is a chip with the model number PF31 T1 858 AE 14. The part circled in yellow is the circuit coated with glue, which can effectively resist water.
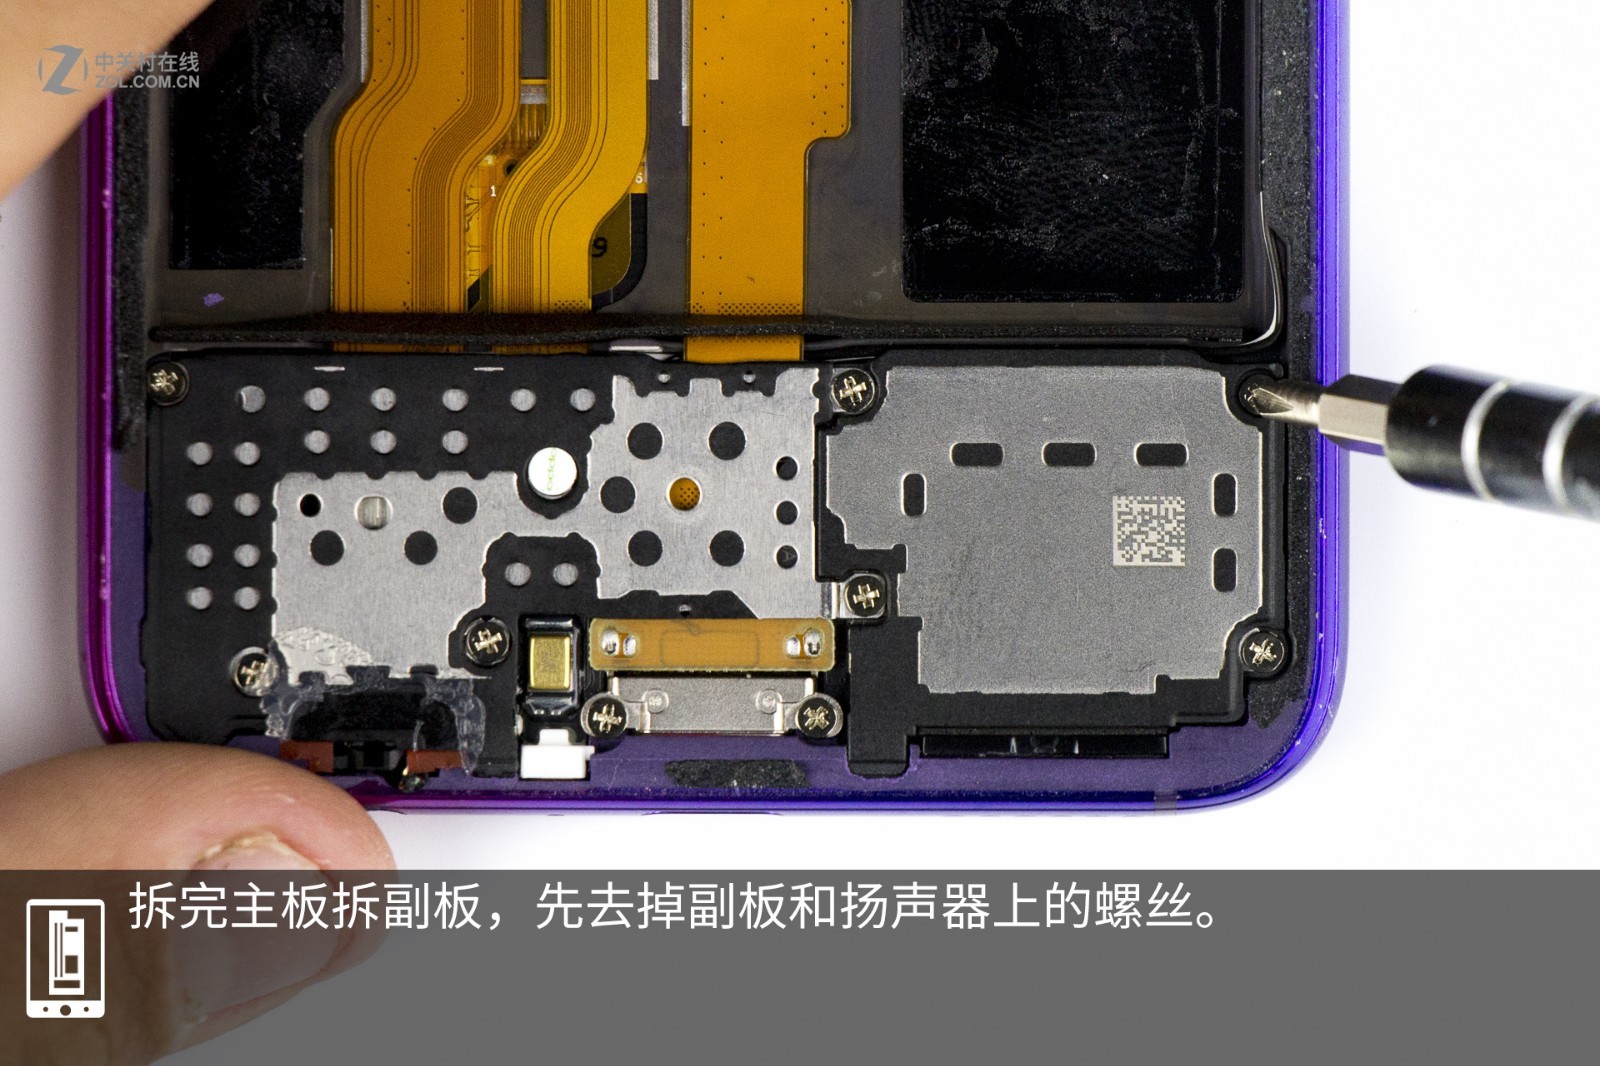
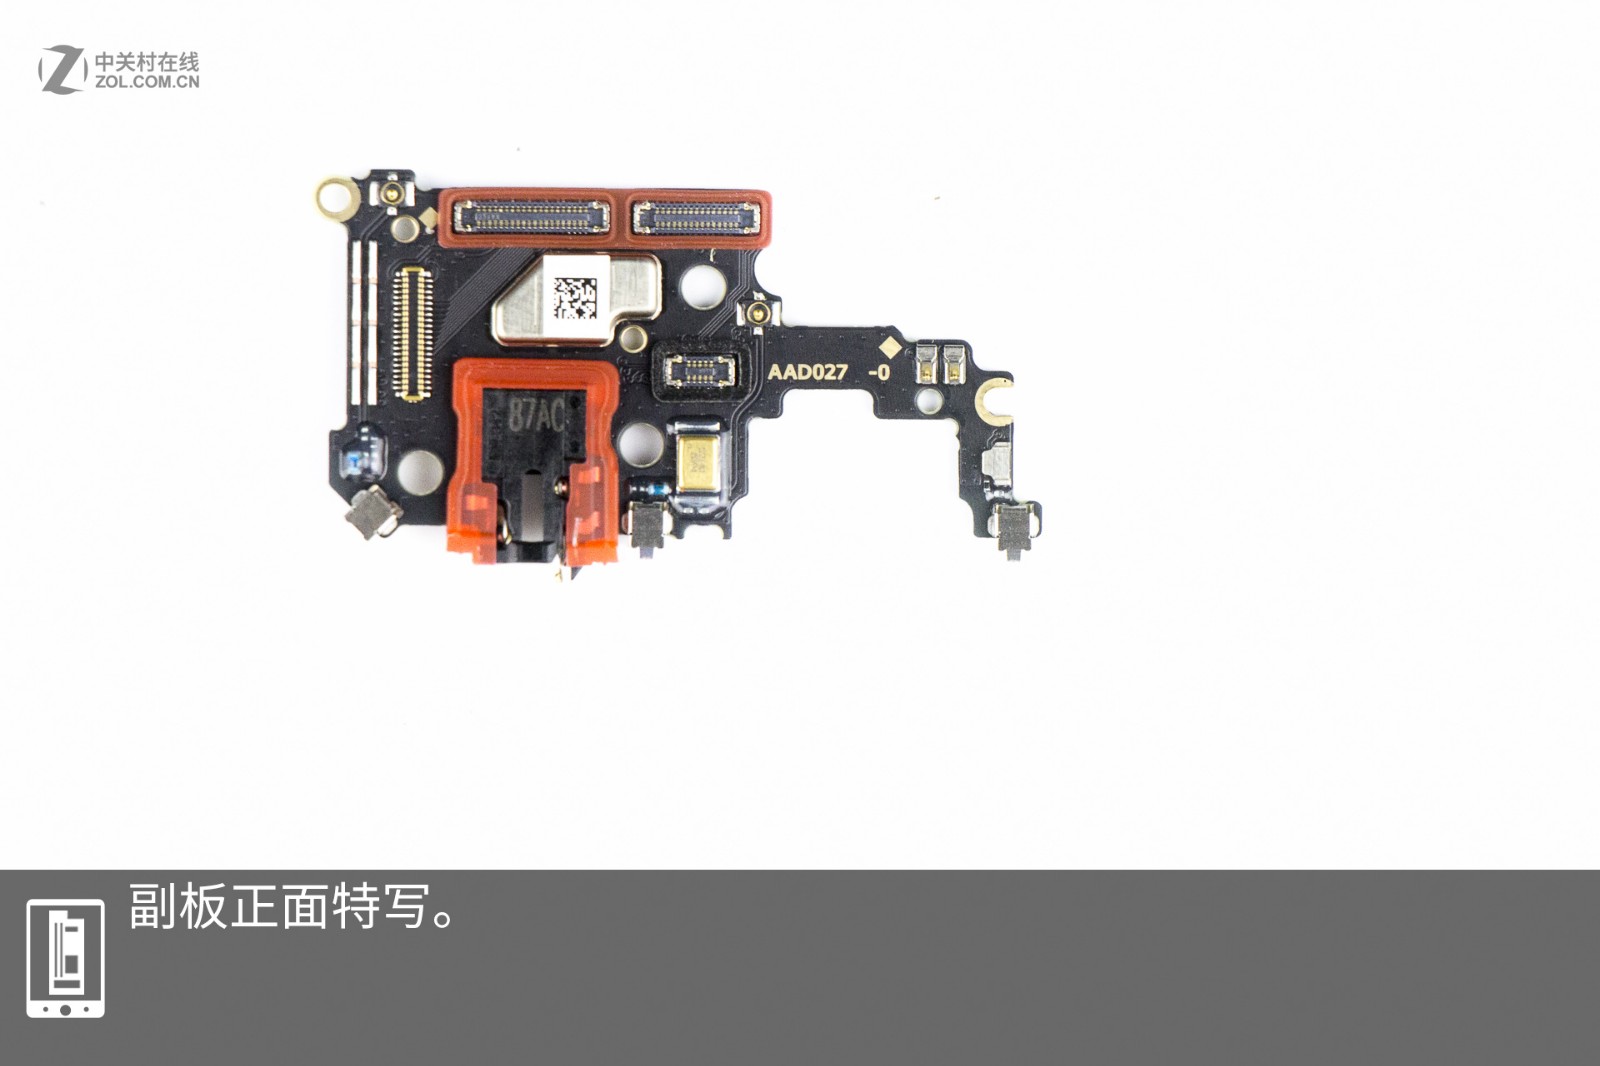
In the second image, there are four components. The part circled in red is the Qualcomm SDM760 power chip; the part circled in green is the Samsung SEC 822 memory chip; the part circled in blue is the Qualcomm PM670 power chip; the part circled in yellow is the circuit with water-resistant function. After removing the motherboard, I will take out the sub-board. First, remove the screws on the sub-board and the speaker.

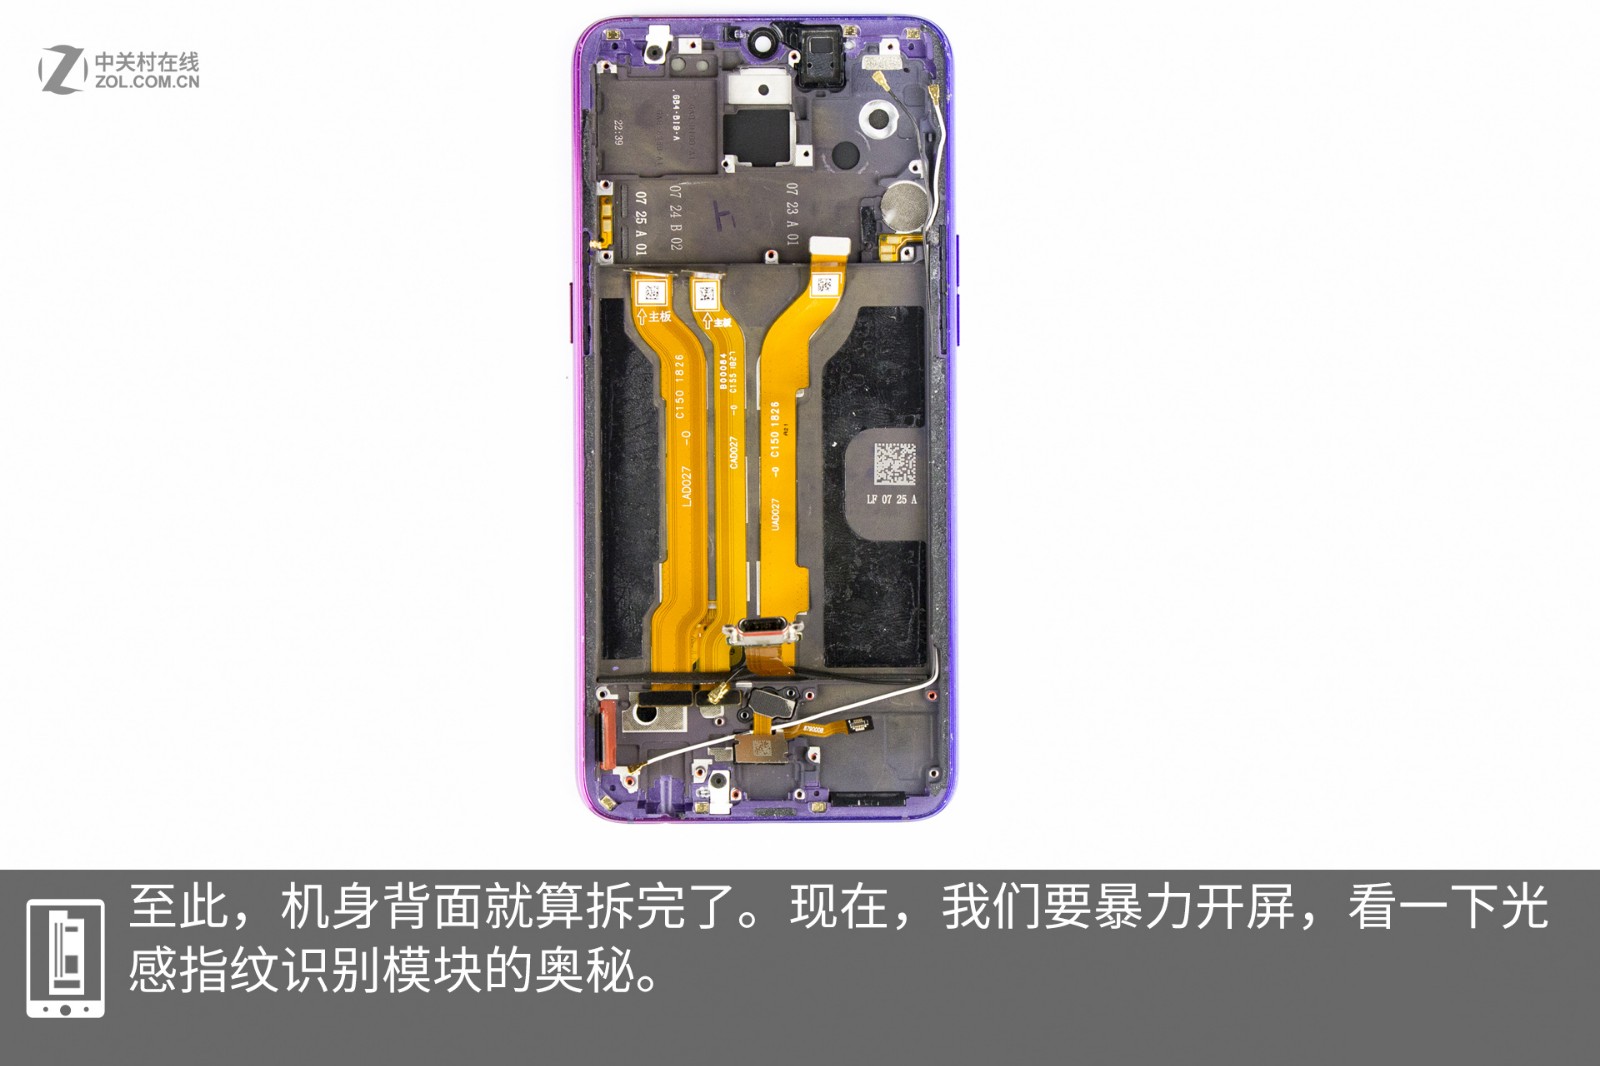
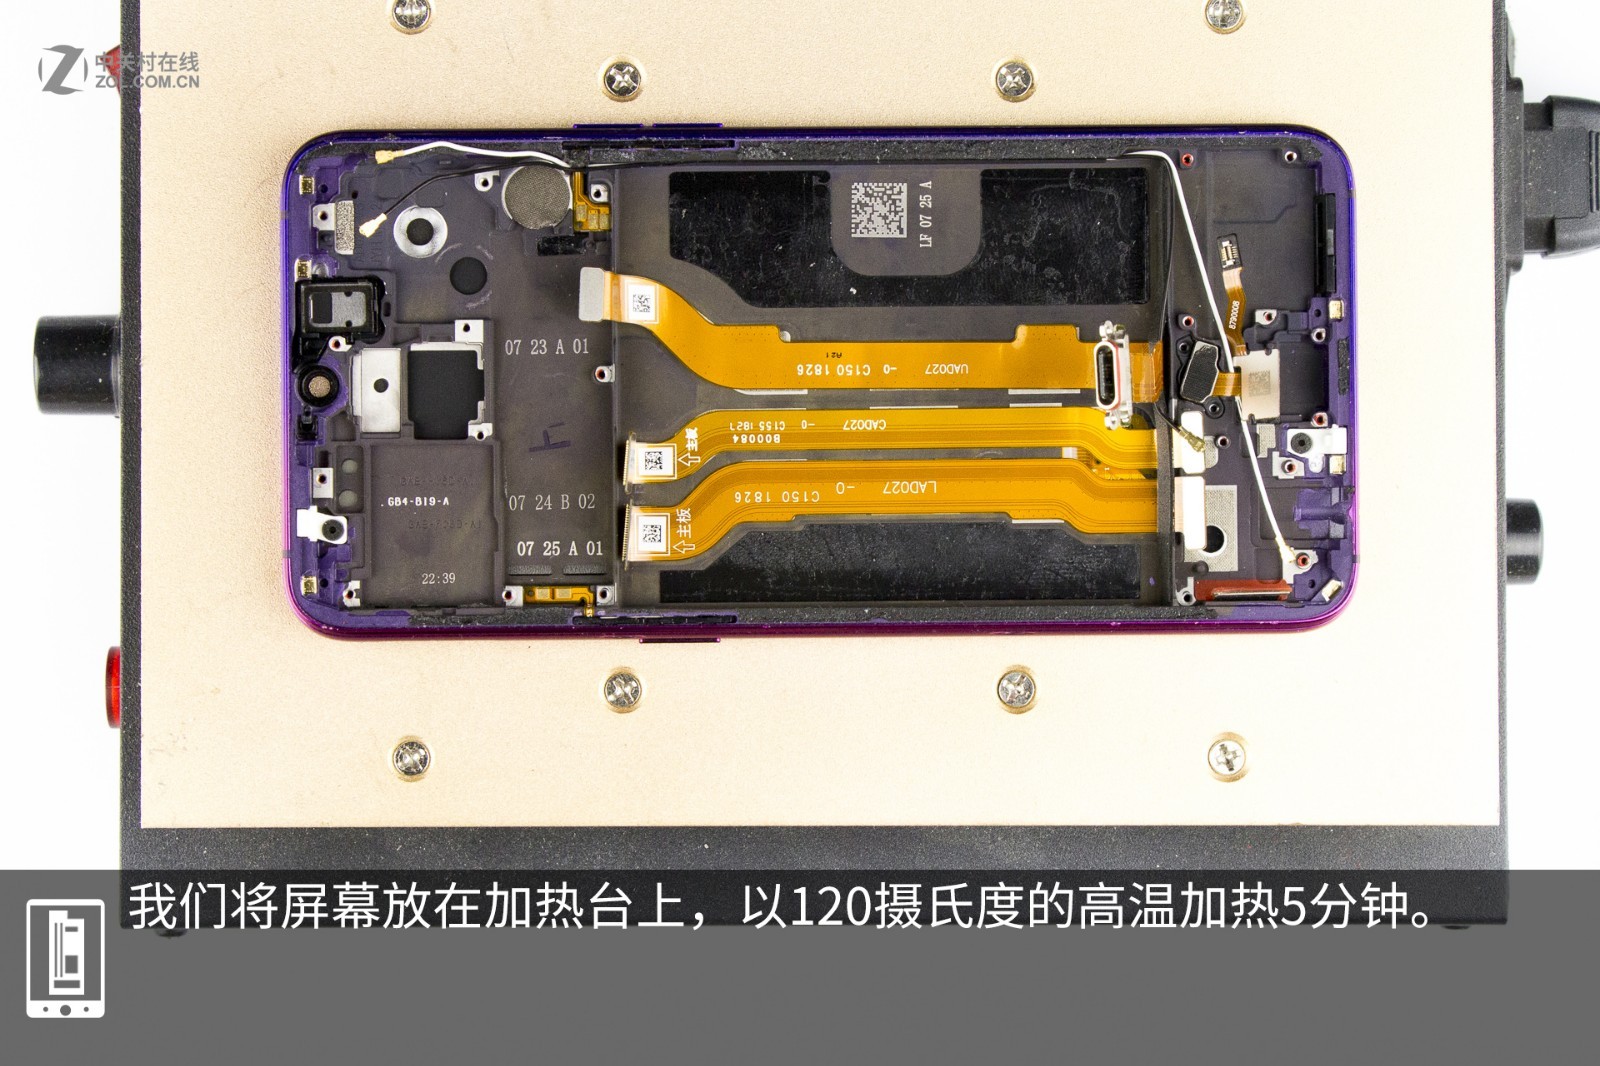
I have completed the teardown of the sub-board. Next, I will forcibly remove the screen to explore the secrets of the optical under-display fingerprint module. I will place the screen on a heater and heat it at 120°C for five minutes.
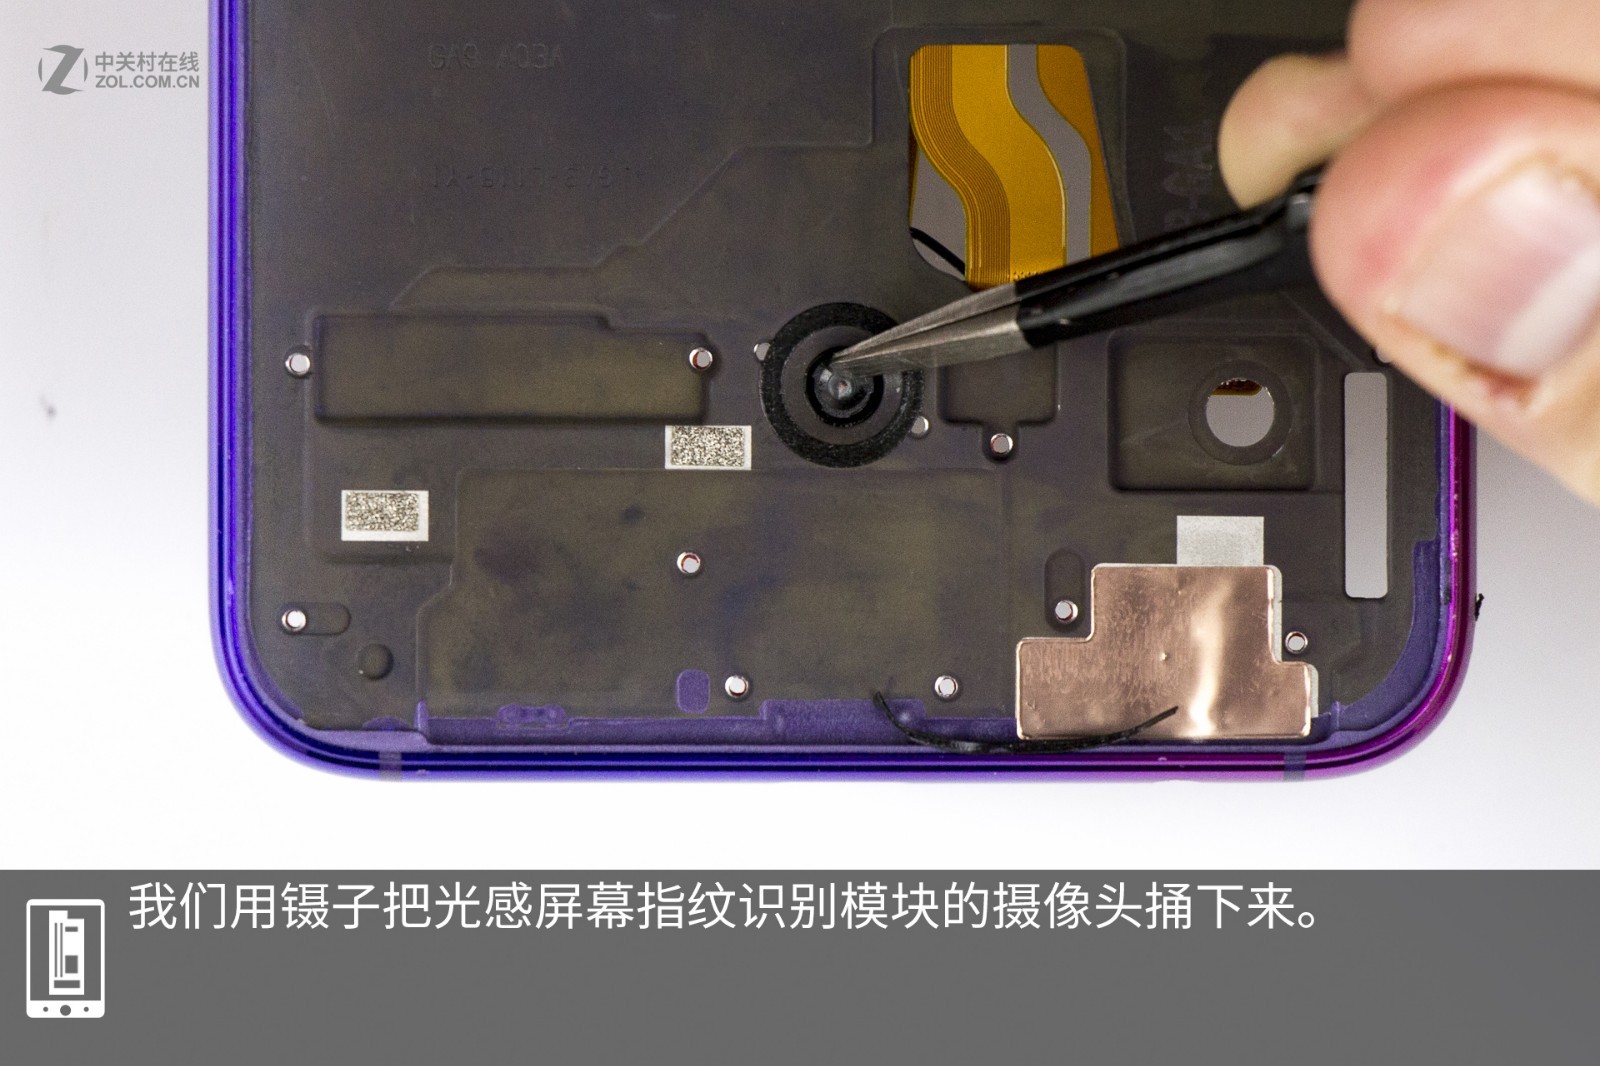
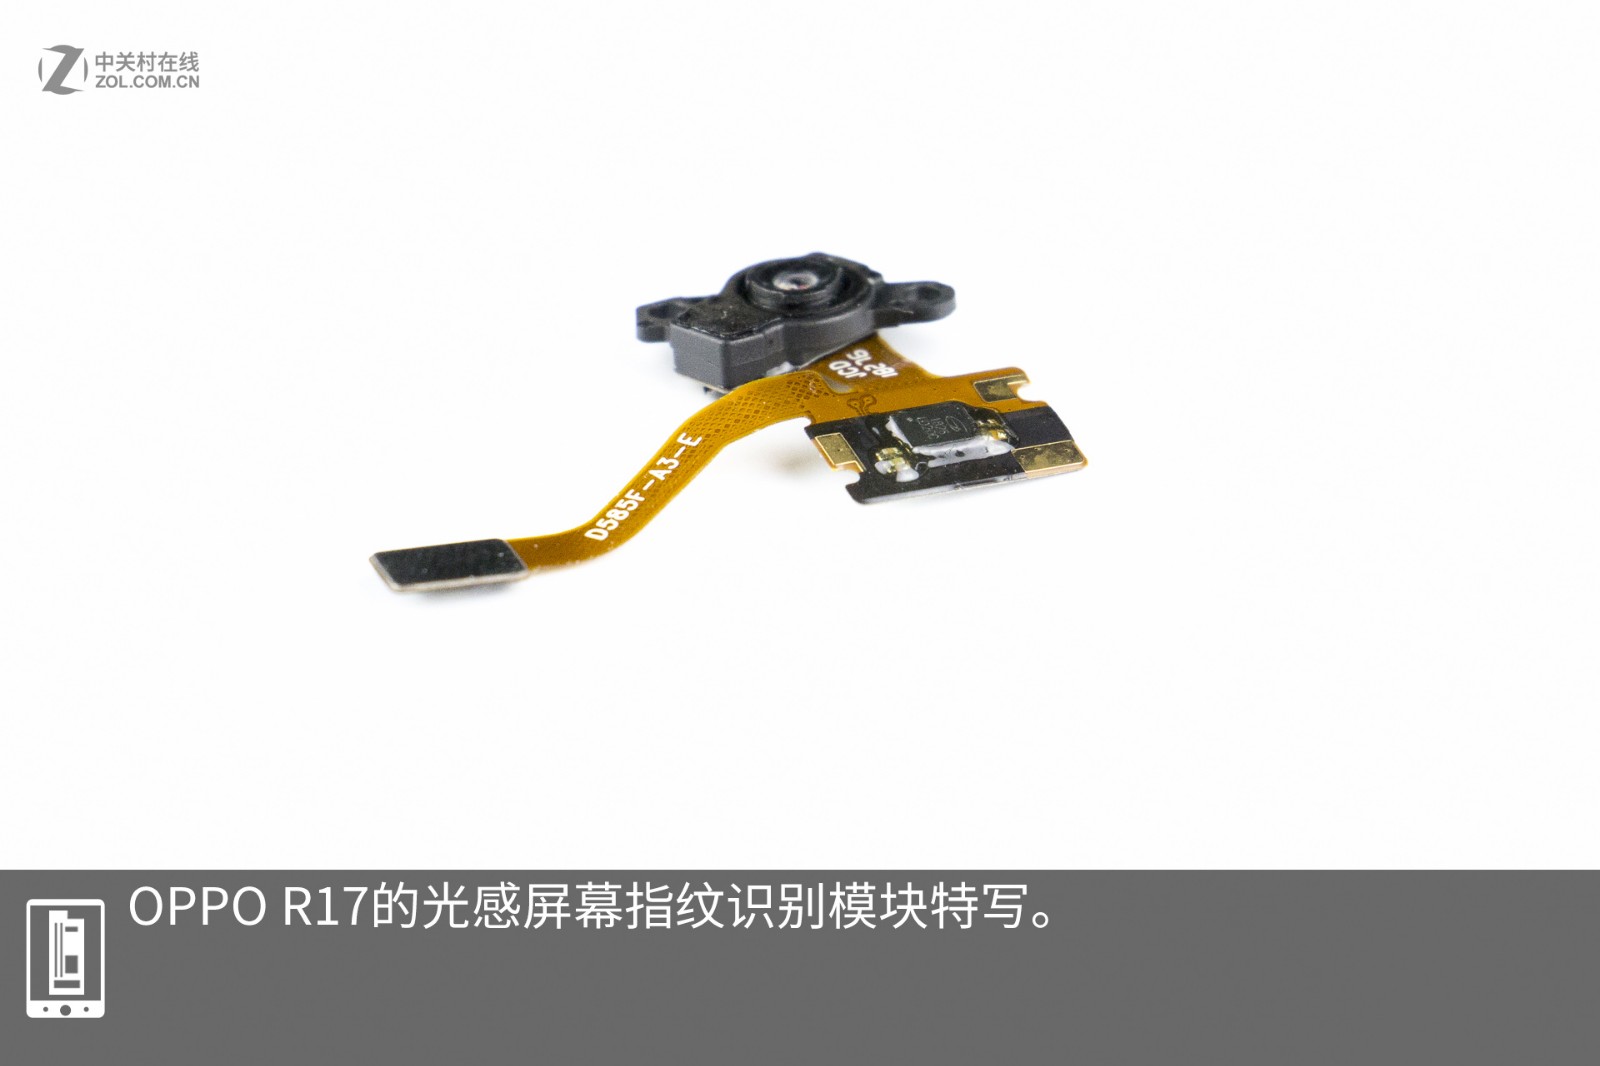
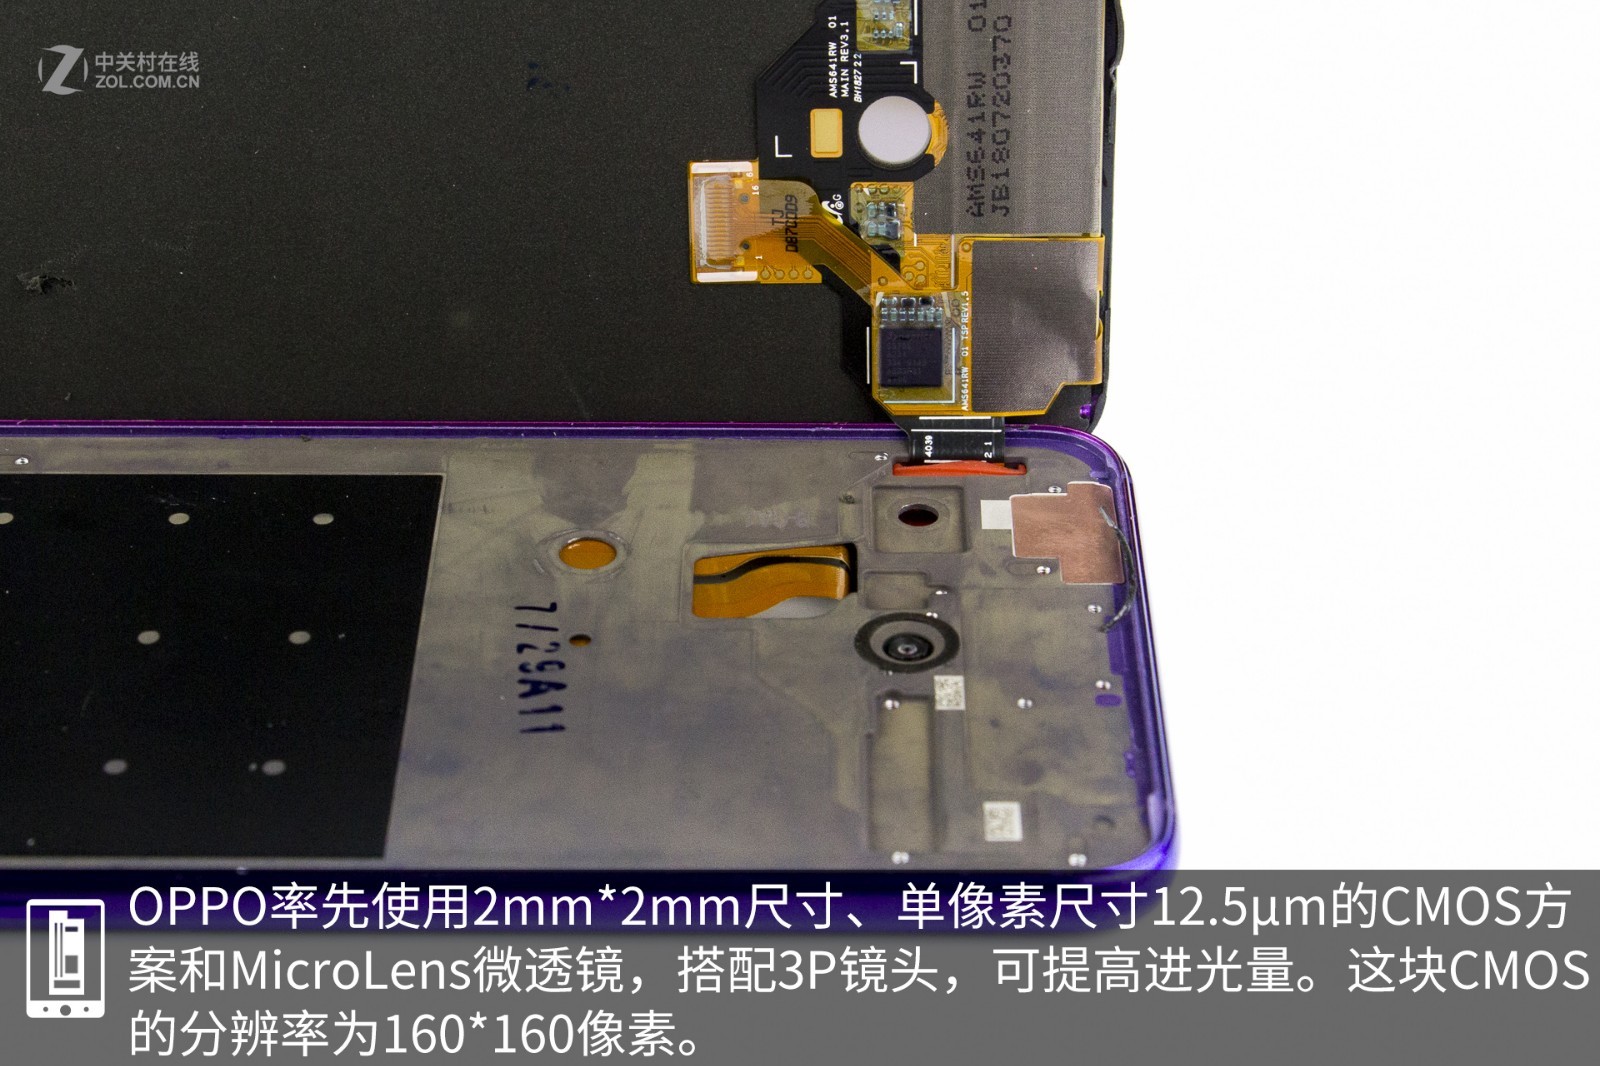
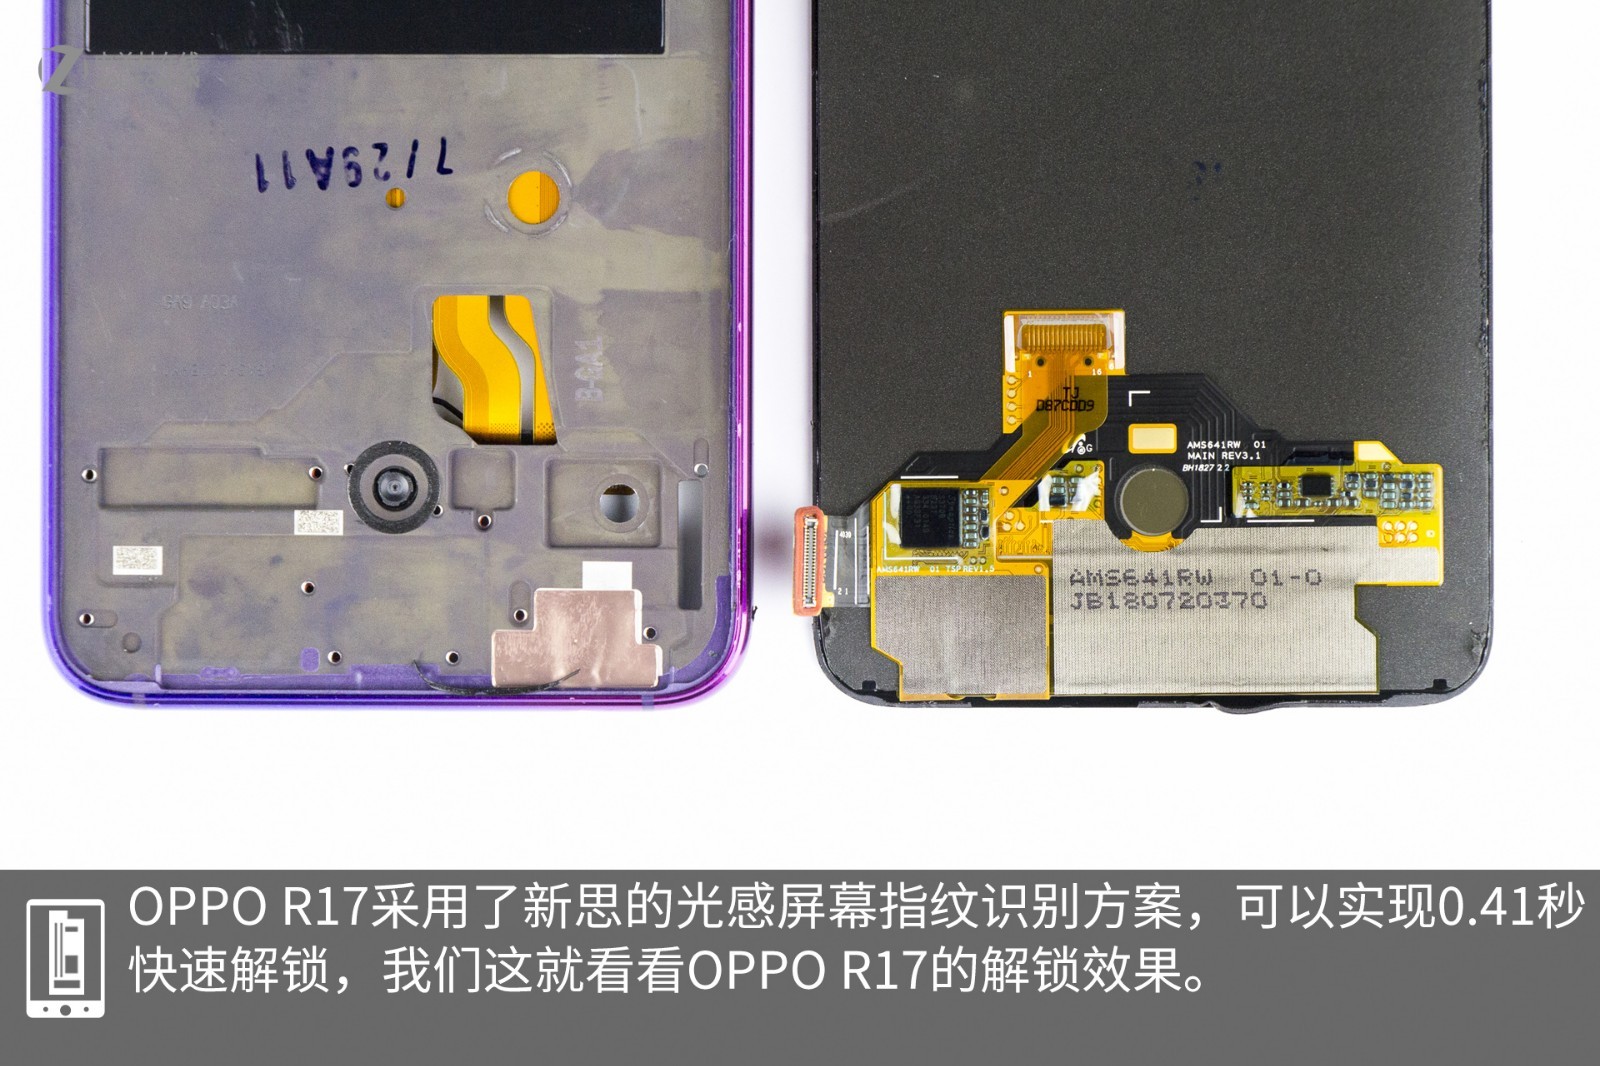
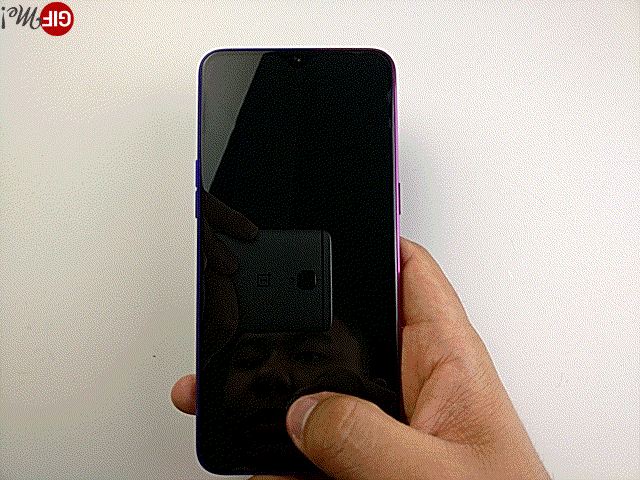
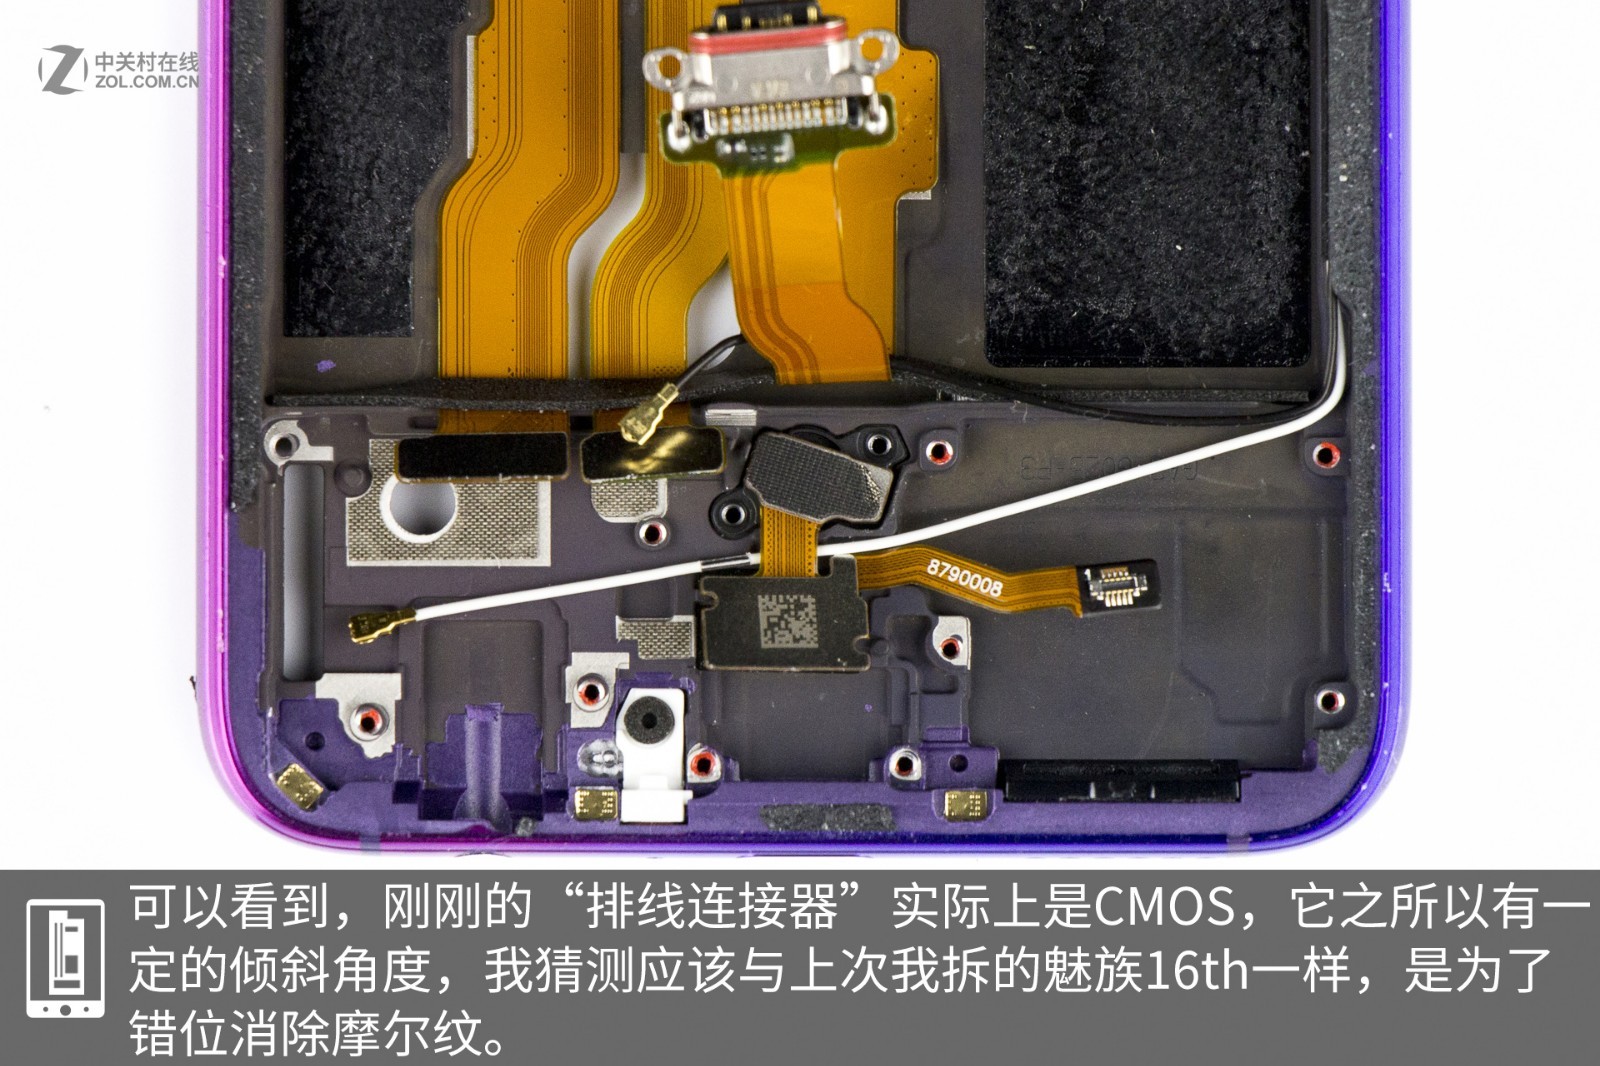
This screen uses a 2mm x 2mm 12.5um CMOS solution, featuring a micro-lens and a 3p lens to enhance light intake. The CMOS resolution is 160 × 160 pixels, using Synaptics’ optical under-display fingerprint solution, enabling ultra-fast unlocking in 0.41 seconds. The video demonstrates the under-display fingerprint unlocking effect. The CMOS sensor adopts an inclined connection design, which is speculated to eliminate moiré patterns, similar to the Meizu 16 series.
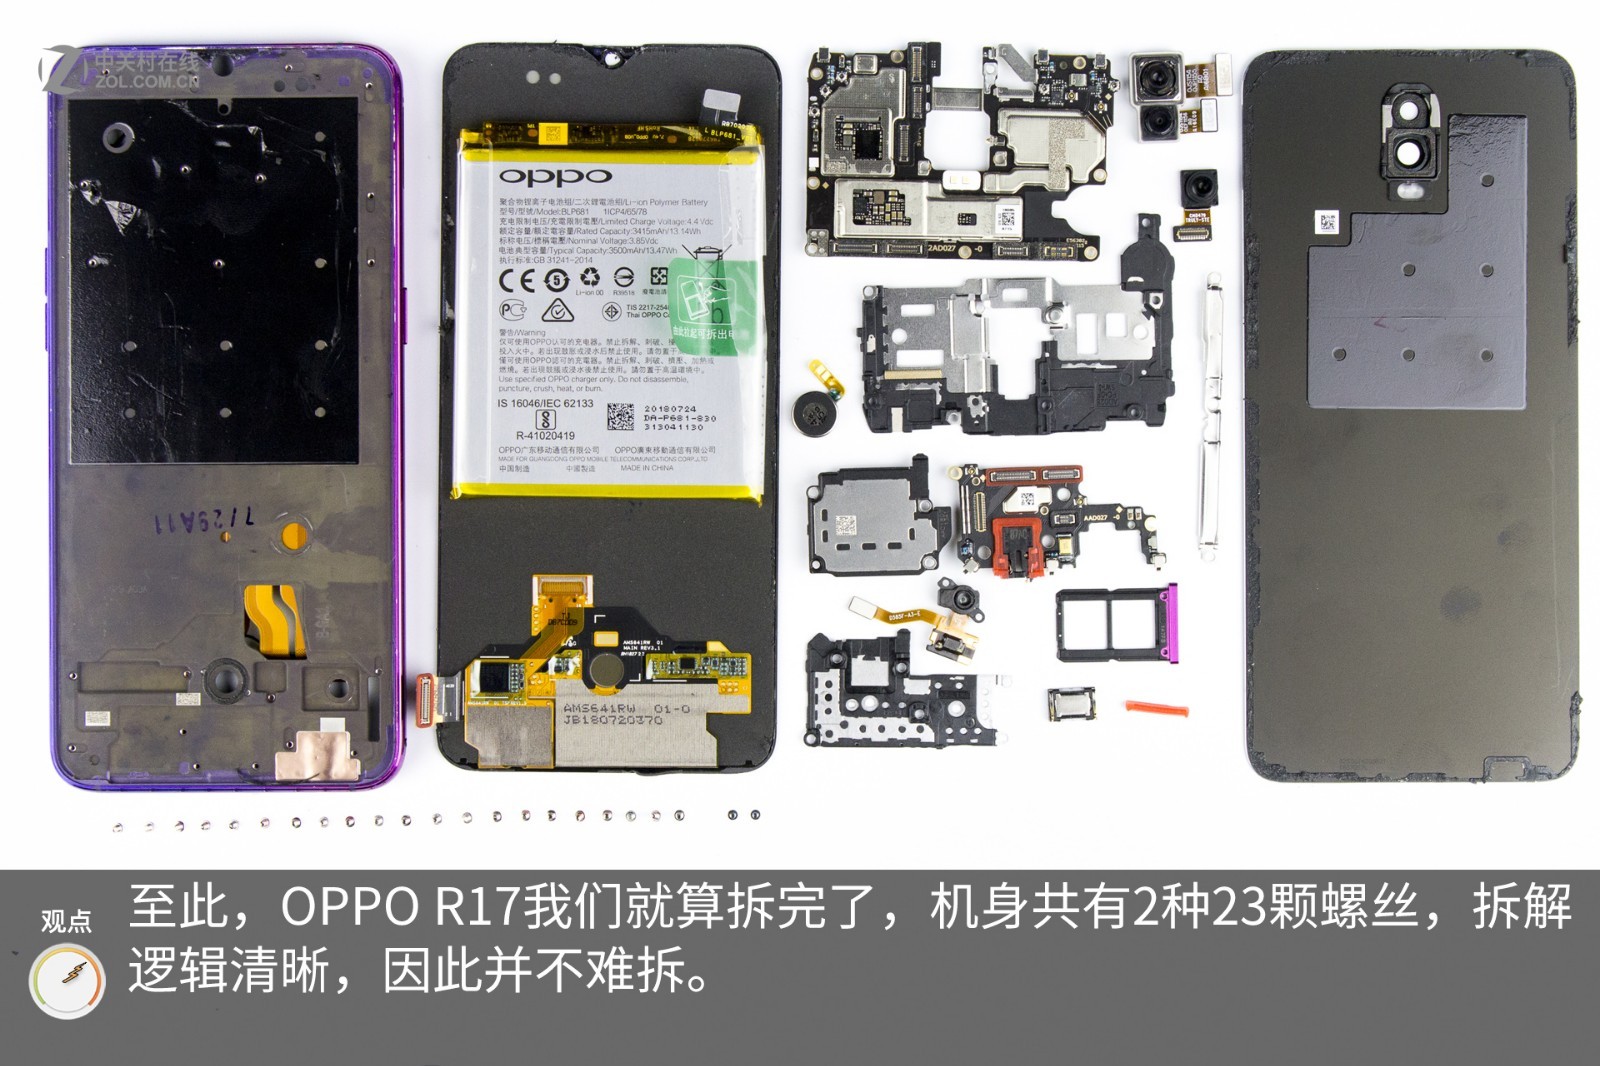
Use tweezers to remove the under-display fingerprint scanning module. At this point, the teardown is complete. This phone uses a total of 23 screws in two types, and the teardown process is quite simple.