
MSI GE60MSI LaptopTeardown
MSI GE60 Disassembly
In this guide, I’ll explain how to disassemble MSI GE60. I will remove the RAM, DVD drive, keyboard, palm rest, heat sink, cooling fan and motherboard. Refer to this guide, you can upgrade, repair and clean your MSI GE60.
Looking for more funny teardown? Follow us on Facebook for all the latest repair news.
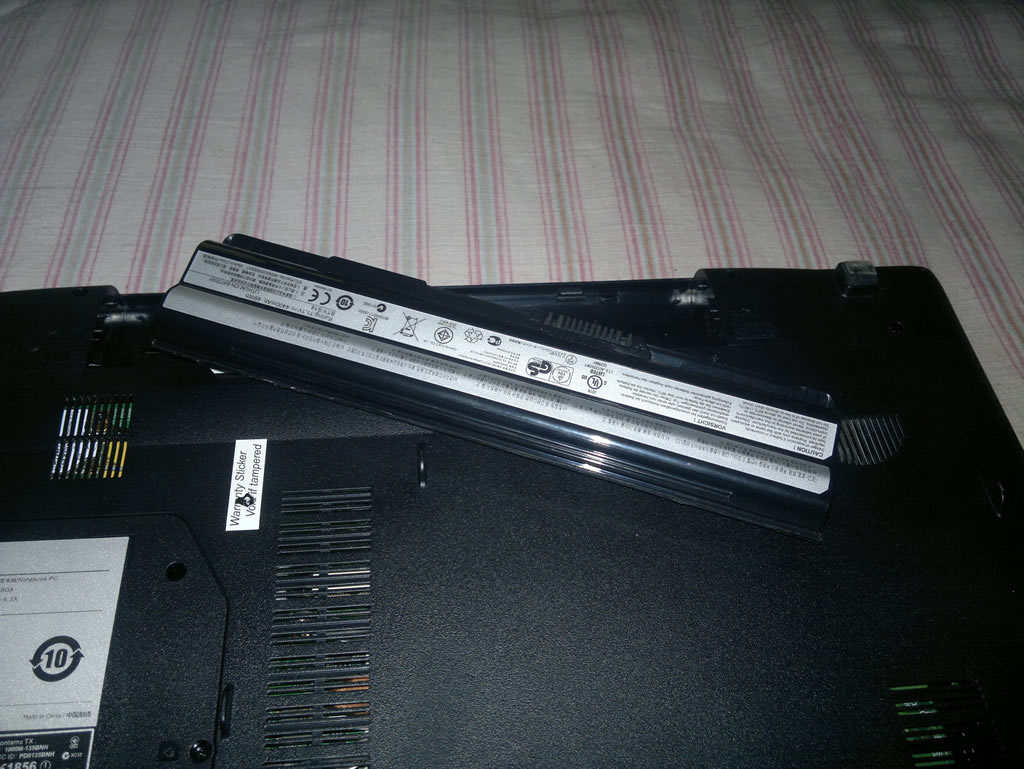
Turn off the laptop, unlock and remove the battery.
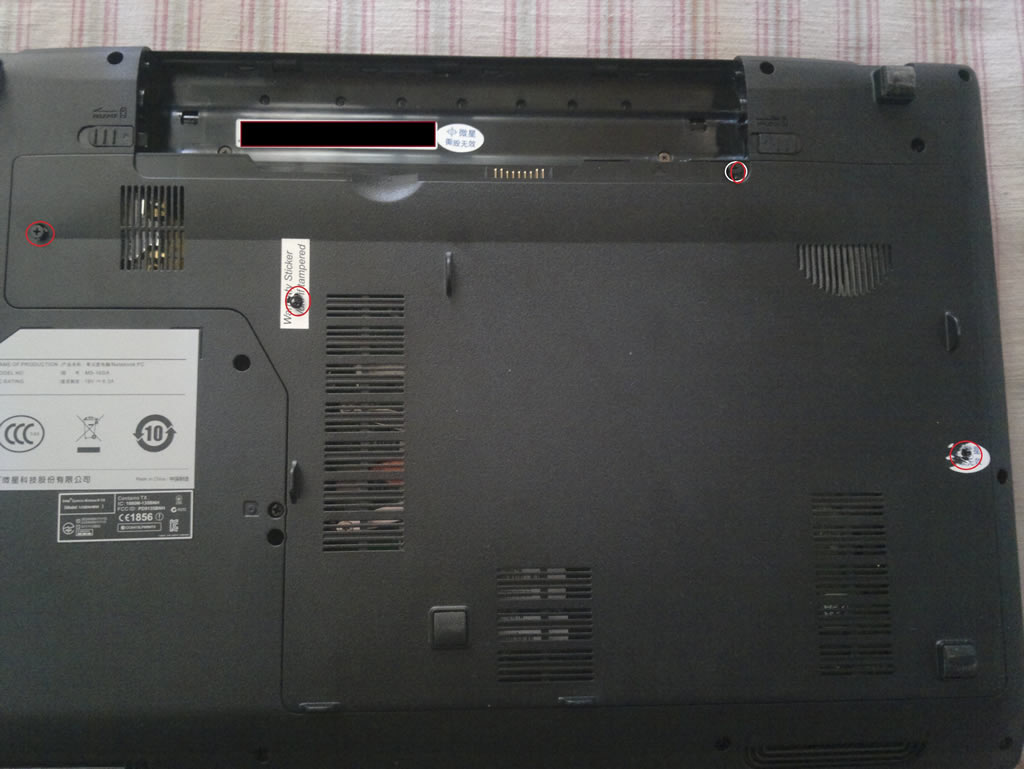
Remove four screws securing the service cover.
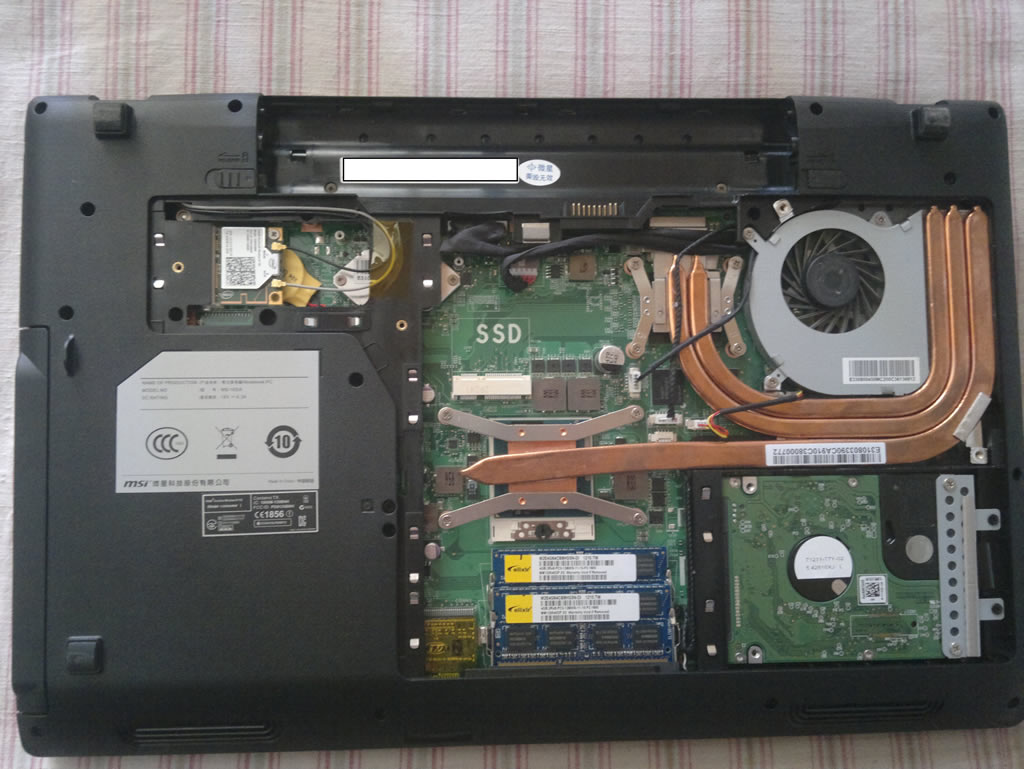
Under the cover, you can see the hard drive, RAM, wireless card, spare mSATA port, heat sink and cooling fan.
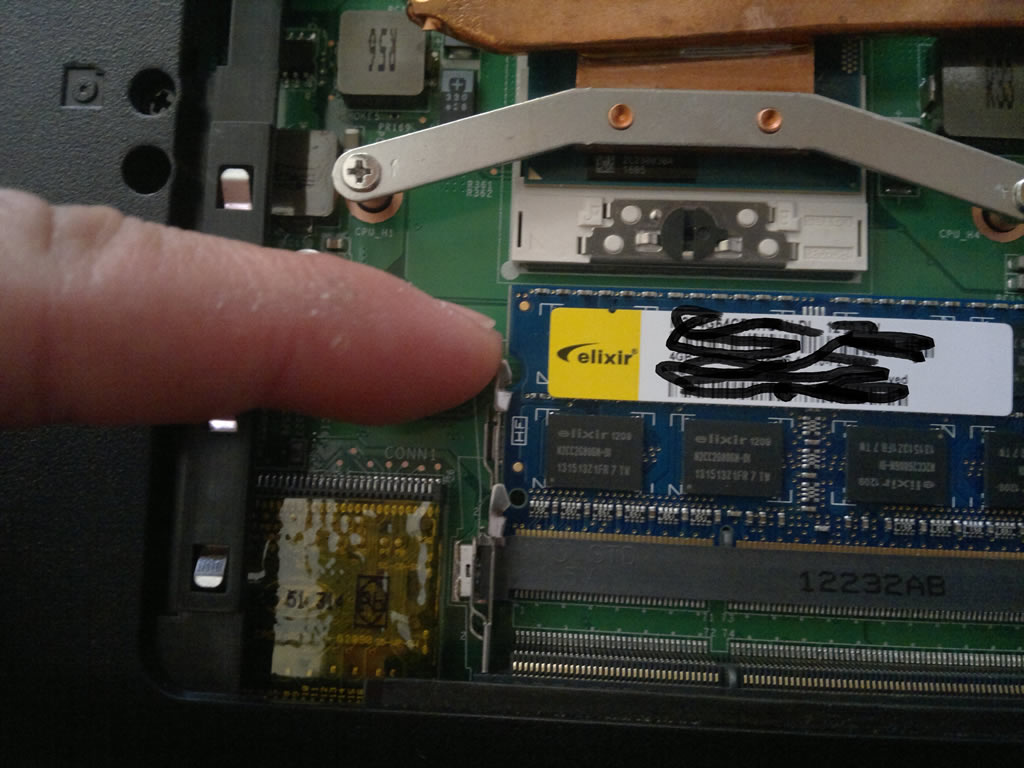
Remove the RAM.
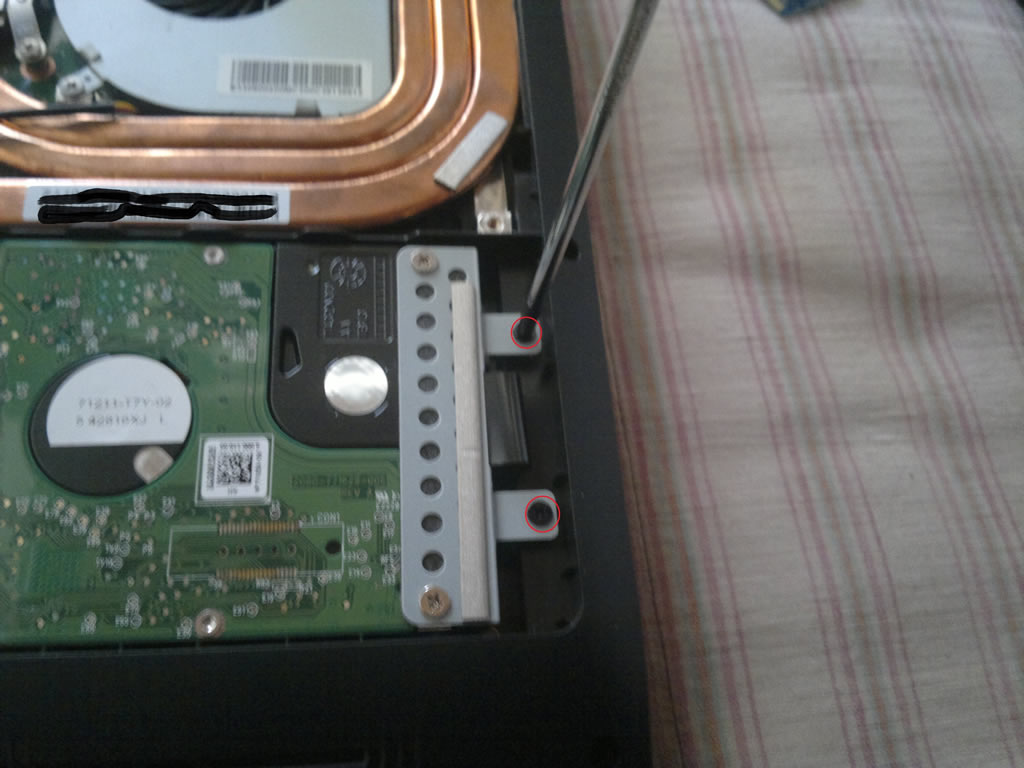
Remove two screws securing the hard drive.
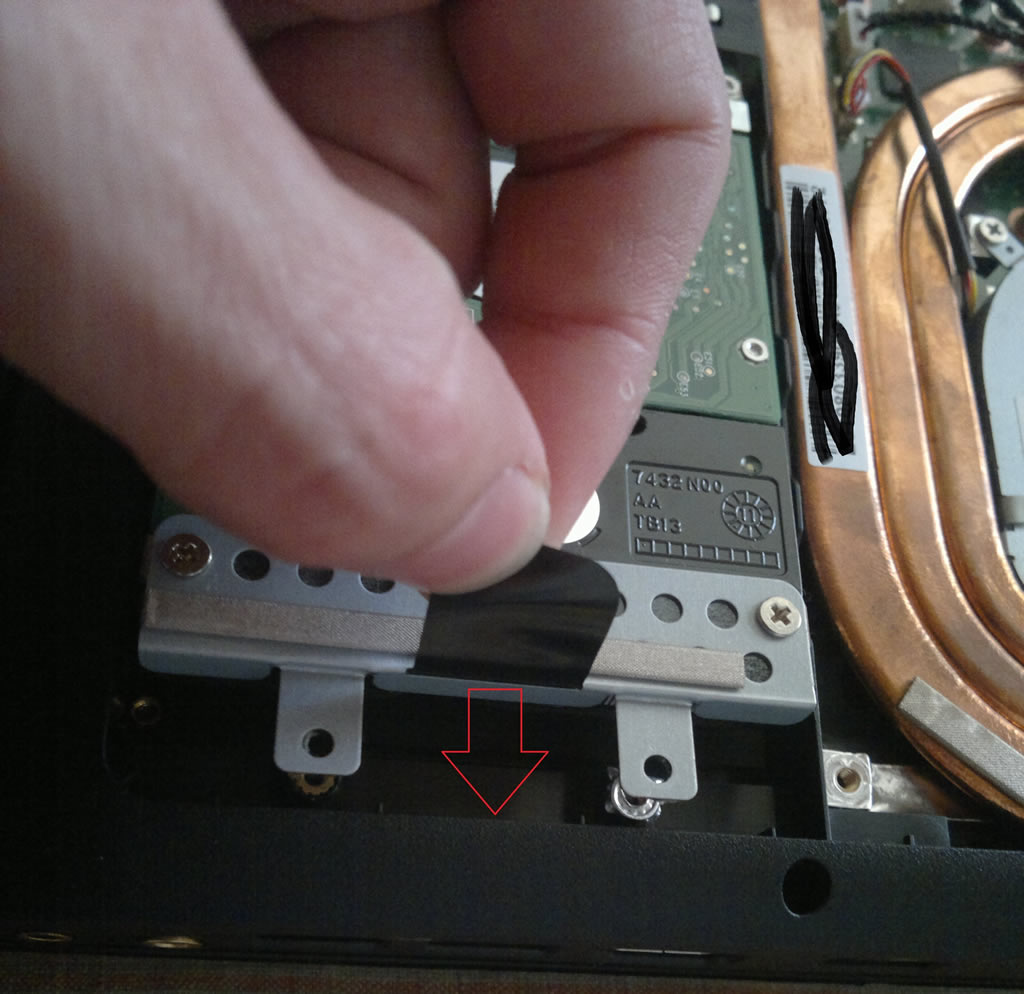
Lift up the black tape and sliding it by the arrow. Remove the hard drive.
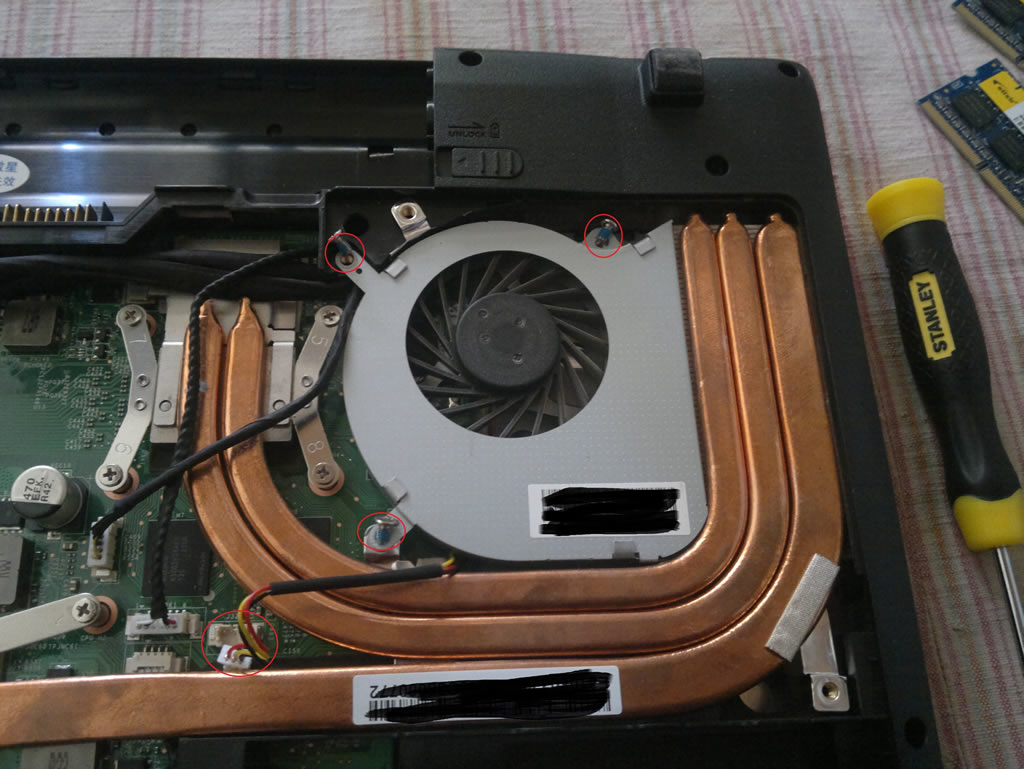
Remove three screws.
Disconnect the cooling fan cable from the motherboard. The cooling fan can be removed.
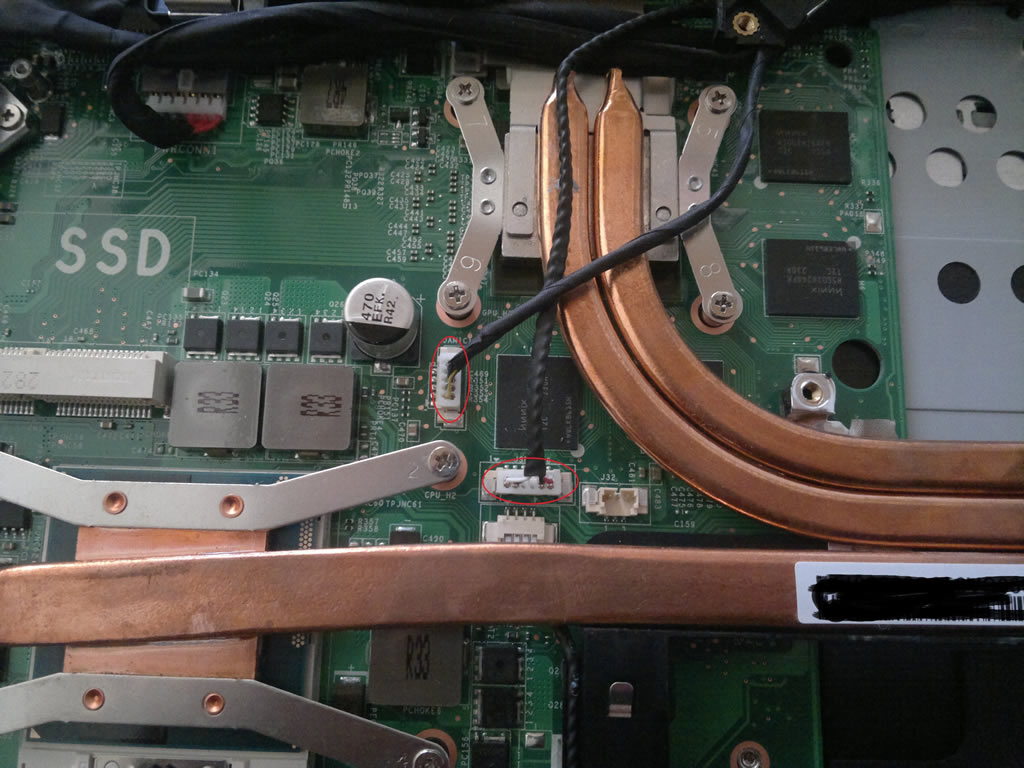
Disconnect two cables.
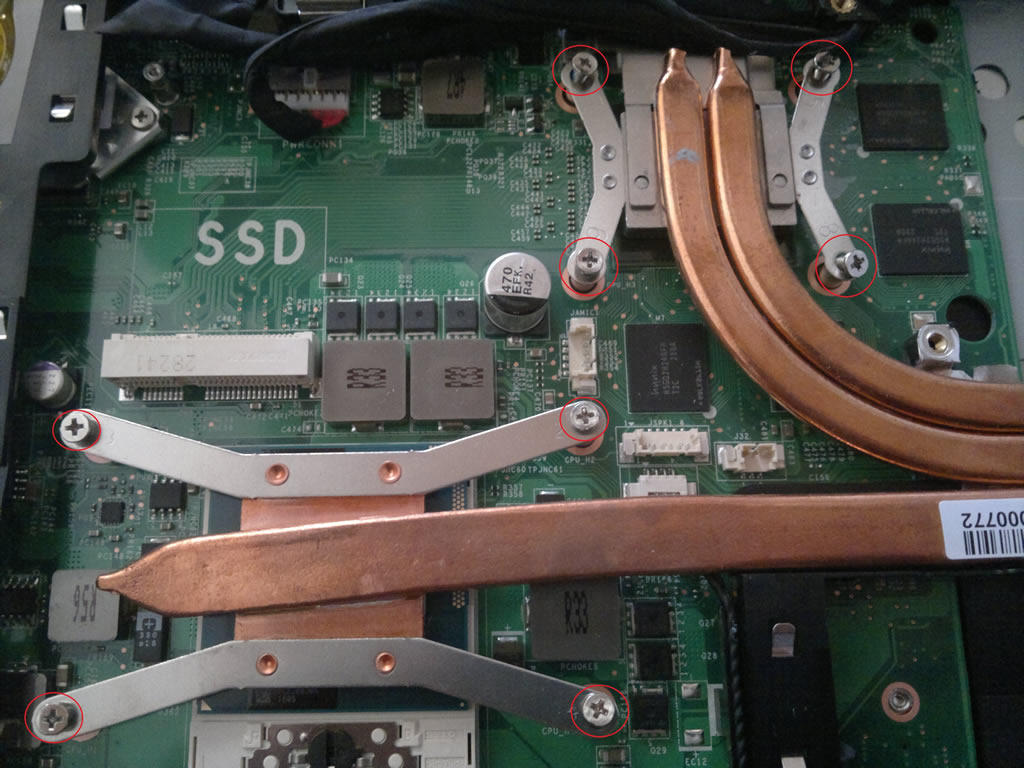
Remove eight screws securing the heat sink and remove the heat sink.
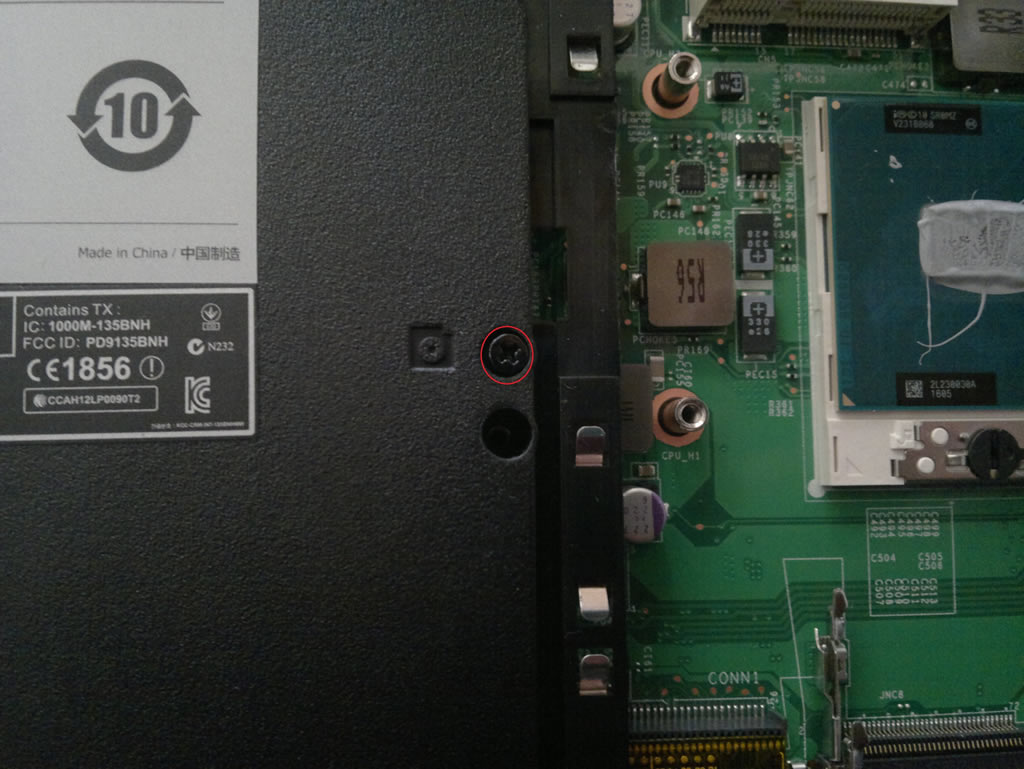
Remove the screw and pull out the DVD drive.
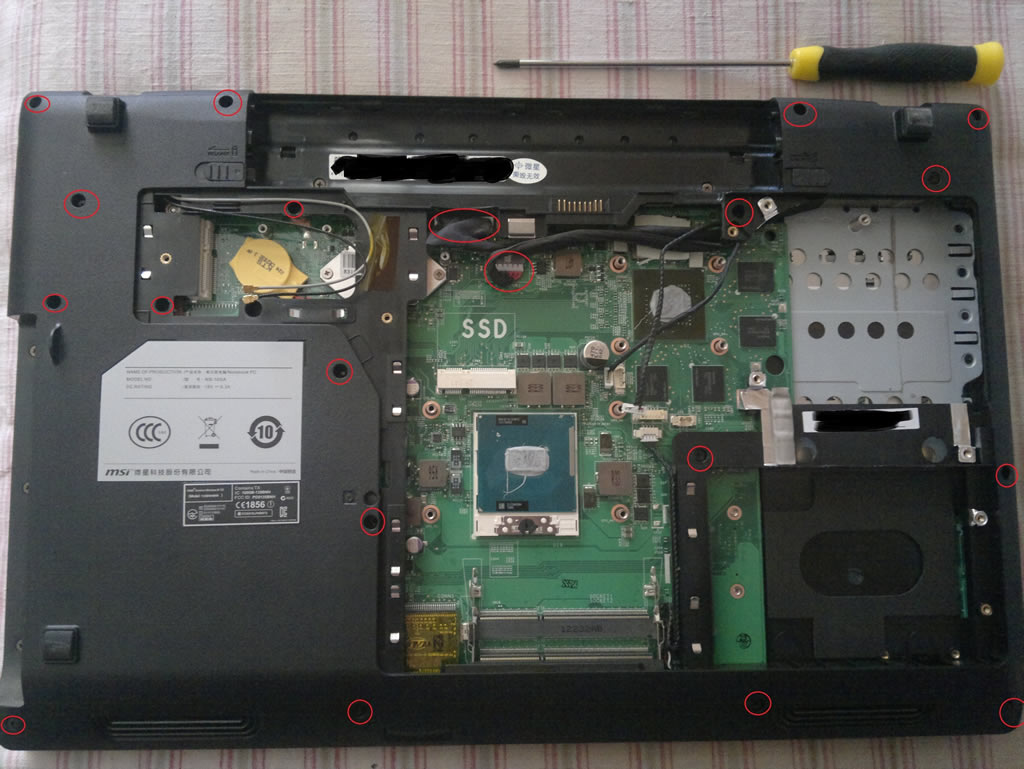
Remove all screws securing the bottom case. Disconnect two cables from the motherboard.
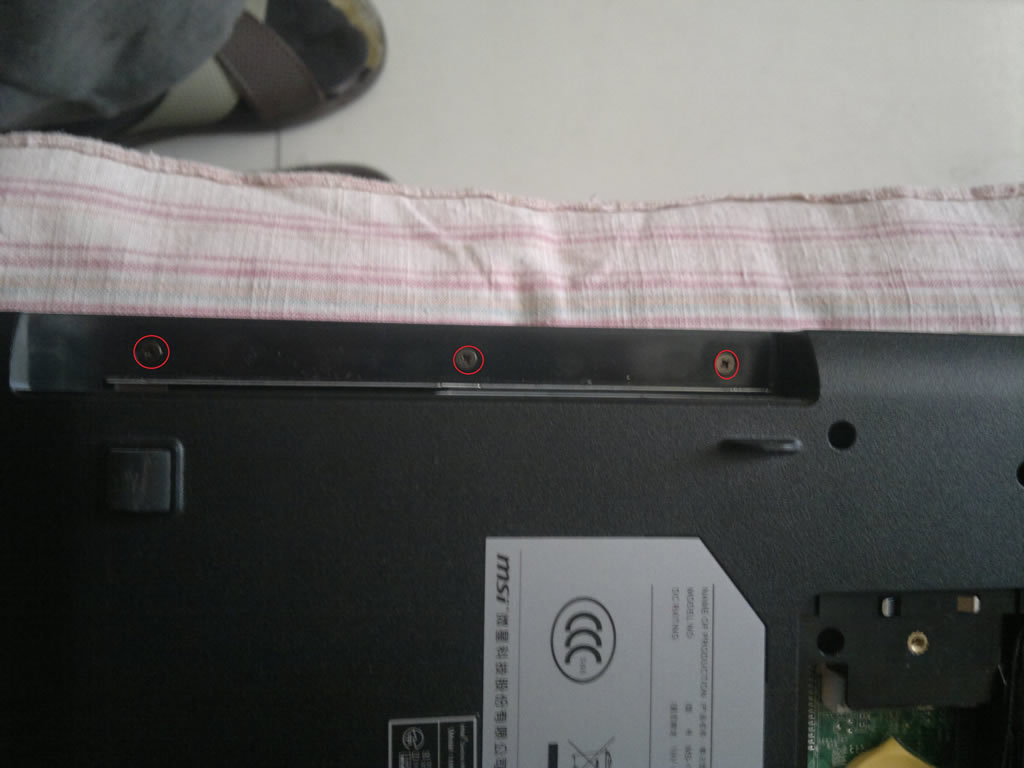
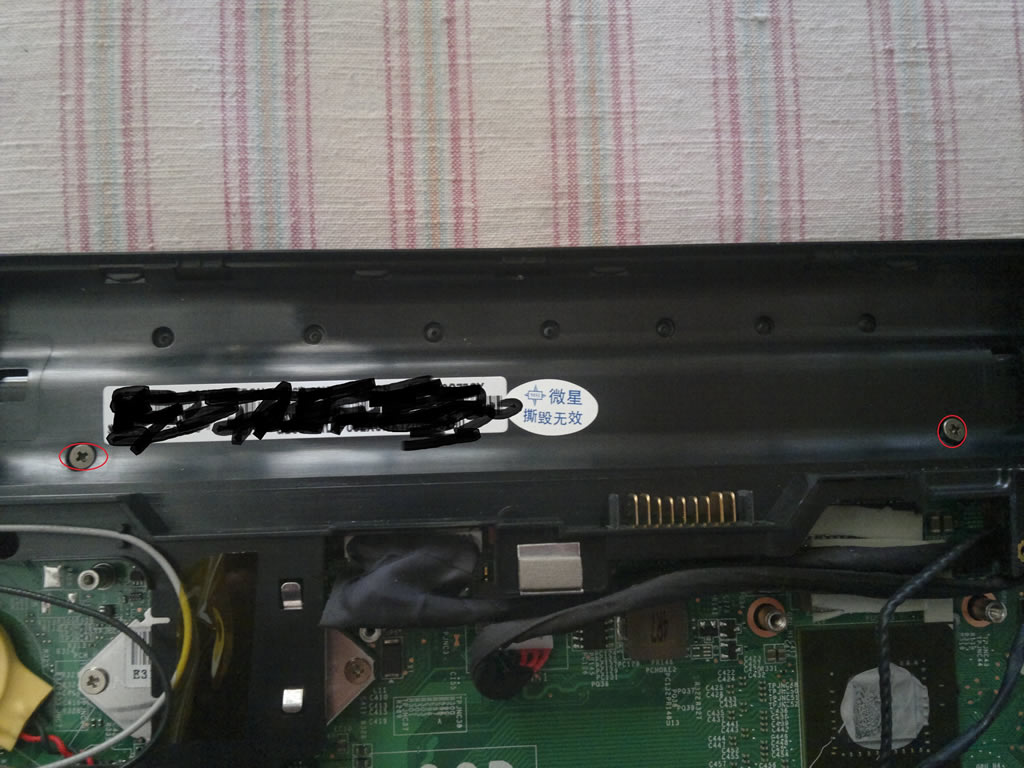
Remove three screws in the DVD drive bay.
Remove two screws in the battery bay.
Release five plastic tabs and lift up the keyboard.
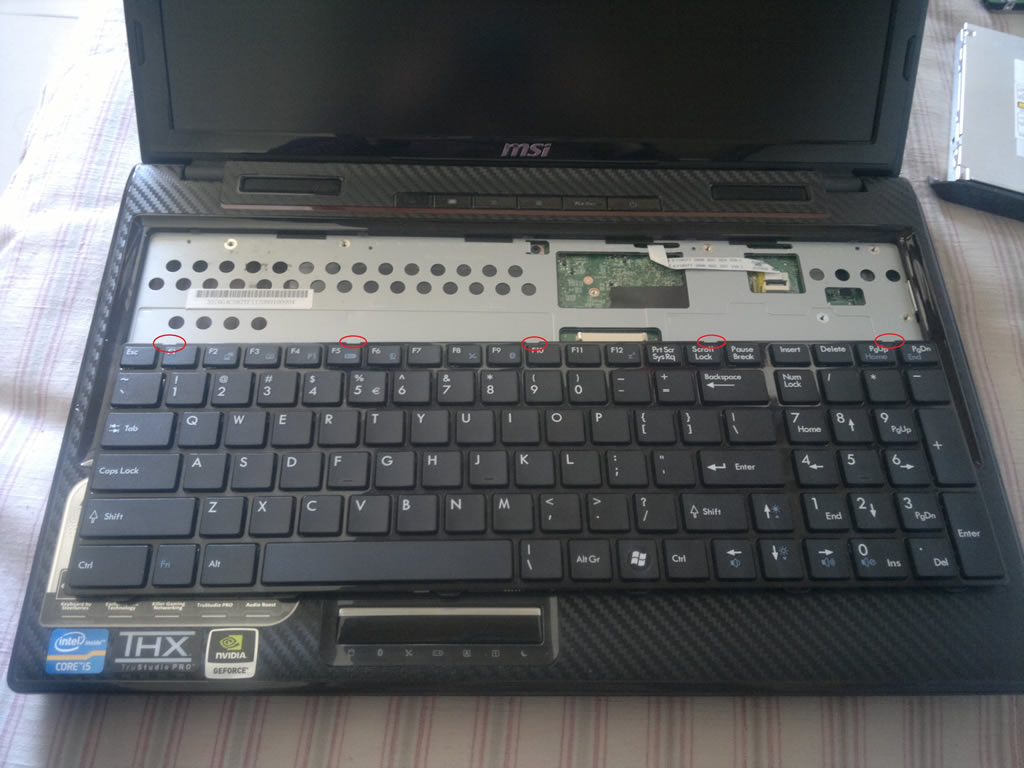
Unlock and remove the keyboard.
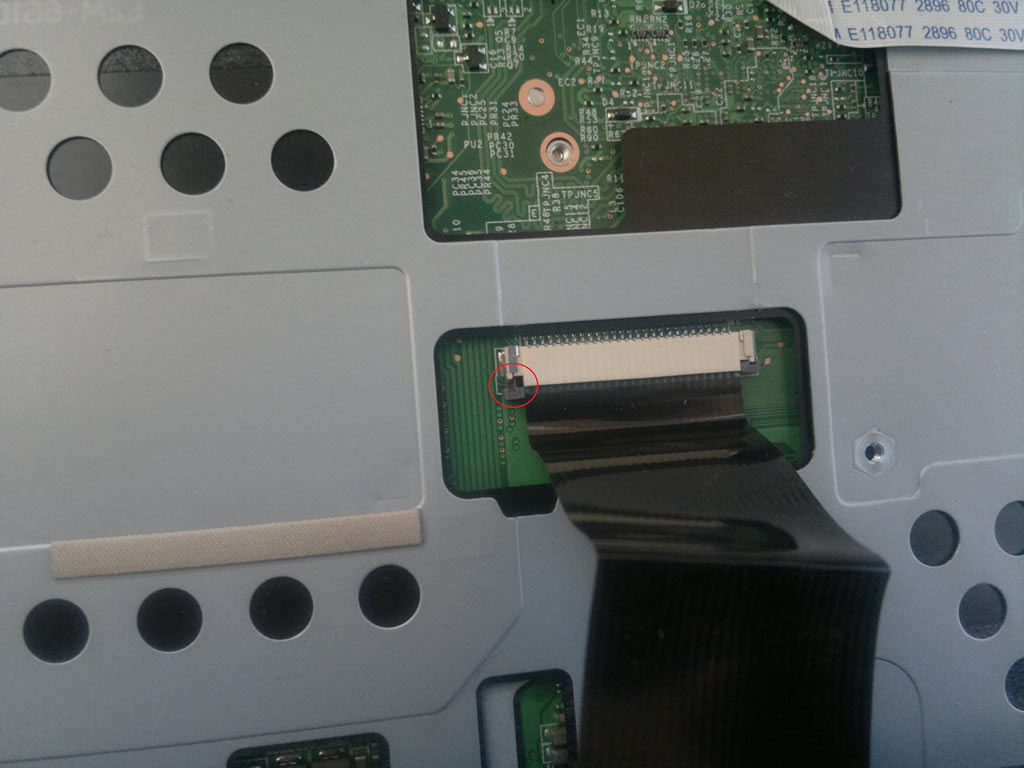
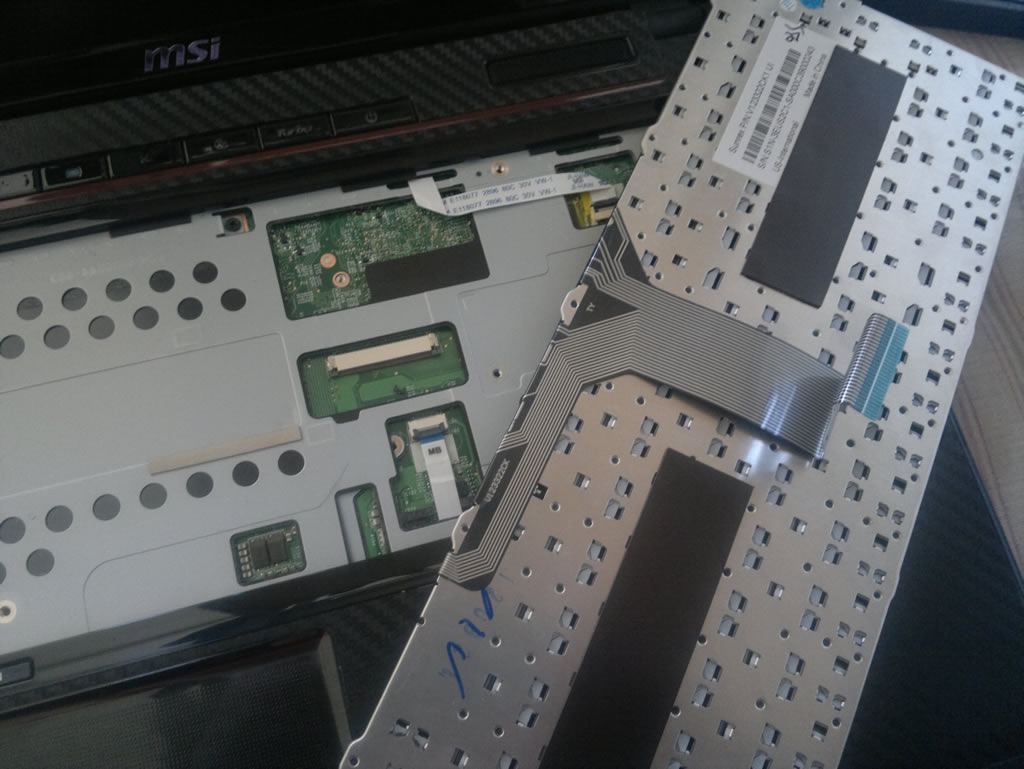
MSI GE60 keyboard has been removed.
Remove two screws securing the palm rest.
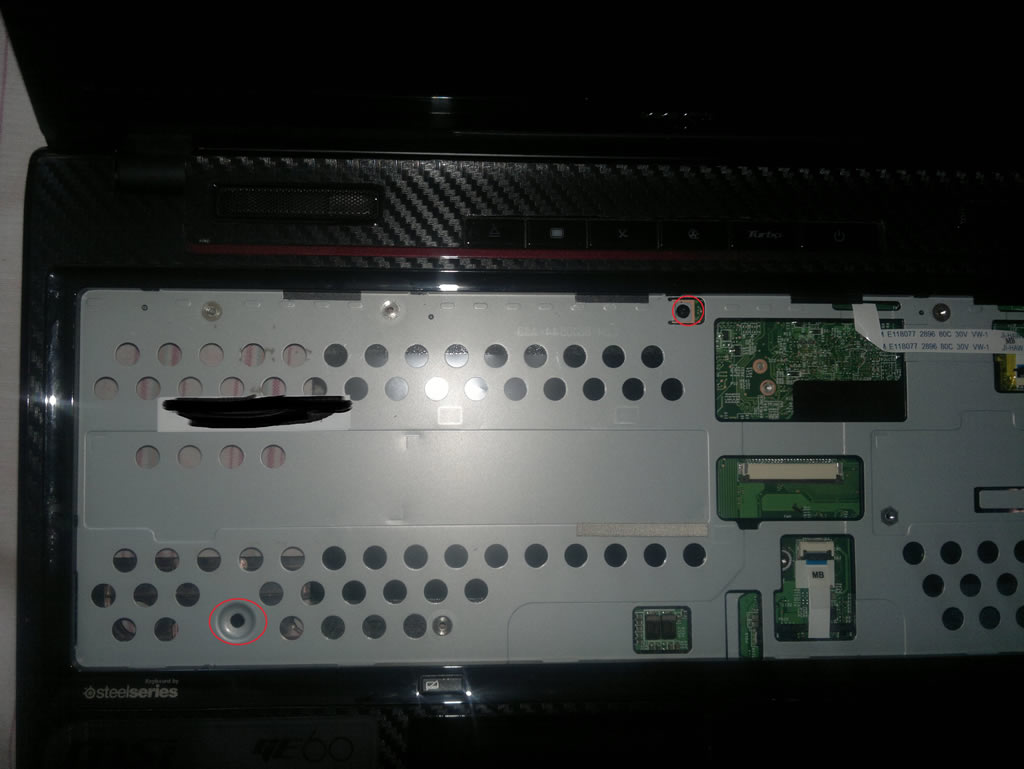
Disconnect this cable.
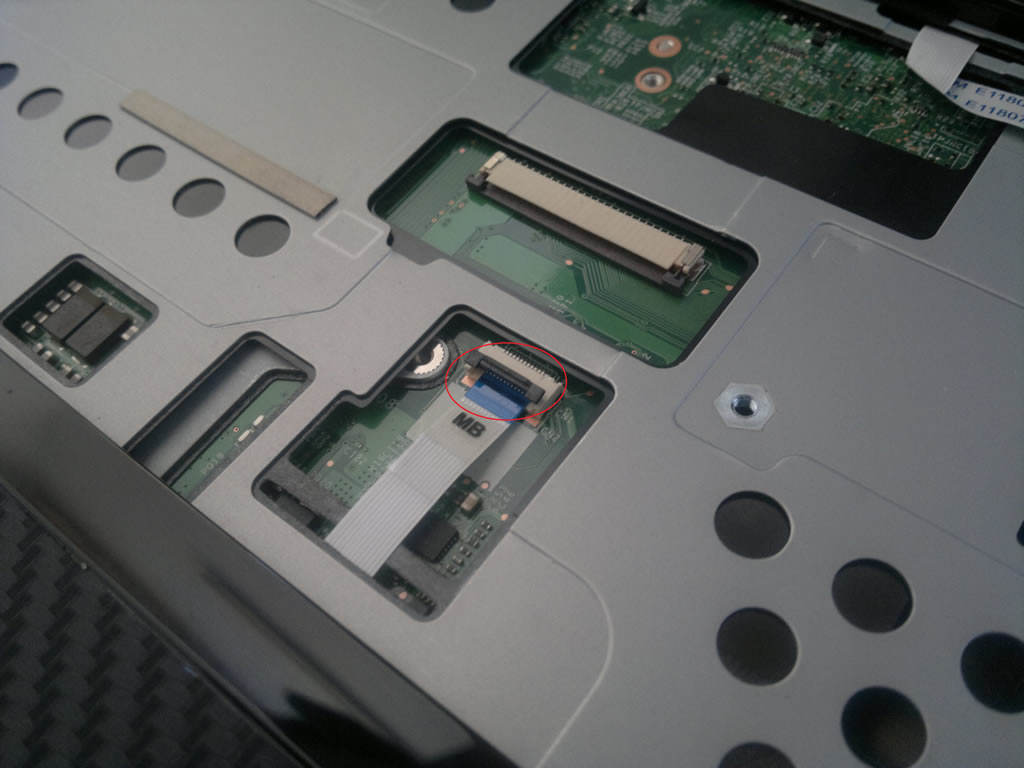
Disconnect this cable.
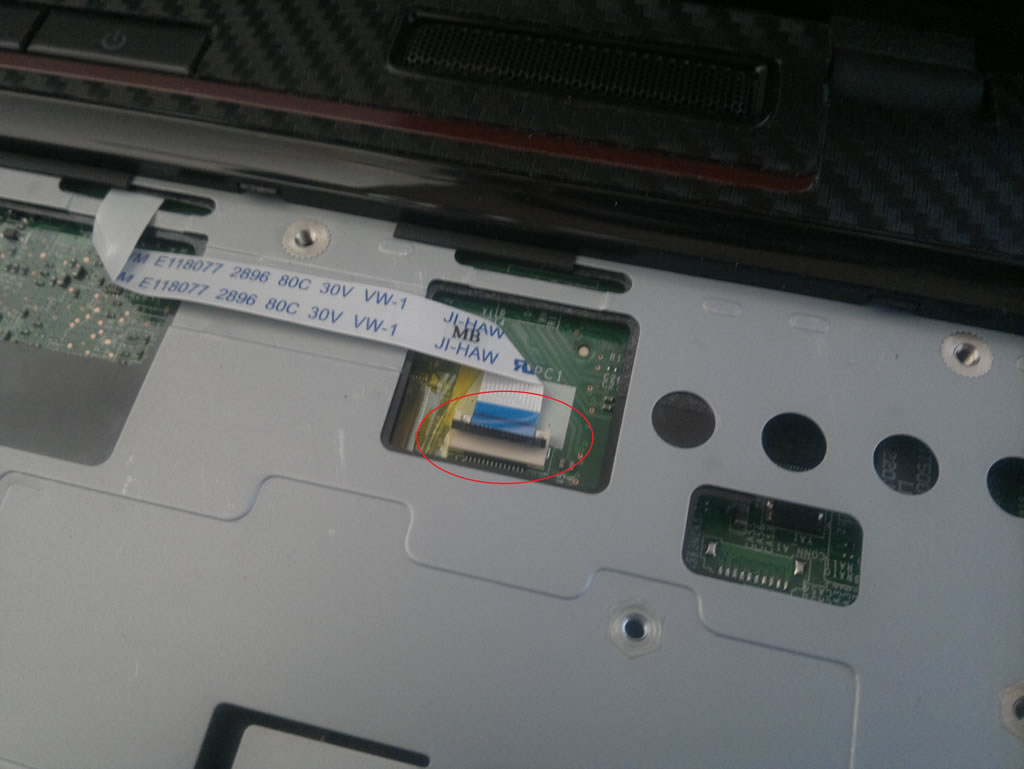
Pry up and remove the palm rest.
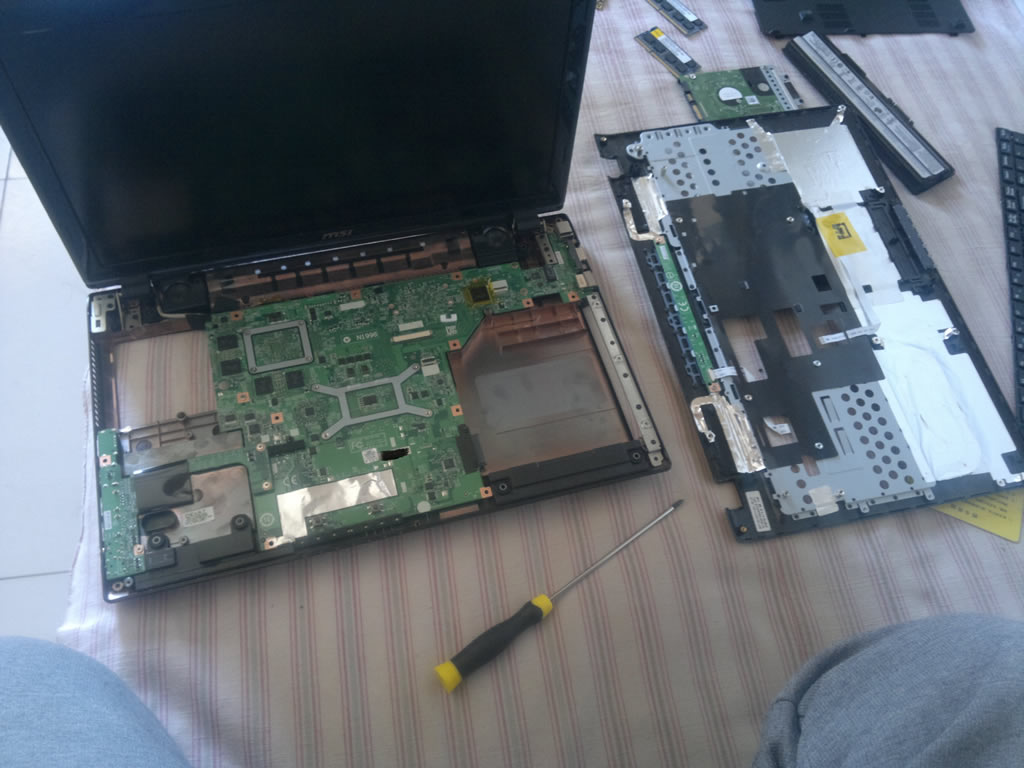
Remove seven screws securing the motherboard.
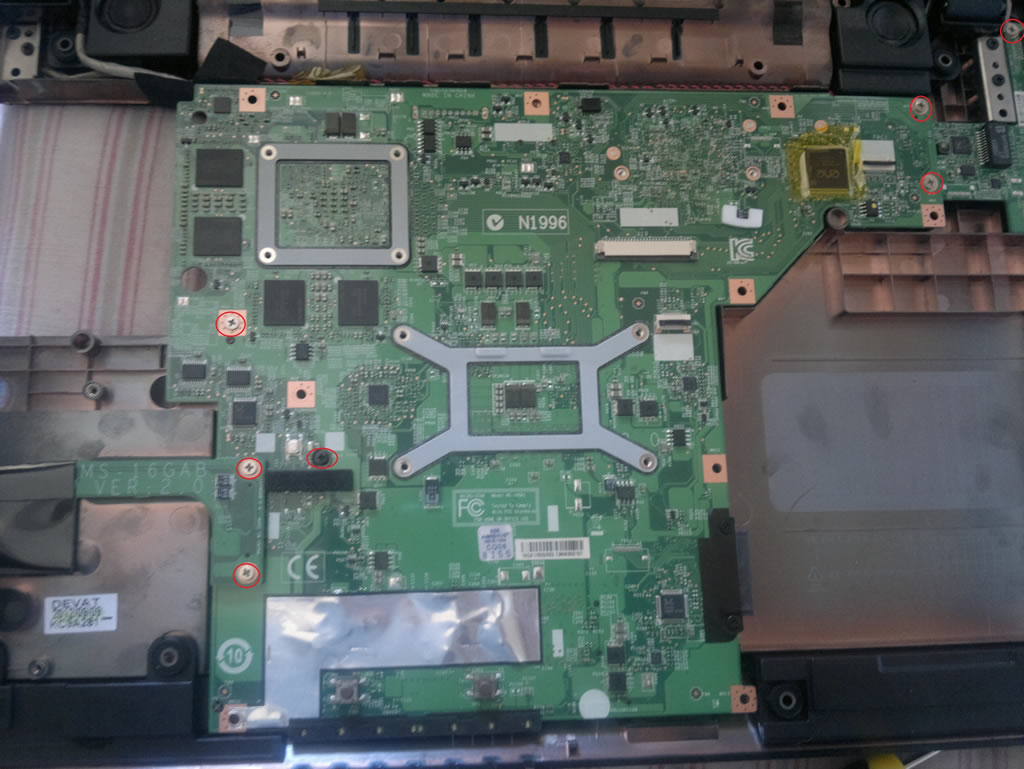
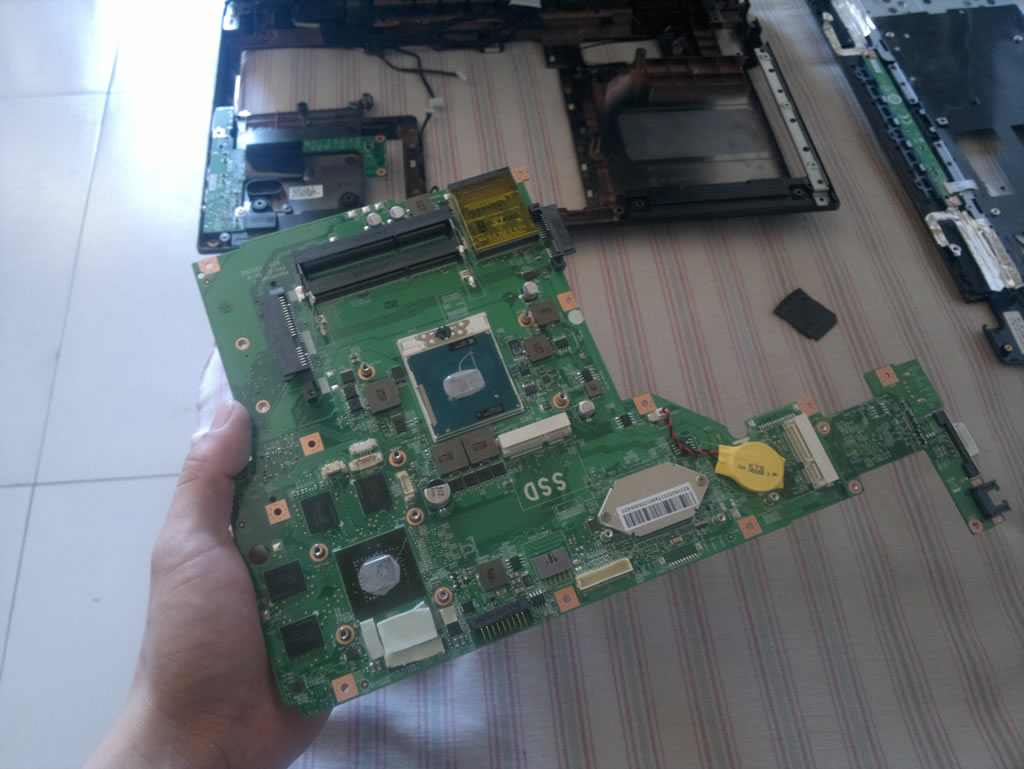
Remove the motherboard.
USB board

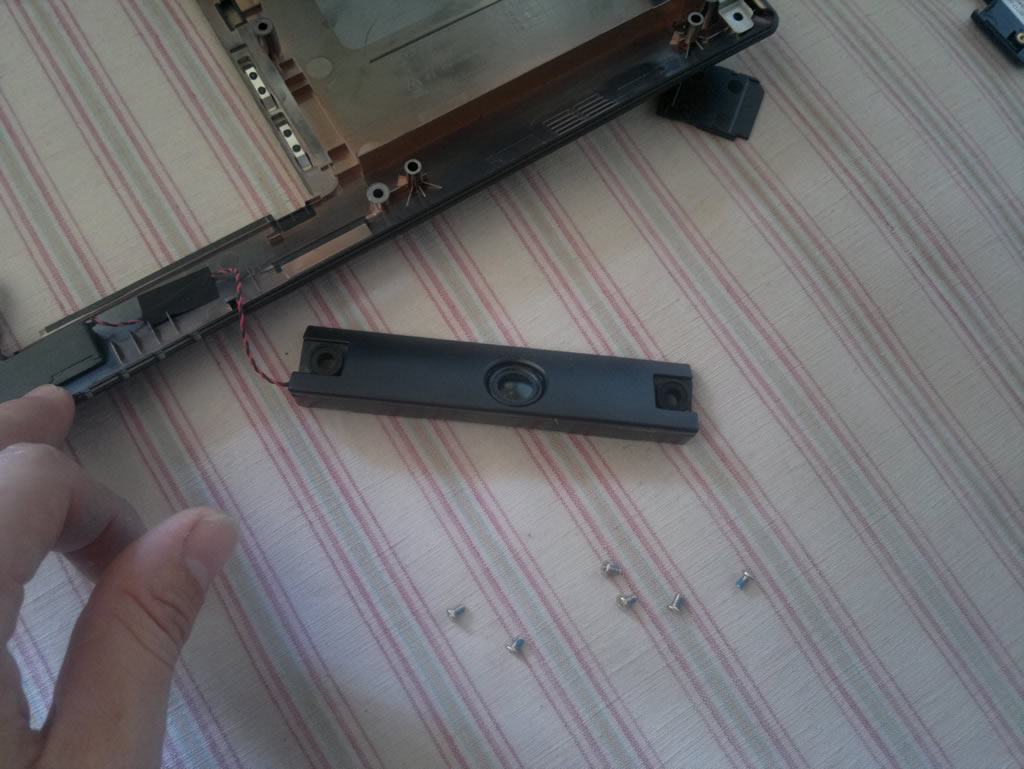
MSI GE60 speaker


GREAT!!!!!!!!!!
thanks a lot buddy…
very useful
شكرا
Thank you sir
Thanks man!
Excellent break down.
Do you know of a way to boost the cooling or fitting the motherboard into a PC case and adding desktop cooling?
Hi any suggestion where i can get msi ge60 motherboard? Thanks
Please search it on Ebay.com.
Hi sir, may i ask if the cpu is removable?
Yes, the CPU is replaceable, and you can change a better processor.
Hey bro, just wondering is the psu a seperate unit ? Fear I have blown mine after a power surge.. please help haha
P.s. are they easy to get if this is the case?
Joel
Than you very much!