In this guide, we will show you how to remove and replace the back cover on a Huawei Mate 9 smartphone.
To remove the back cover, you need to remove the SIM card tray and disconnect the fingerprint and power button cable from the motherboard.
Teardown is what we do! Follow us on Facebook for the latest repair news.
Repair Tools Needed:
T2 Torx Screwdriver
Phillips #000 Screwdriver
Suction cup
Pick
Tweezers
Spudger
SIM Card Eject Tool
1. Remove the SIM card tray and two T2 screws
First, turn off your Huawei Mate 9 and remove the SIM card tray using a SIM card eject tool.
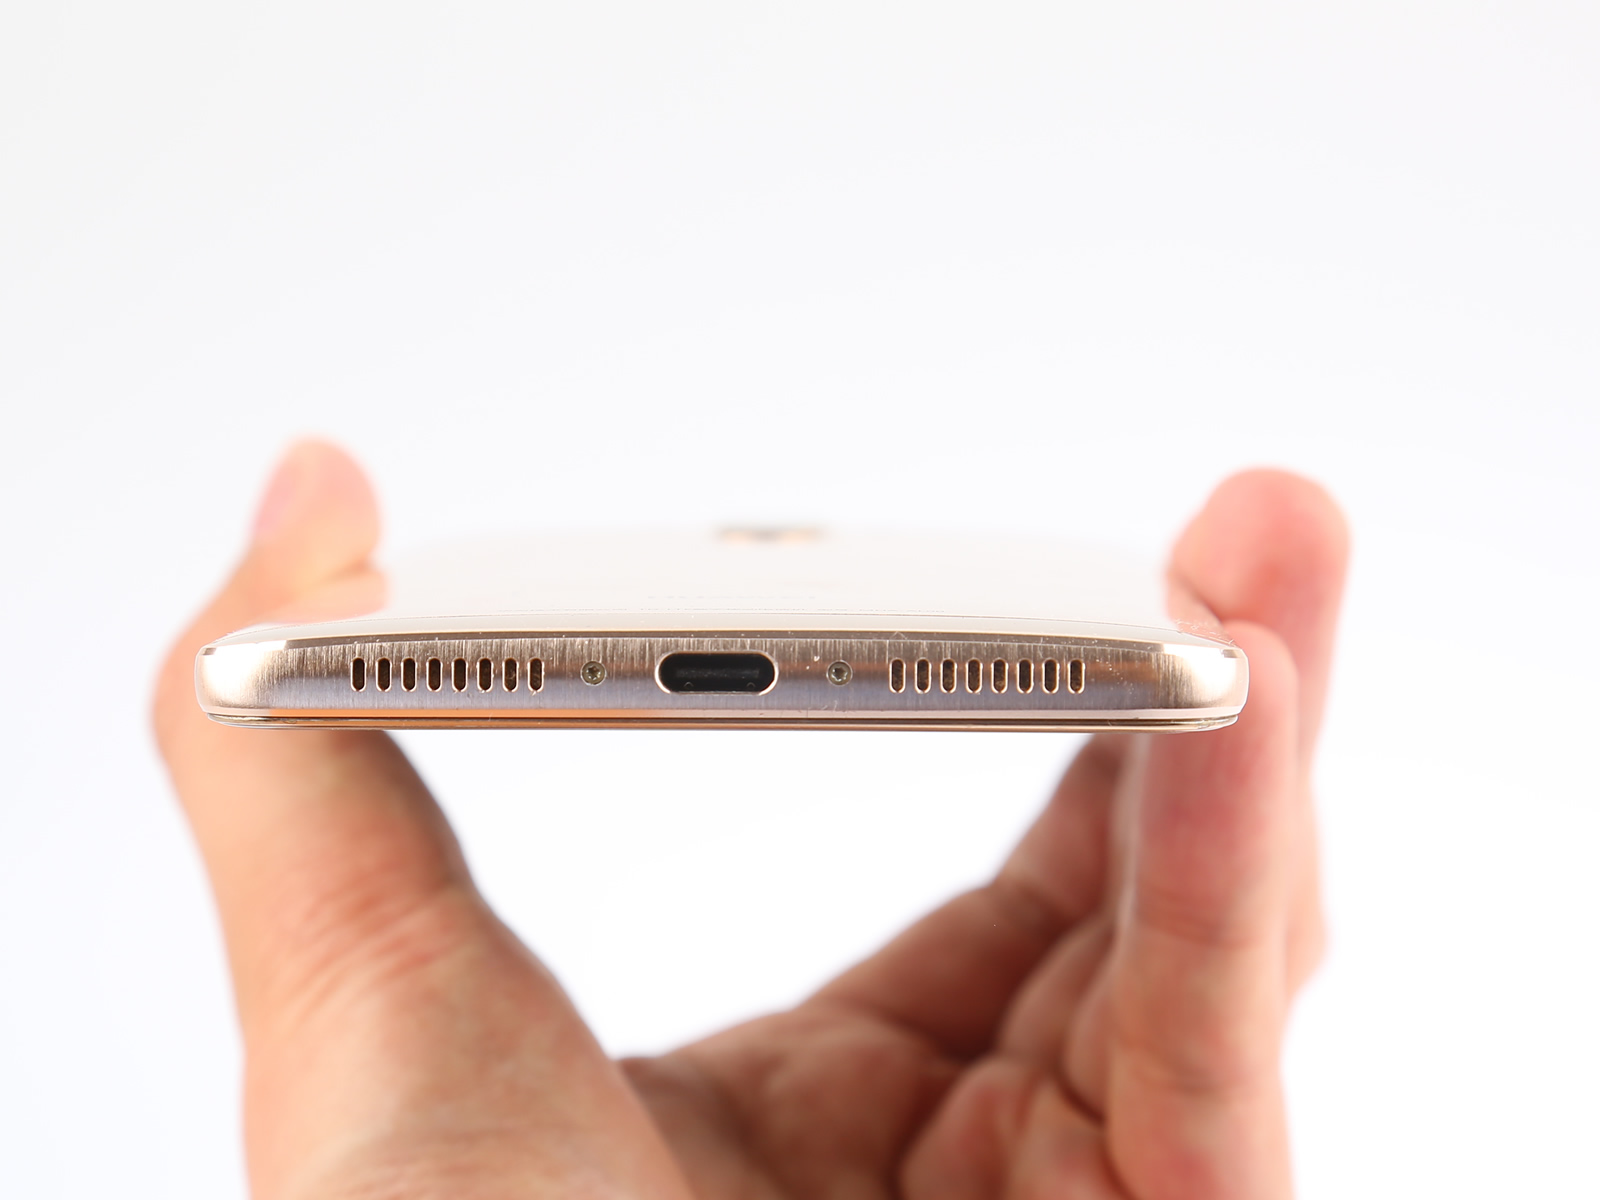
Remove the two T2 screws located at the bottom next to the USB Type-C port.
2. Separate the back cover
Use a suction cup to separate the display assembly from the back cover.
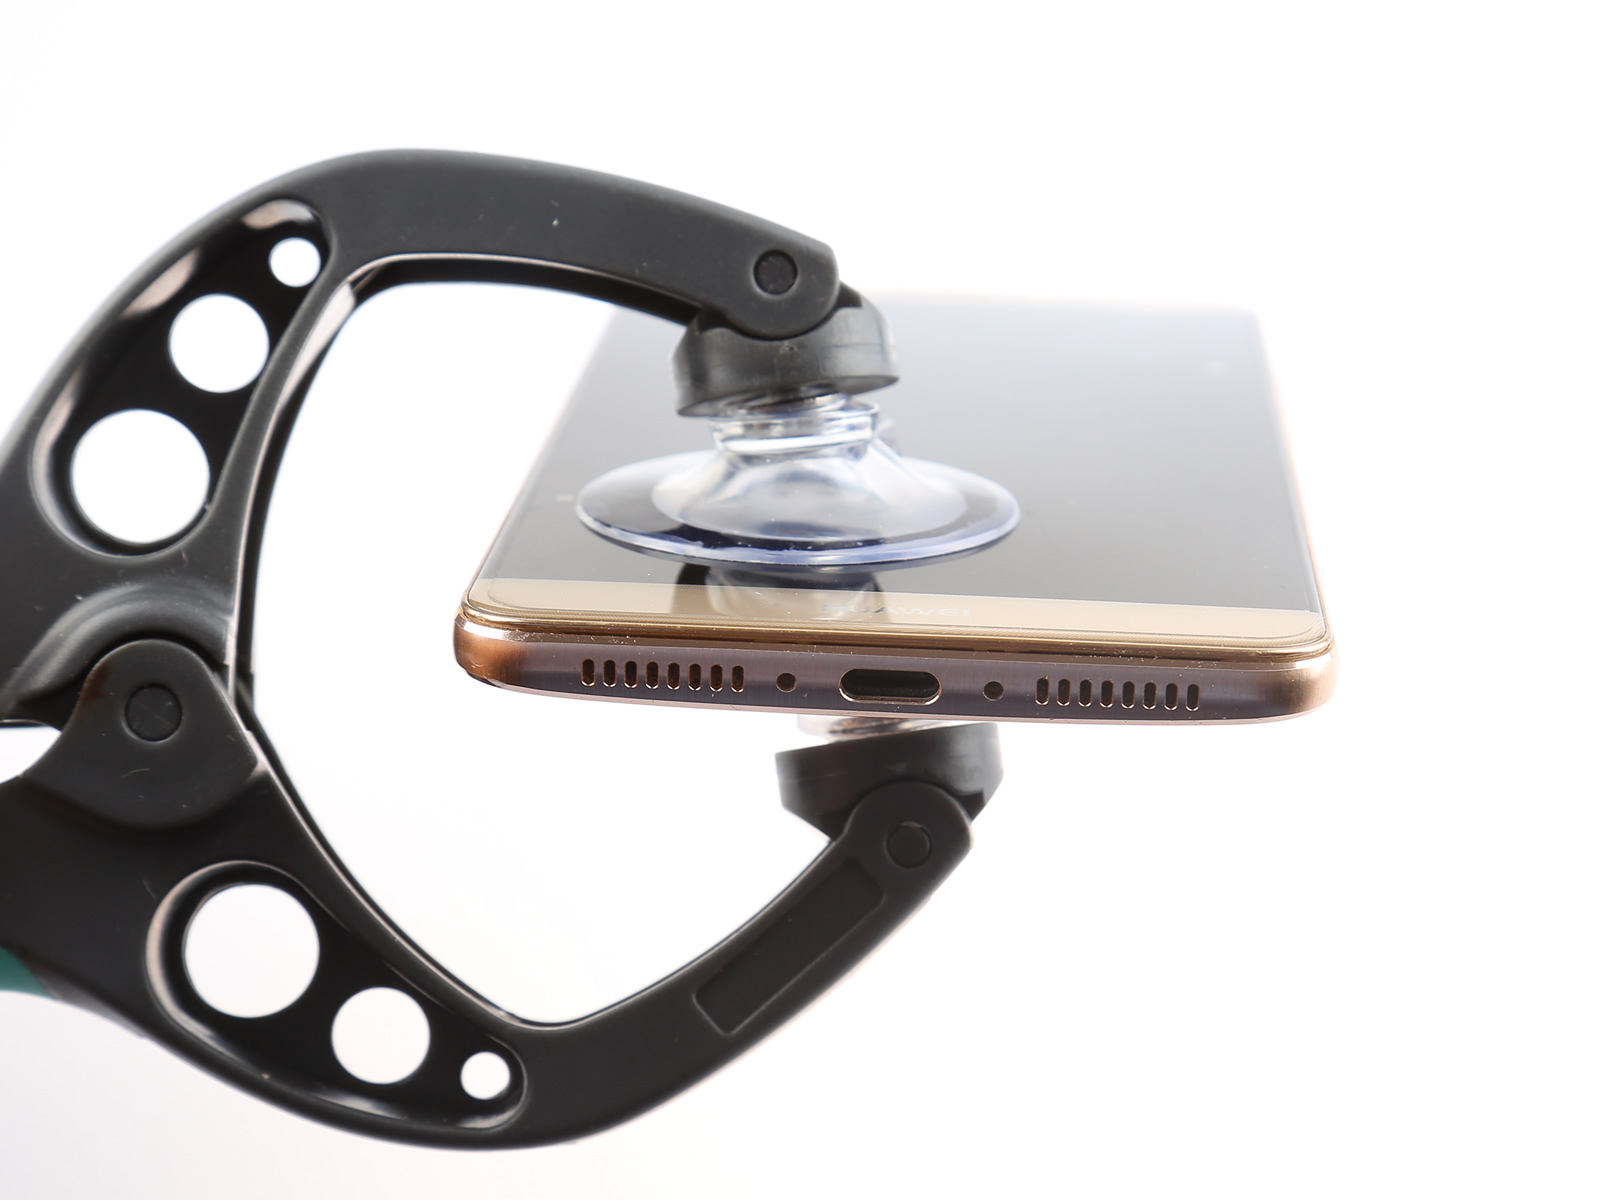
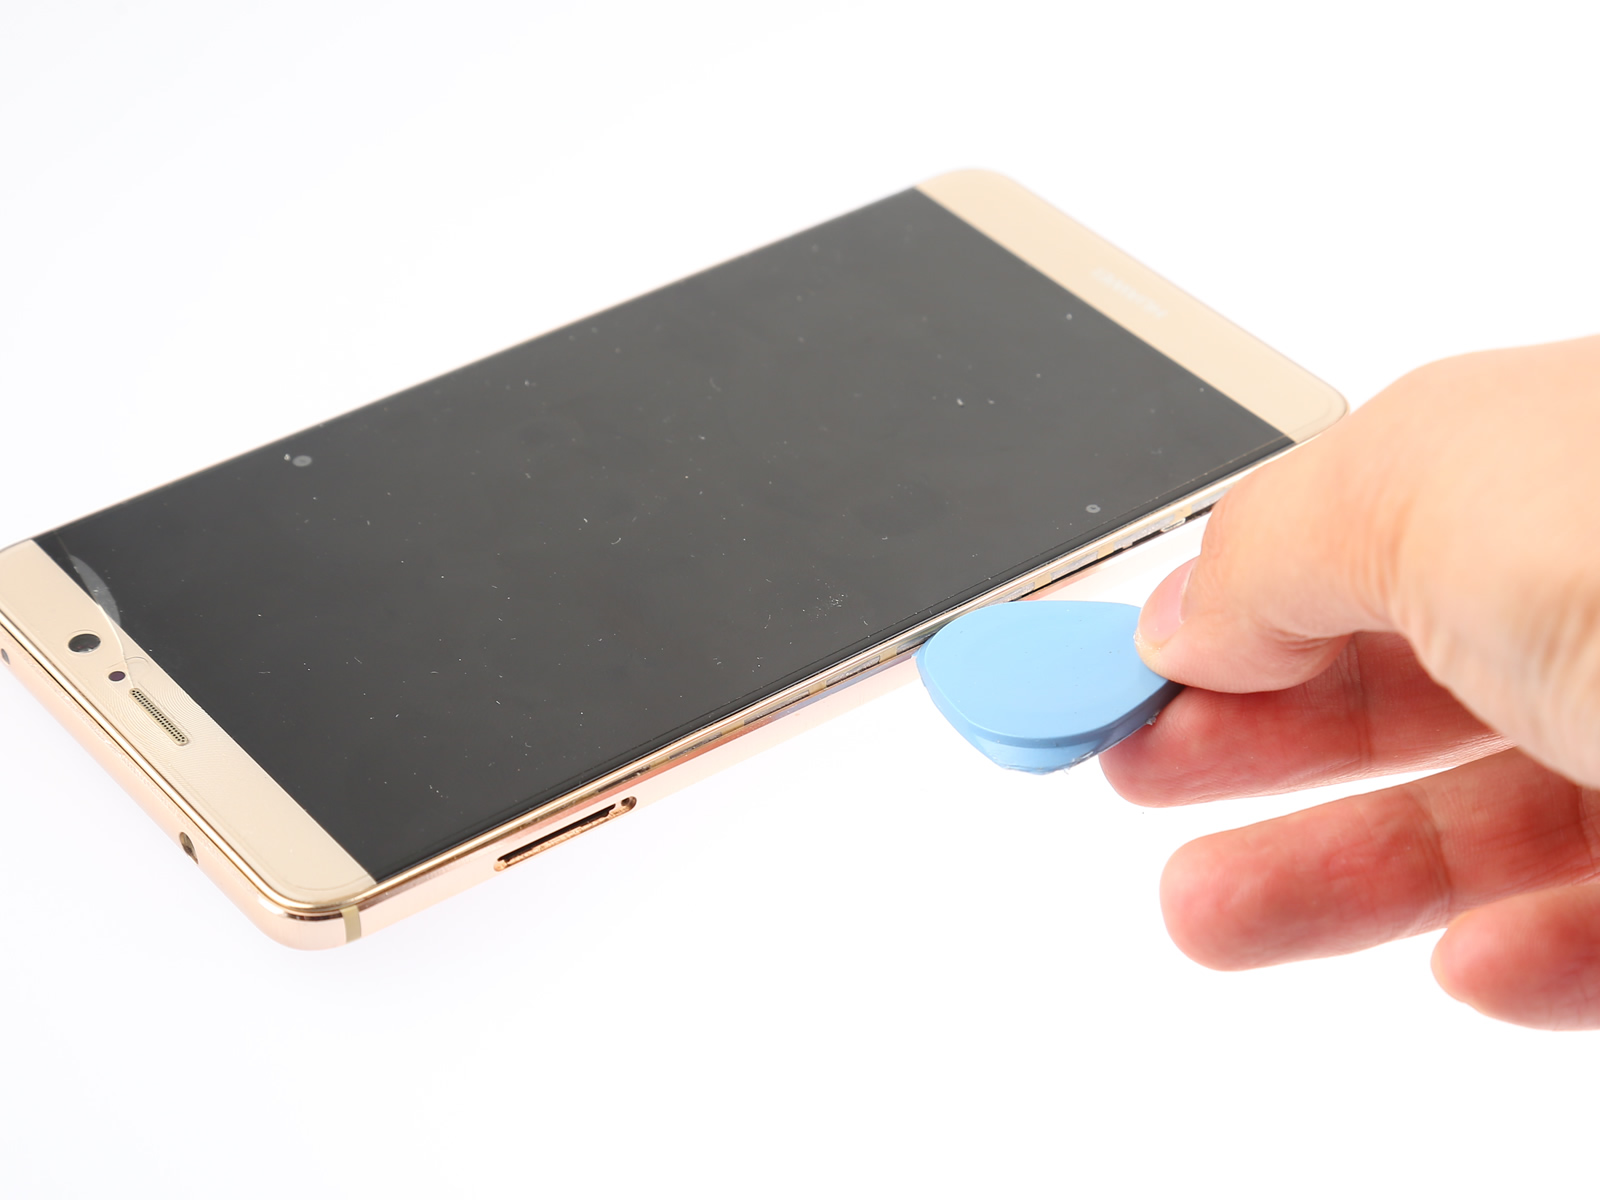
Lift the display a little bit with a suction cup and insert a pick.
Slide the pick along the display edge on both sides.
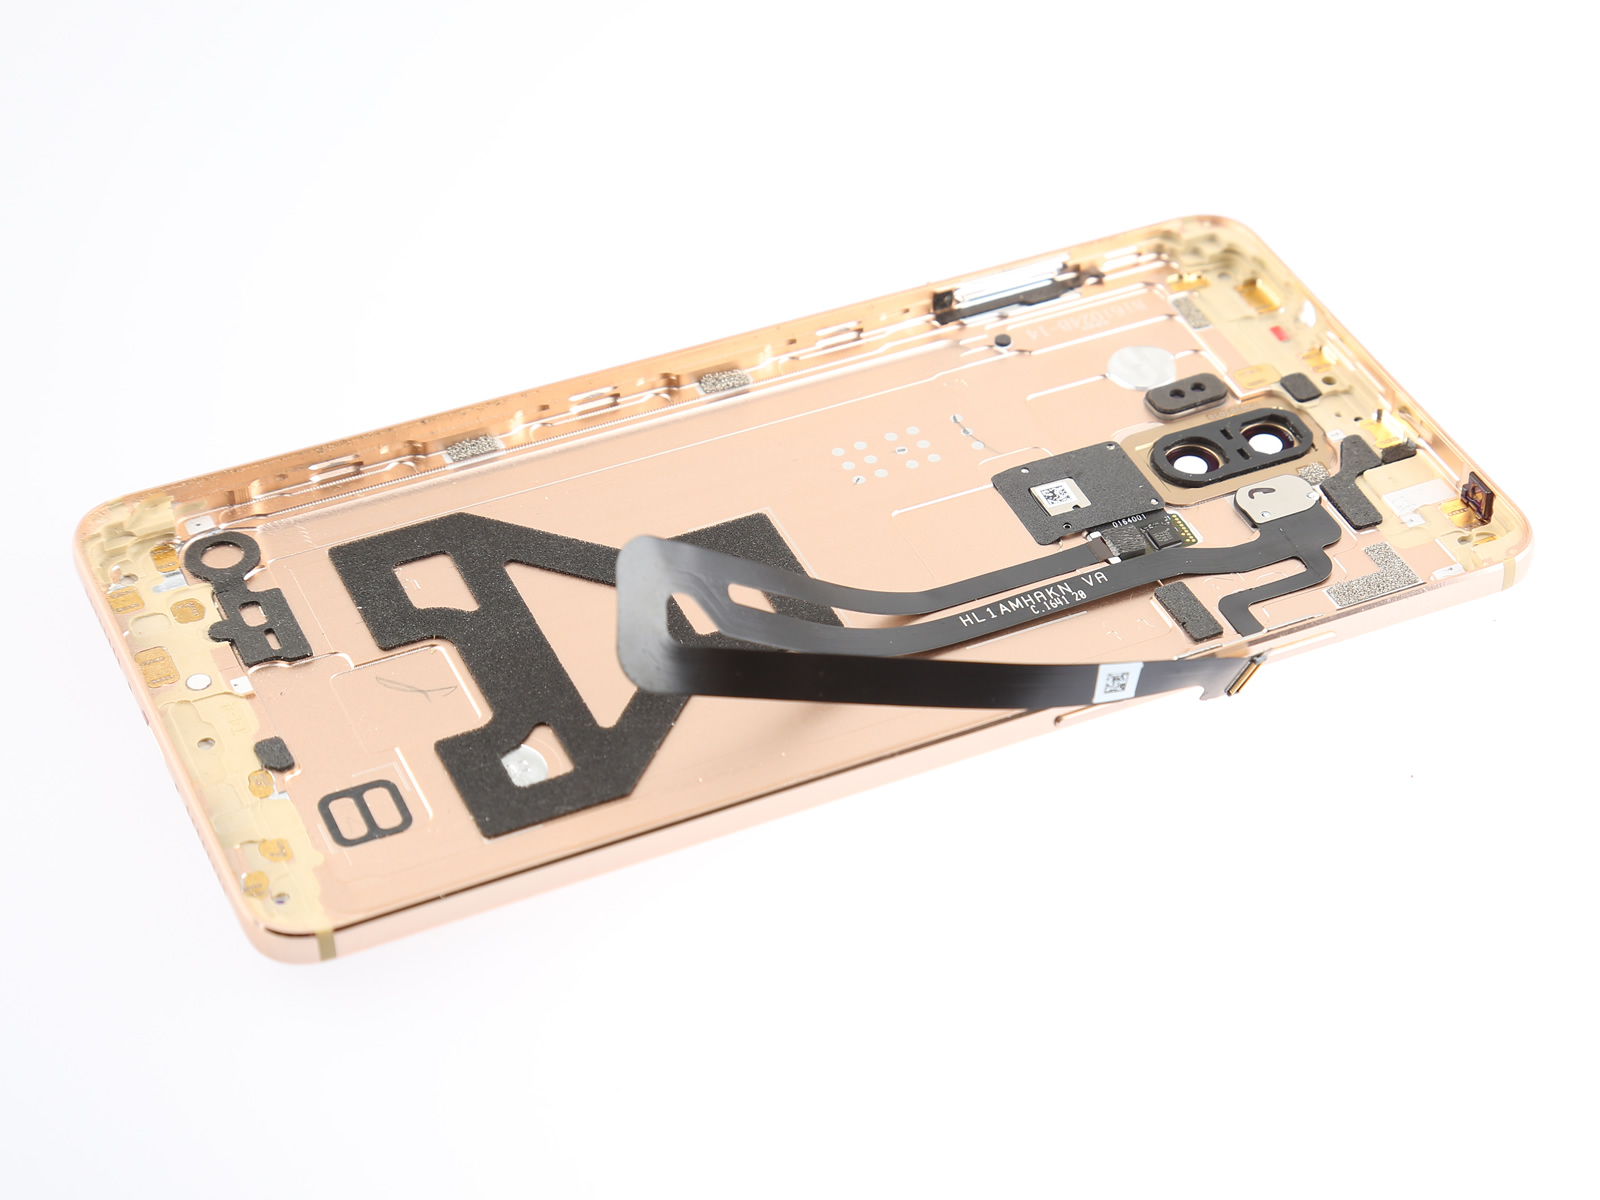
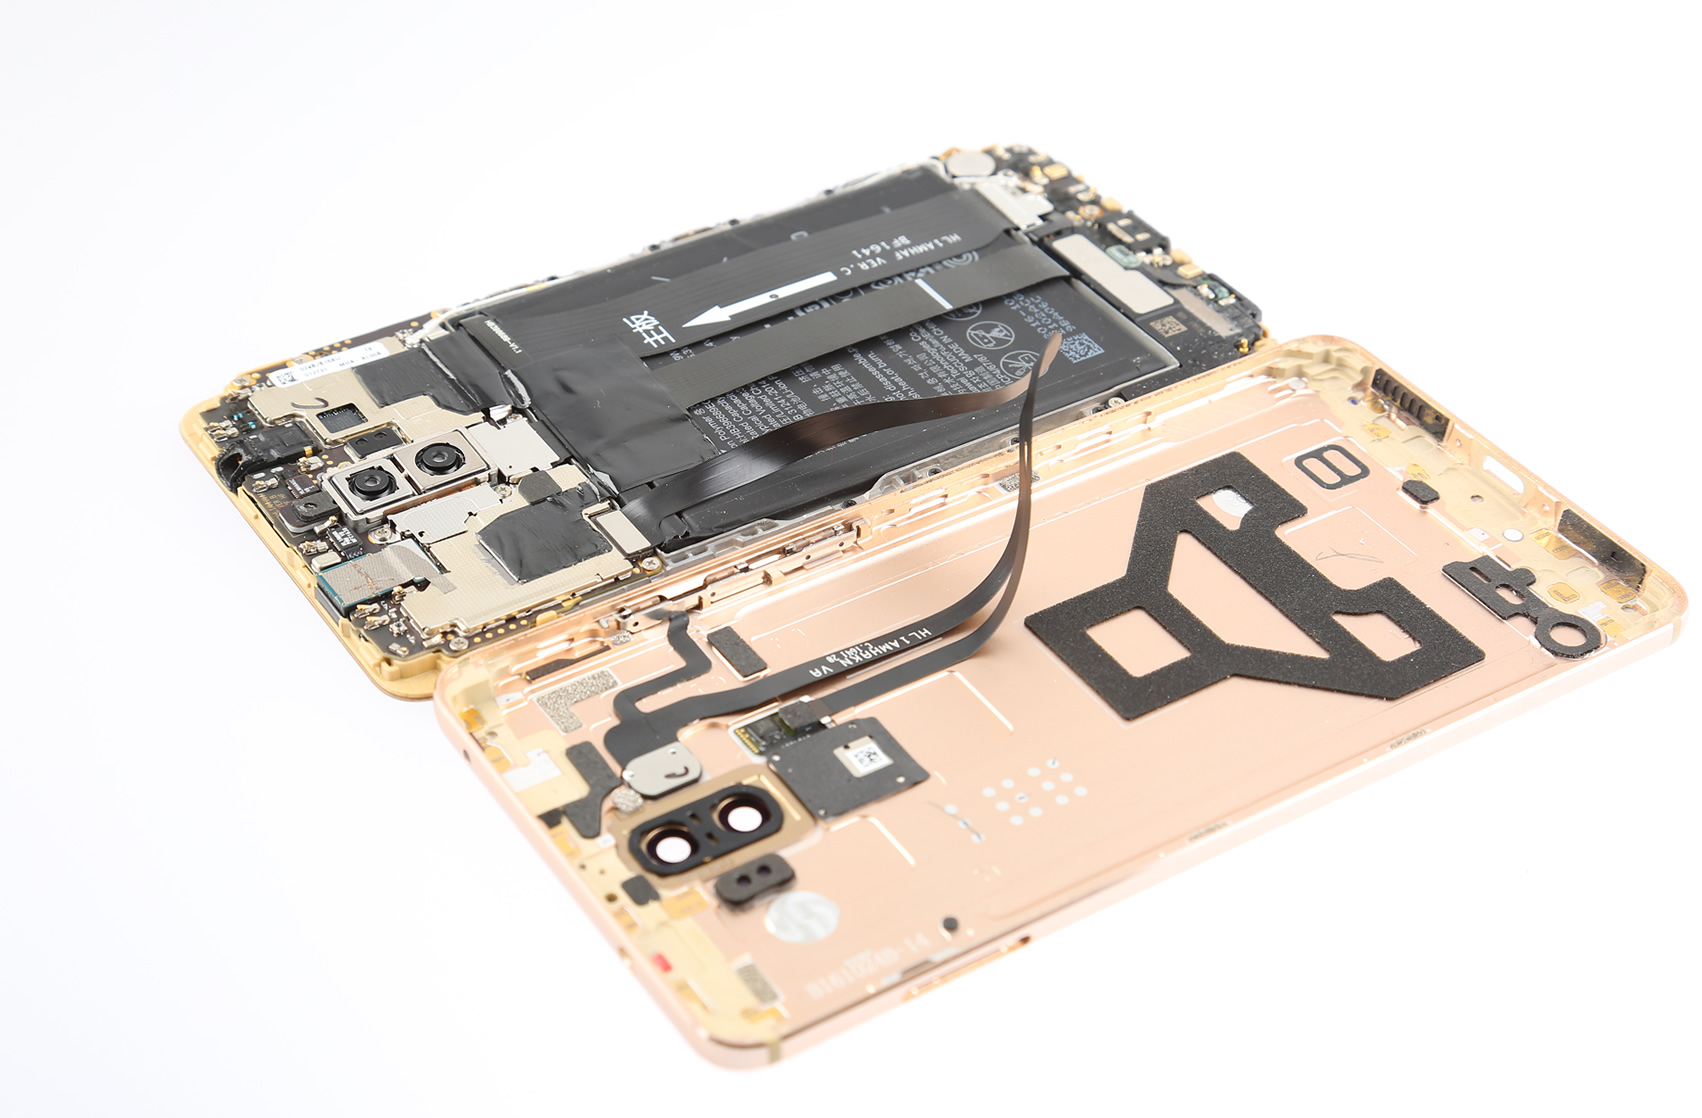
Please don’t remove the back cover completely. The fingerprint and power button cable is still connected to the motherboard.
3. Disconnect the battery connector
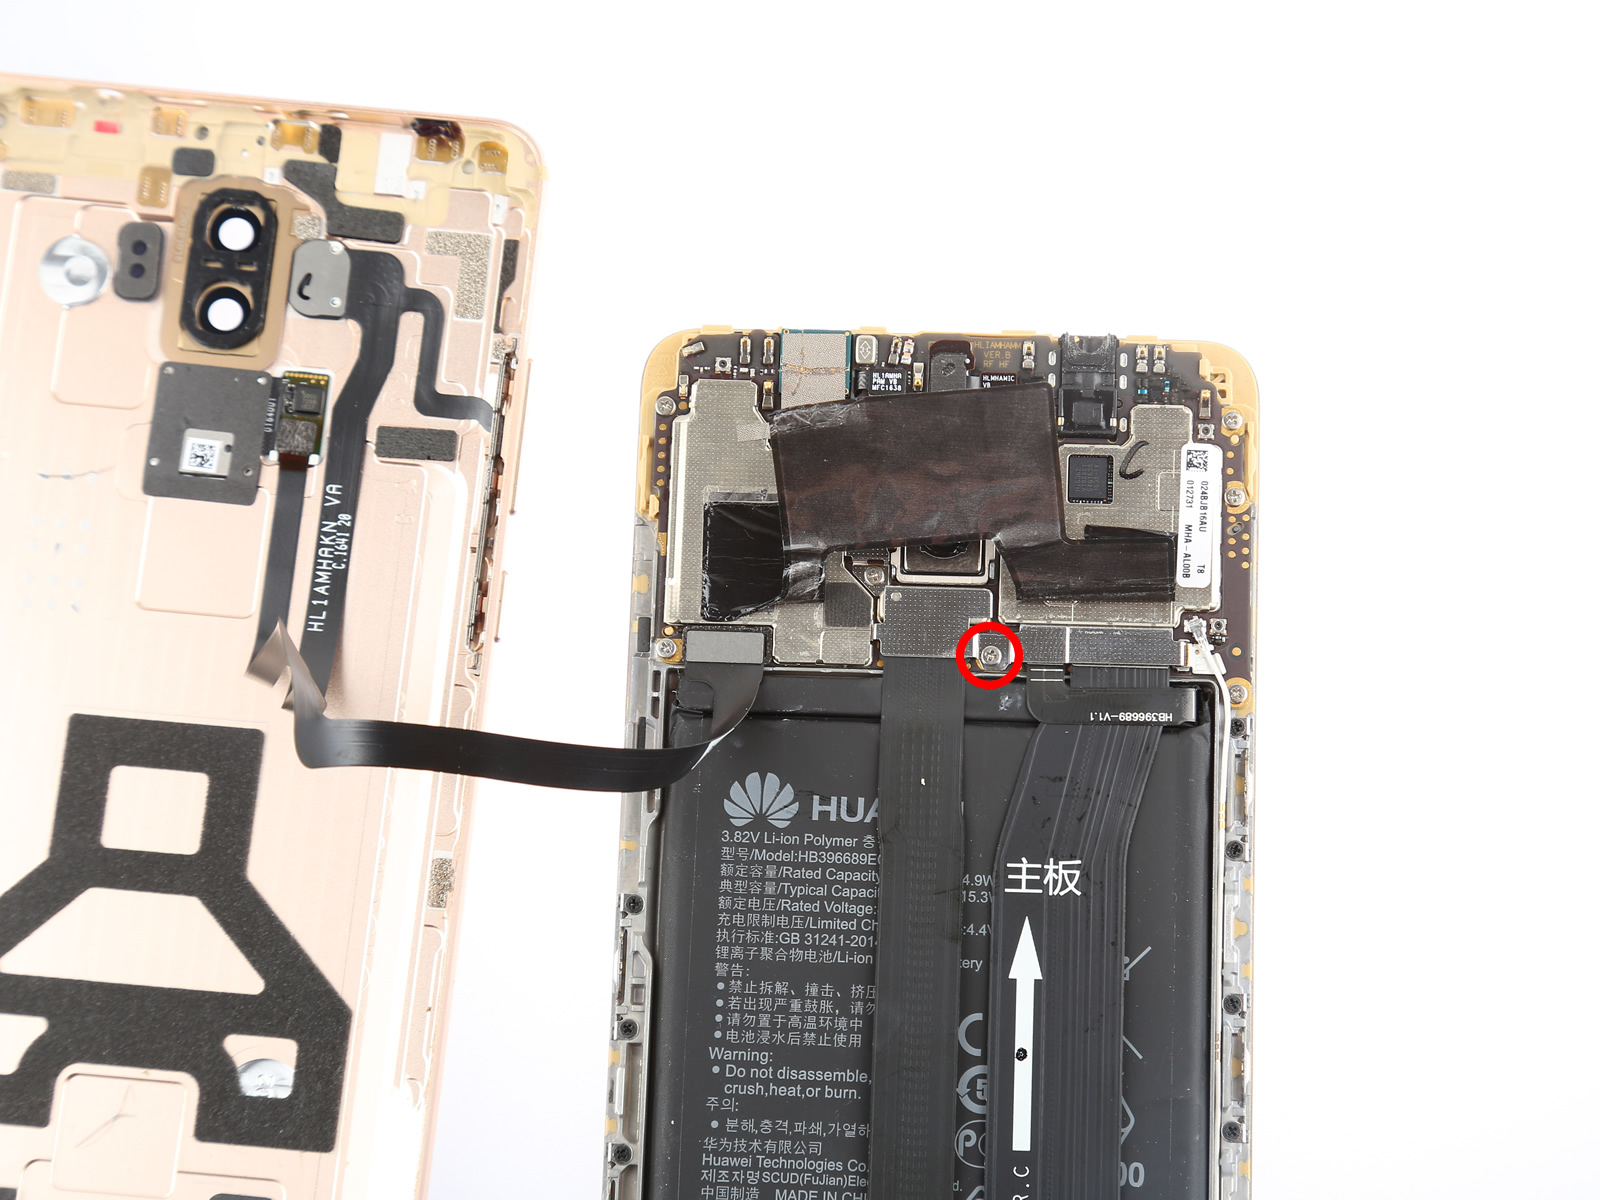
To protect the internal components, we need to disconnect the battery connector.
Remove the screw securing the metal plate.
Remove the metal plate using tweezers.
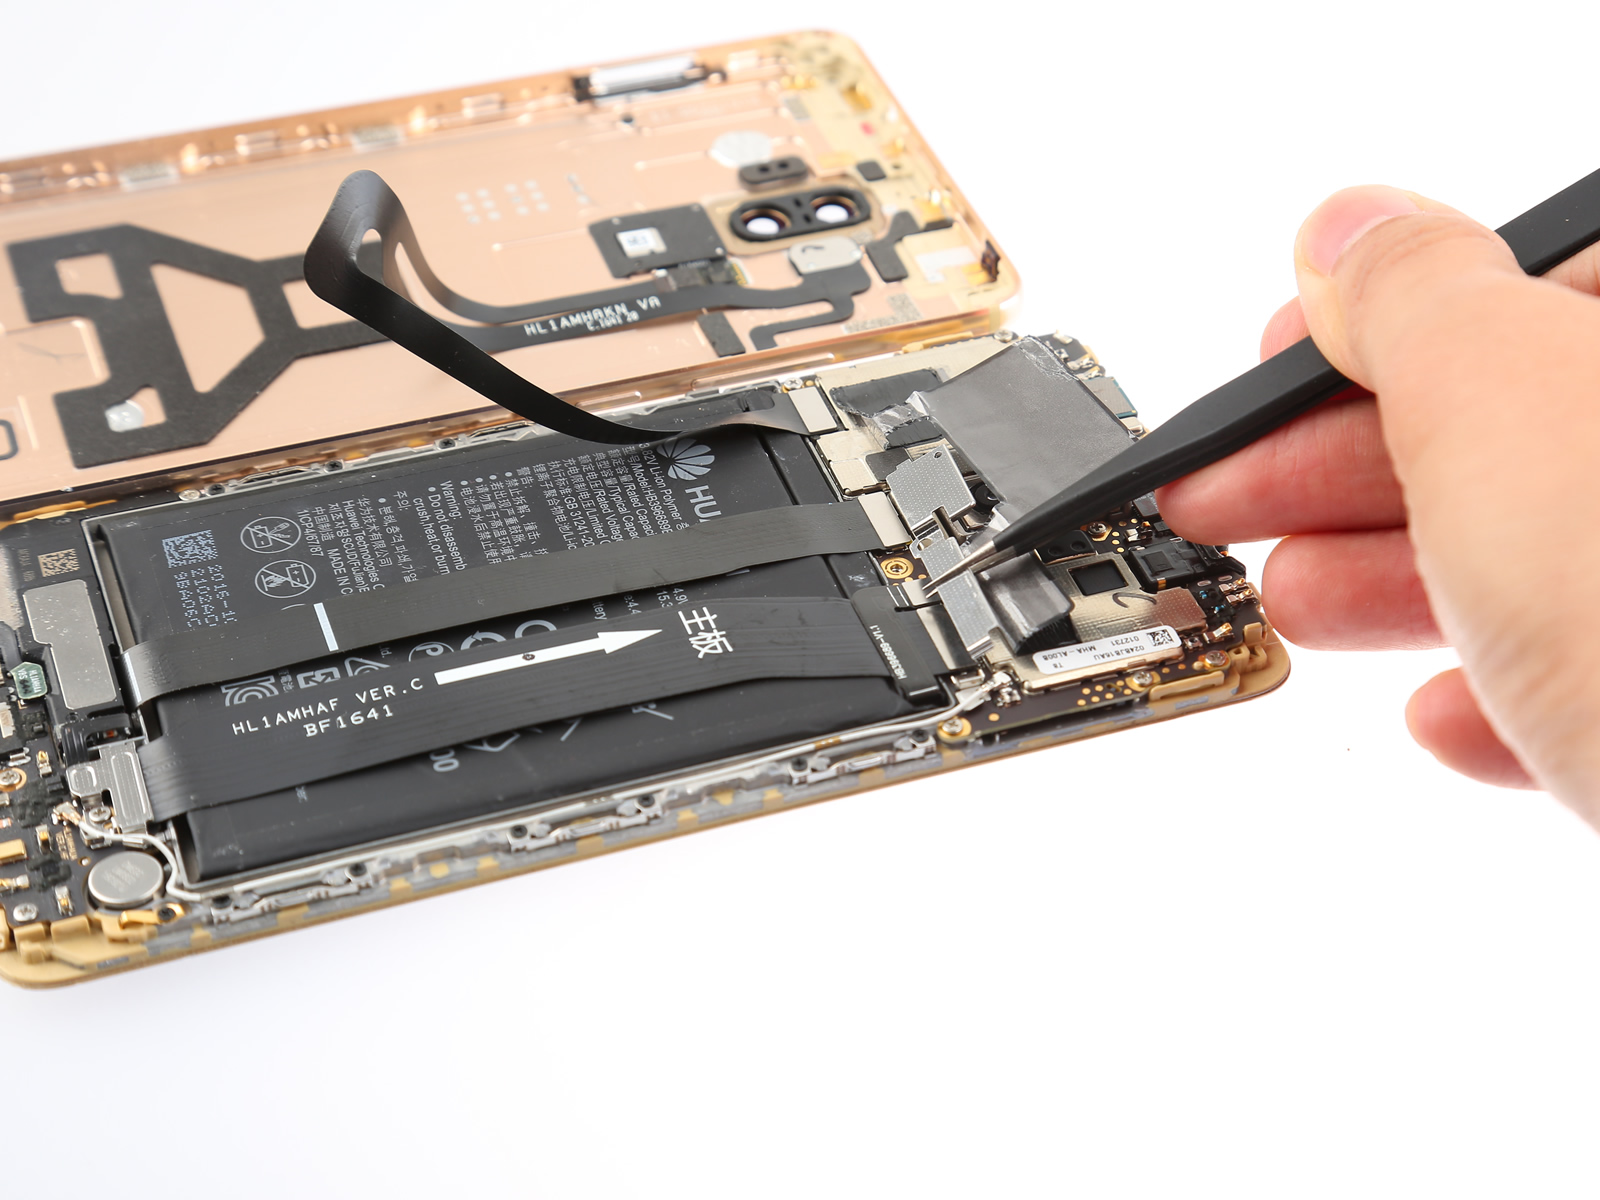
Disconnect the battery connector from the motherboard.

4. Remove the back cover
Disconnect the battery connector with a spudger.
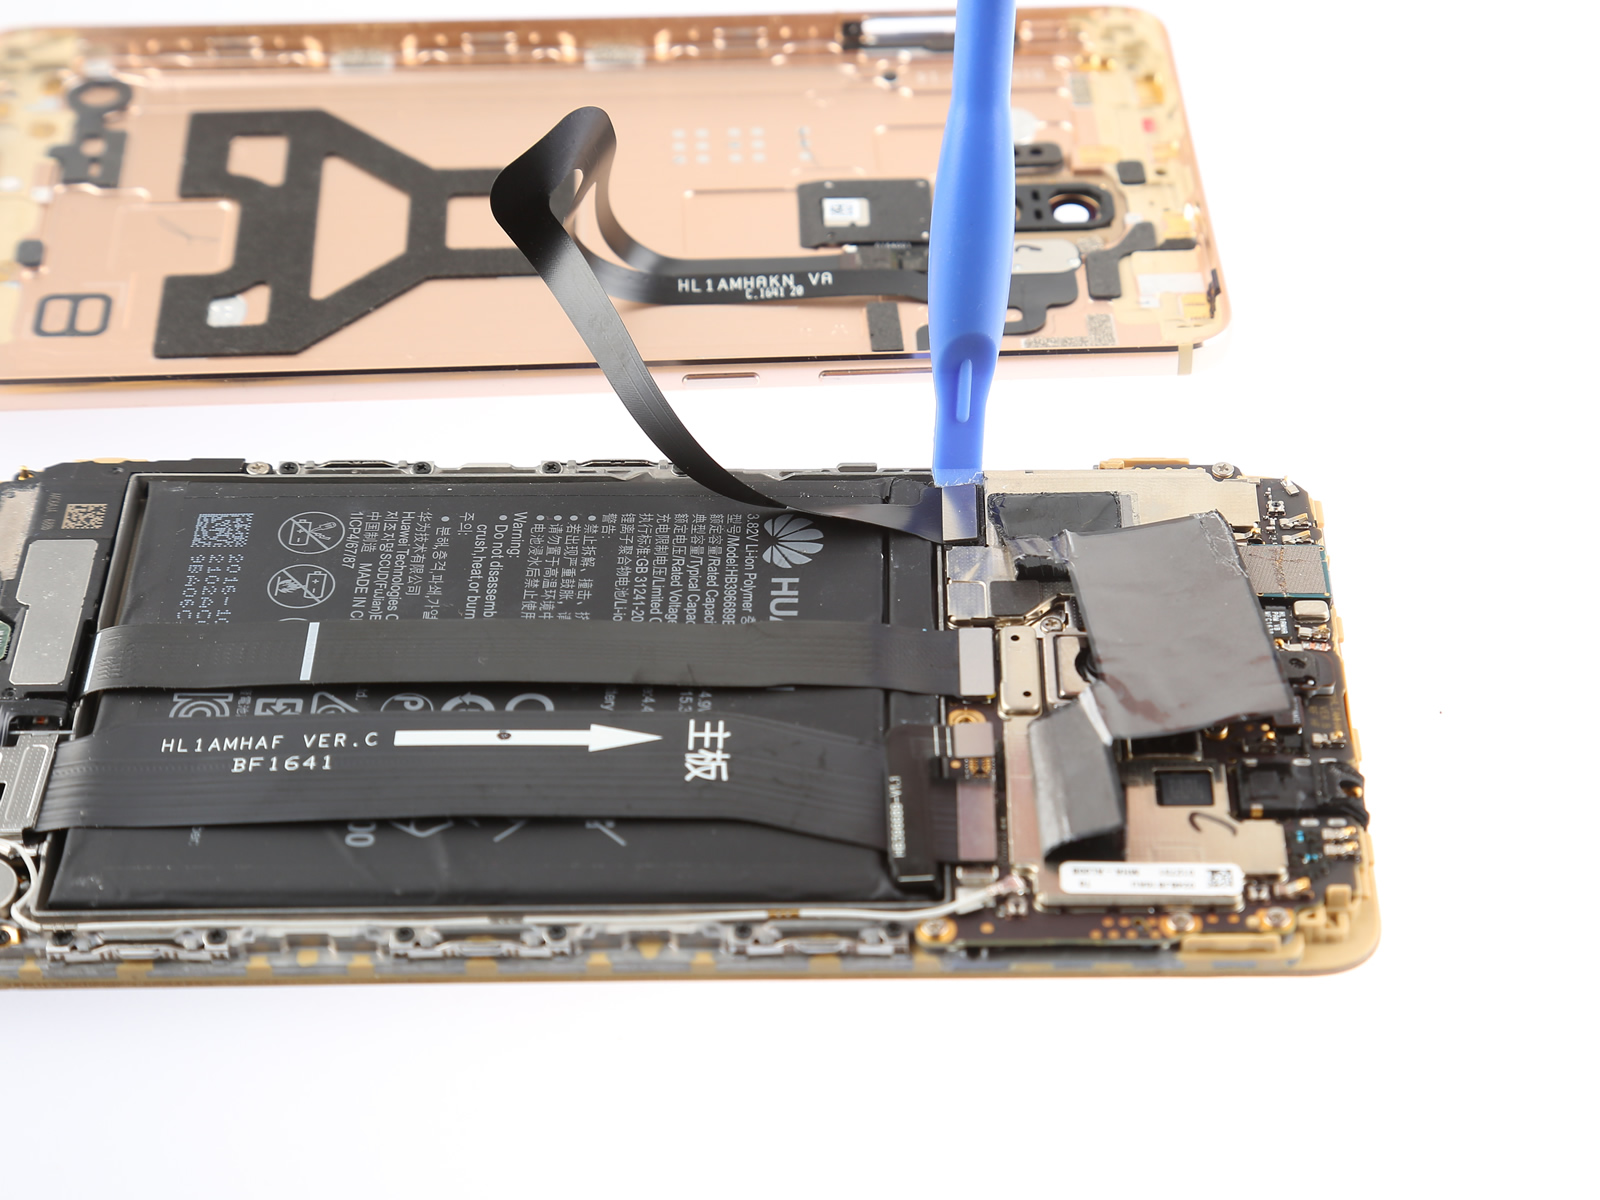
Now, you can remove the back cover completely.