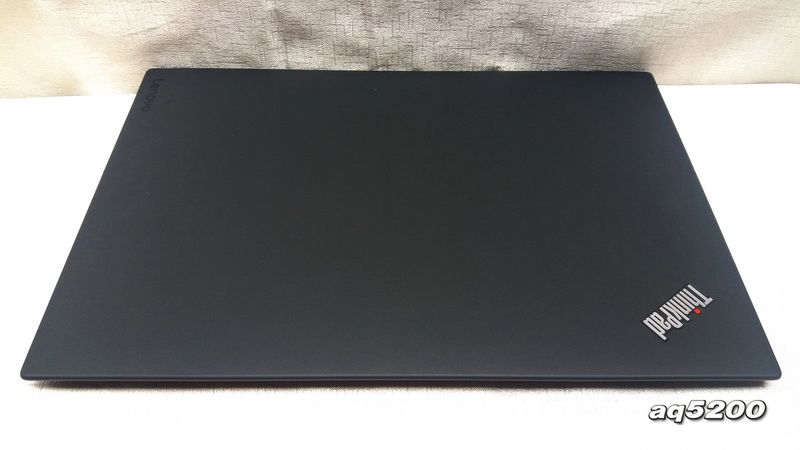
The Lenovo ThinkPad X1 Carbon 5th Gen is a new thin and lightweight business laptop powered by an Intel 7th-generation processor. It features the same appearance as its predecessor. Now, we will disassemble the laptop to explore its internal structure.
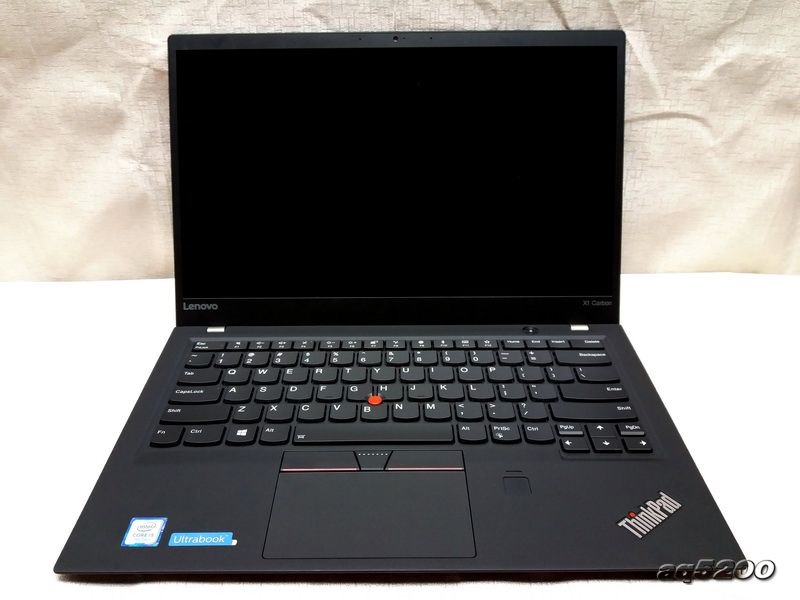
The Lenovo ThinkPad X1 Carbon 5th Gen features a narrower bezel design. The bezels on the left and right are only 5mm, and the top bezel is 9mm.
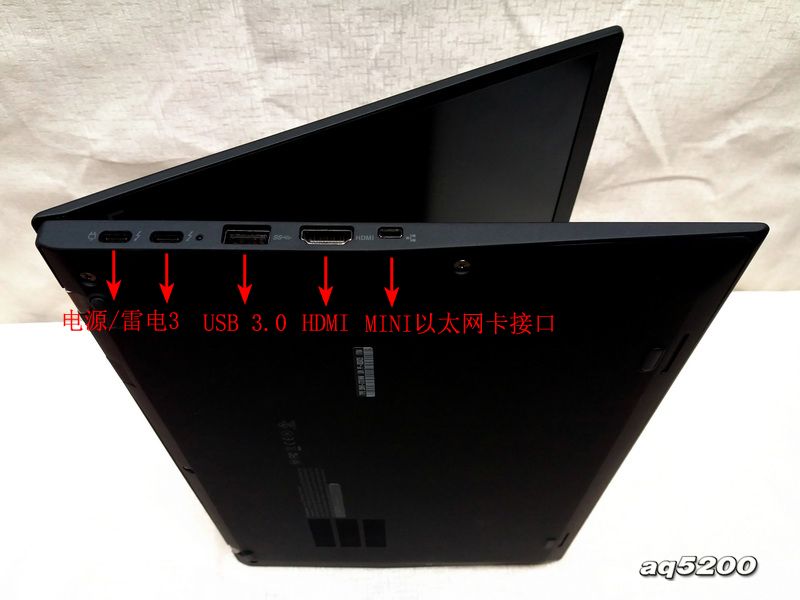
The ports on the left side of the laptop include a USB-C port, a USB 3.0 port, an HDMI port, and a mini Ethernet port.
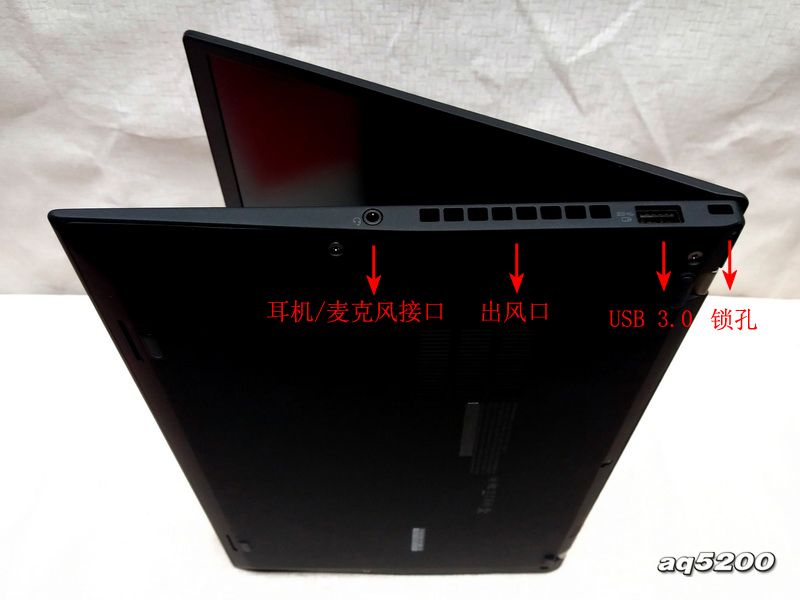
The ports on the right side of the laptop include a headphone Jack, a vent, a USB 3.0 port (supports charging), and a security lock hole.
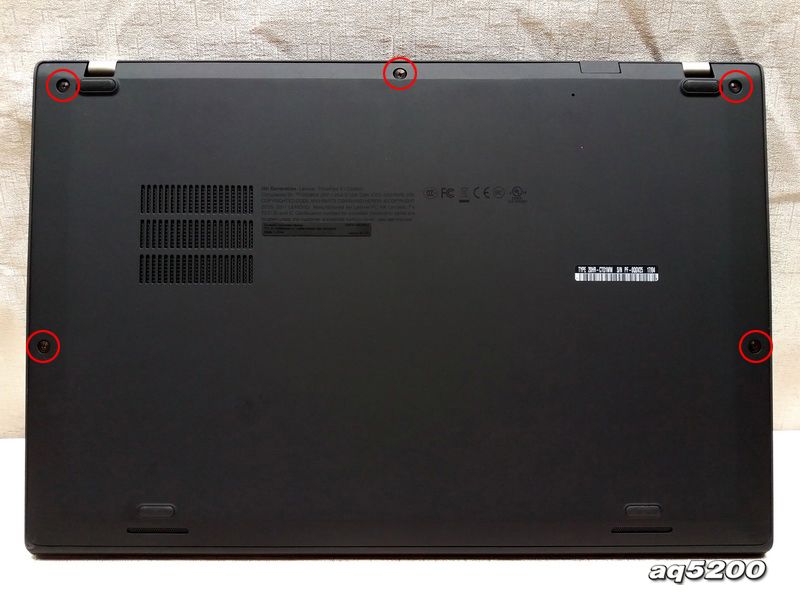
Remove the five screws from the bottom cover, then insert a pick under the bottom cover and slide it to separate the cover from the laptop.

After removing the back cover, we can see its internal structure.
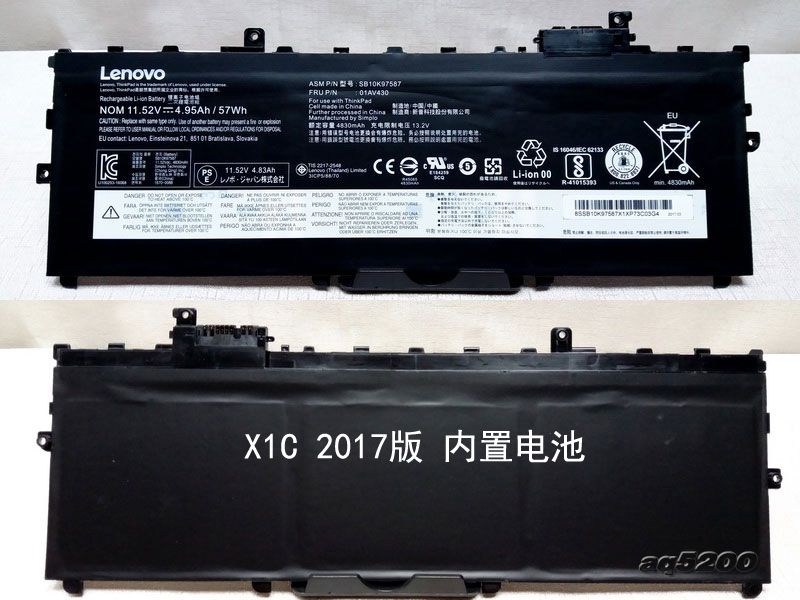
The laptop comes with a built-in battery. The battery occupies half the space of the body.
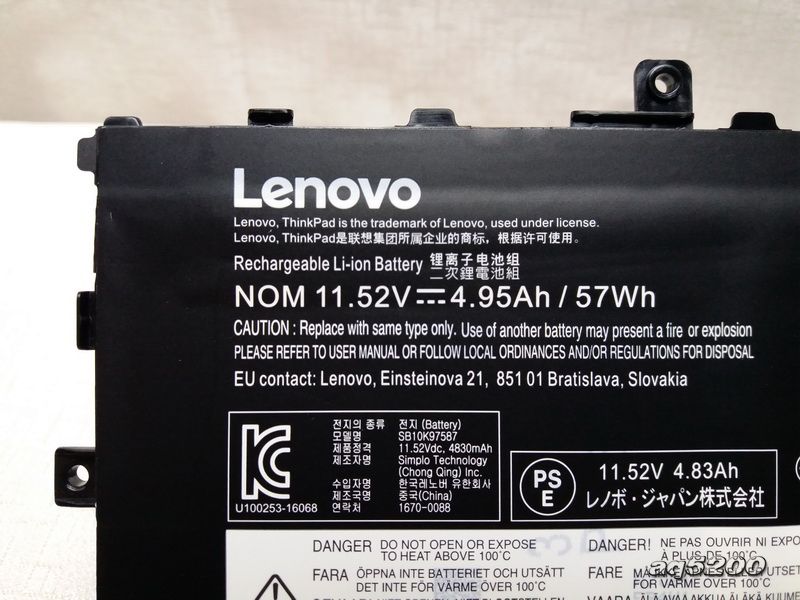
The built-in battery has a capacity of 57W.
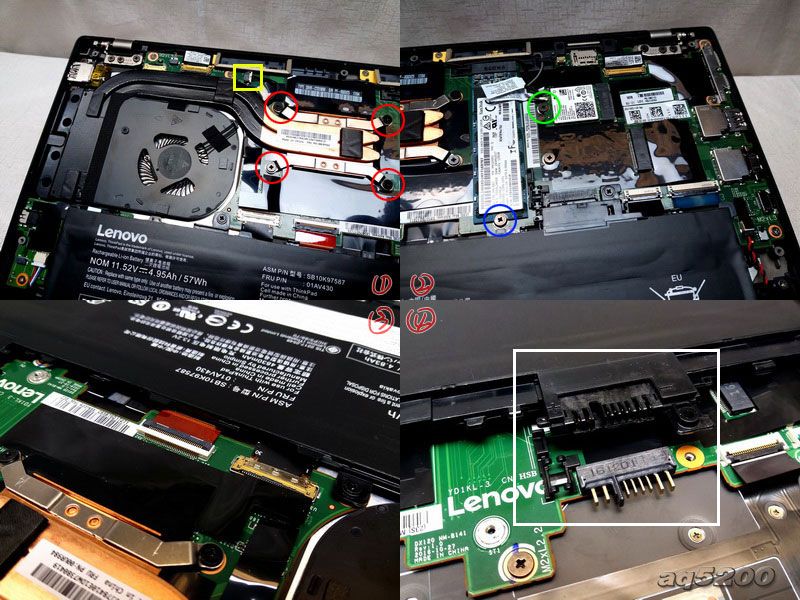
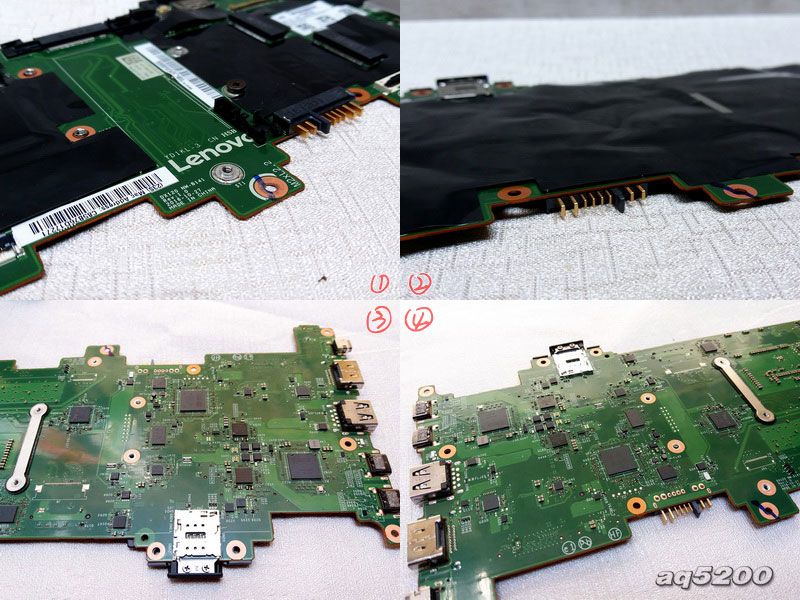
Close-up of the battery connector
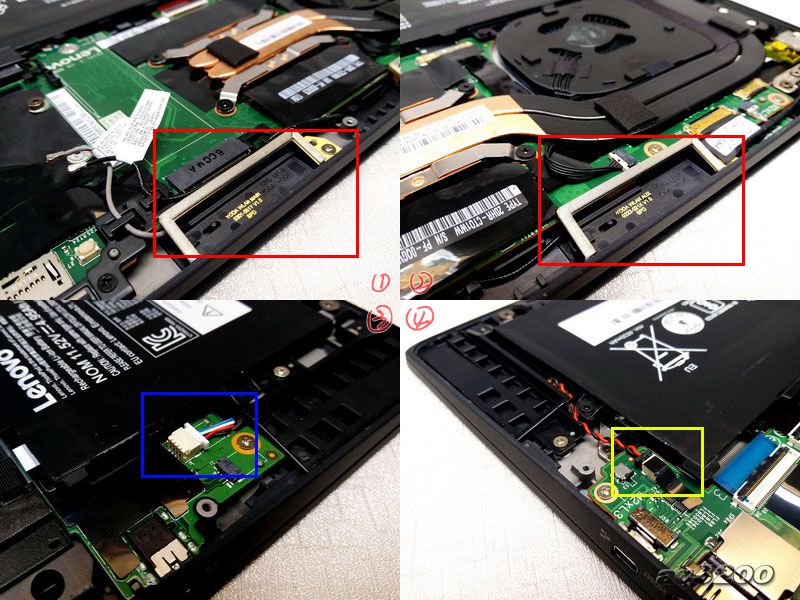
The part marked with the red box is the Wi-Fi cable. The part marked with a blue box is the speaker cable. The part marked with a yellow box is the BIOS battery cable.
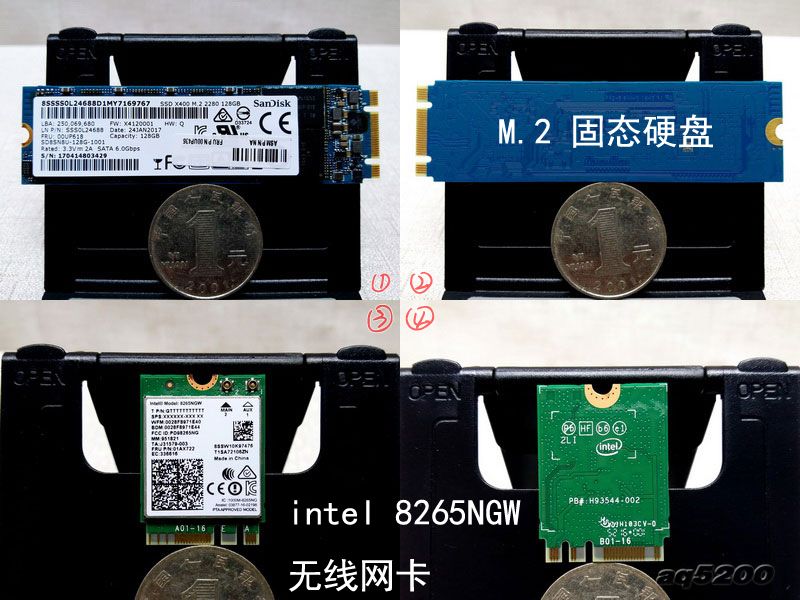
The laptop features an m.2 SSD slot, which supports the PCI-e protocol. This laptop comes with a 128GB SSD
It features an Intel 8256NGW Wi-Fi with part number 01AX722.

Close-up of the laptop after removing the battery
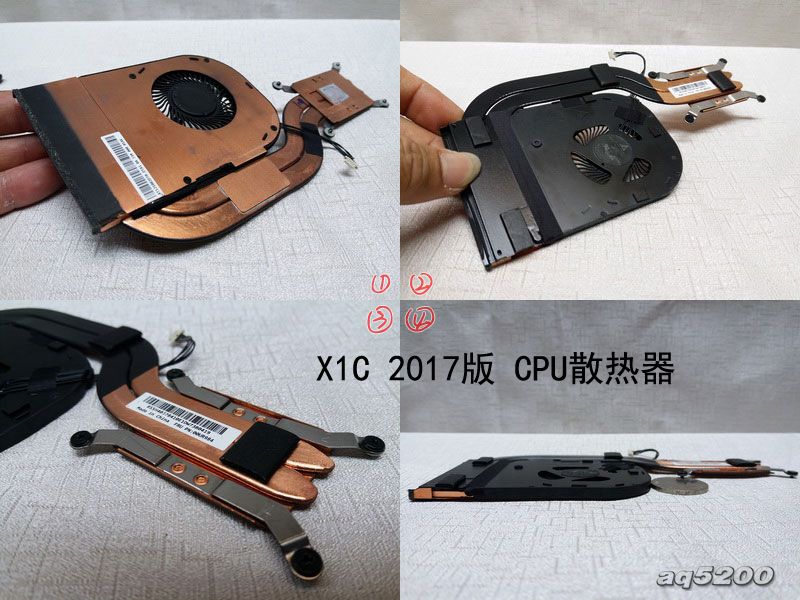
Its cooling system consists of dual copper pipes and a single fan. This module is very slim and lightweight.
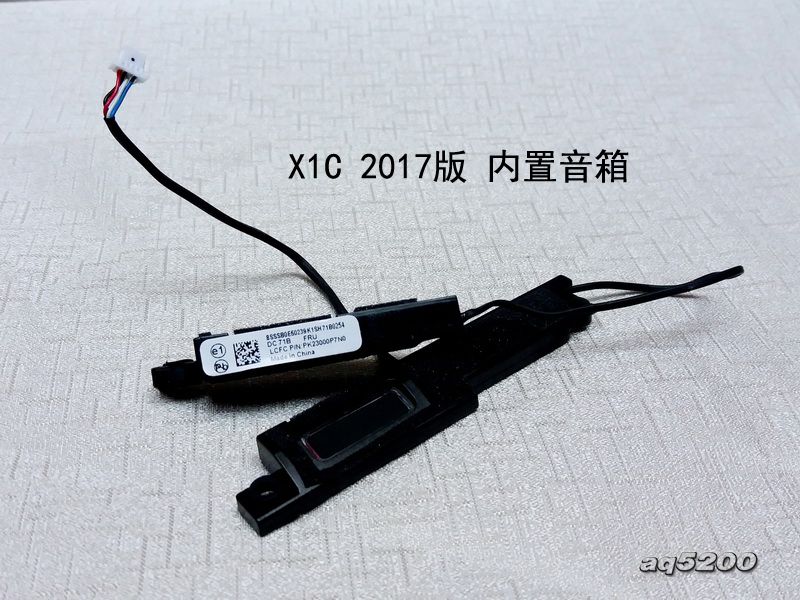
Close-up of the speaker module
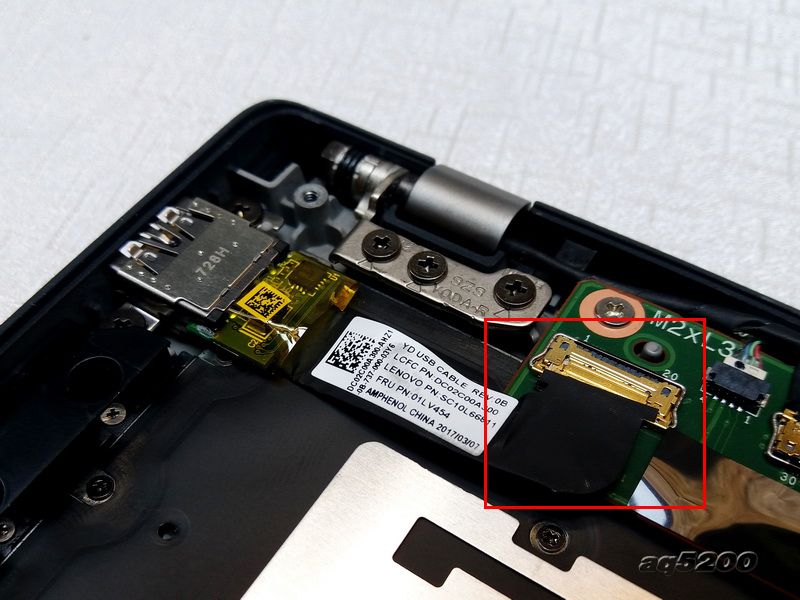
The part marked with a red box on the right is the ribbon cable connecting the USB board and the motherboard.
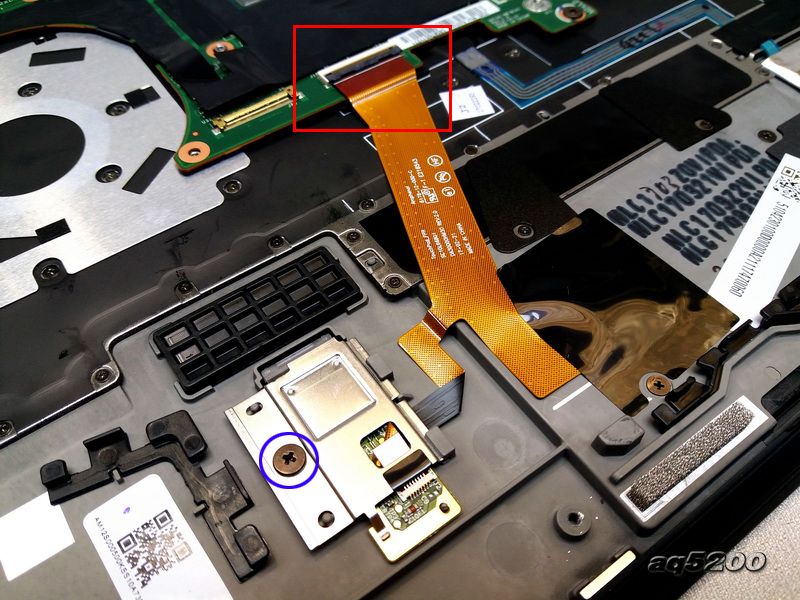
The part marked with the red box is the fingerprint module cable. The part marked with a blue box is the screw that is used to secure the fingerprint module.
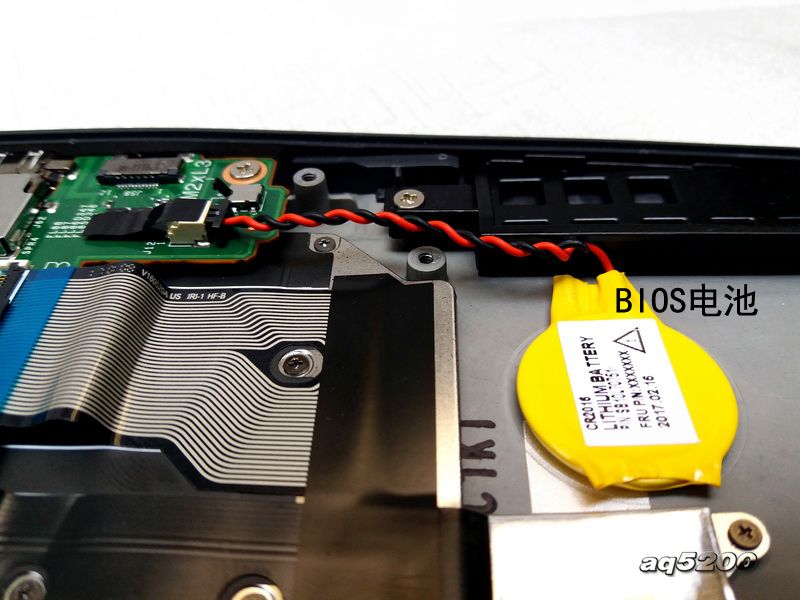
Close-up of the BIOS battery.
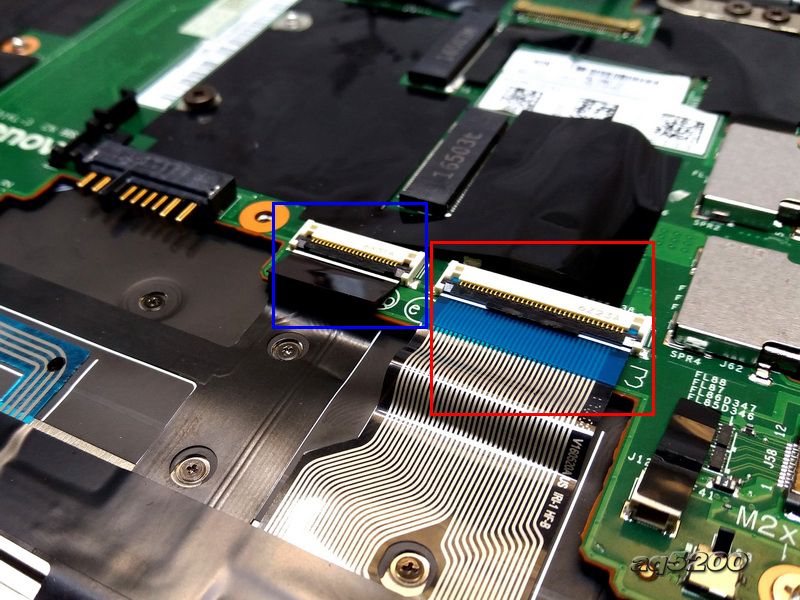
Disconnect the keyboard ribbon cable and backlight ribbon cable from the motherboard.
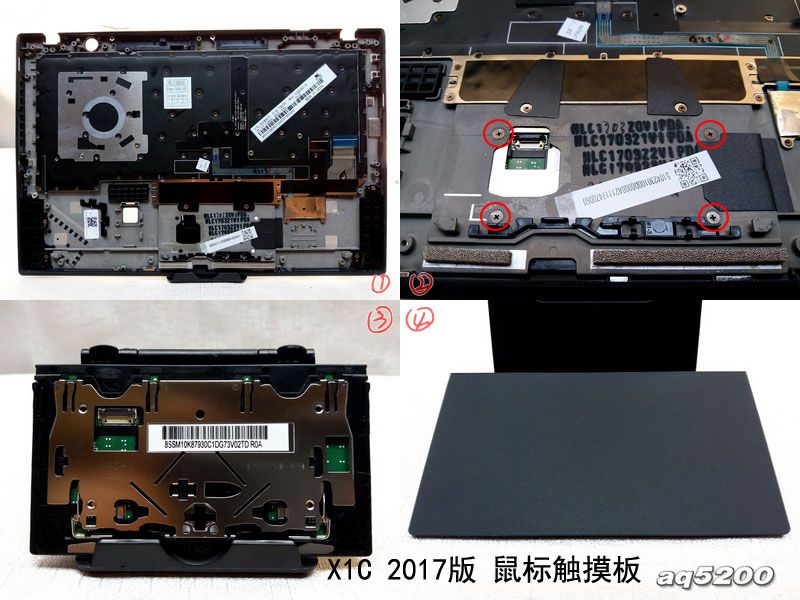
Remove the four screws securing the touchpad, then remove the touchpad.
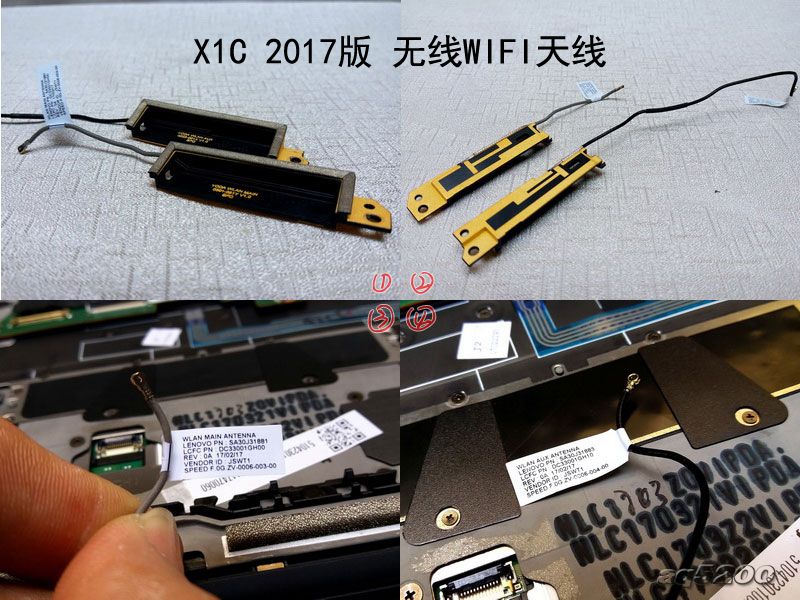
Close-up of the Wi-Fi cable.
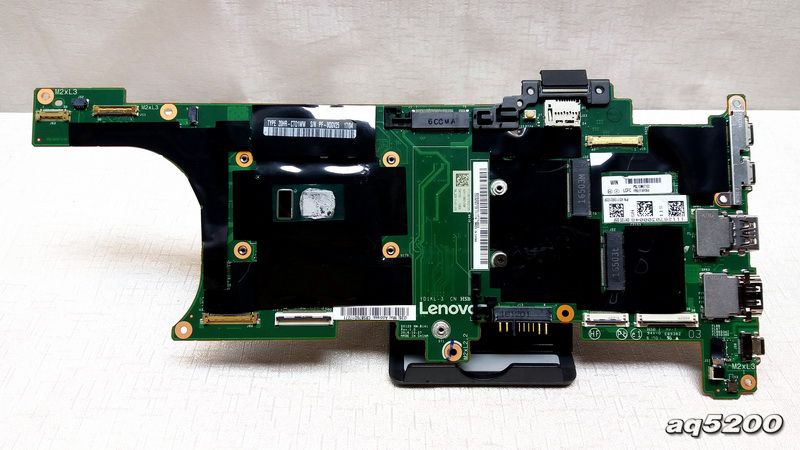
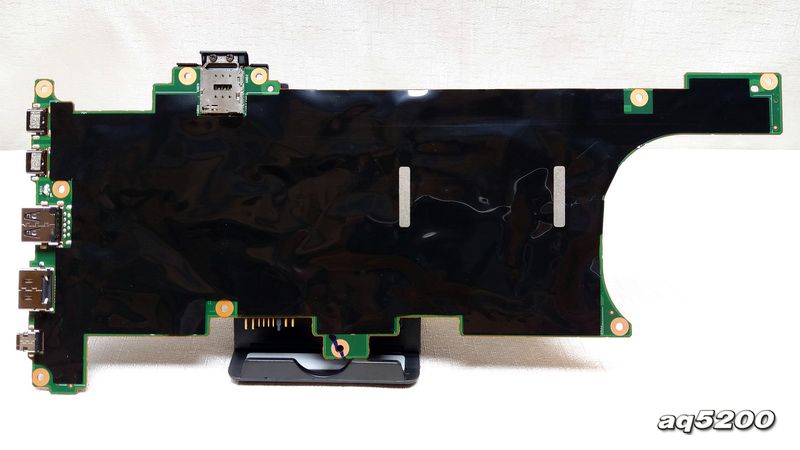
The motherboard is thin and lightweight.
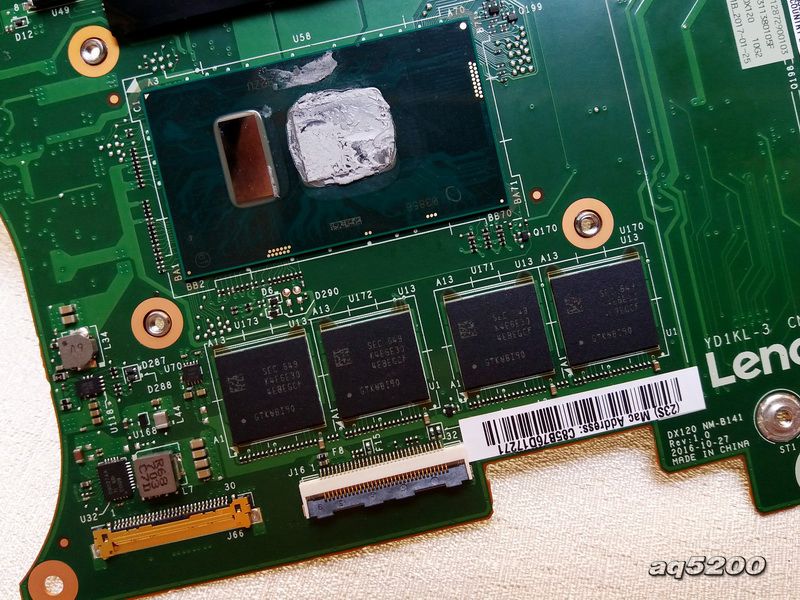
The processor in this laptop is soldered onto the motherboard, so it cannot be replaced or upgraded. Next to the processor are the memory chips, which are also soldered onto the motherboard.
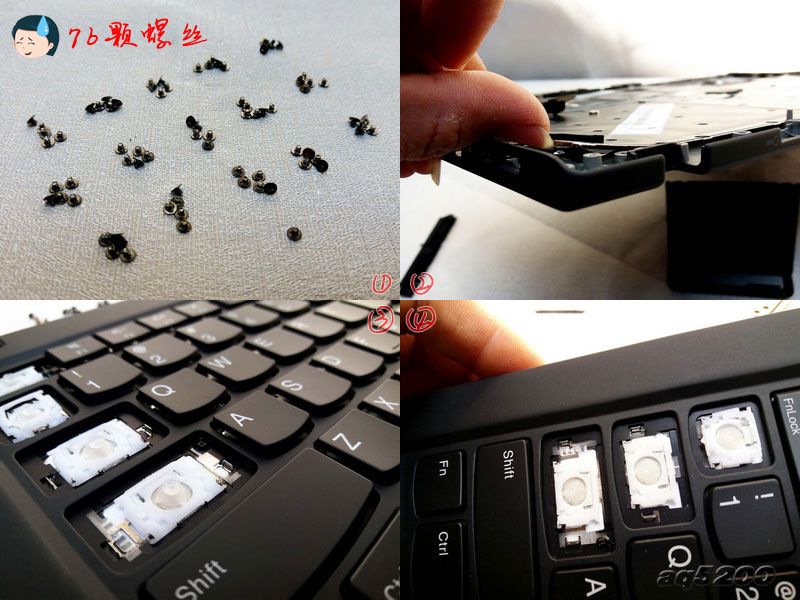
Remove the 76 screws securing the keyboard.
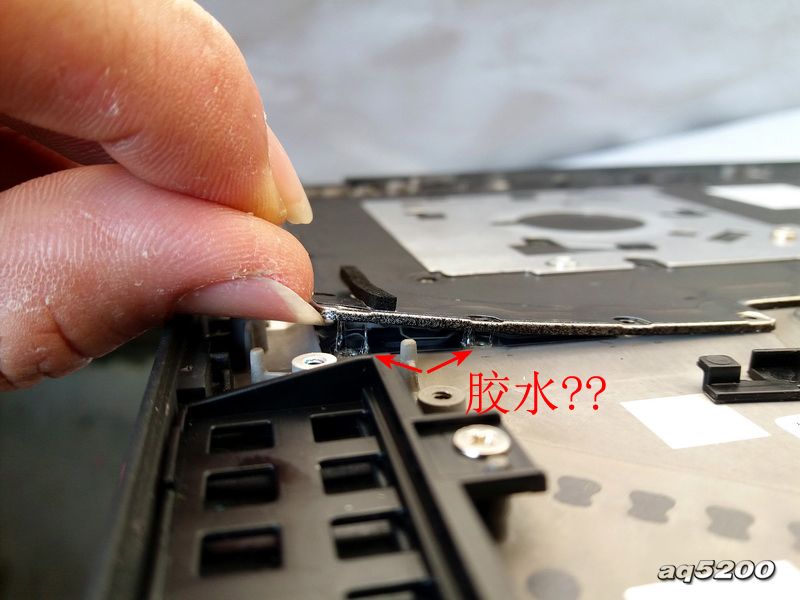
After removing all screws, we need to apply a bit of force to remove the keyboard from the palm rest.


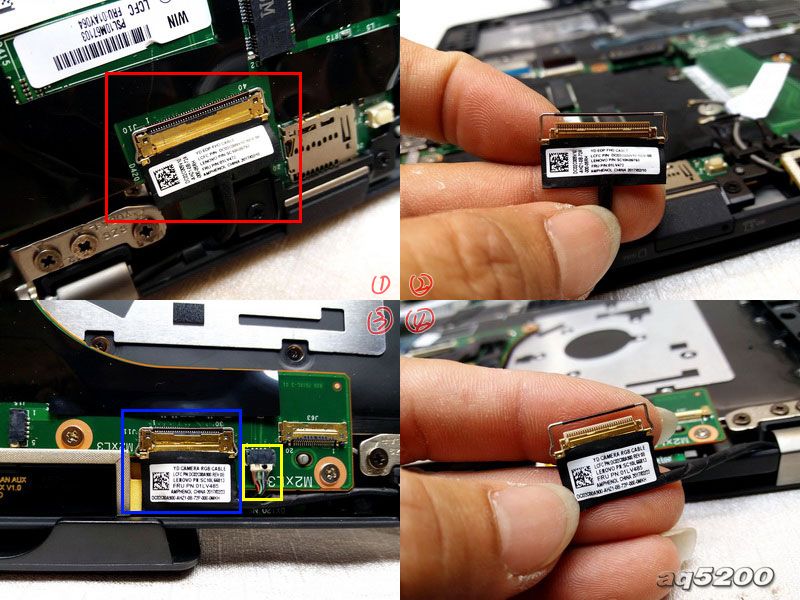
Close-up of the display assembly.

SSD upgrade information would have been helpful.