
In this guide, I will explain how to disassemble the Dell Vostro 5560 to remove the battery, DVD drive, hard drive, RAM, cooling fan, speakers, and motherboard. Refer to this guide. You can upgrade, repair, and clean your Vostro 5560.
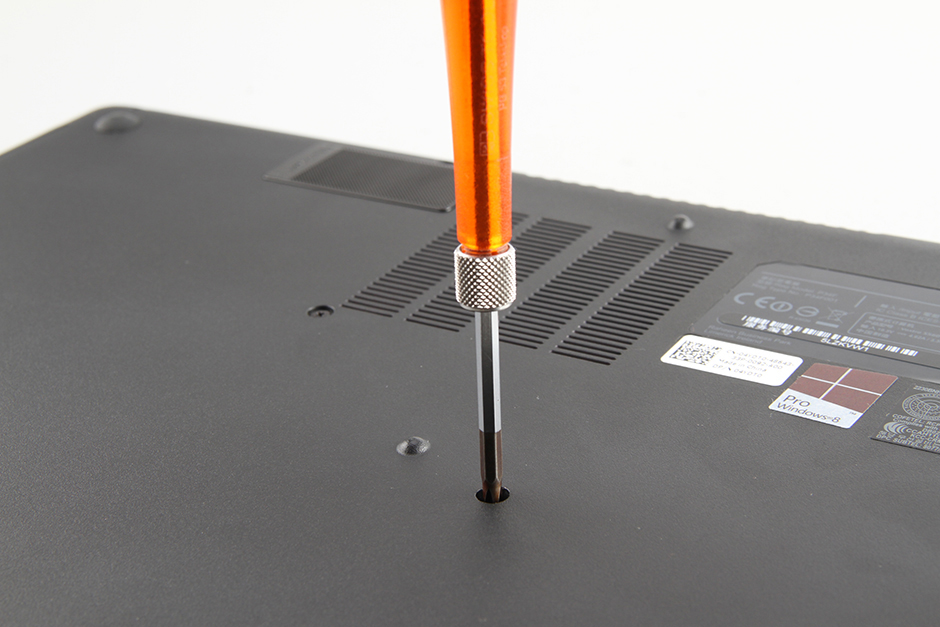
Remove all screws from the bottom cover.
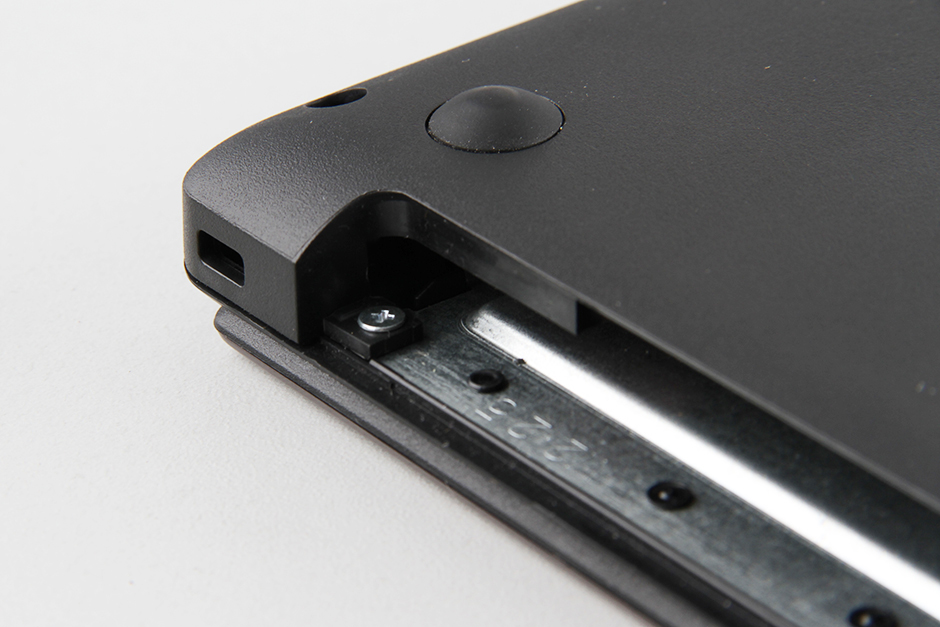
Remove the screw securing the DVD drive.
Pull the optical drive out to the left with a little force.
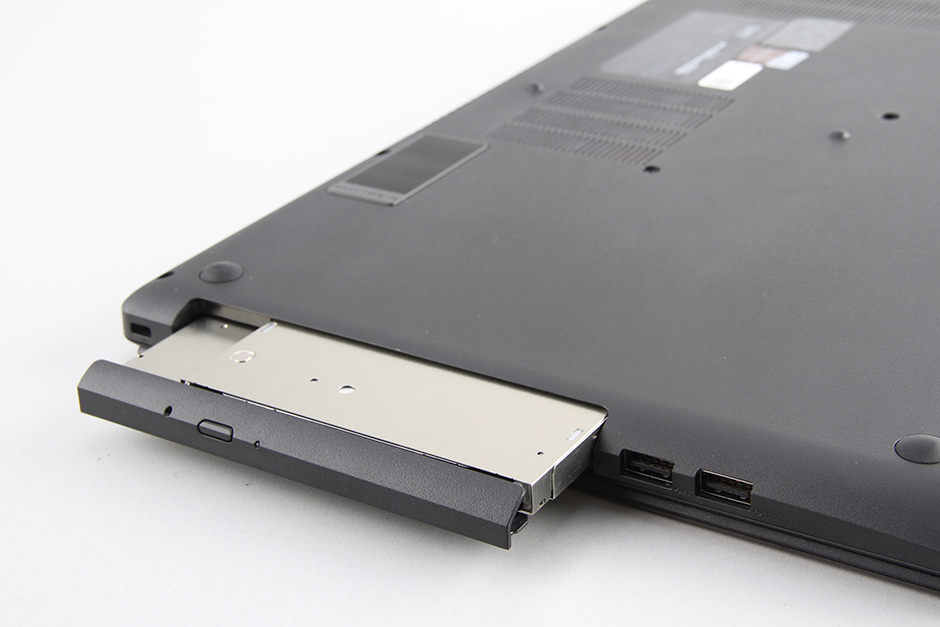
The laptop features a Panasonic UJ8C2 DVD burner.
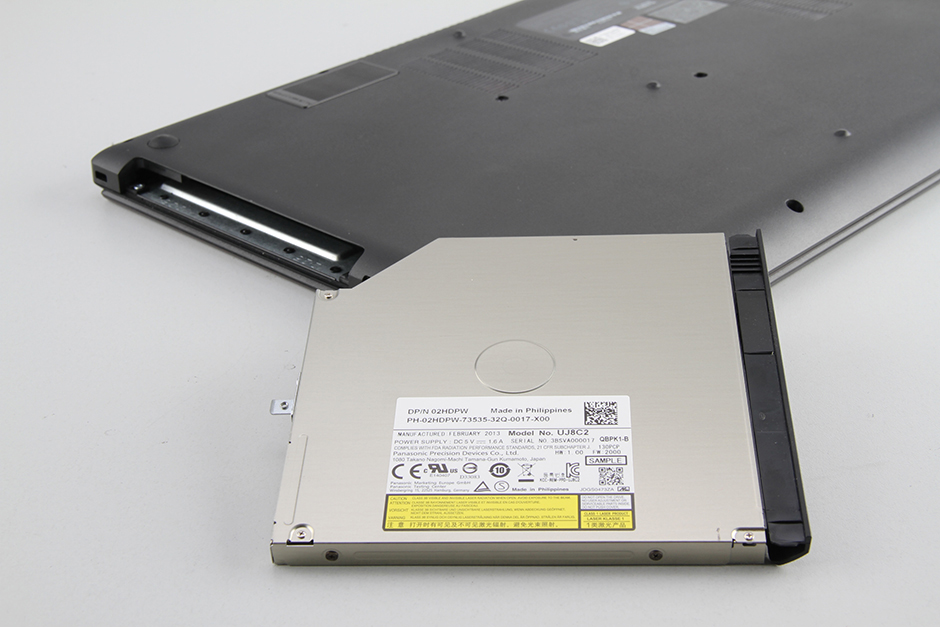
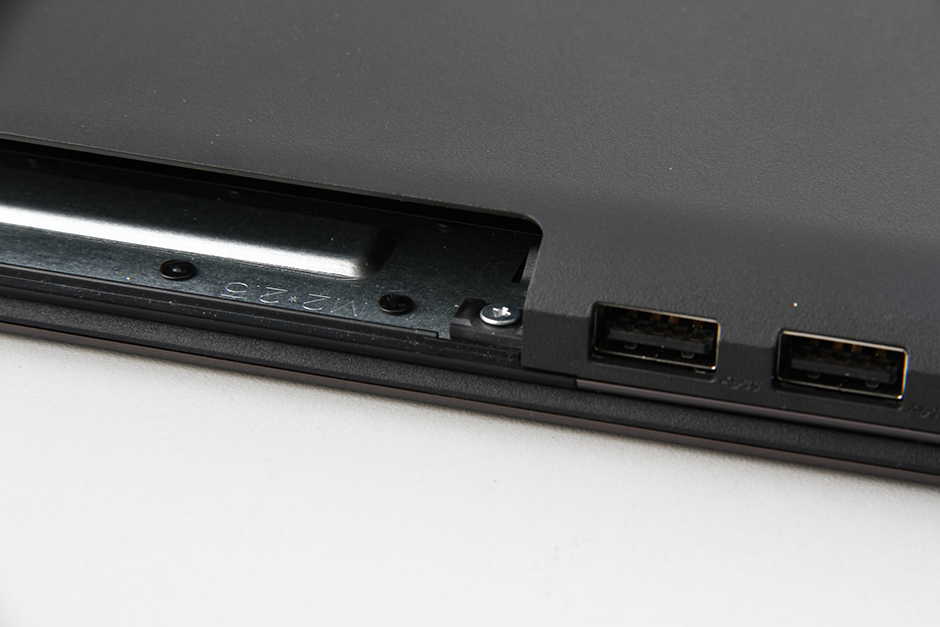
When the DVD drive is removed, you can find two screws.
Remove the two screws in the DVD bay.
Insert a plastic pry tool near the right hinge. Slide the pry tool to separate the bottom cover from the laptop.
The bottom cover is secured to the palm rest by several clips. You must release all clips to remove the bottom cover.
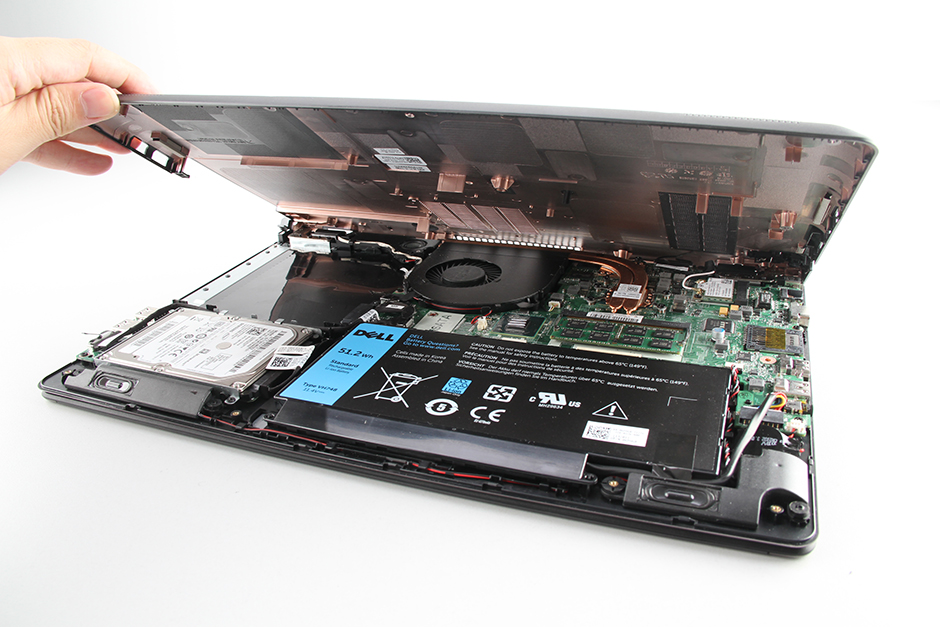
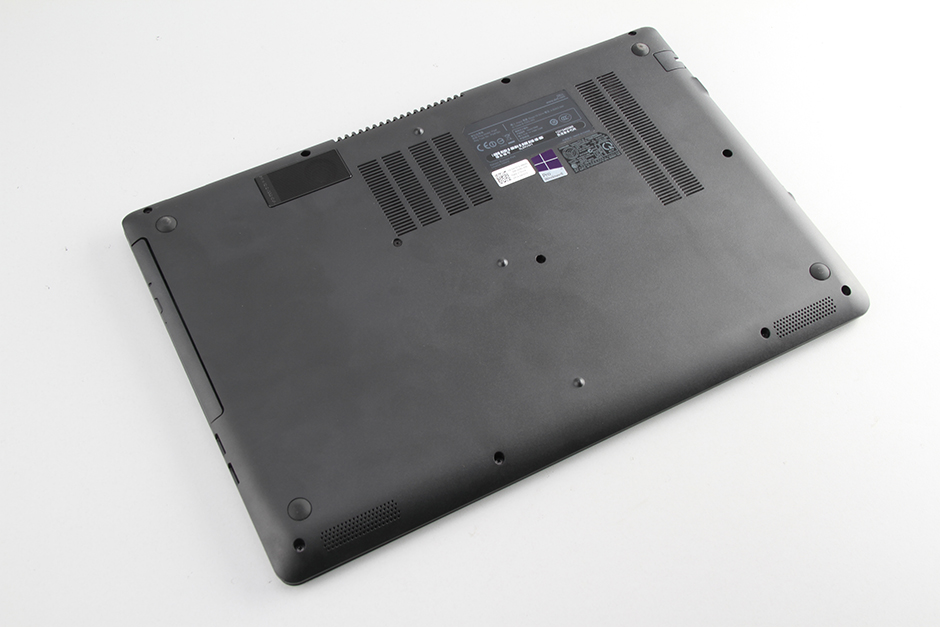
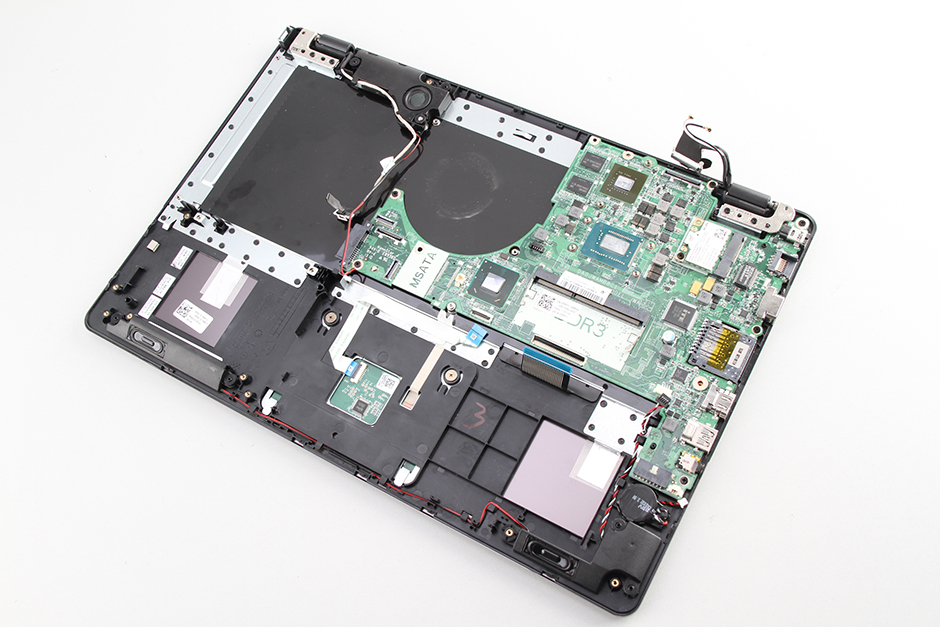
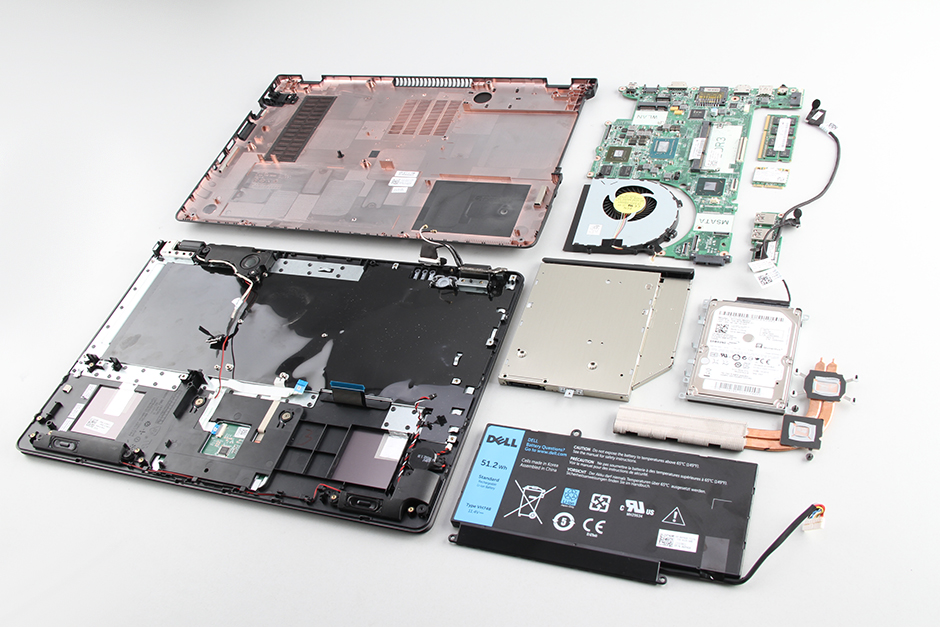
Under the bottom cover, you can access the battery, hard drive, speakers, cooling fan, USB board, wireless card, and motherboard.
Remove the screw securing the battery and disconnect the battery connector from the motherboard. You can remove the battery.
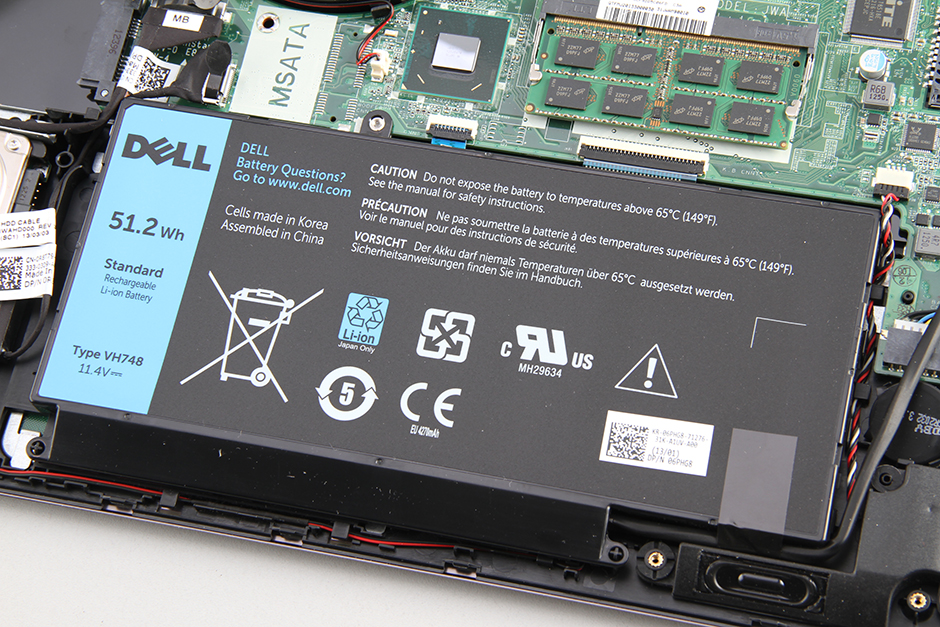
The laptop features an 11.4V, 51.2Wh Li-ion battery. The Dell part number is VH748.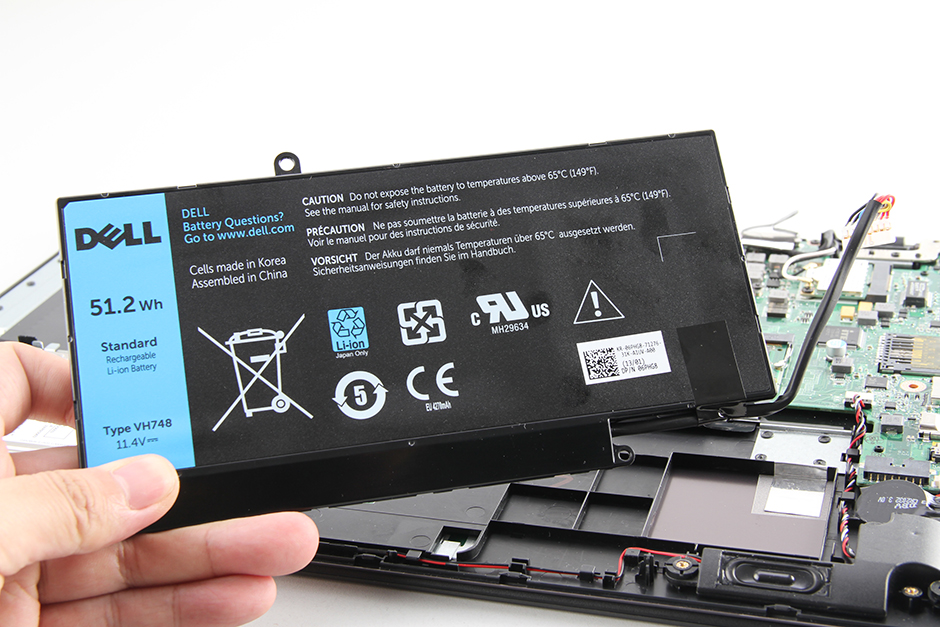
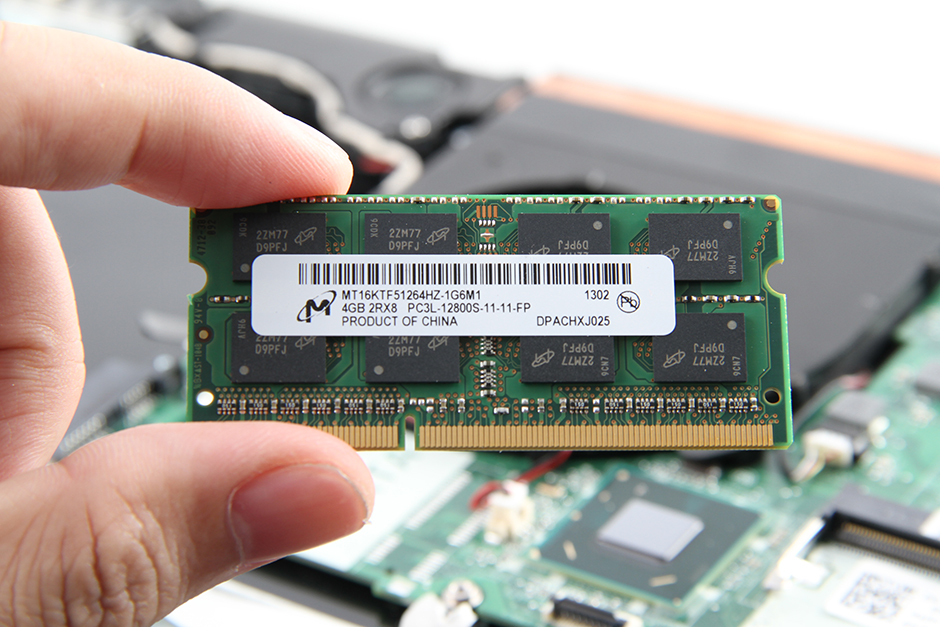
Use your fingernails to pry apart the clips on both sides, and the memory module will pop out automatically.
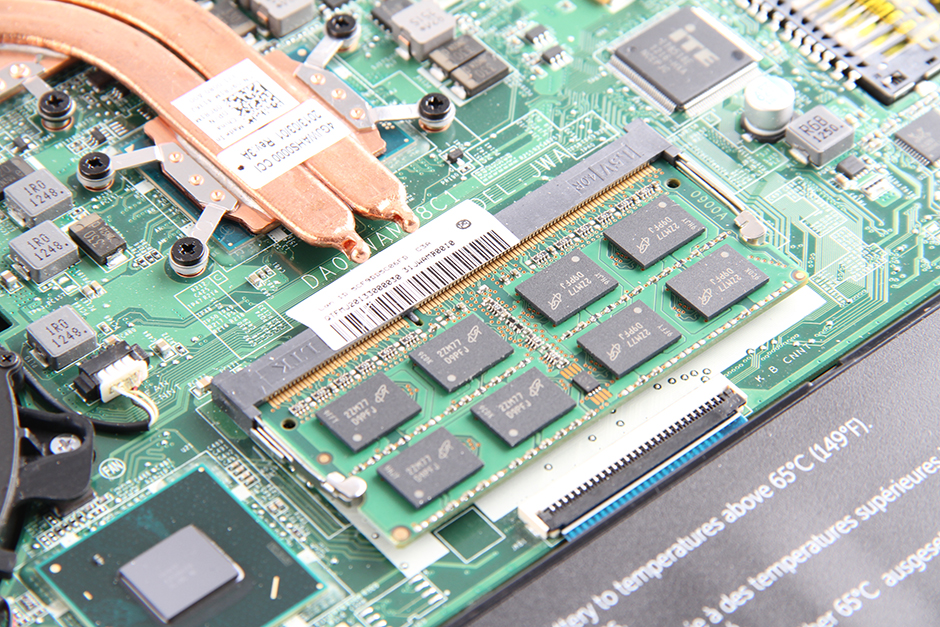
The Dell Vostro 5560 comes with a Micron 4GB memory module. It has only one memory slot, so if you want to upgrade the memory, you need to replace the existing memory module.
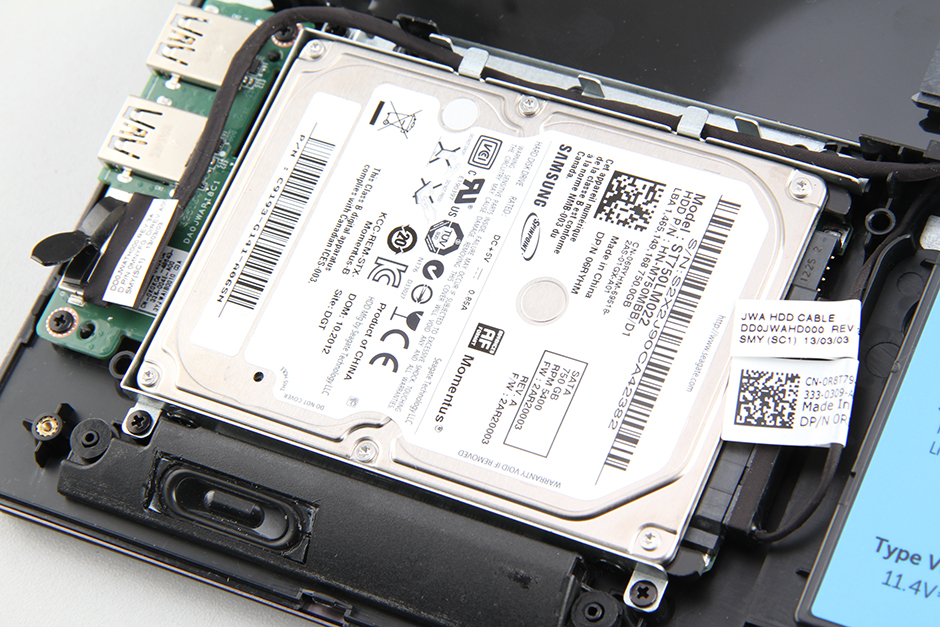
Remove the four screws securing the hard drive module and disconnect the hard drive cable from the USB board.
Slide it to the left and remove the hard drive module.
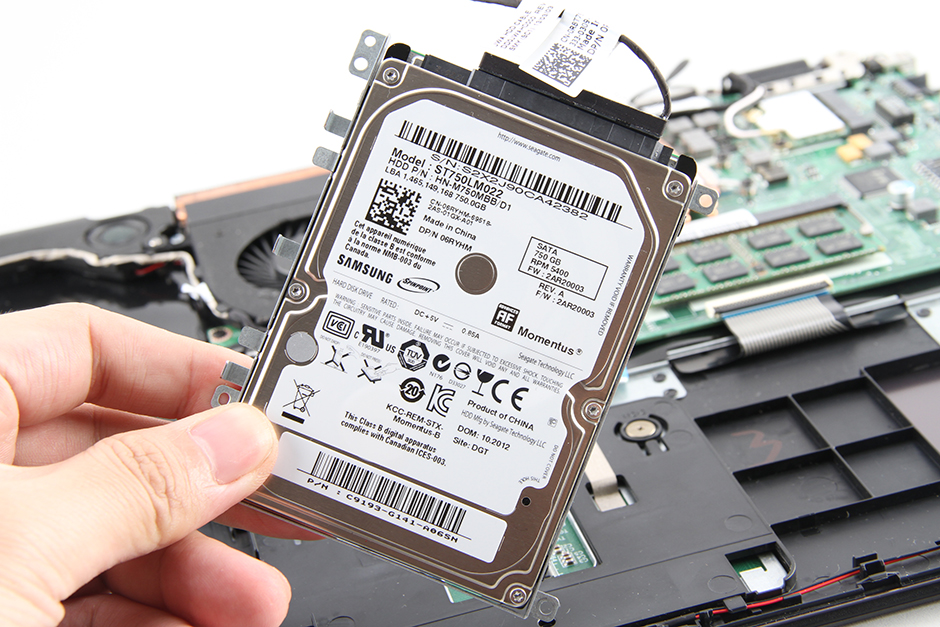
The Dell Vostro 5560 comes with a Samsung 750GB hard drive, Dell part number: 06RYHM.
Remove the screw securing the wireless card and disconnect the two wireless antenna cables. You can remove the wireless card.
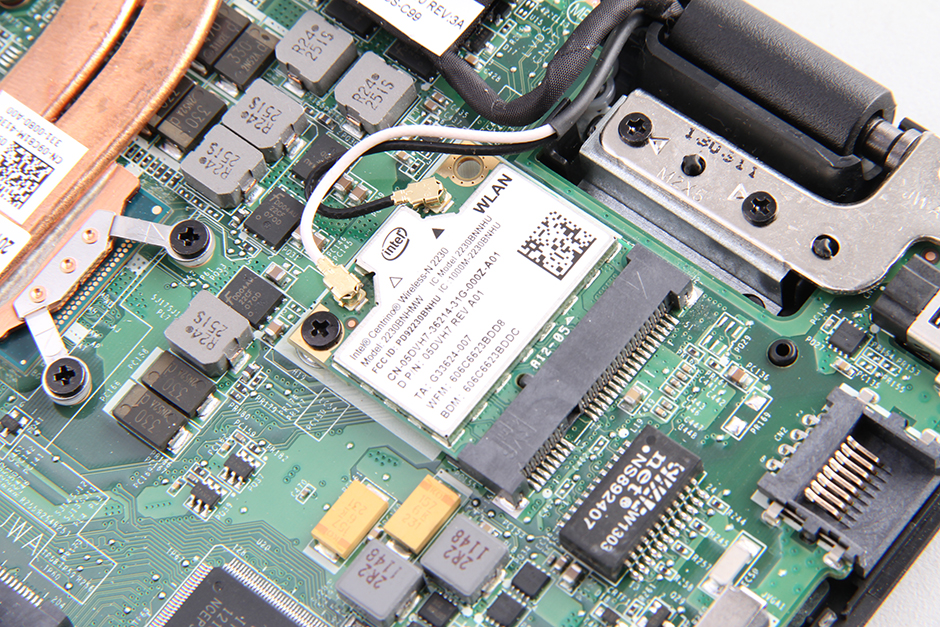
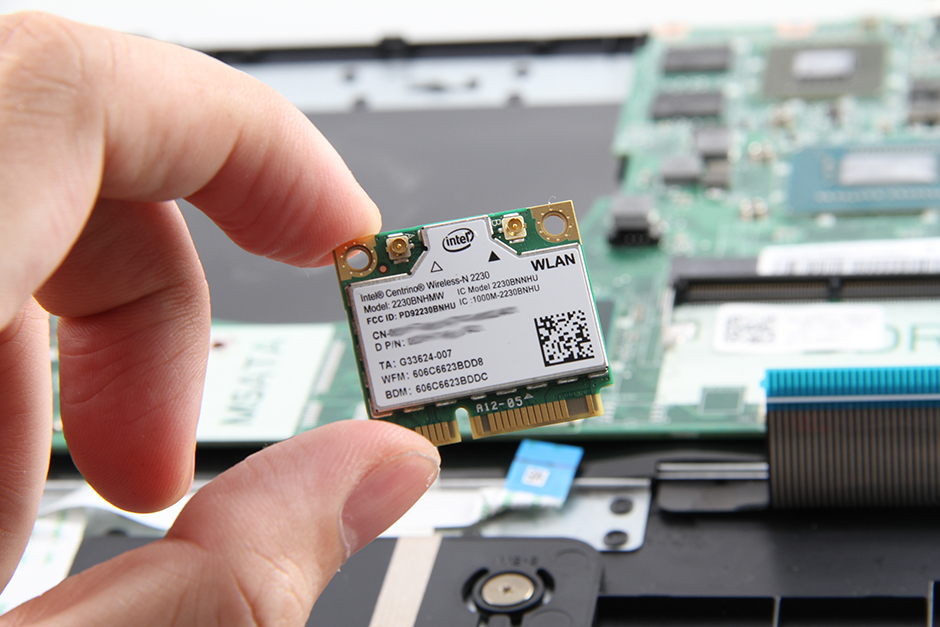
The Dell Vostro 5560 comes with an Intel Centrino Wireless-N 2230 wireless card.
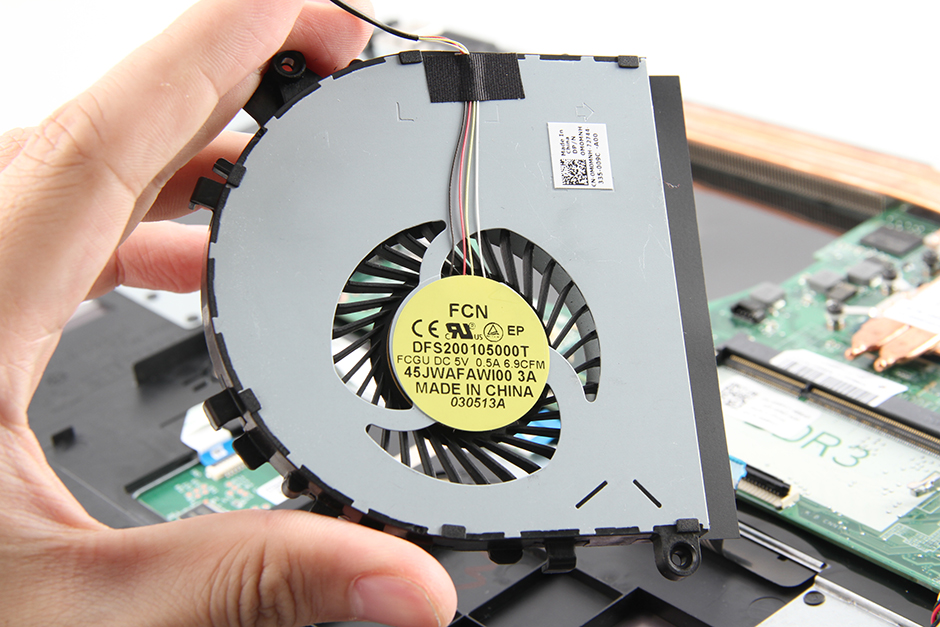
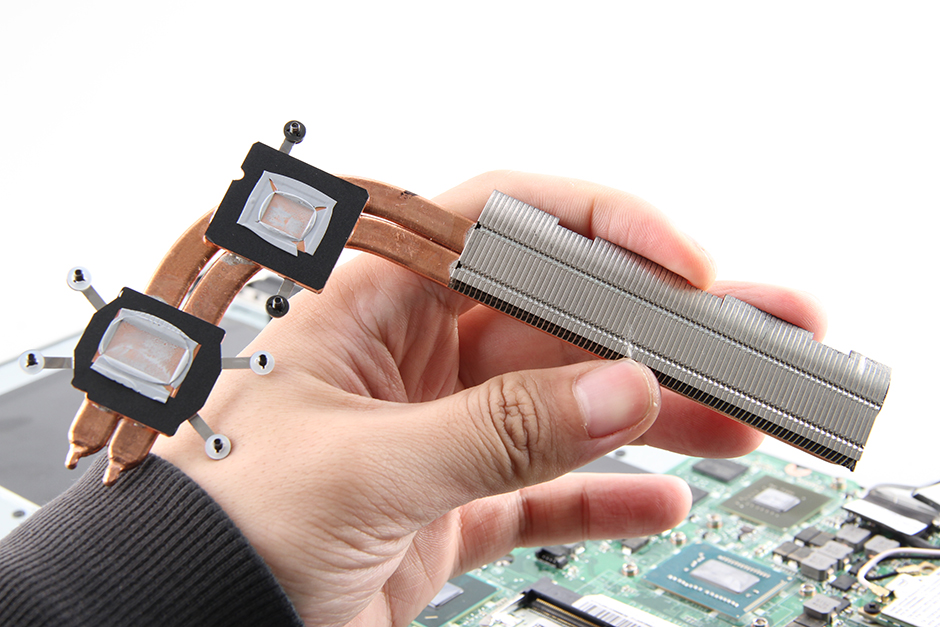
Remove the eight screws securing the heat sink and cooling fan, and then disconnect the fan cable from the motherboard. You can remove the heat sink and cooling fan.
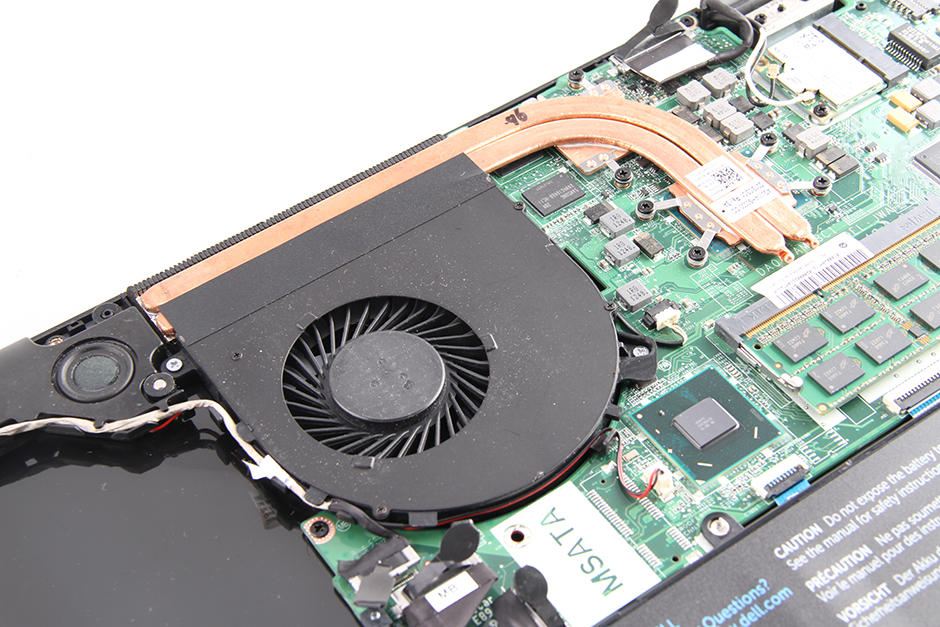
The laptop comes with a Foxconn DFS200105000T cooling fan.
Heat sink

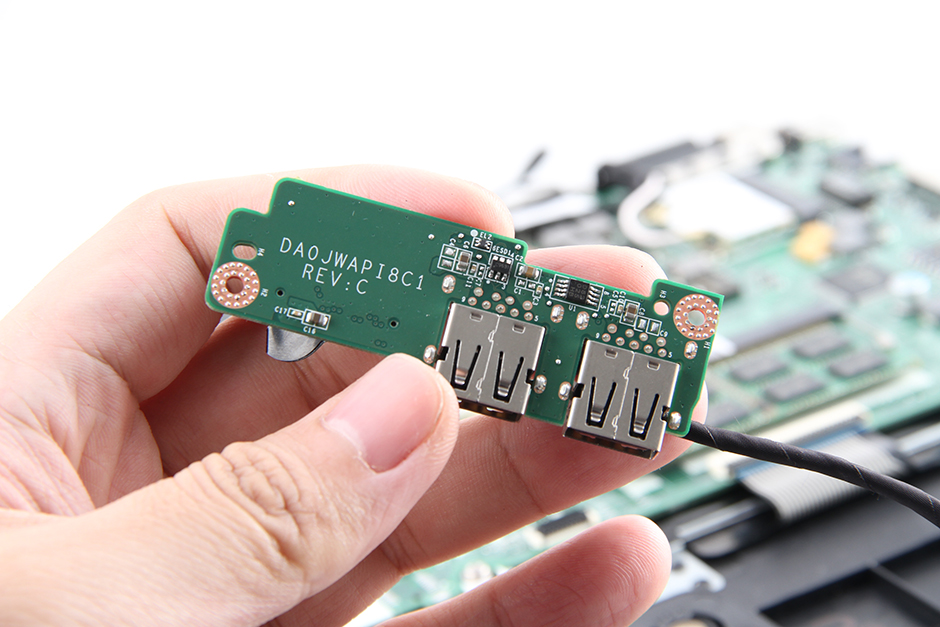
Remove the two screws securing the USB board. You can remove it.
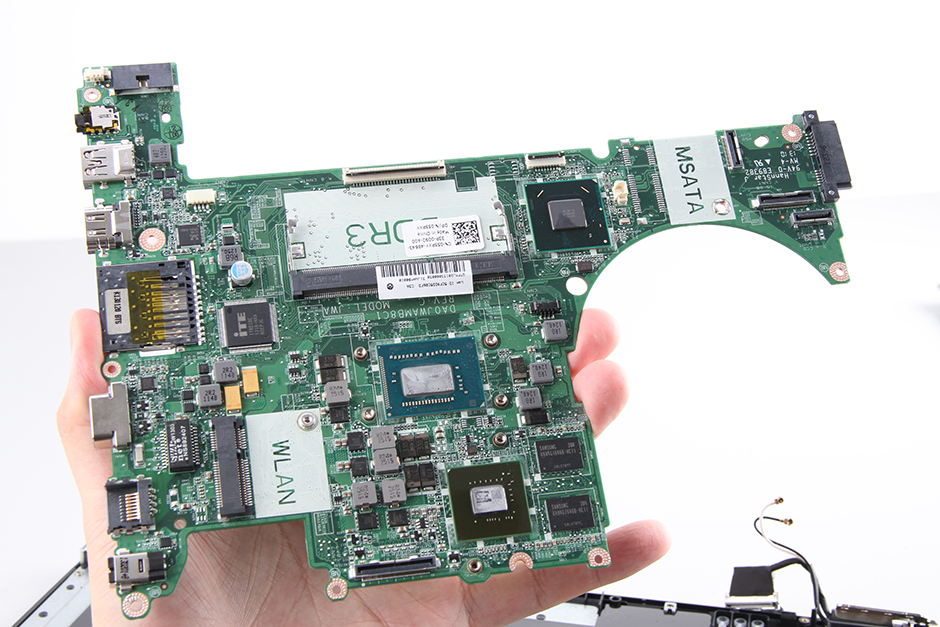
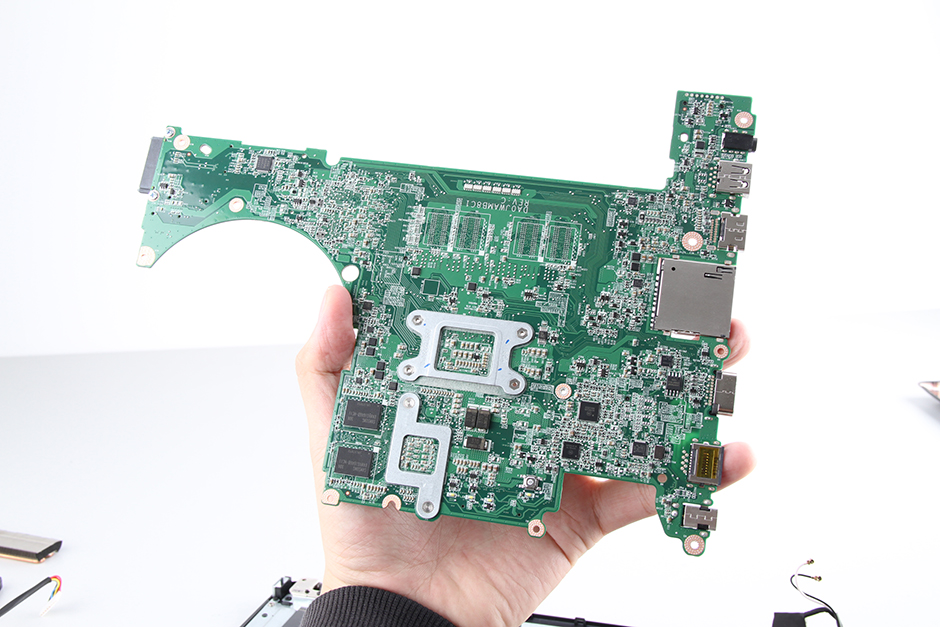
Now, remove all screws securing the motherboard and disconnect all cables from the motherboard. Lift the motherboard from the left side and gently wiggle it until it is completely detached from the laptop.
The processor is soldered directly to the motherboard, so it cannot be upgraded.
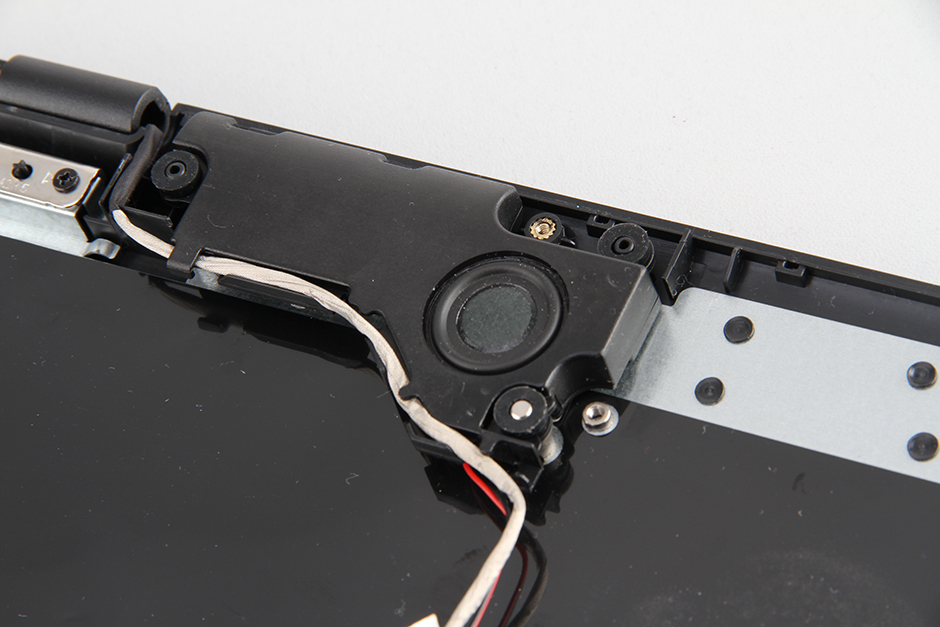
Speaker modules
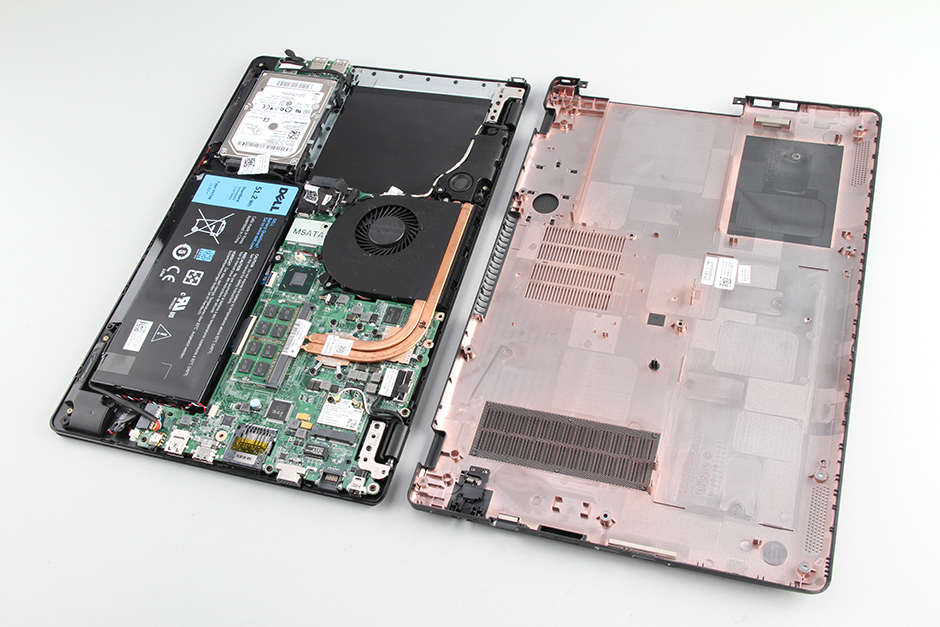
Dell Vostro 5560 internal parts
Oh my God, I’ve had this laptop for ages now and I’ve opened it up myself, but never to this extent. This is an awesome guide. I wish I had found it before. Too bad I’m having trouble with the laptop. I might need to replace the motherboard altogether, as the graphics card is likely defective.