In this guide, I will explain how to disassemble the Lenovo IdeaPad Y470 laptop to remove and replace its components, including the hard drive, keyboard, palm rest, wireless network card, memory module, heat sink, cooling fan, speakers, and motherboard.
Join us on the social network! Follow us on Facebook for all the latest repair news.
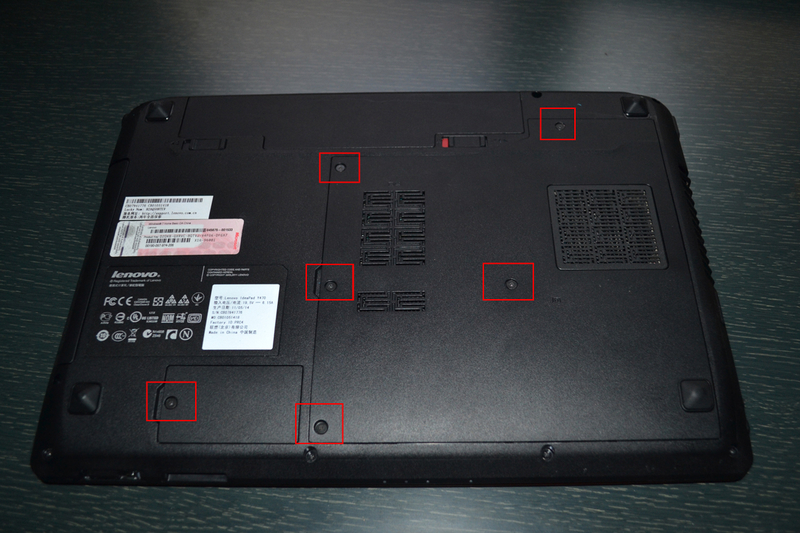
First, unscrew the six marked screws to remove the two covers.
Unlock and remove the battery.
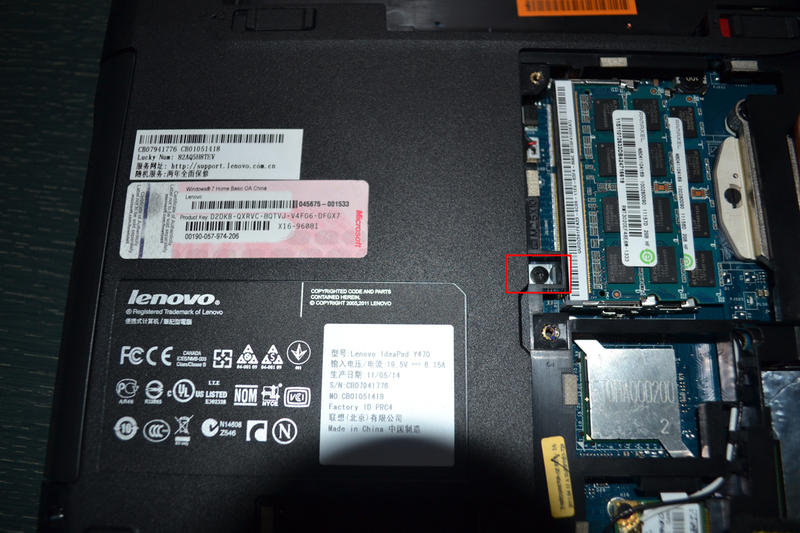
Remove this screw, and pull out the optical drive.
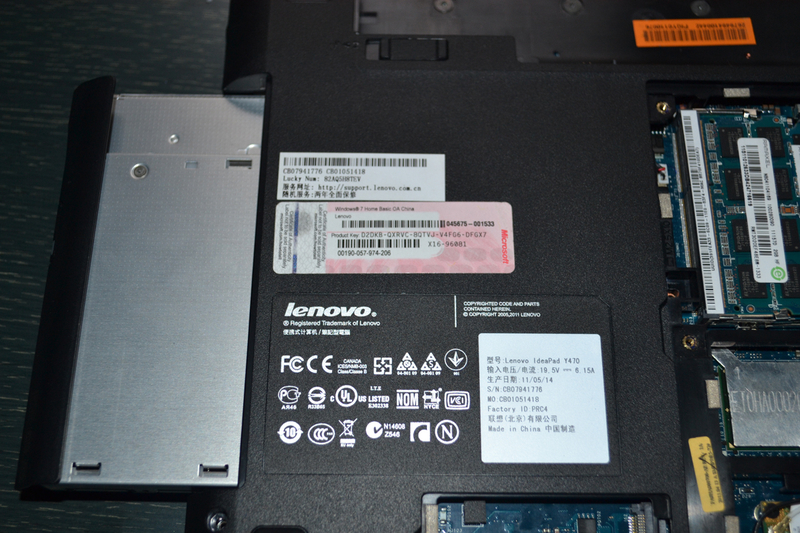
Pull the optical drive to the left side with a little force
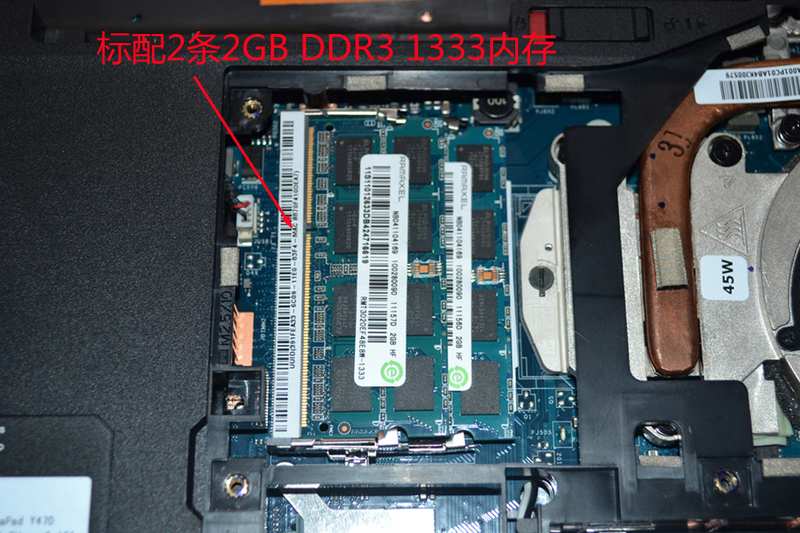
The red box marked is the Mini PCI-E slot, the yellow box marked is the wireless network card, the blue box marked is the hard drive, the purple box marked is the memory module, and the green box marked is the fan. Simply unscrew the screws, unplug the cables, and slide the latches to remove these components. Then, unscrew the four screws marked with white boxes in the battery bay.
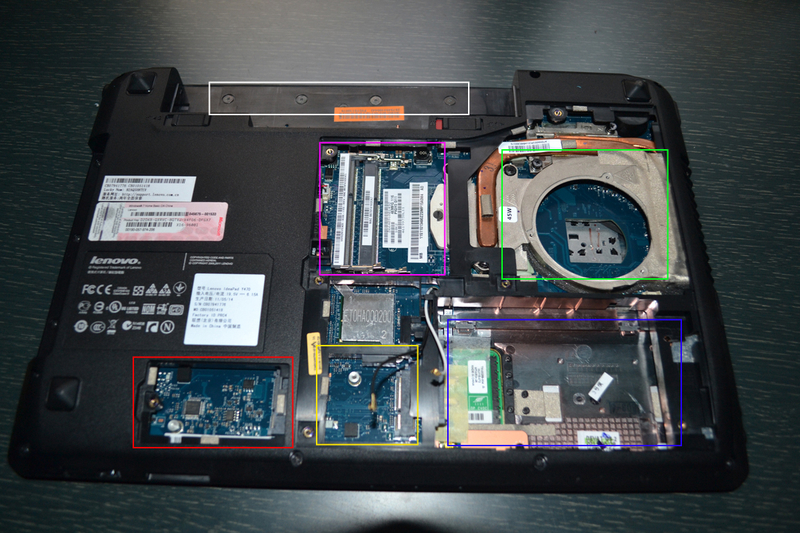
This laptop comes with two 2GB DDR3 1333 memory modules.
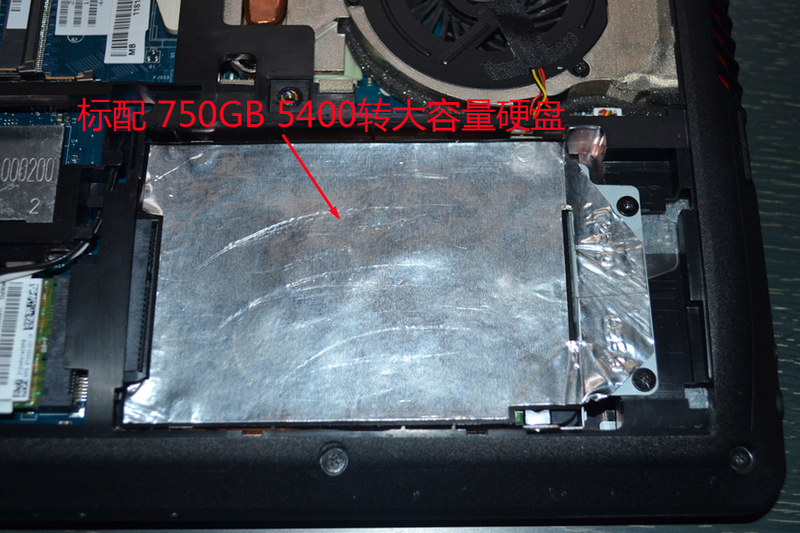
The Lenovo IdeaPad Y470 comes with a 750GB 5400rpm hard drive.
Remove the decorative metal strip above the keyboard.
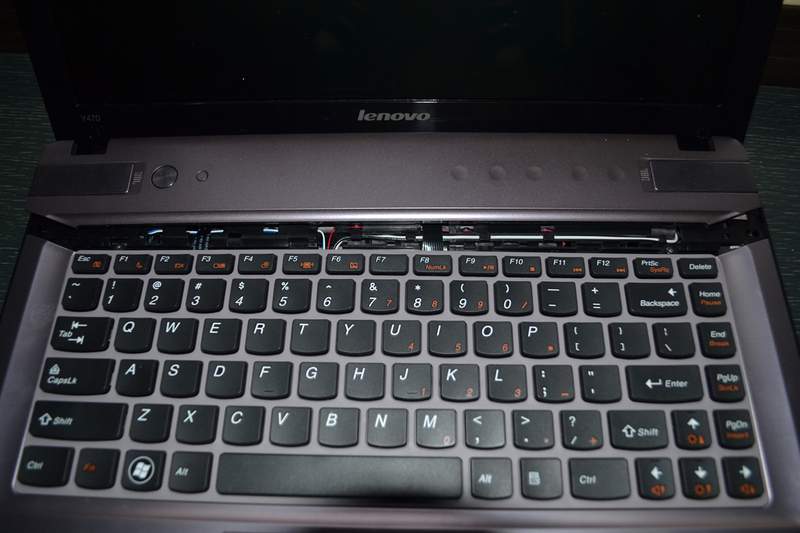
Lift the keyboard and disconnect the ribbon cable on the back of the keyboard..
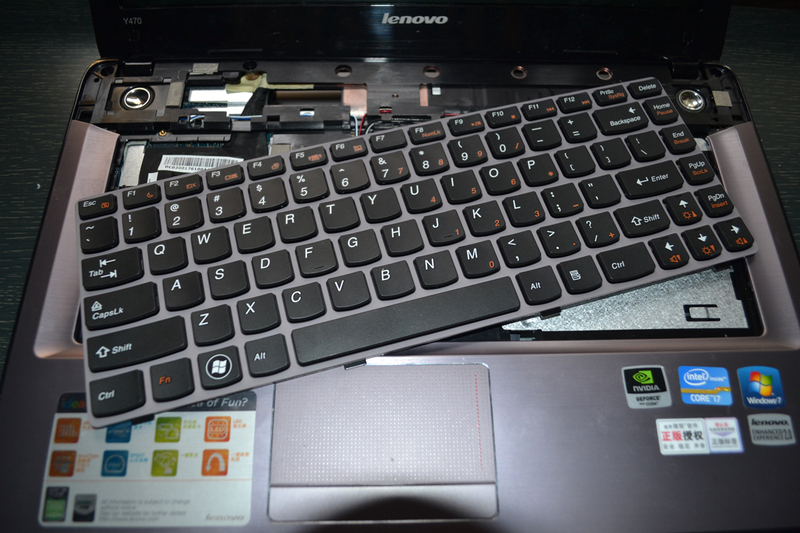
Close-up of the laptop after removing the keyboard.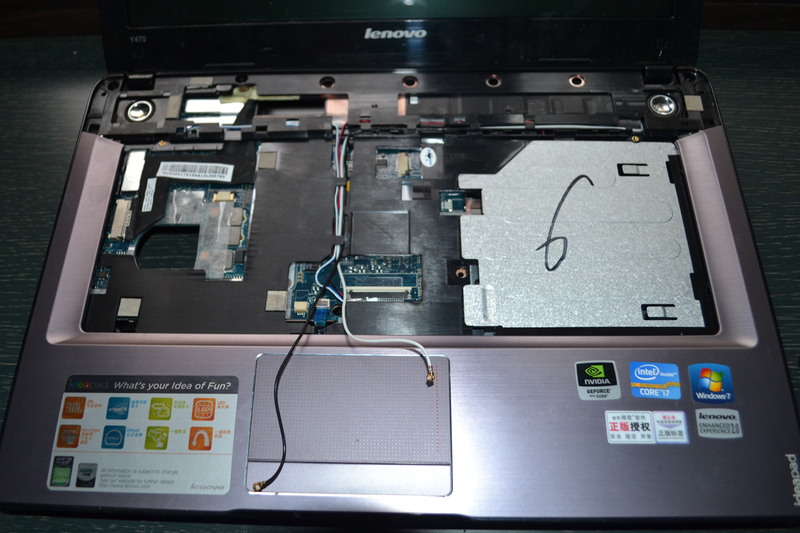
Unscrew the marked screws and unplug the cables to remove the palm rest.
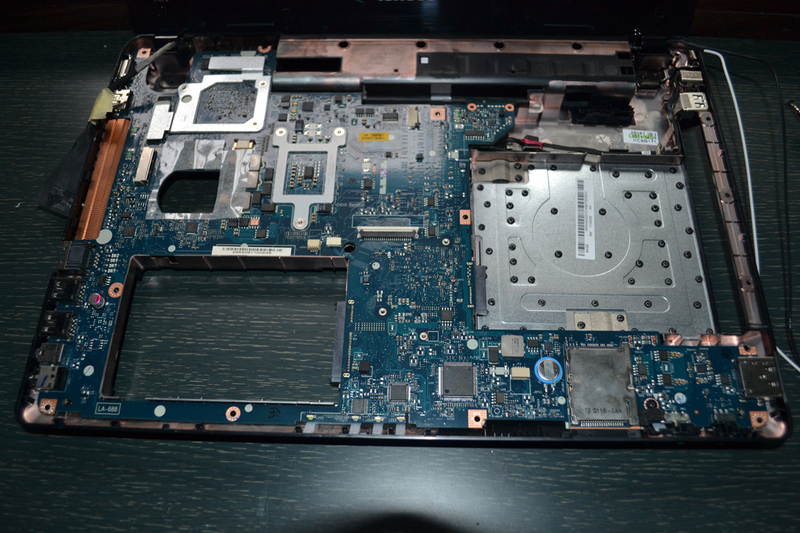
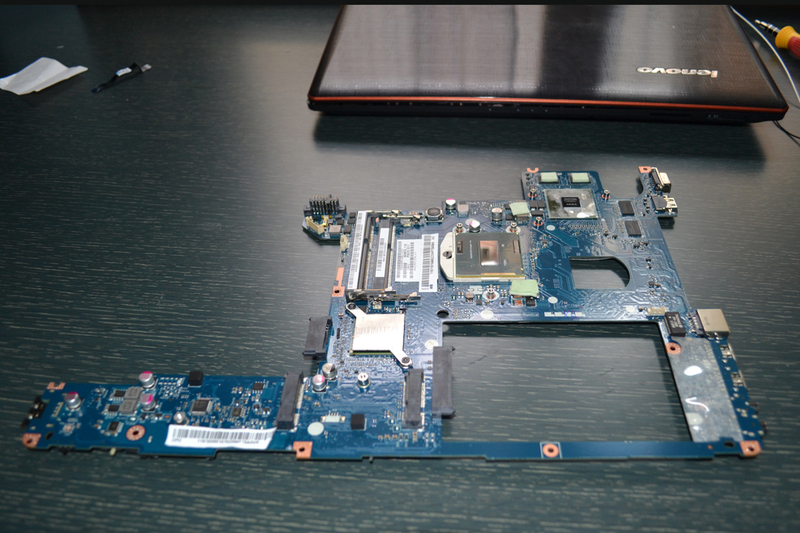
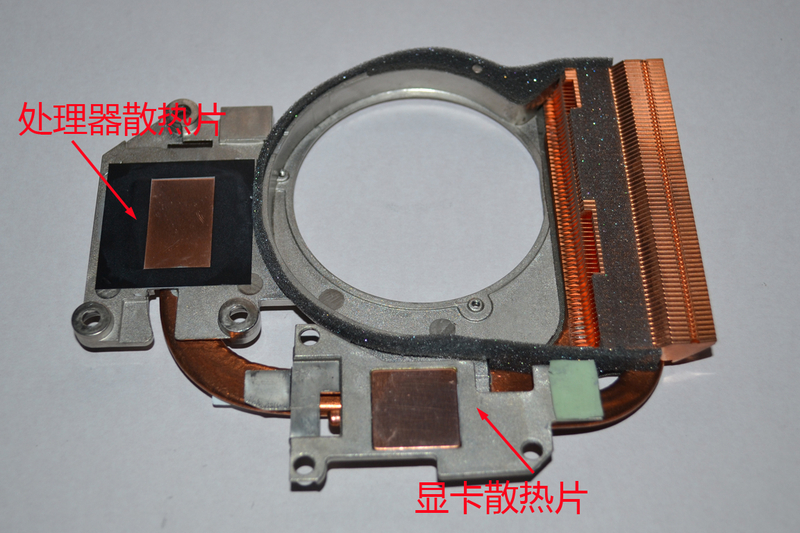
Now unscrew the screws securing the motherboard, remove the heat sink, and then unplug the cables from the motherboard to remove it.
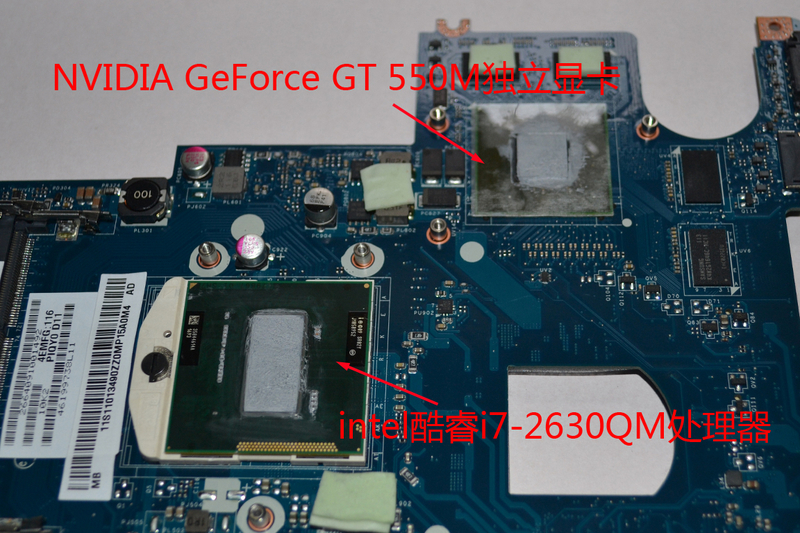
The Lenovo IdeaPad Y470 features an NVIDIA GeForce GT 550M discrete graphics card and an Intel Core i7-2630QM processor.
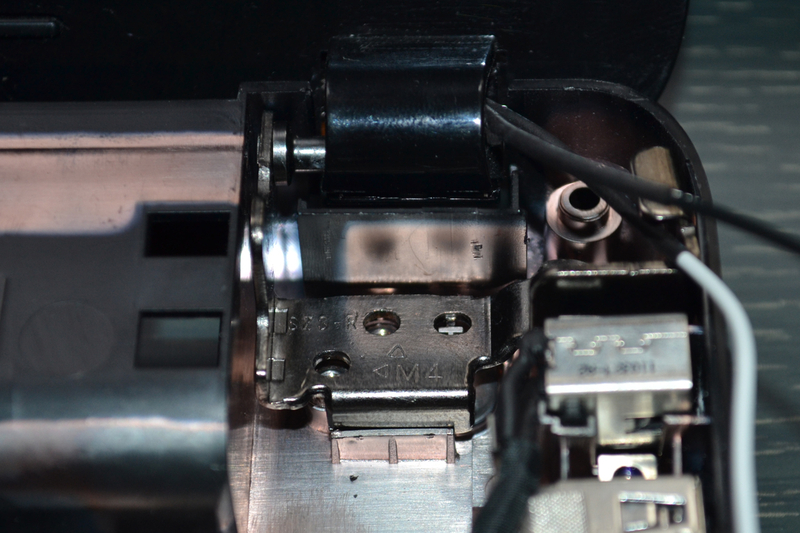
Remove the screws securing the screen hinges.
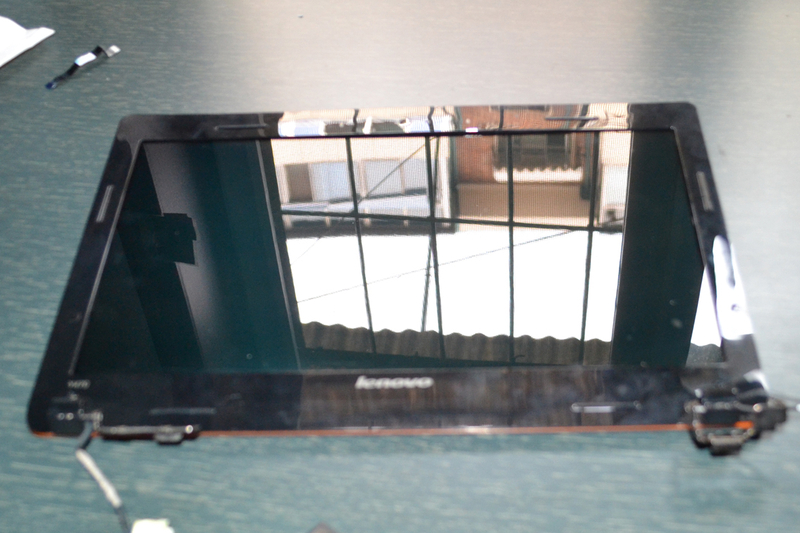
Then, you can remove the screen assembly.
Remove the screen cover.
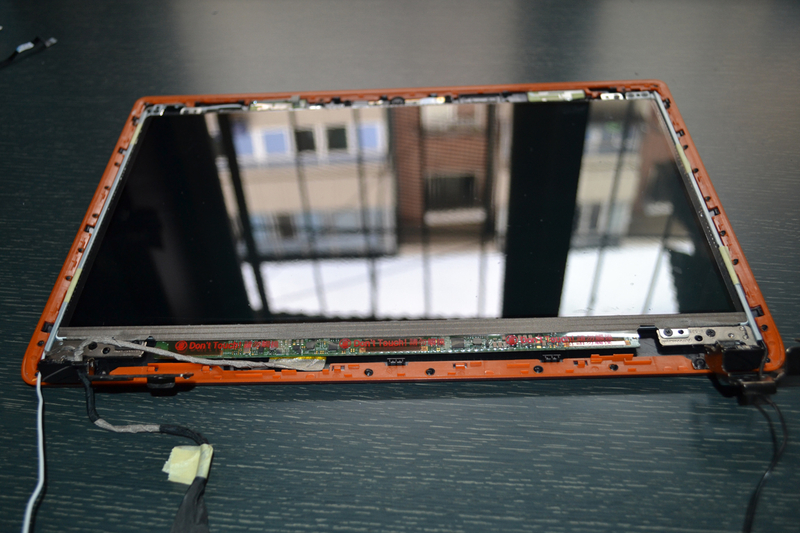
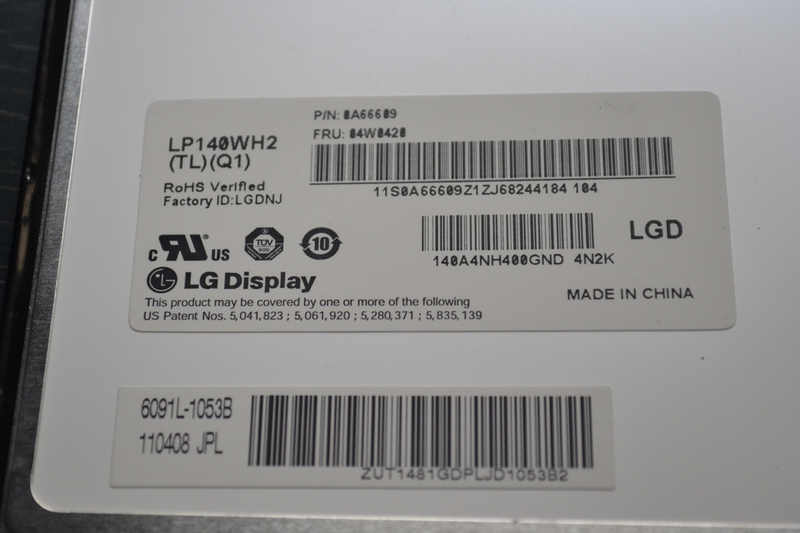
Then, you can see the sticker used to prevent electromagnetic radiation.

Close-up of the screen. Its part number is LP140WH2 (TL)(Q1).