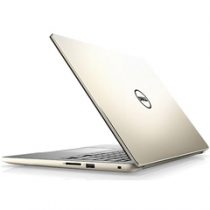
The Alienware 13 is the world’s first 13-inch gaming laptop to receive VR-Ready certification. It’s pretty impressive as this laptop packs a standard voltage processor in a 13-inch body along with an NVIDIA GeForce GTX 1060 graphics card. So we were also very curious.
In our case, the laptop comes with a GTX 1060, an i7-7700HQ processor, a 512GB PCIe SSD, a 13-inch 2560 x 1440 OLED touchscreen, 8GB of 2400MHz DDR4 memory, and comes pre-installed with Windows 10 Home.
Teardown is what we do! Follow us on Facebook for the latest repair news.
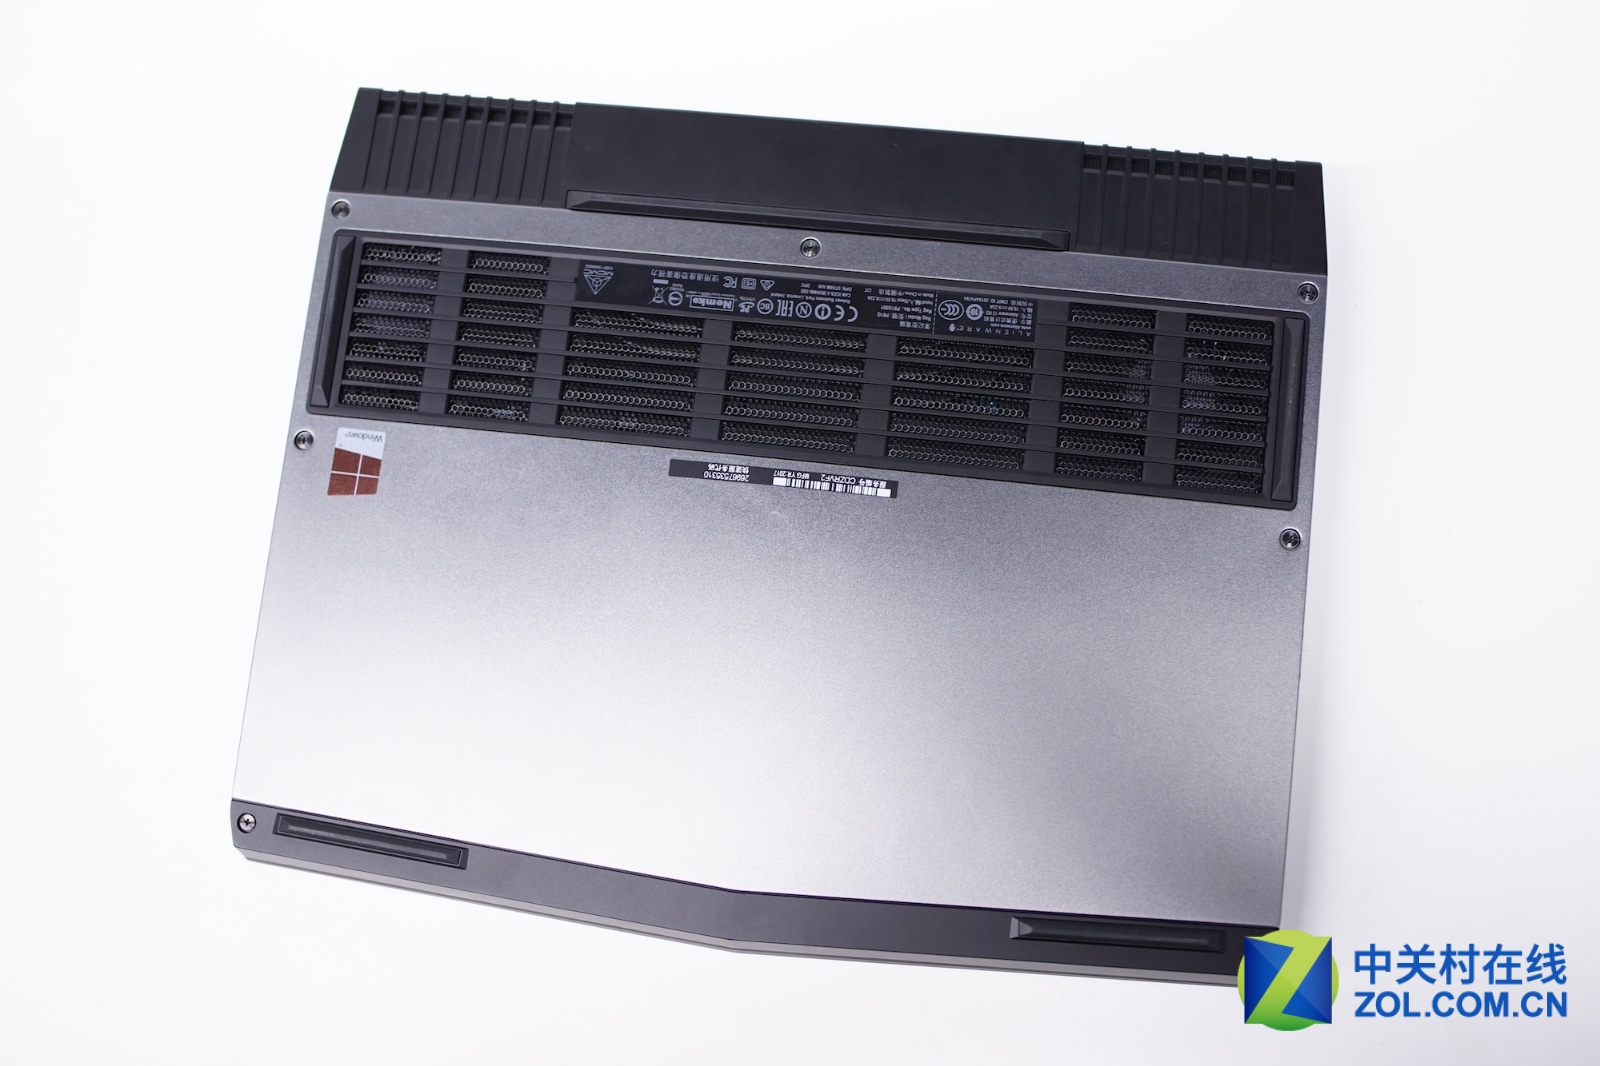
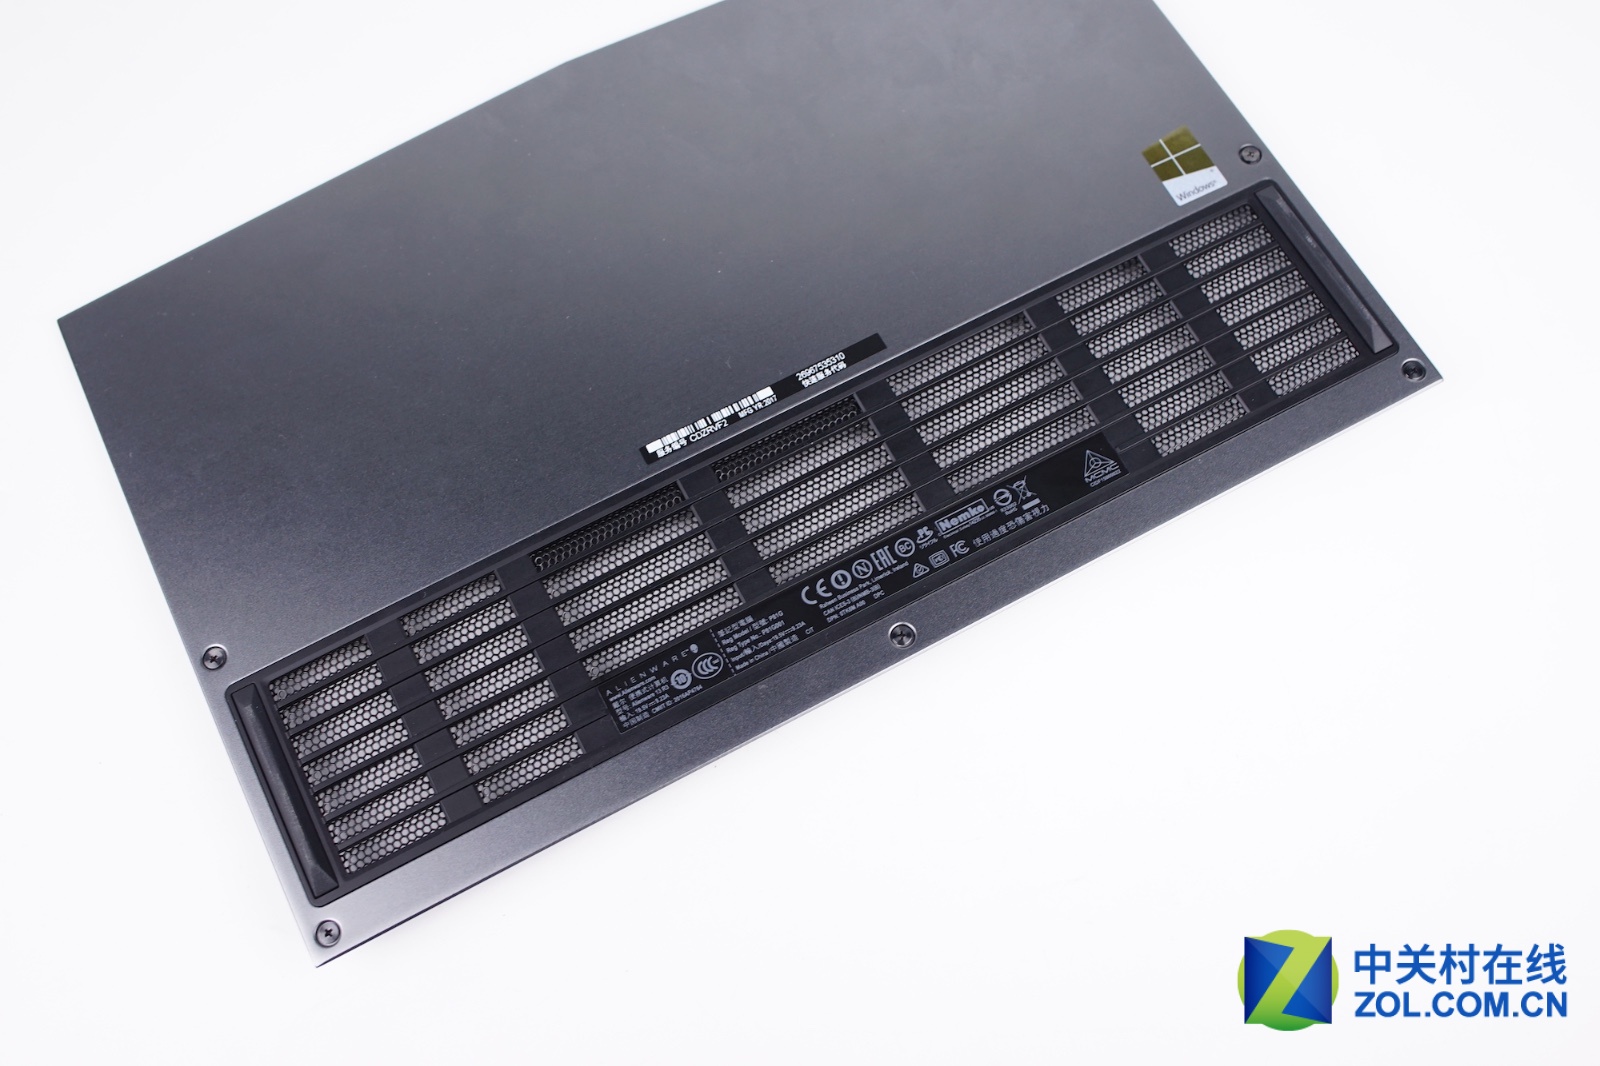
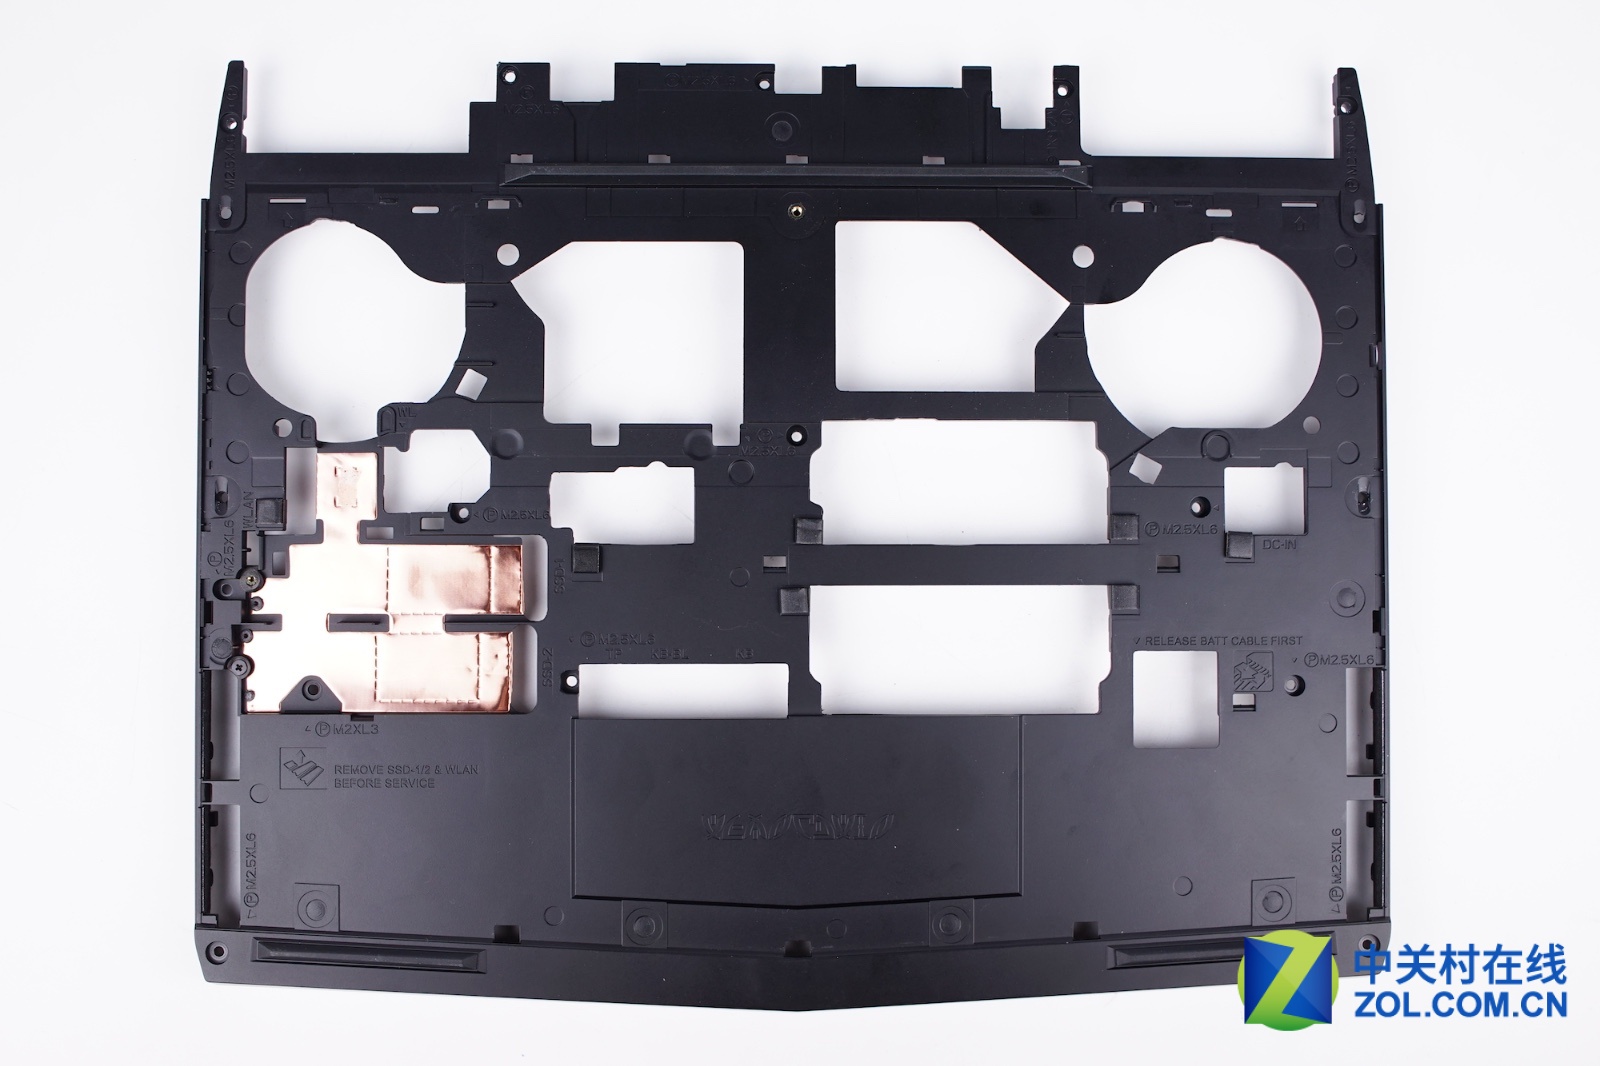
Loosen seven screws that secure the back cover with a screwdriver.
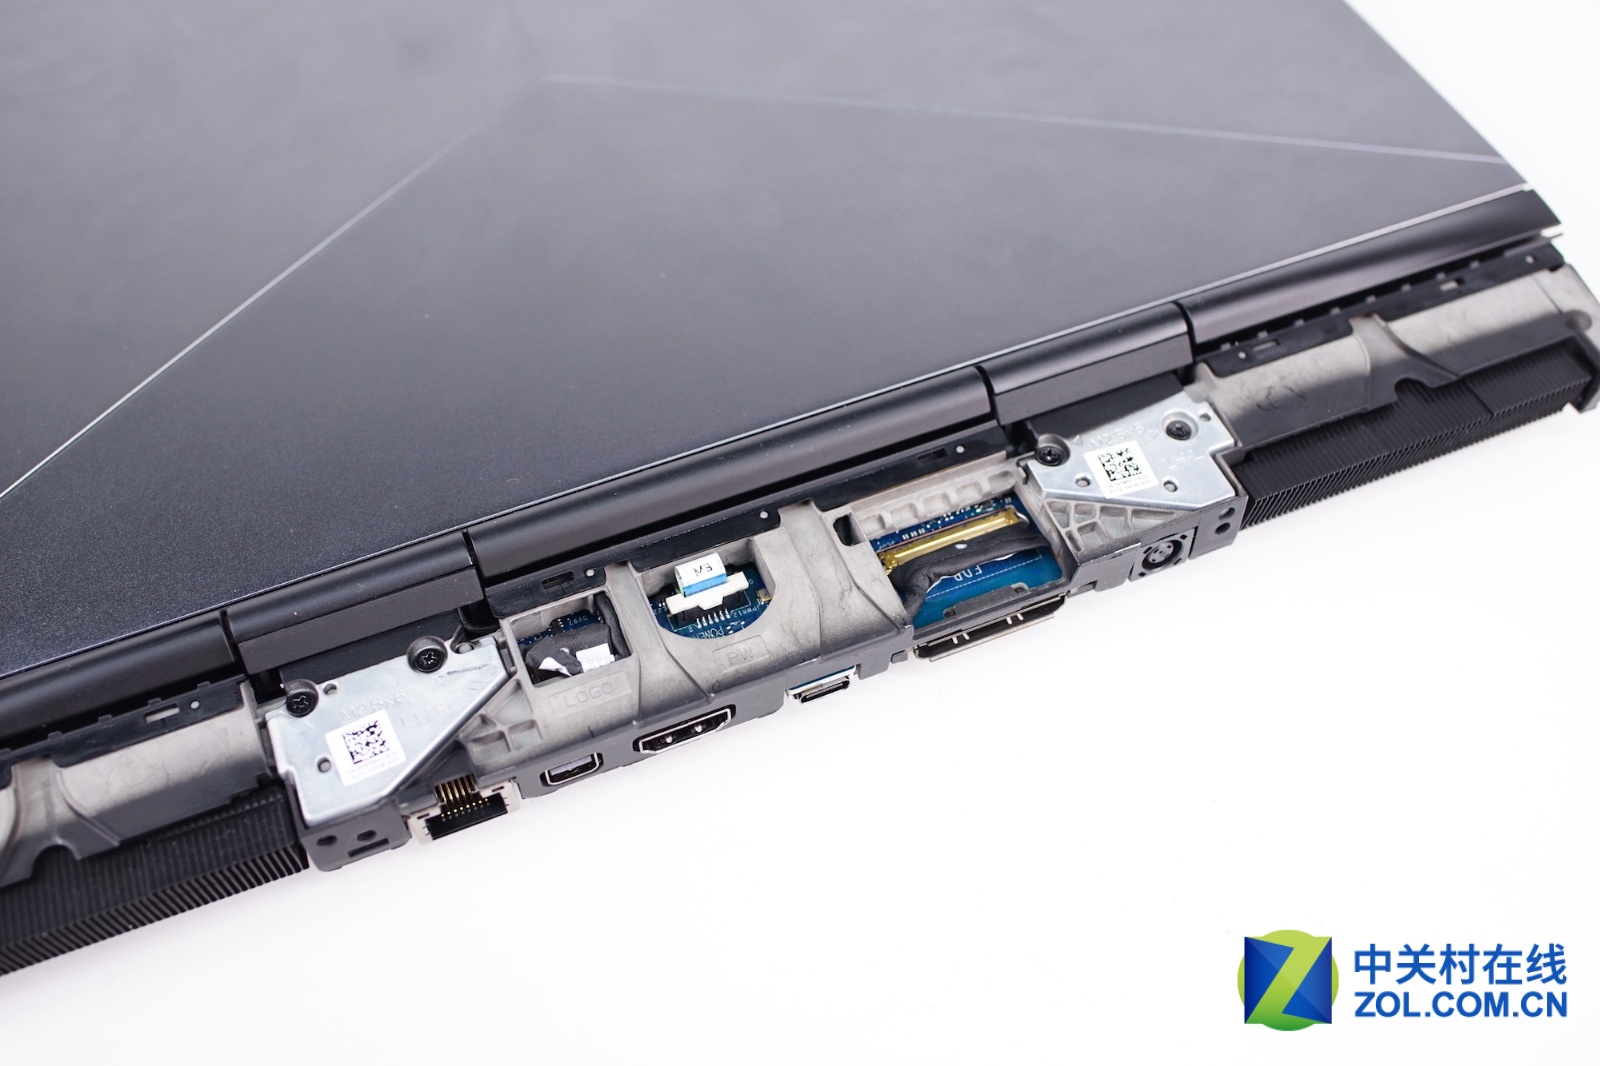
To remove the trim strip, use a pry tool to pry it open. Push the trim strip away from the laptop.
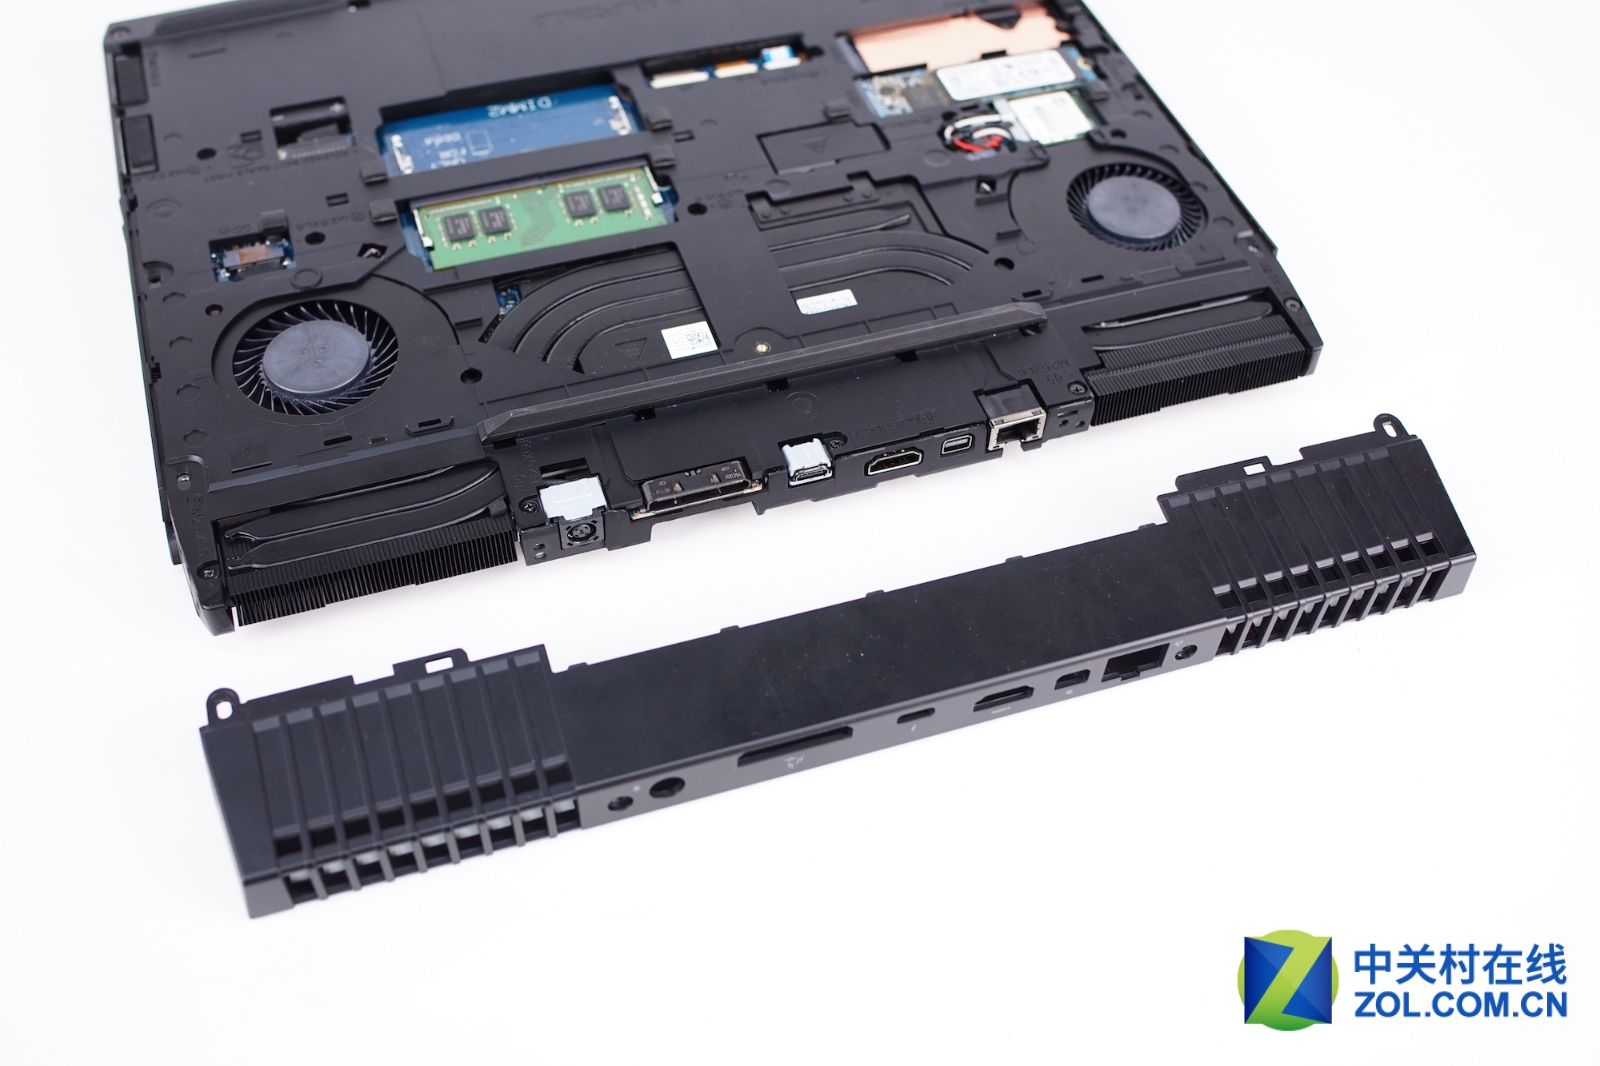
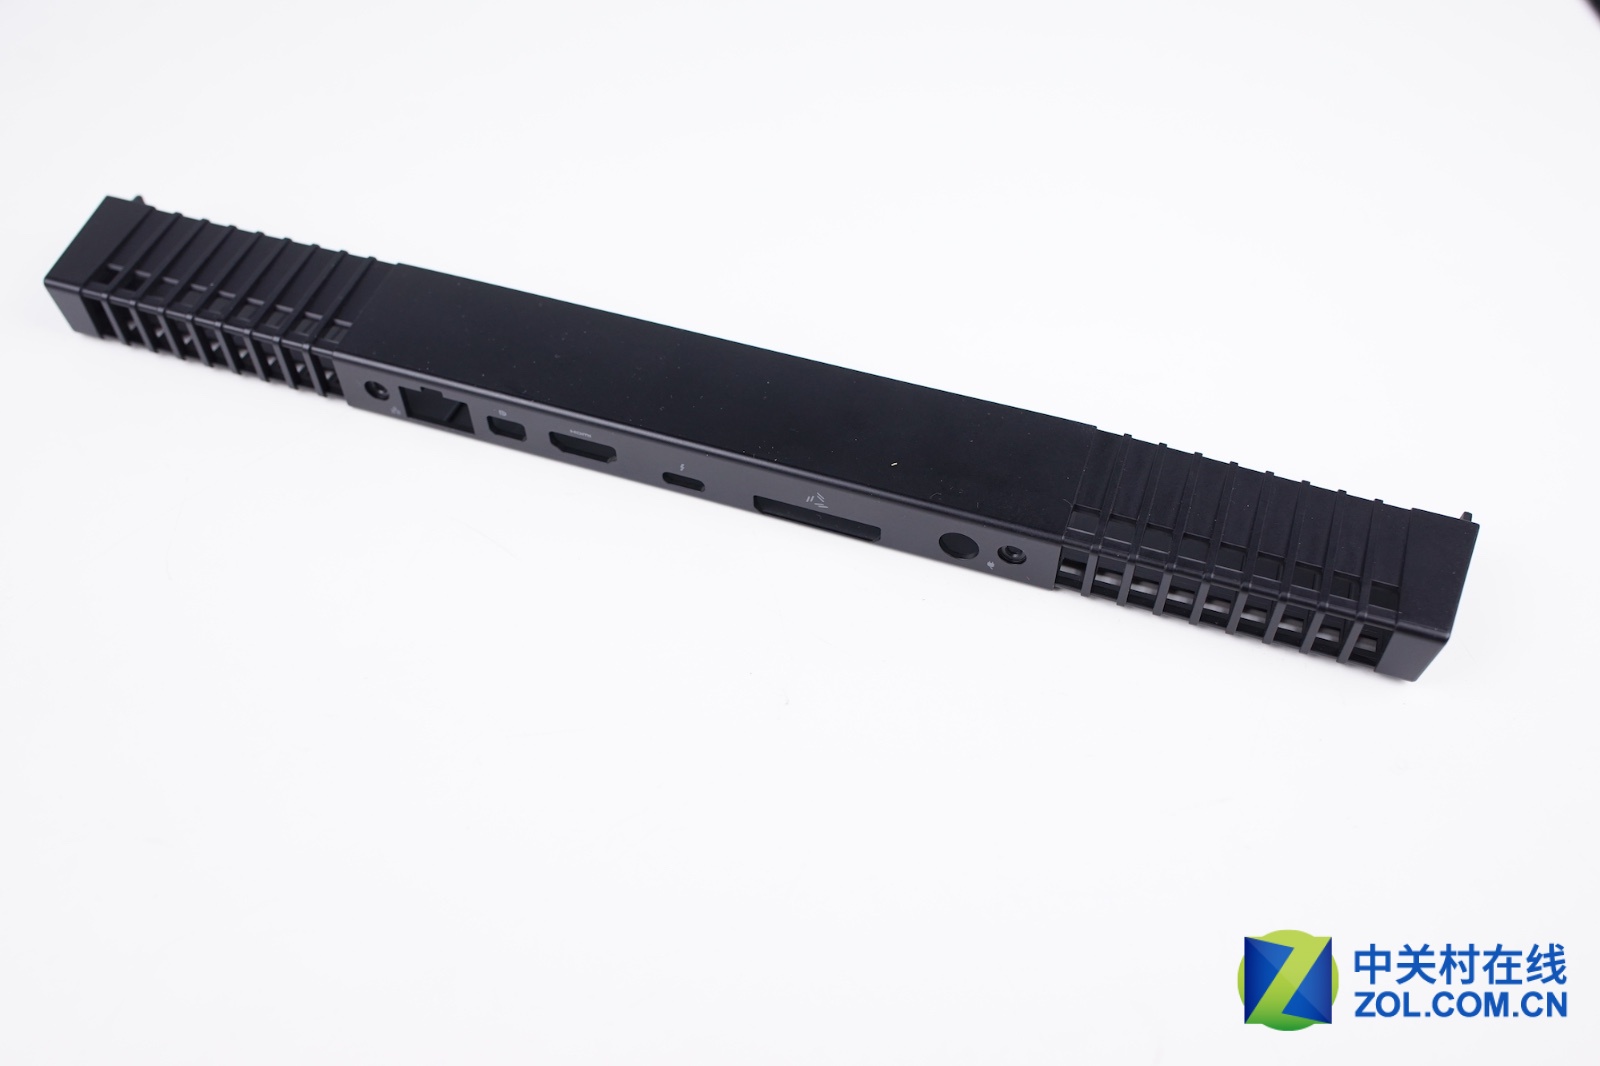
With the trim strip removed, you can access the video cable, the LOGO LED cable, and another cable.
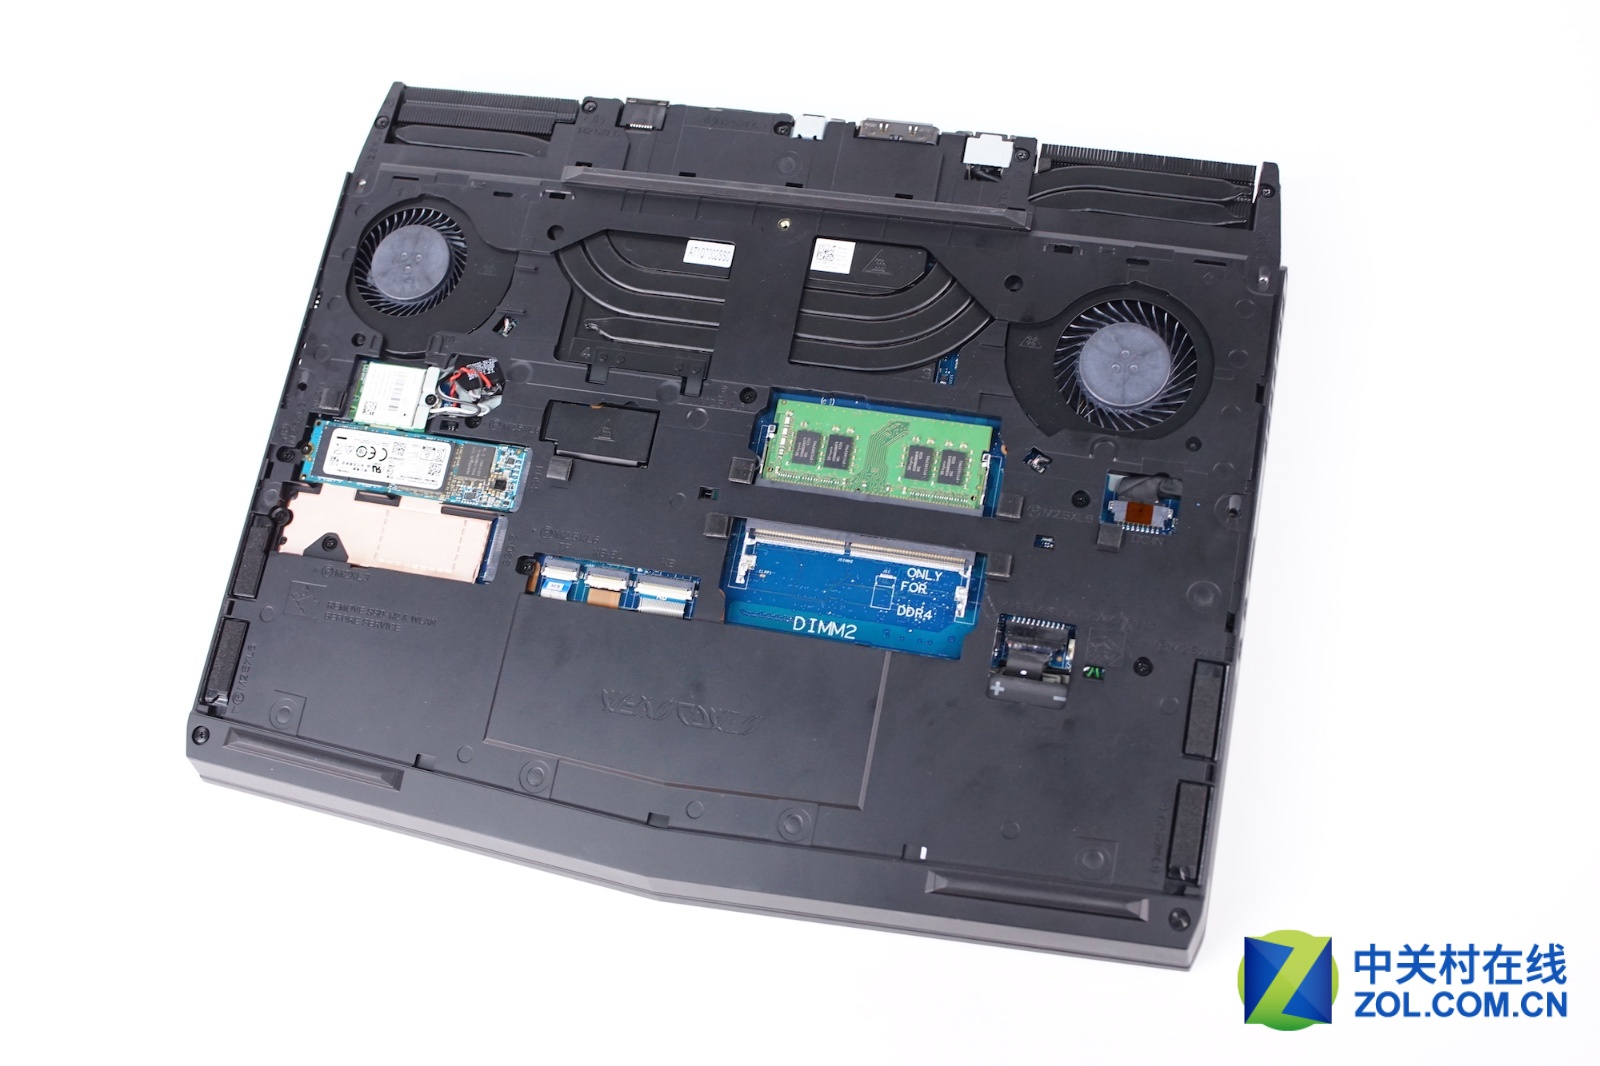
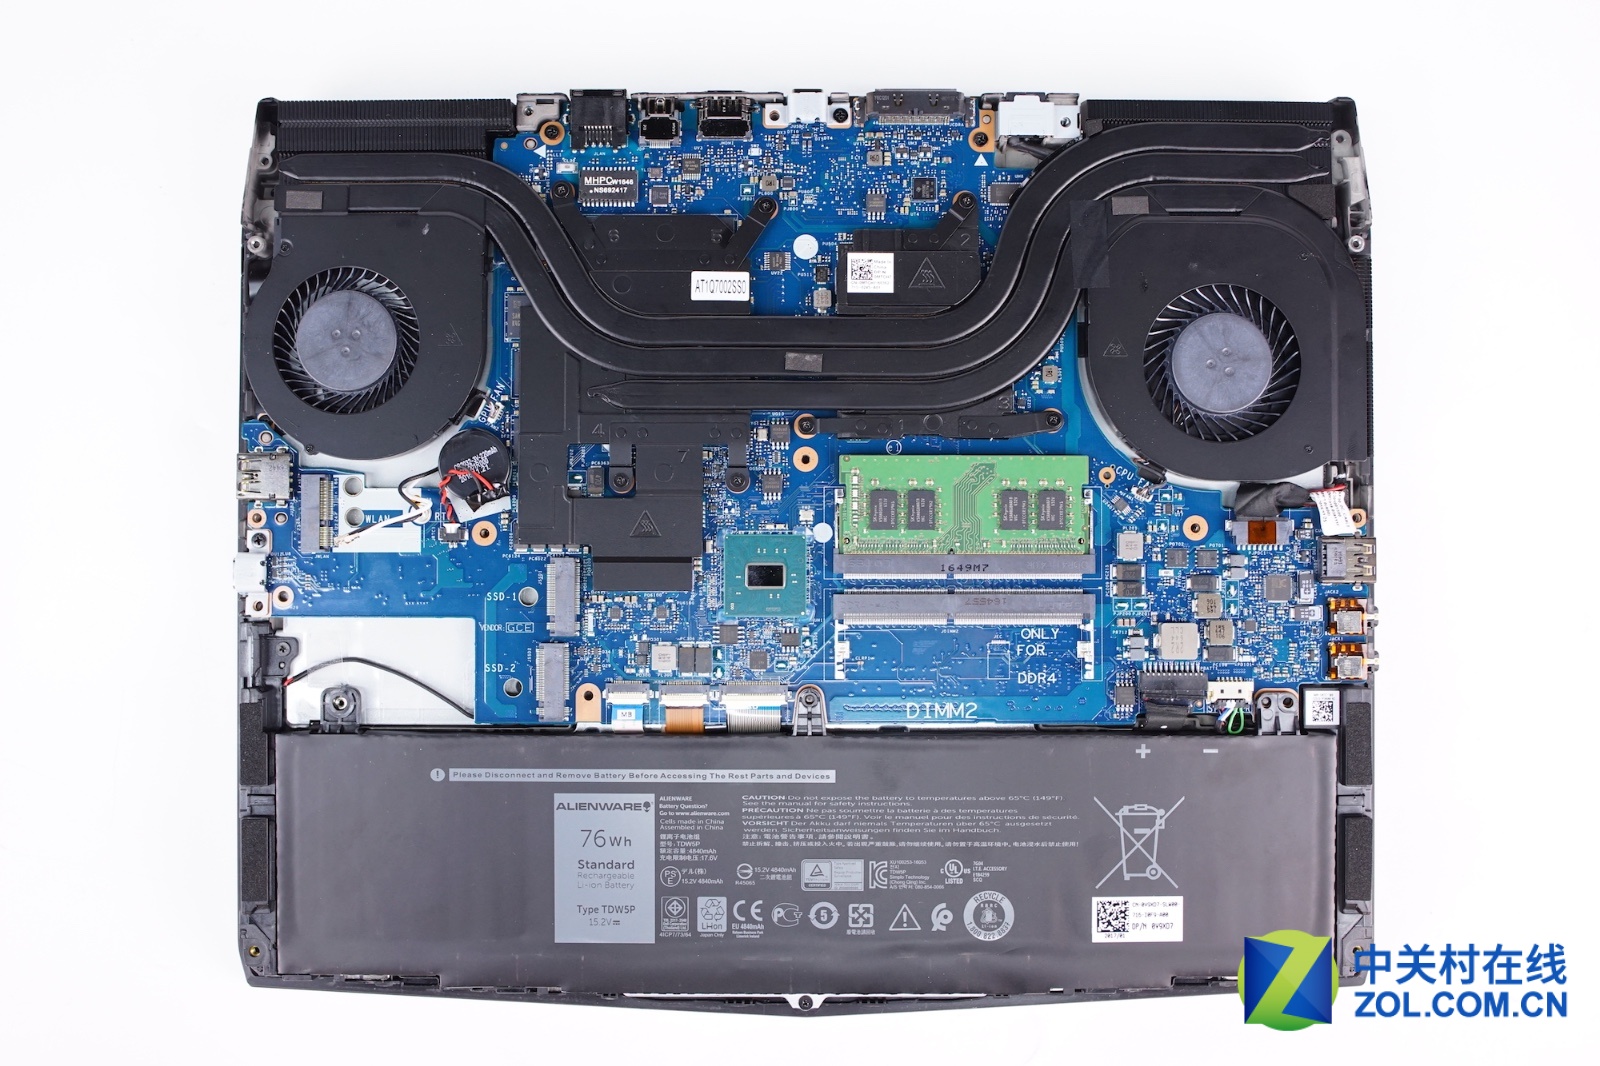
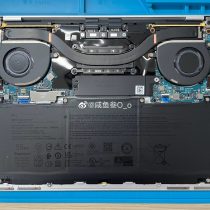
Under the back cover, you can remove and replace the RAM, SSD, and wireless card.
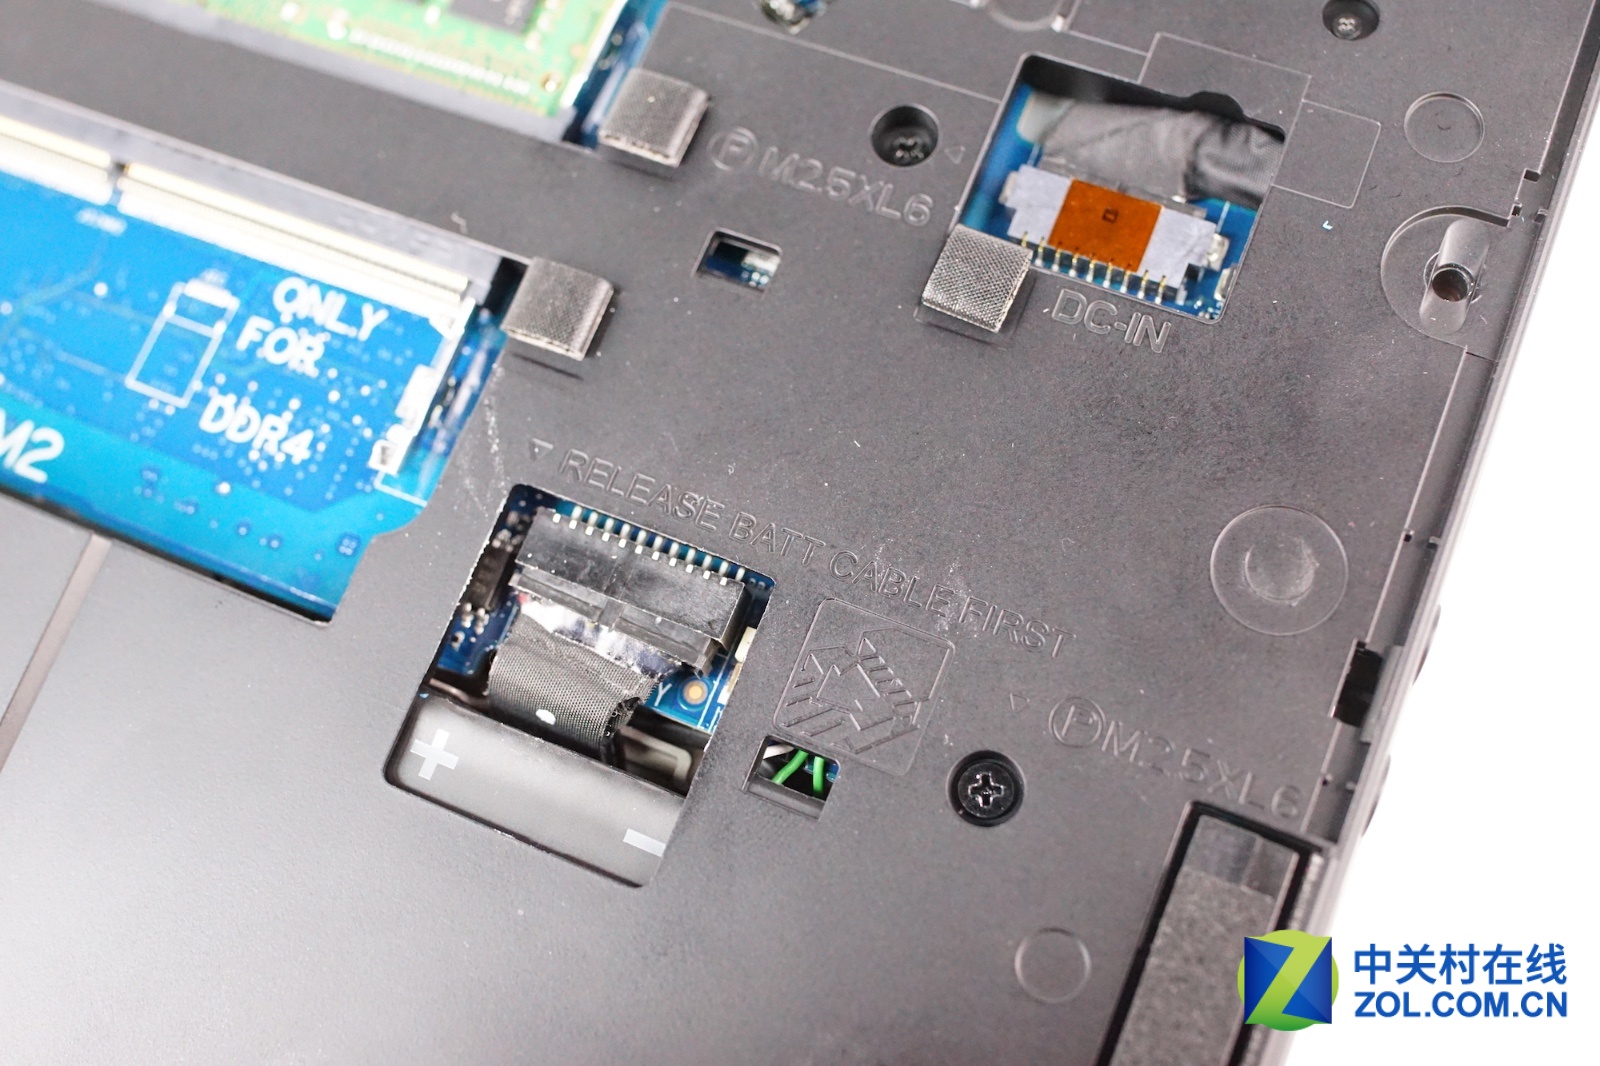
Before touching the internal hardware, we need to disconnect the battery cable.
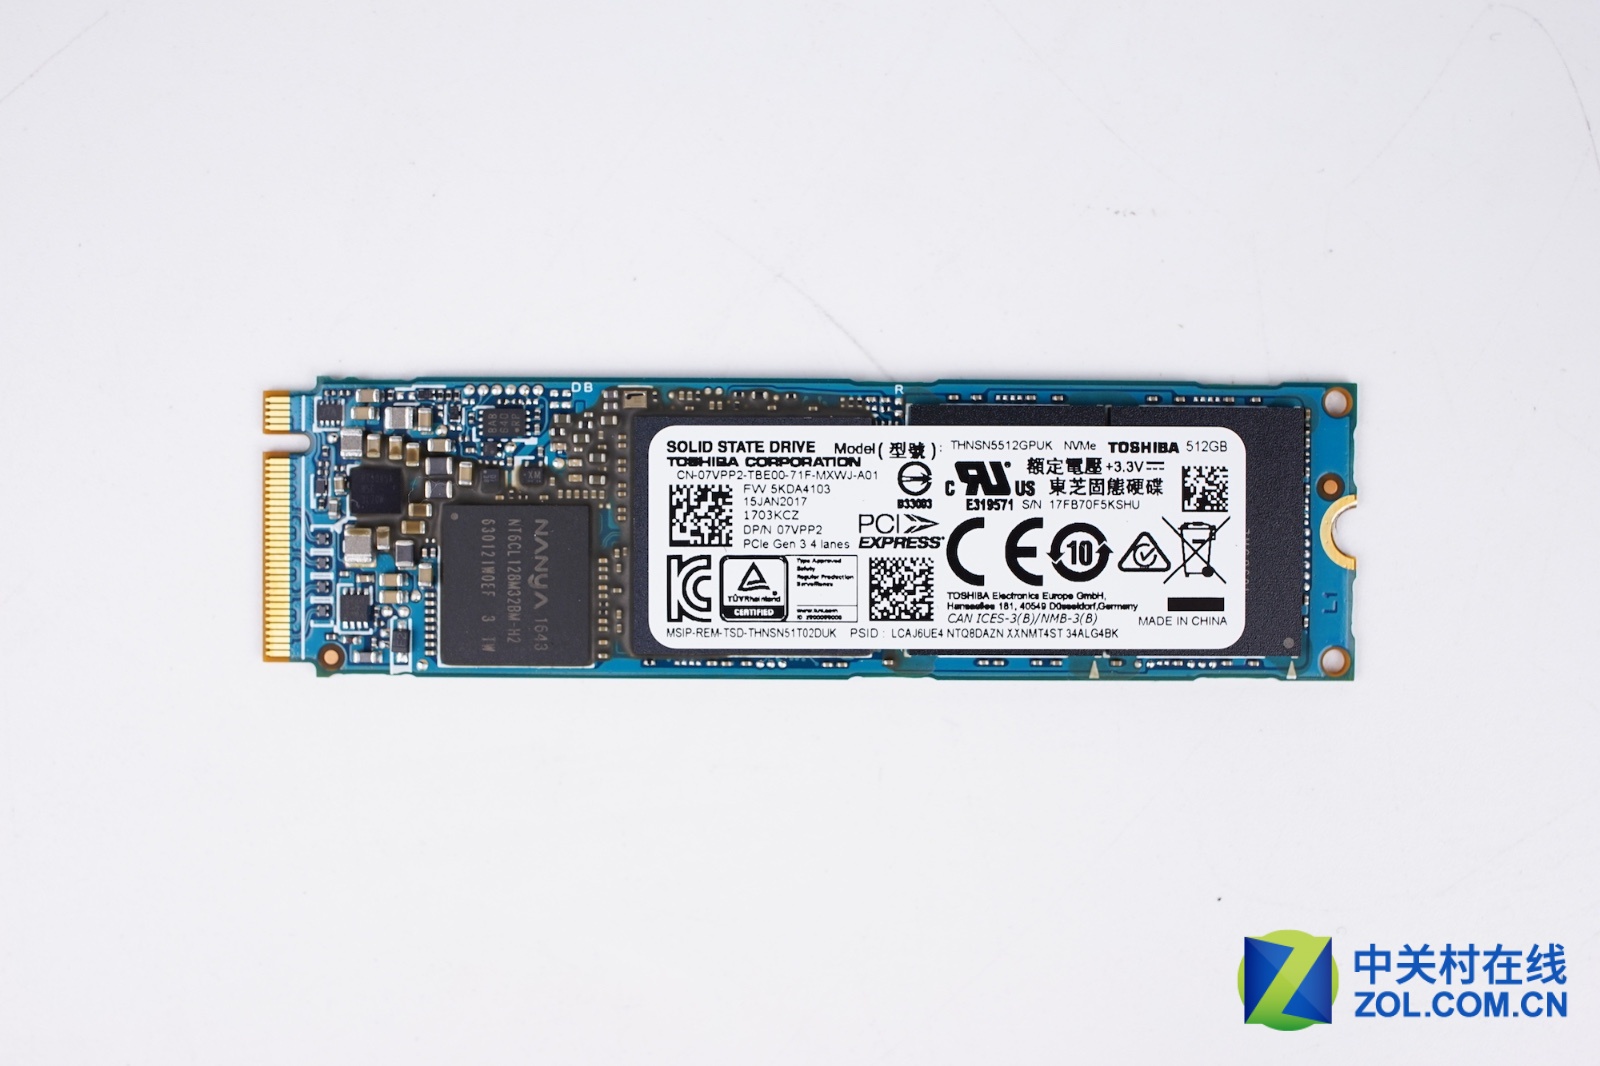
Remove the screw and carefully remove the SSD from its slot.
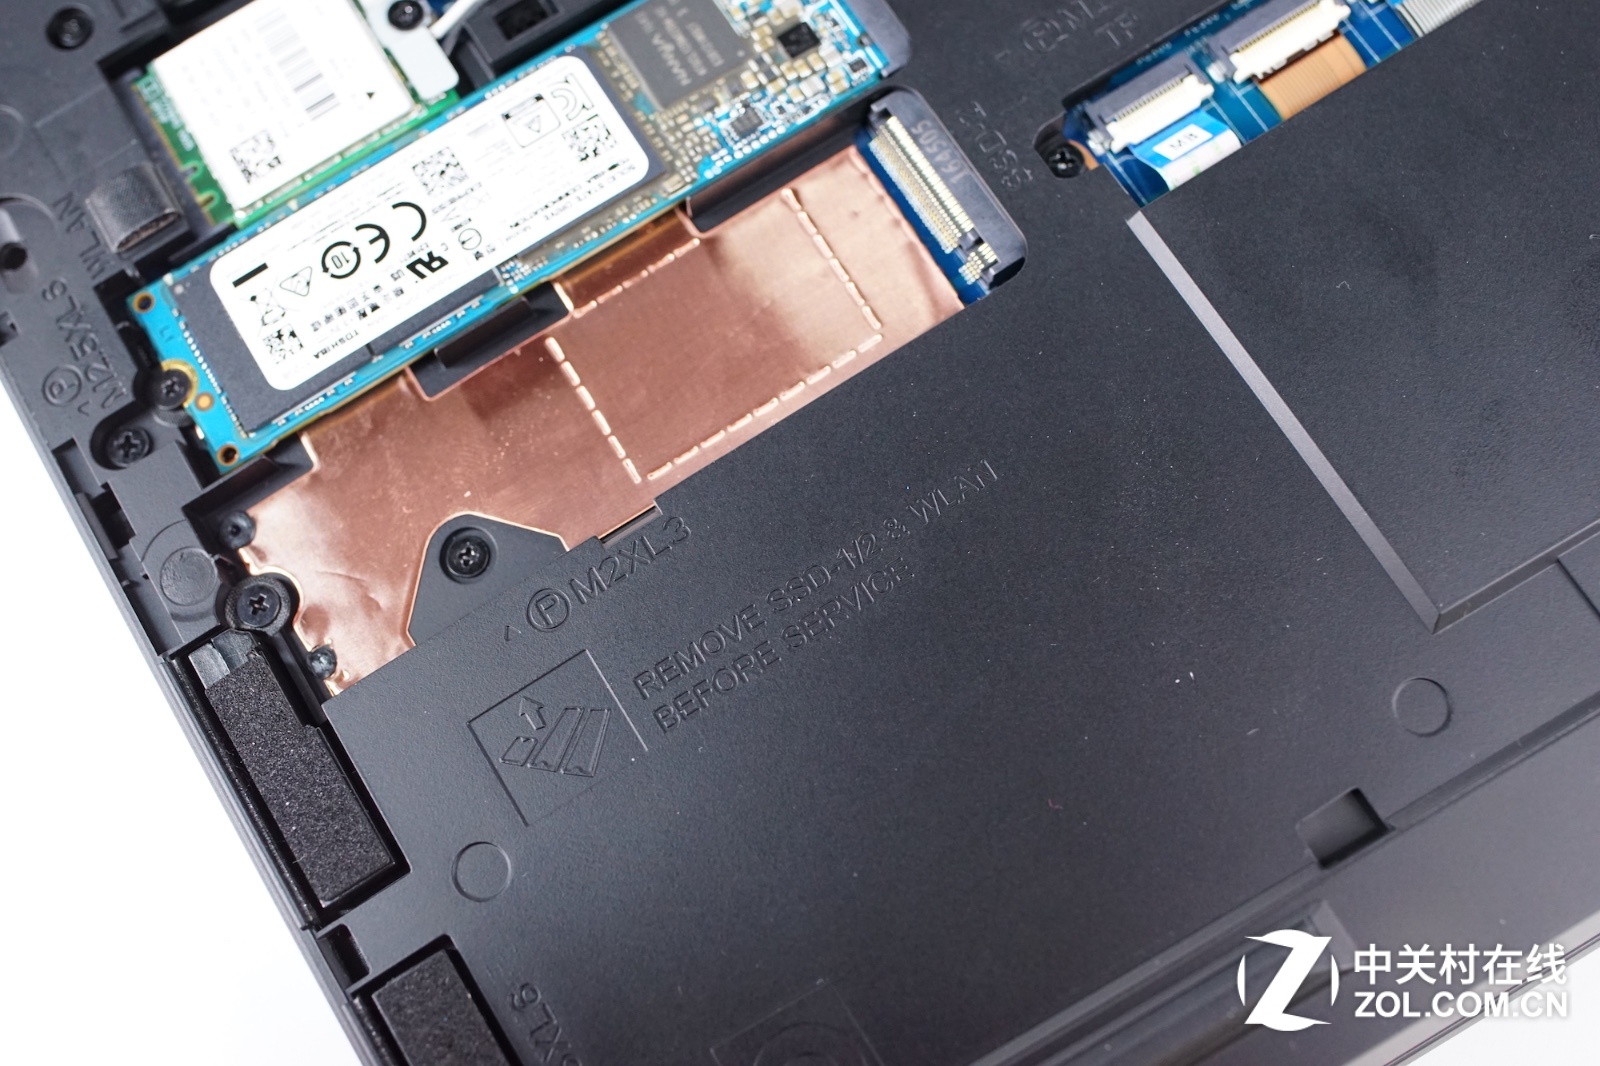
The Alienware 13 R3 features a Toshiba 512GB NVMe PCIe SSD with part number 07VPP2.
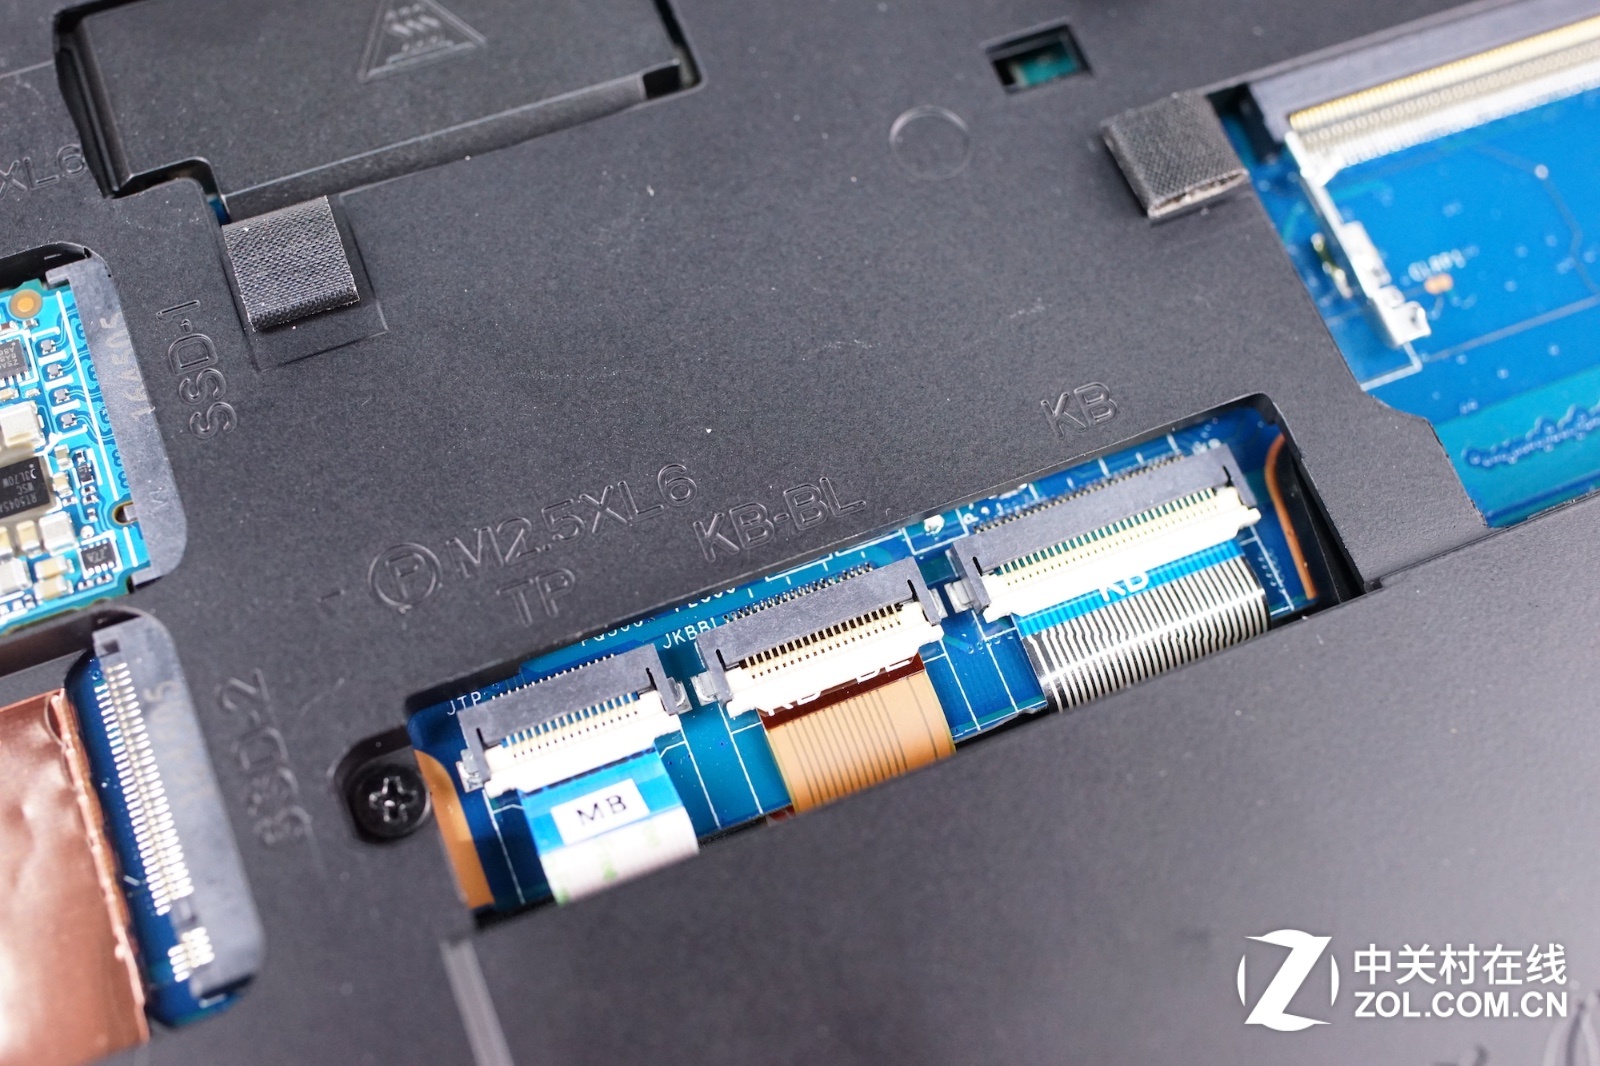
Here are the touchpad cable, keyboard backlit cable, and keyboard cable.
Remove all screws securing the metal roll cage. Release all clips that secure the metal roll cage to the laptop body.
After all the clips are released, you can remove the metal roll cage.
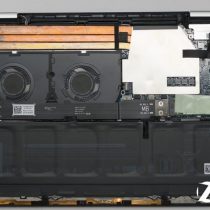
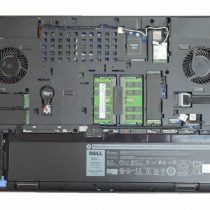
You can access the battery, CMOS battery, speaker modules, heatsink/cooling fan module, and motherboard under the metal roll cage.
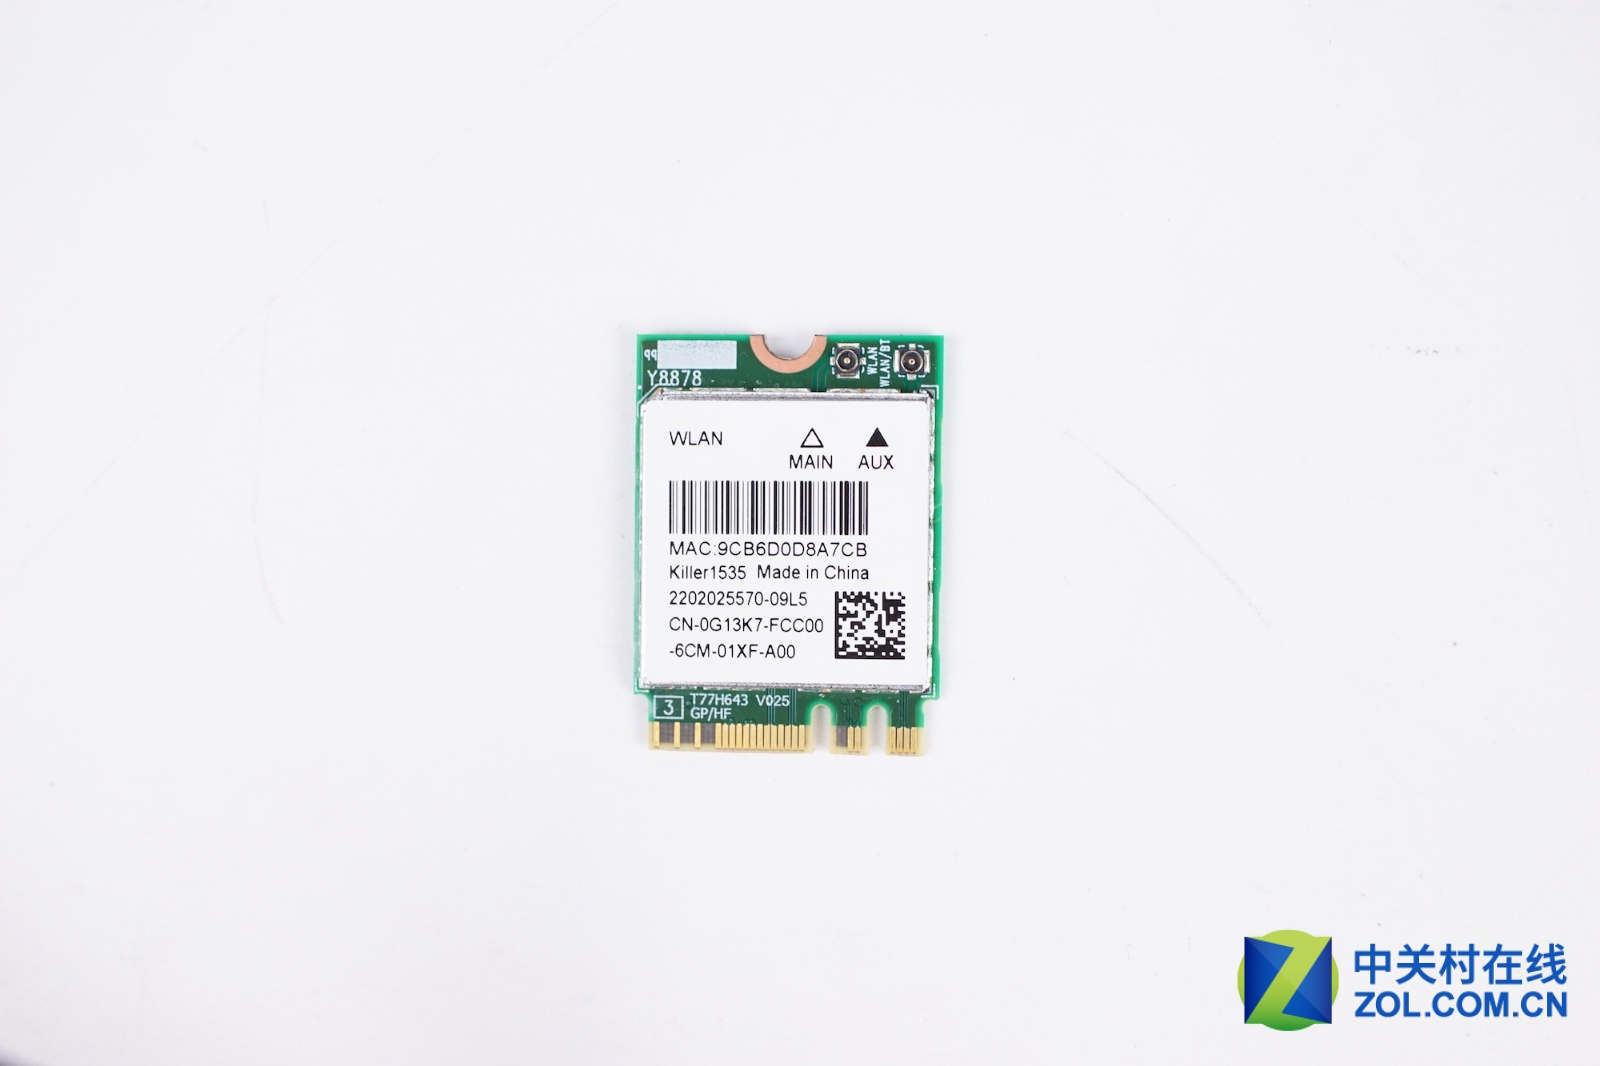
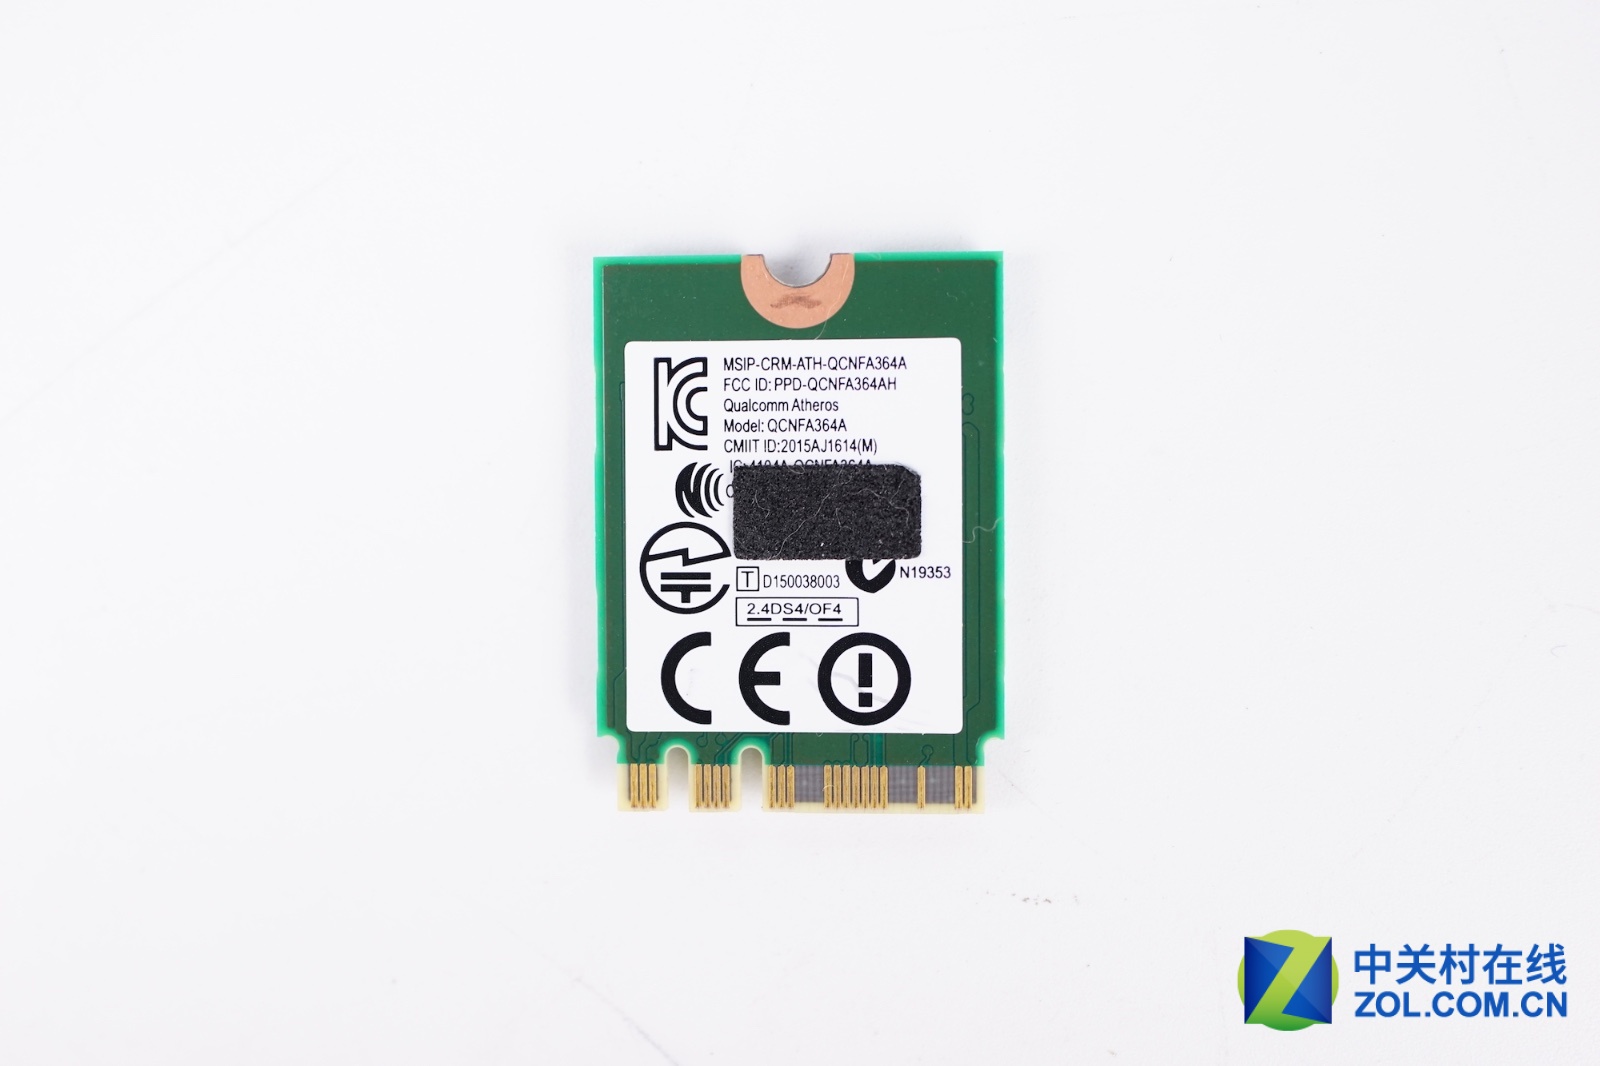
The laptop comes with a Killer 1535 wireless card, Dell part number: 0G13K7.
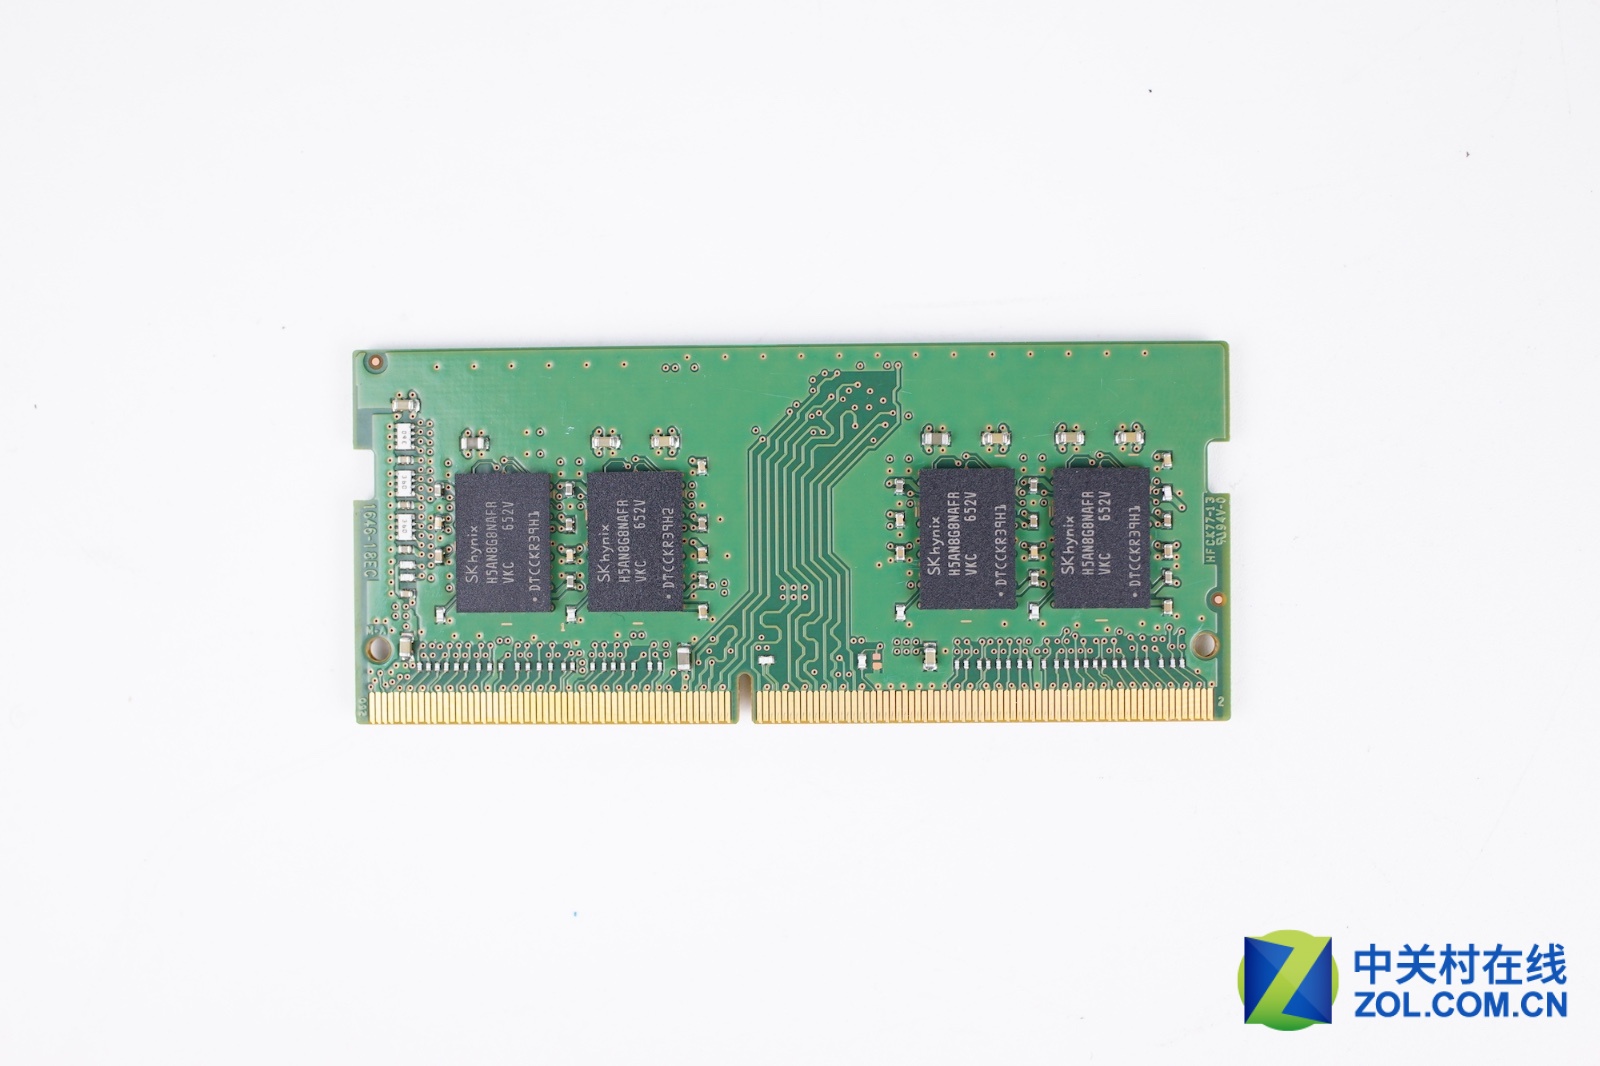
Use your fingernails to separate the clips on both sides, and the memory module will pop out automatically.
The Alienware 13 R3 has two memory slots, but only one SK hynix 8GB PC4-2666V RAM module is installed. You can add another memory module to upgrade the memory.

Close-up of the metal roll cage
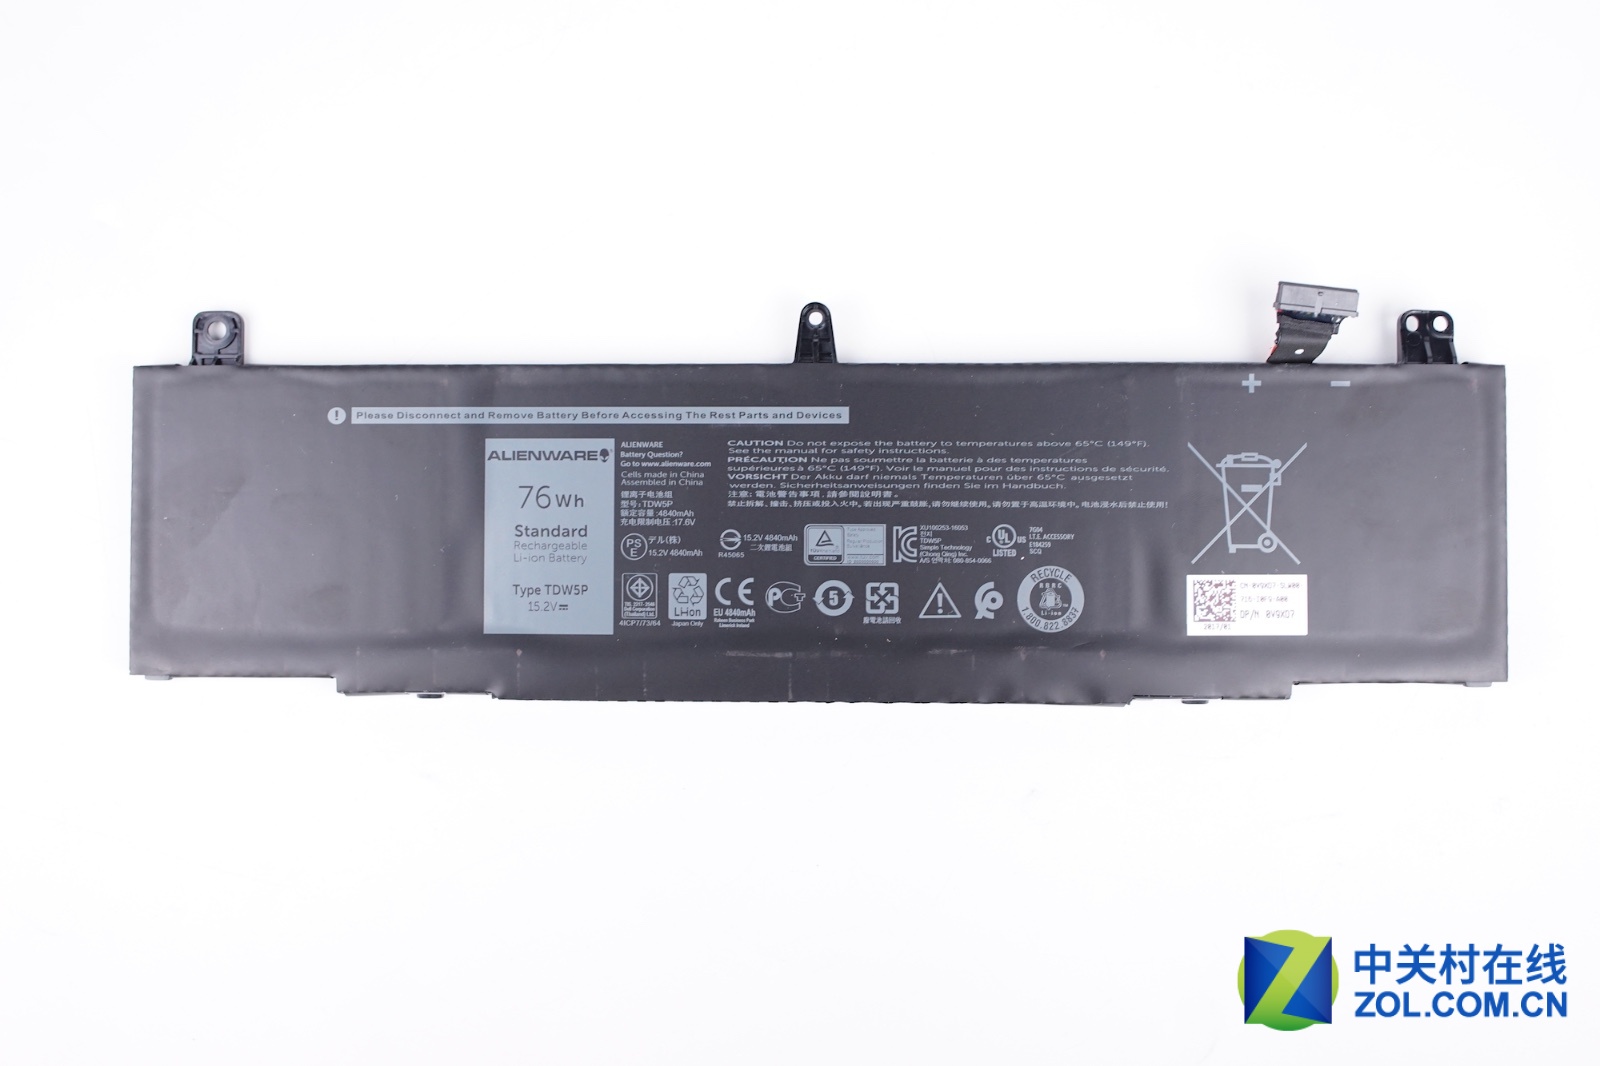
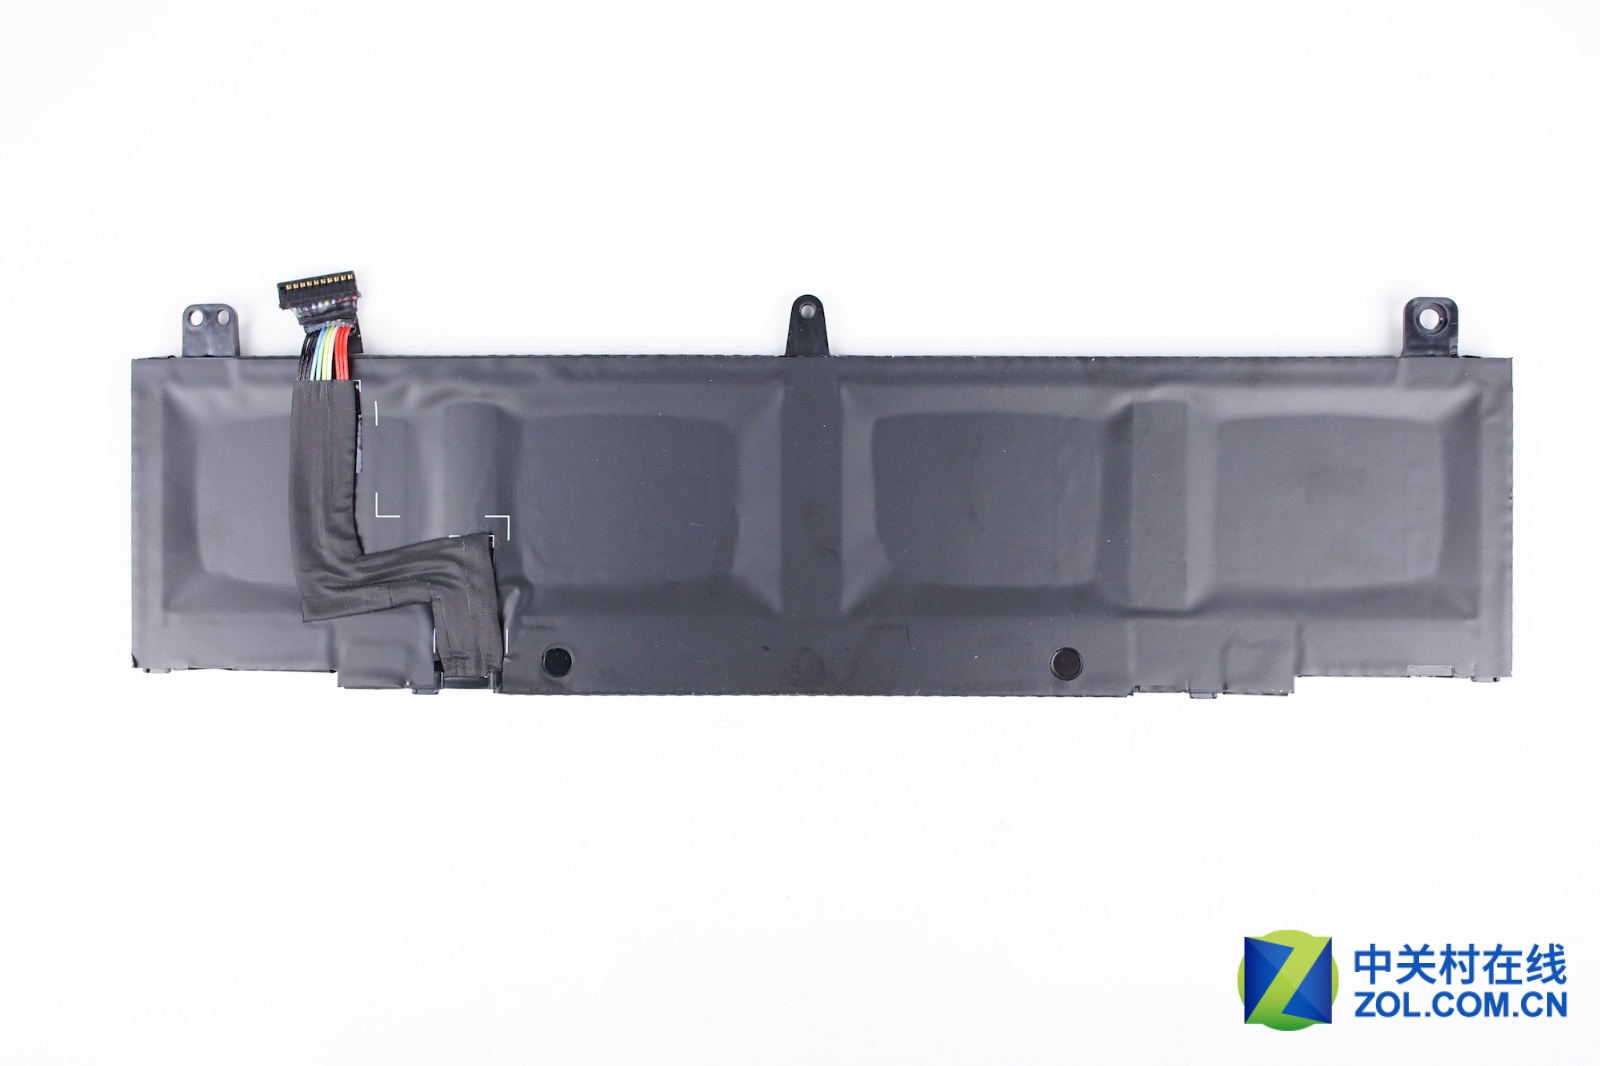
The Alienware 13 R3 features a 15.2V, 76Wh Li-ion battery with part number TDW5P.
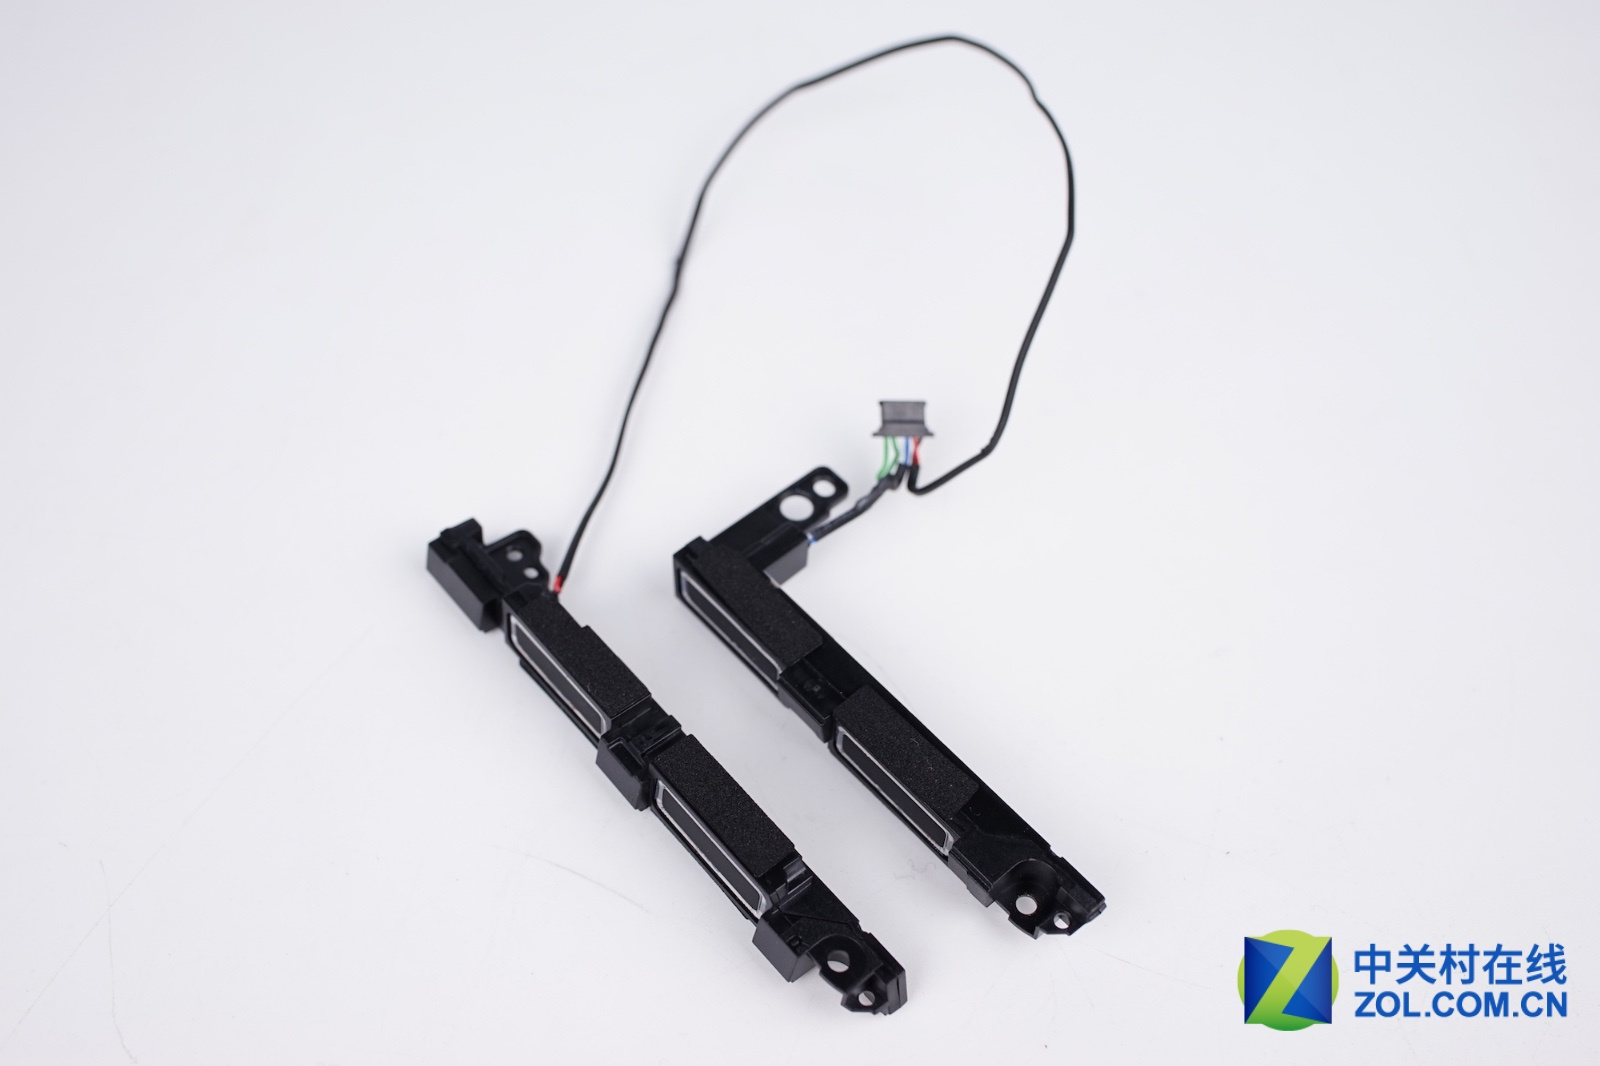
Close-up of the speaker module
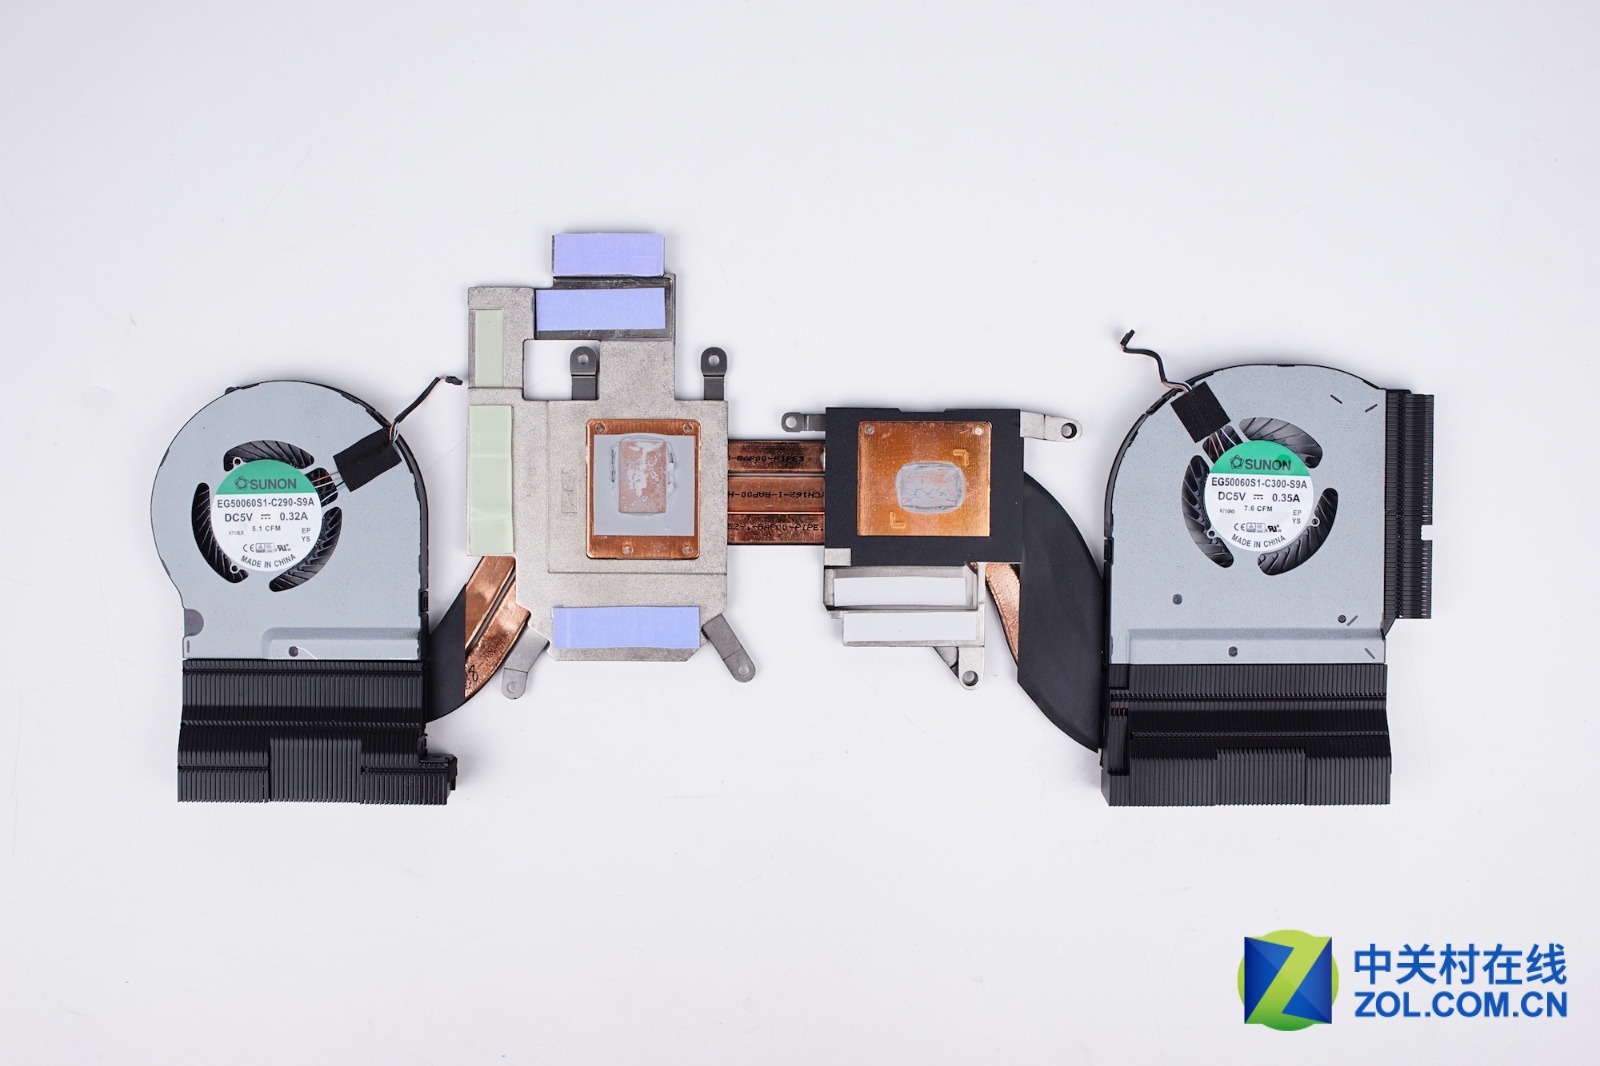
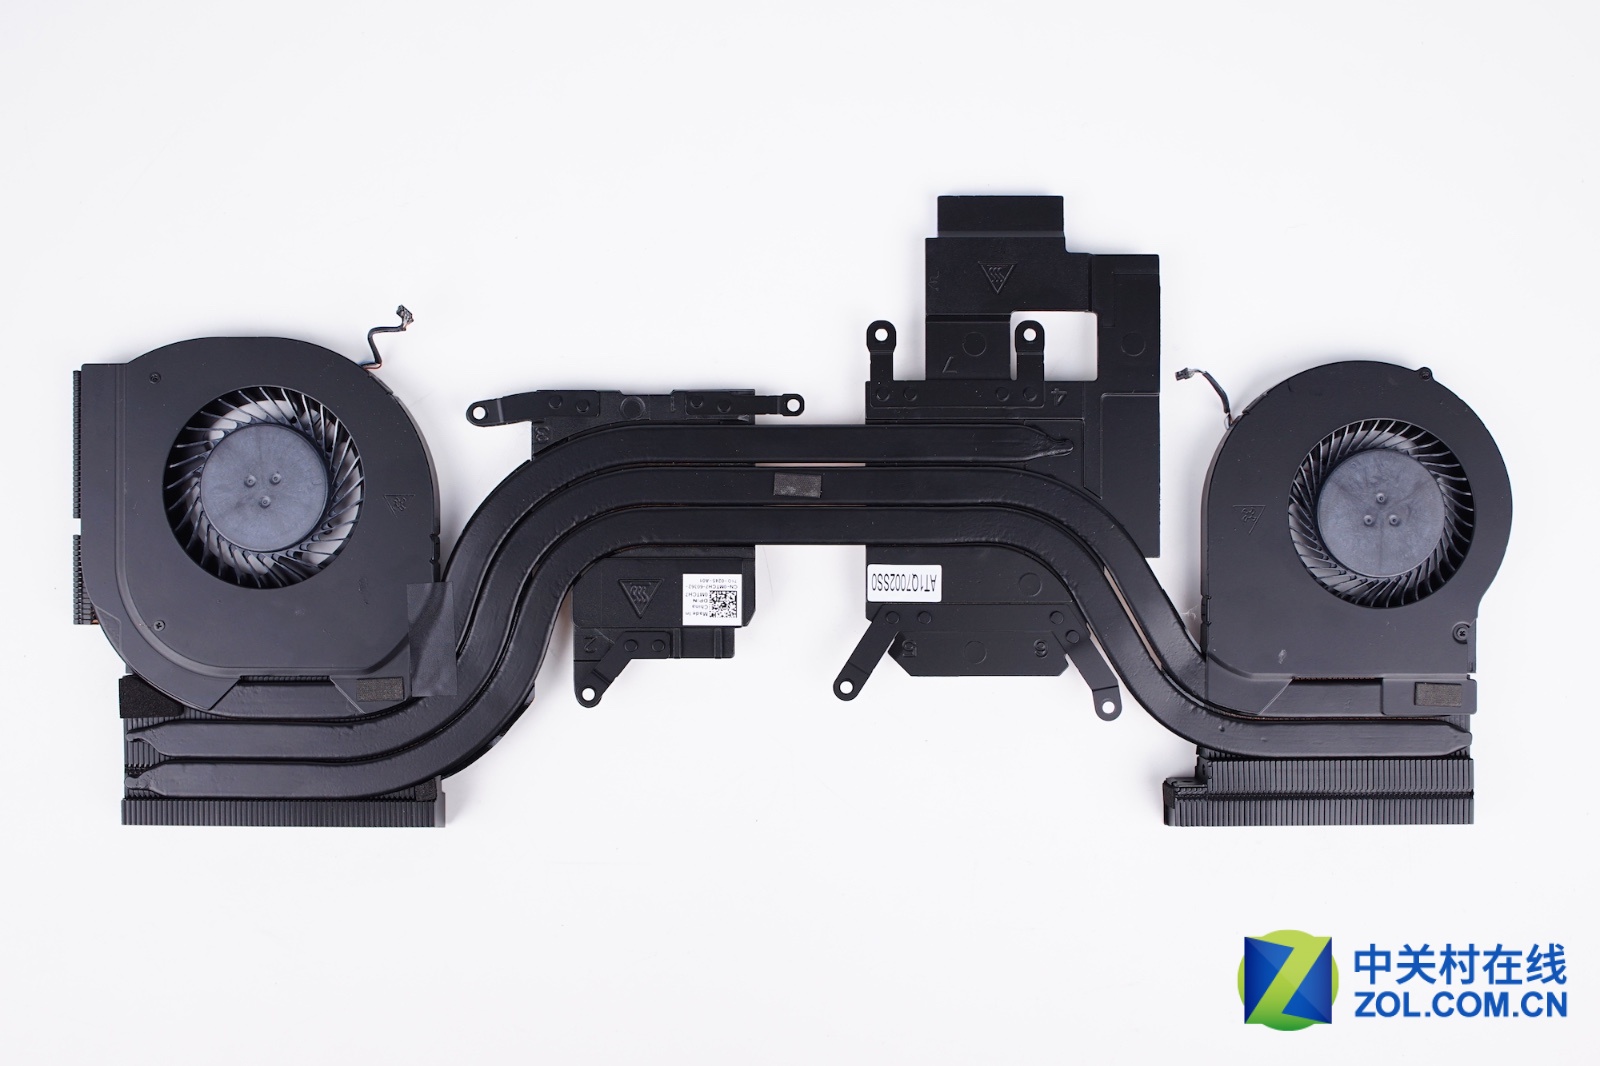
Close-up of the heat sink and cooling fan module. The cooling system of the Alienware 13 R3 consists of two fans and three copper heat pipes. The heat spreader covering the graphics card has a large surface area. It not only cools the GPU but also dissipates heat from the video memory chips near the GPU.
Disconnect all cables from the motherboard.
Remove all screws securing the motherboard.
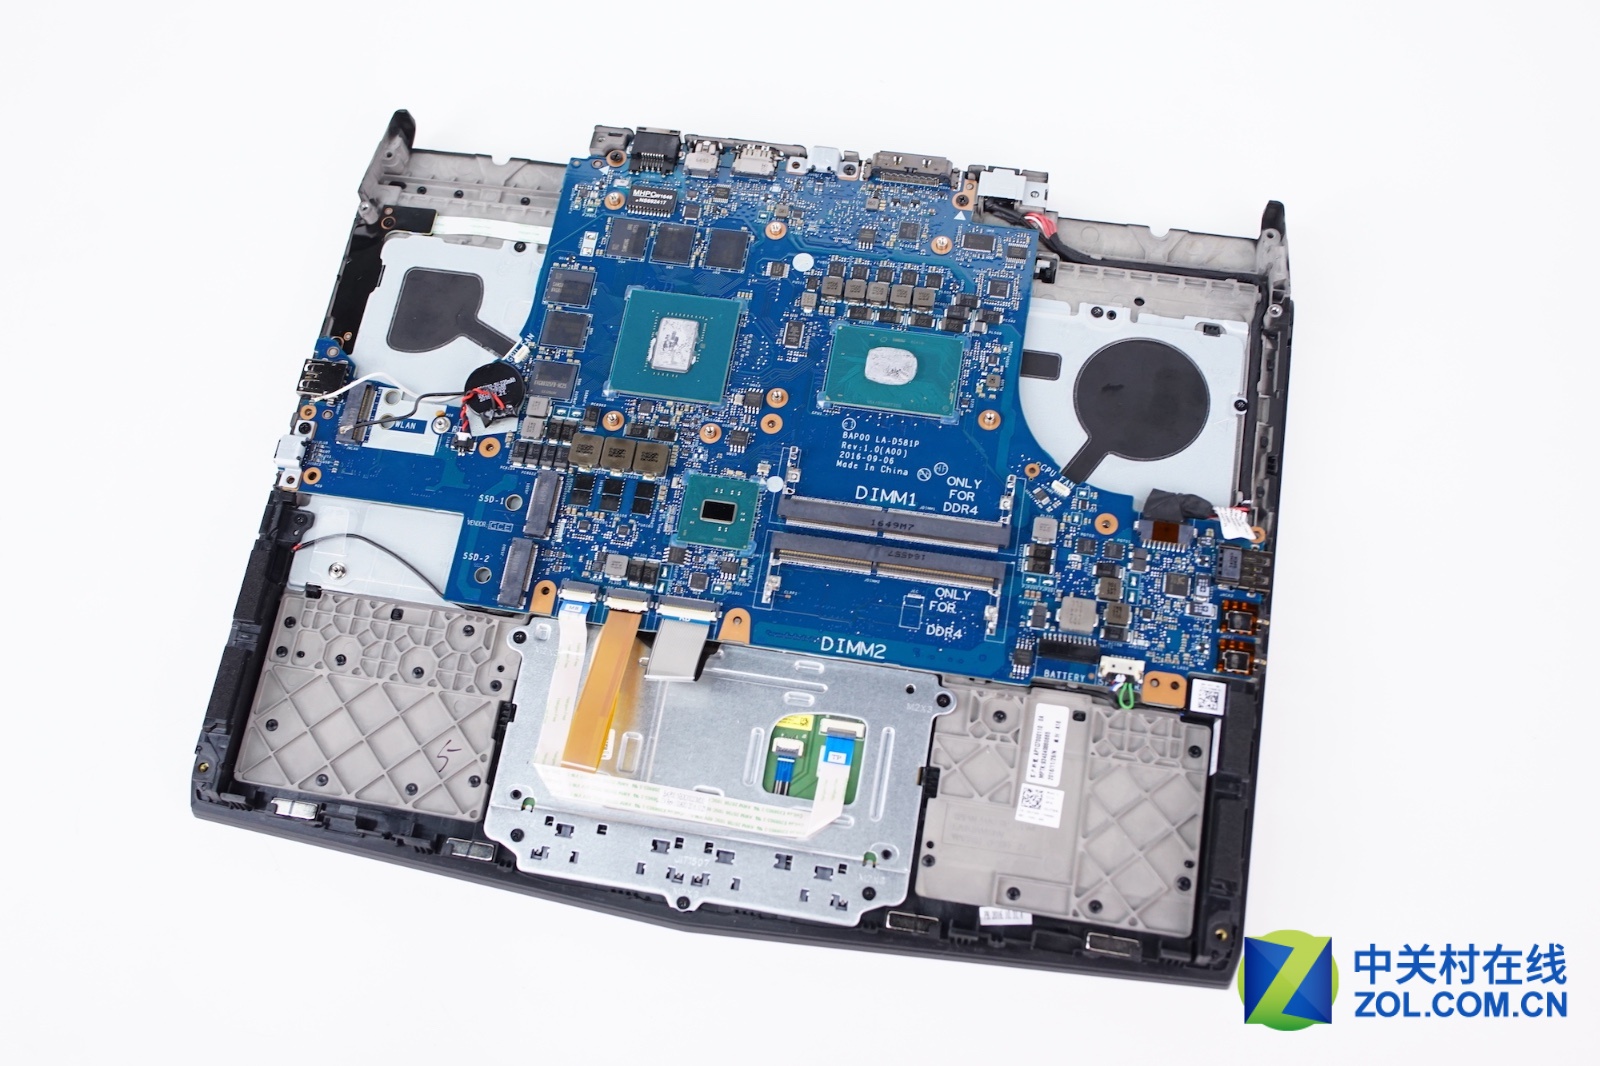
Lift the motherboard from one side with your hand and wiggle it until it separates from the laptop.
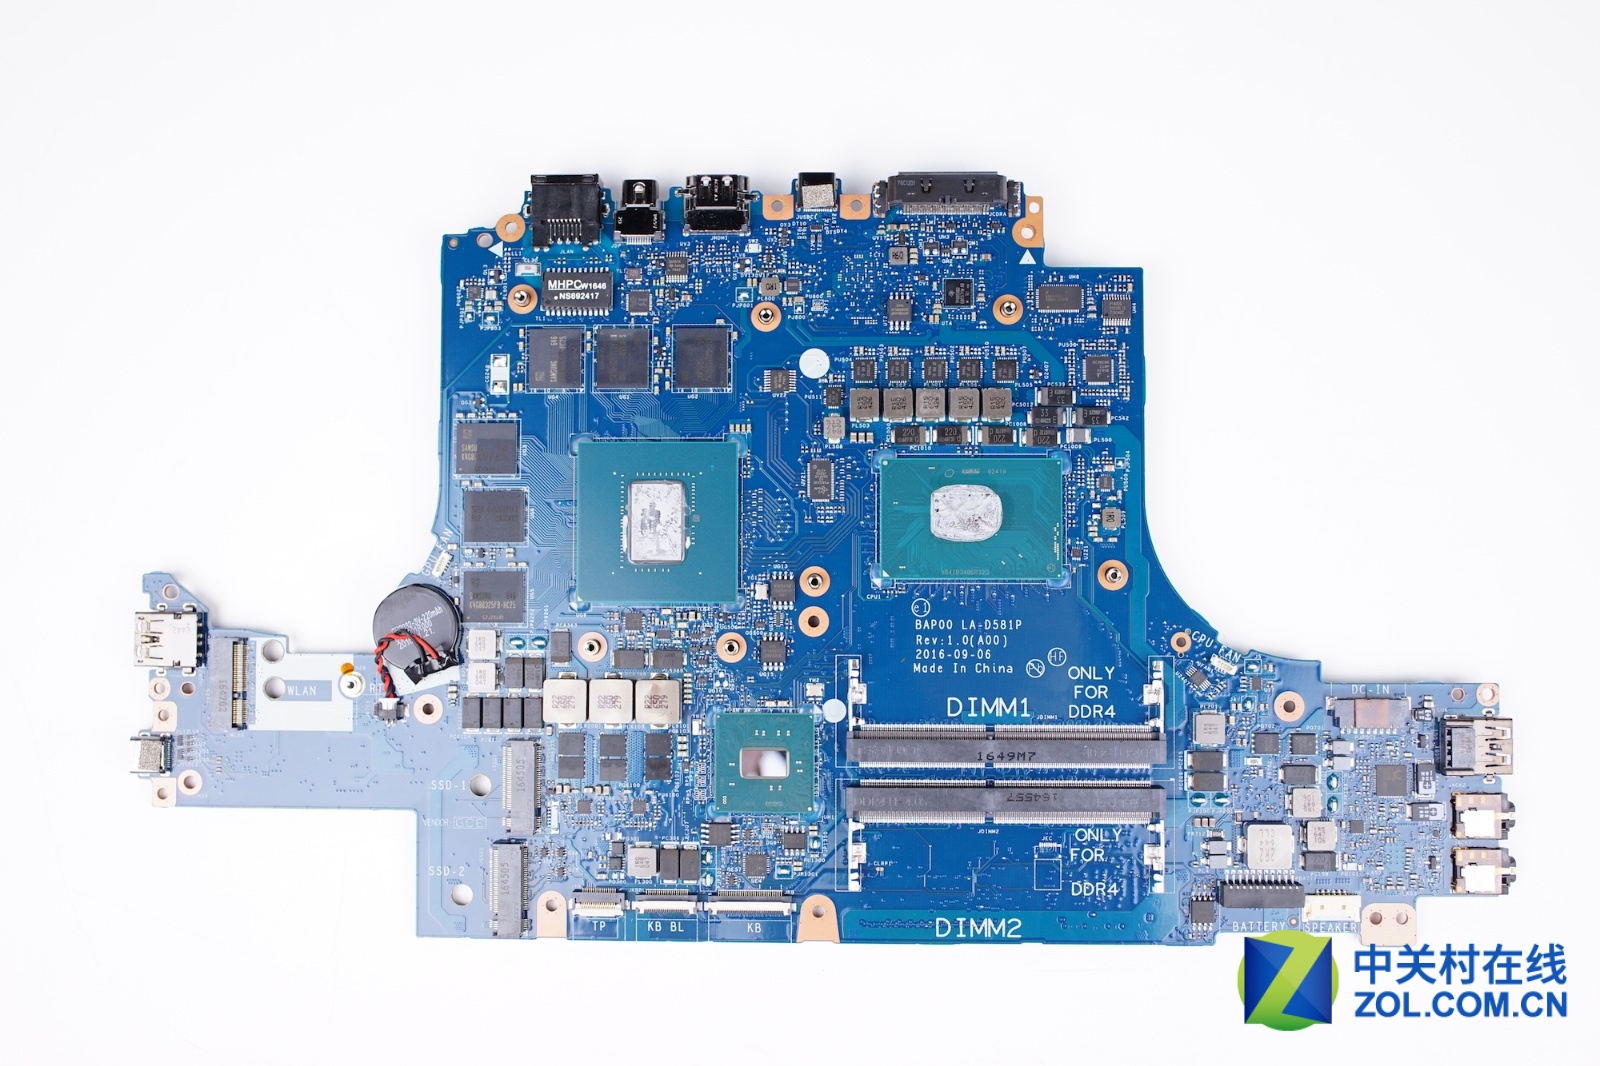
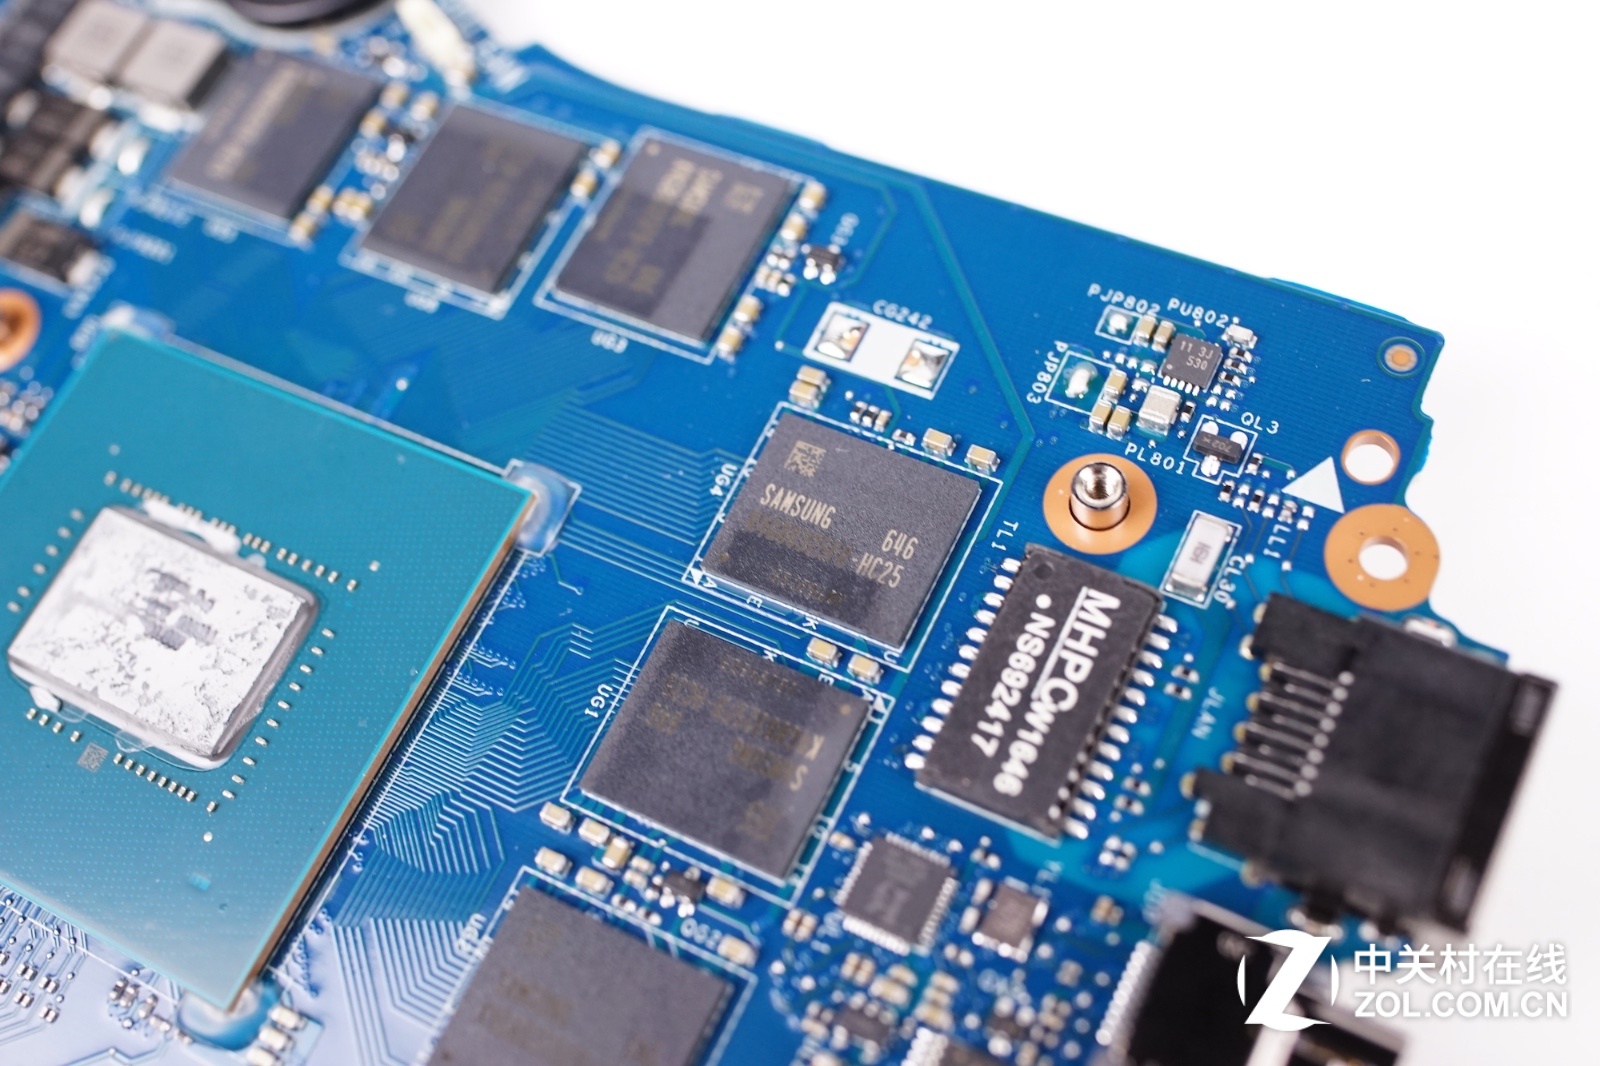
The back of the motherboard.
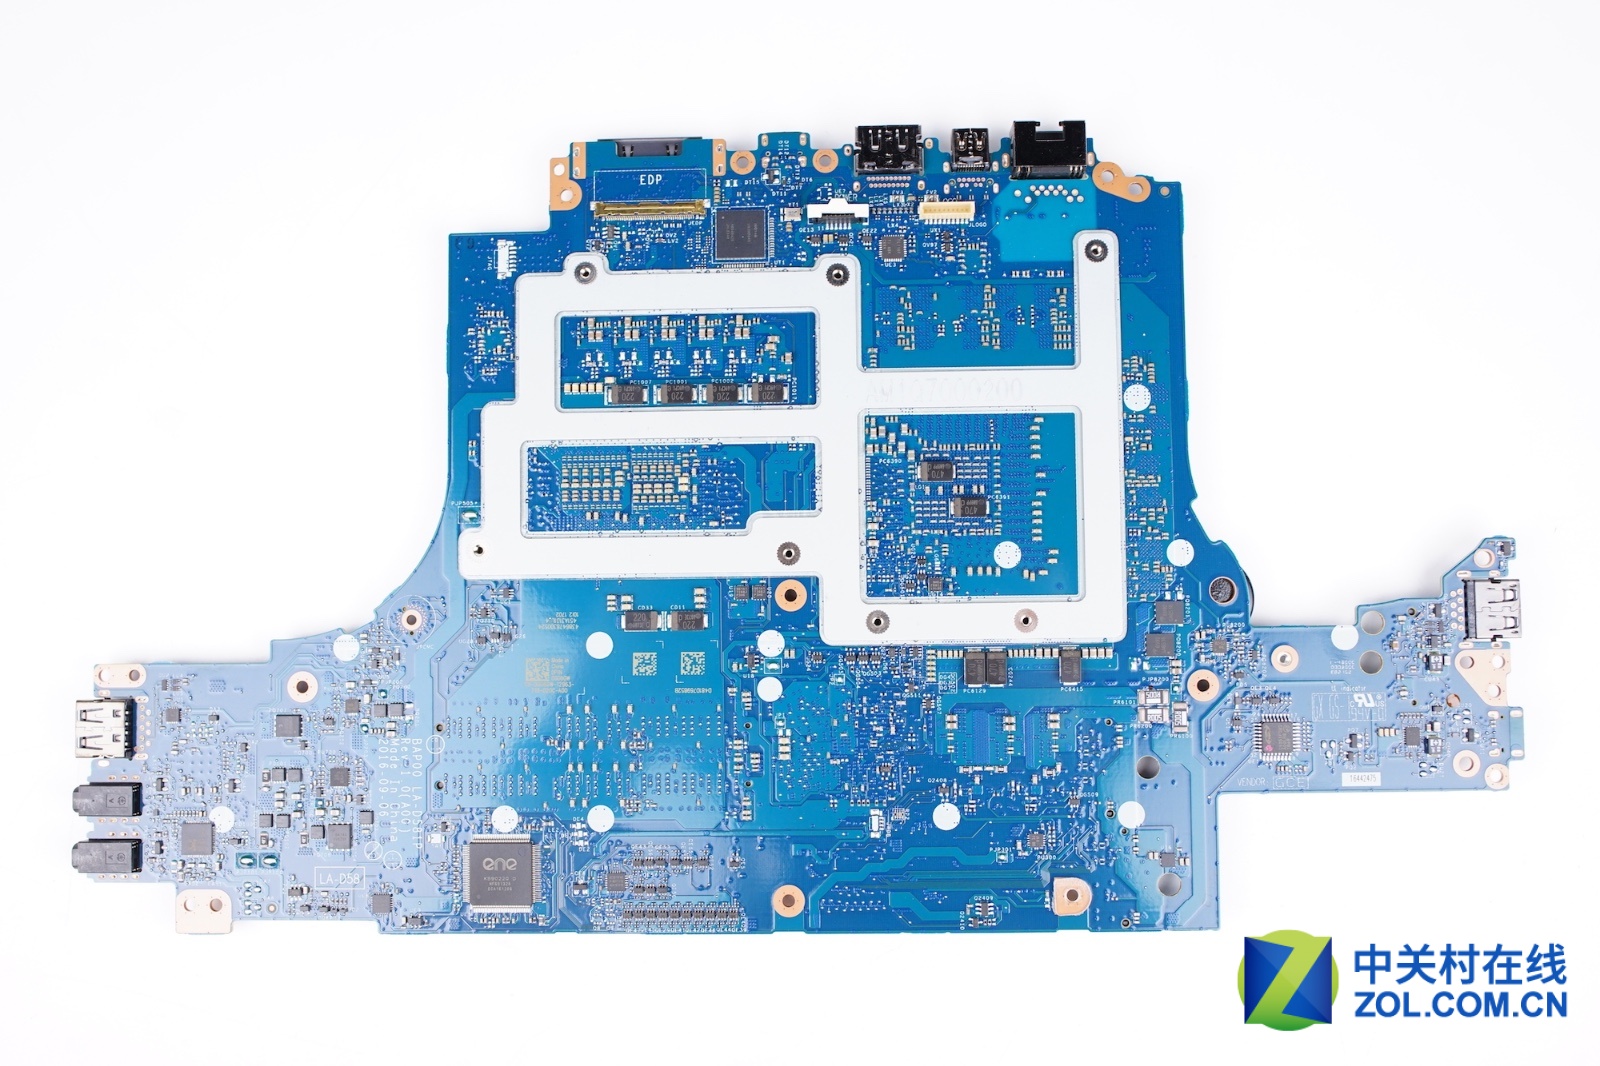
This is the Samsung 6GB GDDR5 graphics memory soldered onto the motherboard.
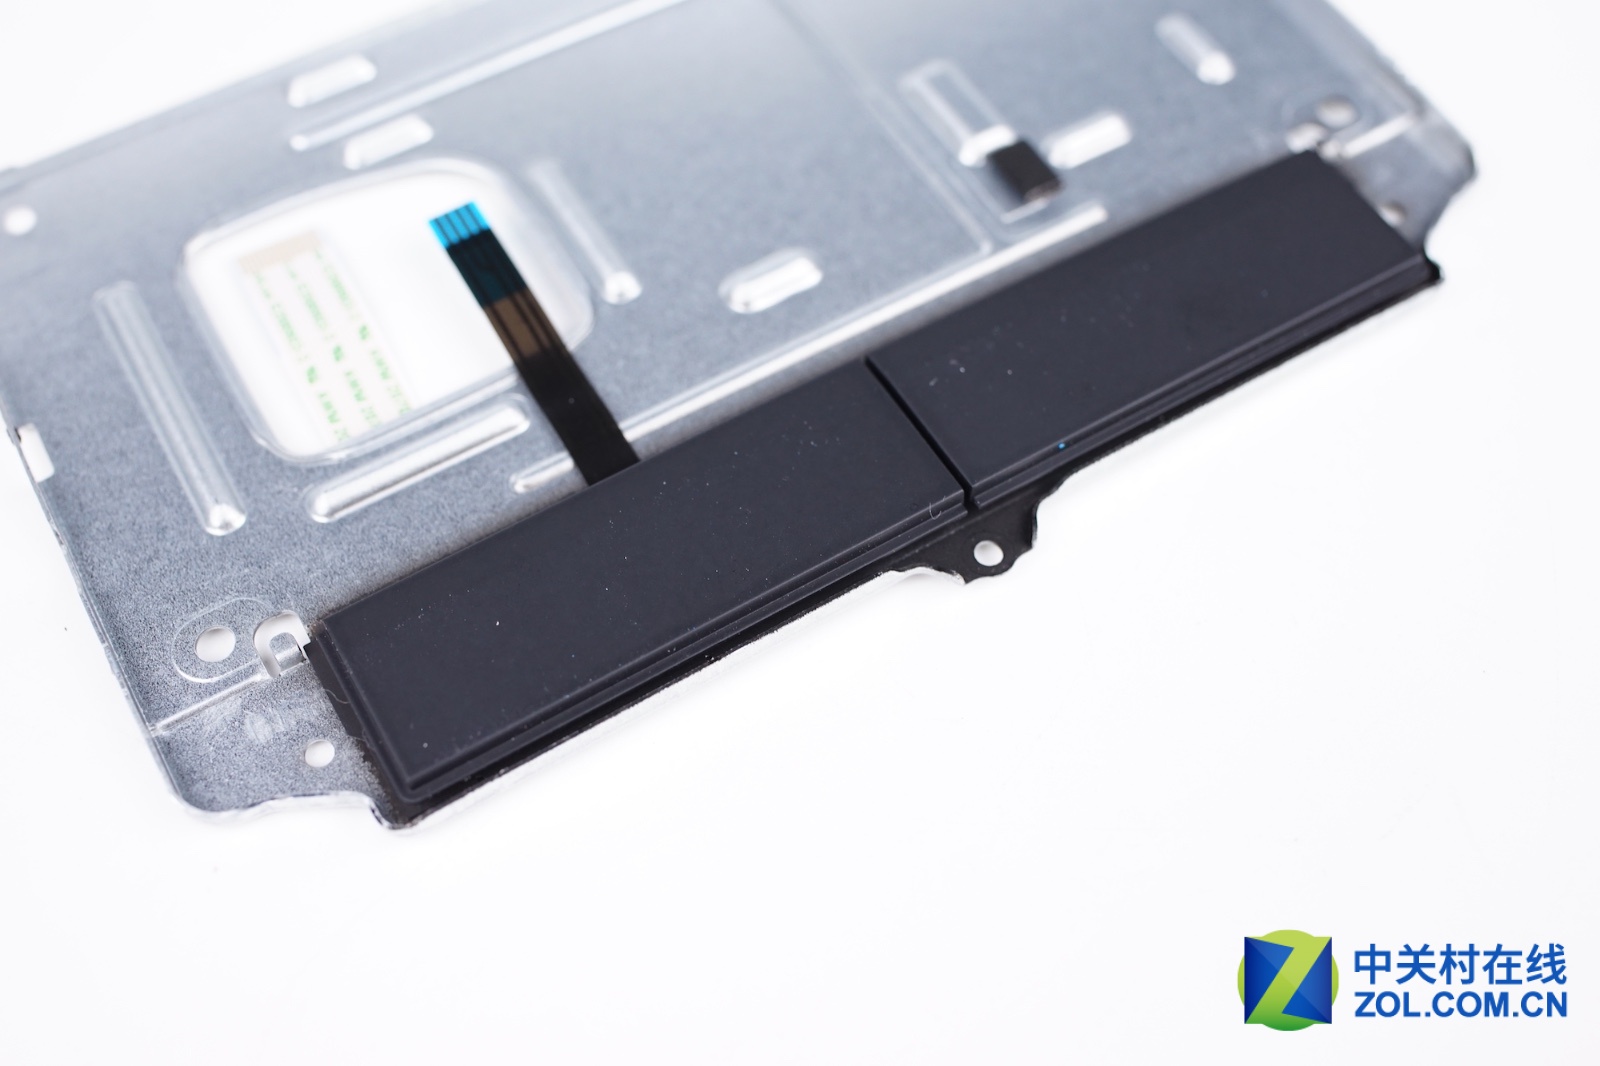
Touchpad metal plate
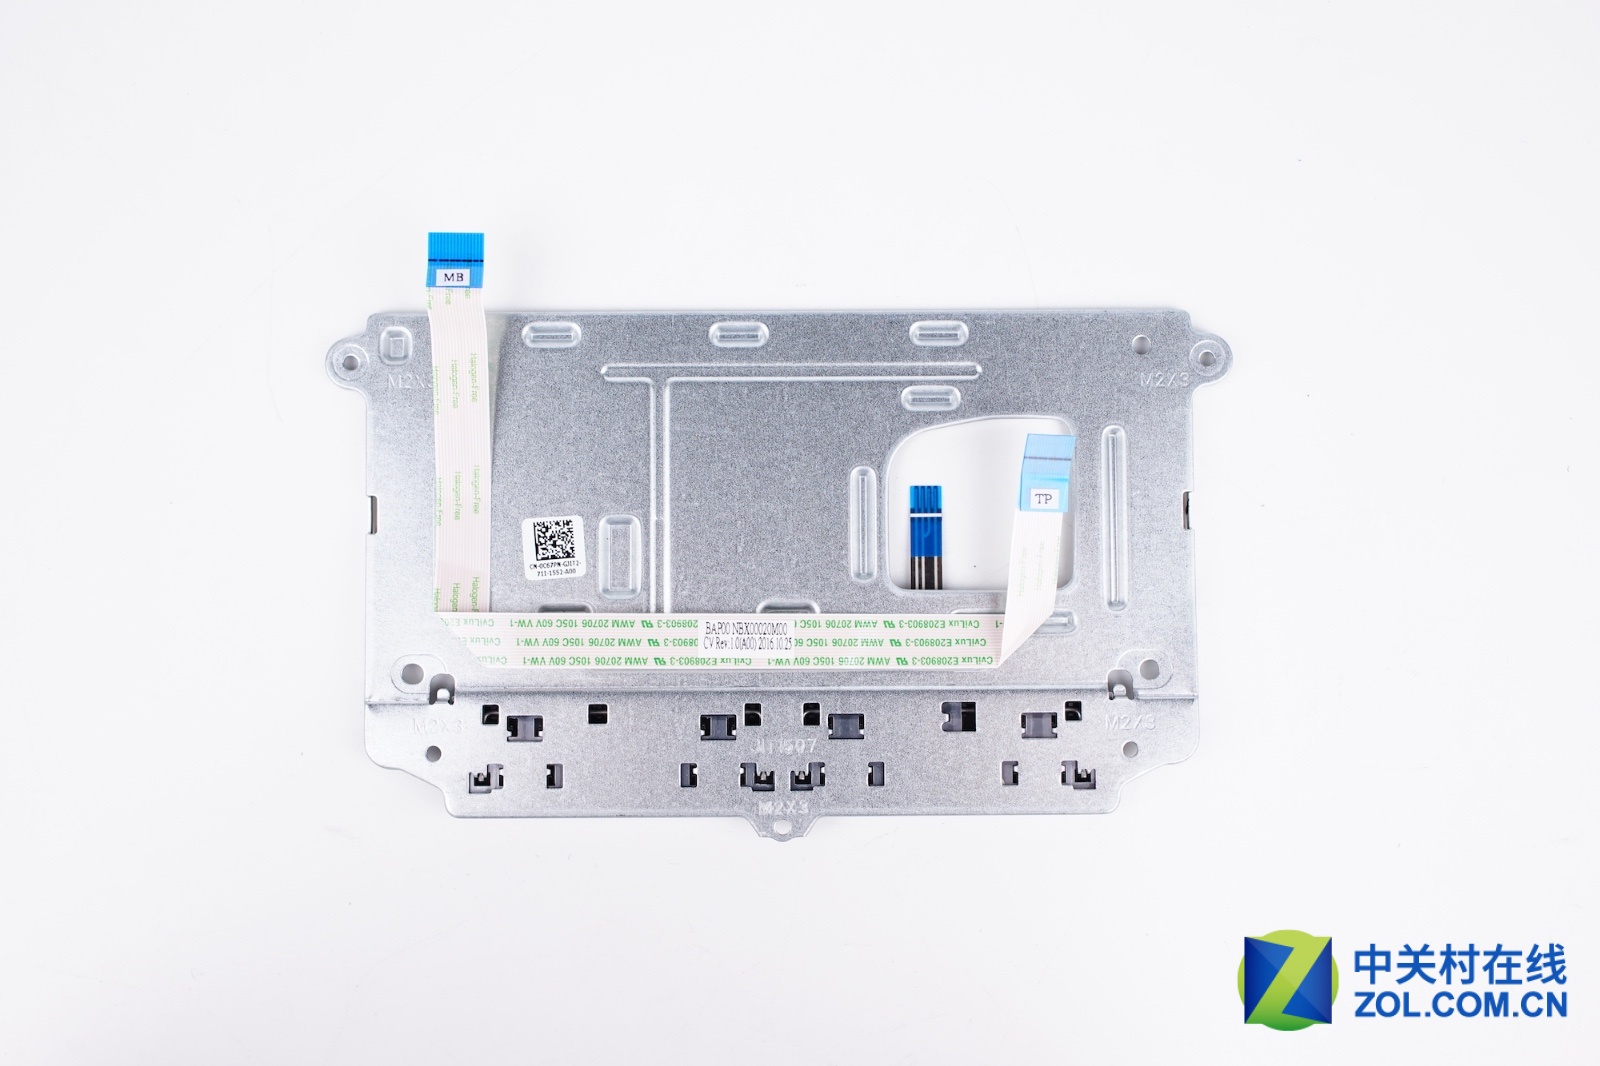
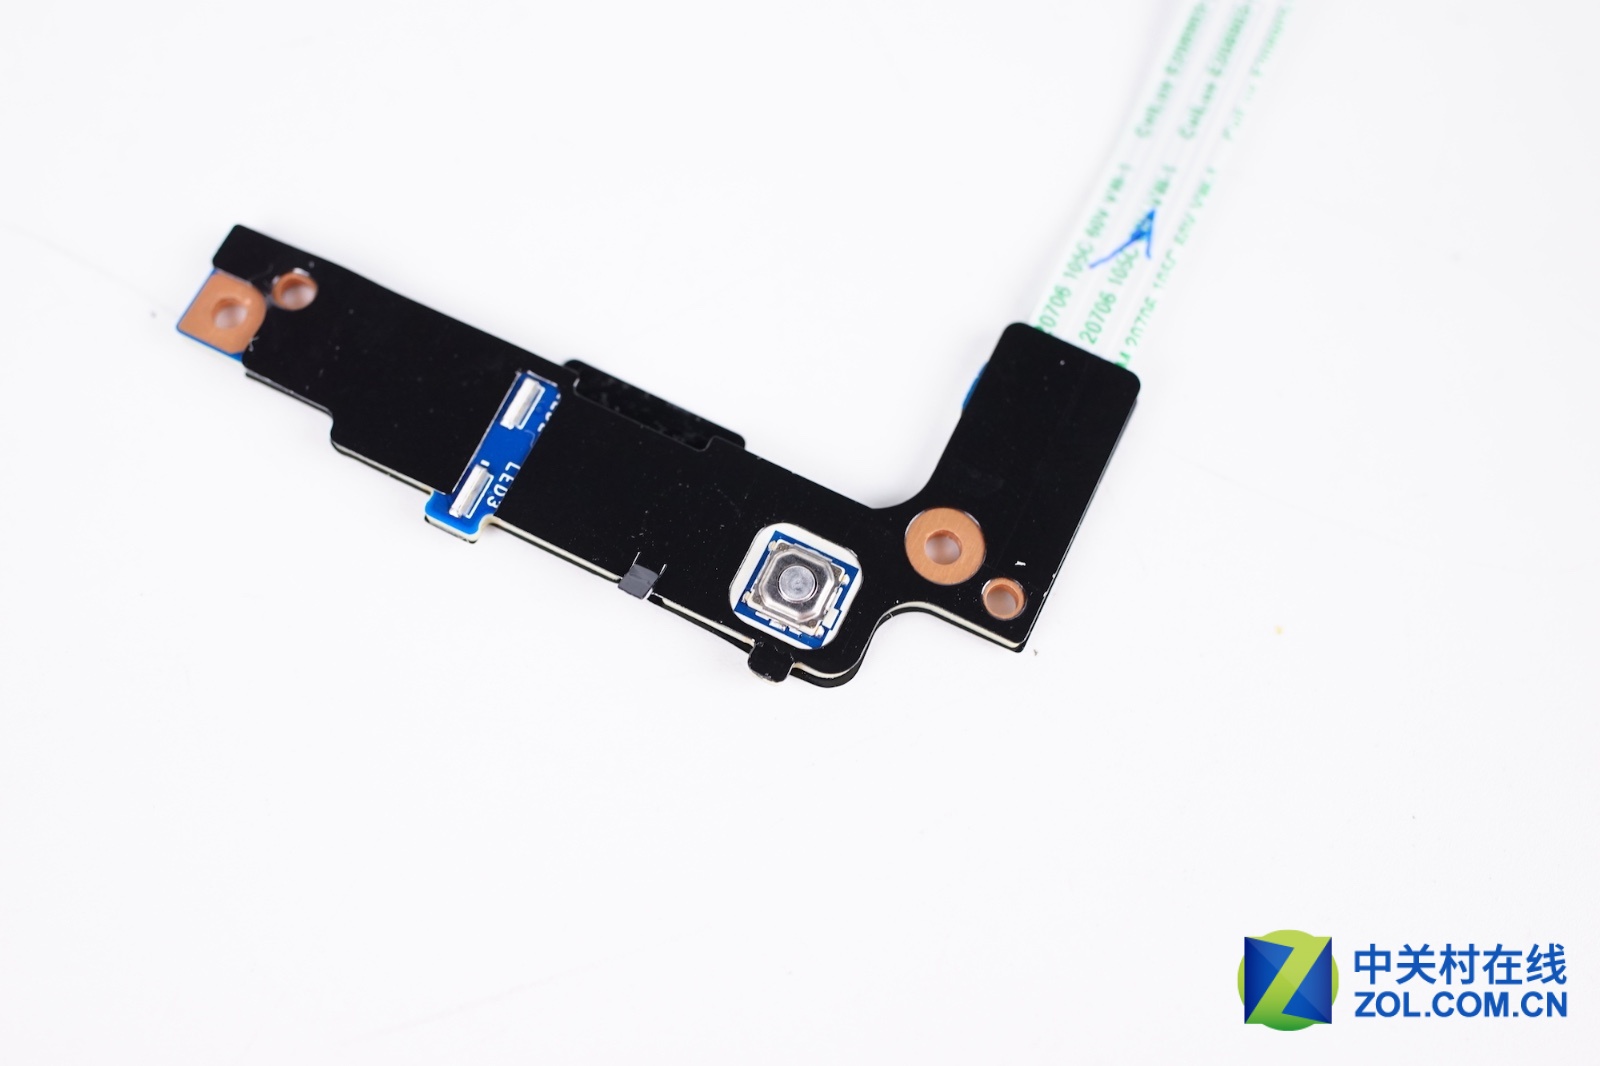
The Left and right buttons are attached to the metal plate.
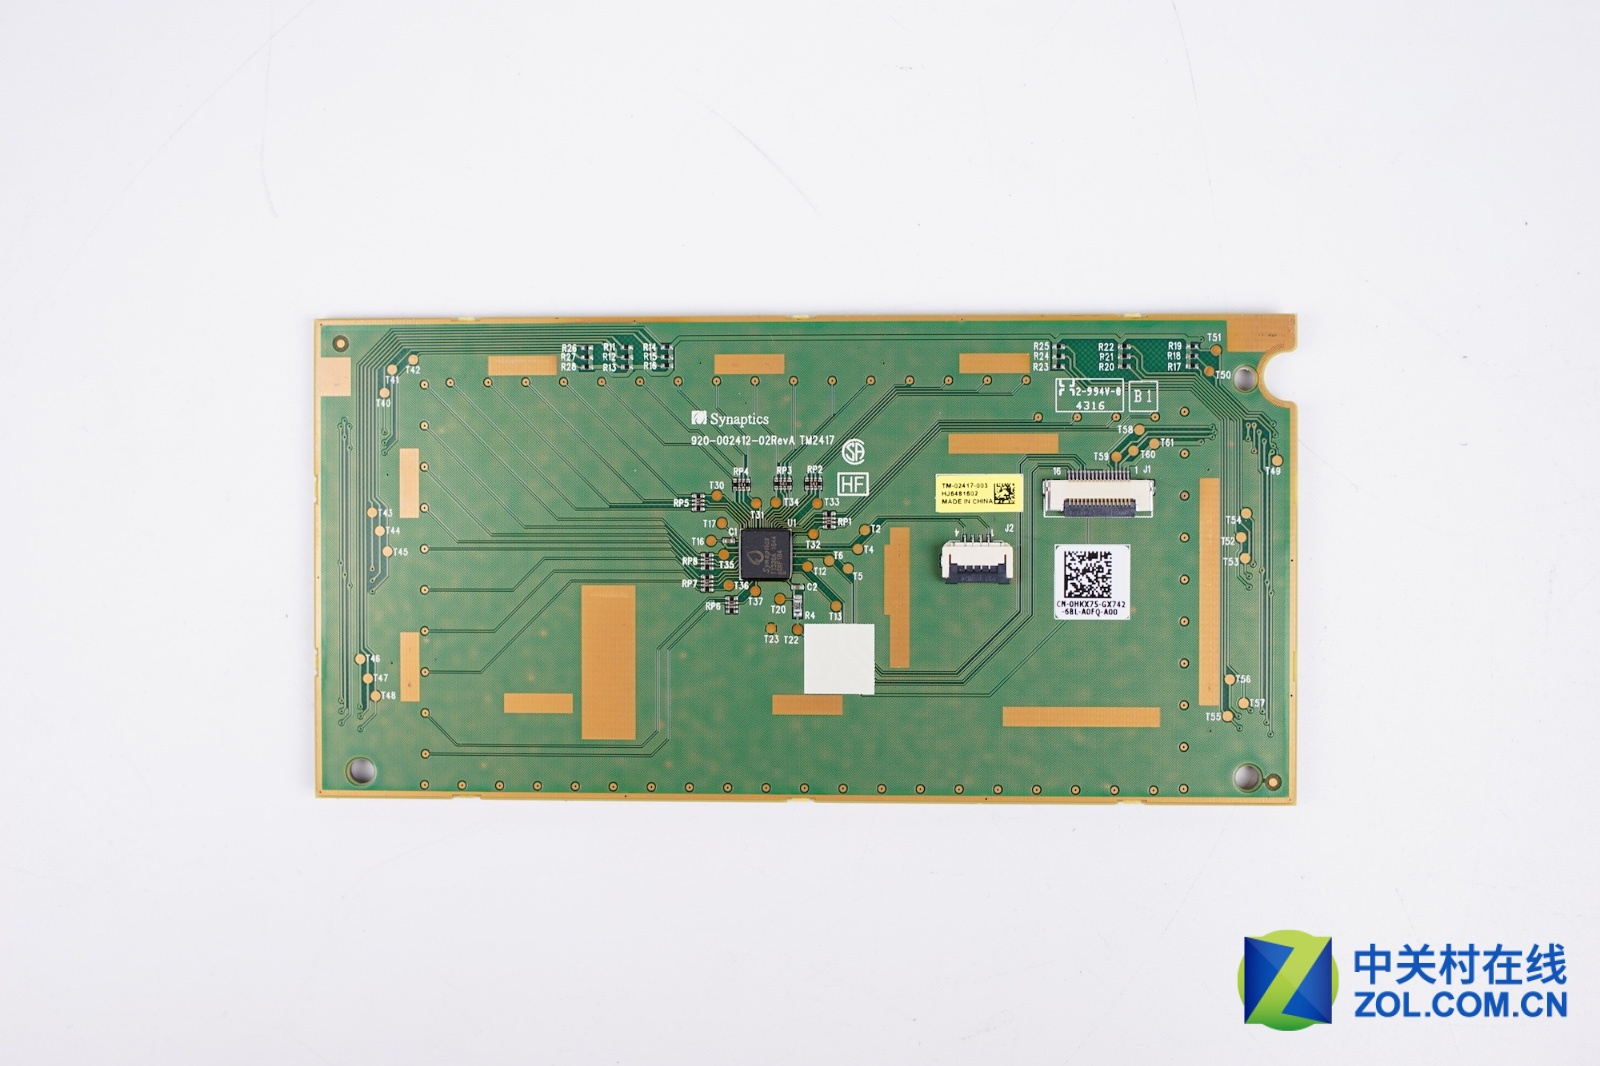
The Alienware 13 R3 touchpad features a Synaptics touch chip.
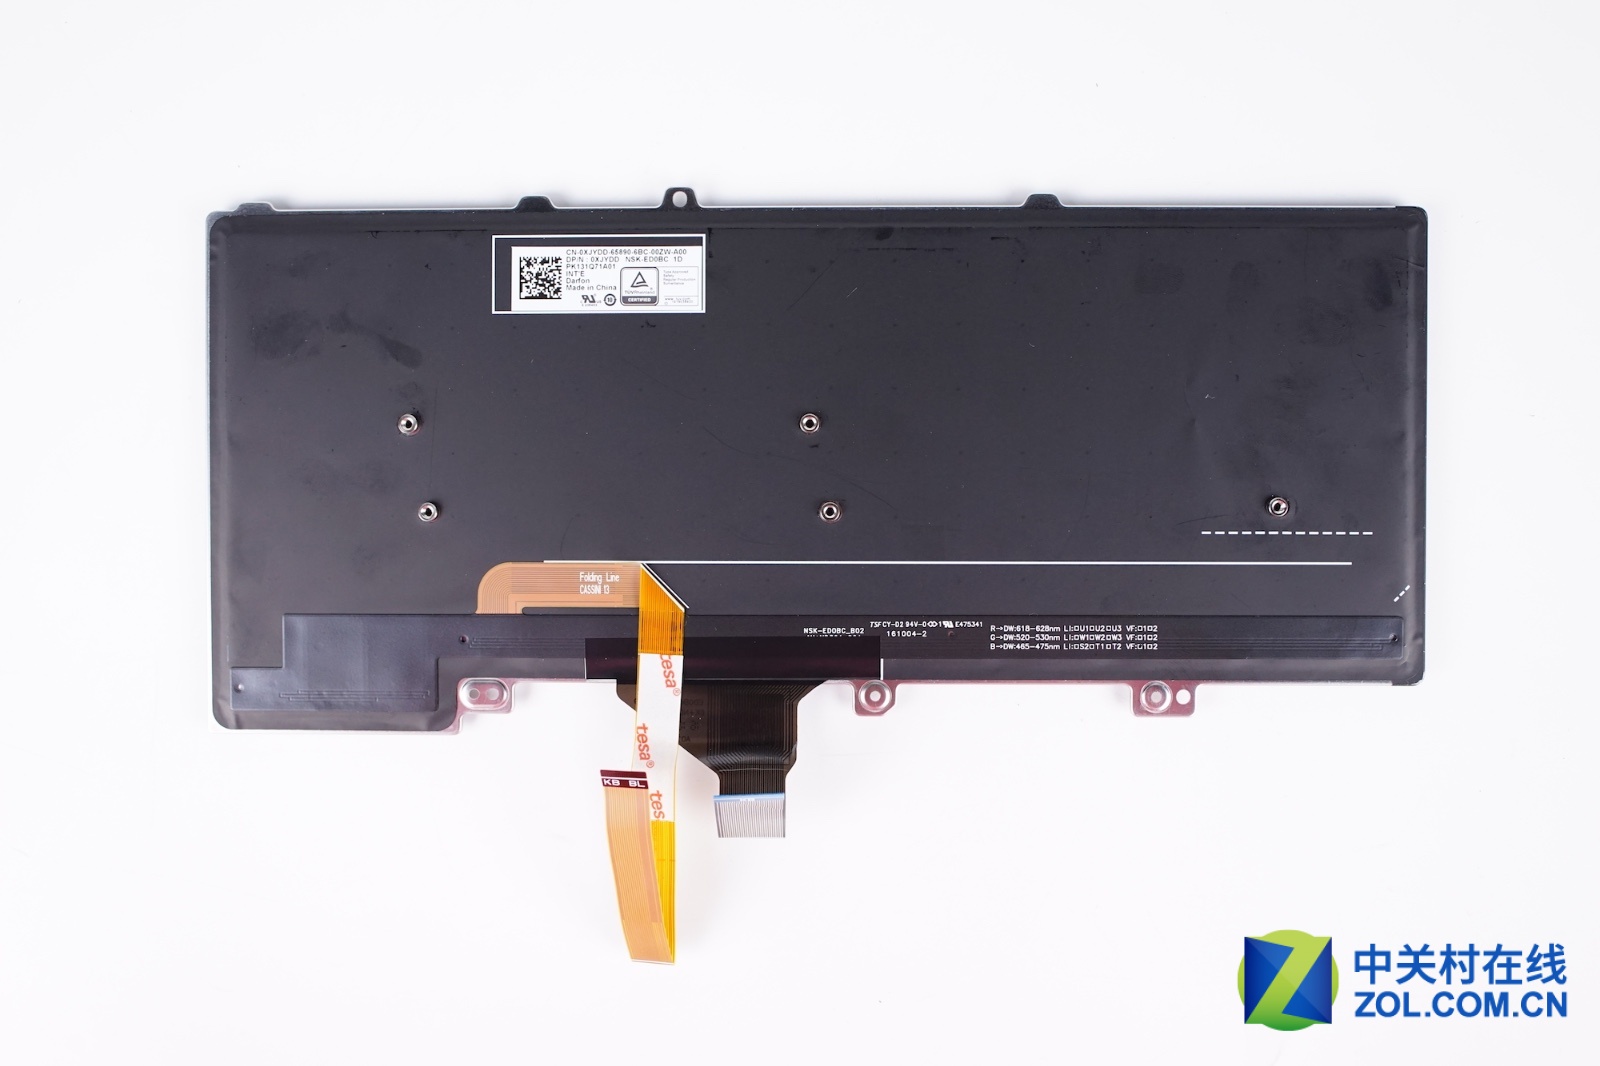
After all internal hardware is removed, you can access the keyboard.
If the keyboard is damaged, removing and replacing it will be very difficult because you have to remove all the components covering the keyboard.
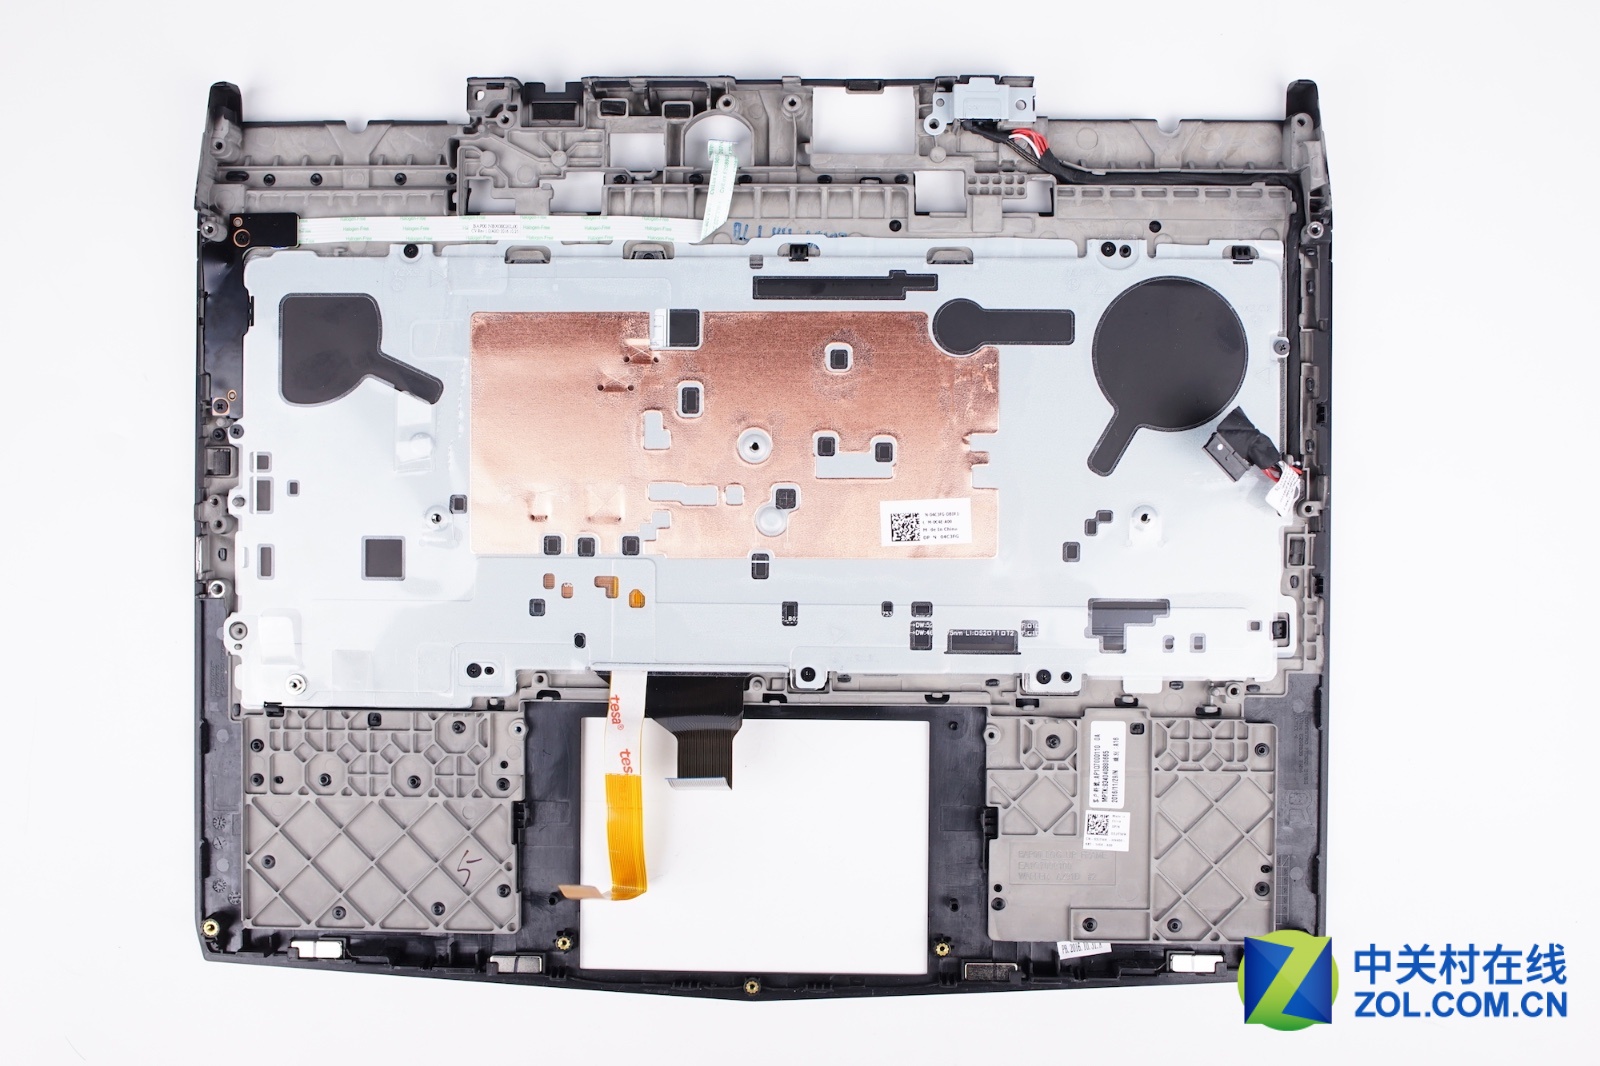
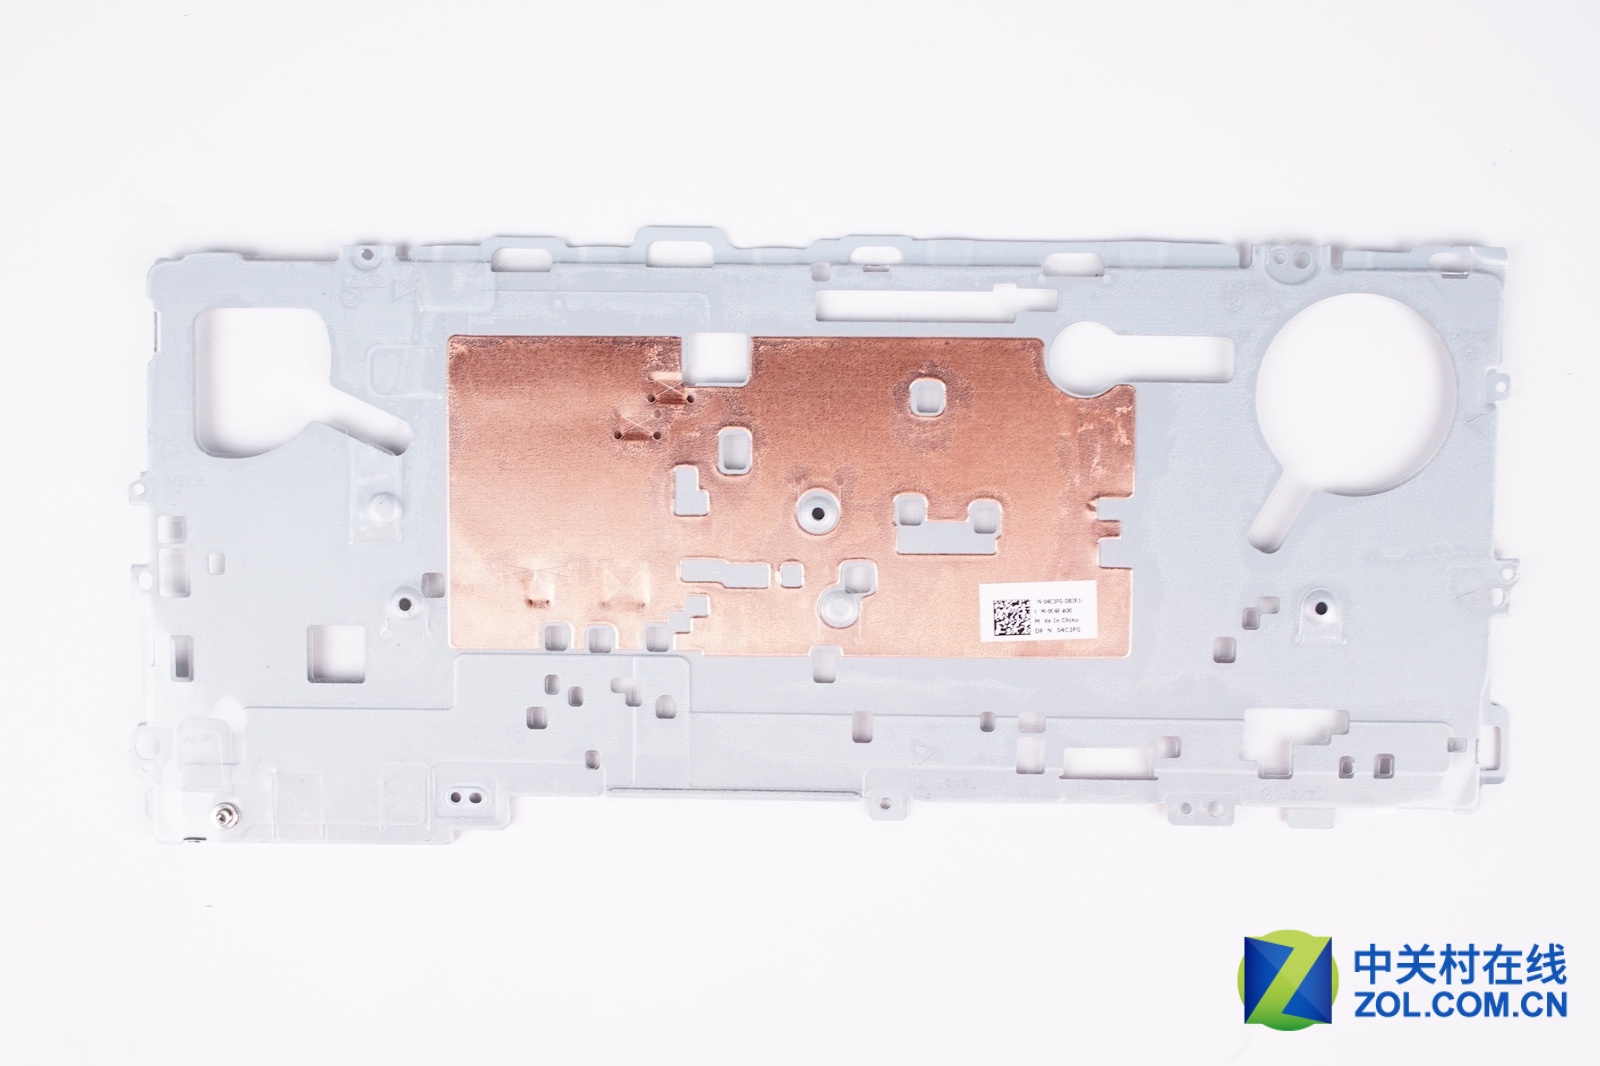
Remove the screws securing the metal plate and remove the metal plate.
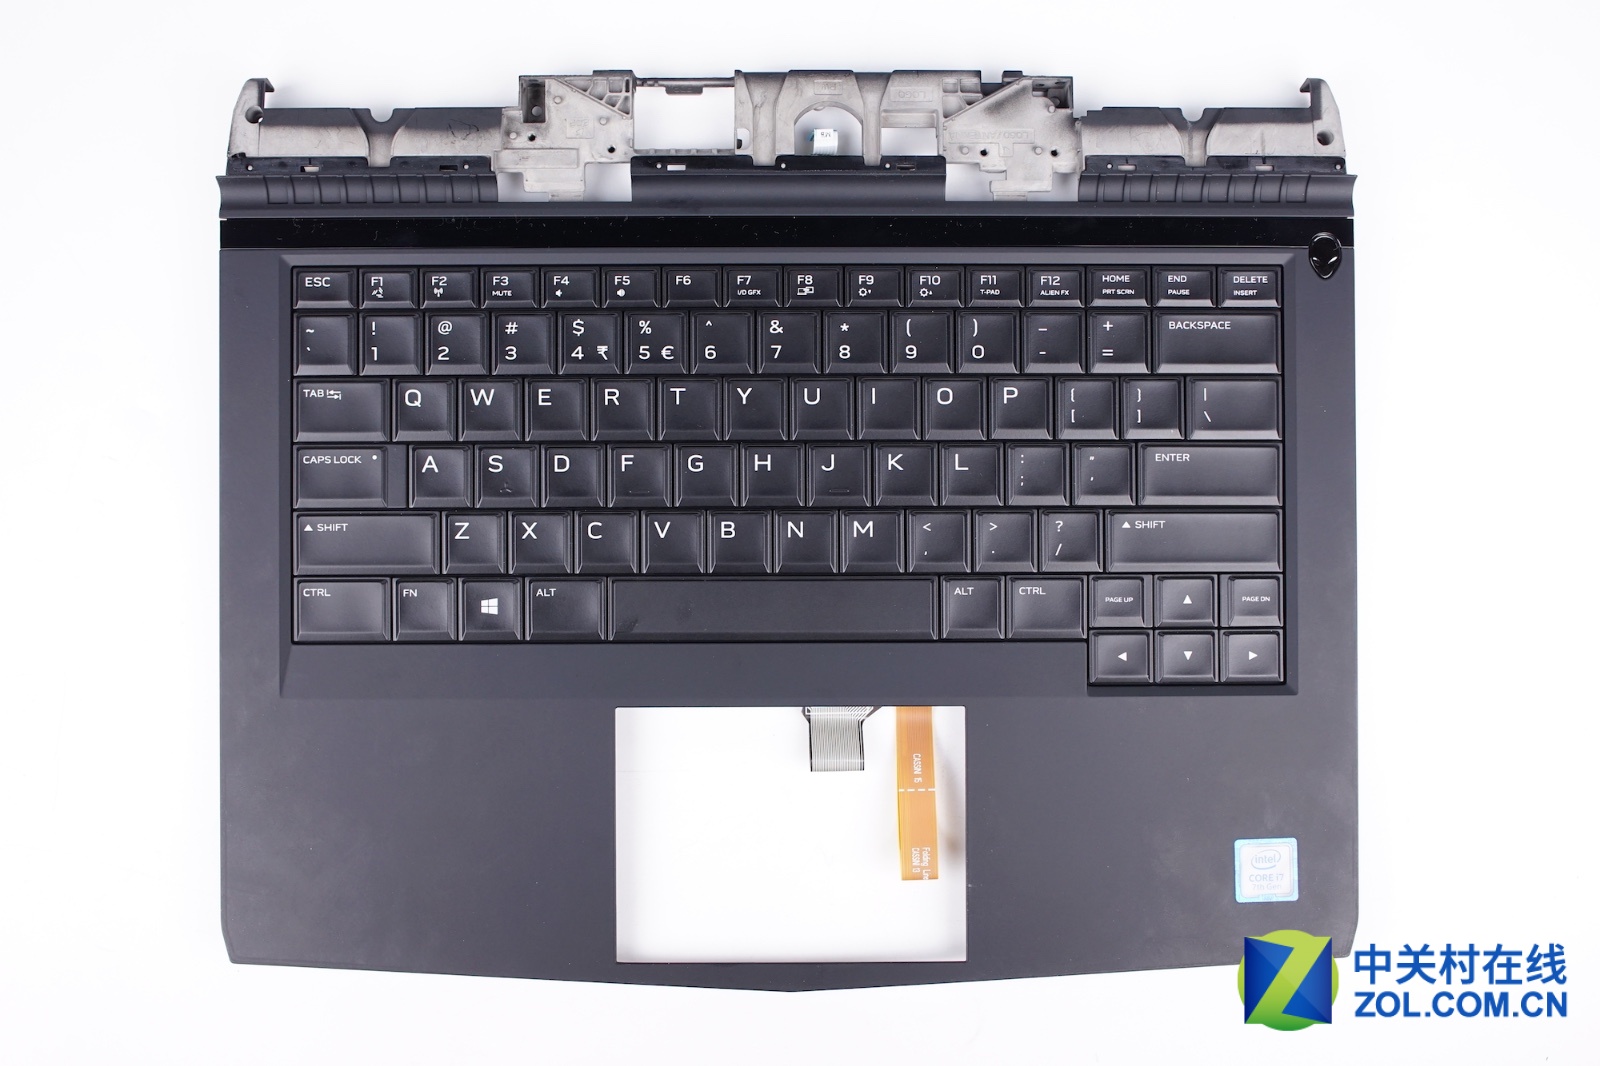
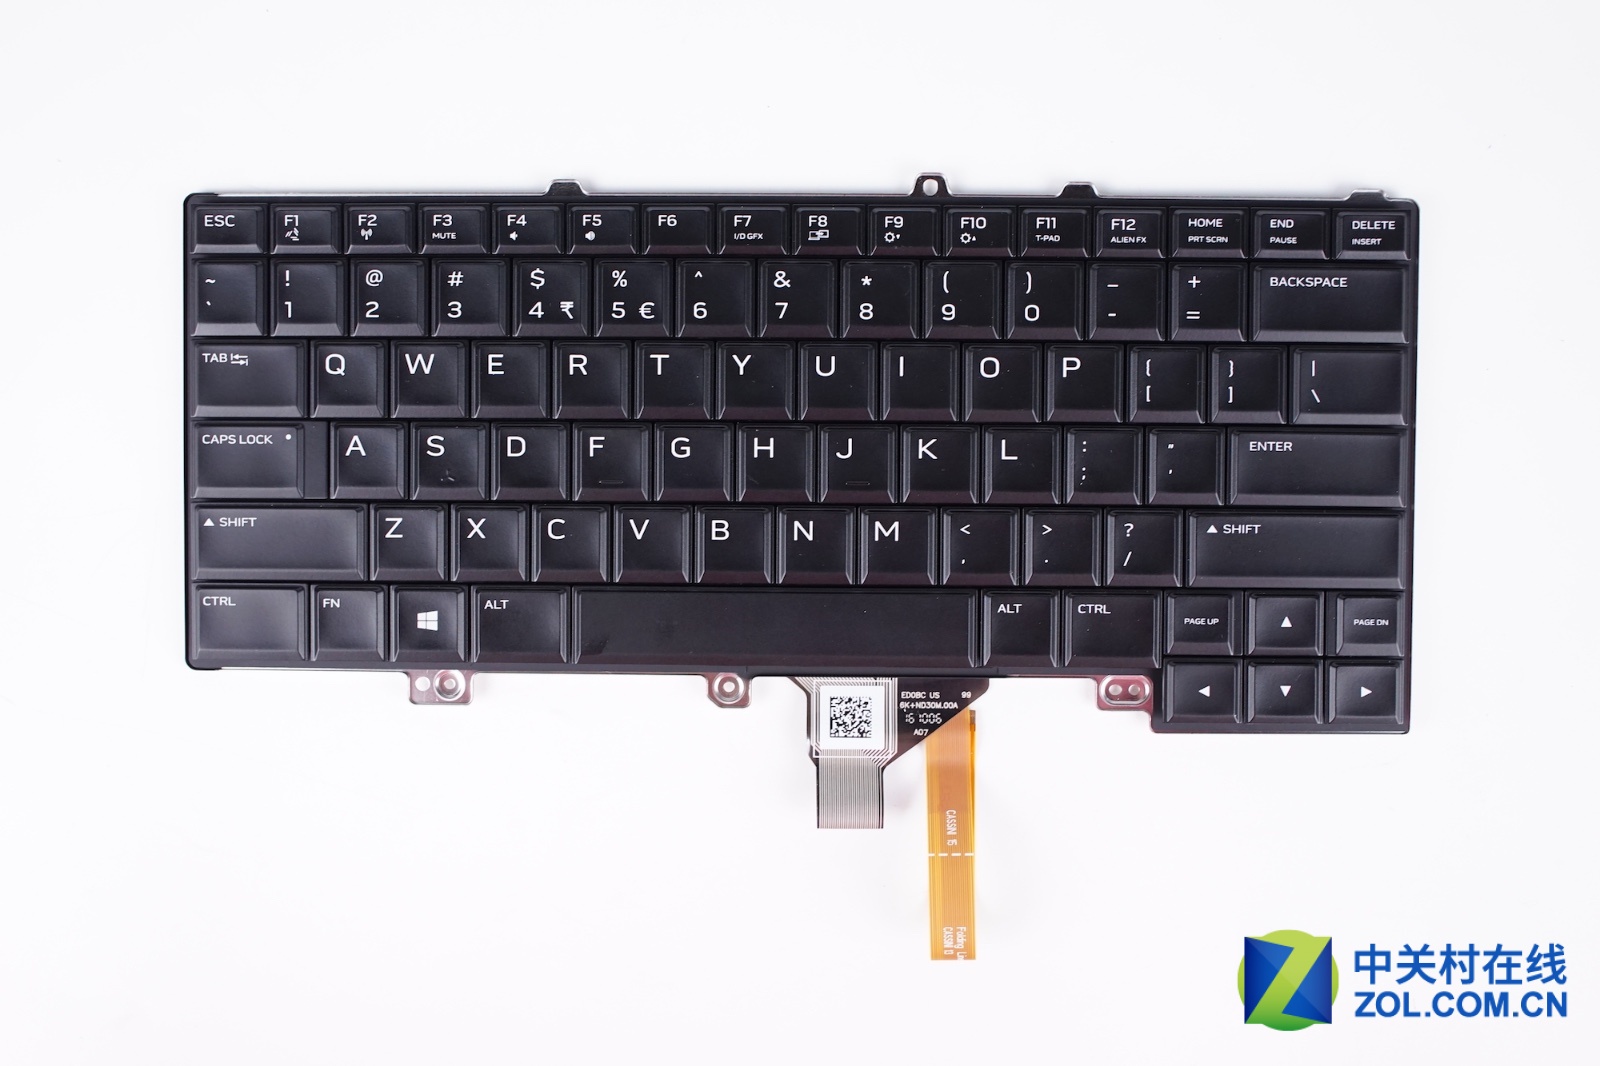
The Alienware 13 R3 comes with a 4-zone RGB backlit keyboard.
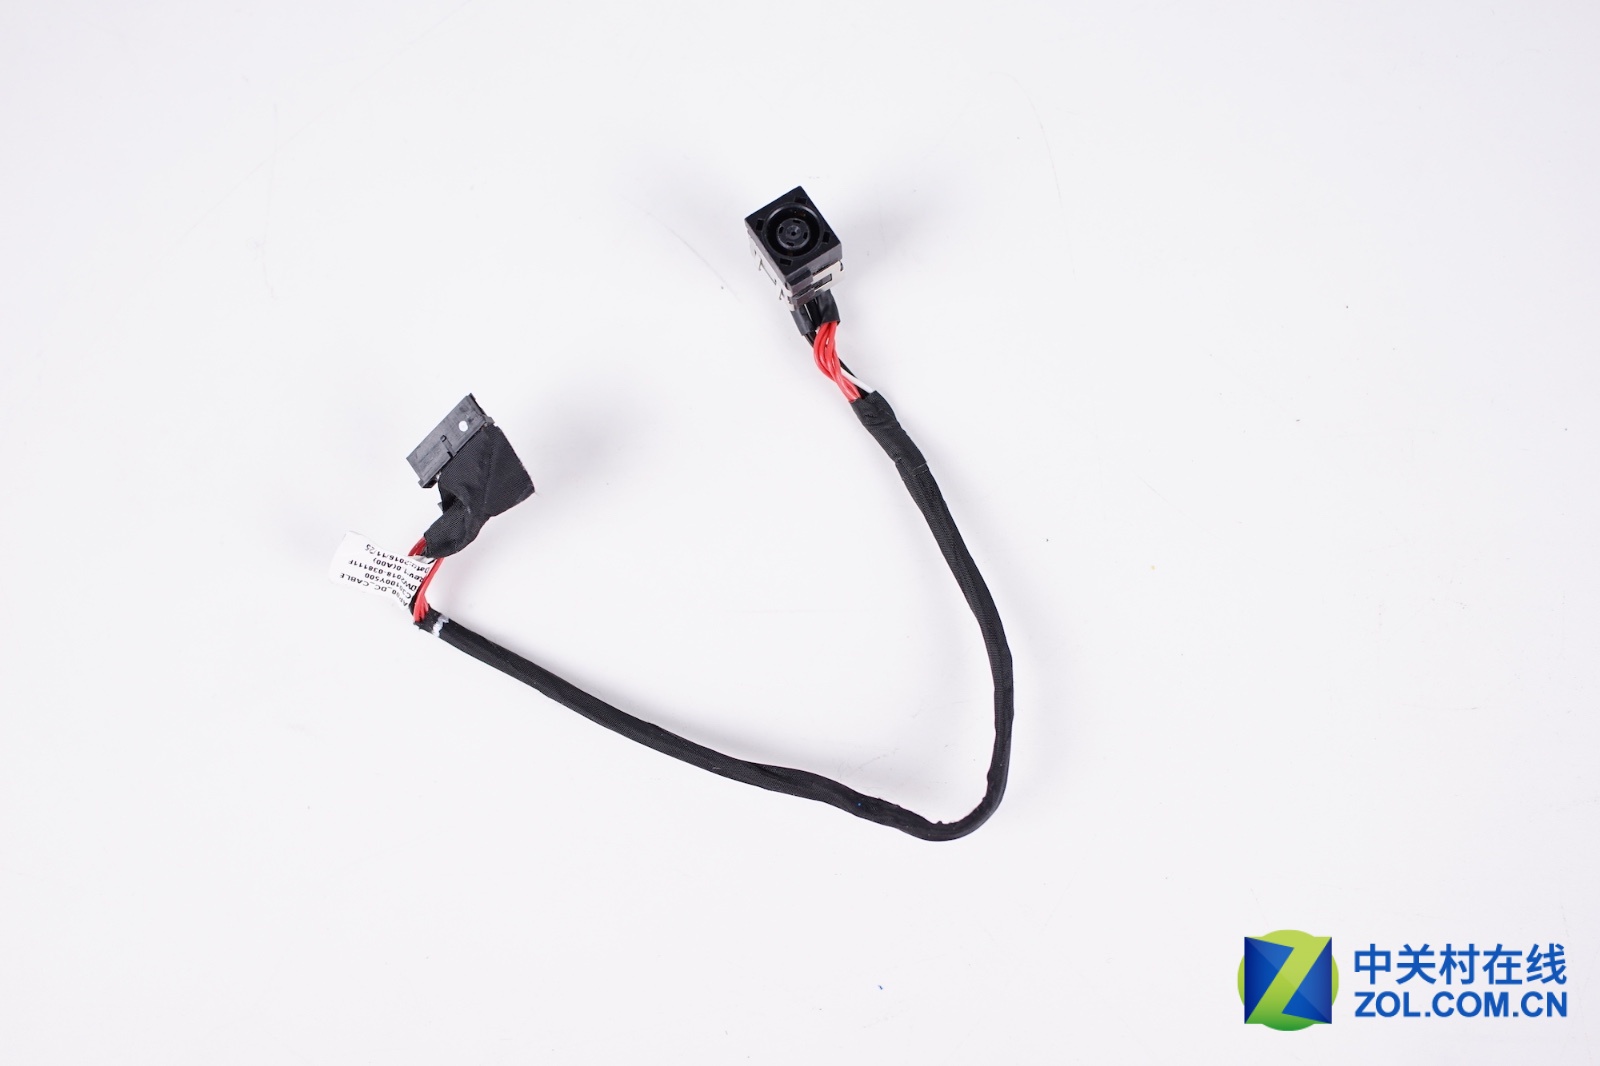
Close-up of the DC power jack cable
Close-up of the display assembly

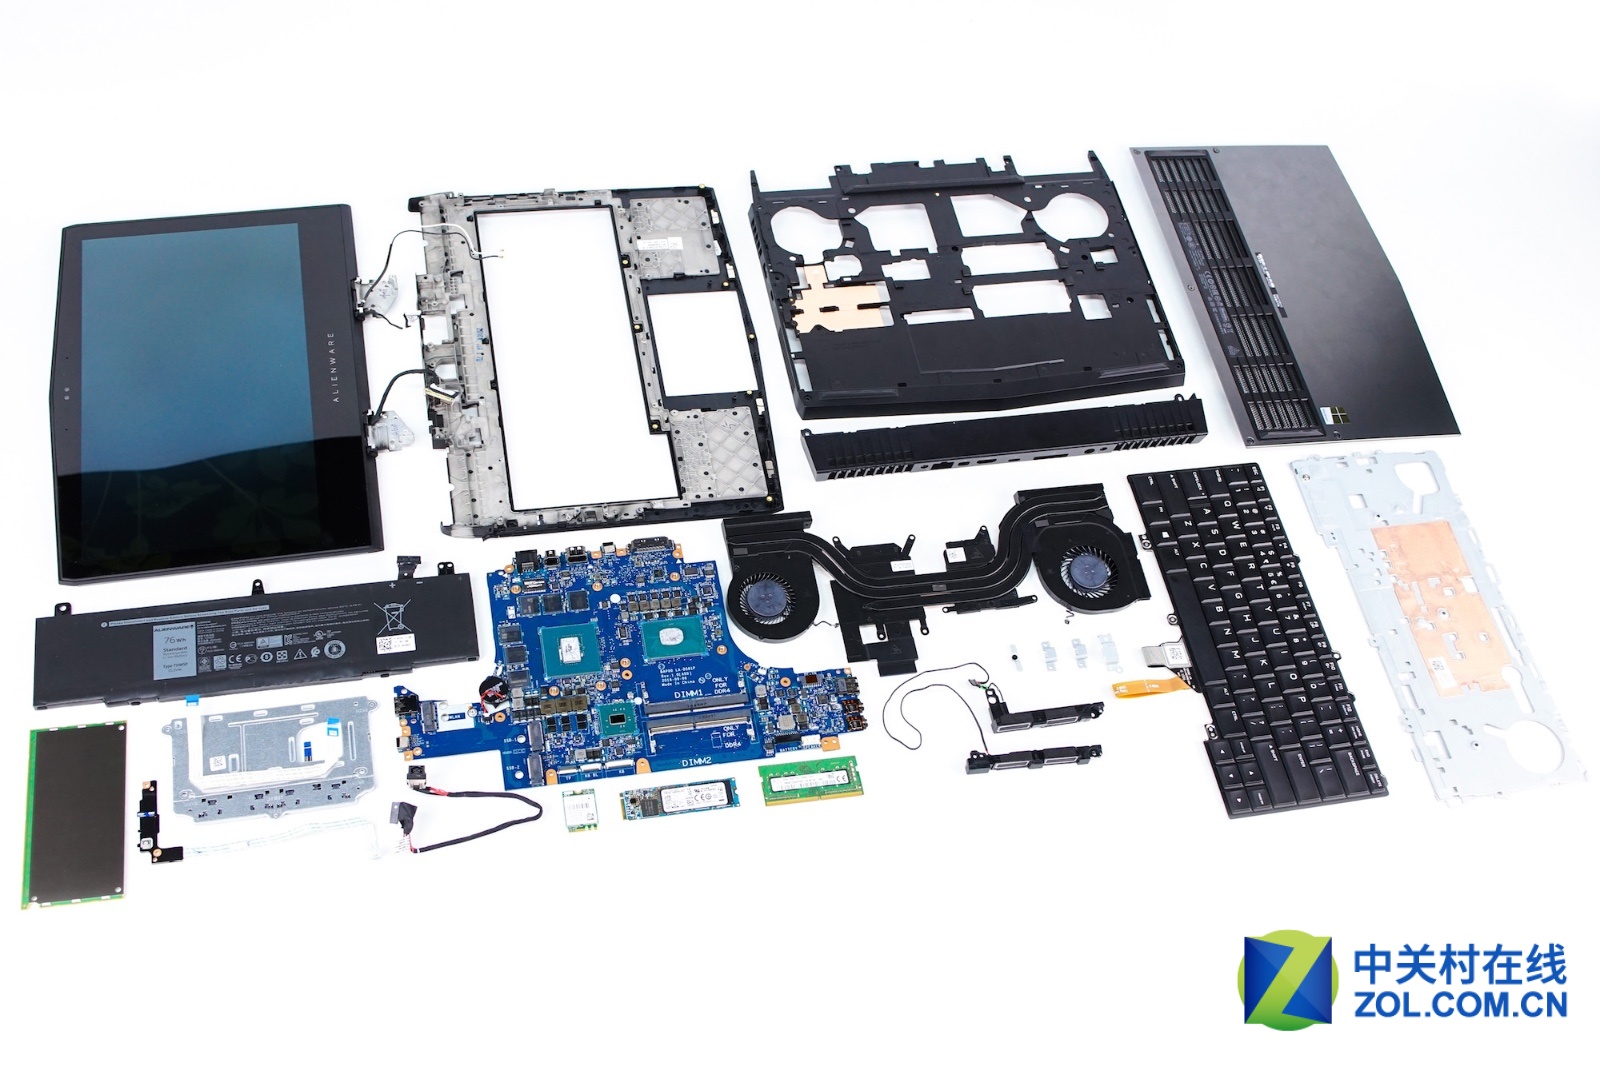
Alienware 13 R3 internal parts
Hi, are the Wi-Fi antenna cables welded to the motherboard? Or how are they connected?
The Wi-Fi antenna cables are not welded to the motherboard. It is connected to the motherboard via a connector.
Hi, is the green speaker cable for the left speaker? Mine doesn’t have it, and I guess that’s why I don’t have sound on the left speaker.
Does it not have an HDD slot? Because I can’t afford a 1TB SSD.
The laptop has no HDD slot.
Does anyone know where I can order a replacement rear port I/o cover from?
Please try to search for it on eBay.com.
I want to buy this laptop, but right now, I can only afford the version with a 256GB SSD. Can I exchange this hard drive later?
Sure, you can upgrade the SSD.
It has 2 M.2 SSD slots. You can add another SSD (I added a 512GB SSD for games) and still have the SSD that came with it. There is no regular-sized laptop hard drive slot; only an M.2 SSD is available. The M.2 SSD can be PCI-Express or SATA.