Dell recently launched the XPS 15 2-in-1 laptop with an Intel Kaby Lake-G processor. In fact, this laptop was showcased at this year’s CES exhibition. It features a built-in 65W Kaby Lake-G processor and an AMD Radeon Vega M GL graphics card.
Due to the significant heat generated by this chip, Dell currently uses it only in 15.6-inch thin-and-light laptops to ensure effective thermal management, and these laptops are equipped with an extremely luxurious cooling module.
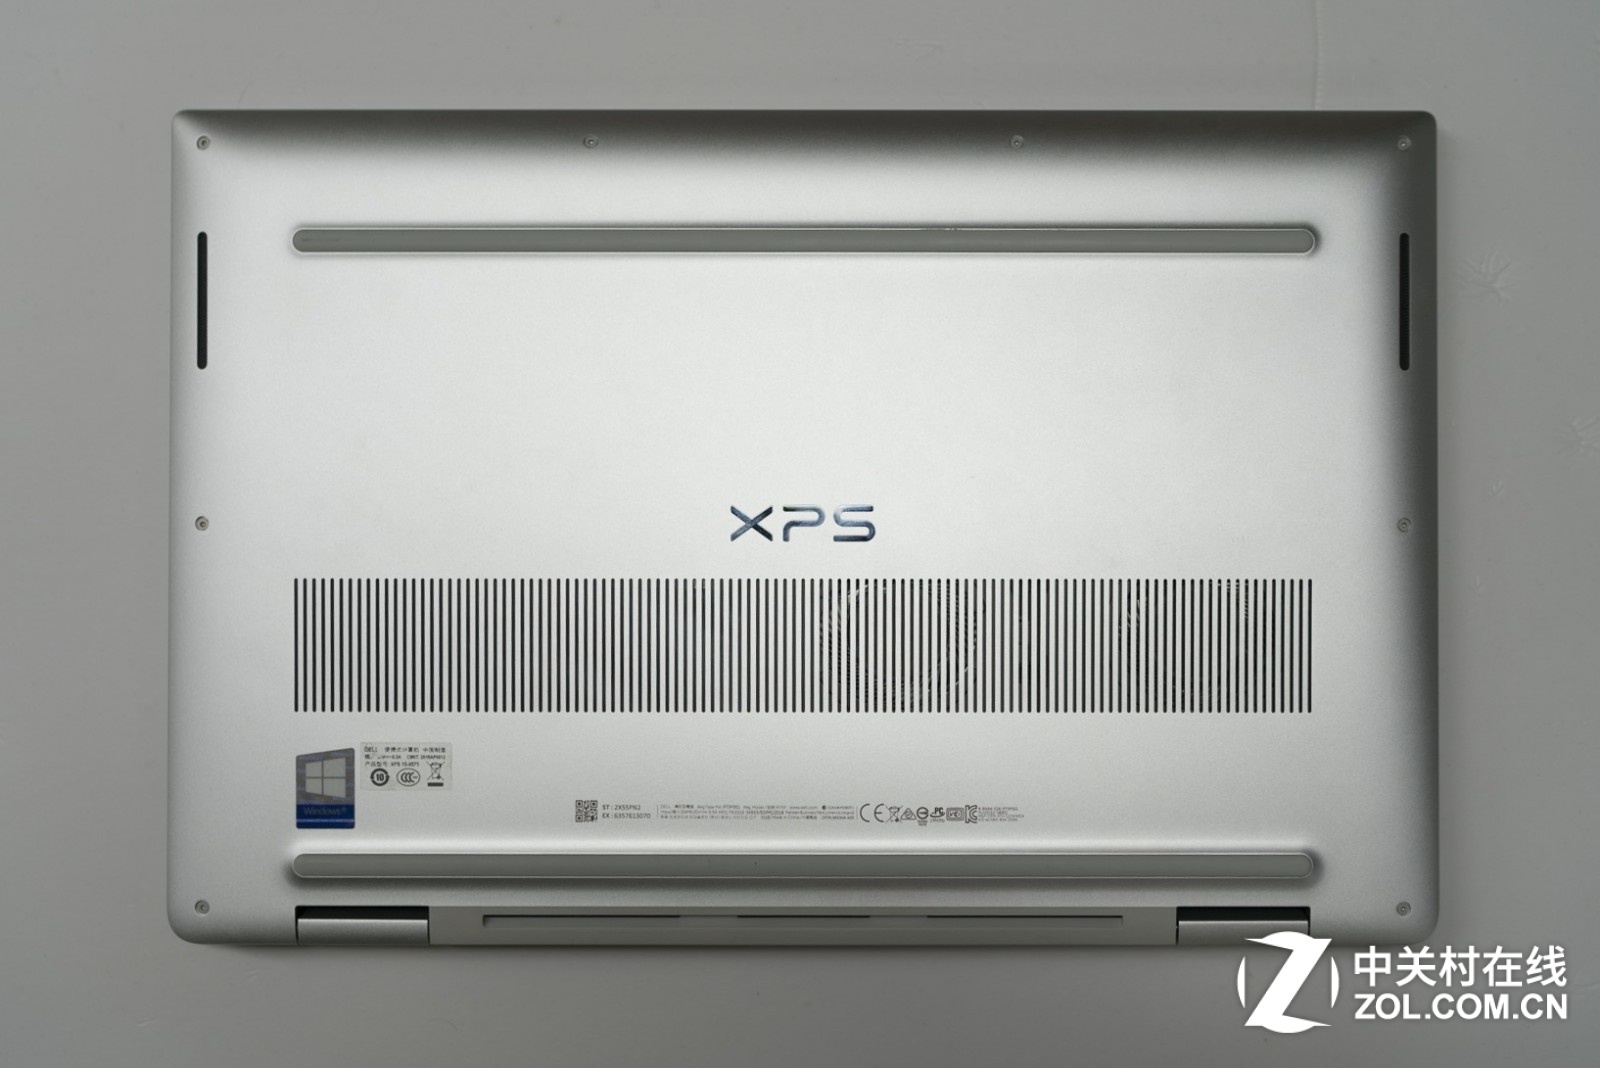
Today, we bring you a teardown of the Dell XPS 15 9575 2-in-1 laptop. As a high-end product priced at $2,000, what does its internal design look like? Let’s take a look.
In this guide, I will remove the bottom cover of the Dell XPS 15 9575 to access its internal components. I will remove the battery, M.2 SSD, CMOS battery, heat sink, cooling fan, speakers, and keyboard.
Teardown is what we do! Follow us on Facebook for the latest repair news.
First, turn the computer upside down and remove all the screws securing the bottom cover. Then, slowly pry open the bottom cover with a plastic pry tool. Since there are many clips on the bottom cover, we need to release all the clips.
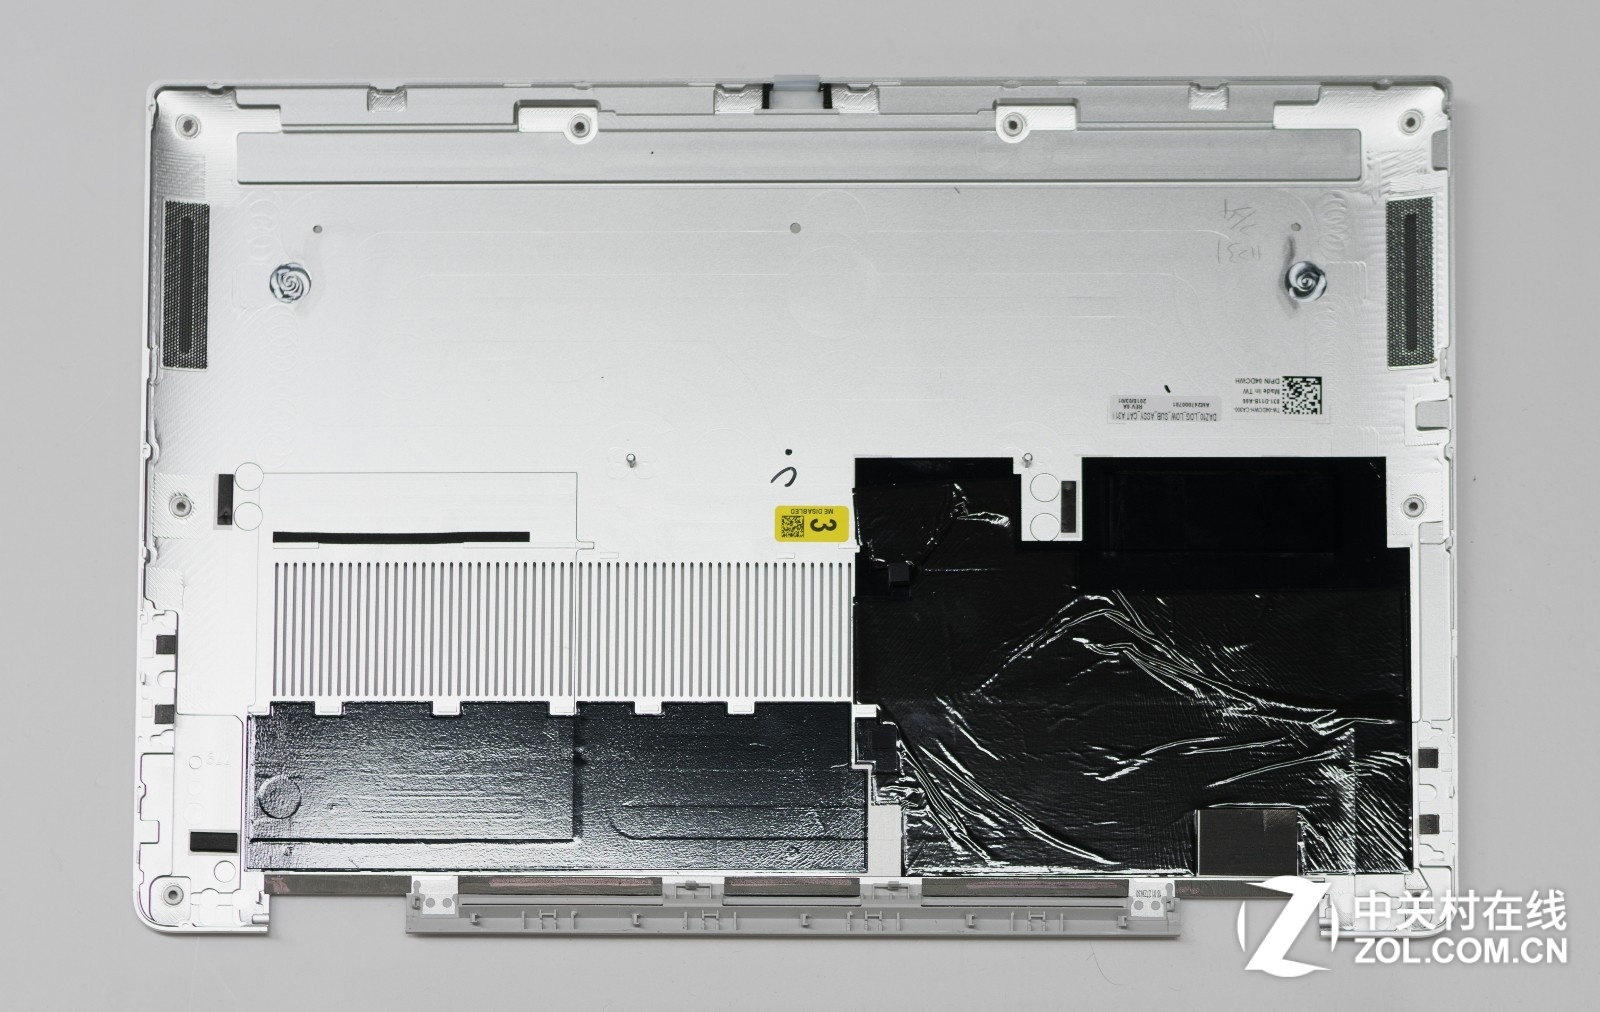
After removing the screws, the bottom cover can be taken off. There is a layer of insulating material on the bottom cover at the motherboard position, and a layer of thermal material at the heatsink position.
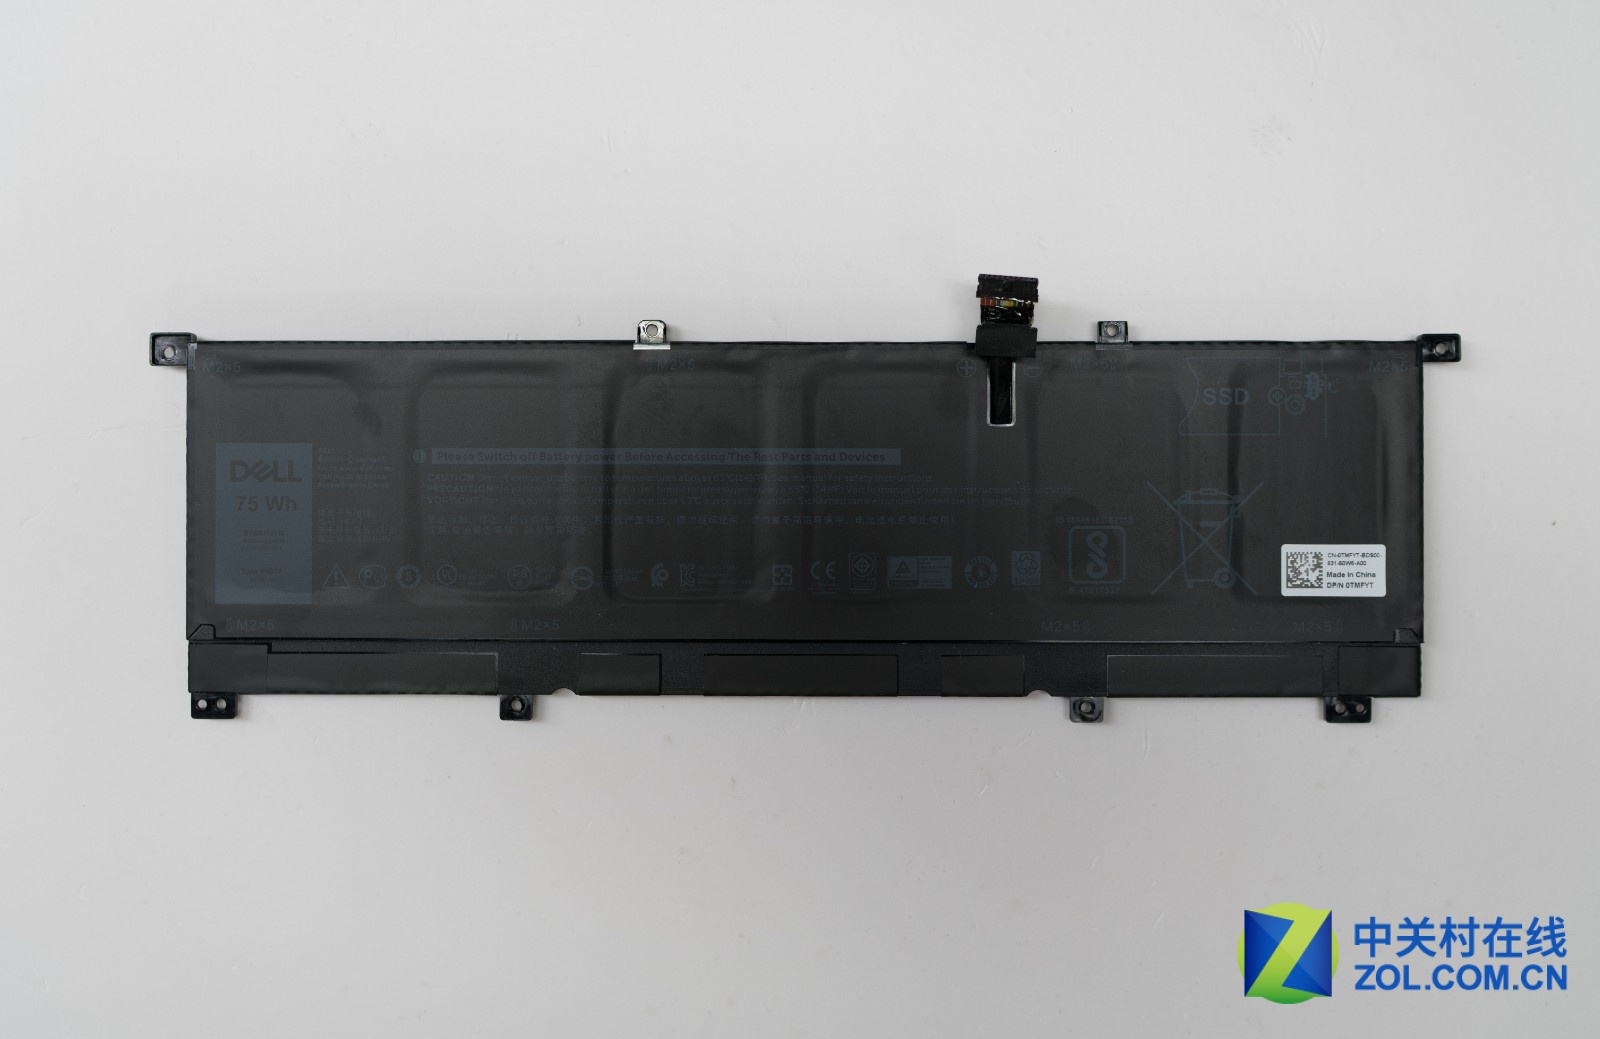
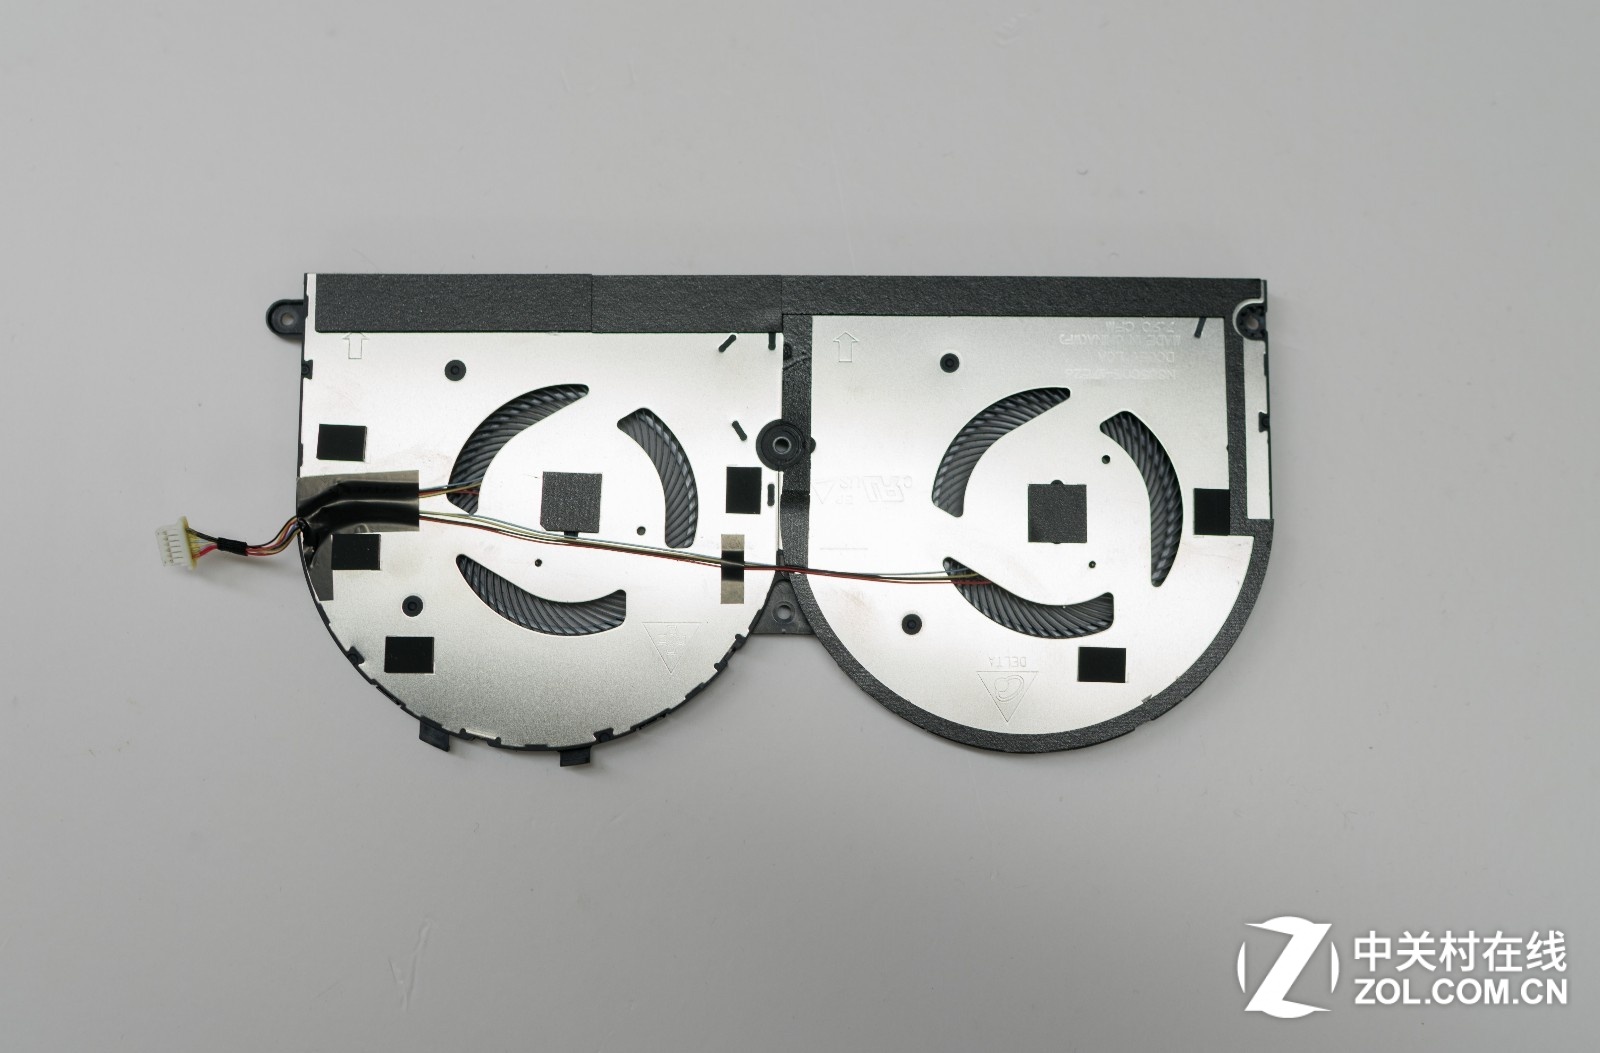
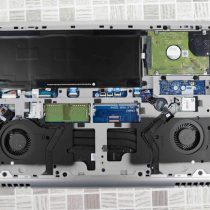
After removing the bottom cover, we can access its internal structure. The Dell XPS 15 features two fans and three copper heat pipes. Both the CPU and memory have metal heat shields, and the M.2 SSD comes with a thermal pad. The 75Wh battery occupies the entire lower half of the chassis, which is quite large.

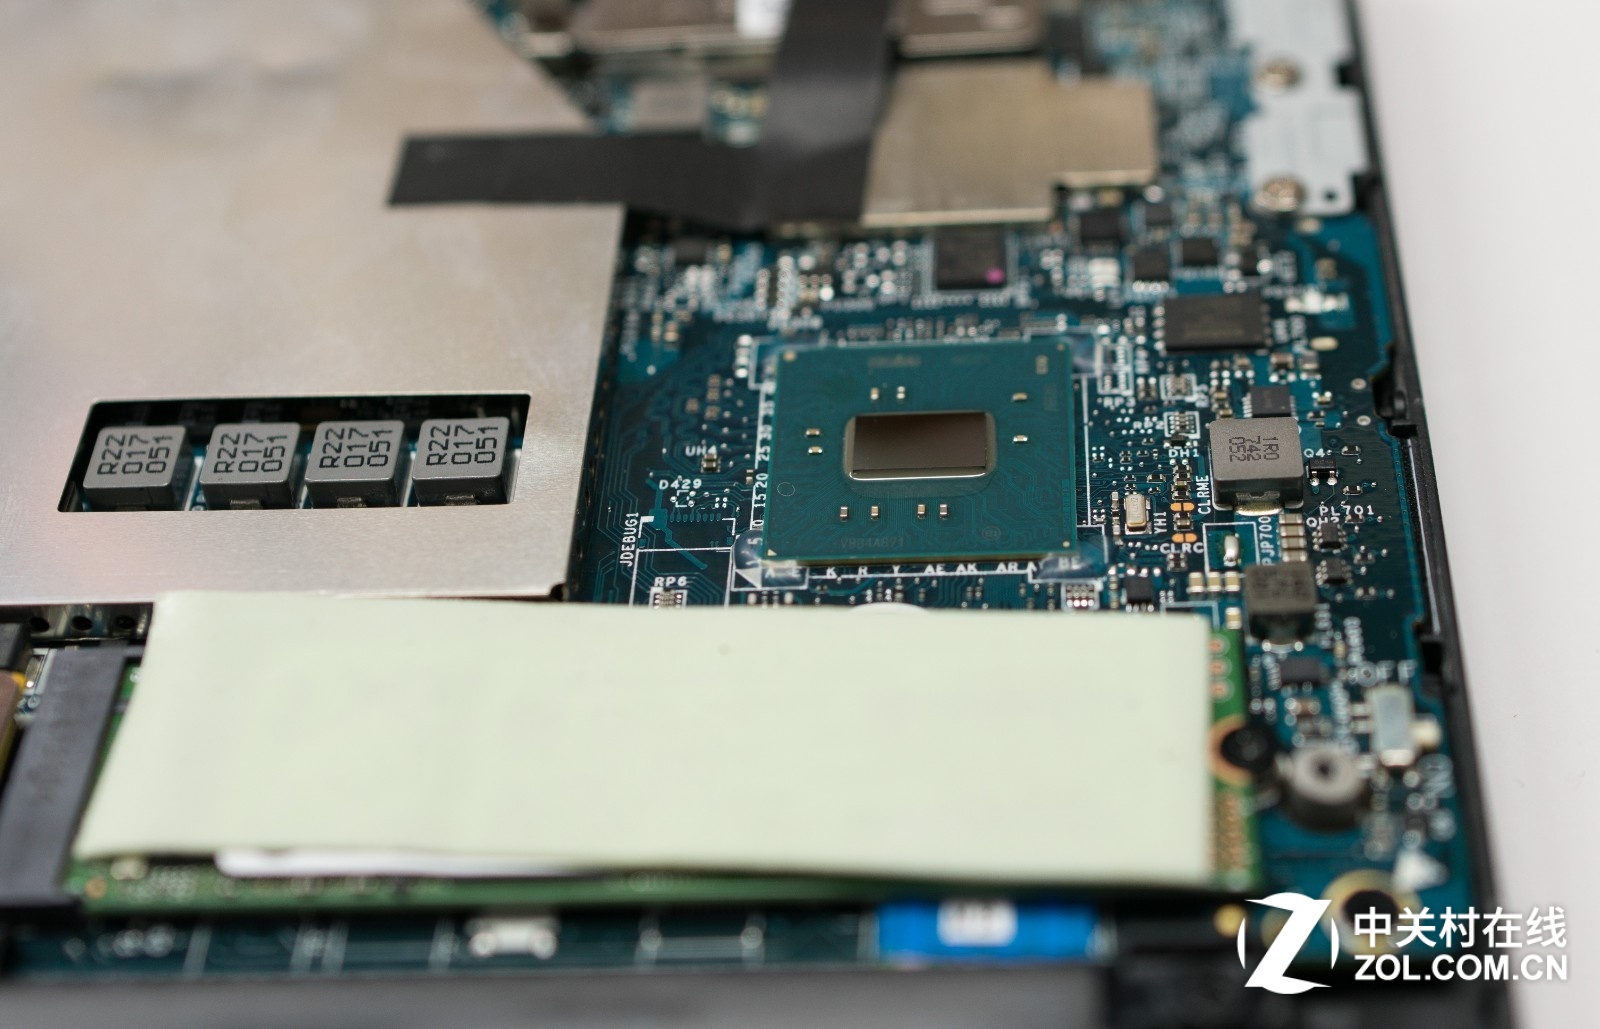
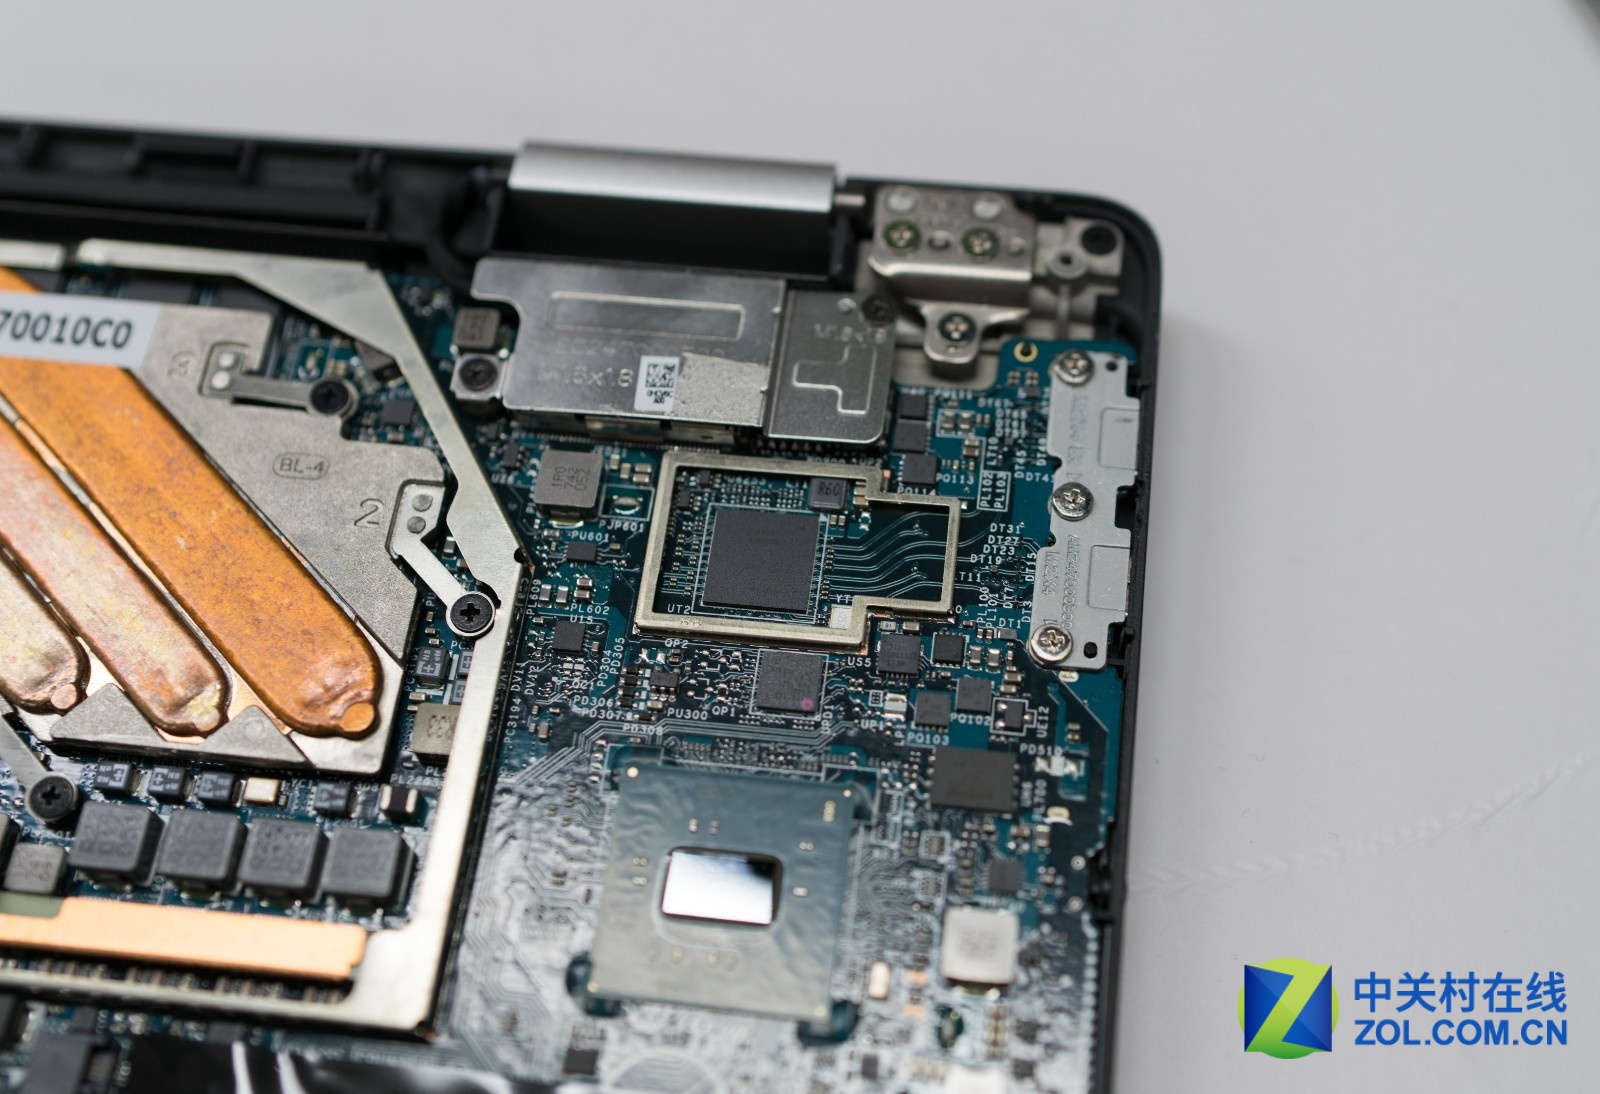
The motherboard PCH chip is on the right side, and there is no auxiliary heat dissipation.
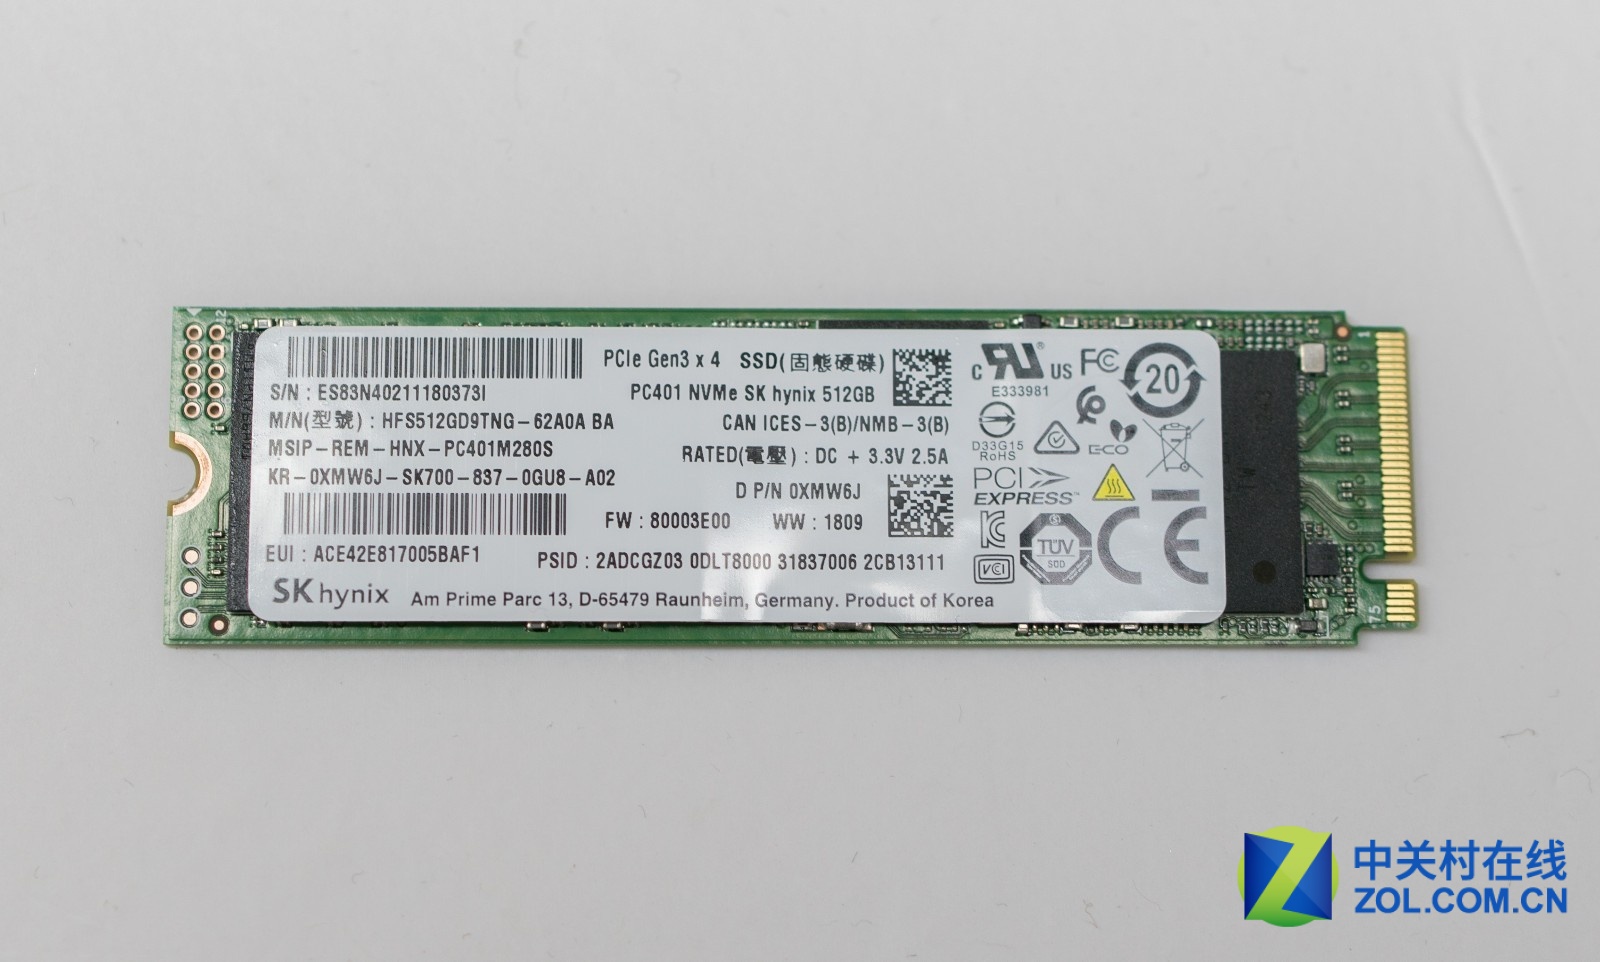
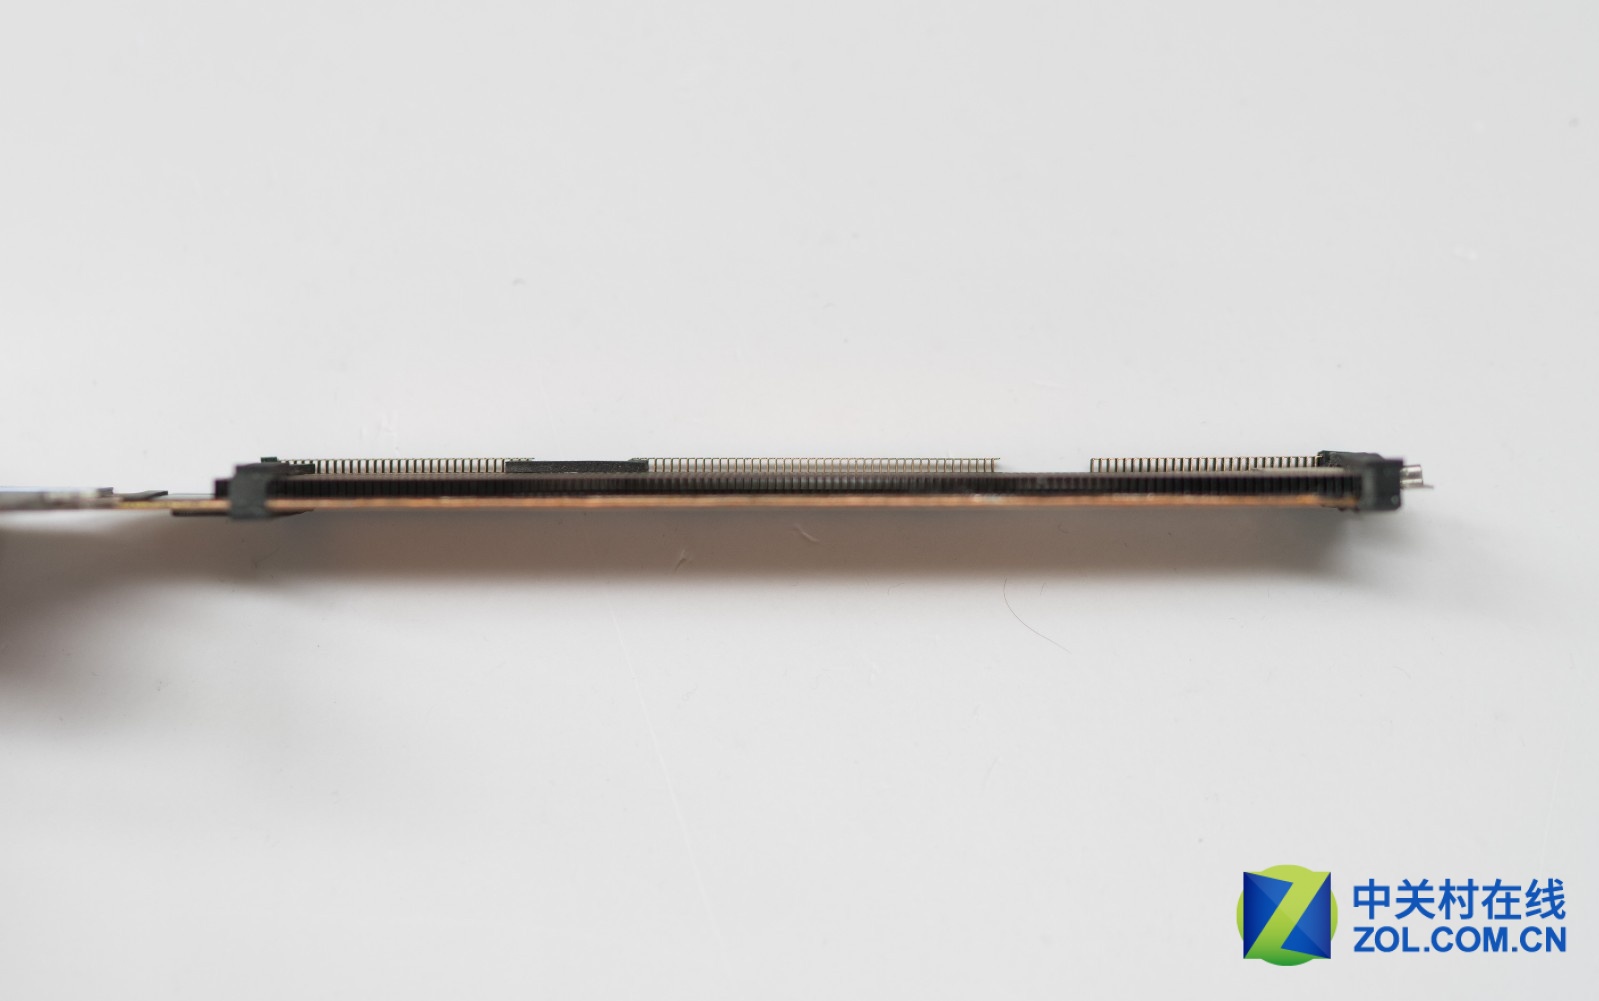
Remove the screws securing the SSD, then remove the M.2 SSD. This is a 512GB PCI-E x4 SSD using Hynix chips, which is very common in Dell laptop products.
Disconnect the battery connector from the motherboard, remove all screws securing the battery, and then remove the battery. Its volume is very large. You can see that the interior is divided into several sections.
The small circuit board on the left is connected to the mainboard via a cable with numerous contact points. The large number of contact points indicates that this small circuit board also integrates a wide range of functions.

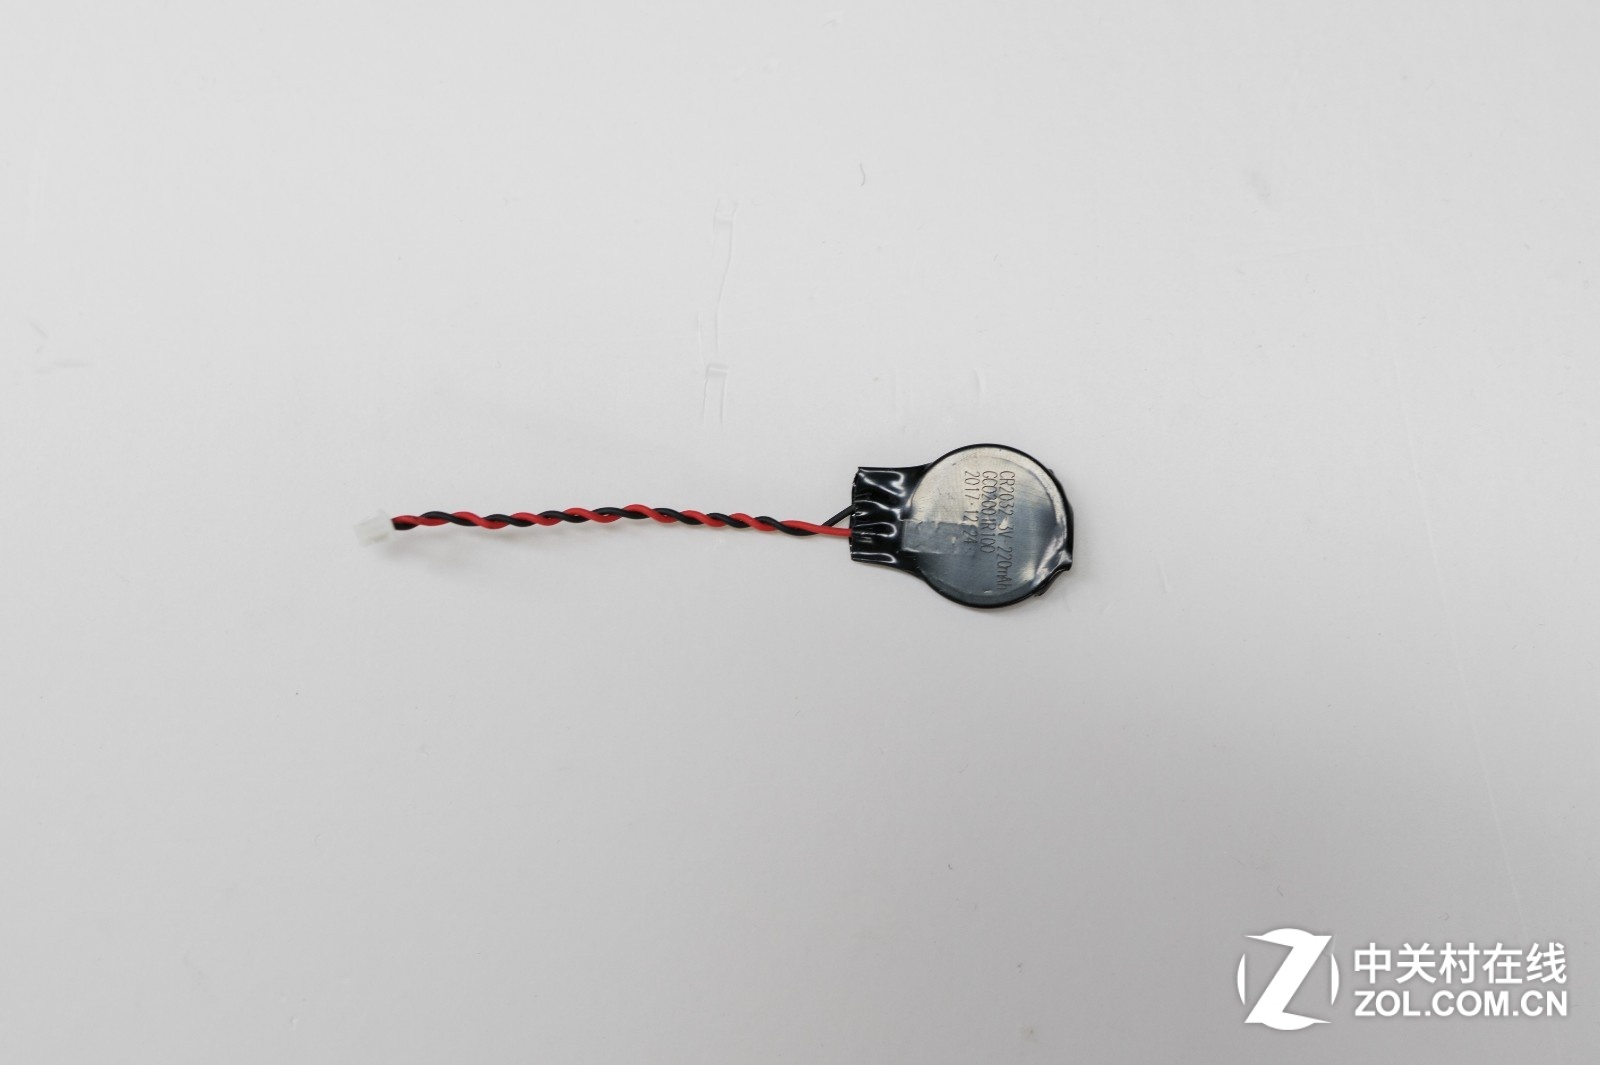
This is the CMOS battery, which can be removed by disconnecting the cable from the motherboard.
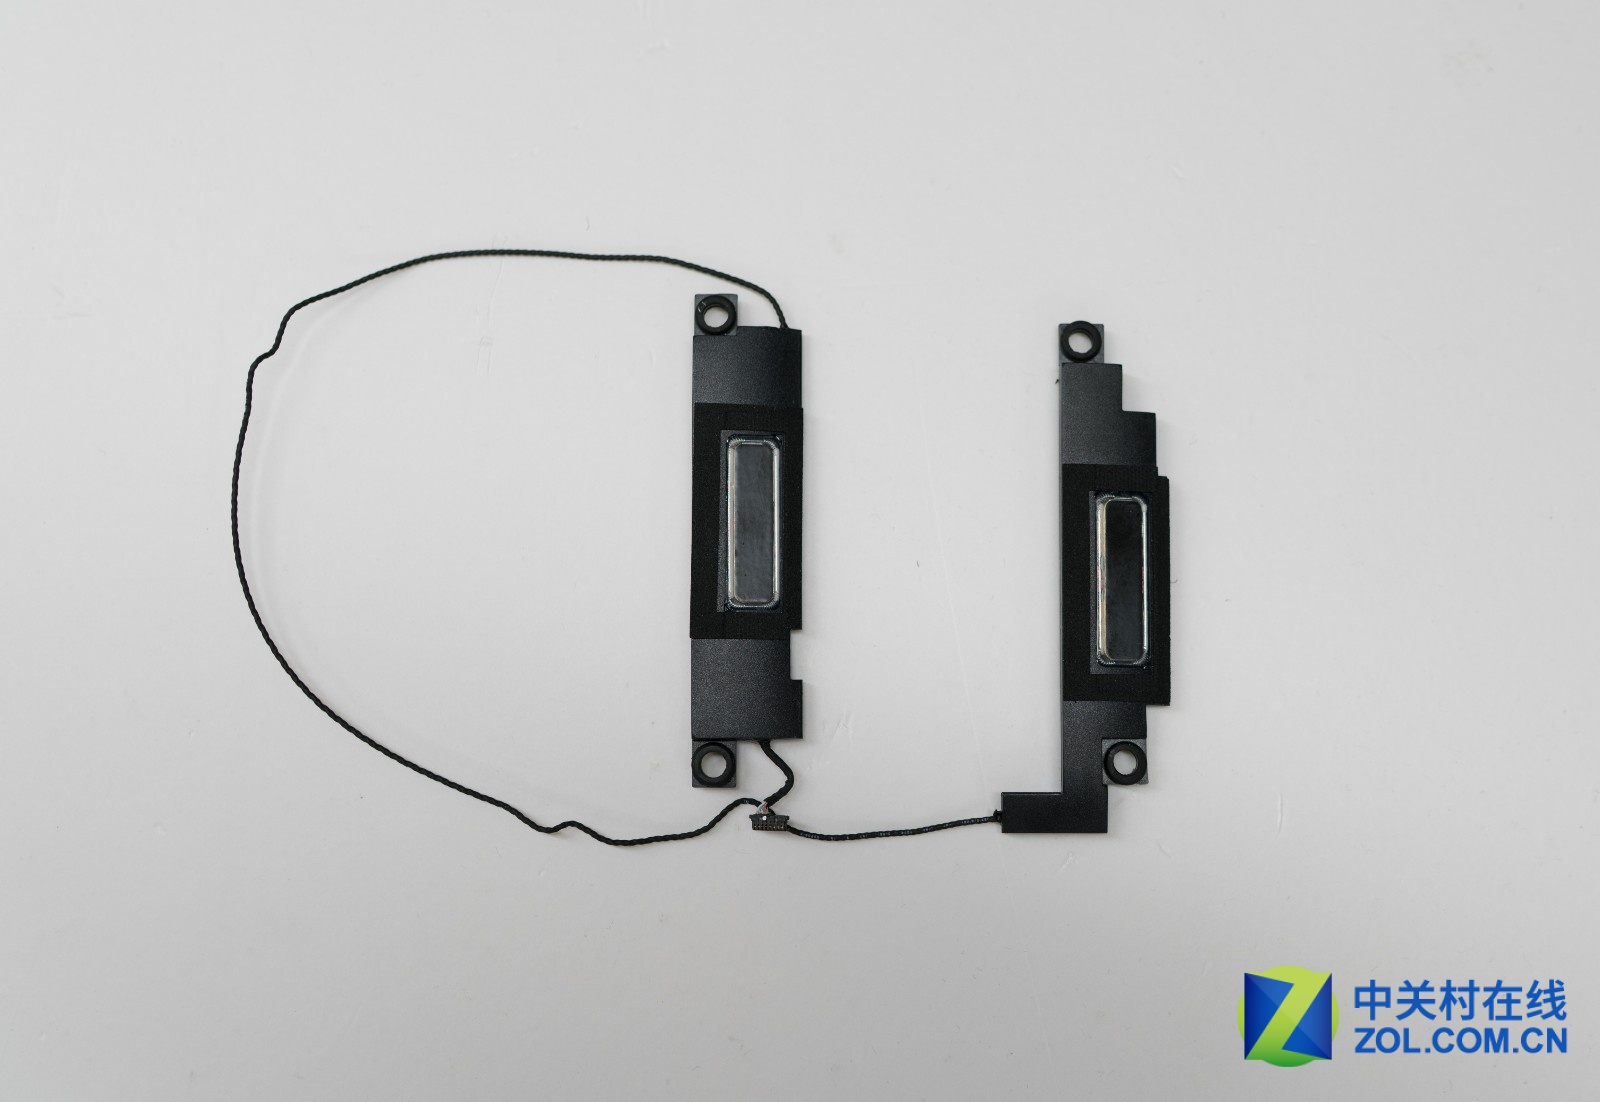
The speakers on both sides of the device are moderately sized and deliver good sound quality.
Remove the screws securing the cooling fan and heatsink, and unplug the fan cable from the motherboard to take out the fan and heatsink. It can be seen that the two fans adopt an integrated design with similar sizes. However, due to chassis size constraints, both fans are relatively slim, relying on a large number of blades and high speed to achieve better airflow and air pressure.
There are many pure copper heat sink fins below the heat pipe, and the heat spreader also covers the CPU power supply area.
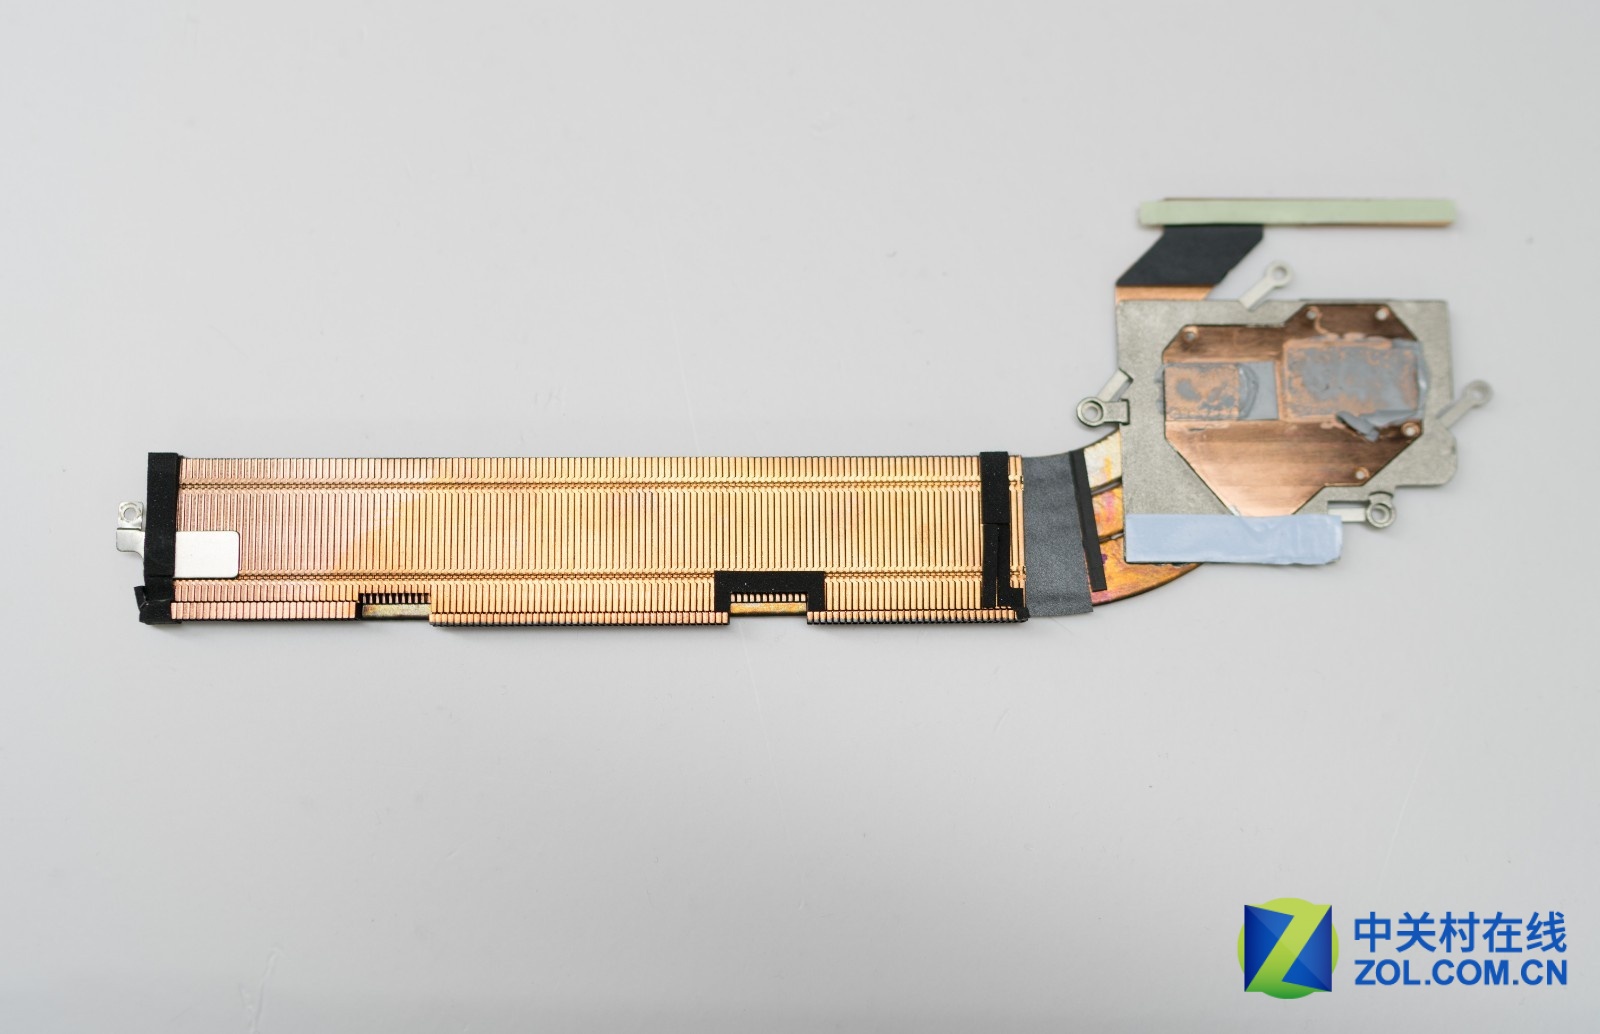
Similar to the fan, the size of the device affects the thickness of the heatsink. The internal thickness is only about 2-3 mm, but the large area can provide good cooling efficiency.
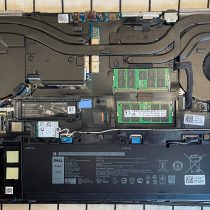
This is the complete picture of the motherboard after removing the cooling module, fan, battery, metal shield, and SSD. To replace the keyboard, you need to remove the motherboard and the left USB board.
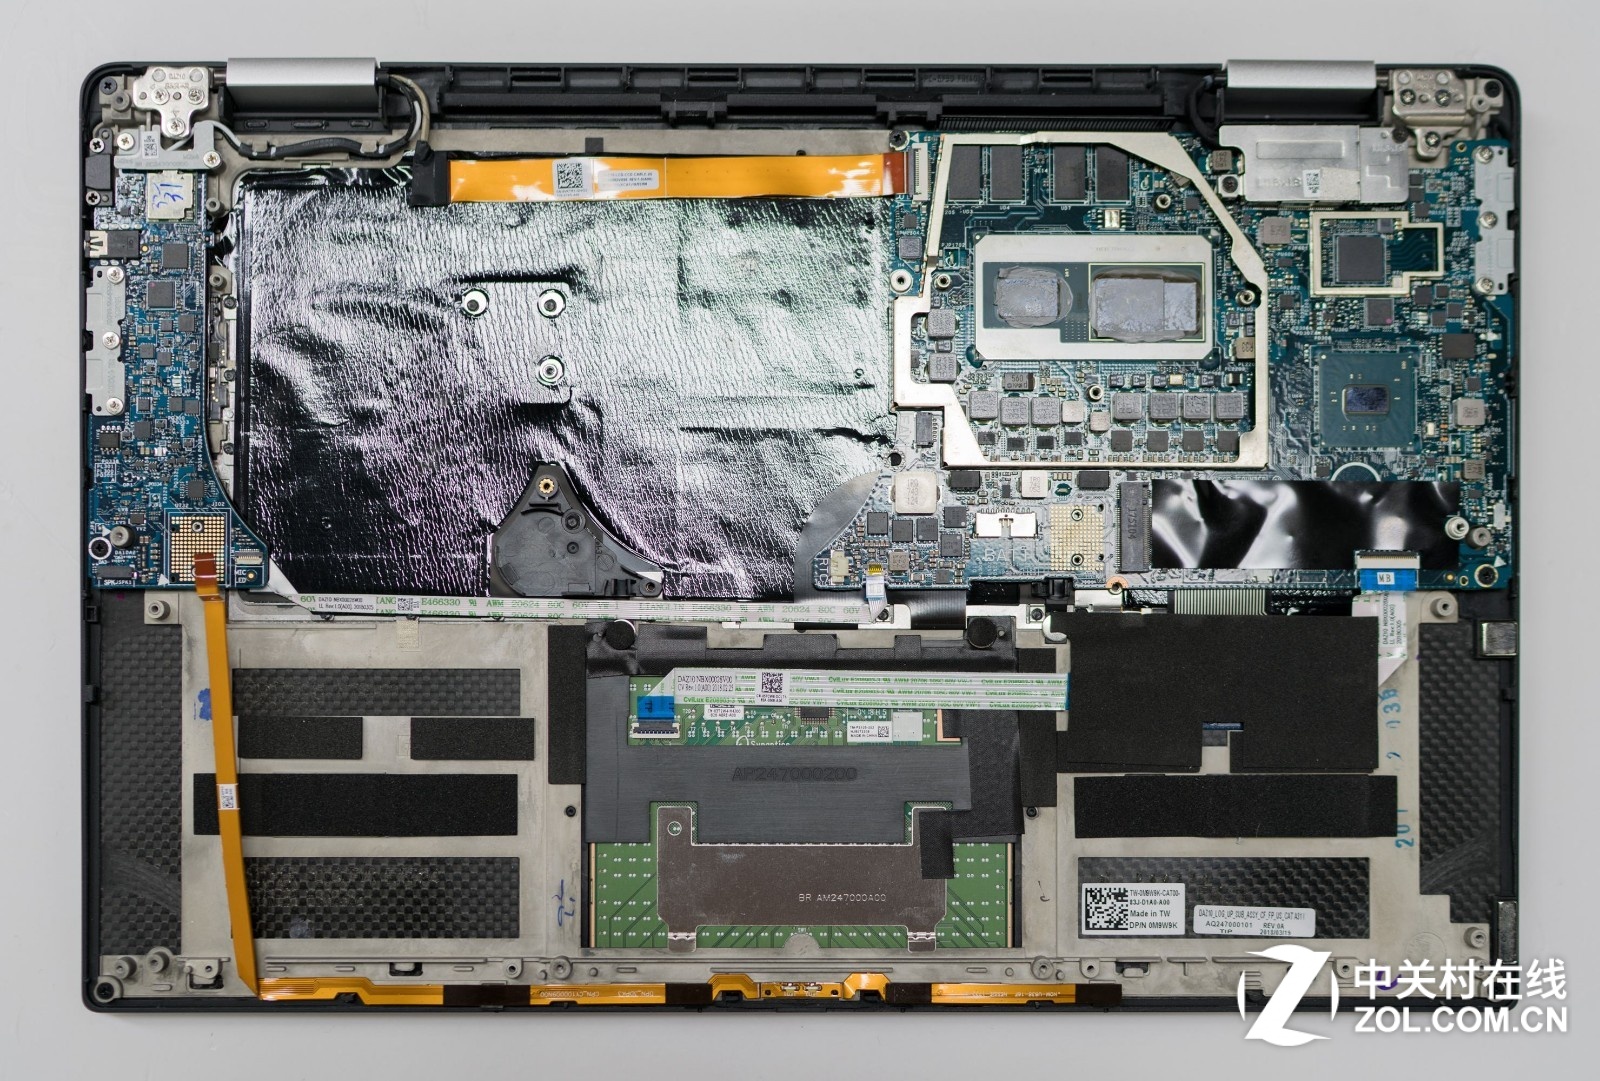
The memory board is soldered onto the motherboard and hidden under a metal shield. After removing the metal shield, you can access 8GB of memory, which consists of four chips.

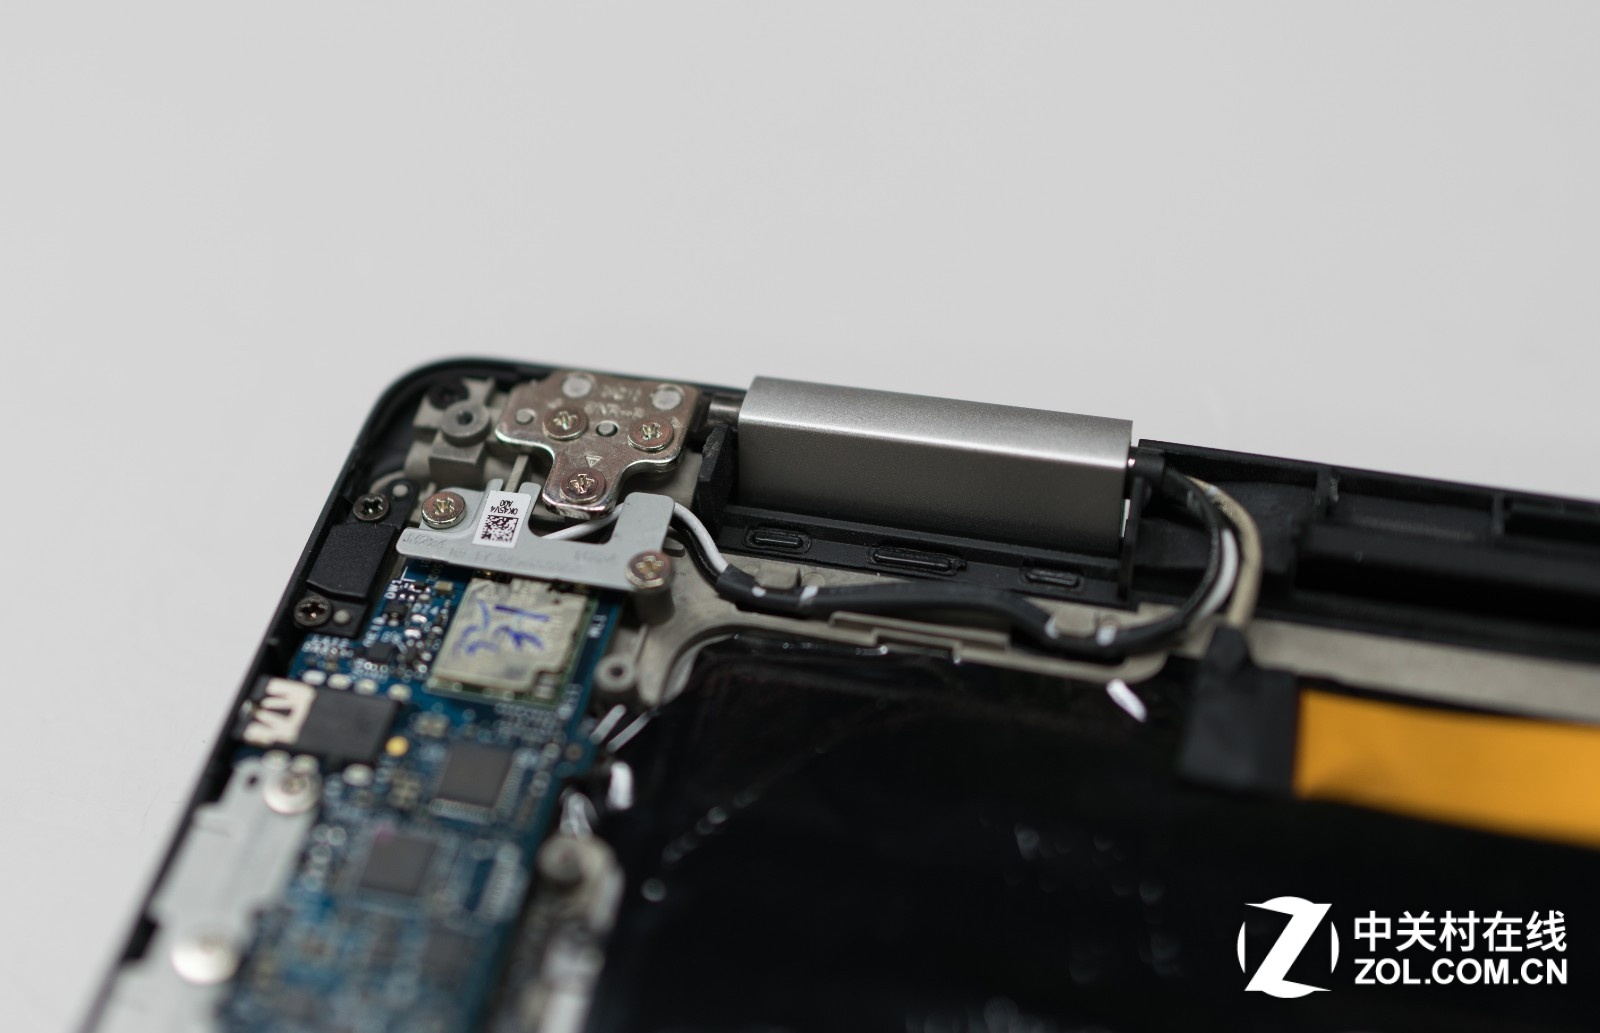
The control chip of the Thunderbolt 3 port also has its own metal shield, which shows the rigor of Dell’s design.
Here are the details of the LCD hinges section. This component also has a precise structure and is secured to the body by multiple screws.

You keep saying M.2, but if you look at the card you removed, it’s got NVME and not M.2.
M.2 is a port type, and NVMe is a transport protocol. Some laptops’ M.2 ports support the NVMe protocol, and some do not.
Hi, is it possible to replace the 512GB drive with a 1TB SSD?
Yes, of course
On my Dell XPS 9575, the rear Thunderbolt 3 port that is used for charging and connecting to my TB16 dock broke when the computer fell with the charger in it. Is there a way to replace this Thunderbolt port? To my knowledge and basic troubleshooting, it is the only port that works with Dell’s TB16 docking station.
I think the Thunderbolt port can be replaced separately. You may need to replace the whole motherboard.
Thank you very much for this thorough breakdown. I am looking to upgrade from 512 to 2TB for the current Dell model, but after looking at many write-ups, I am finding it difficult to choose which brand/SSD to buy.
I’m unsure if my motherboard will support a 4×4 M.2 SSD, and if it’s worth buying if it makes no difference from running 3×4 M.2 SSDs. Would you be so kind as to recommend a good choice that doesn’t require upgrading in the short term?
Kind regards
Wayne Farquharson
Is it possible to update the RAM by soldering?
Is it possible to upgrade the RAM for this laptop (Dell 15 9575)? It currently has 16GB of RAM, and I’m considering doubling that to 32 GB. Would this affect my laptop in some way? Would I need to upgrade/update the motherboard as well?
Its memory is welded to the motherboard. If you want to upgrade the memory, you can only replace the memory chip soldered on the motherboard. General repair shops do not have such technical ability.
The only way is to buy a motherboard with 32 GB of memory.
Can you show me how to change the internal keyboard?