

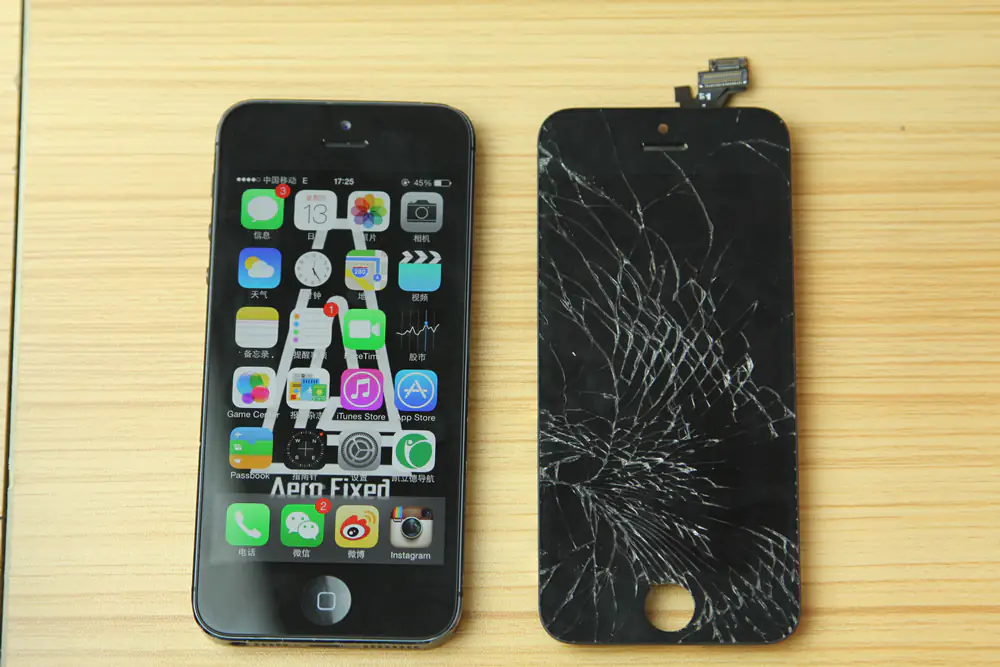
In this guide, I will explain how to remove and replace the iPhone 5s screen. If your iPhone screen is cracked or damaged, you can follow this guide to replace it.
Want to stay connected to MyFixGuide.com? Follow us on Facebook to check out the latest teardowns.
Tools needed.
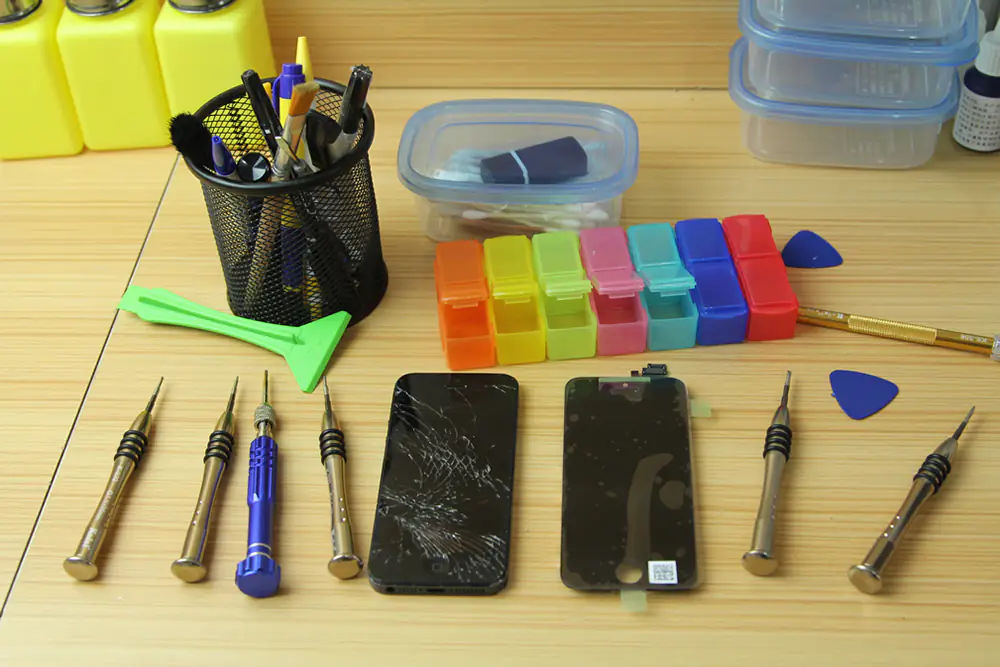
Apple iPhone 5s Screen Removal
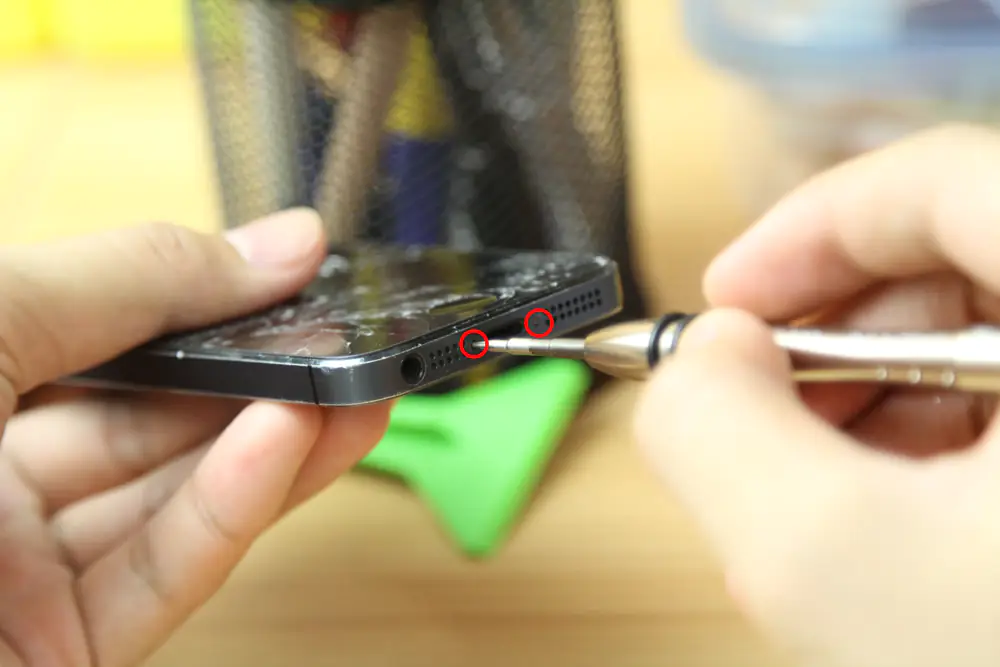
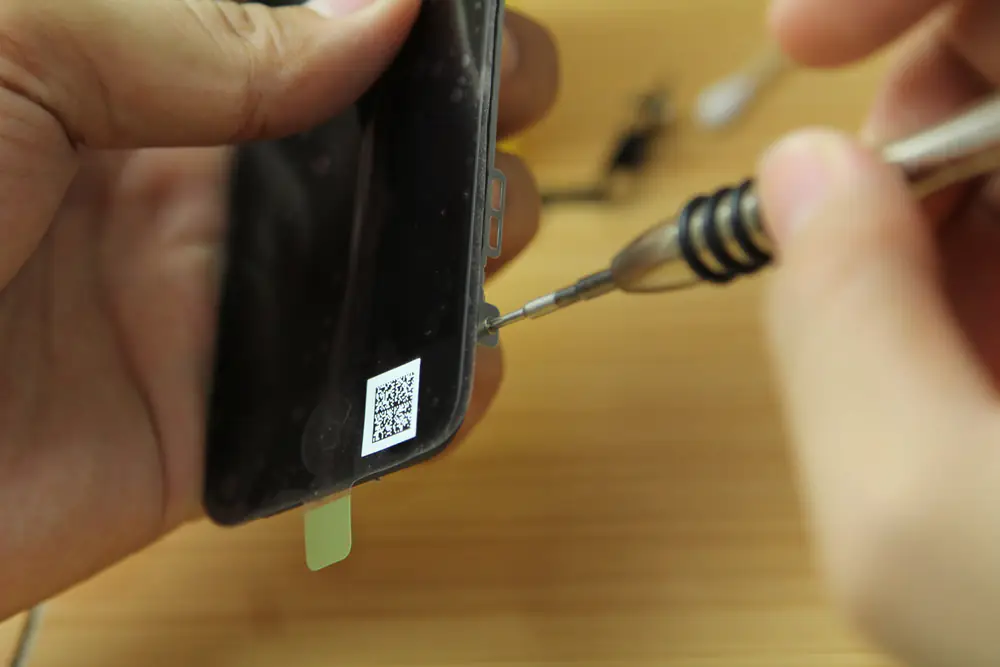
First, power off your iPhone 5s. Remove the two screws next to the lightning connector.
Pry up the screen from the home button.
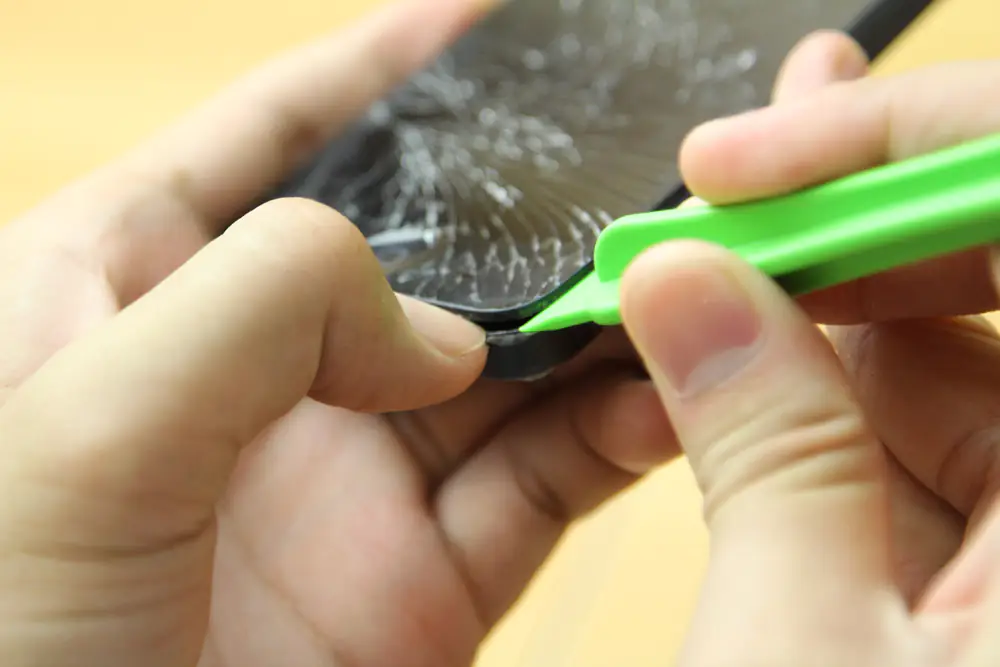
Pry up the screen from the left side.
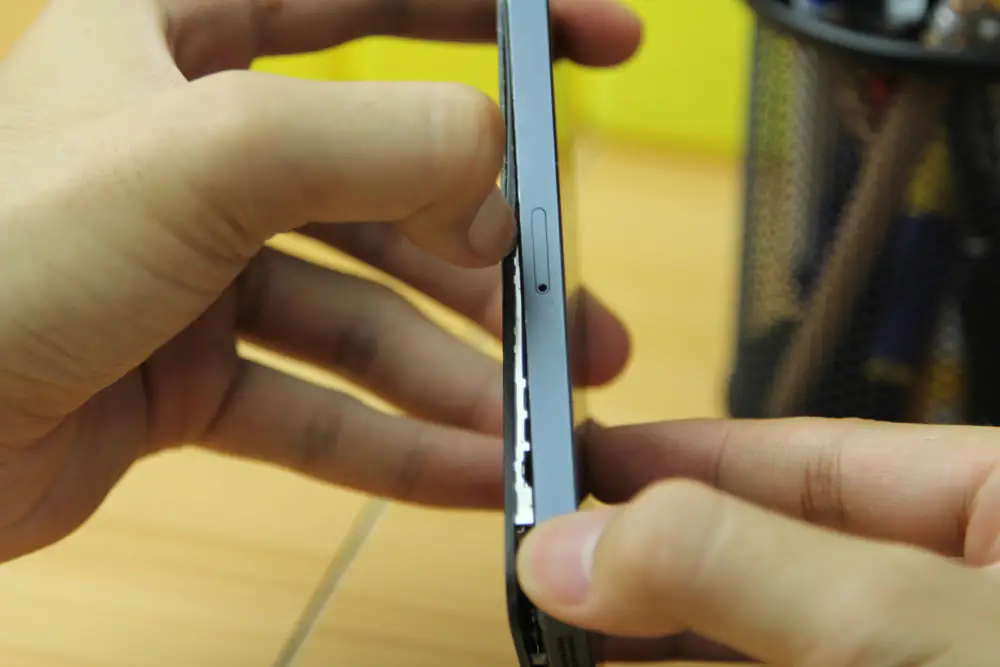
Pry up the screen from the right side.
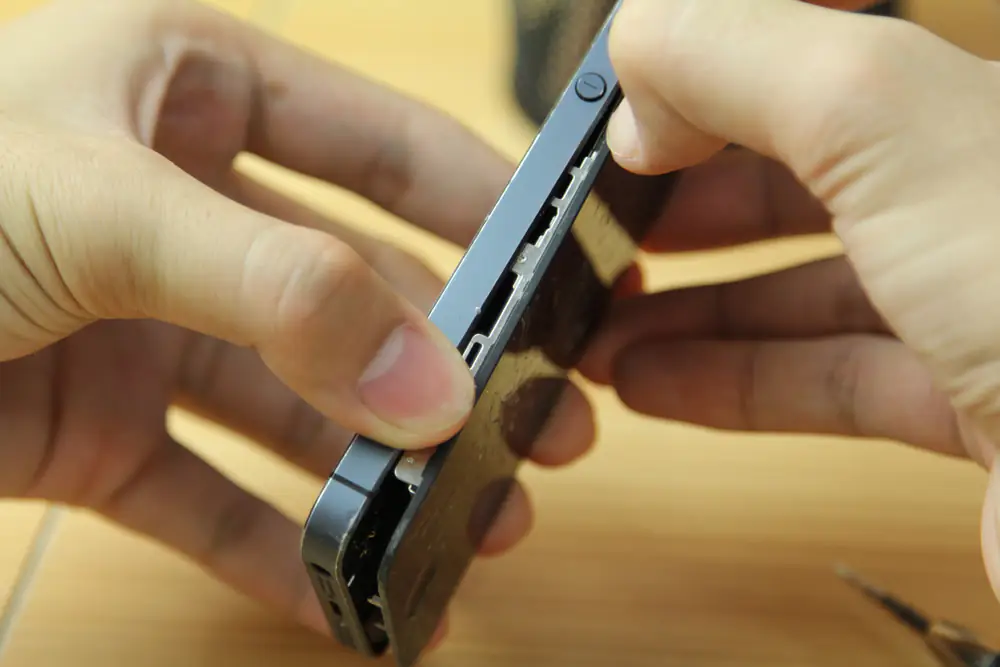
Lift up the screen. Do not try to remove the screen assembly completely. There are several cables still connected to the screen assembly.
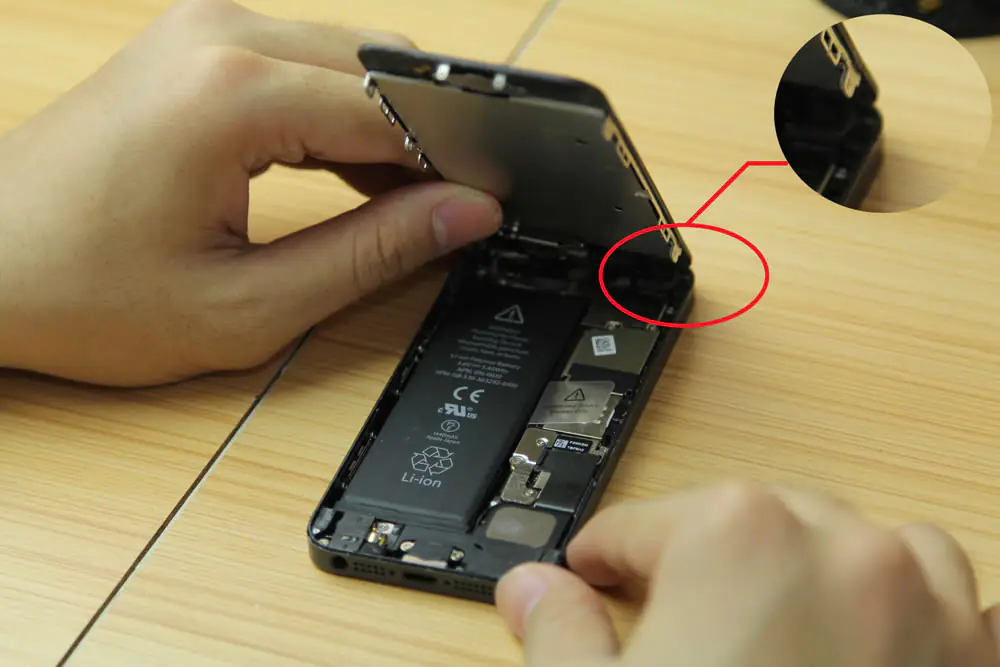
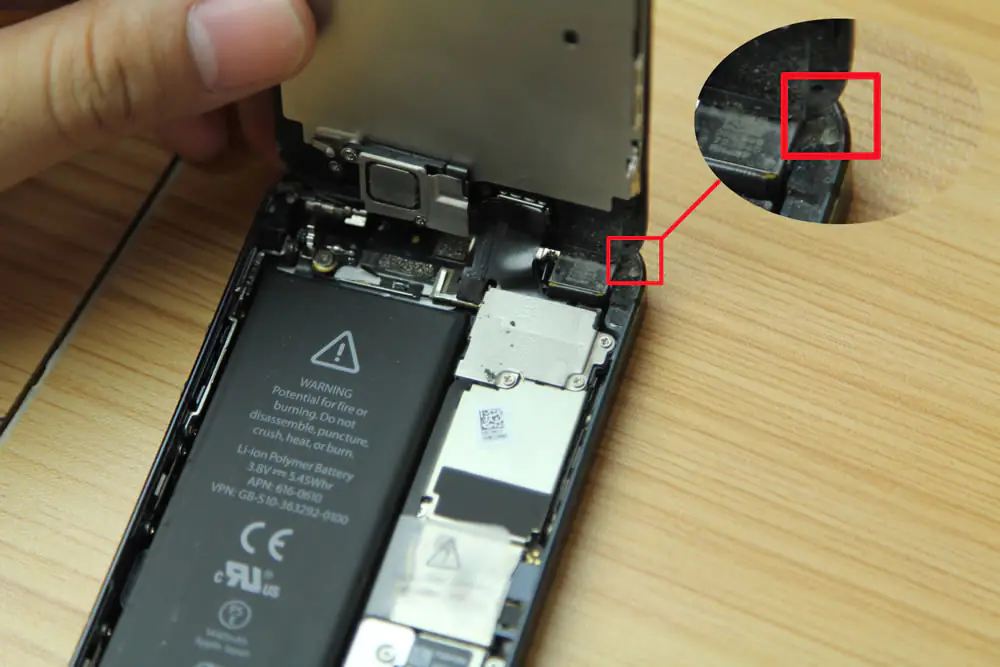
Remove the three screws securing the screen assembly cable bracket to the logic board.
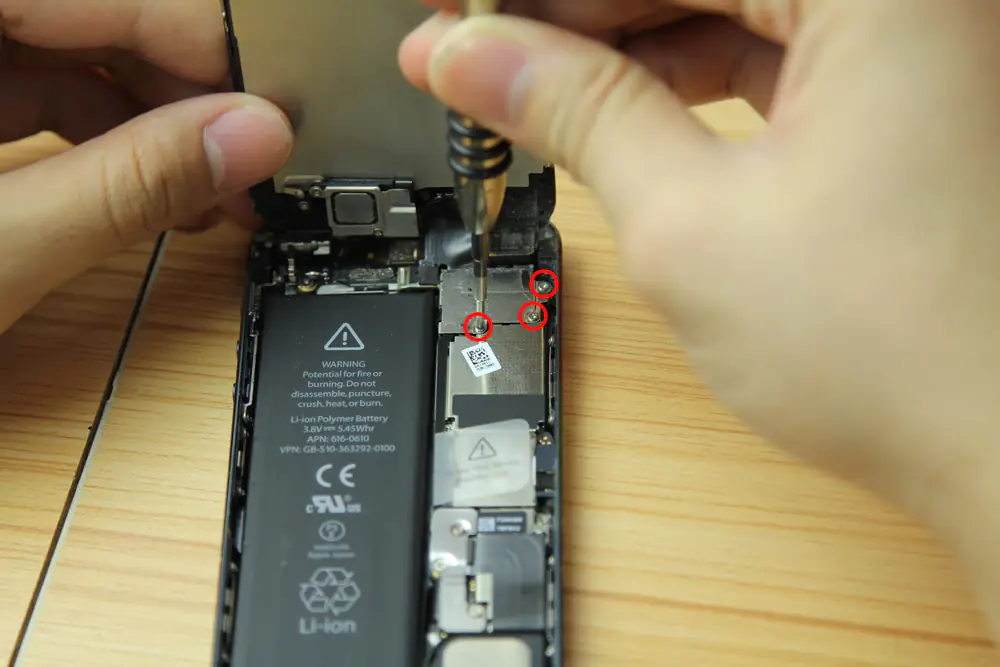
Remove the cable bracket from the logic board.
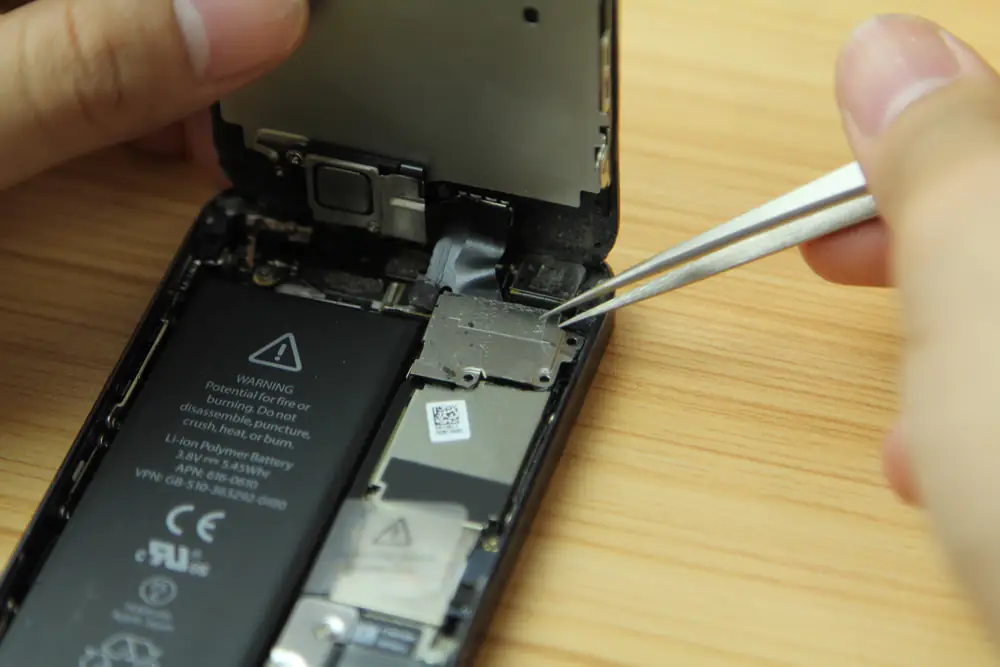
Disconnect the LCD cable, digitizer cable, camera, and sensor cable.
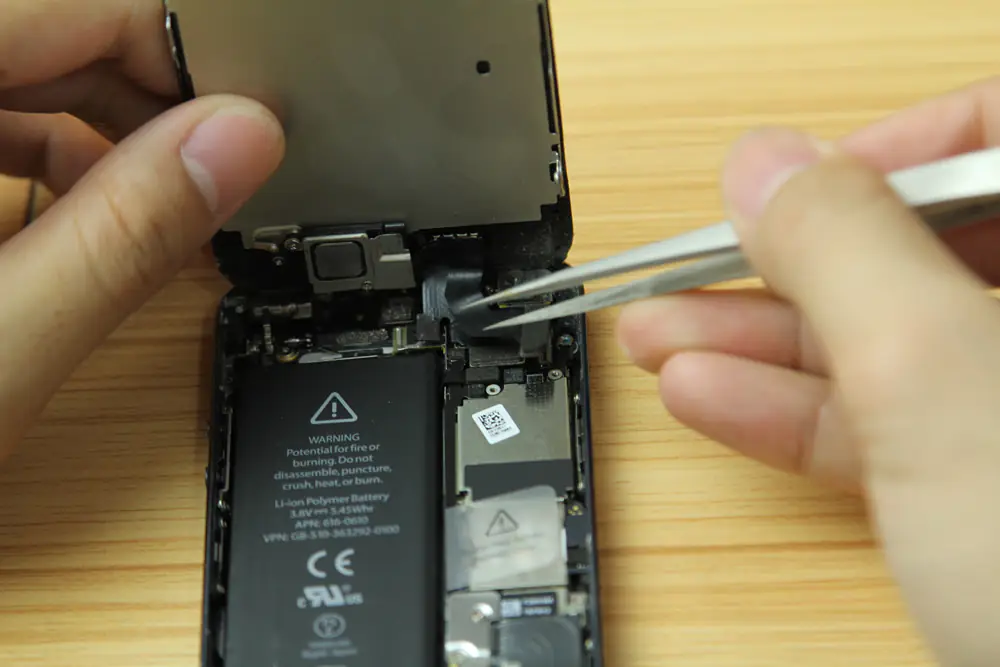
Now, you can remove the screen assembly from the rear cover.
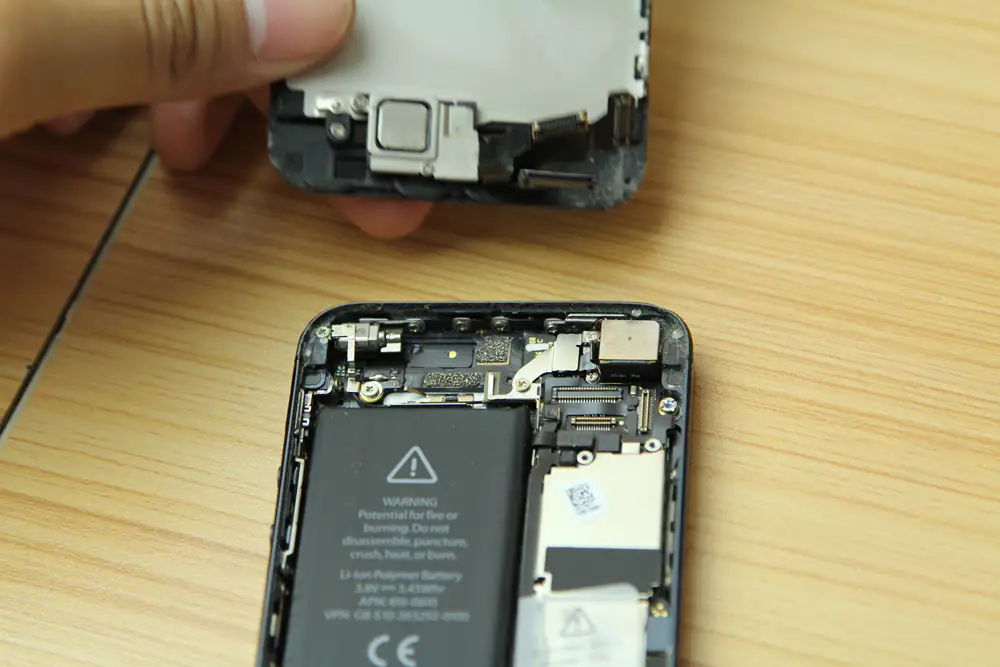
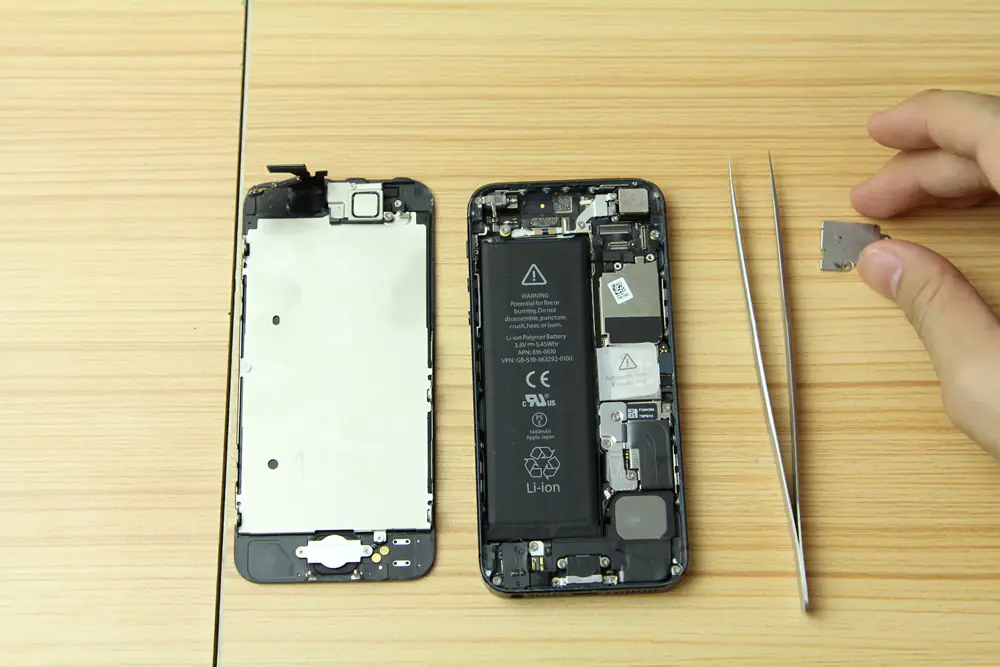
This is the new screen assembly.
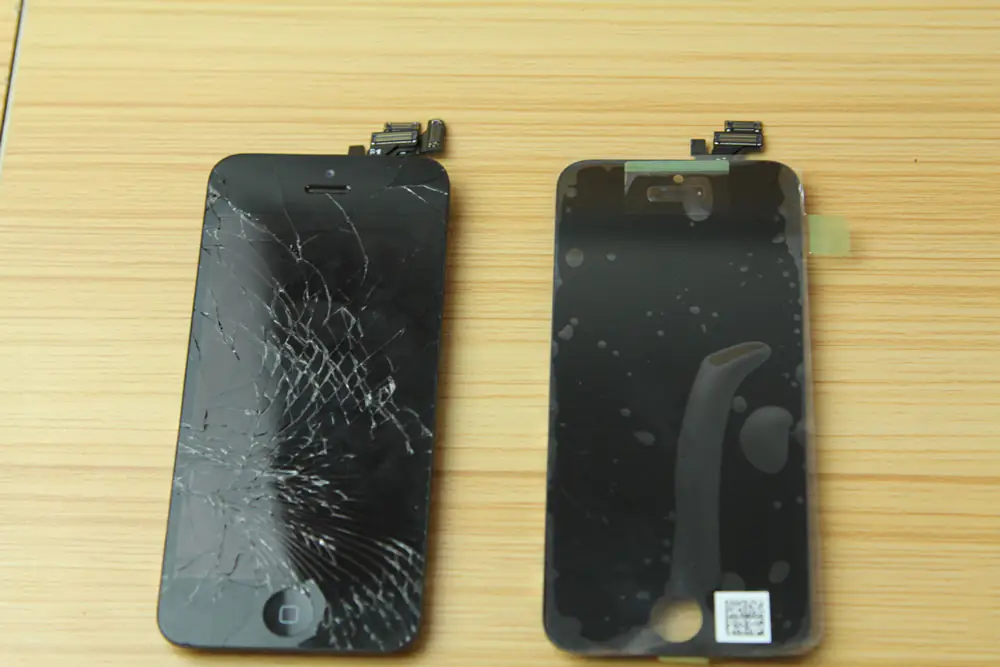
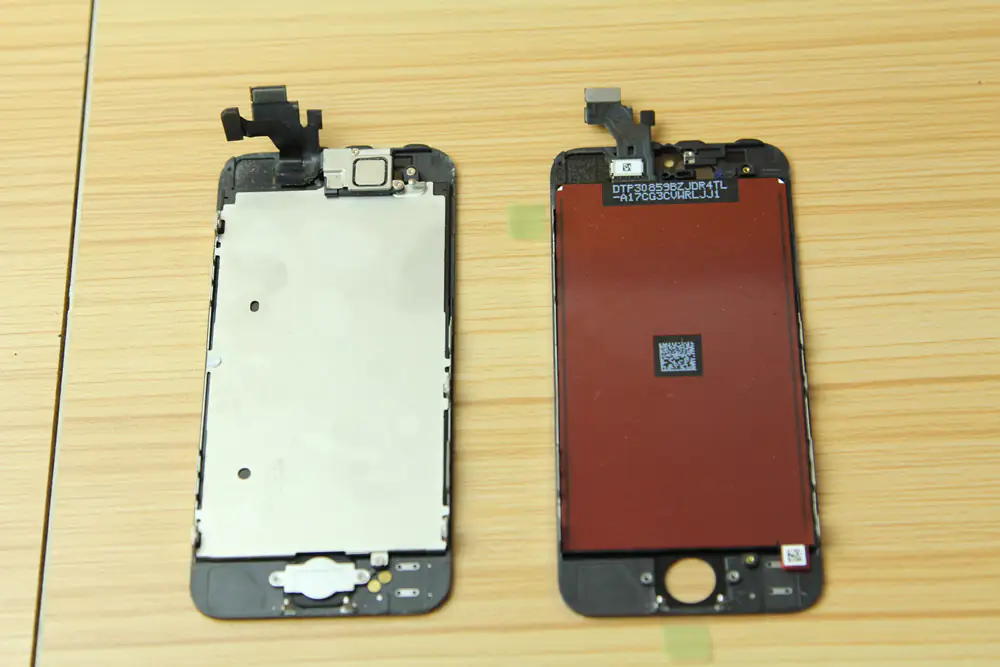
Apple iPhone 5s Screen Replacement
In the following five steps, some parts will be removed from the old screen assembly.
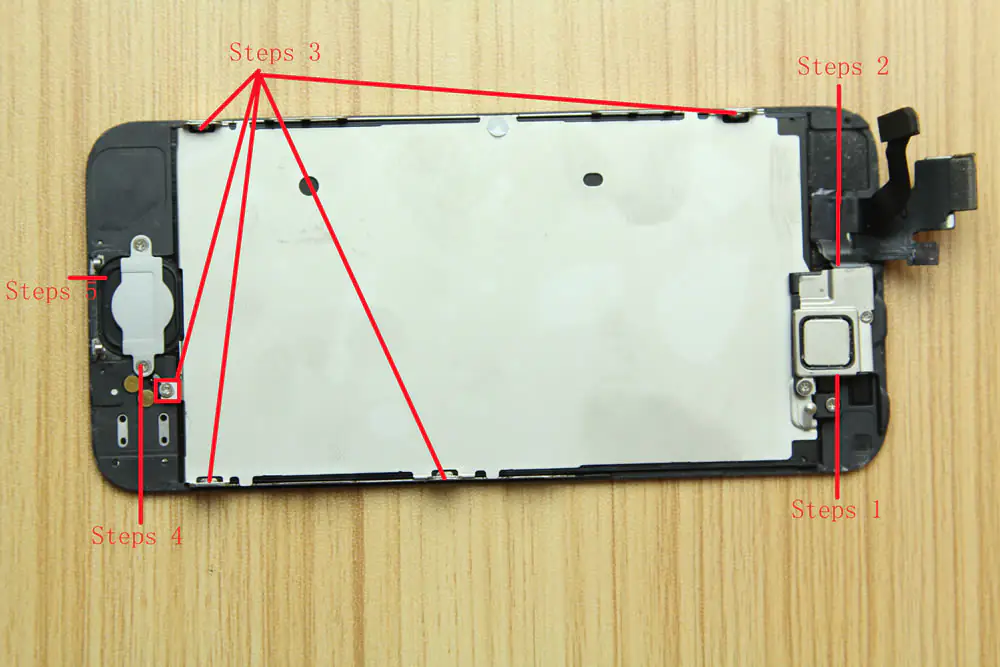
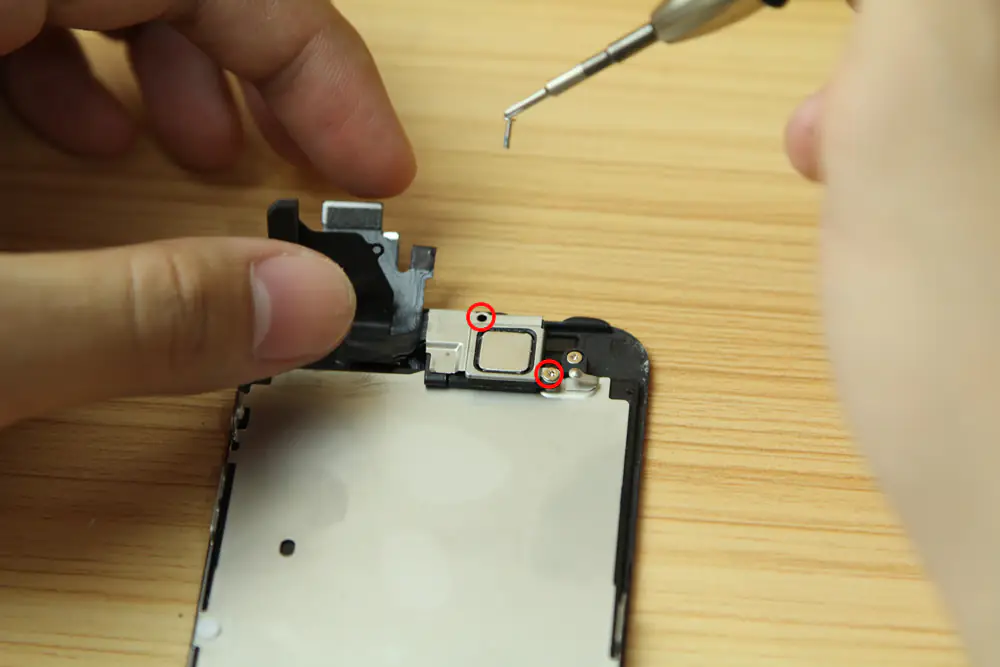
Remove the two screws securing the camera bracket to the screen assembly.
Remove the earpiece speaker bracket.
Remove the camera and rear microphone assembly.
Remove the camera fixed ring and the sensors fixed ring.
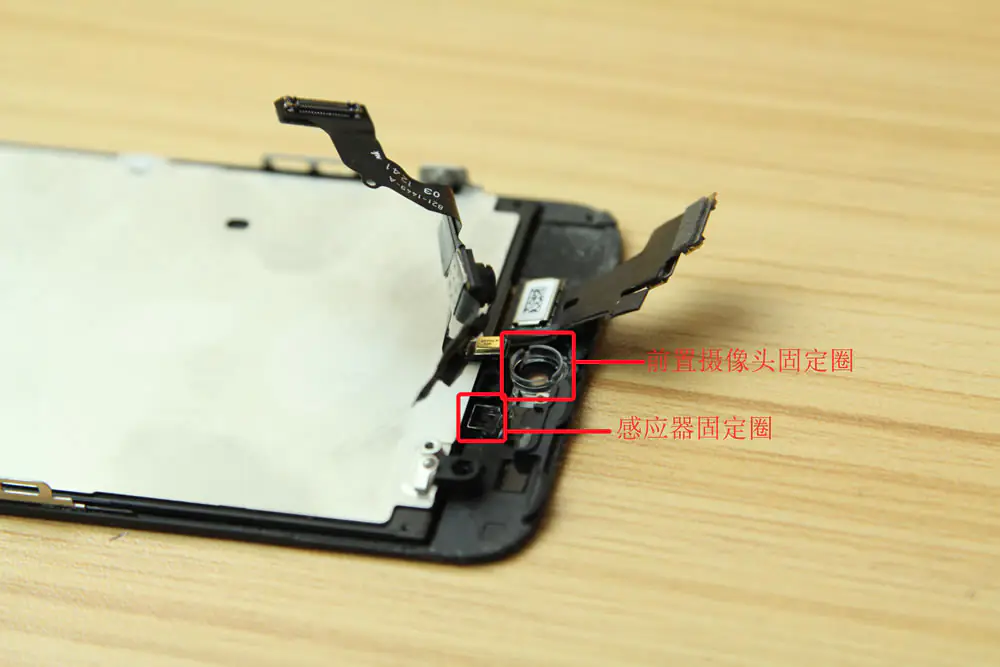
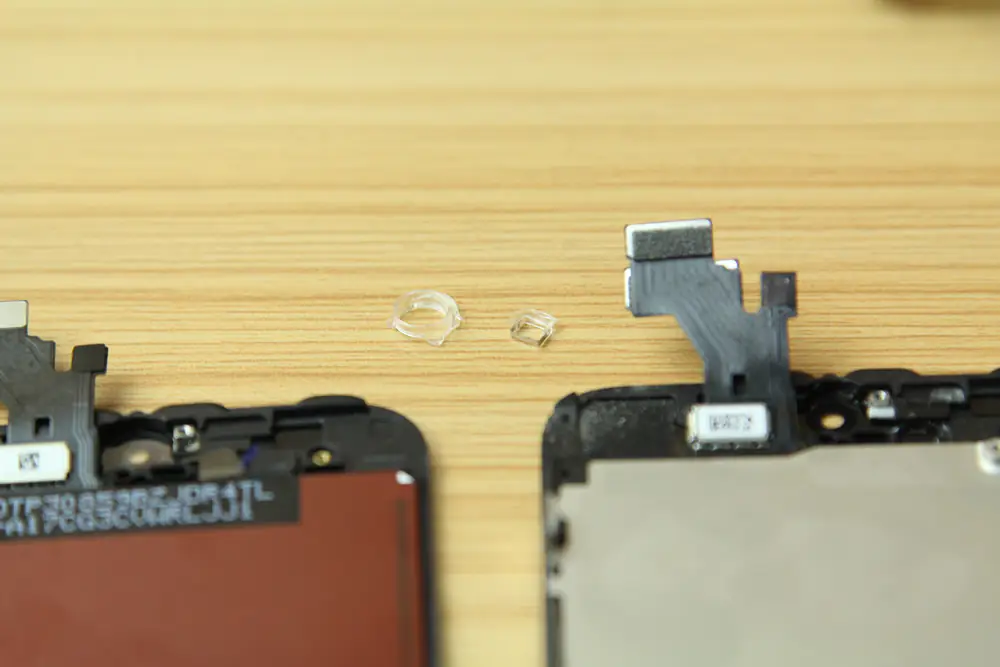
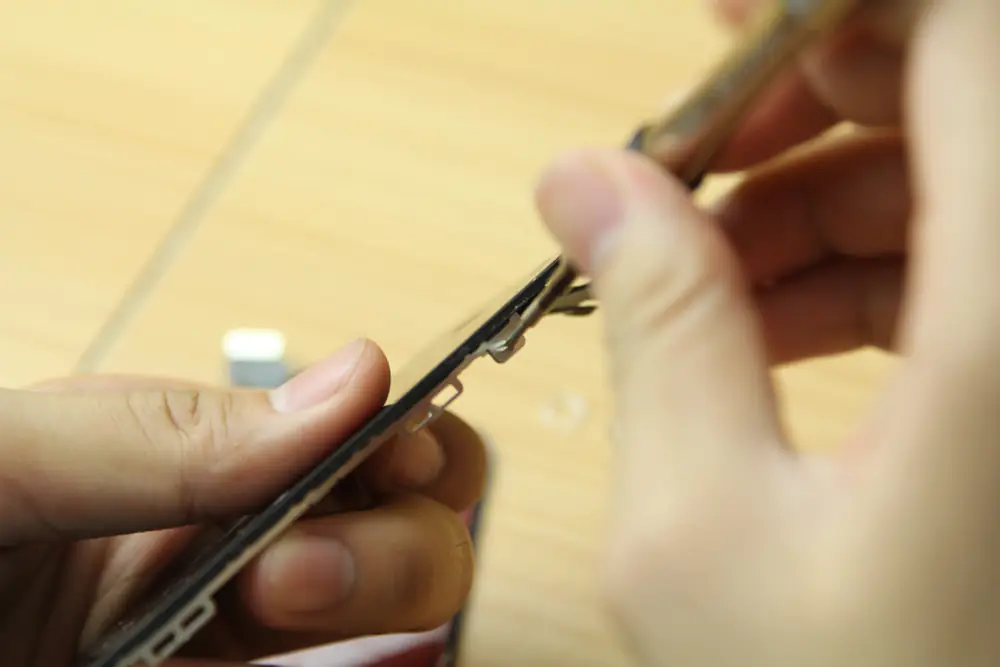
Remove the two screws from each side of the LCD frame.
Remove the two screws securing the LCD shield plate.
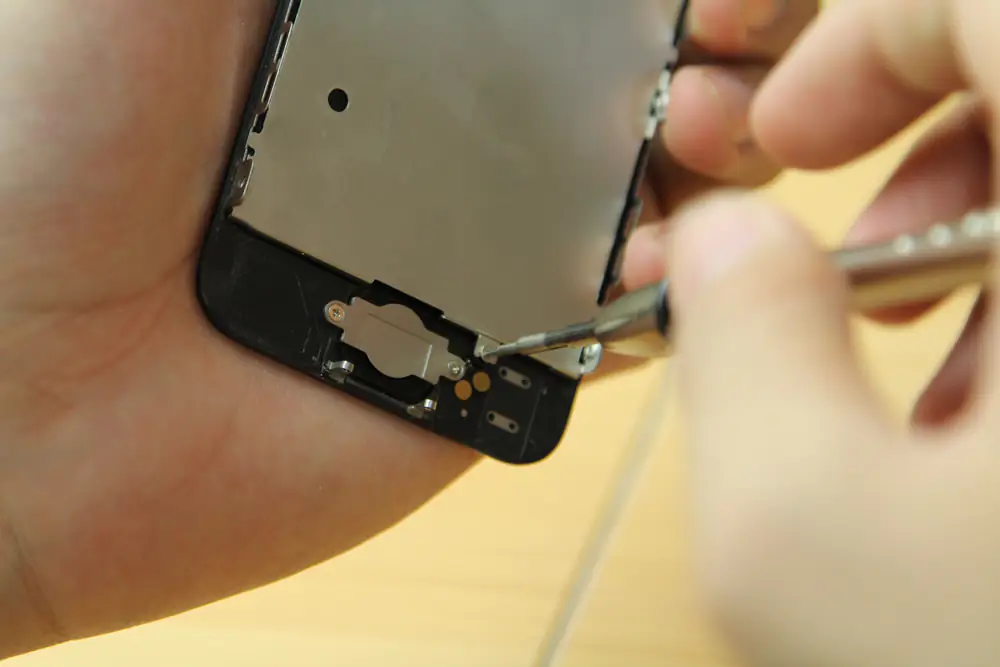
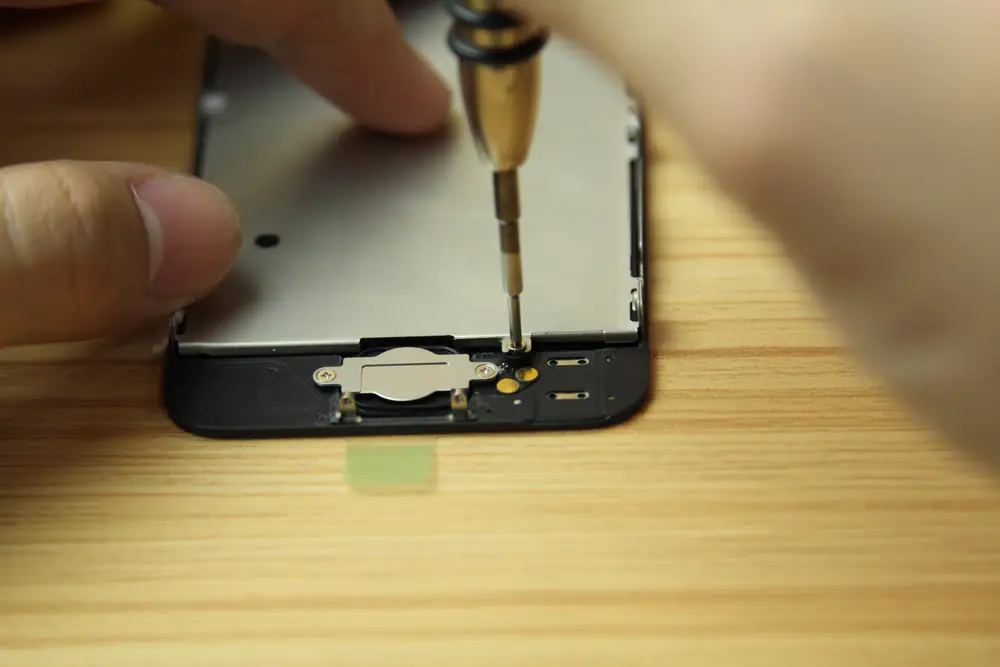
Remove the two screws securing the home button bracket.
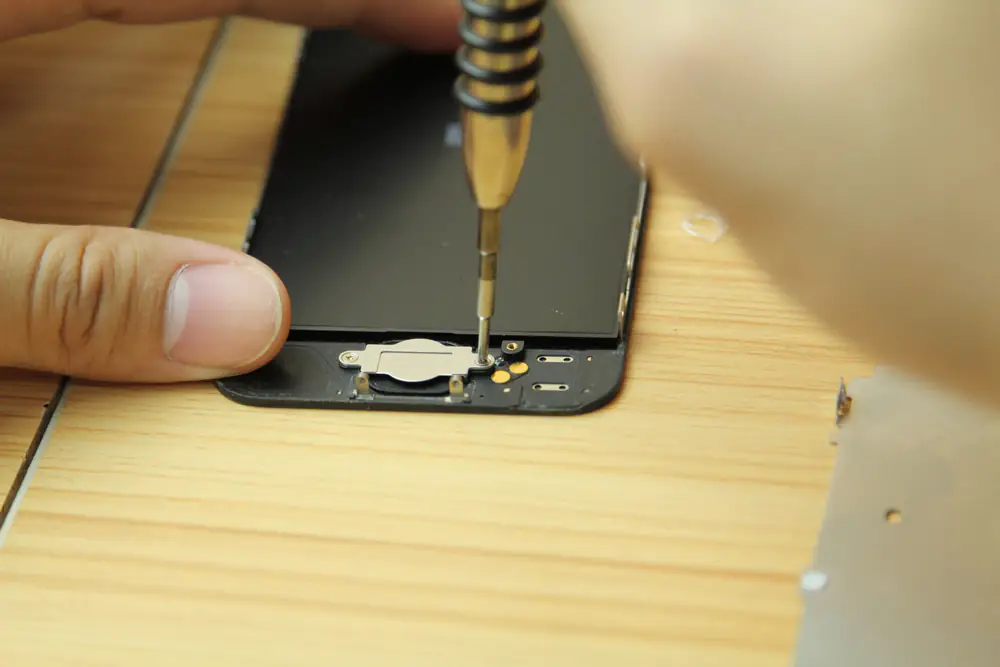
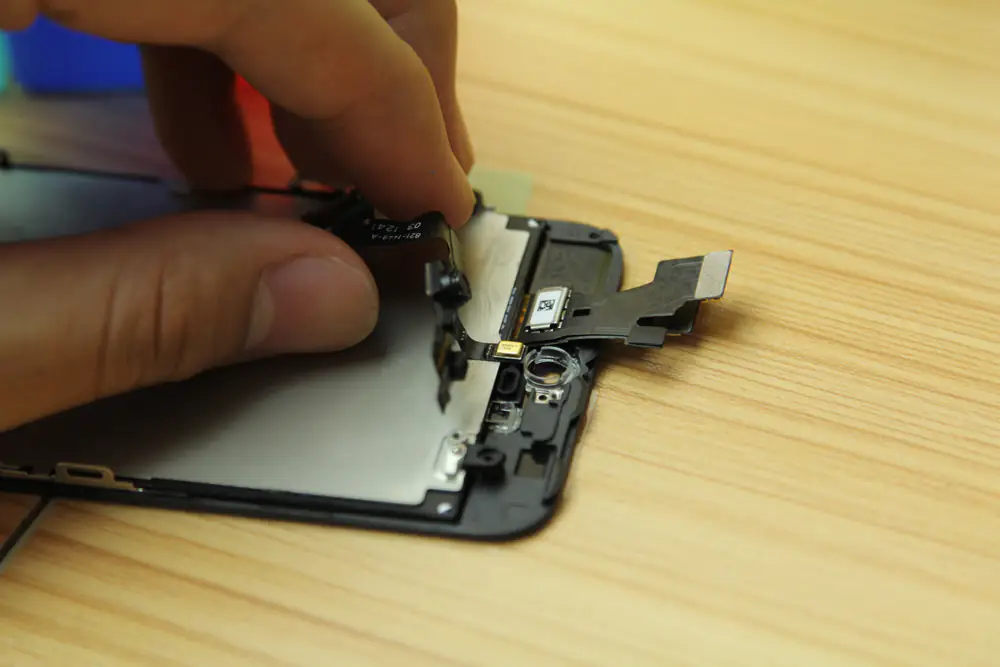
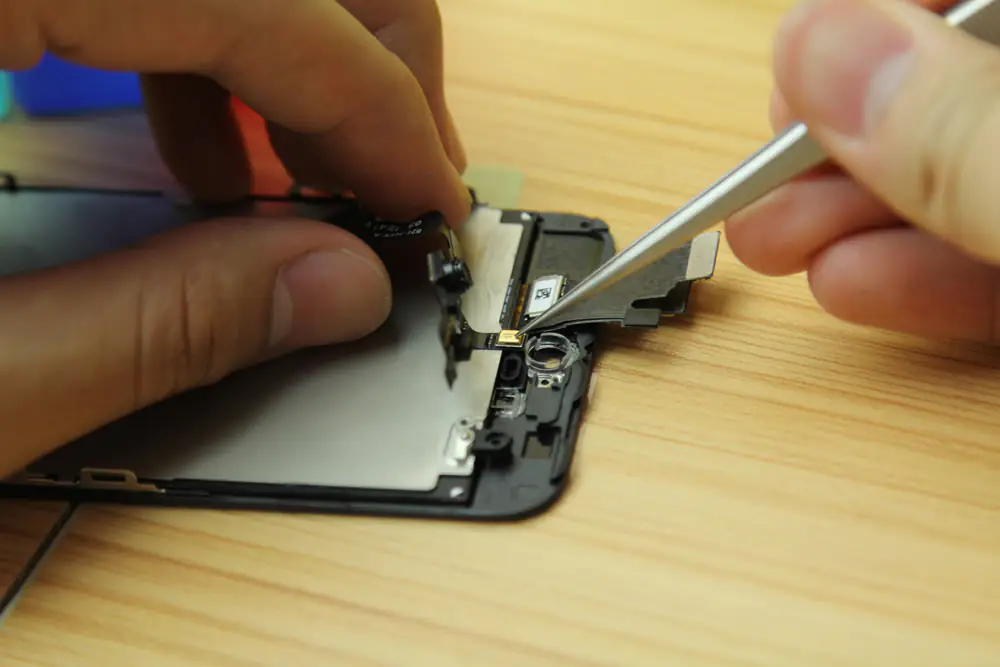
Remove the home button ribbon cable from the screen assembly. Start on the right, then work to the left.
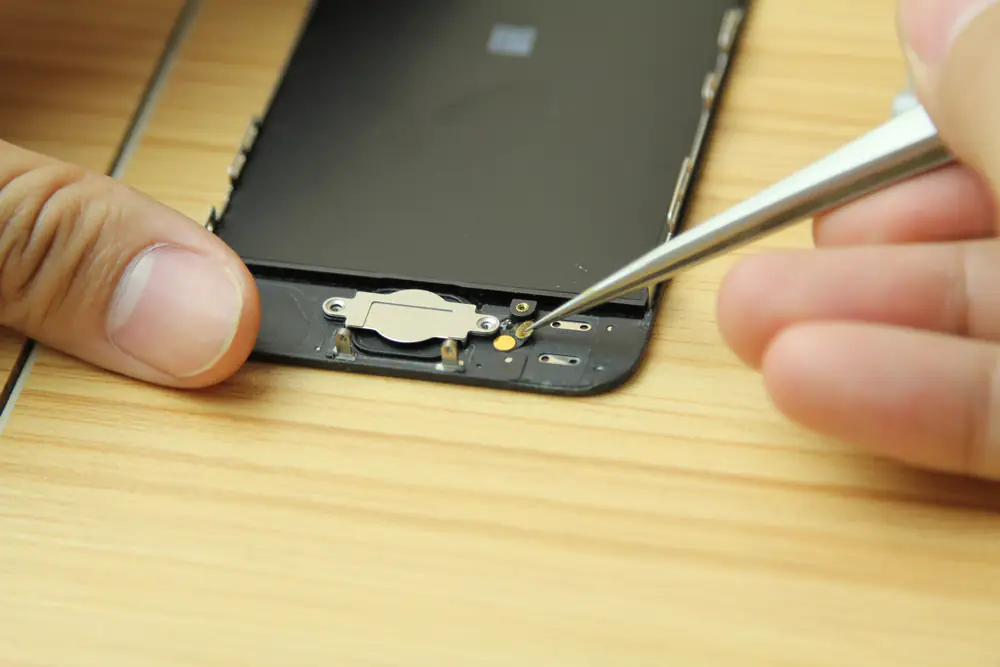
Use a plastic tool to pry up the home button and remove the home button from the screen assembly. In the next step, we will replace the iPhone 5s screen.
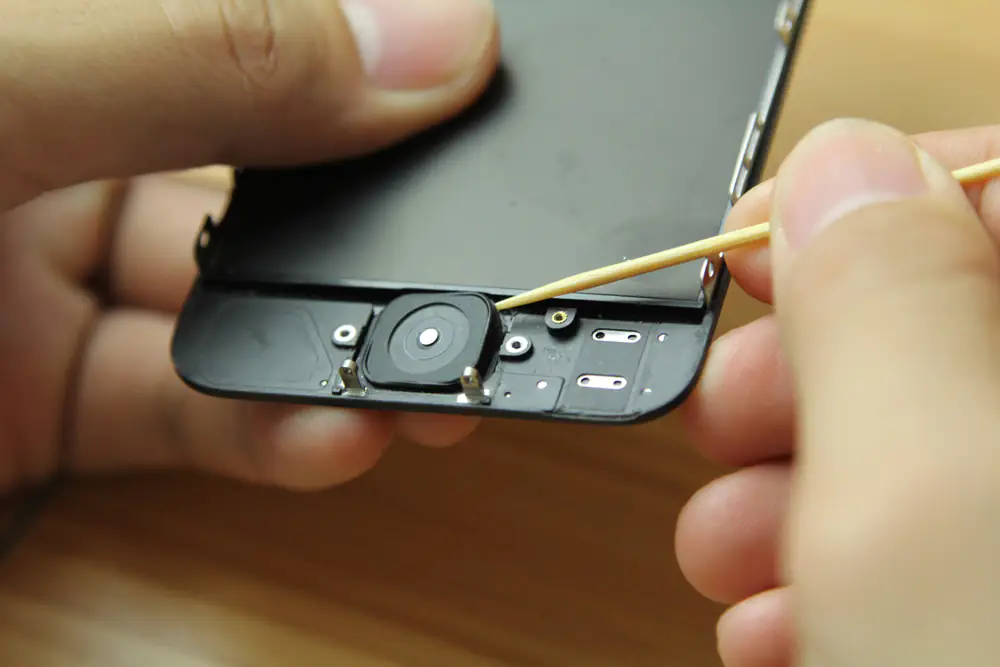
Replace iPhone 5 Screen:
In the following steps, I will install these parts into the screen assembly.
Install the home button on the new screen assembly.
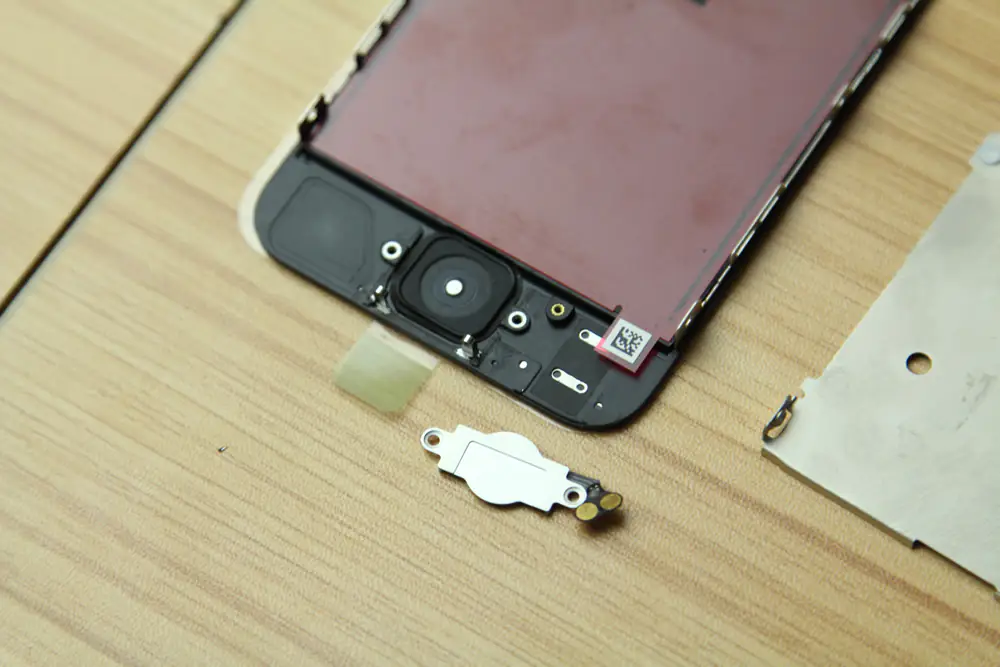
Install the home button bracket to the screen assembly.
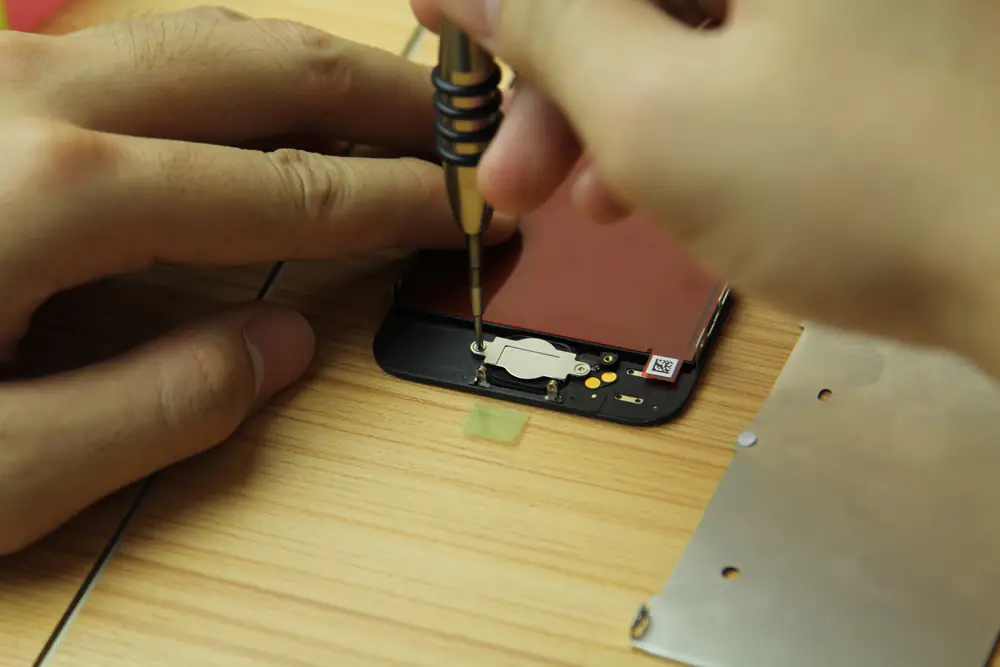
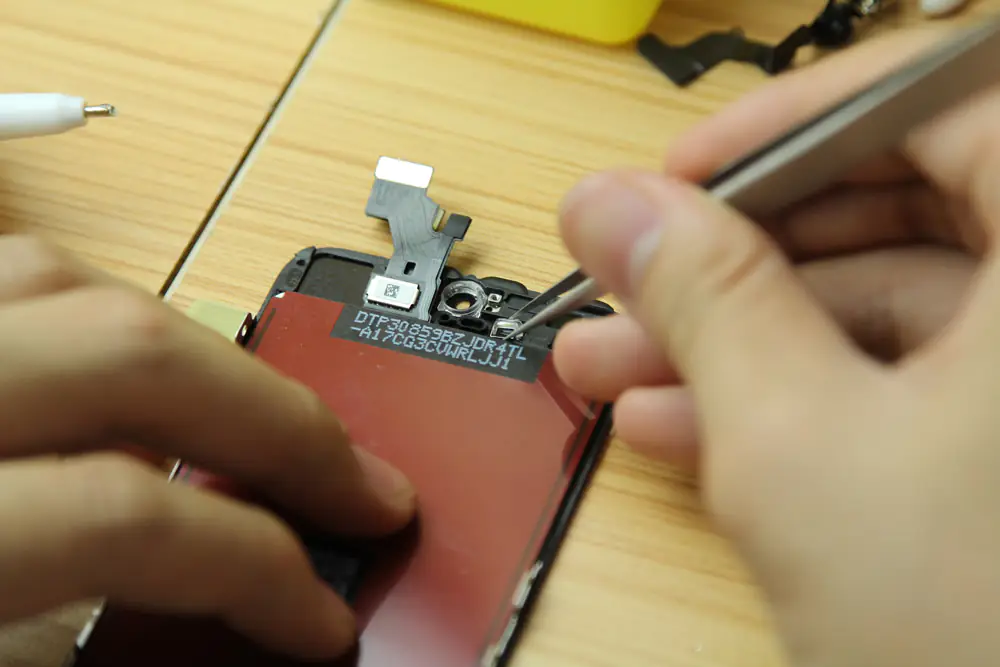
Fix the camera fixed ring and the sensors fixed ring with glue.
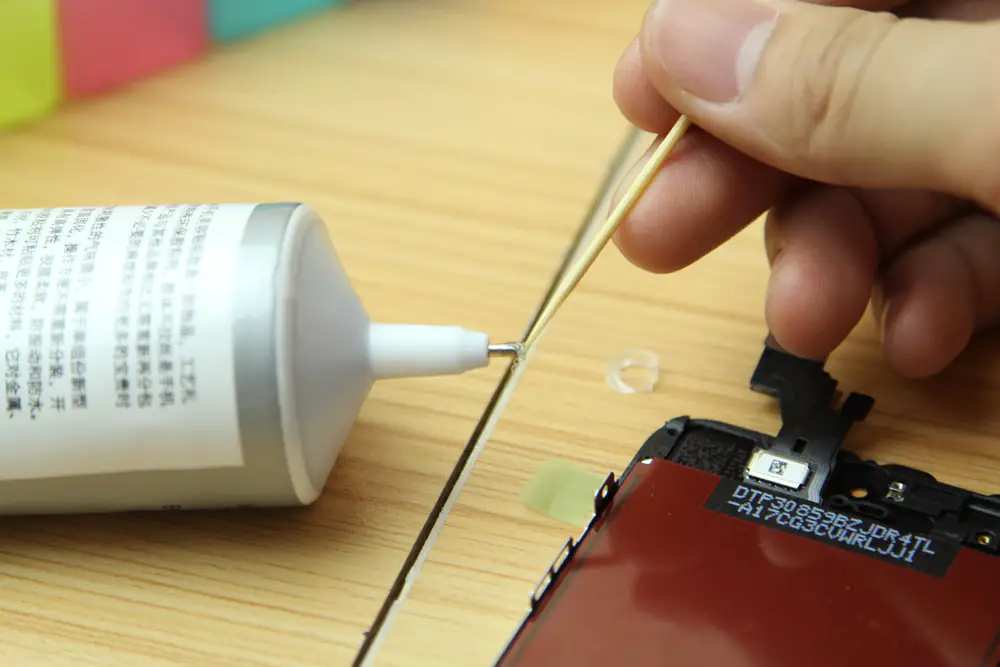
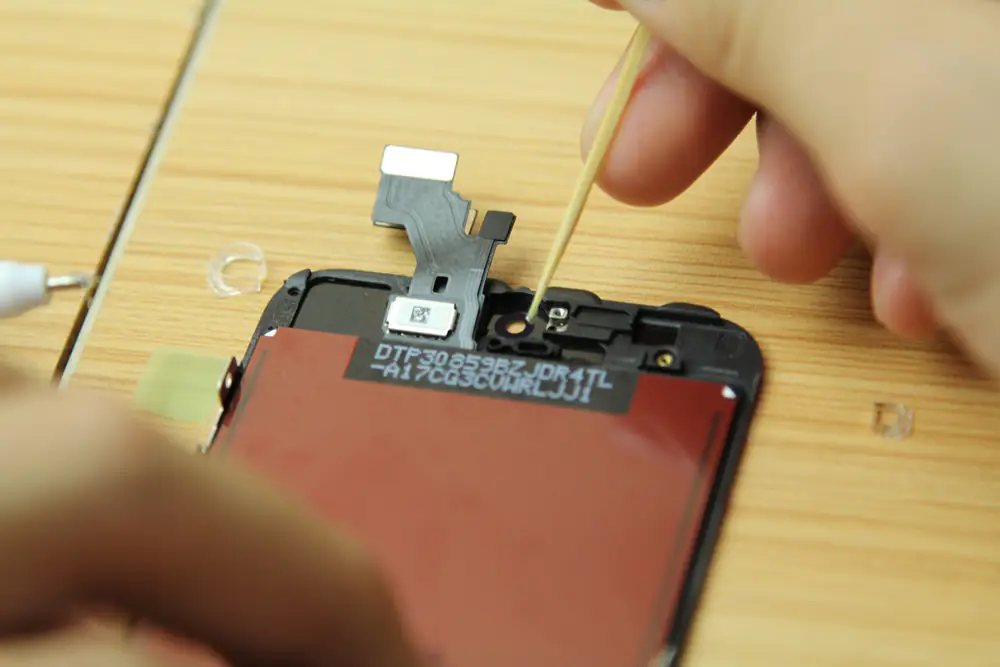
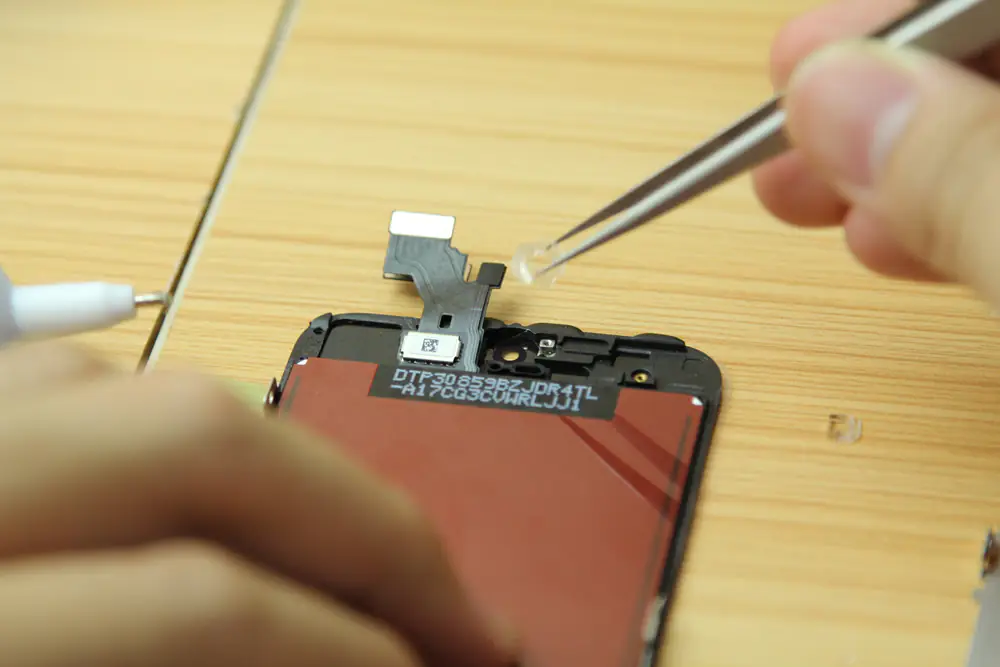
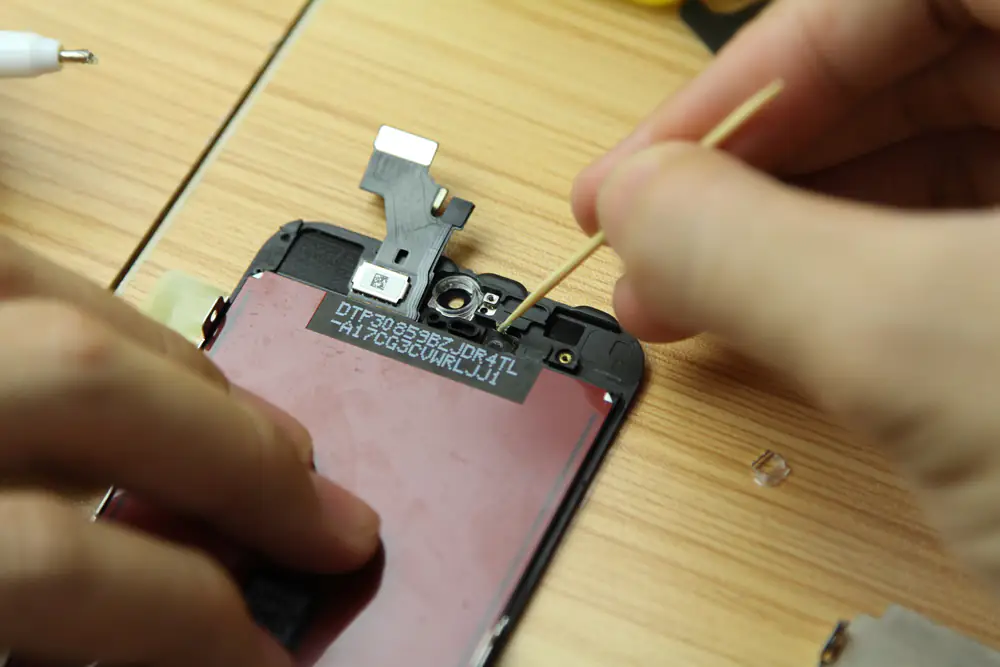
The camera fixed ring and the sensors fixed ring have been installed.
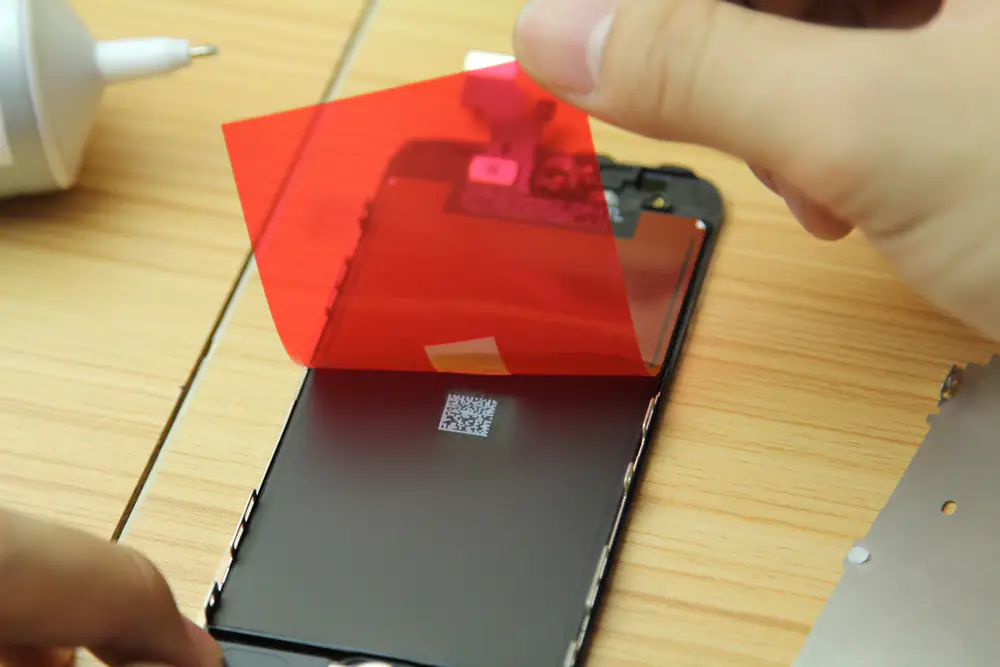
Remove the LCD screen protective film.
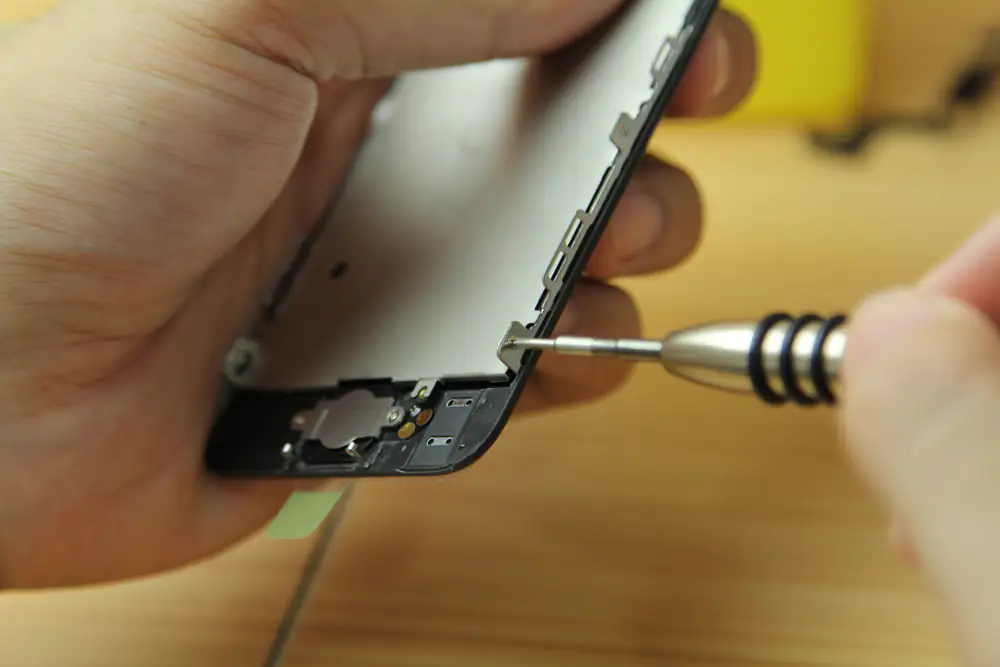
Install the LCD screen frame on the new screen assembly.
Install the front camera.
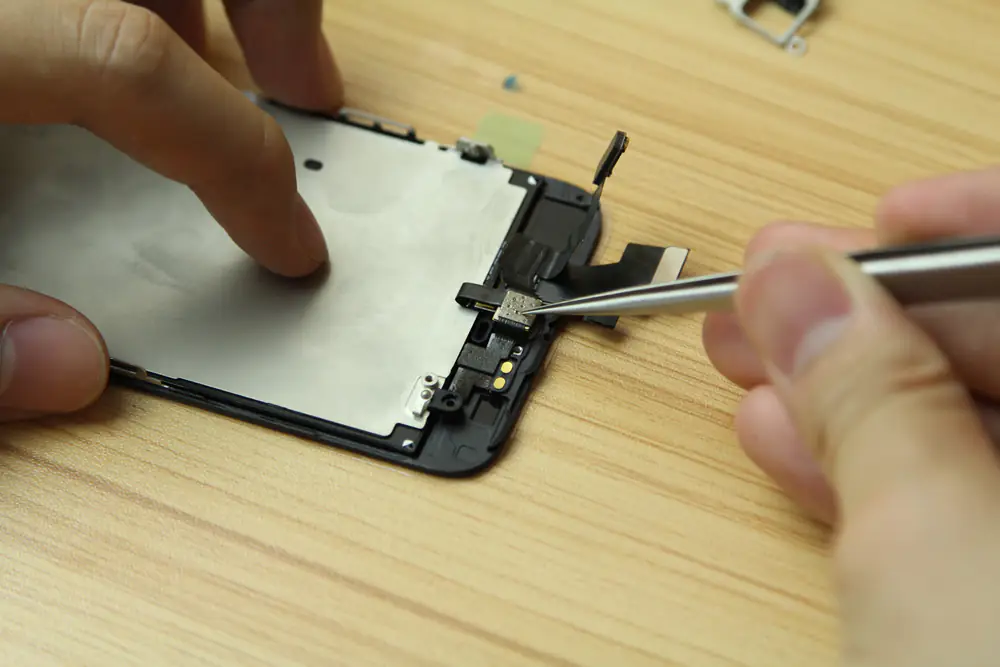
Install the earpiece speaker.
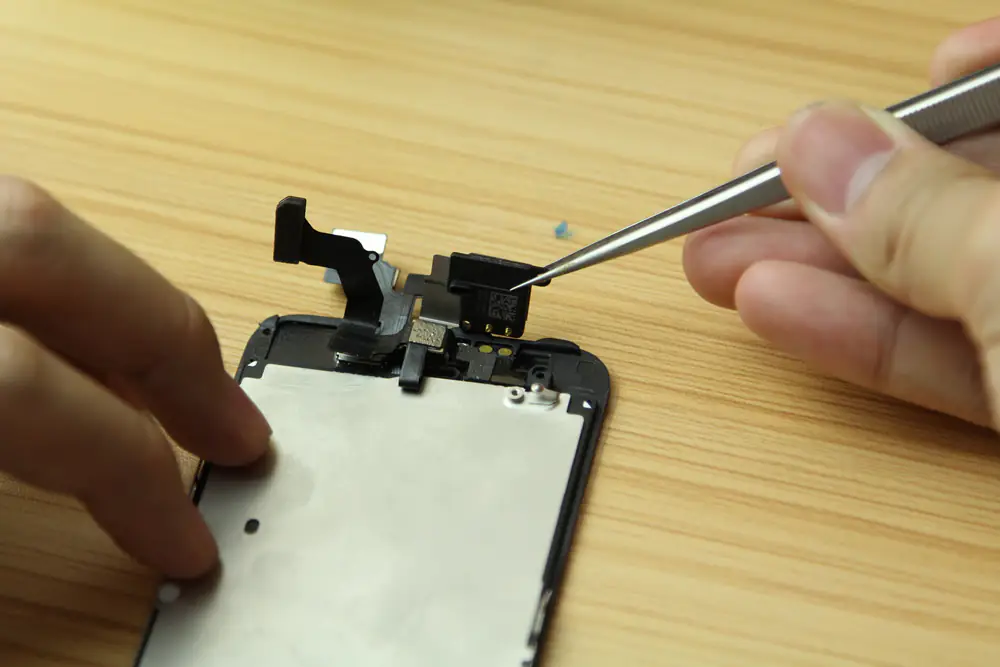
Tighten the two screws.
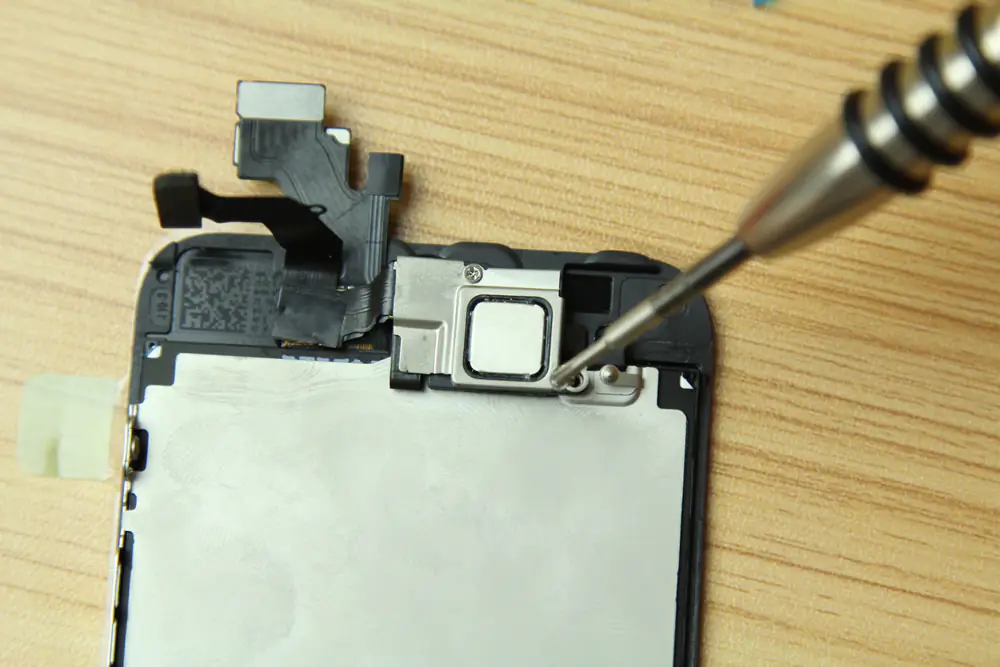
Install the LCD cable, digitizer cable, camera, and sensor cable.
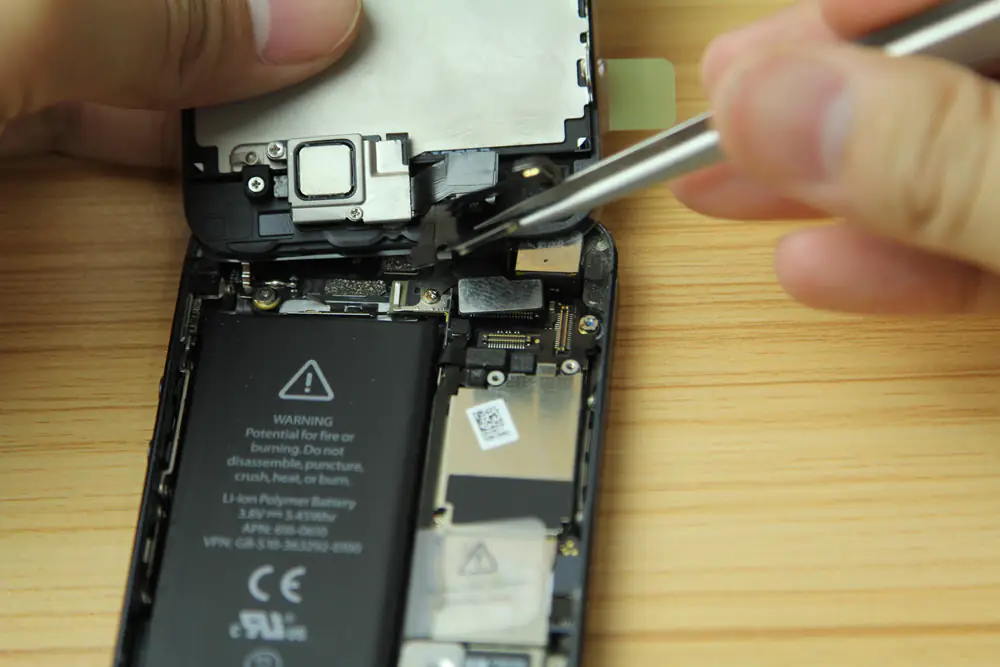
Install the cable bracket.
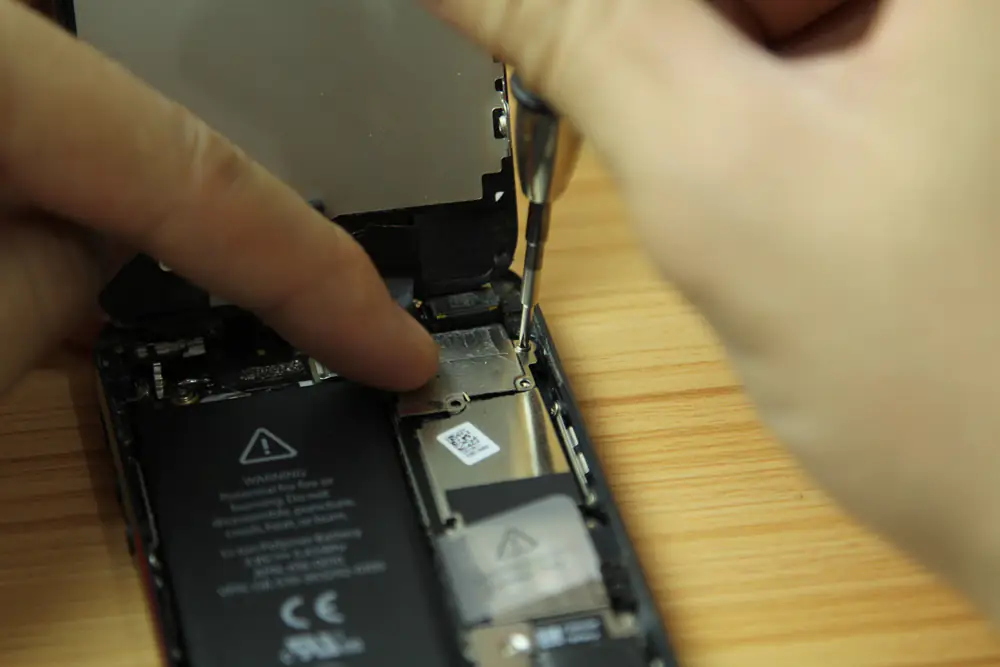
Now, you can install the new screen assembly on the iPhone 5s.
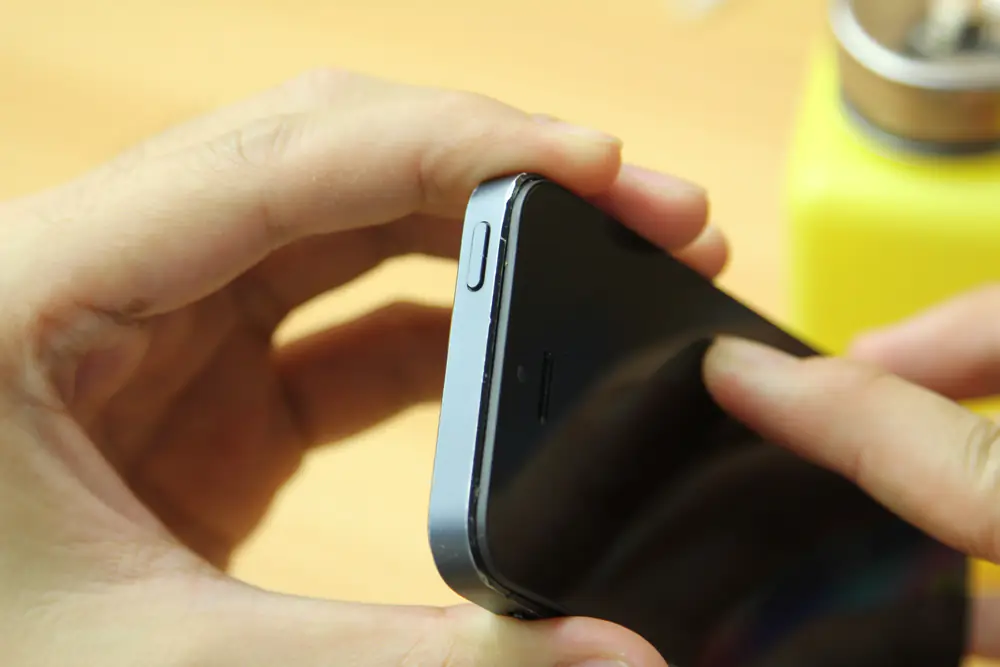
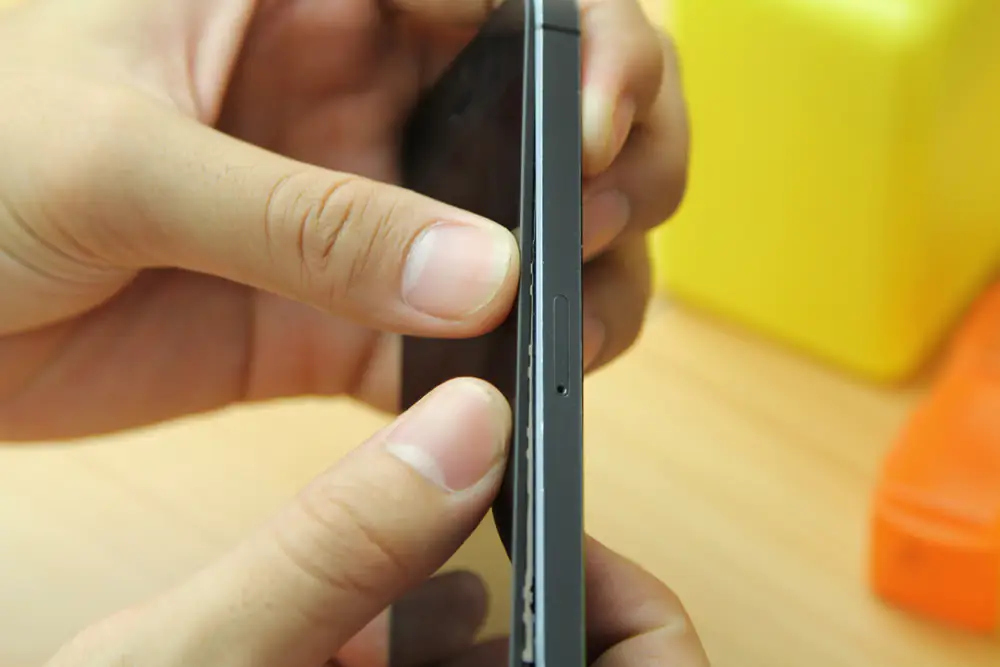
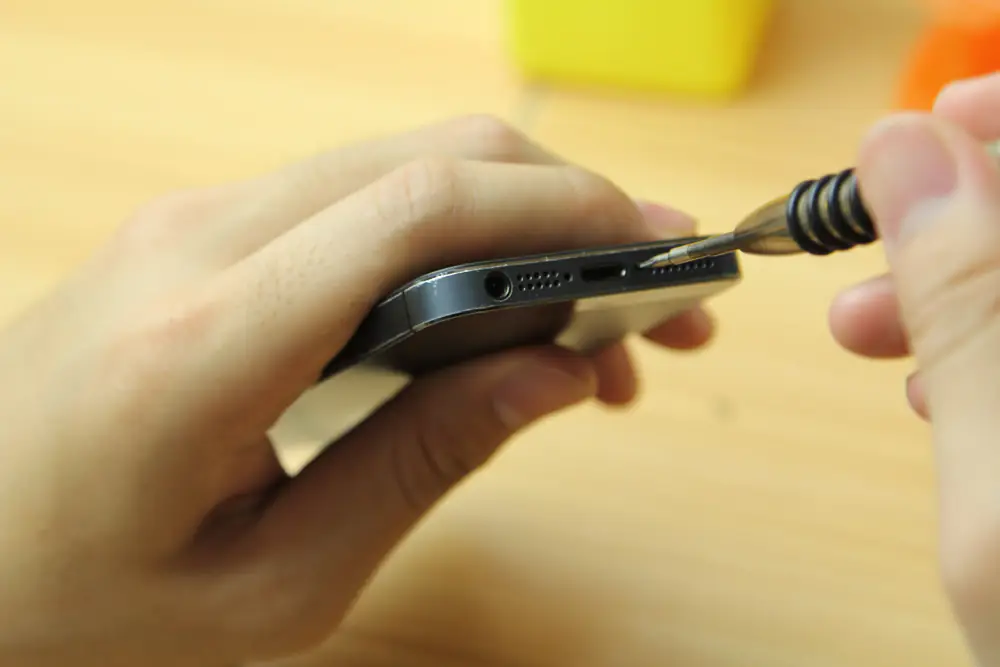
Now, the Apple iPhone 5s screen has been replaced and removed.
This is incorrect for the 5S. I left a long and detailed reply, but this comment function didn’t work. Short version: find a guide that includes removing the Touch ID sensor, or you risk damaging it, and it apparently can’t be replaced.