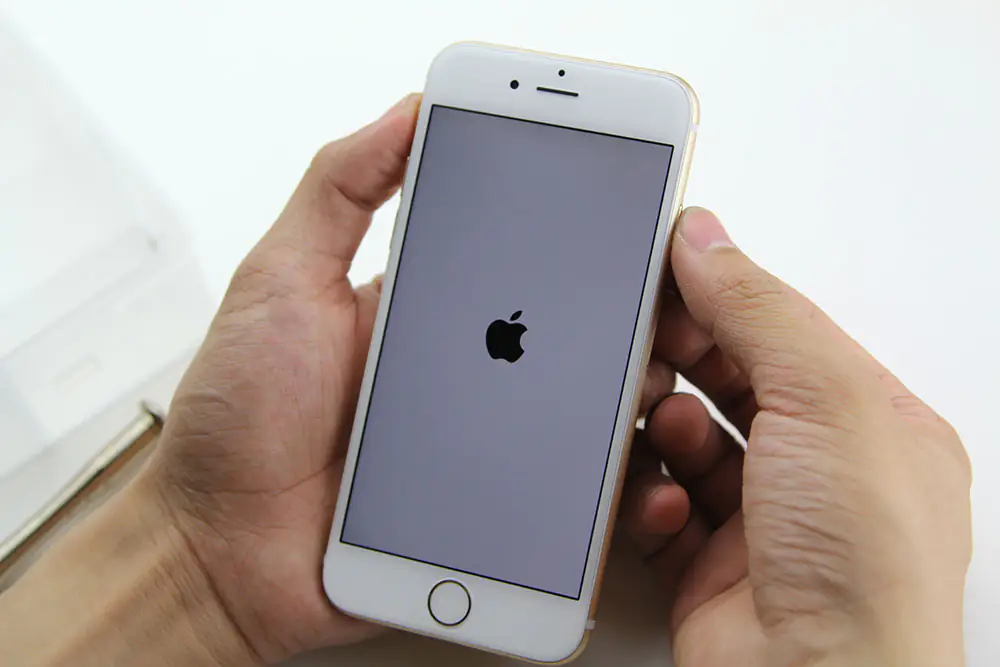
In this guide, I will explain how to disassemble the iPhone 6 to remove the battery, front glass, screen, and motherboard.
Looking for more guides? Follow us on Facebook for all the latest repair news.
Tools needed.
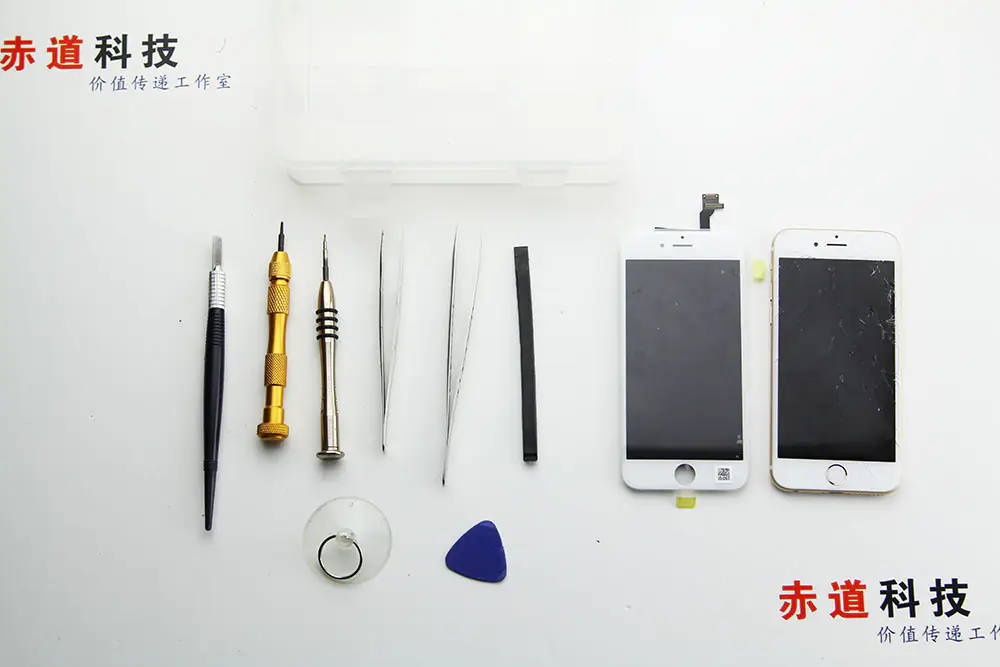
Apple iPhone 6 Screen Removal
First, power off your iPhone 6.
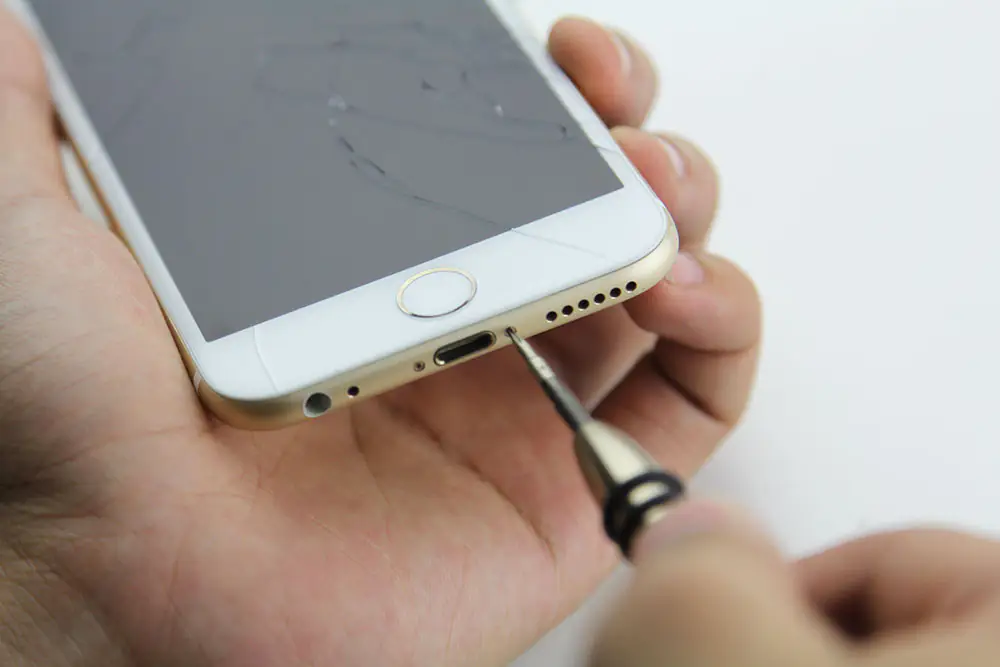
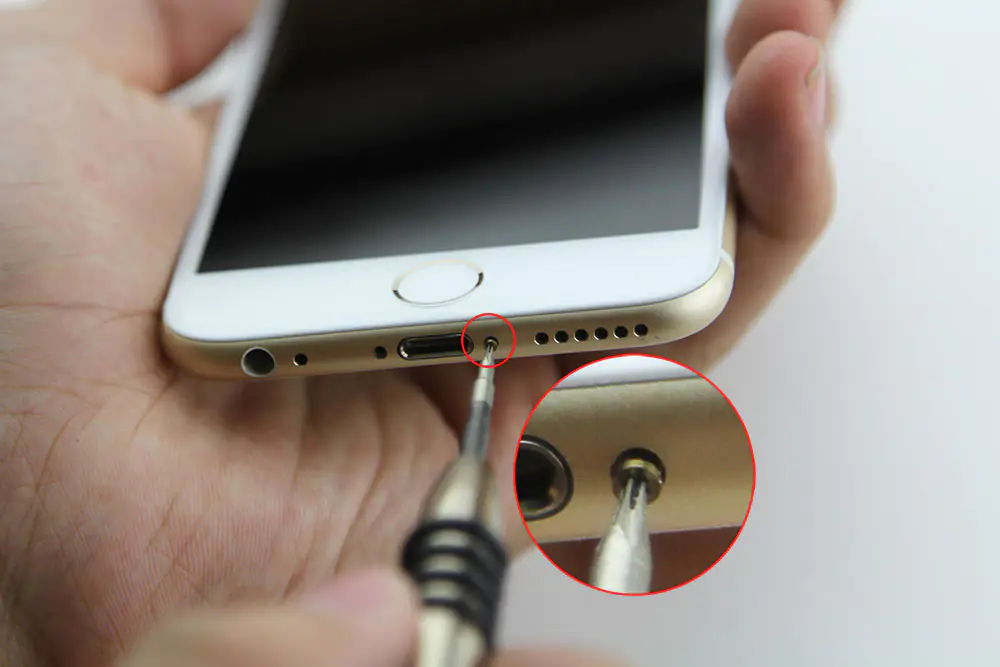
Remove the two screws next to the lightning port.
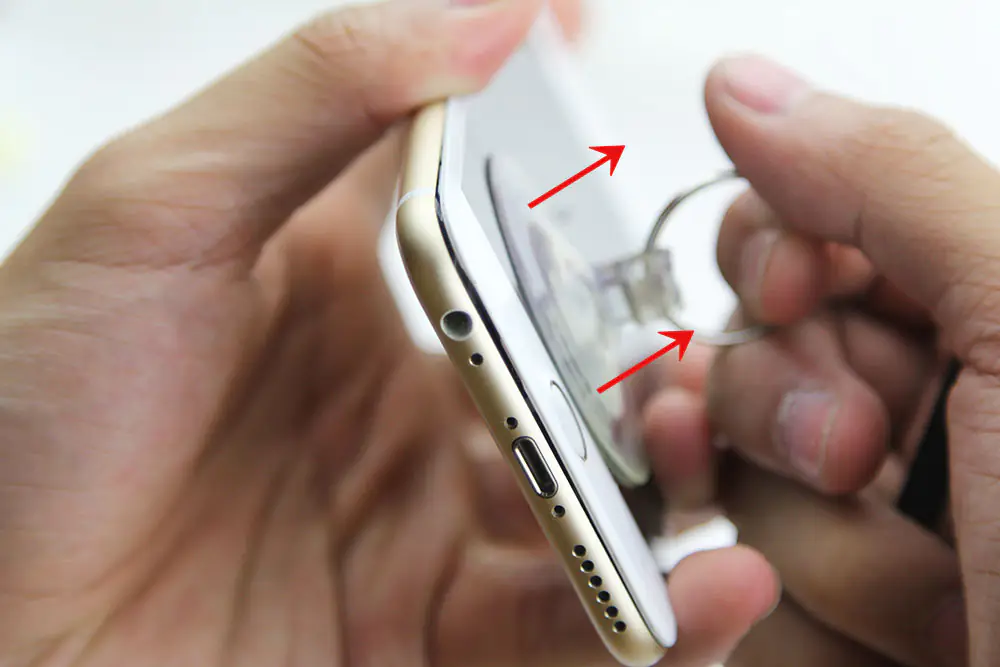
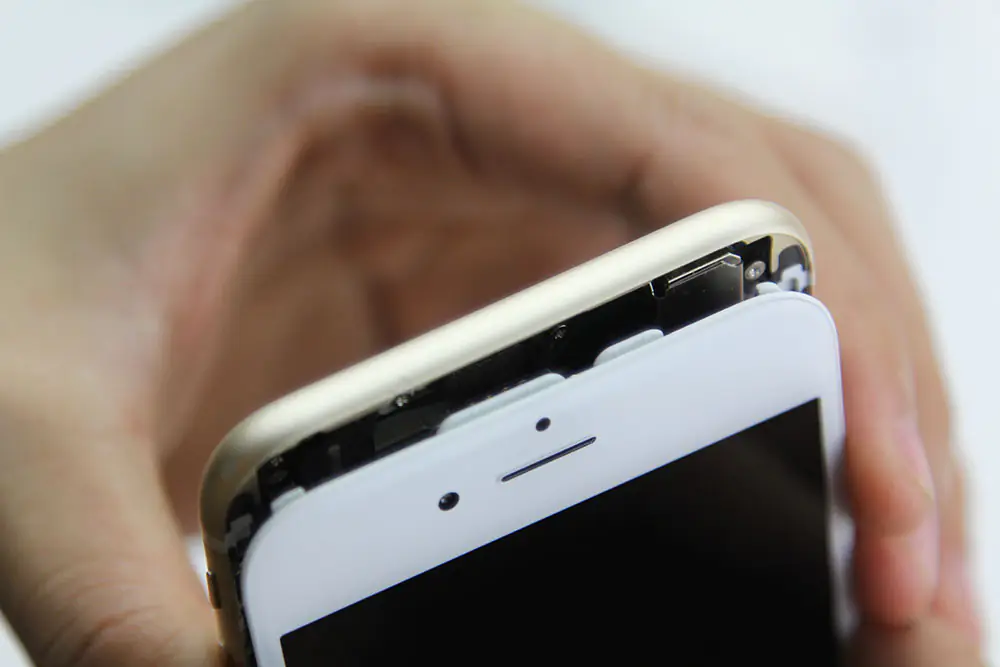
Gently open the display assembly with a suction cup.
Insert a crowbar.
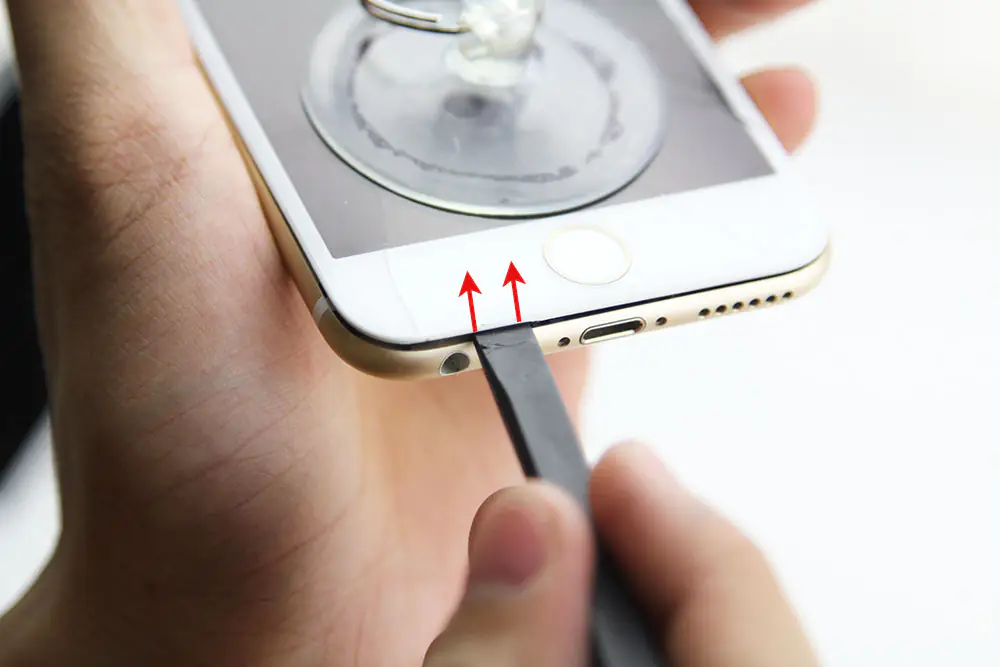
Insert a pick and slide the pick along the arrows.
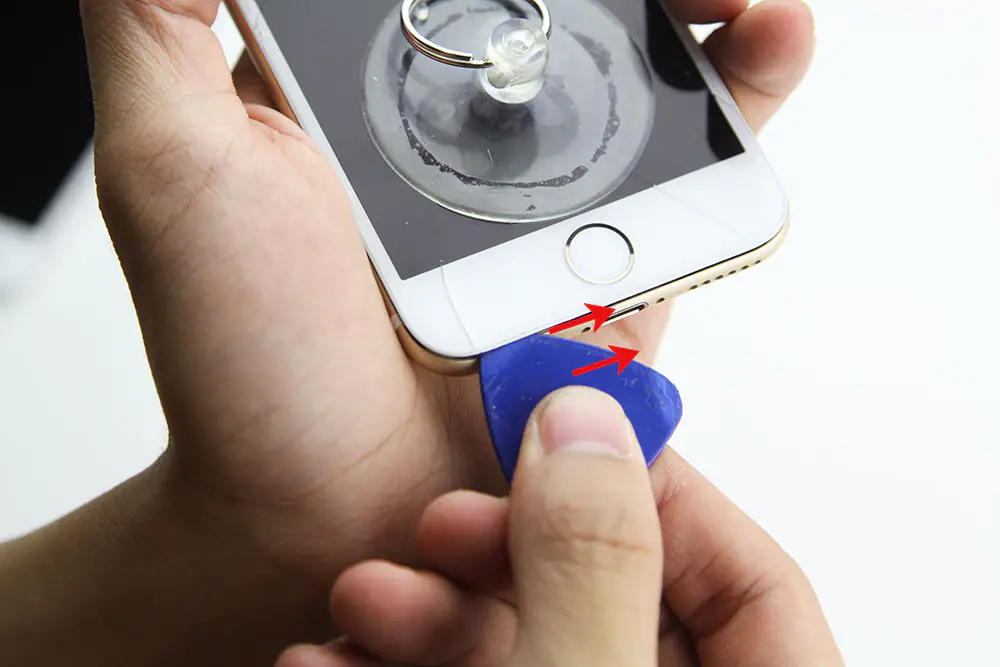
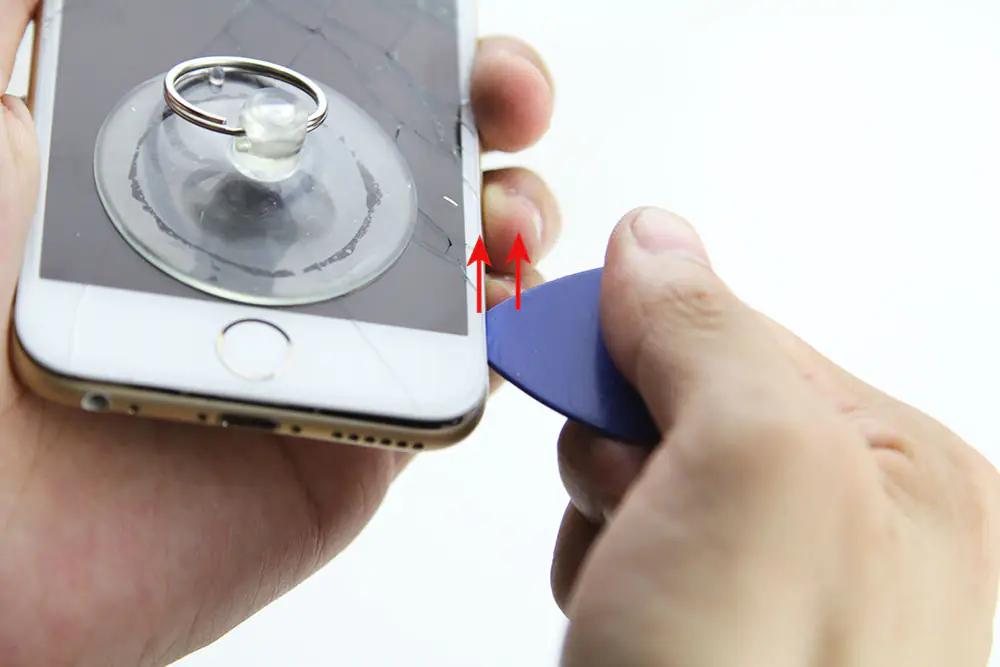
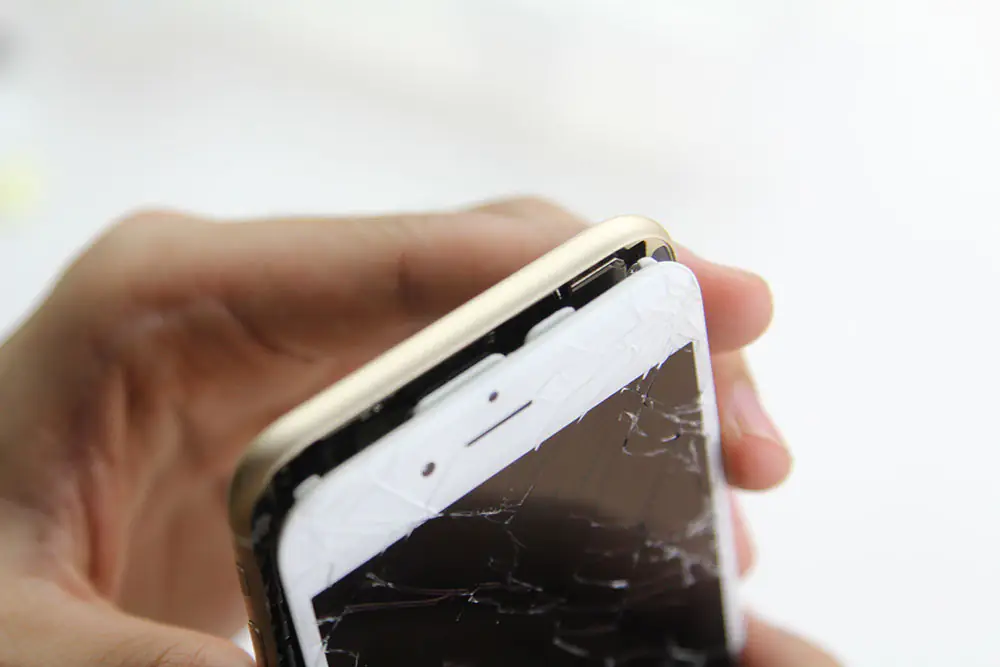
Be careful, the LCD cable is still connected to the display assembly.
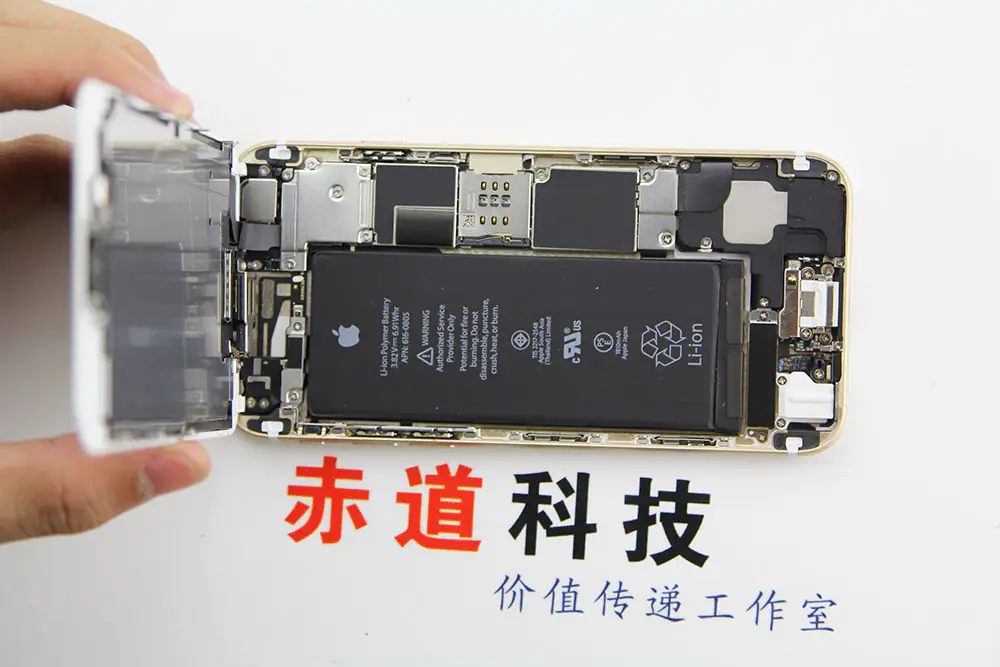
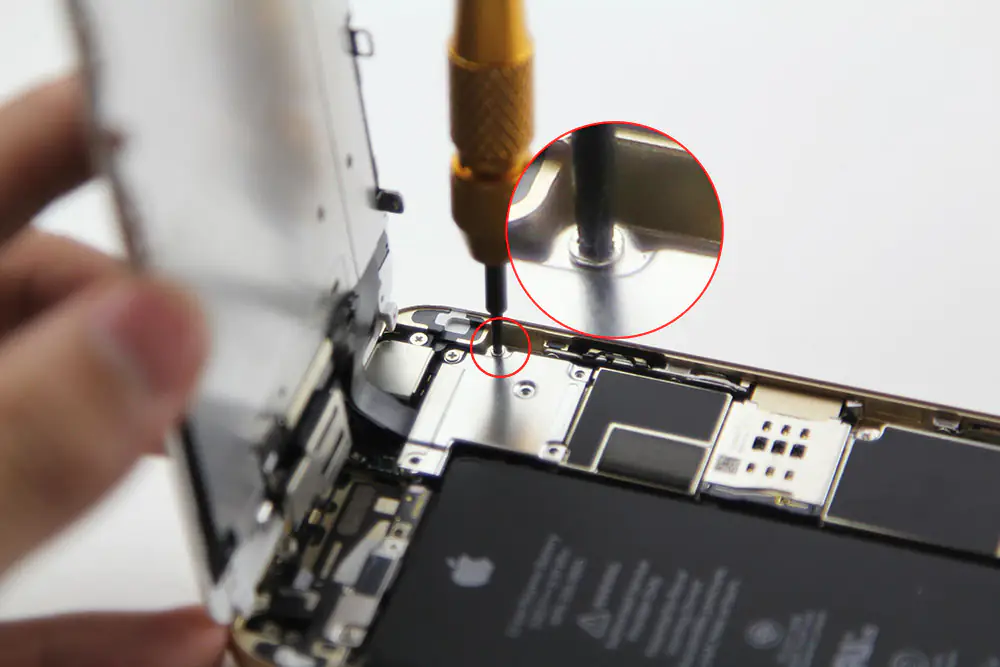
Remove the five screws securing the LCD cable cover.
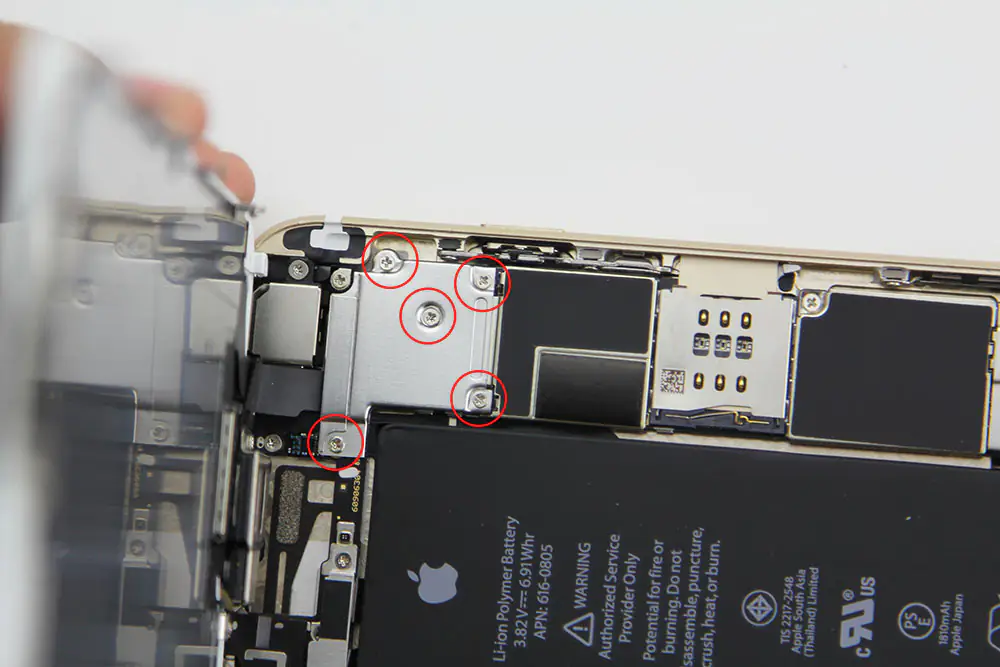
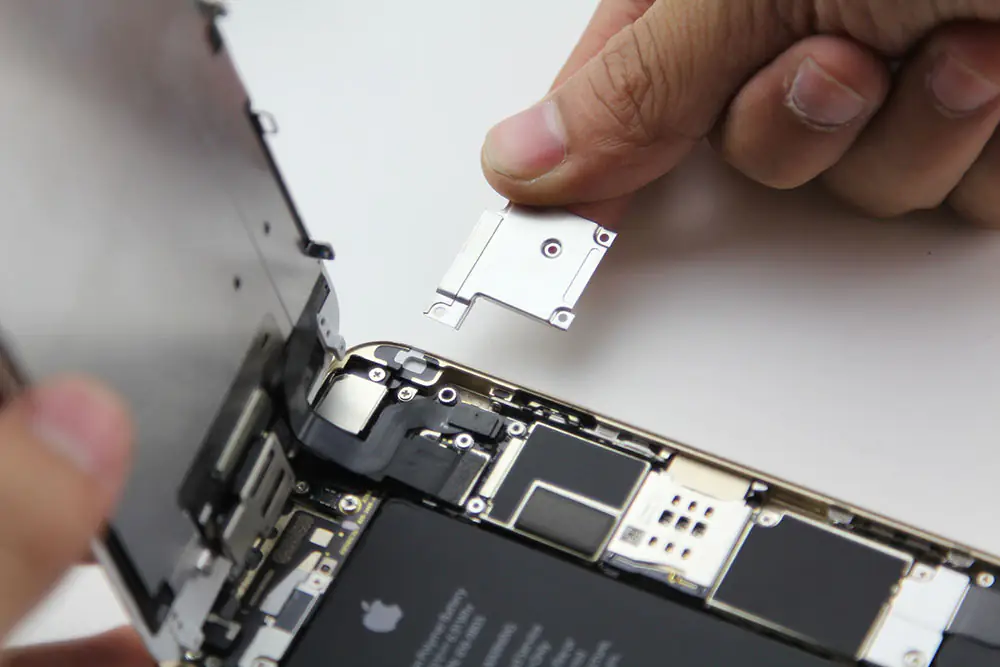
Remove the LCD cable cover.
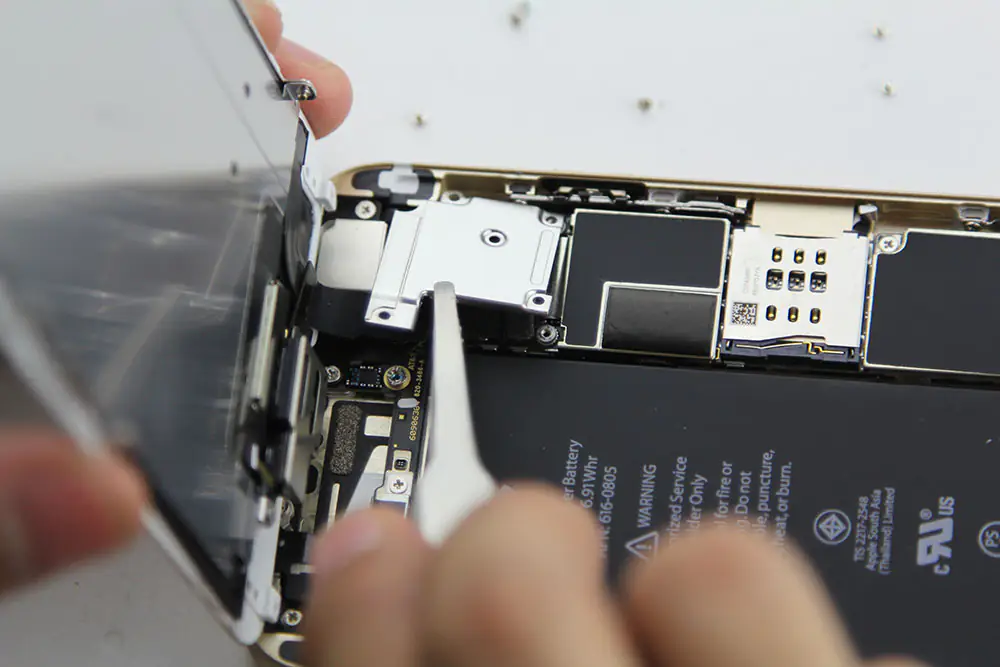
Disconnect the LCD cable from the motherboard.
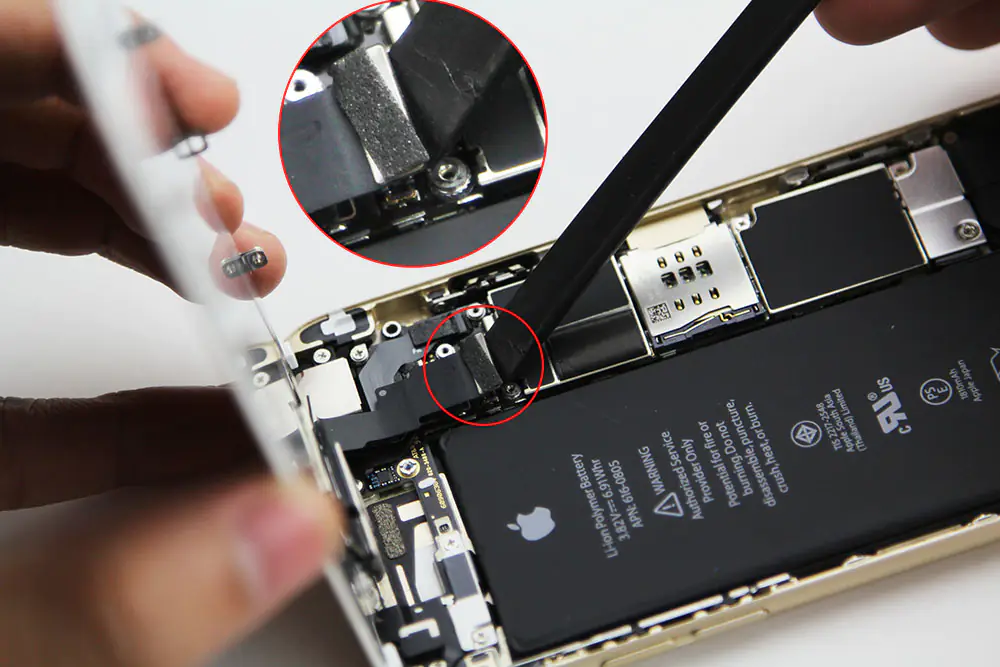
Disconnect the touch cable.
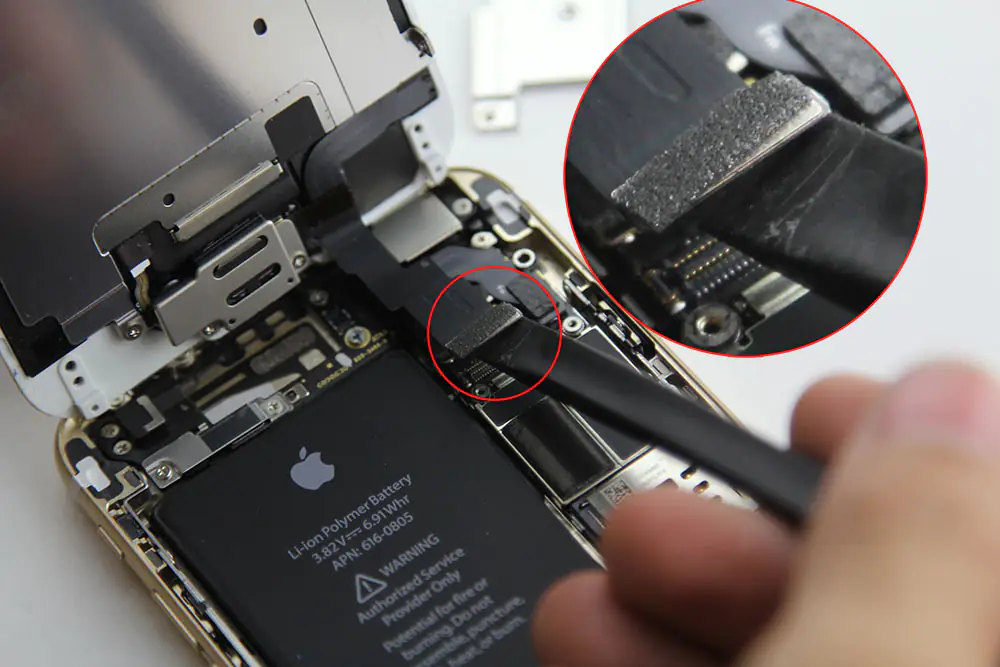
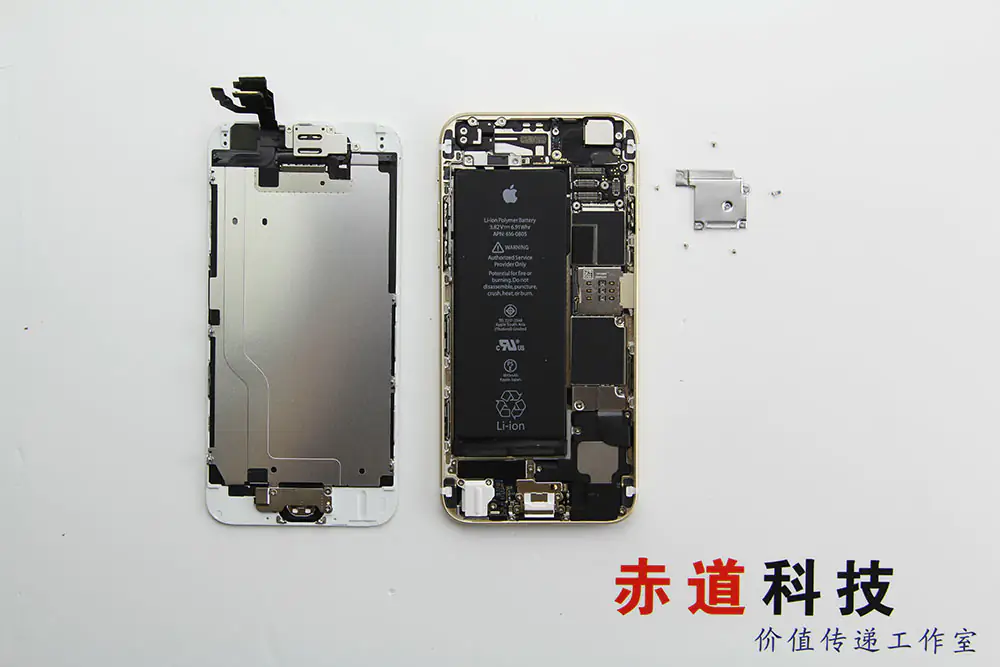
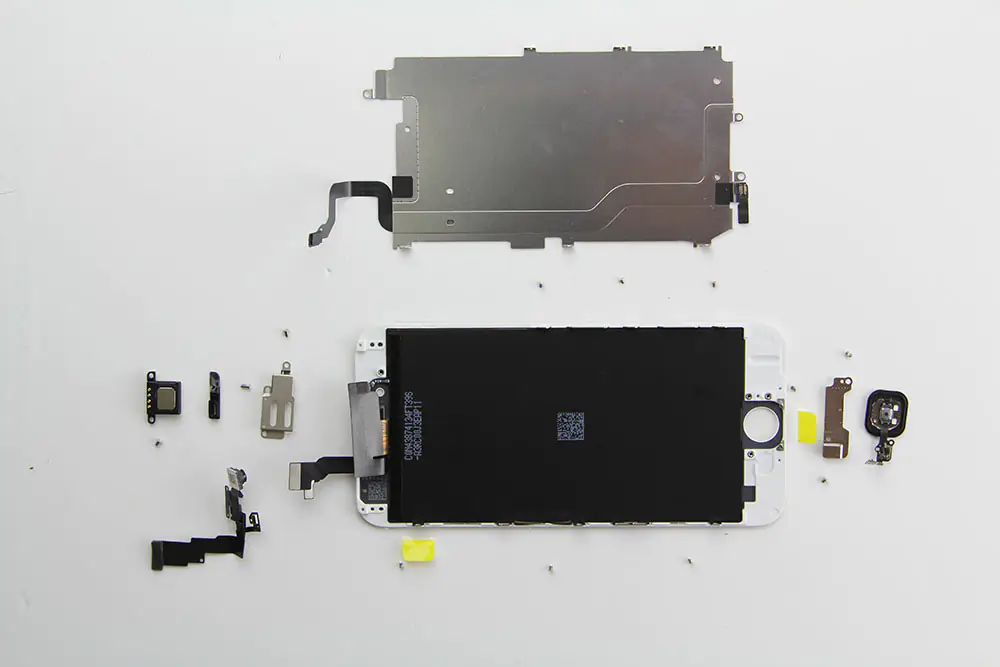
Remove all the parts from the old display assembly.
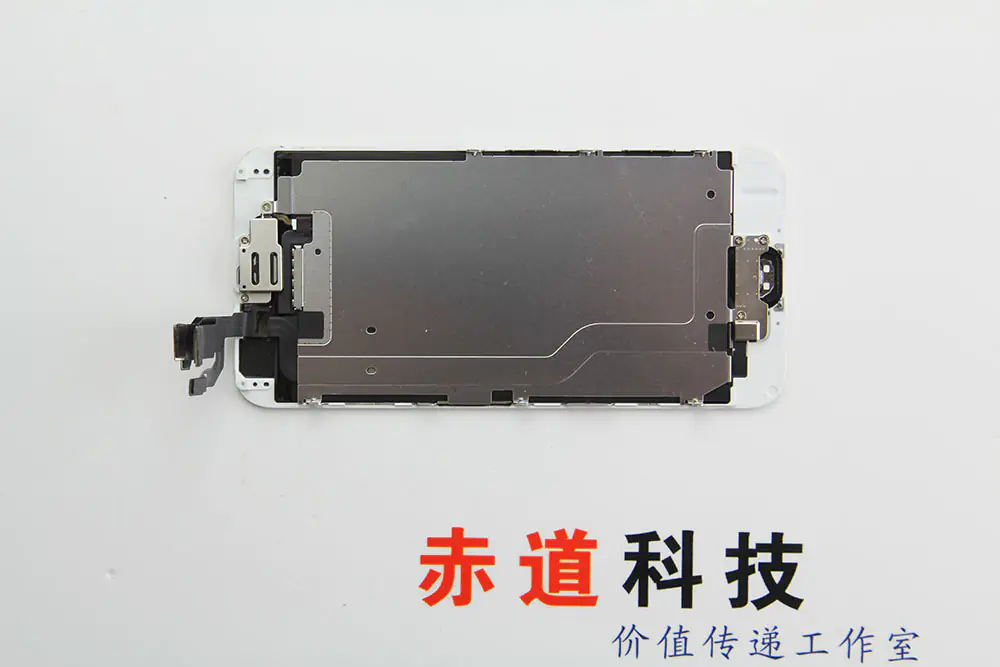
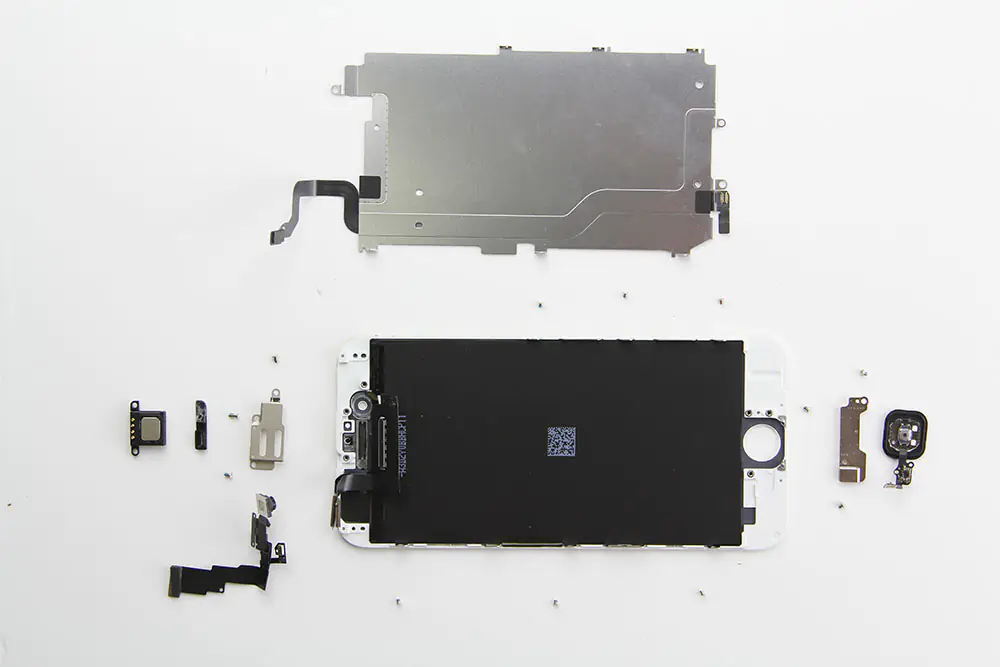
Apple iPhone 6 Screen Replacement
This is a new display assembly.
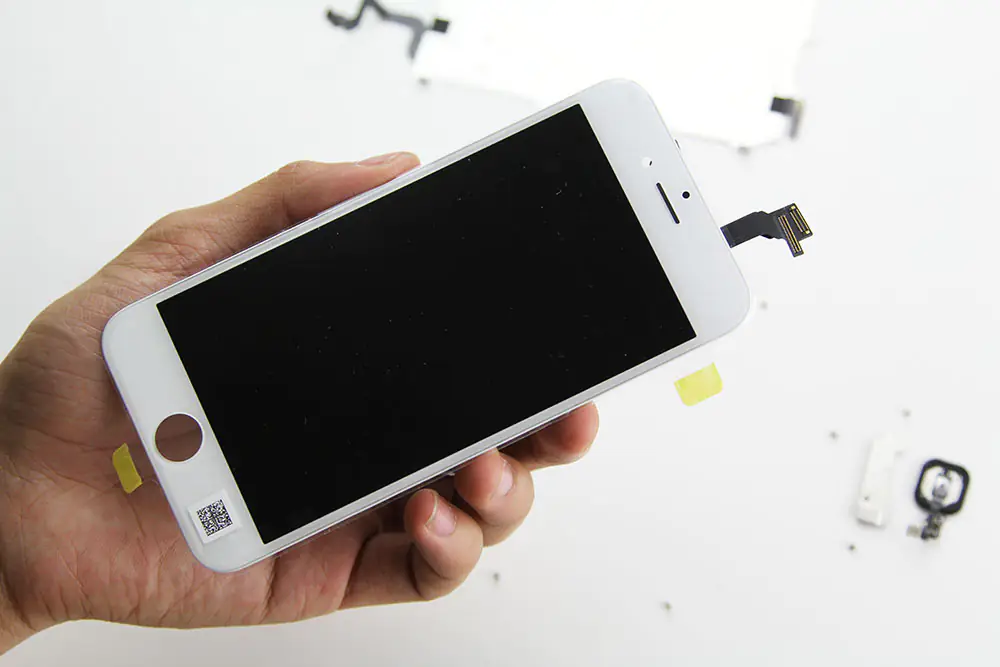
Install all the parts to the new display assembly.
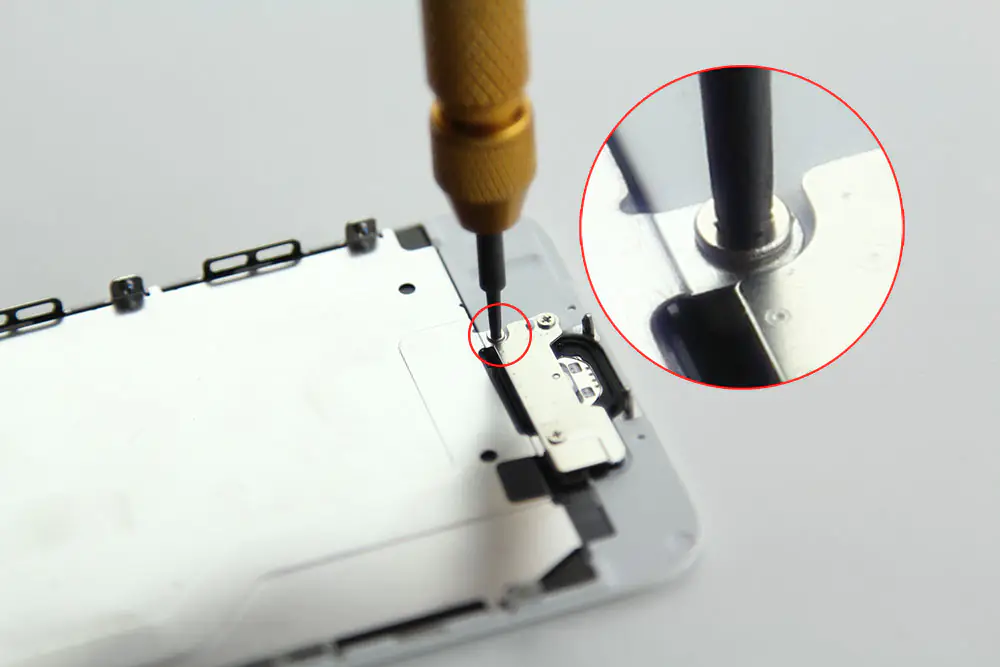
Install the home button bracket to the screen assembly.
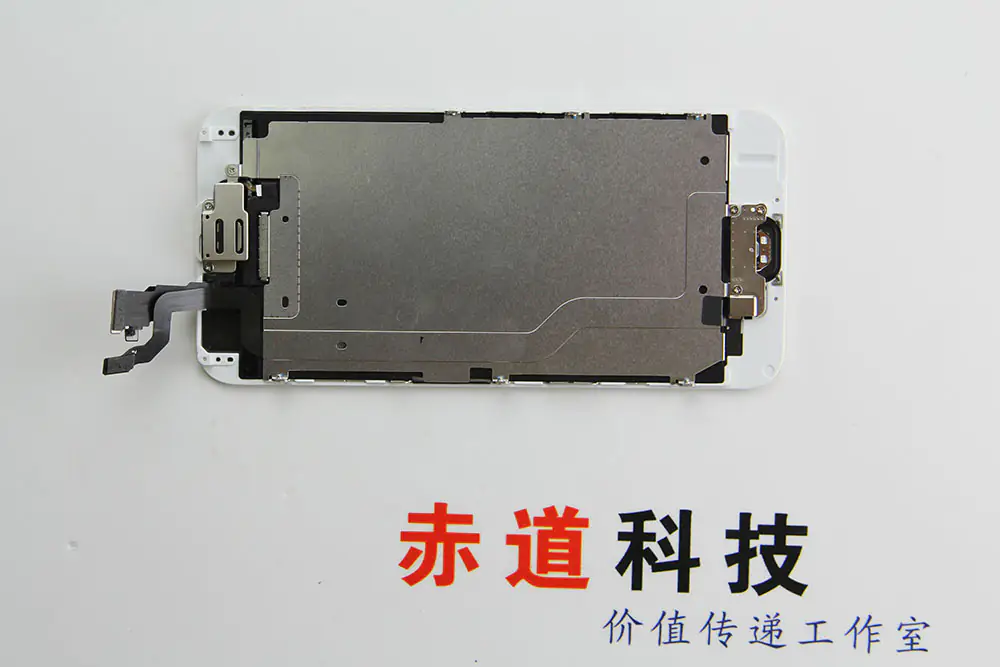
Now, all the parts have been installed.
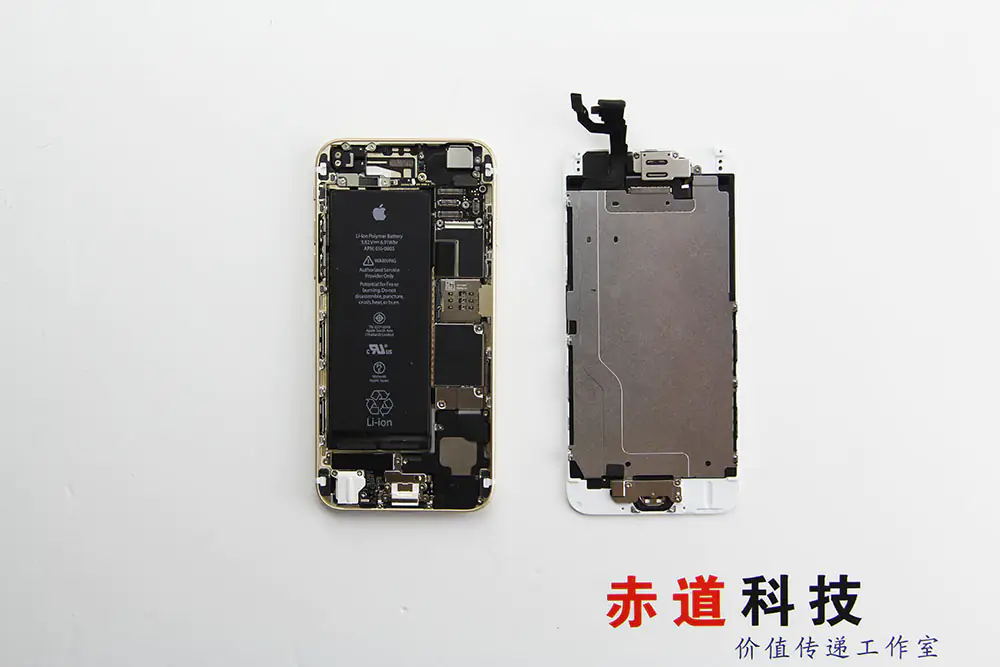
Connect the LCD cable and touch cable and install the LCD cable cover.
Now, the Apple iPhone 6 screen replacement process is completed.