In this guide, we will show you how to remove the front camera from the Xiaomi Mi Max 2 smartphone.
Repair Tools Needed:
0.8 x 25mm pentalobe screwdriver
1.5 x 25mm Phillips screwdriver
Suction cup
Pick
Spudger
Tweezers
SIM card eject tool
Looking for more guides? Follow us on Facebook for all the latest repair news.
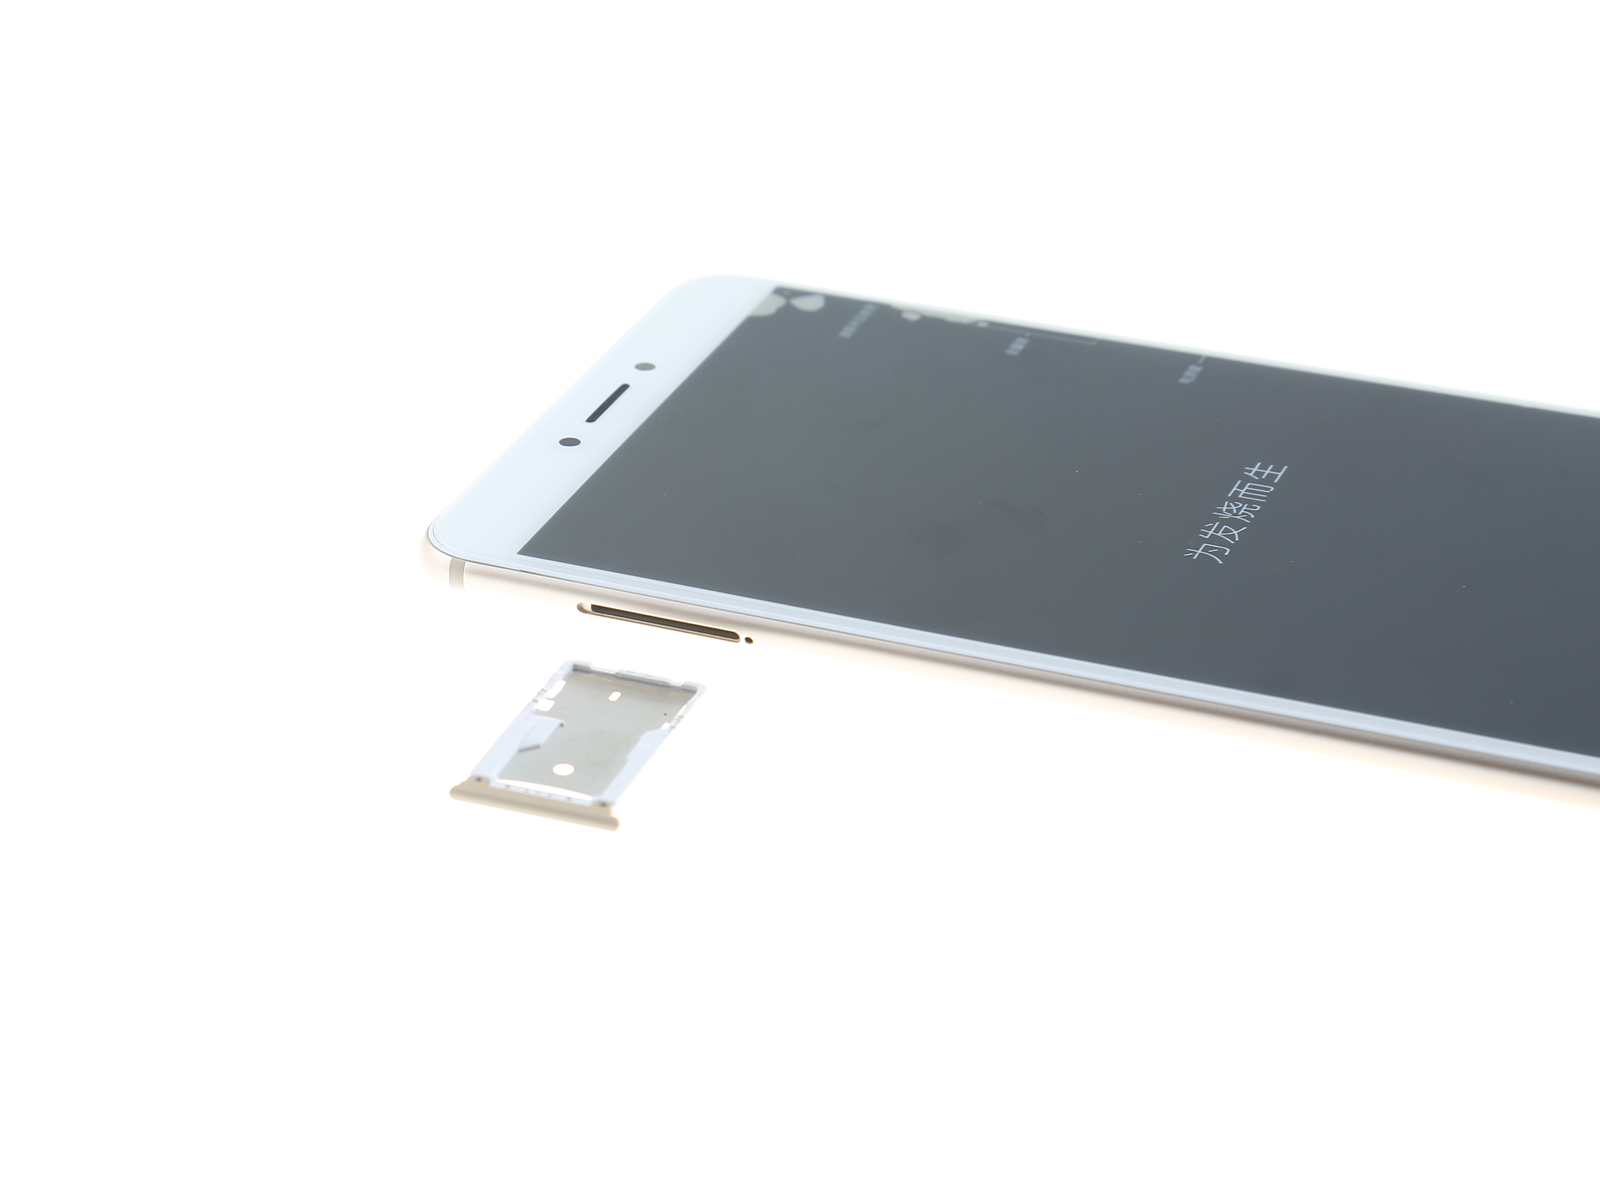
1. Remove the SIM card tray and two Pentalobe screws
Power off your Xiaomi Mi Max 2 and remove the SIM card tray with the SIM card eject tool.
Remove the two 0.8 x 25mm screws securing the back cover to the middle frame.
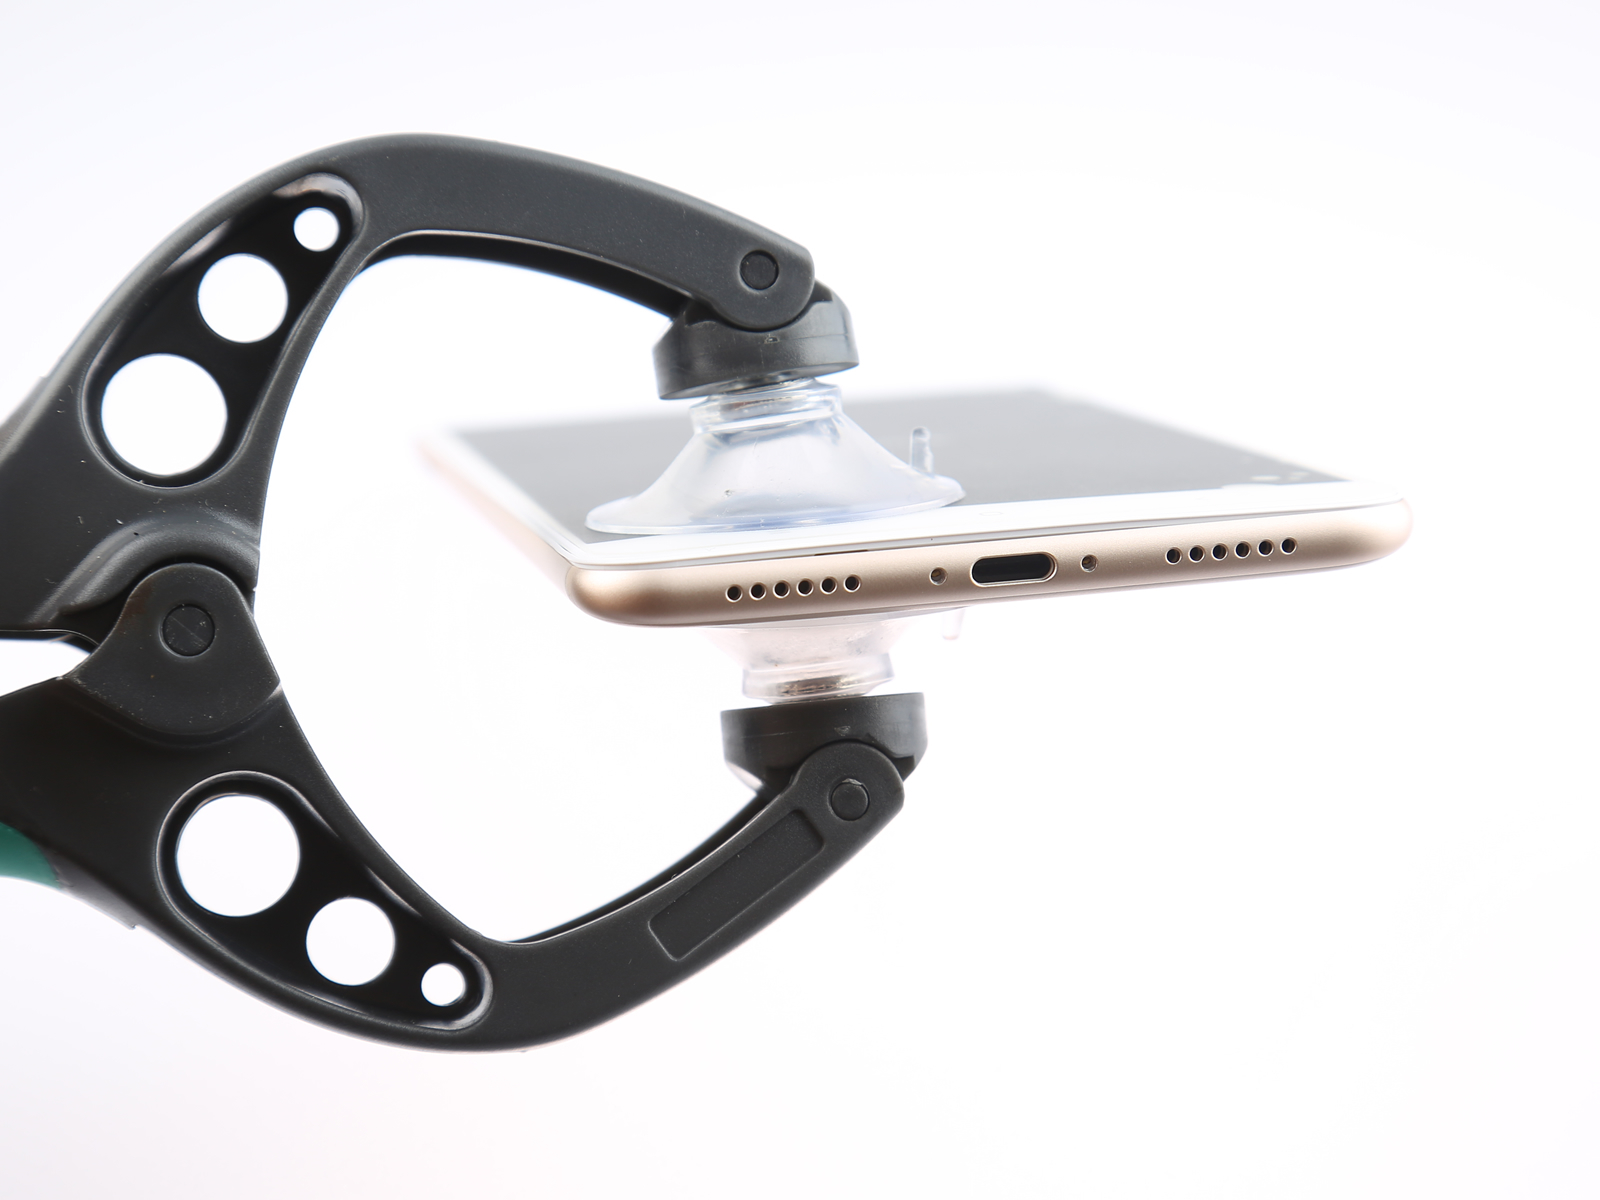
2. Remove the back cover
After removing two 0.8 x 25mm screws, open the back cover a little bit with a suction cup.
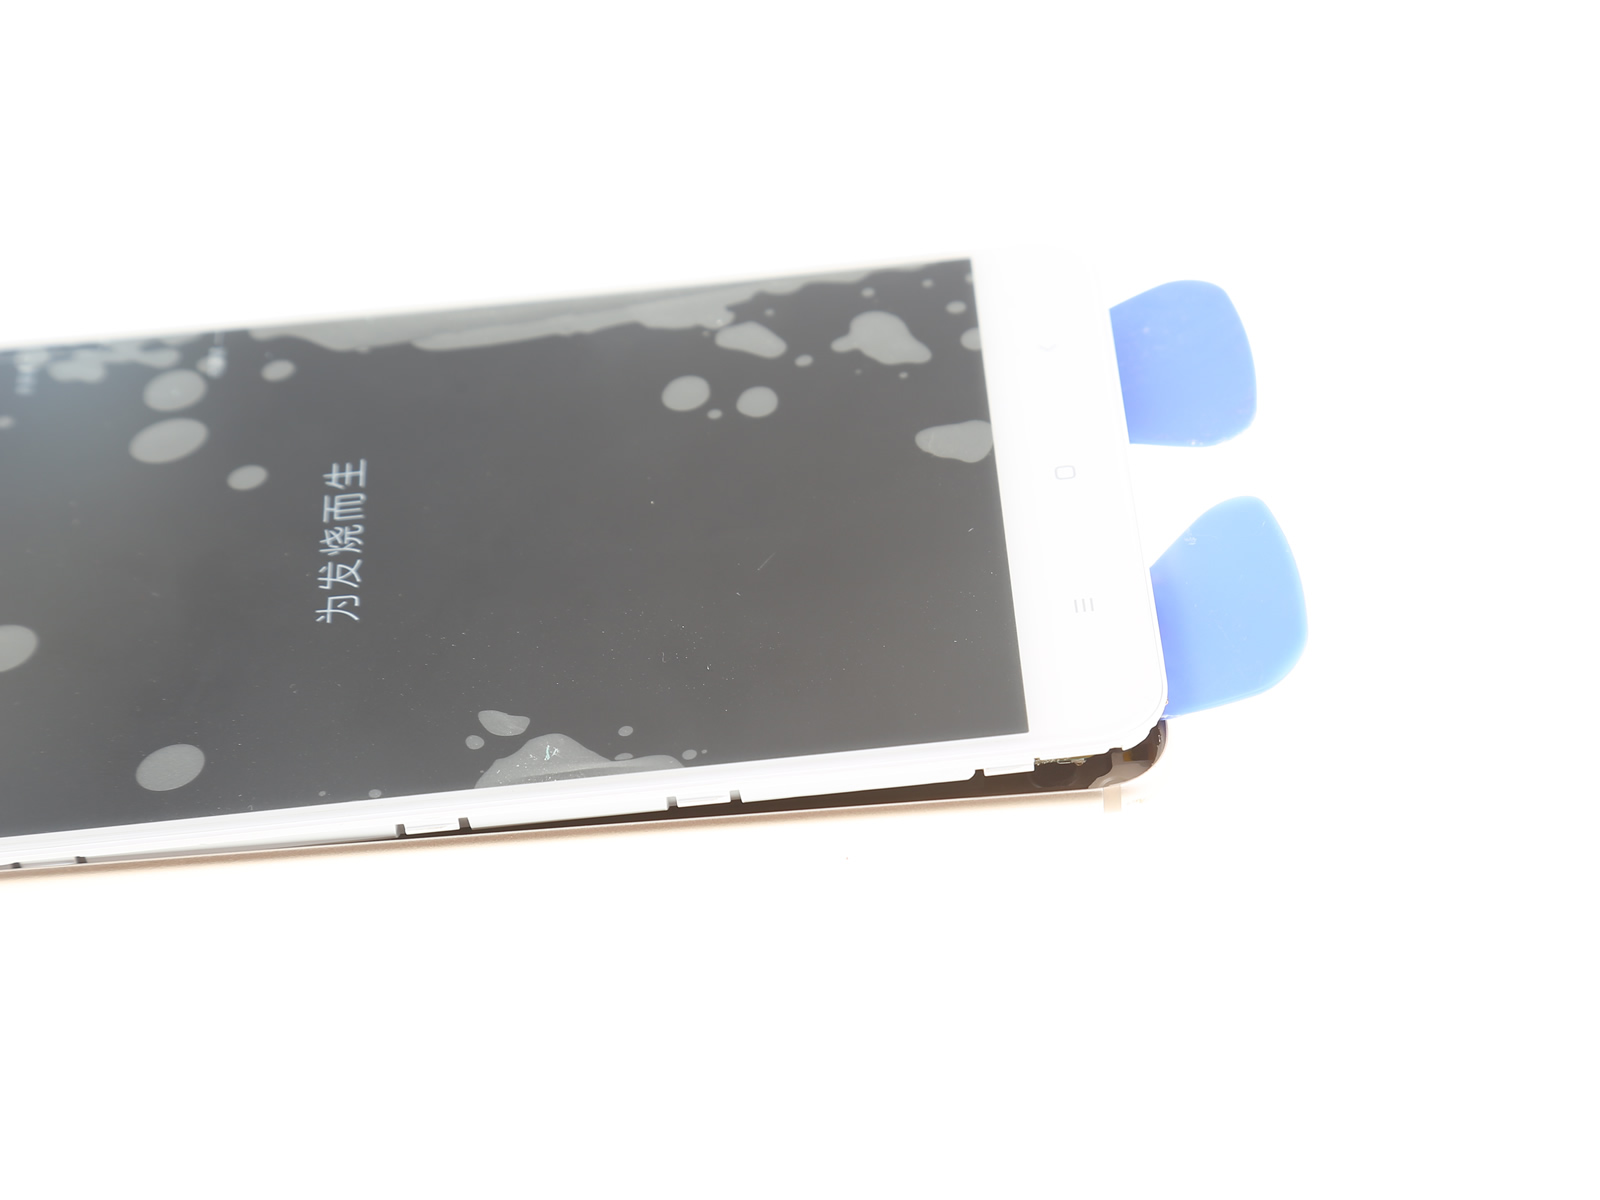
Insert a pick between the back cover and the body, and then slowly slide the pick to release the clips on the middle frame.

To prevent the back cover from closing again, insert a pick between the back cover and the body.
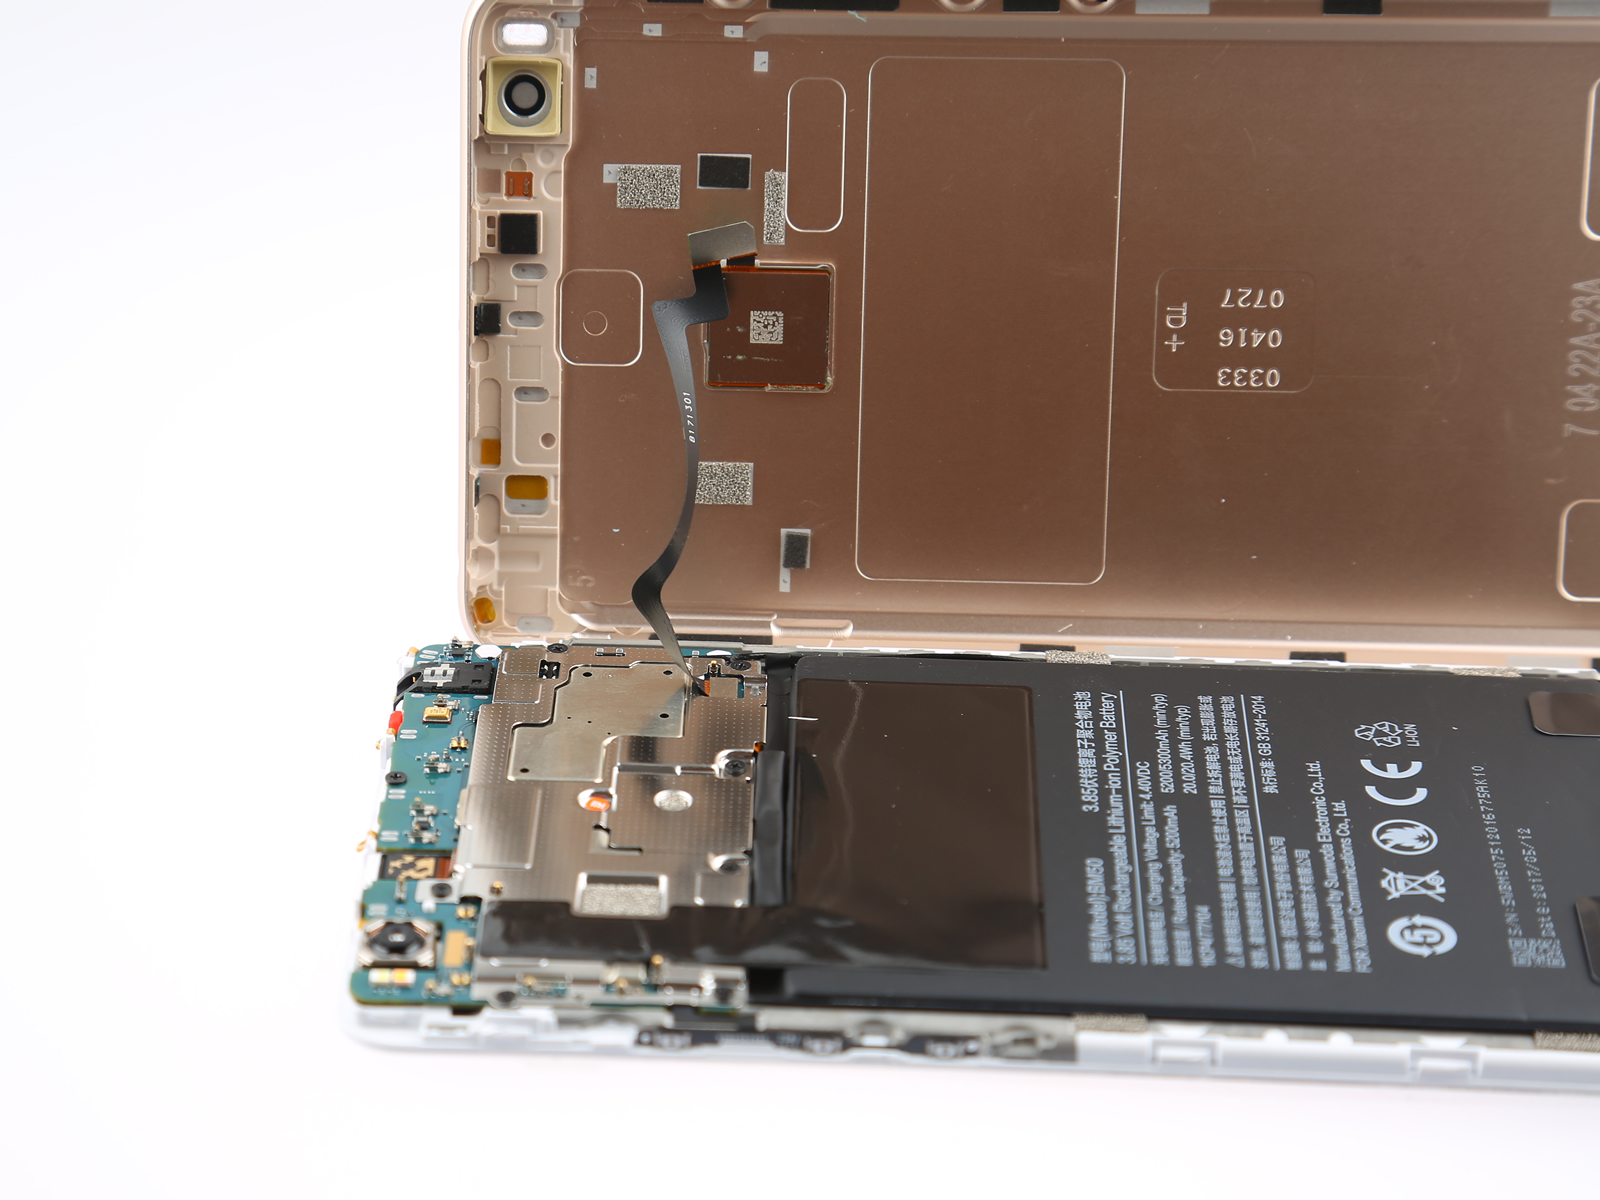
When separating the back cover from the body, it should be noted that the fingerprint module cable on the back cover is still connected to the motherboard.
3. Remove the back cover
Disconnect the fingerprint module cable from the motherboard with a crowbar.
Now, you can remove the back cover.
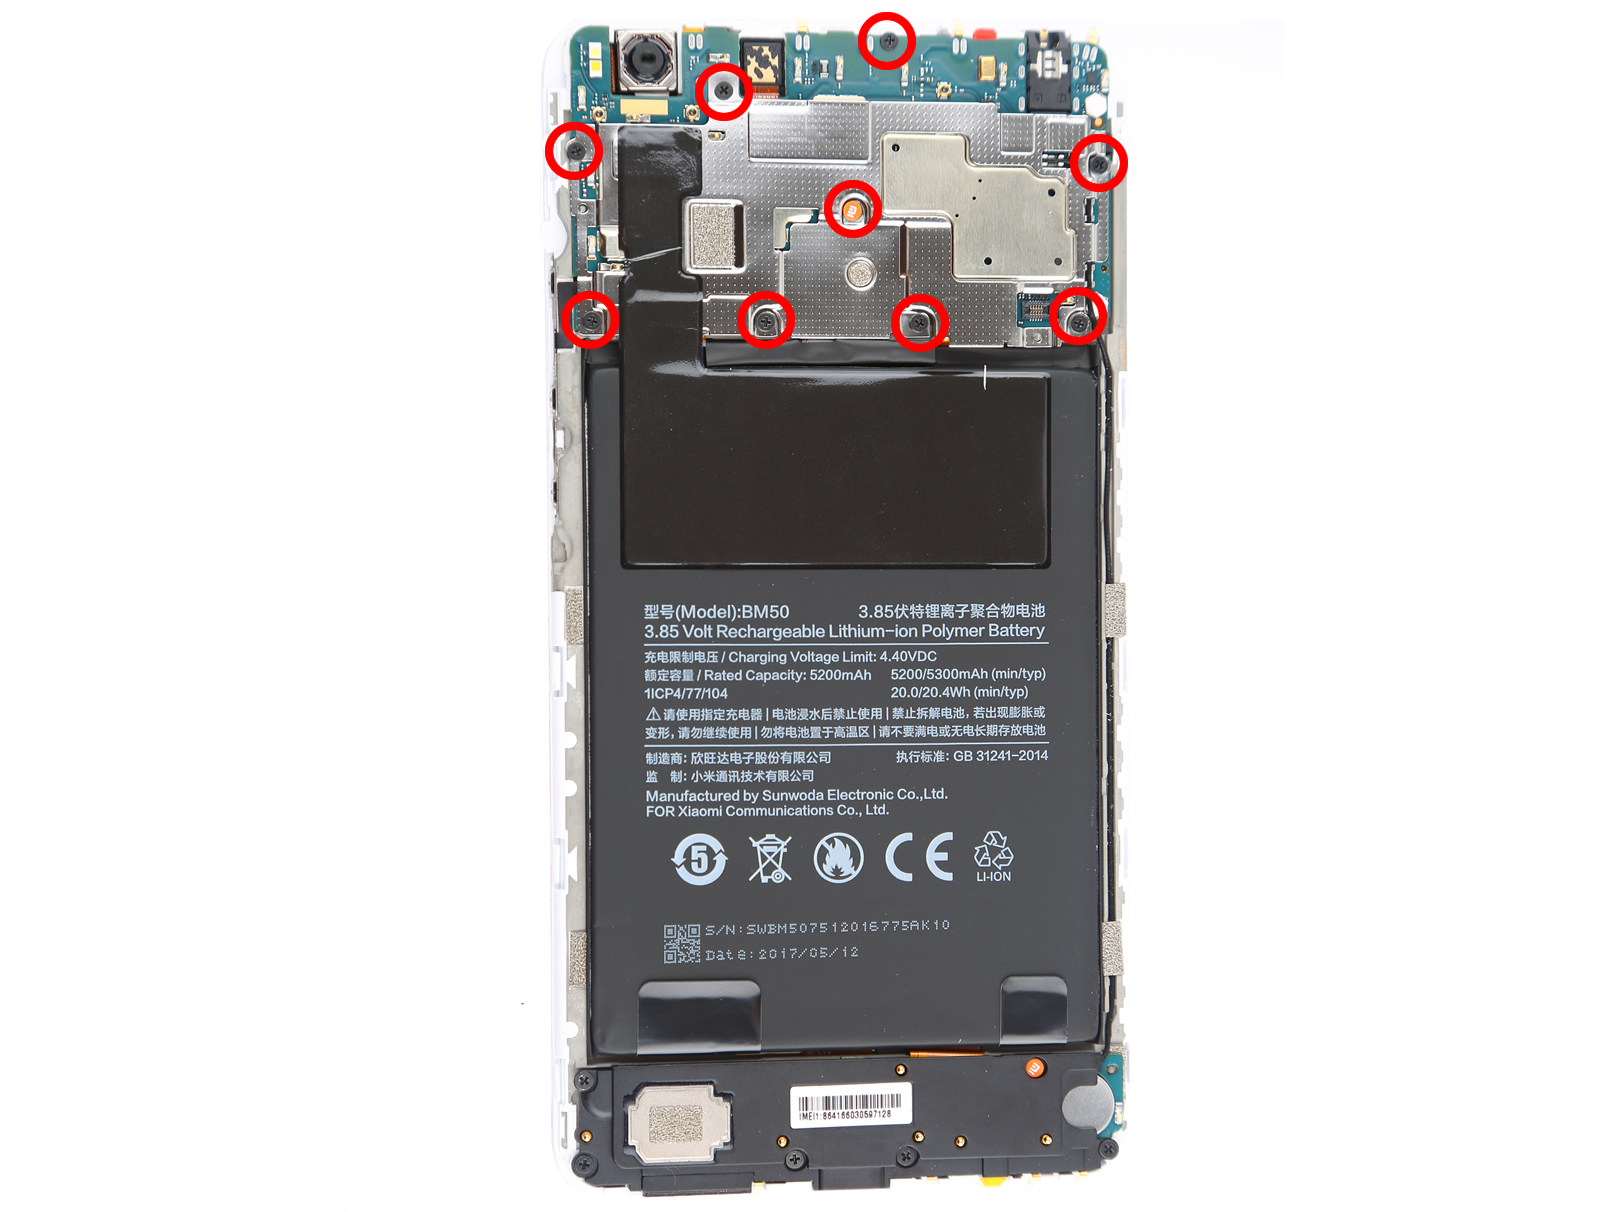
4. Remove the metal plate
Remove the eight screws securing the metal plate using a Phillips screwdriver.
If you do not remove the motherboard, you do not have to remove the screw at the top of the motherboard.
Remove the graphite sticker.
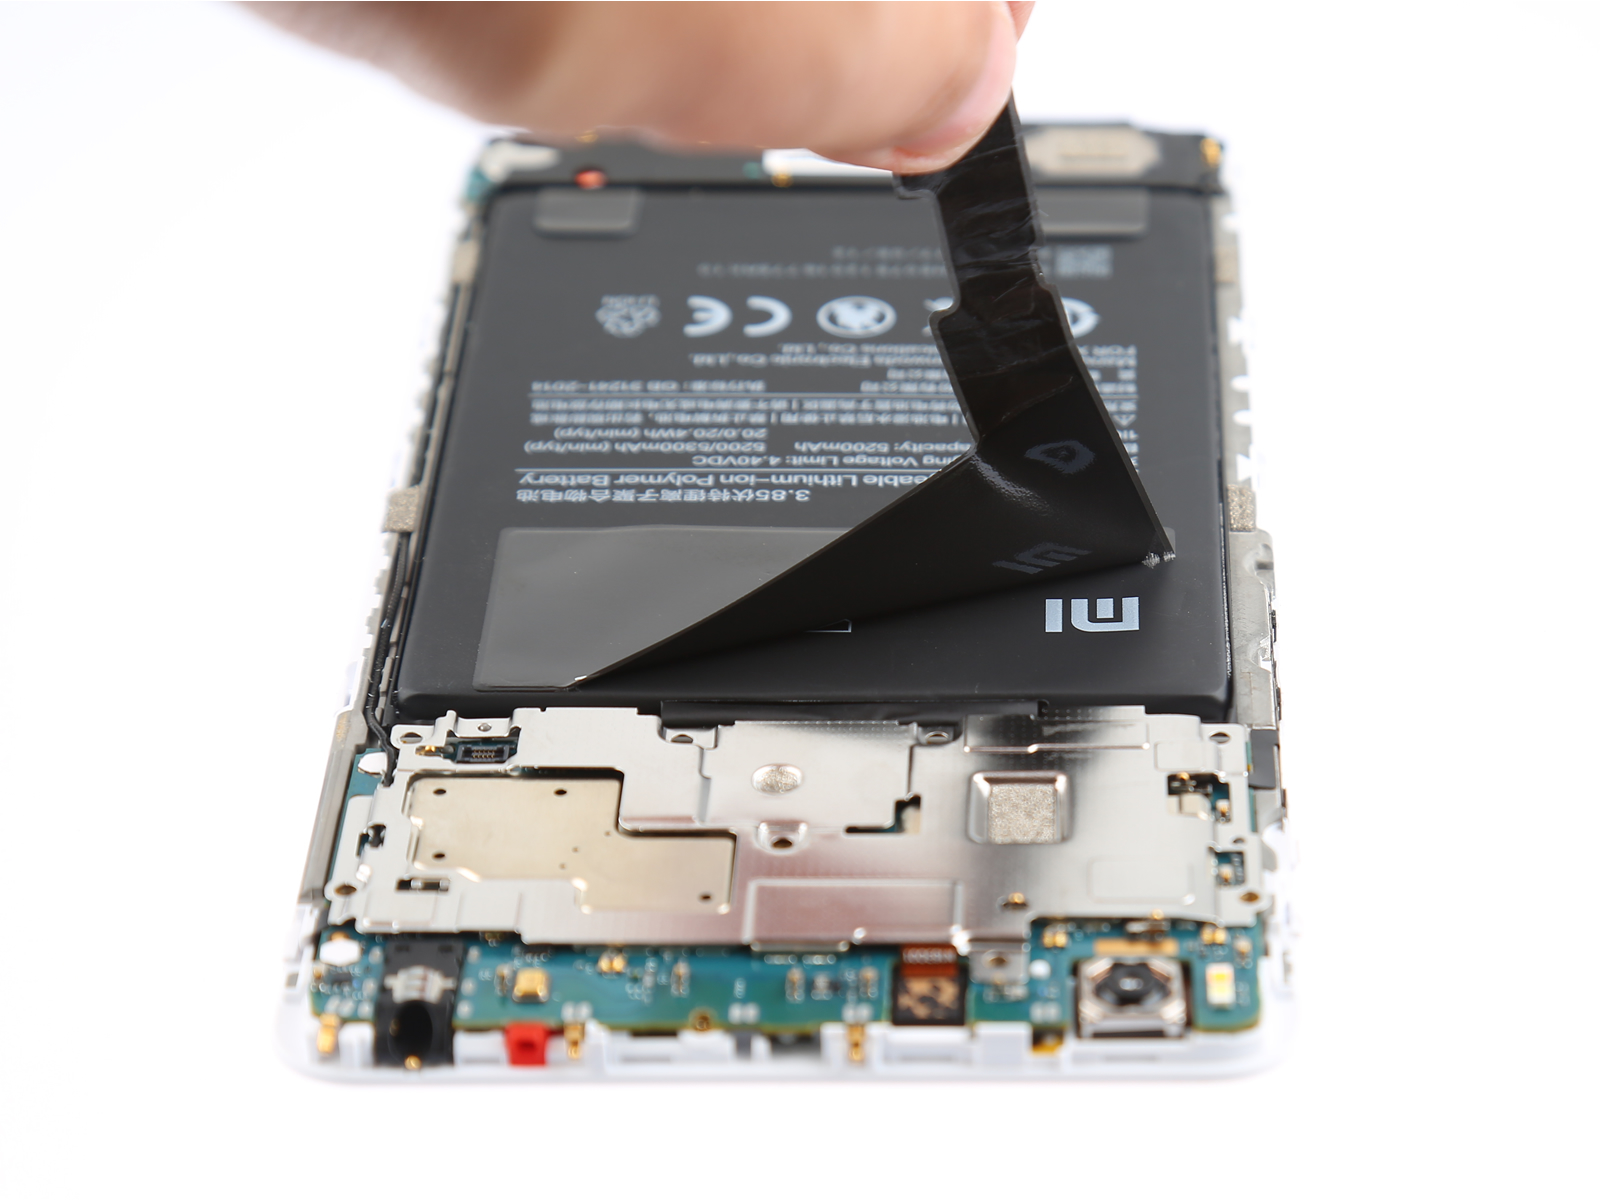
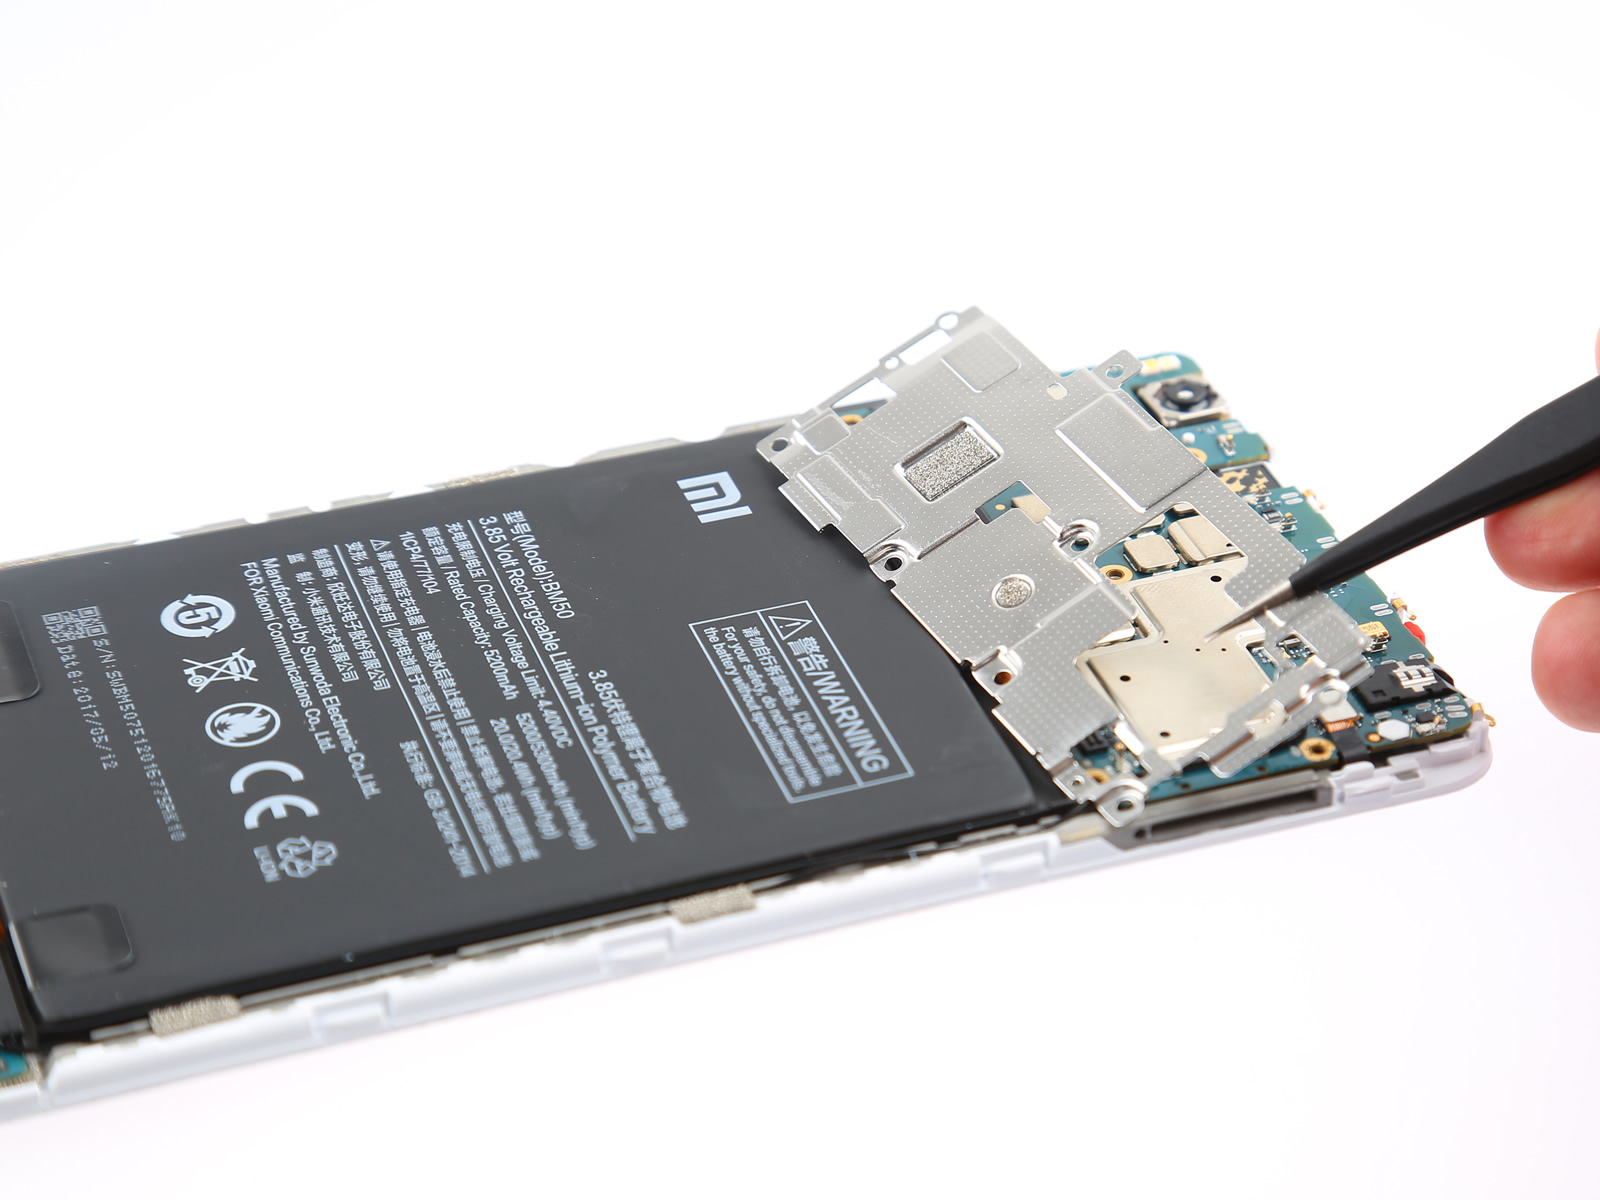
Remove the metal plate from the motherboard with tweezers.
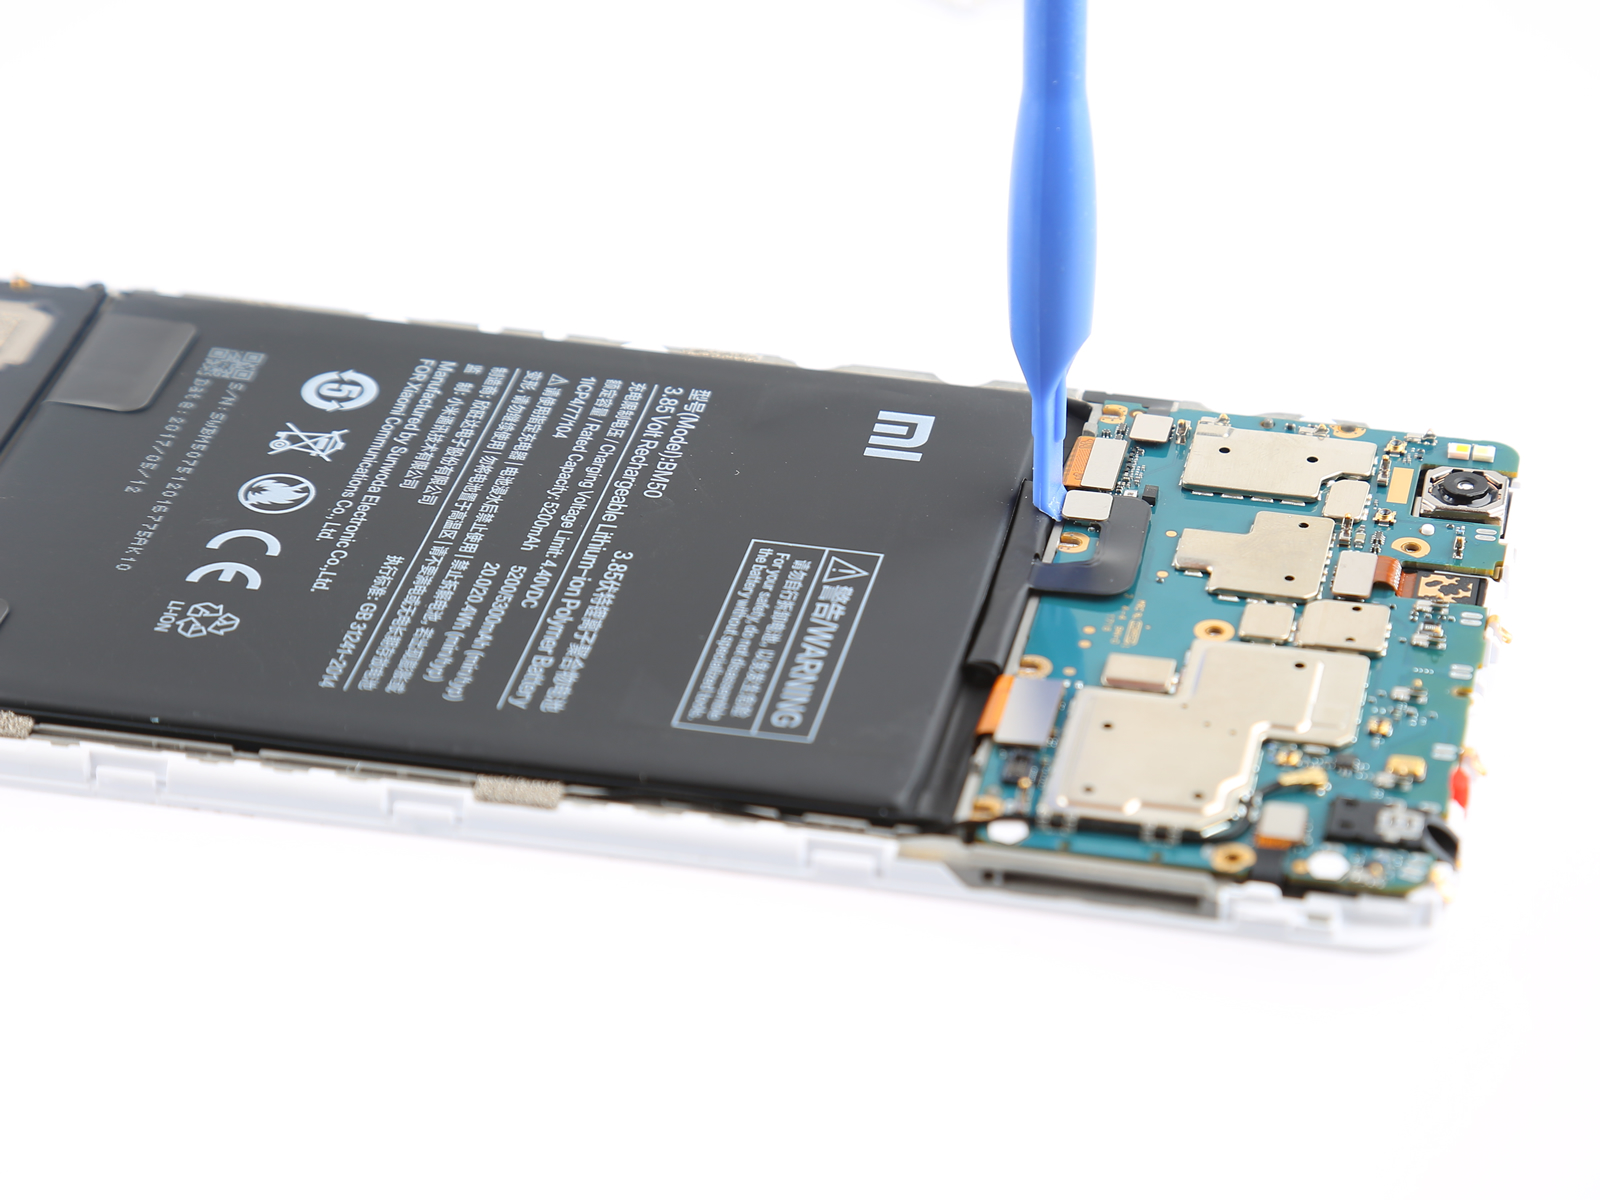
5. Disconnect the battery connector
Disconnect the battery connector from the motherboard with a spudger.
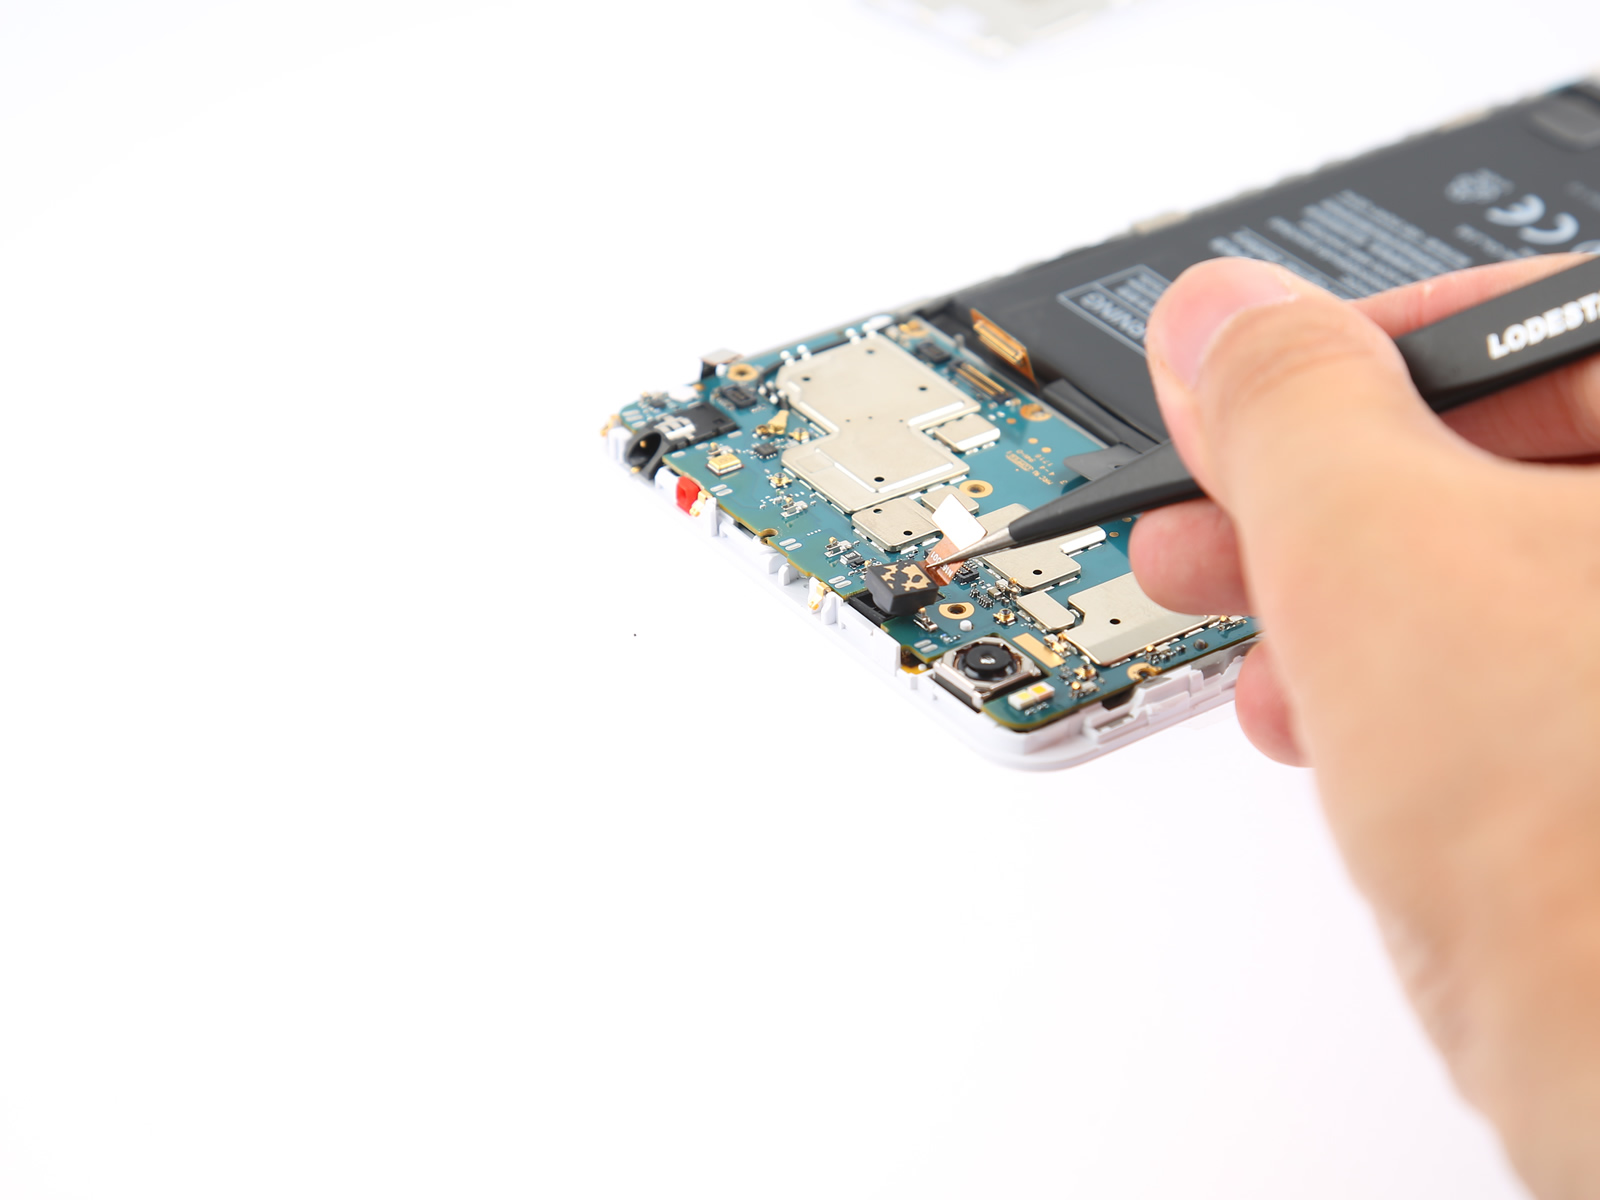
5. Remove the front camera
Disconnect the front camera connector from the motherboard.
Remove the front camera with tweezers.
You can find the Xiaomi Mi Max 2 Teardown here. Please visit the Mi Max 2 repair guide category for tutorials on replacing other parts.