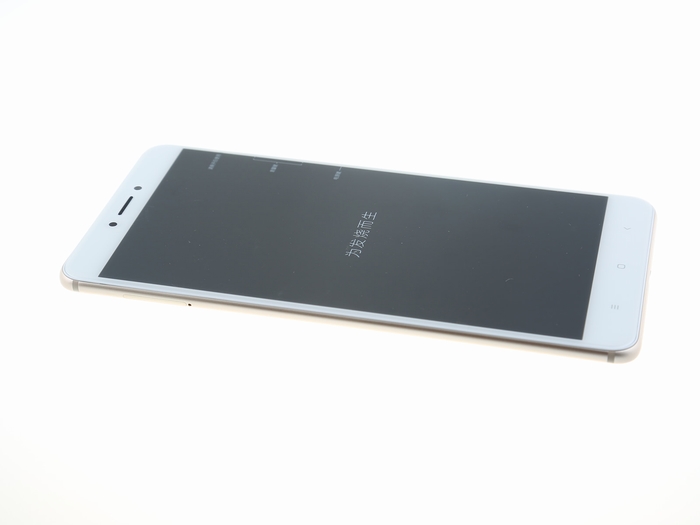
The Xiaomi Mi Max 2 has a 6.44-inch display with a resolution of 1080×1920 pixels. It is powered by a 2GHz octa-core Qualcomm Snapdragon 625 processor and 4GB of RAM. The phone has 64GB/128GB of internal storage that can be expanded via a microSD card. It has a 12-megapixel primary camera on the rear and a 5-megapixel front shooter for selfies.
Today, we finally got a golden one, and we cannot wait to open it and explore its internal structure.
First, look at this Mi Max 2 specification:
6.44-inch (74.0% screen-to-body ratio), 1080 x 1920 pixels (342 ppi pixel density)
Qualcomm MSM8953 Snapdragon 625 Octa-core 2.0 GHz Cortex-A53
4GB RAM and 64GB ROM
12 MP rear camera with f/2.2 aperture, phase detection autofocus, dual-LED flash; 5 MP front camera with f/2.0 aperture
Android 7.1.1 Nougat
Teardown is what we do! Follow us on Facebook for the latest repair news.
We have also created some parts replacement tutorials for the Xiaomi Mi Max 2. Please visit the Mi Max 2 repair guides category.
Based on previous experience, we first removed the SIM card tray to avoid damage to the fuselage during the disassembly process.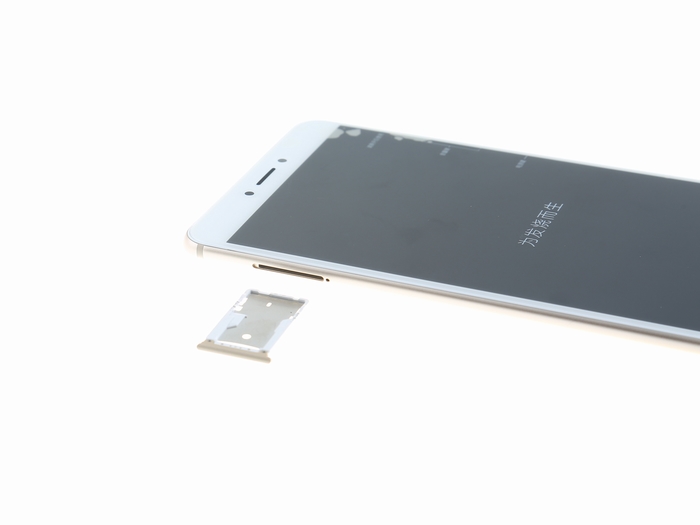
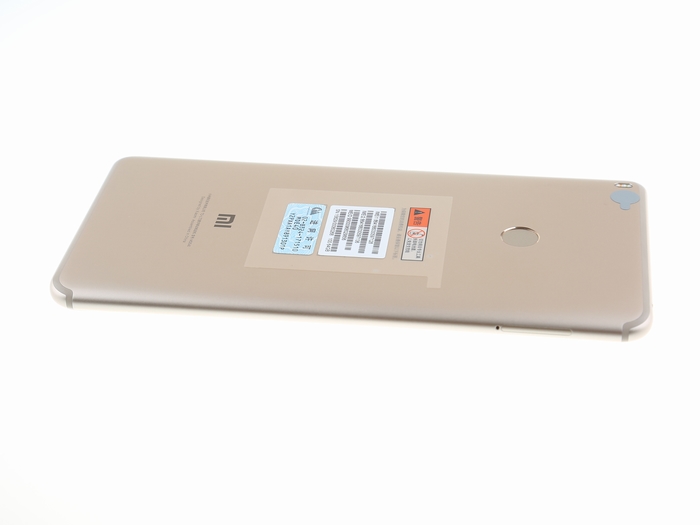
Like other Xiaomi phones, the Xiaomi Mi Max 2 uses two 0.8*25mm screws to secure the back cover to the middle frame.
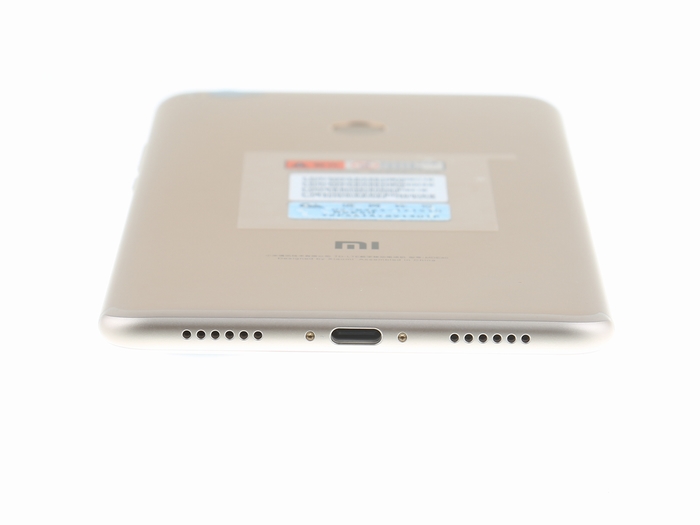
After removing two 0.8*25mm screws, open the back cover a little bit with a sucker.
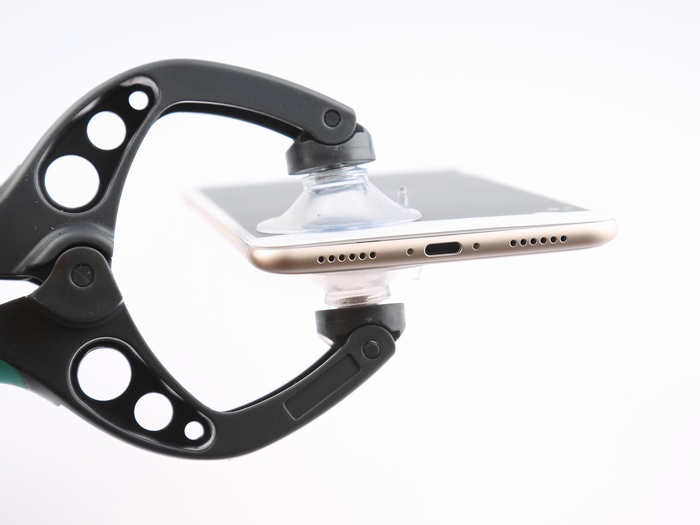
Insert a pick between the back cover and the fuselage, and then slowly slide the pick to release the snaps on the middle frame.
It is worth mentioning that the Xiaomi Mi Max 2’s back cover is very easy to remove. I have never found it so easy to remove a mobile phone’s back cover before.
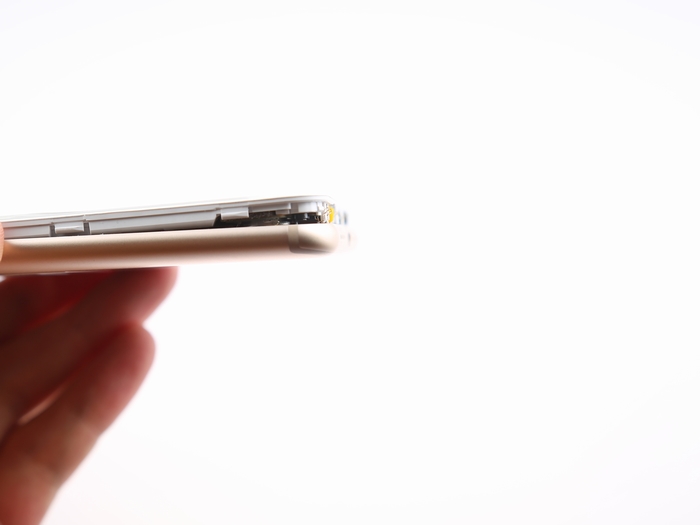
In the separation of the back cover and the fuselage, it should be noted that the fingerprint module cable on the back cover is still connected to the motherboard.
Disconnect the fingerprint module cable from the motherboard with a crowbar.
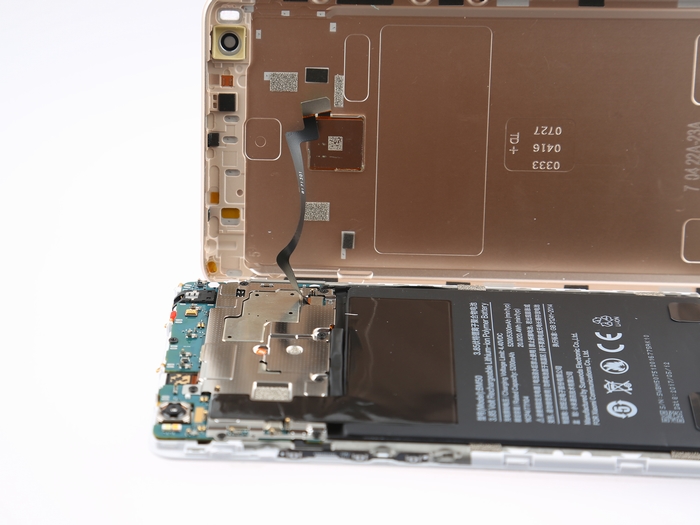
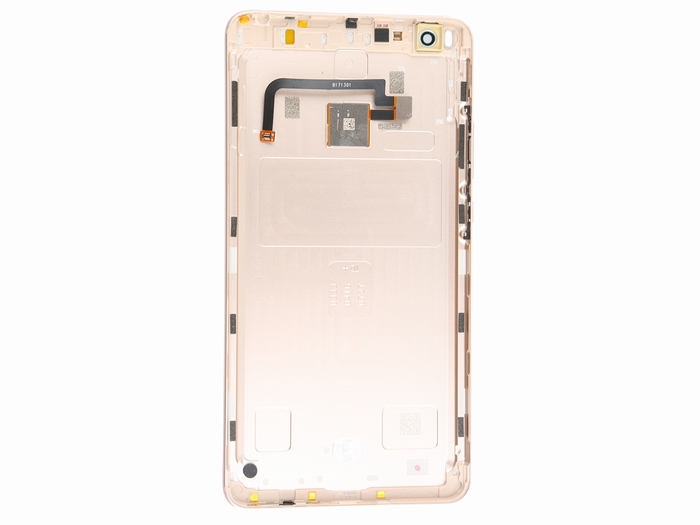
We found a chip marked with “5001 8500 1649” on the back of our fingerprint cable, but it’s unclear which manufacturer it came from. If you know, please tell us.
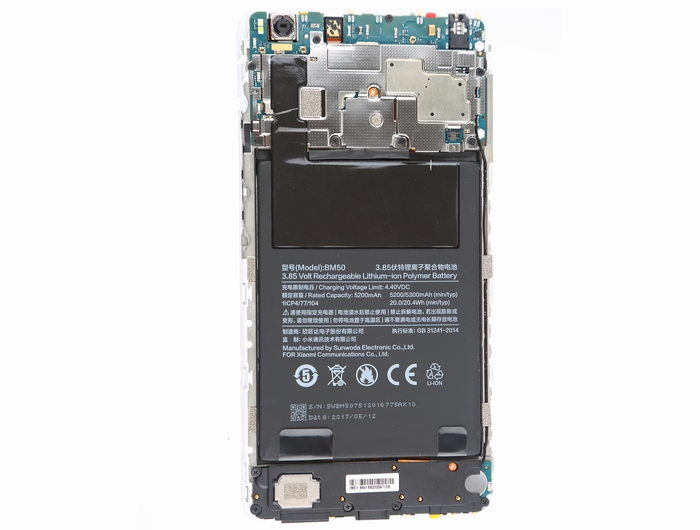
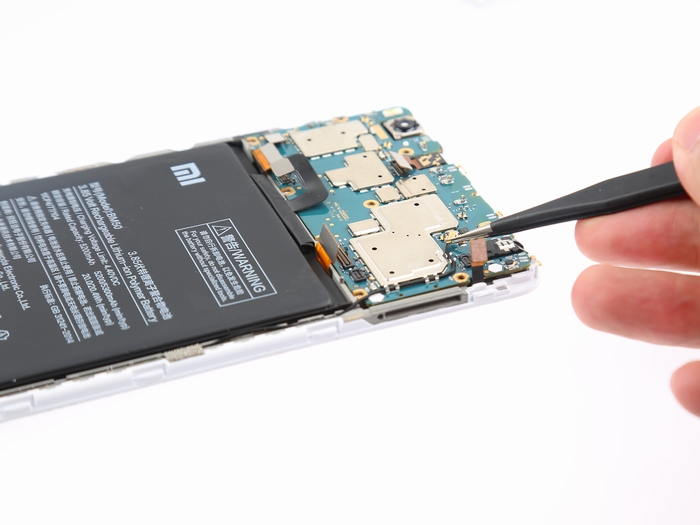
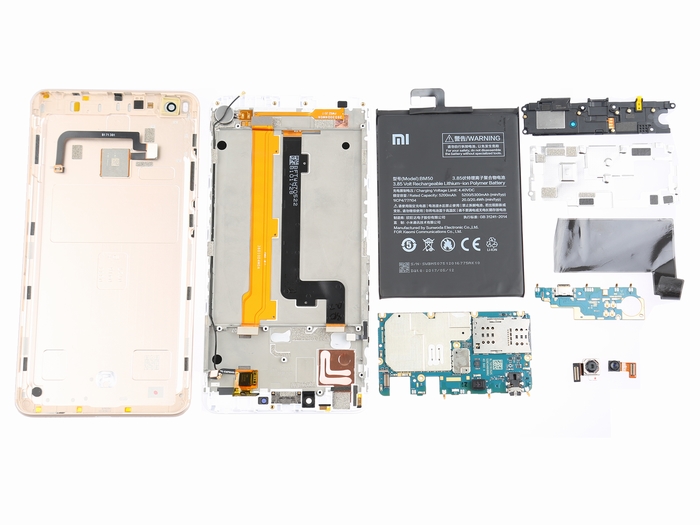
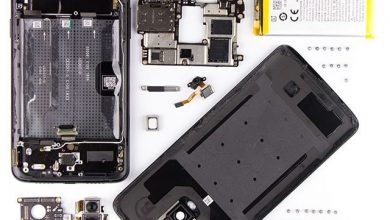
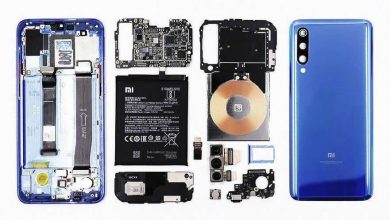
Xiaomi Mi Max 2 uses the classic three-stage fuselage. The upper is the motherboard. The middle is the battery. The bottom is the USB board.
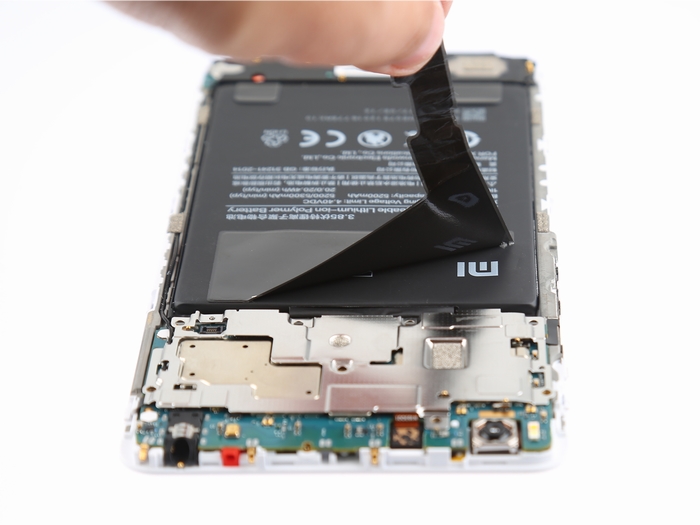
Before removing the motherboard, we need to remove the graphite sticker covering the metal plate and the battery.
Remove all the screws securing the metal plate and motherboard.
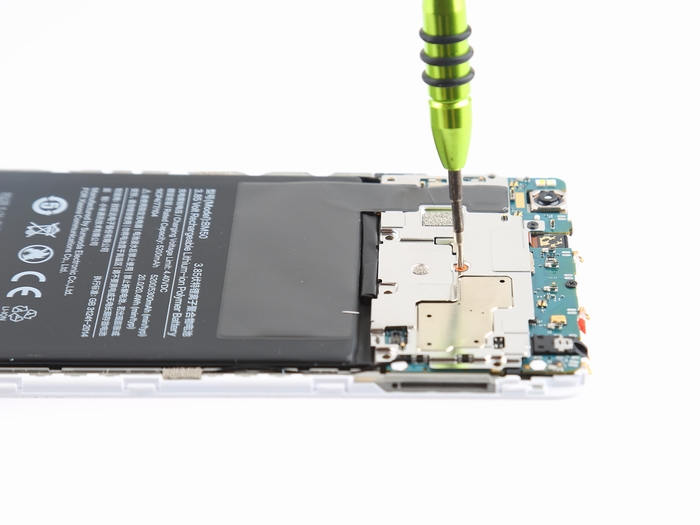
Remove the metal plate with tweezers.
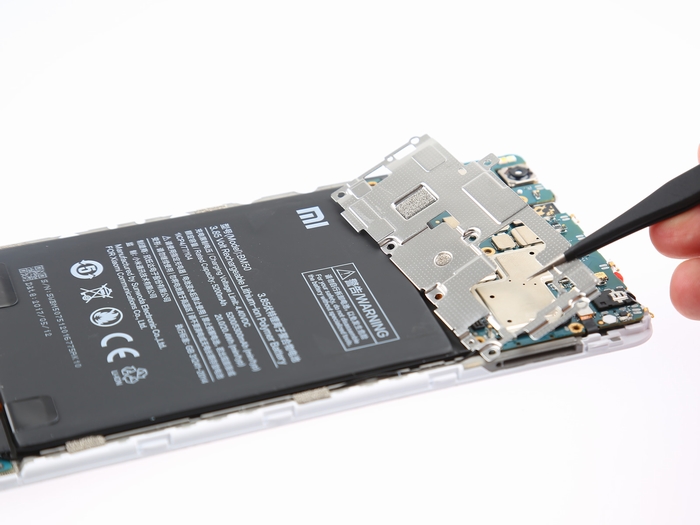
Xiaomi Mi Max 2 uses a large metal plate to fix the connector on the motherboard.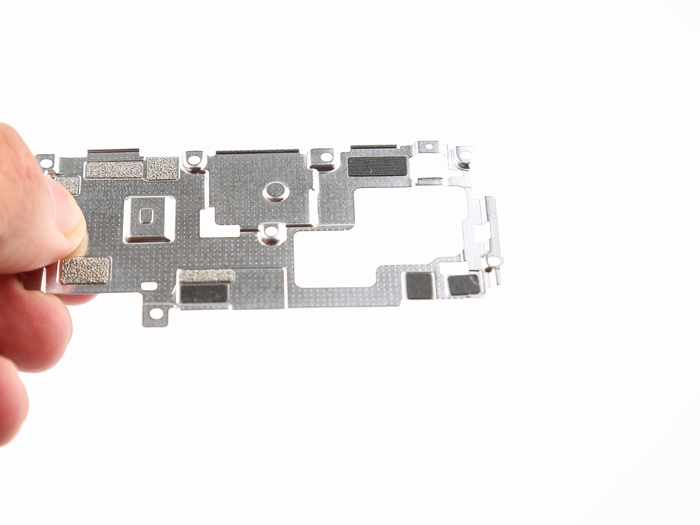
Disconnect the battery connector from the motherboard. Then, disconnect the display cable, power button cable, FPC cable, touch cable, and coaxial cable from the motherboard.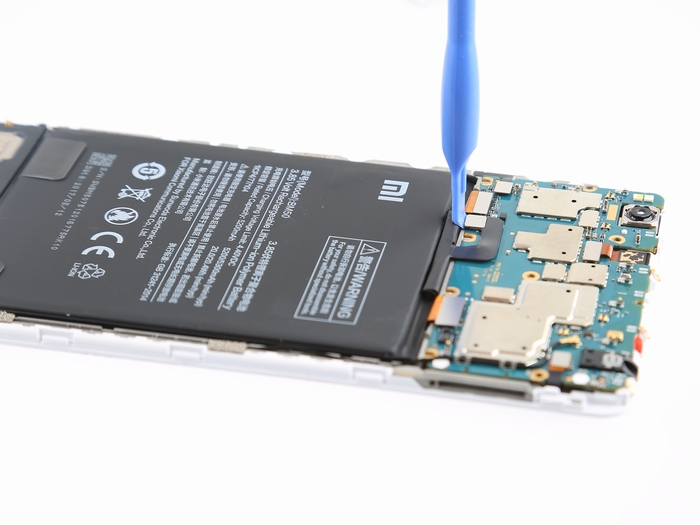
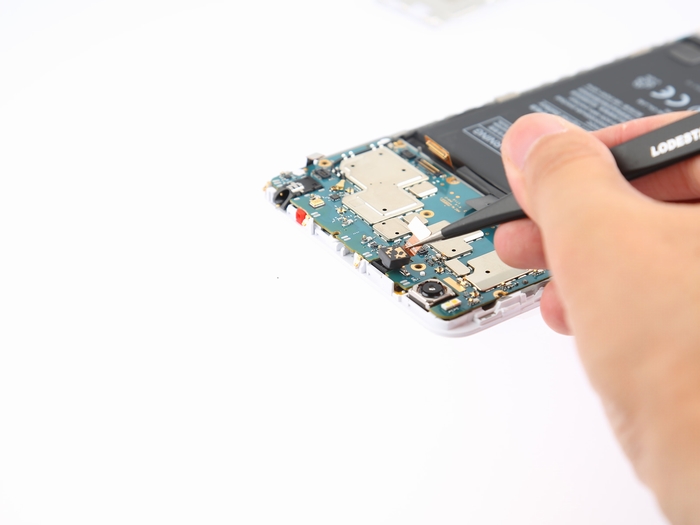
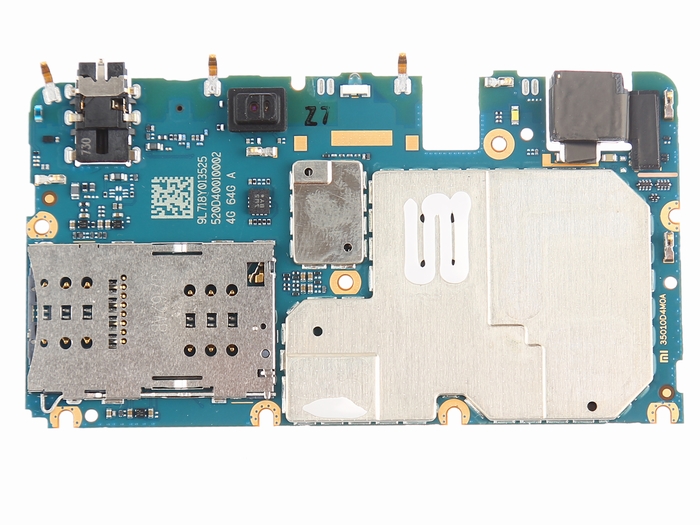
All the metal shields are welded to the motherboard, and one of the shields has a graphite sticker. According to experience, the following should be the Snapdragon 625 processor and RAM. As with most midrange machines, the integration is not particularly high, whether it’s the motherboard or the bottom board.
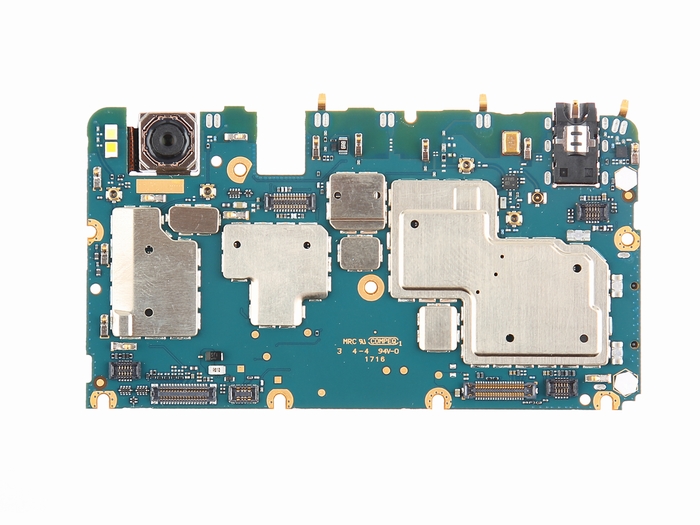
The front camera module is really small; it comes from QTech, and the model is F5E8YAR, but we did not find this product on Q-Tech’s official website.
On the main camera, it is marked with A12N06P; it should also come from QTech.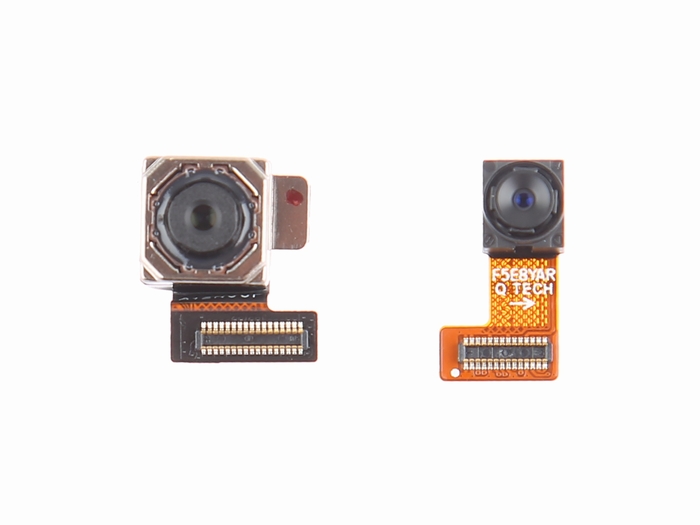
The touch chip is from FocalTech, model FT5446DQS.
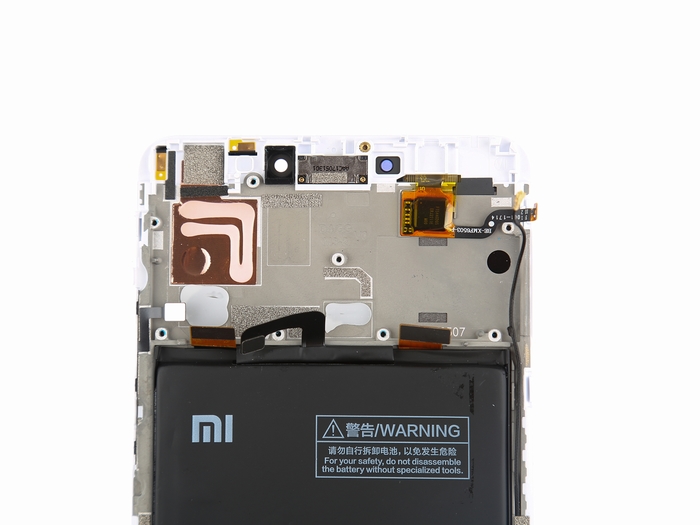
Remove all screws securing the loudspeaker and bottom board.
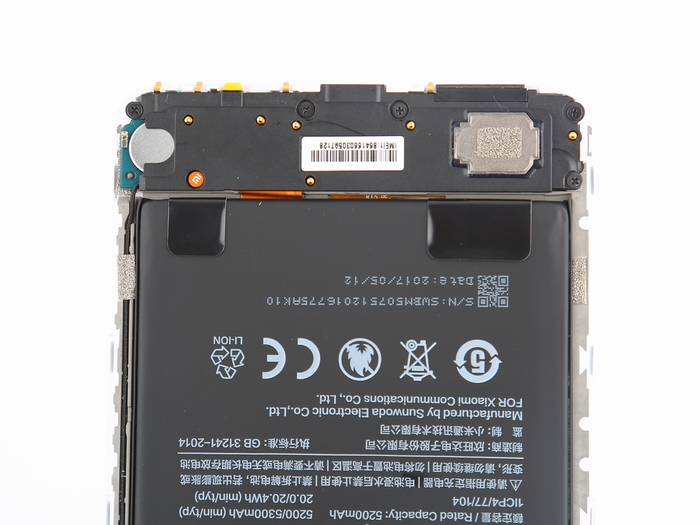
Surprisingly, after removing all the screws, the loudspeaker automatically popped out, and usually, the loudspeaker was glued to the chassis.
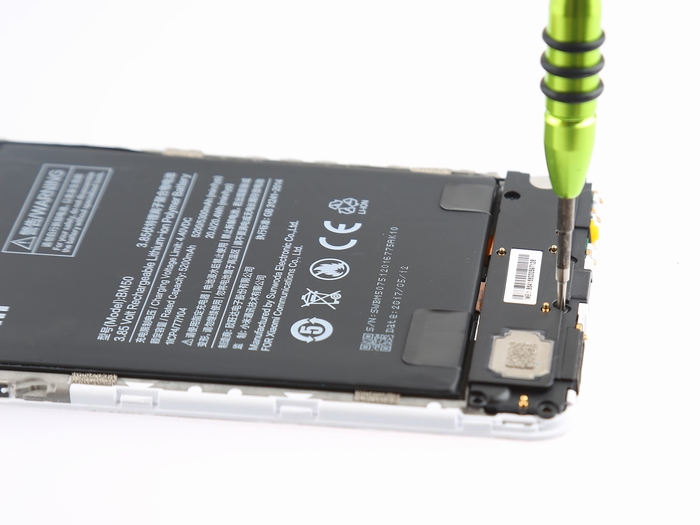
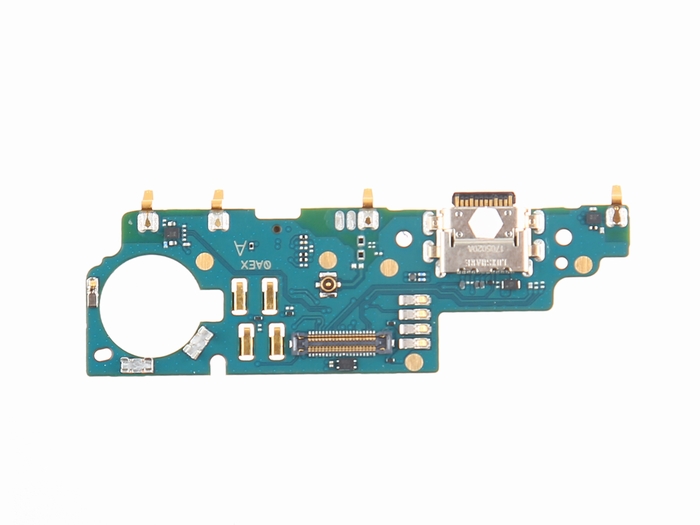
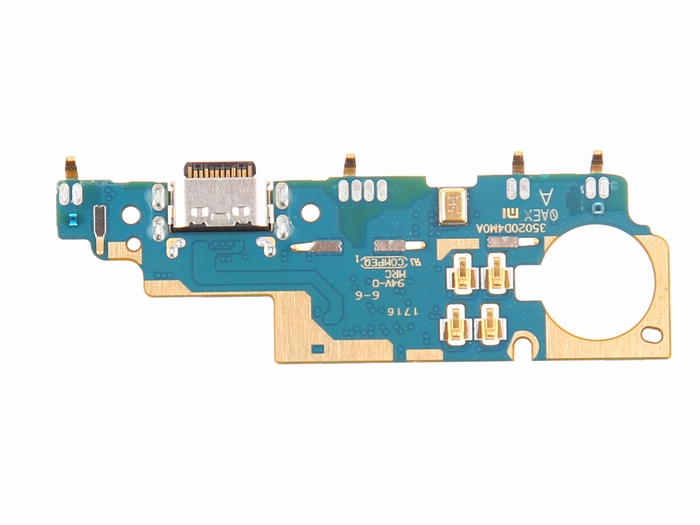
The bottom board is manufactured by Taiwan COMPEQ. It integrates a USB port and many metal contacts.
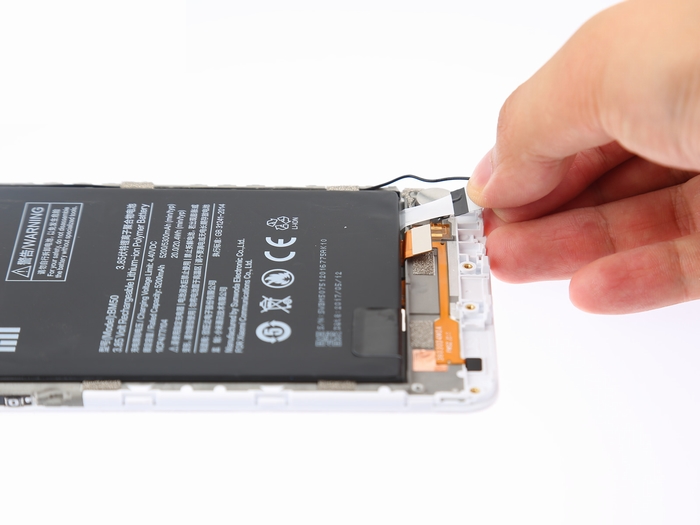
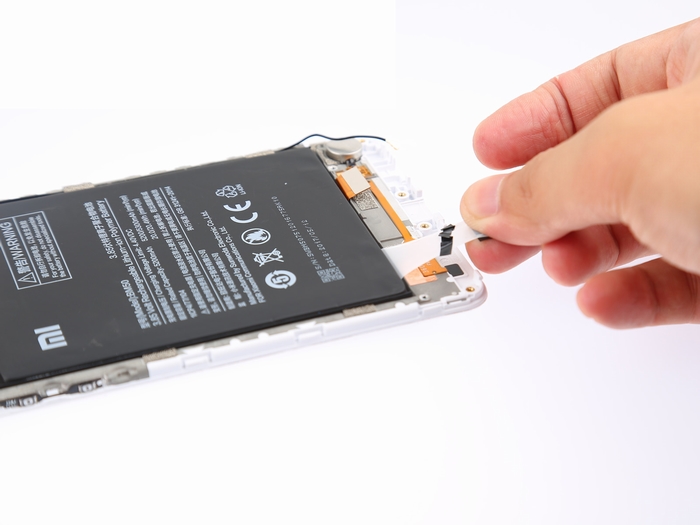
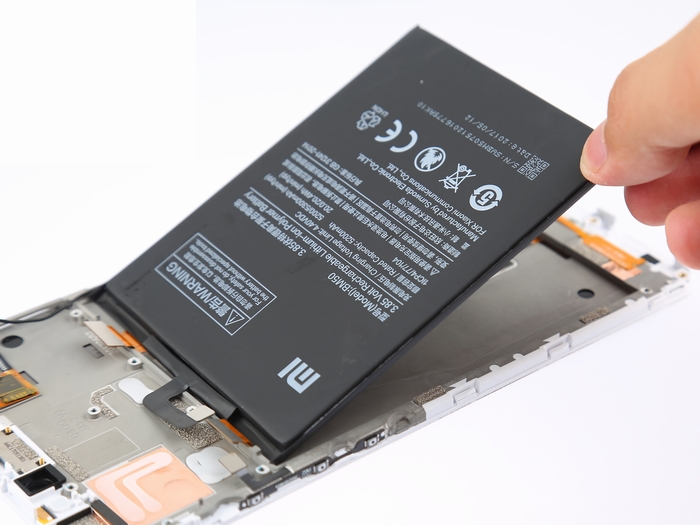
There are two adhesive tapes under the battery, and the battery can be removed by pulling out the adhesive tape.
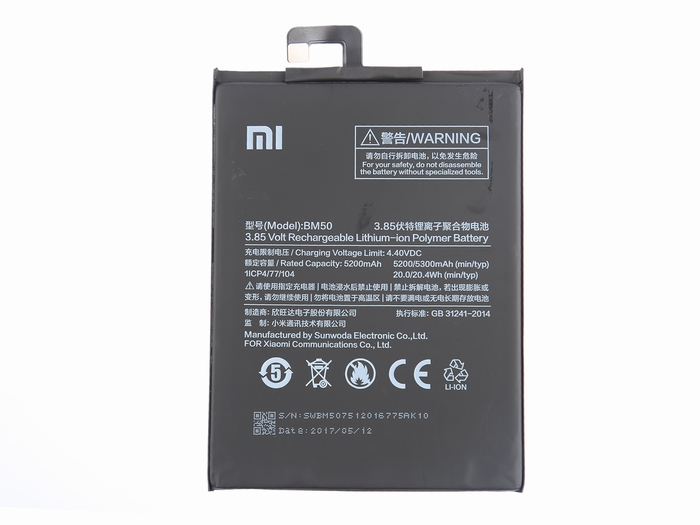
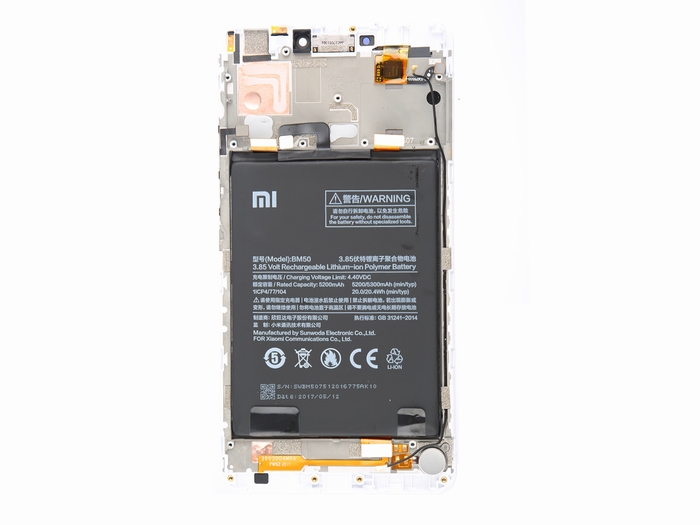
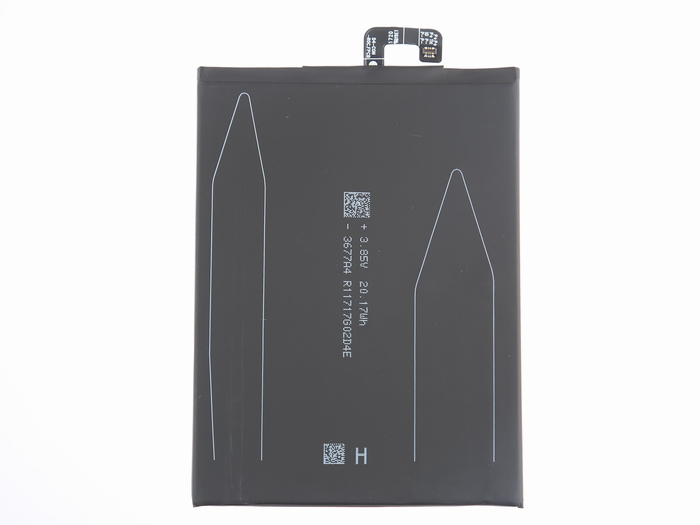
The Xiaomi Mi Max 2 has a 3.85V, 5300mAh Li-ion polymer battery, and the model is BM50. It is manufactured by Sunwoda Electronic.
Summary
Most of the components are modular and can be replaced independently.
The battery can be replaced by pulling out the adhesive tape.
It is very easy to remove the back cover.
The middle frame is made of plastic material.


Which power amplifier and receiver are used in max 2? What about another chip?
Because the metal shield is welded to the motherboard, we can not see the chips on the motherboard.
Can you make a screen replacement guide if possible? I have ordered a replacement screen. However, I want to be sure I am doing it correctly. I love your other guides!
We will make a screen replacement guide soon, please keep an eye on our website.
I found some issues regarding proximity and the gravity sensor not working. Please give me a reply regarding the hardware.
I have a problem with the Wi-Fi connection being weak after I put back the back cover. Can you advise why?
Maybe your Wi-Fi connection is incorrect, and please re-install it.
does the mi max 2 battery fit into the mi max 1??