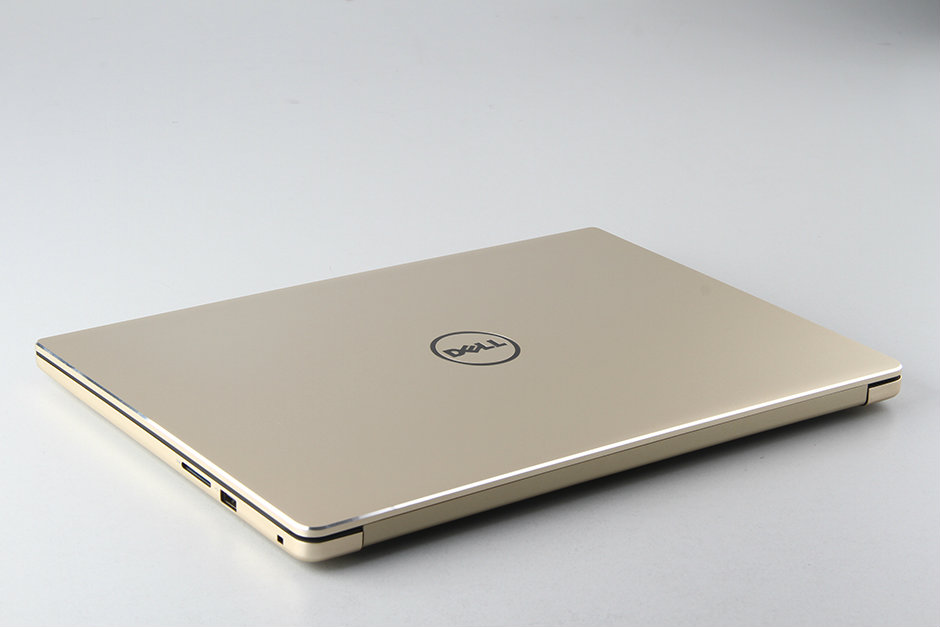
In this article, I will explain how to disassemble a Dell Inspiron 15 7000 7560 to remove the bottom cover, SSD, wireless card, RAM, cooling fan, heat sink, and motherboard.
Specifications:
Processor: Intel Core i5-7200U(2.5GHz/L3 3M)
Graphics: Intel HD Graphics 620
Memory: 4GB, DDR4-2400, up to 16 GB
Display: 15.6 inch 16:9, 1920×1080, IPS
Storage: 500GB, and has a spare M.2 slot
Operating System: Windows 10 Pro
Webcam: 720p HD
Teardown is what we do! Follow us on Facebook for the latest repair news.
Dell Inspiron 15 7000 7560 Disassembly Steps:
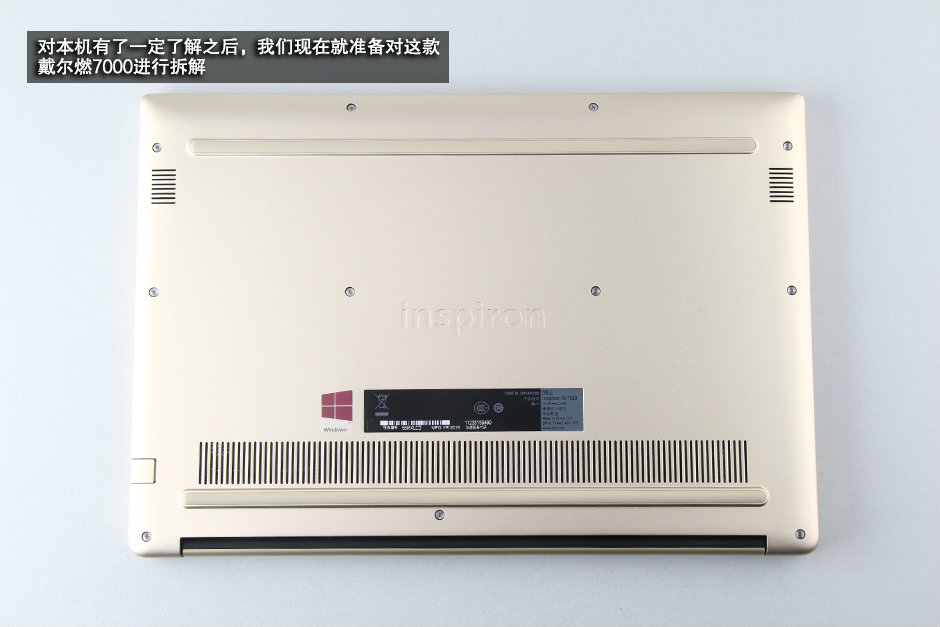
Remove the 11 screws from the bottom cover with a screwdriver.
Insert a pry tool or pick under the bottom cover. Slide the pick to release the clips that secure the bottom cover.
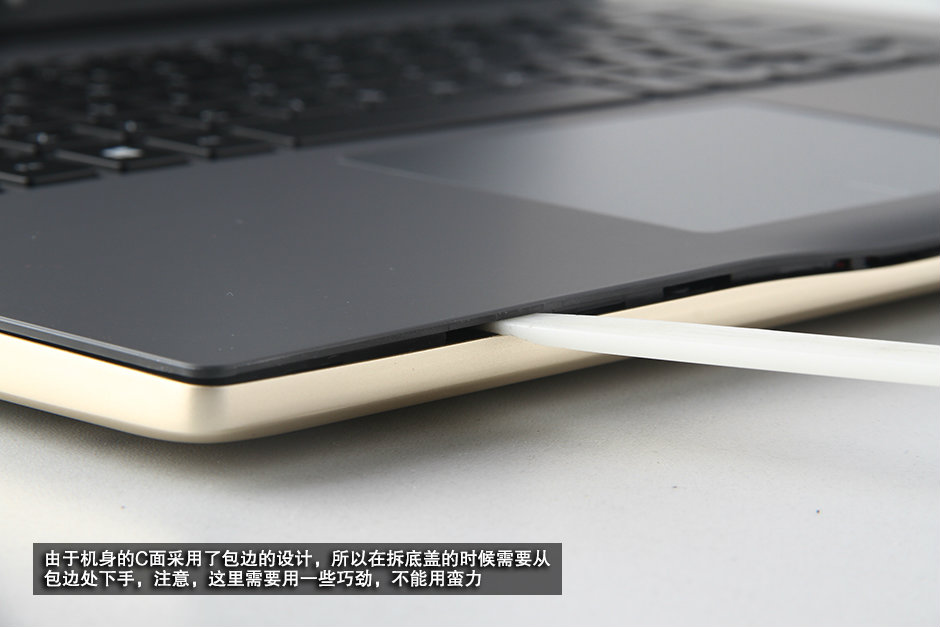
You can remove the bottom cover once all the clips are released.
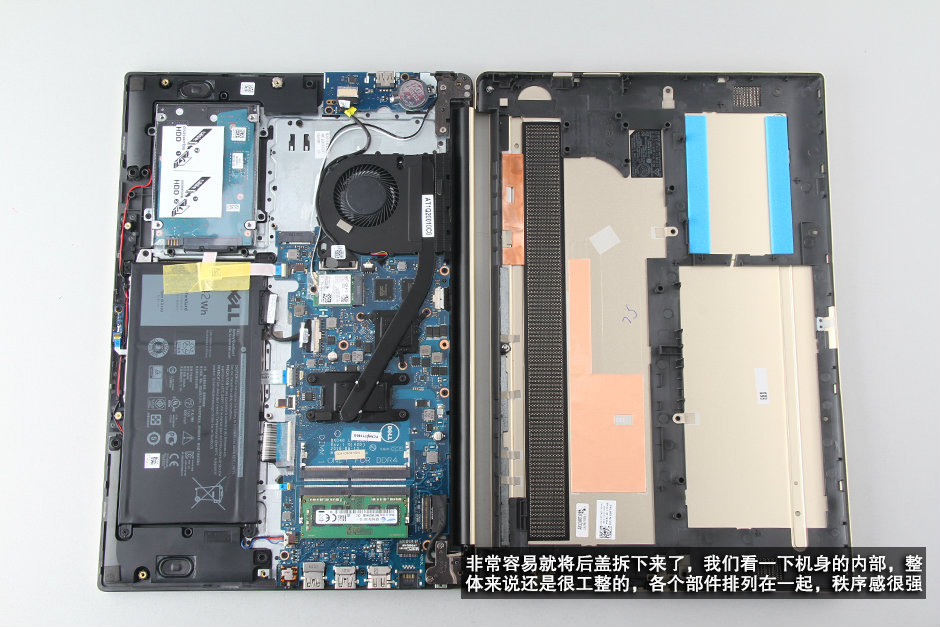
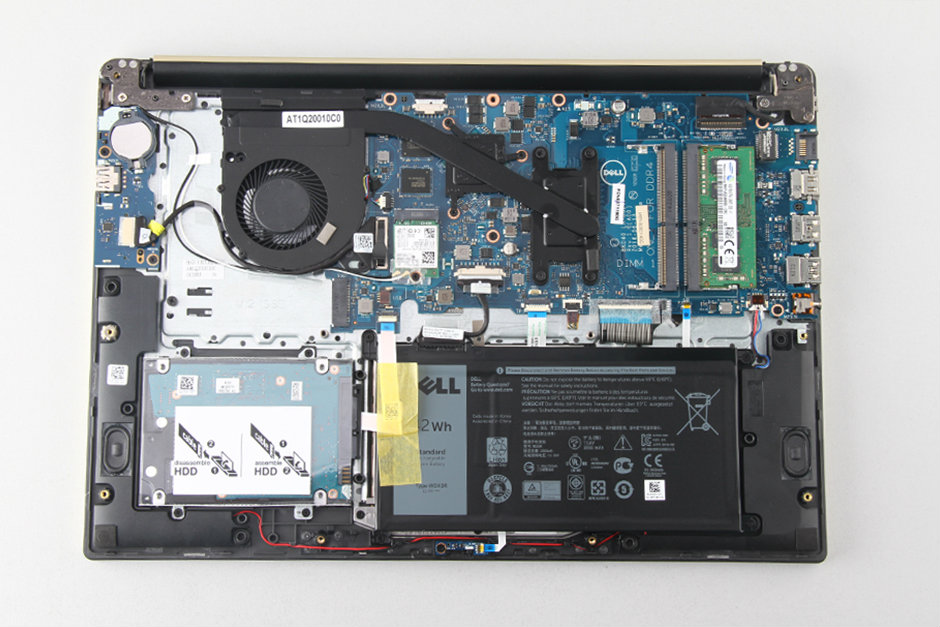
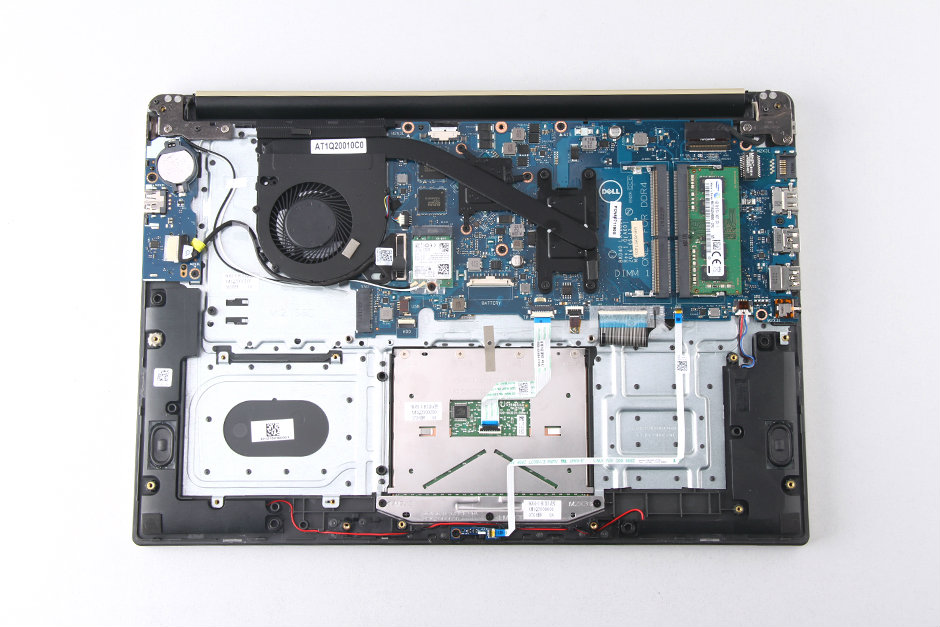
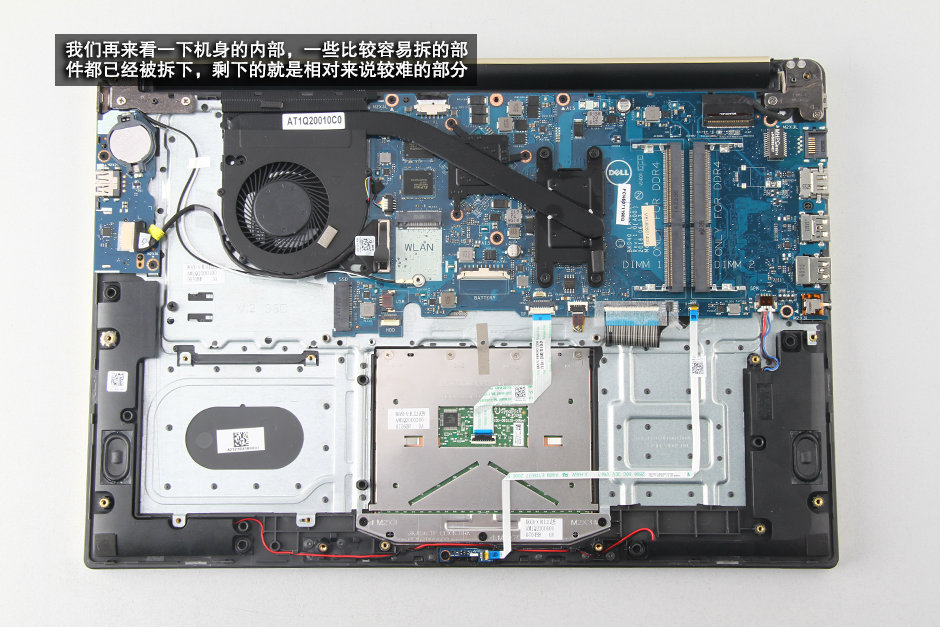
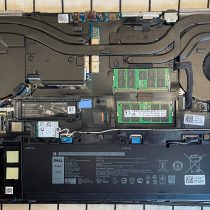
Now you can access the battery, RAM, CMOS battery, hard drive, speaker module, wireless card, heat sink, cooling fan, and motherboard.
Remove the four screws securing the battery, then disconnect the battery connector from the motherboard.
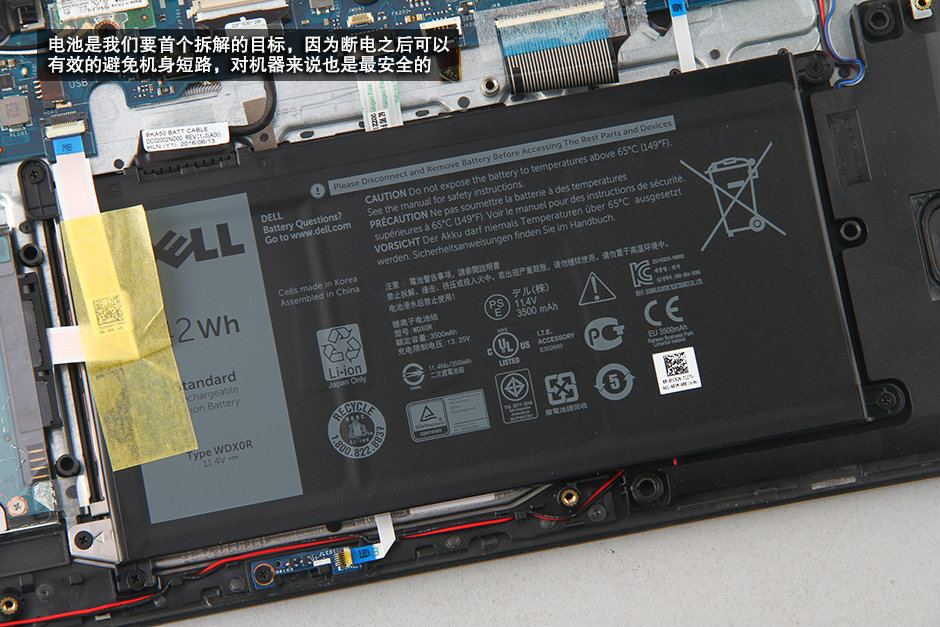
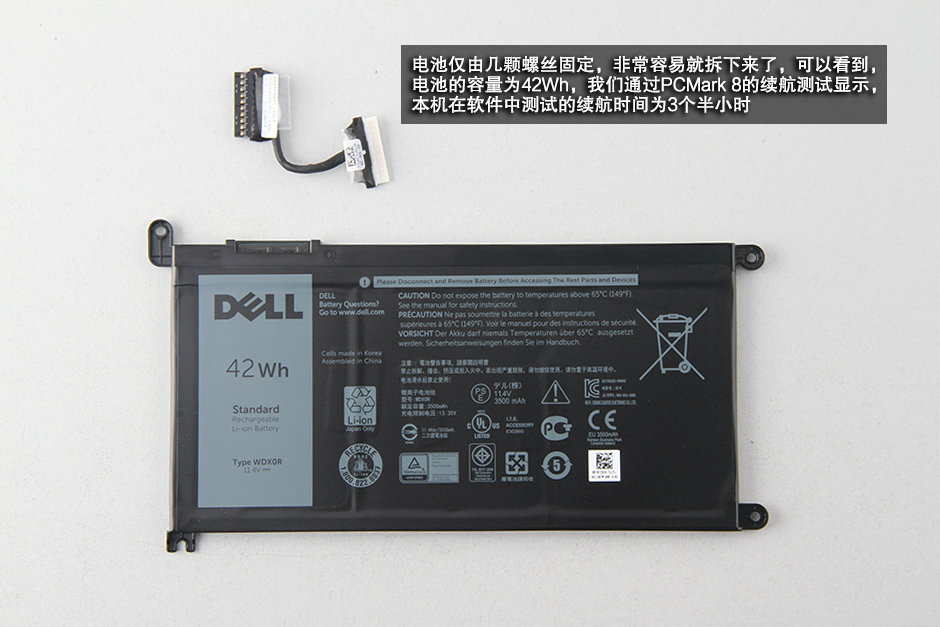
The Dell Inspiron 15 7560 features an 11.4V, 42Wh Li-ion battery with part number WDX0R.
We test the battery with PCMark 8 software. The battery life is about 3.5 hours.
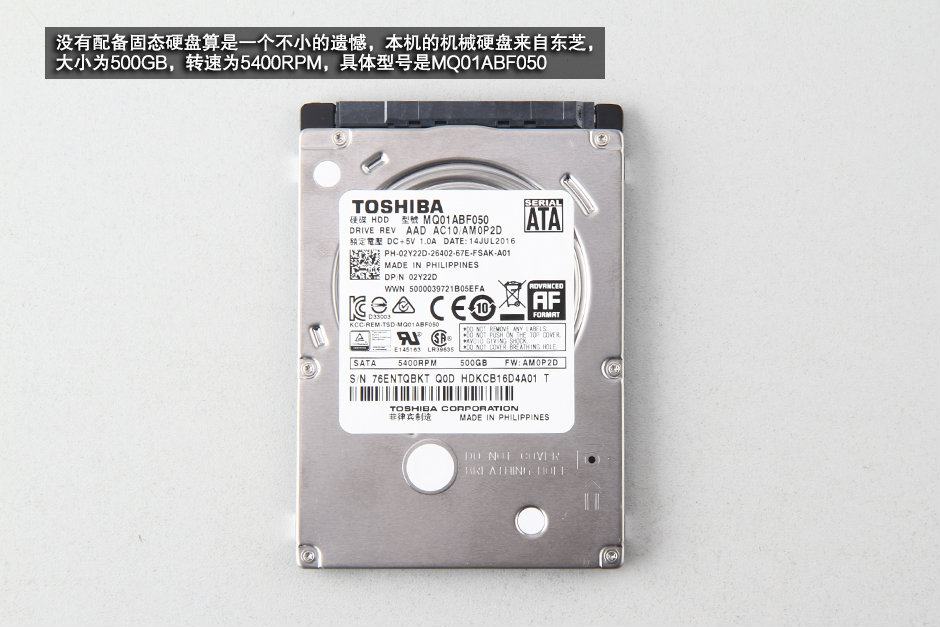
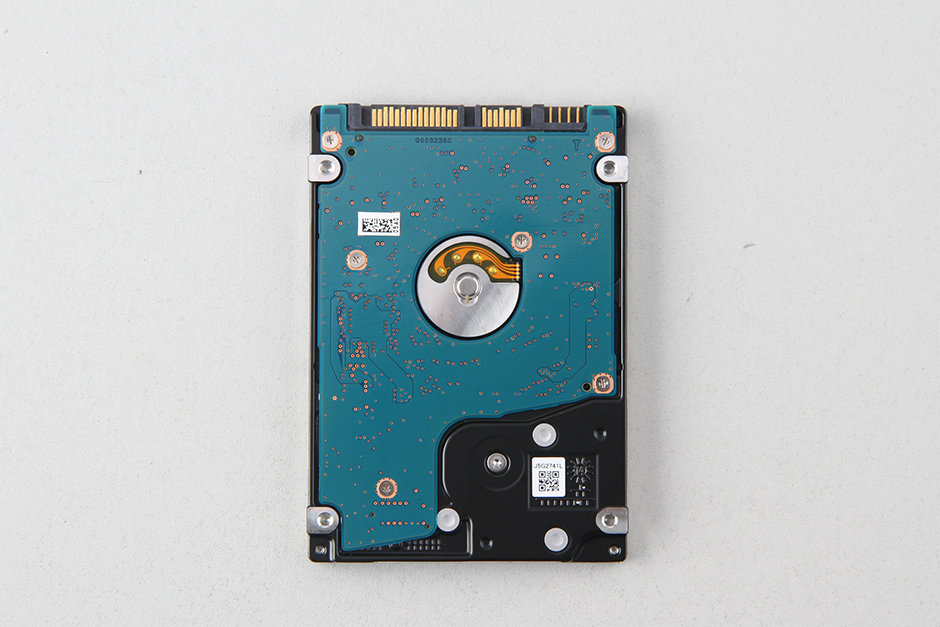
The laptop features a Toshiba 500GB 5400 RPM hard drive with Dell part number 02Y22D.
There is an M.2 beside the hard drive module. It supports M.2 NVMe SSD.
With the battery removed, you can access the touchpad module.
In the next step, we will remove the RAM module.
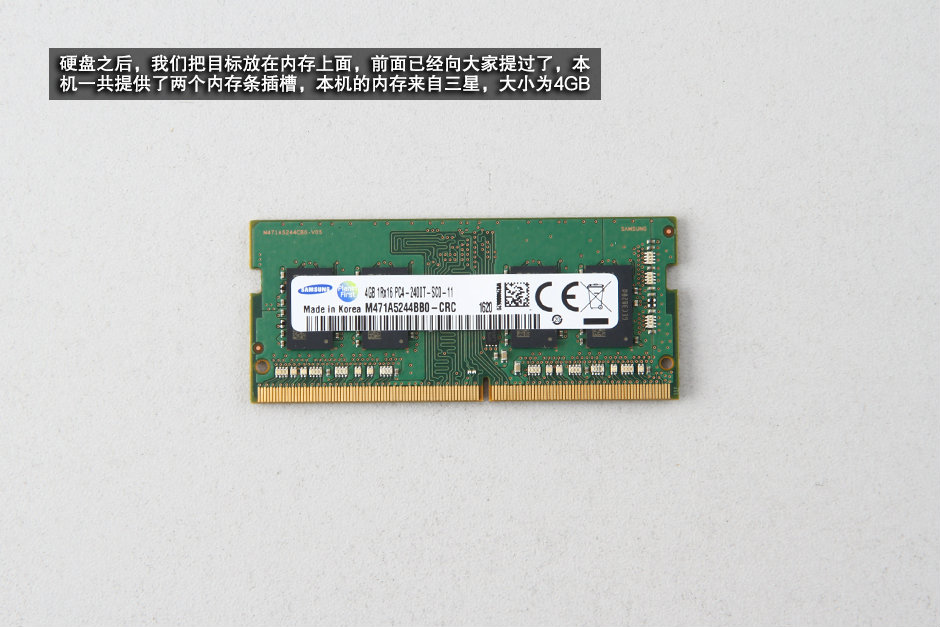
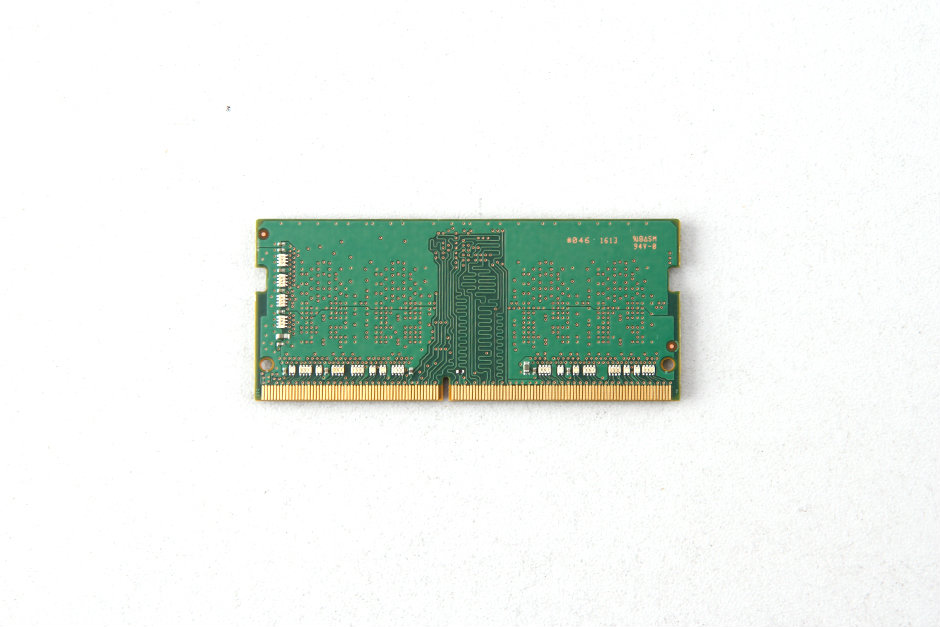
Separate the clips on both sides and remove the RAM module.
The Dell Inspiron 15 7000 7560 has two RAM slots, and only one slot is occupied by a Samsung RAM module.
According to the Dell website, the laptop supports up to 16GB of RAM. That means you remove the original 4GB RAM module and install two 8GB RAM modules.
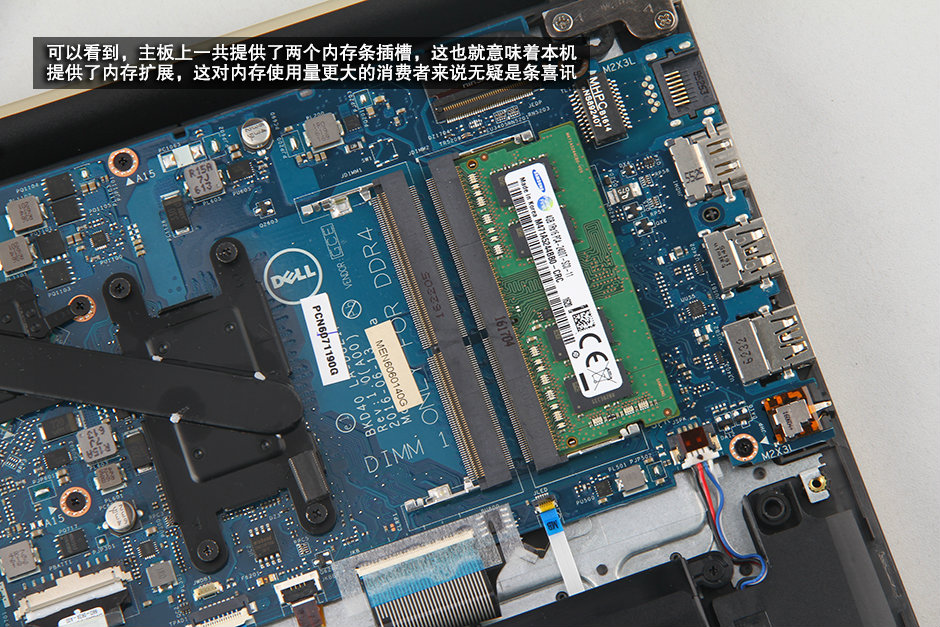
The laptop comes with a Samsung 4GB PC4-2400T RAM module.
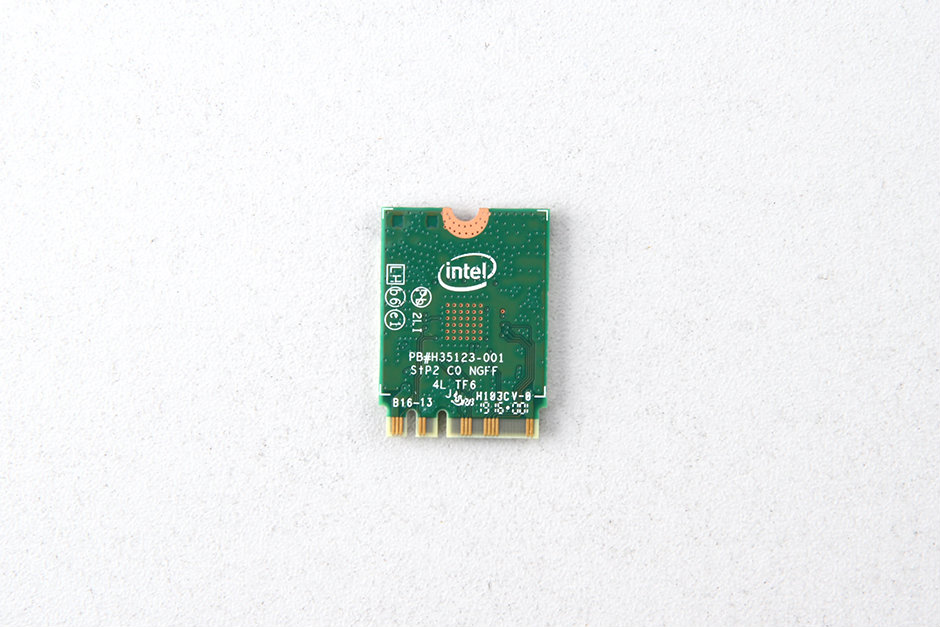
Unplug the two wireless card antenna cables and remove the screw. You can remove the wireless card.
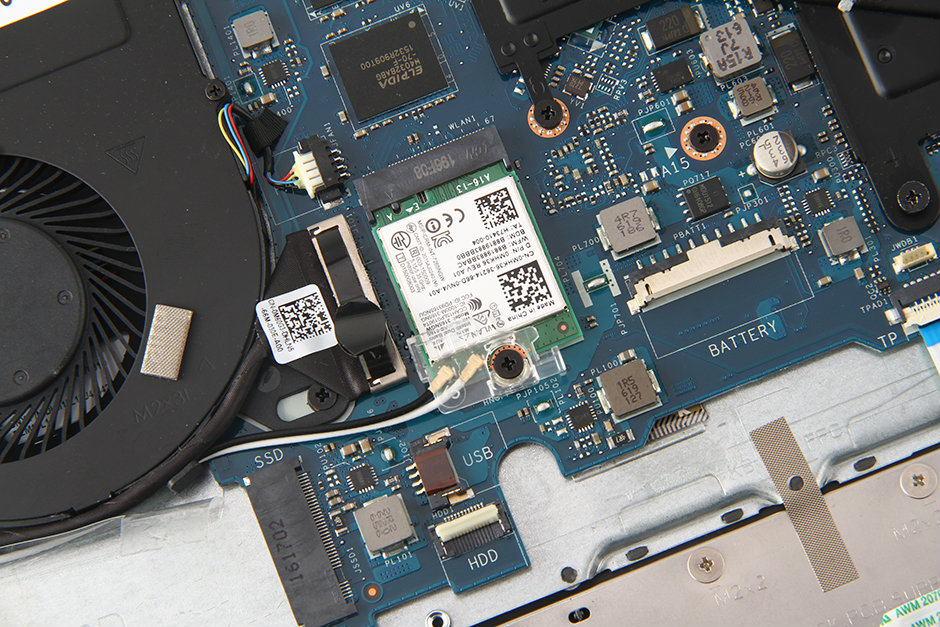
The laptop comes with an Intel Dual Band Wireless-AC 3165NGW wireless card. It supports 802.11ac, dual-band, 1×1 Wi-Fi, and Bluetooth 4.2.

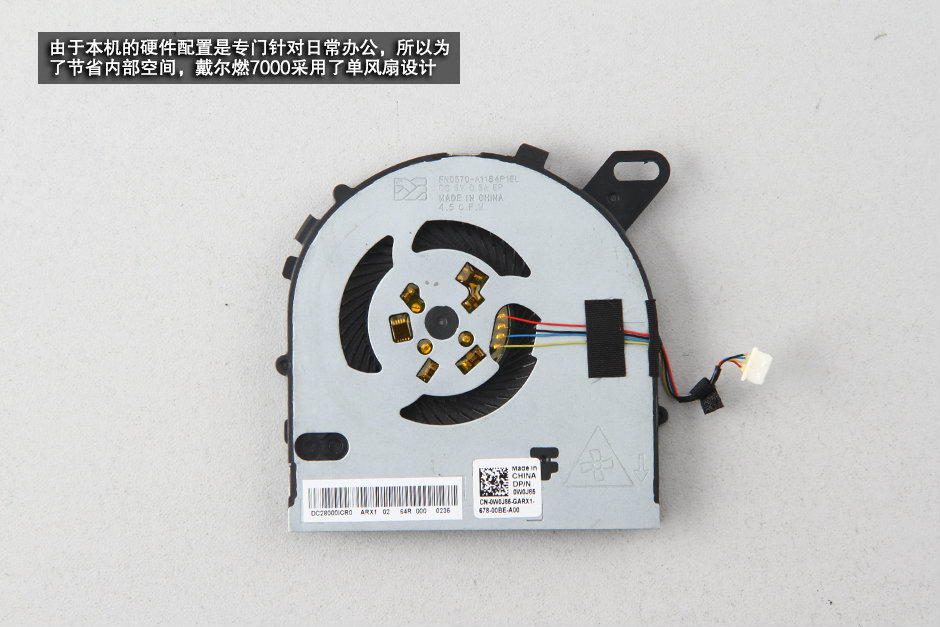
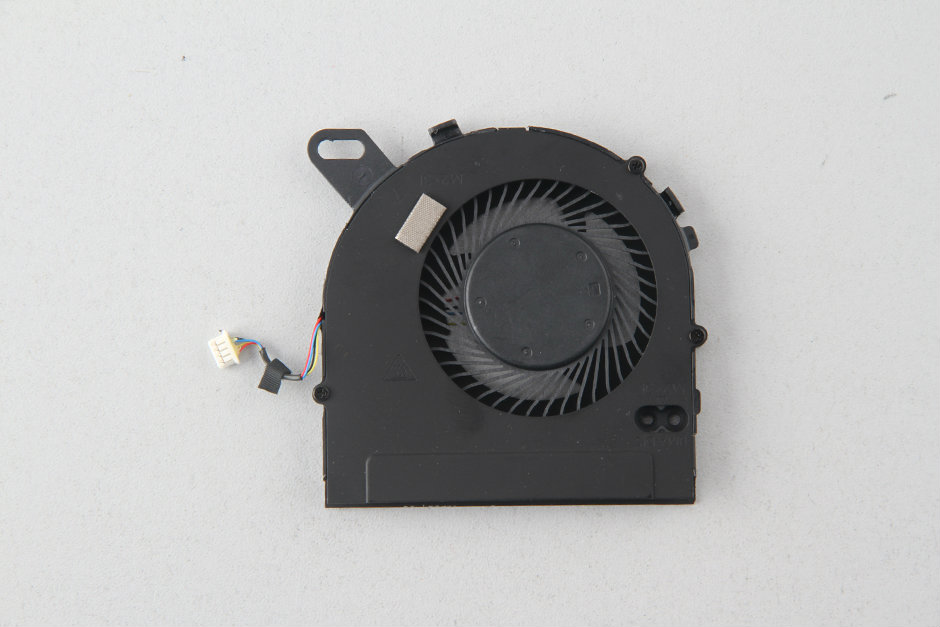
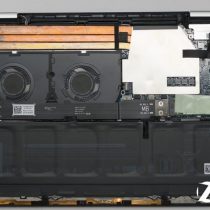
Disconnect the video cable and cooling fan cable from the motherboard.
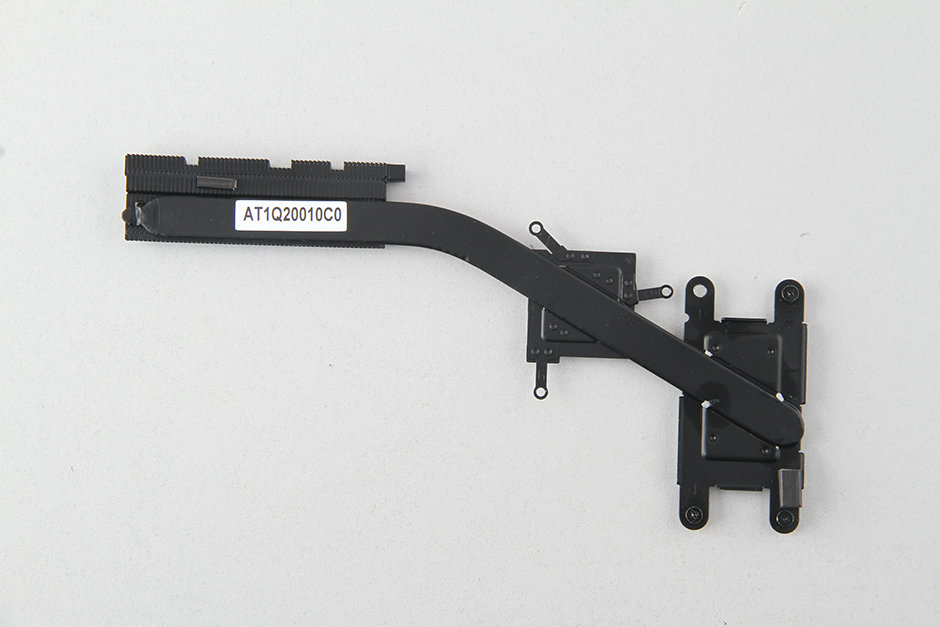
Remove all screws securing the cooling fan and heat sink.
The heatsink covers the processor and the discrete graphics card, while the other end is connected to the fan. The copper tube is relatively short, which is beneficial for heat conduction.
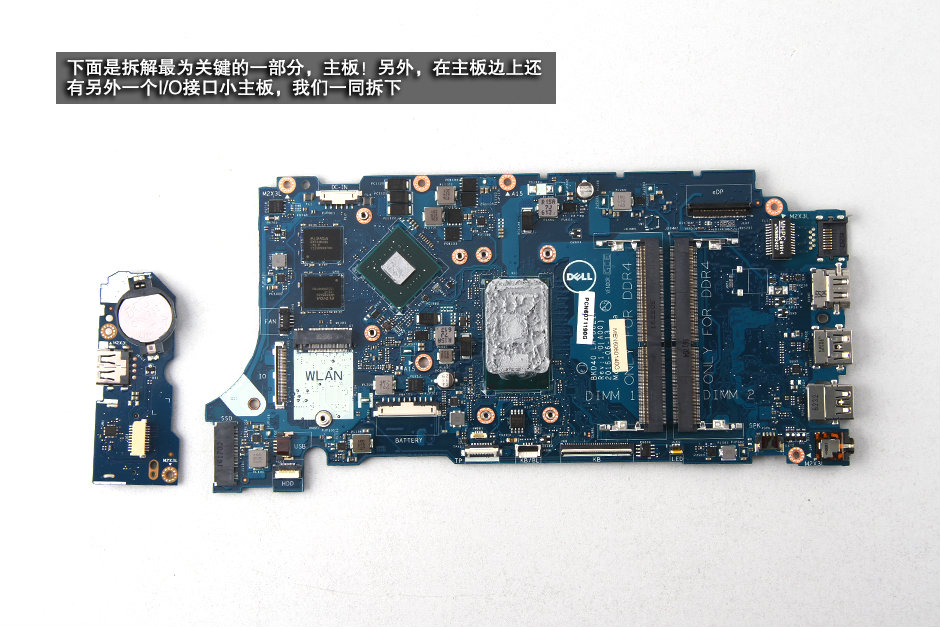
Remove the motherboard and USB board from the laptop.
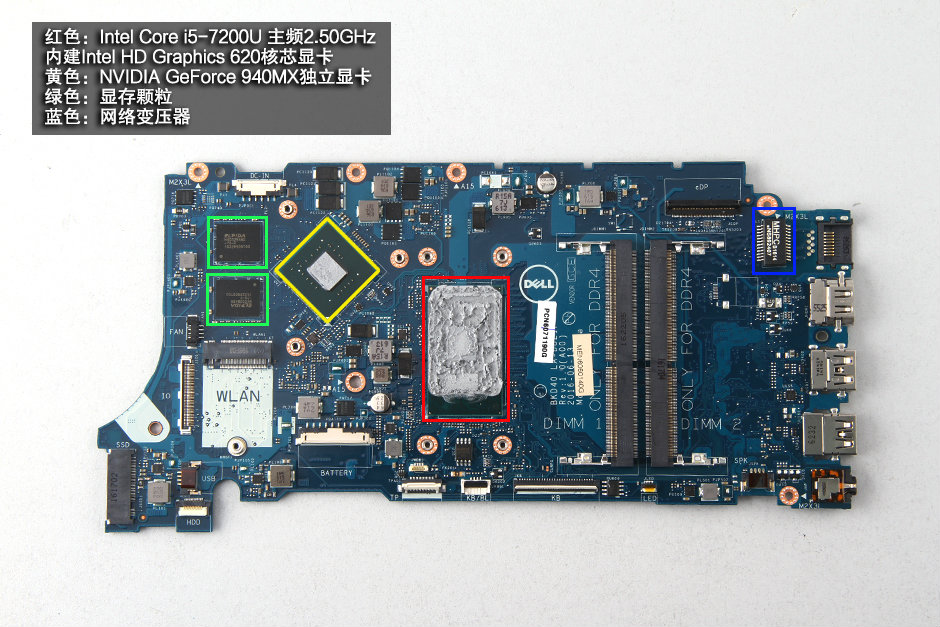
Red: Intel Core i5-7200U Processor, 3M Cache, up to 3.10 GHz, with Intel HD Graphics 620
Yellow: NVIDIA GeForce 940MX Graphics card
Green: Video memory
Blue: Network transformer
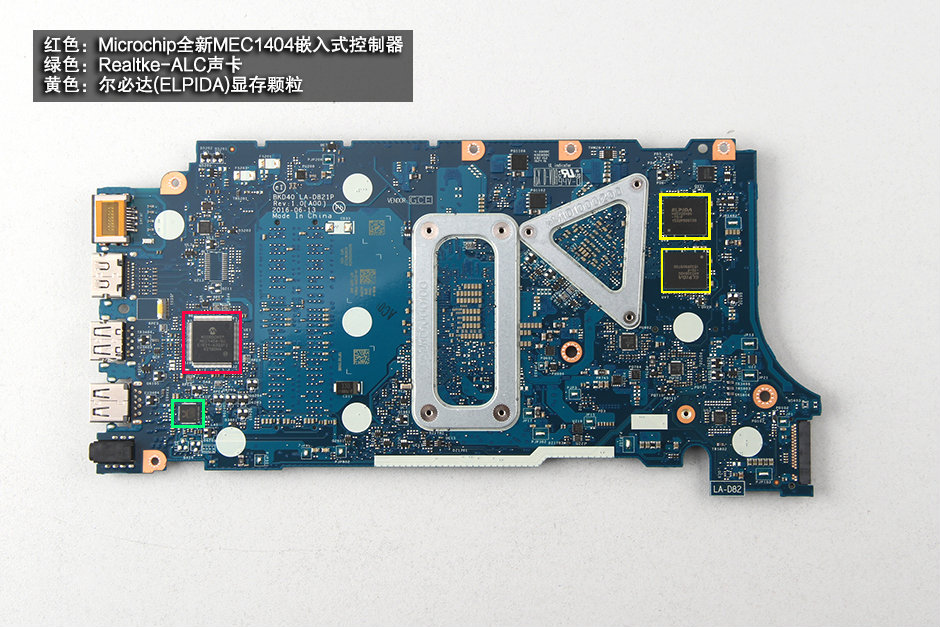
Red: Microchip MEC1404 embedded controller
Green: Realtek-ALC sound card
Yellow: Elpida Video memory
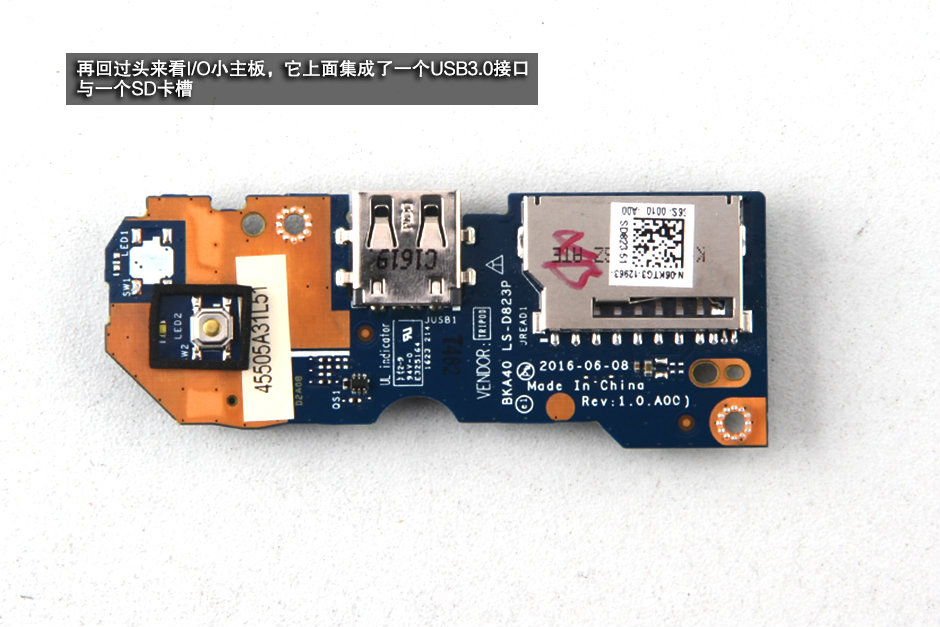
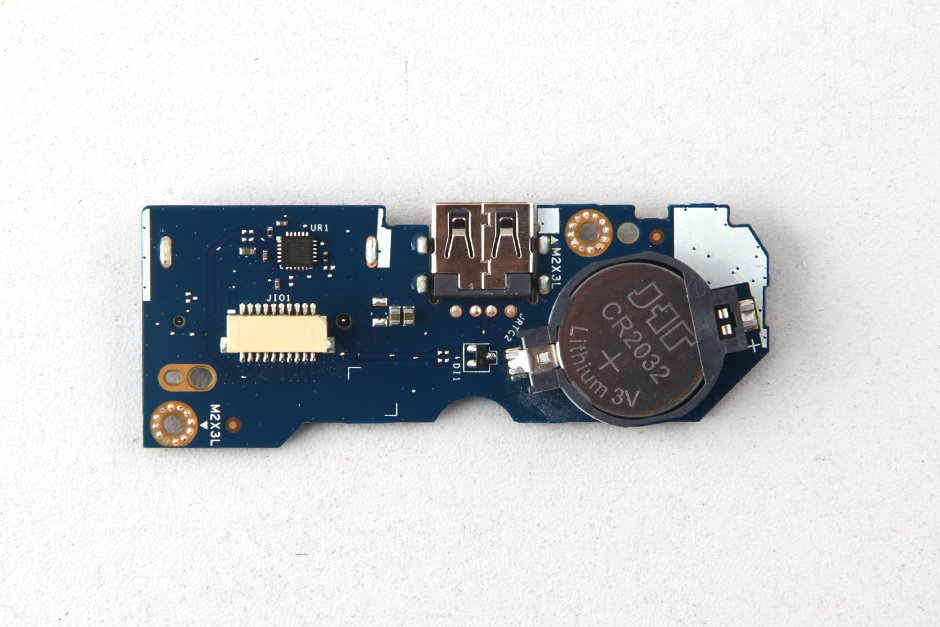
The USB board features a USB 3.0 port and an SD card slot.
Close-up of the CR2032 CMOS battery
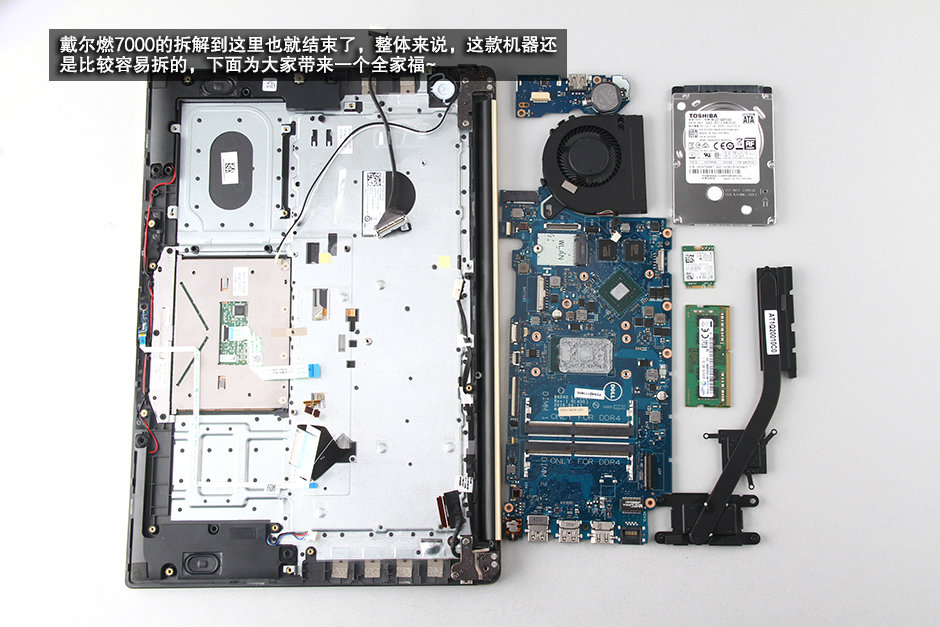
Dell Inspiron 15 7000 7560 internal parts
Do I need to apply thermal paste when the heat sink is removed? Dell service center didn’t apply thermal paste when removing the heat sink.
You should apply new thermal grease, as the old thermal grease will reduce heat dissipation performance.
I can’t open the 3 screws on the display side. Two screws at the corners loosen but don’t come out, and the screw at the center loosens a bit and then tightens again, and so on. Please help me. I want to upgrade my RAM.
Please remove 11 screws from the bottom case. Insert some plastic picks between the bottom case and the laptop body. Slide the plastic pick to release the snaps on the bottom case from the laptop body.
Good afternoon!
Does this model accept the NVMe?
Samsung 500GB 970 M.2 SSD
Hi
This laptop only supports SATA M.2 SSD and does not support PCIe NVMe SSD.
You have put in the information that it supports.
The laptop features a Toshiba 500GB 5400RPM hard drive, Toshiba model: MQ01ABF050, Dell P/N: 02Y22D.
There is an M.2 beside the hard drive module. It supports M.2 NVMe SSD.