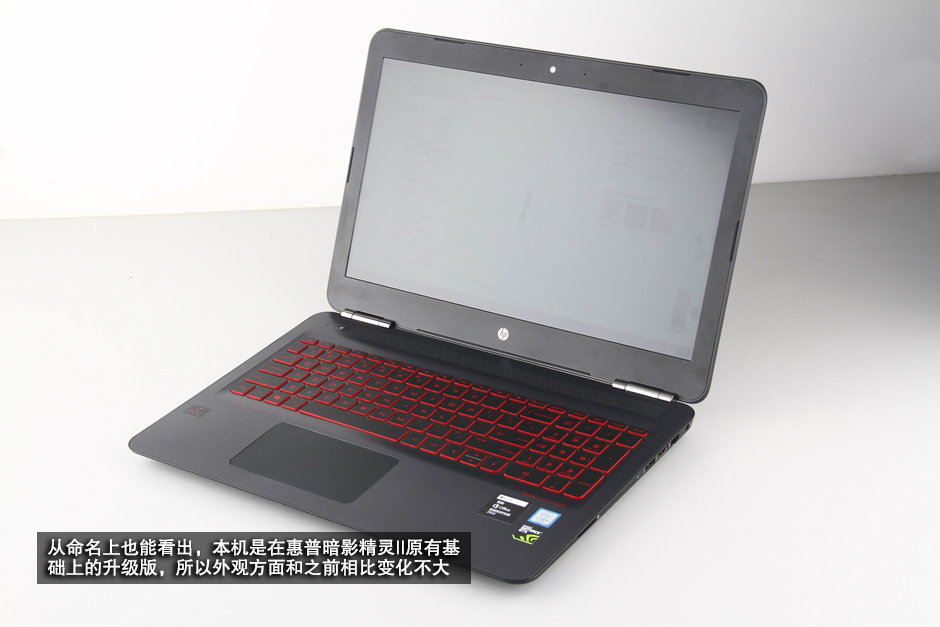
In my case, the laptop is an HP OMEN by HP 15-ax219tx. However, this guide applies to all HP OMEN by HP 15-ax series laptops.
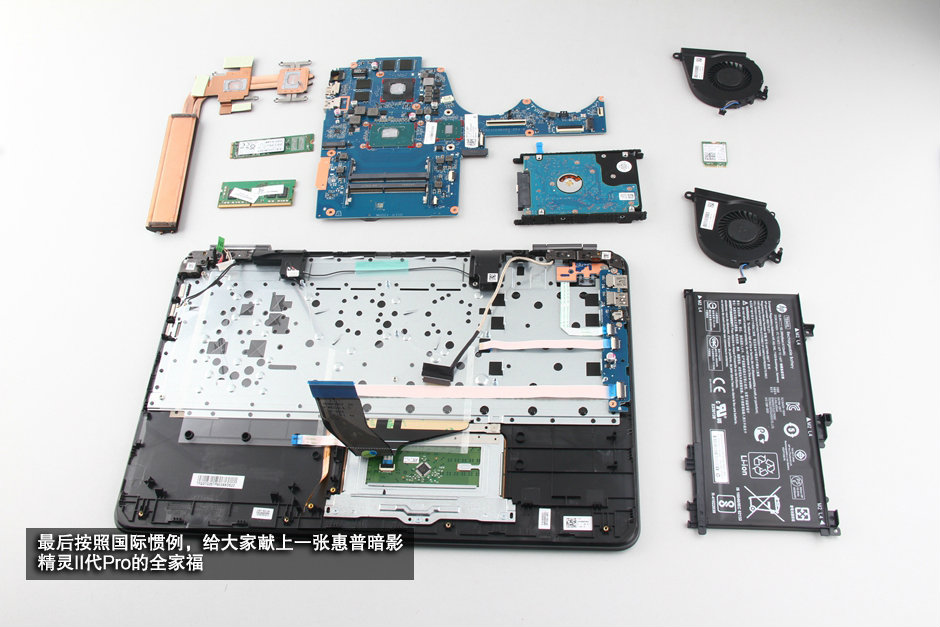
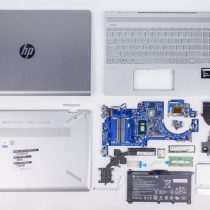
In this guide, I will remove the back cover, battery, SSD, RAM, Wi-Fi card, hard drive, cooling fan, heat sink, and motherboard.
Teardown is what we do! Follow us on Facebook for the latest repair news.
1. Remove the back cover
Remove all screws that secure the back cover to the laptop.
Insert a thin plastic tool or credit card under the back cover. Slide the credit card along the edge of the back cover. Then, the back cover comes off easily.
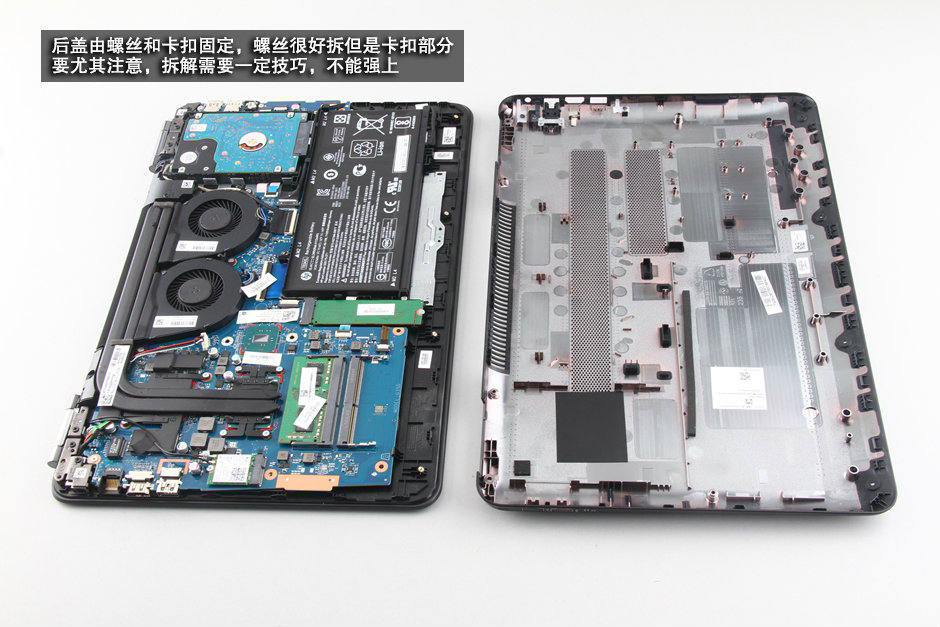
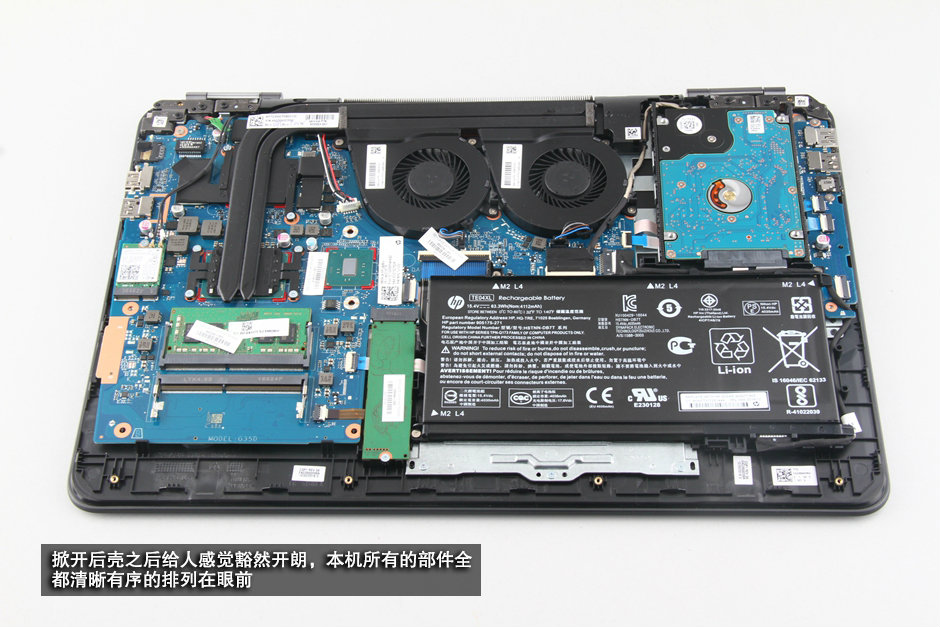
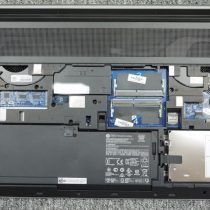
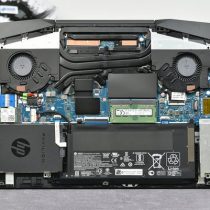
With the back cover removed, you can access the battery, SSD, RAM, Wi-Fi card, hard drive, cooling fan, and heat sink.
2. Remove the battery
Disconnect the battery cable from the motherboard.
Remove all screws that secure the battery to the laptop.
Lift and remove the battery.
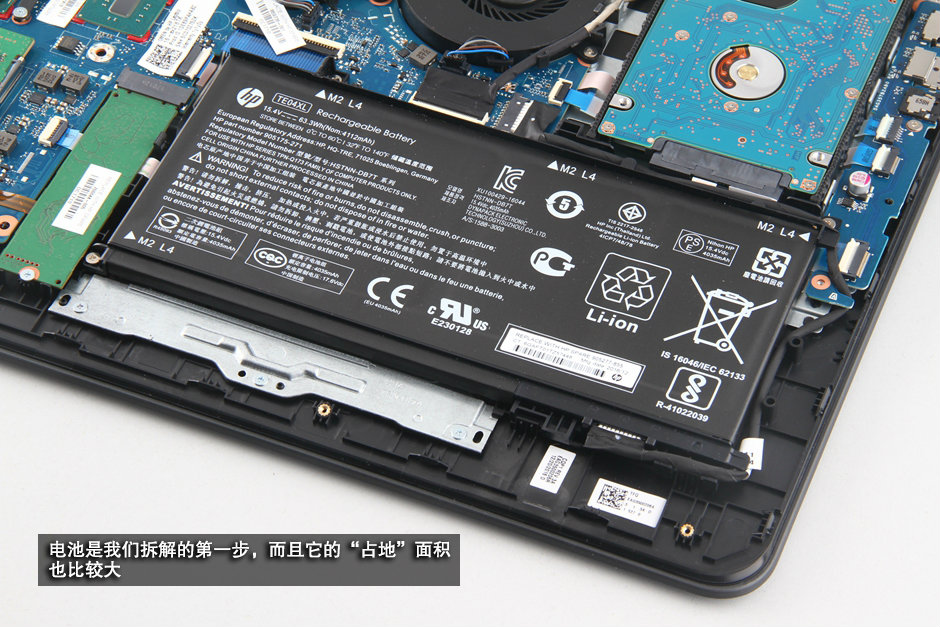
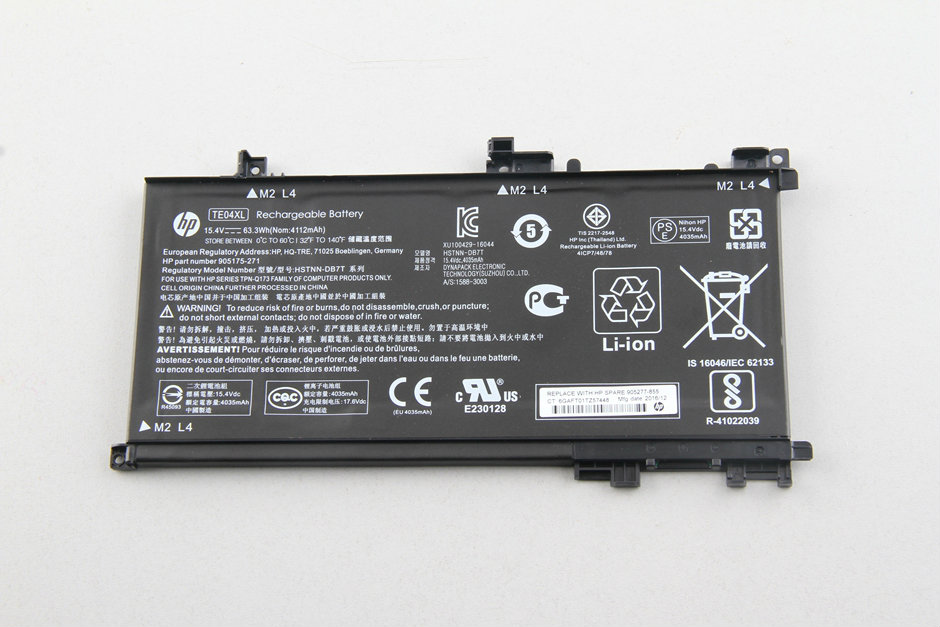
The HP Omen 15 comes with a 63.3Wh, 4112mAh Li-ion battery, HP part number: HSTNN-DB7T.
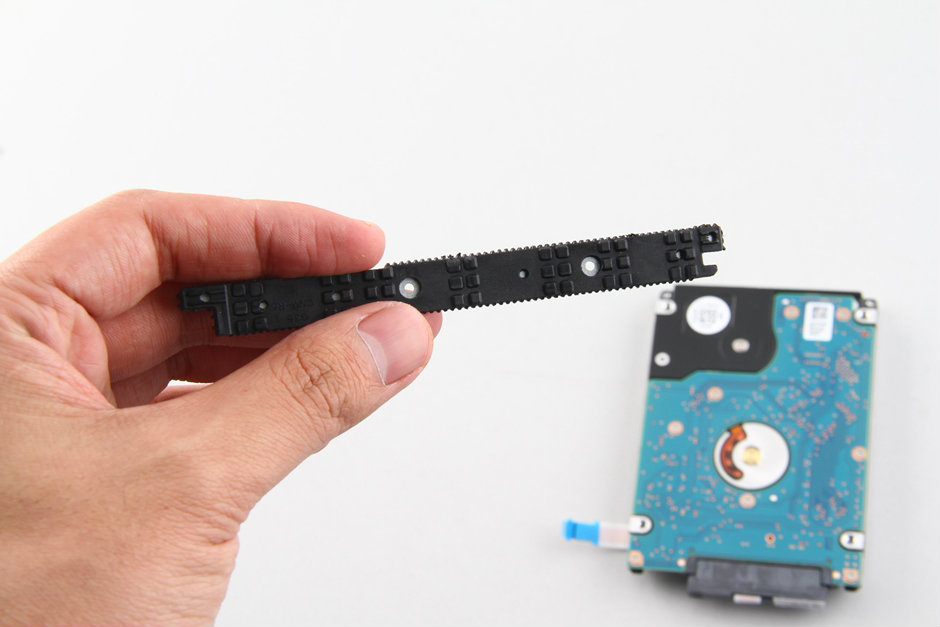
3. Remove the hard drive
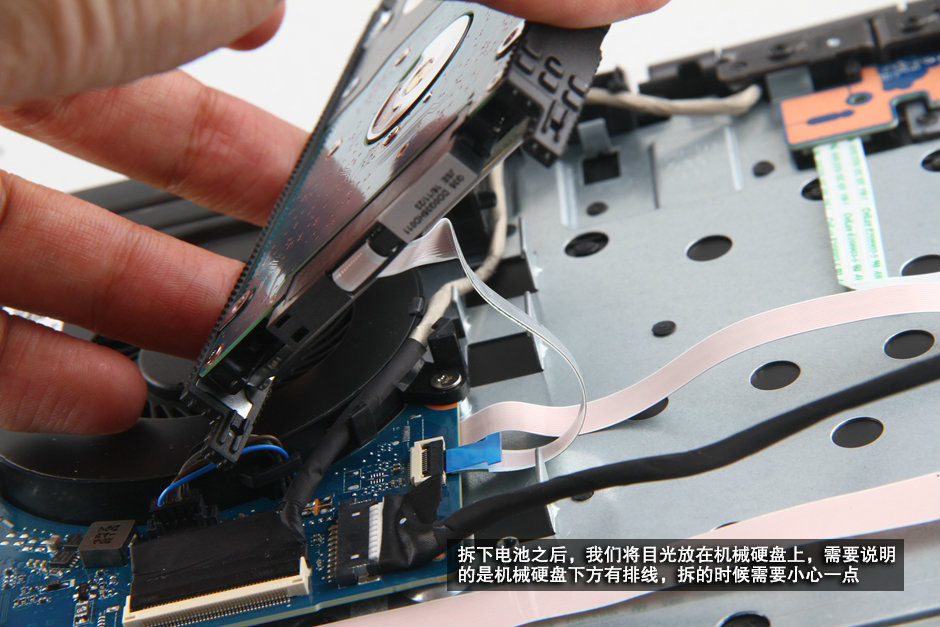
Disconnect the HDD cable from the motherboard.
Lift and remove the hard drive module.
Vibration can cause irreversible damage to the hard drive, which is why the HP Omen has a protective pad on both sides of the hard drive.
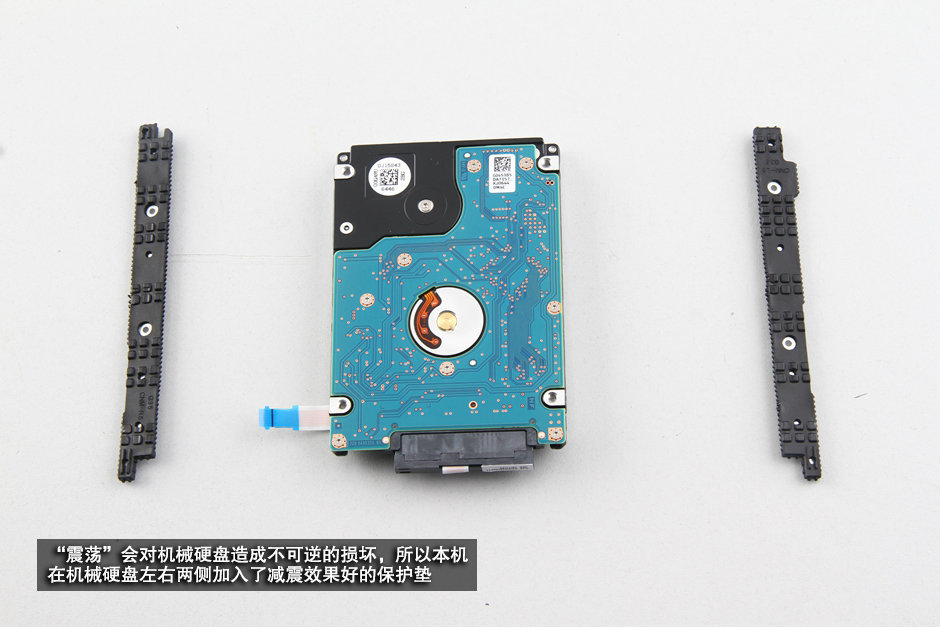
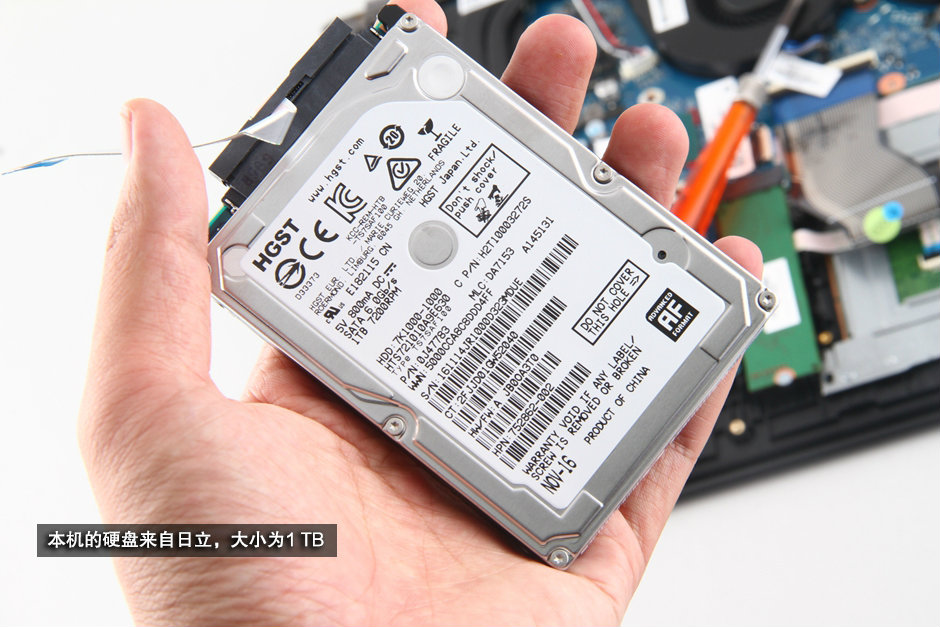
In my case, the HP Omen comes with an HGST 1TB 7200 RPM SATA hard drive.
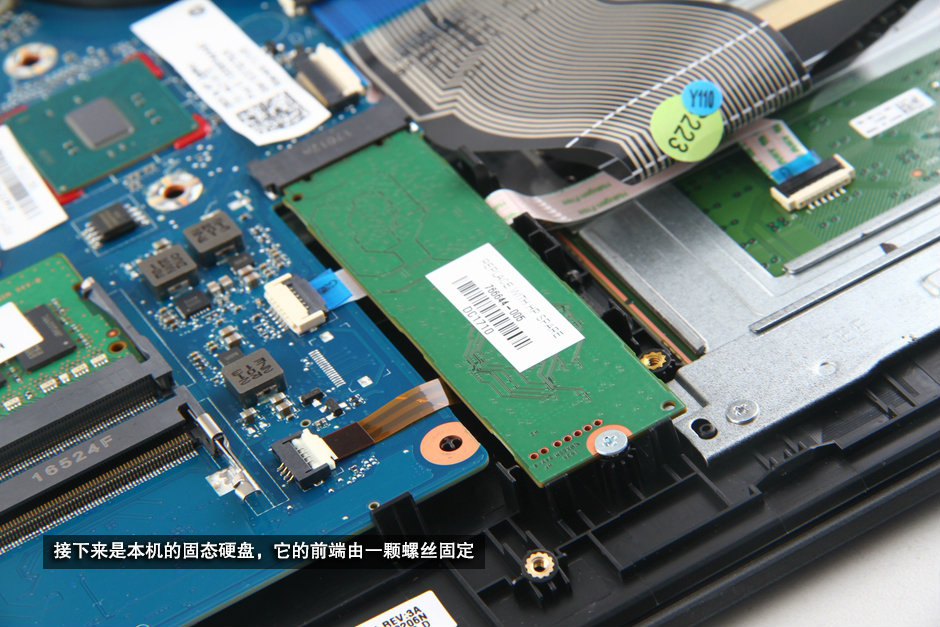
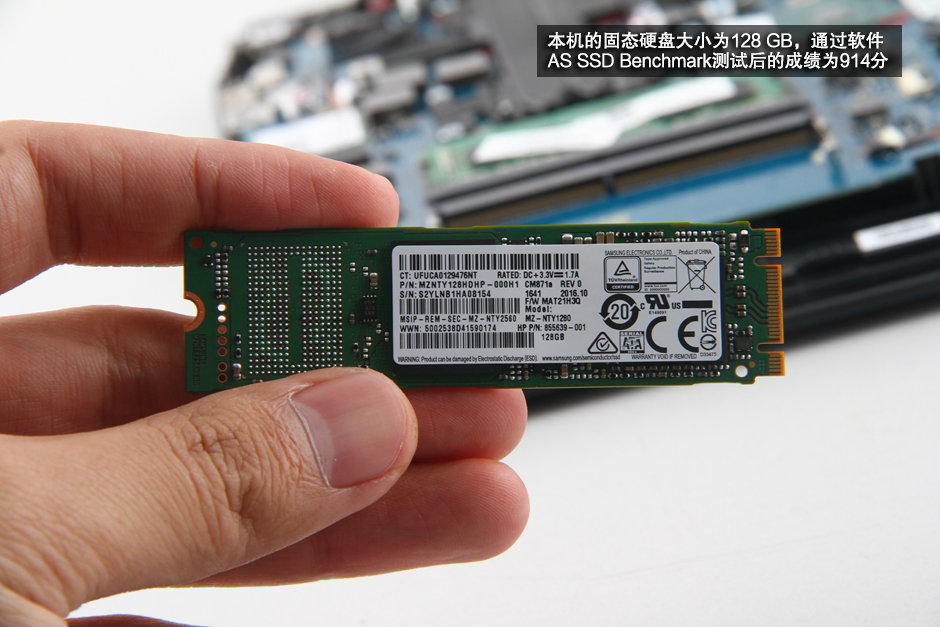
4. Remove the SSD
Remove the screws that secure the SSD and carefully remove it from its slot.
HP P/N: 766644-005
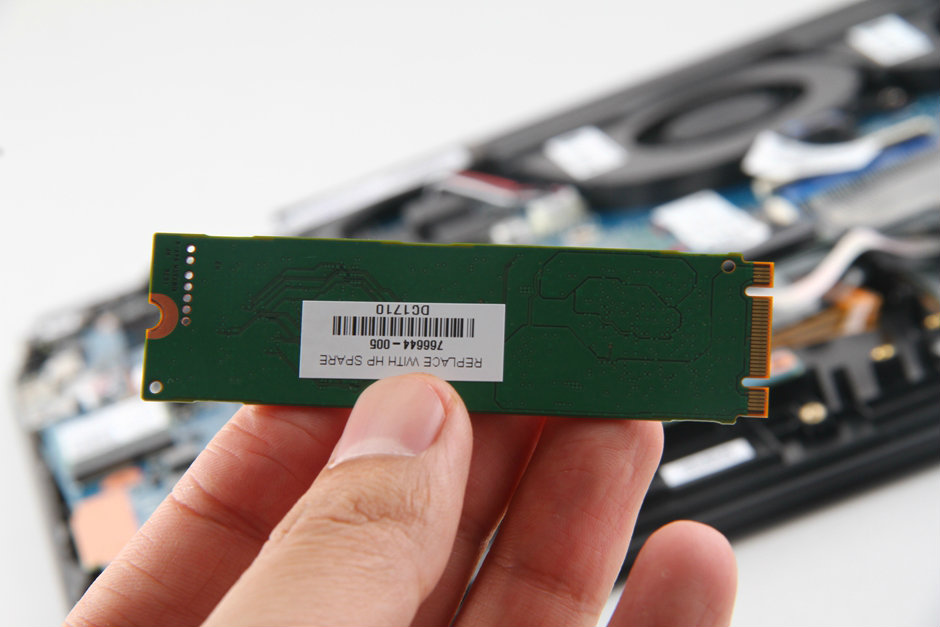
Samsung MZ-NTY1280 CM871a 128GB M.2 SSD, speed evaluation: Read 535M/S, Write:515M/S (This is the Samsung official specifications. The actual speed may have some difference due to the use of the scene and device configuration).
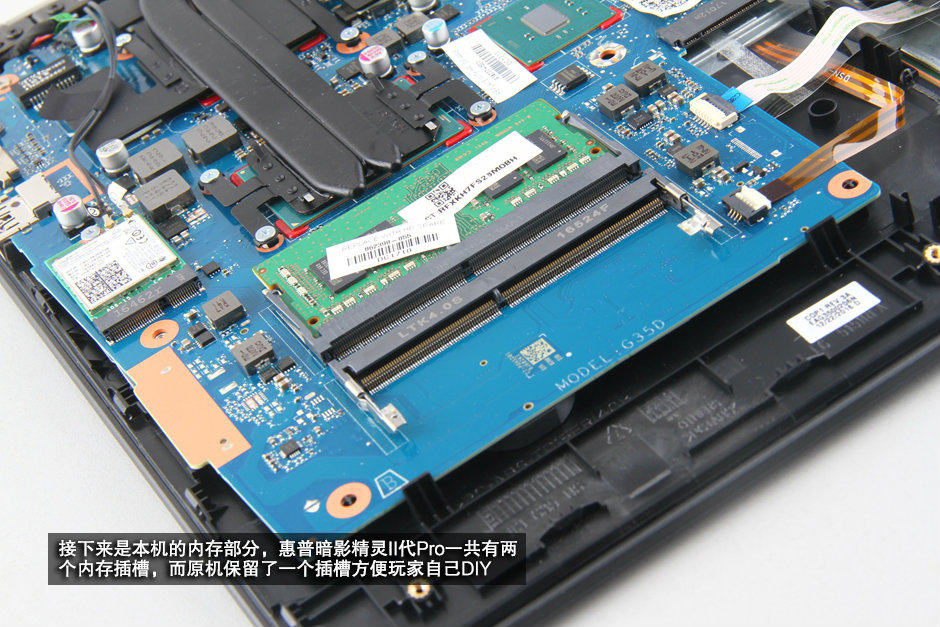
5. Remove the RAM
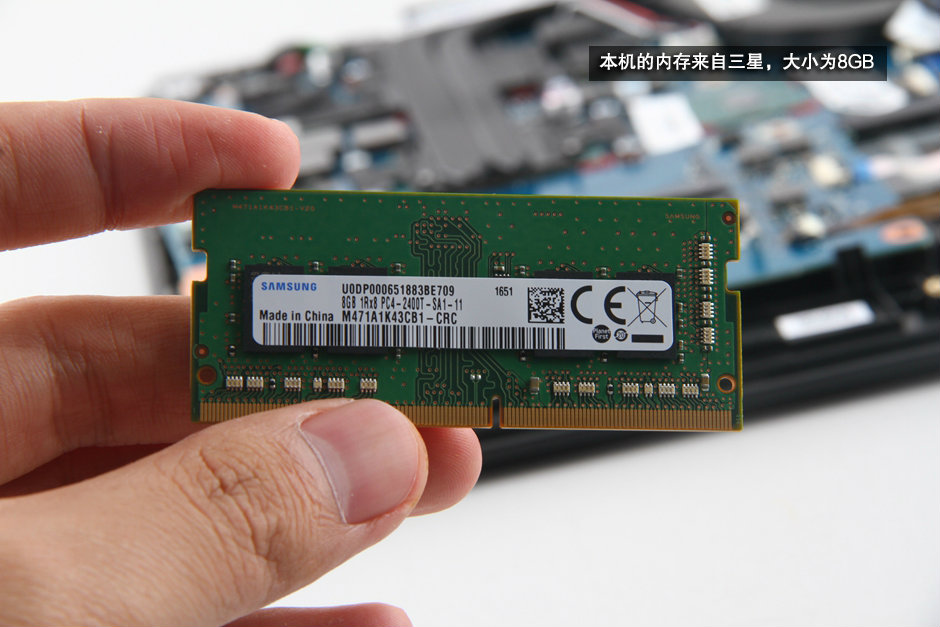
The motherboard has two RAM slots. In our case, one slot is occupied by a Samsung 8GB PC4-2400T RAM module.
So you can add another Samsung 8GB PC4-2400T RAM module.
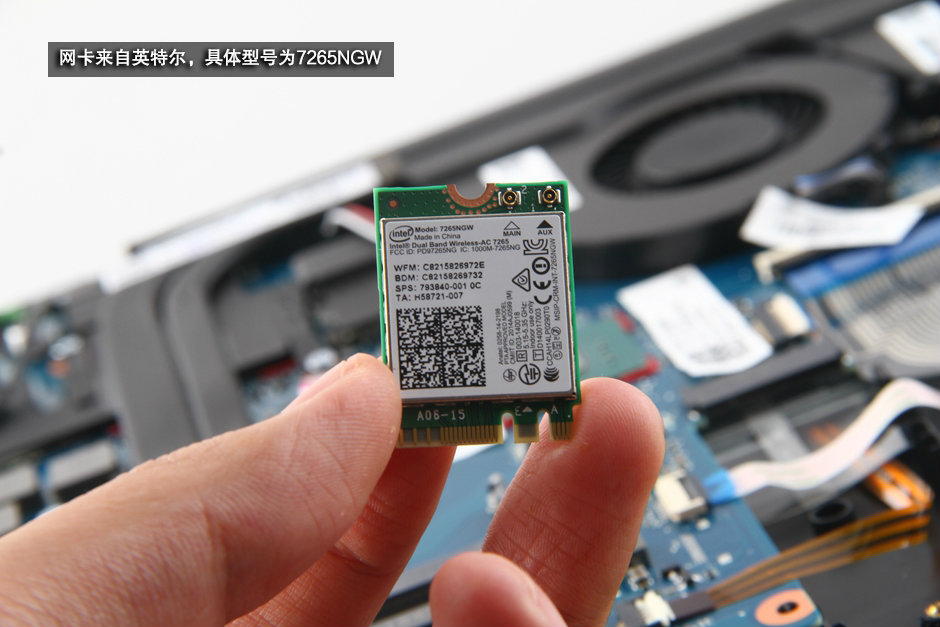
6. Remove the wireless card
Remove the screw securing the wireless card and unplug the two antenna cables from the card.

The Intel Dual Band Wireless-AC 7265NGW wireless card supports 802.11ac, 2×2 Wi-Fi, and Bluetooth 4.0. It has the part number 793840-001.
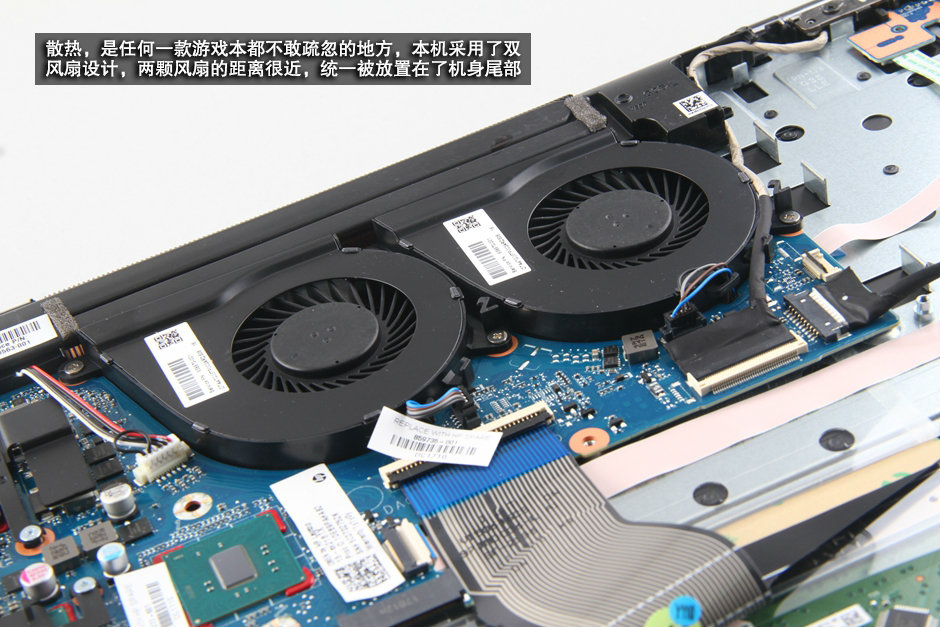
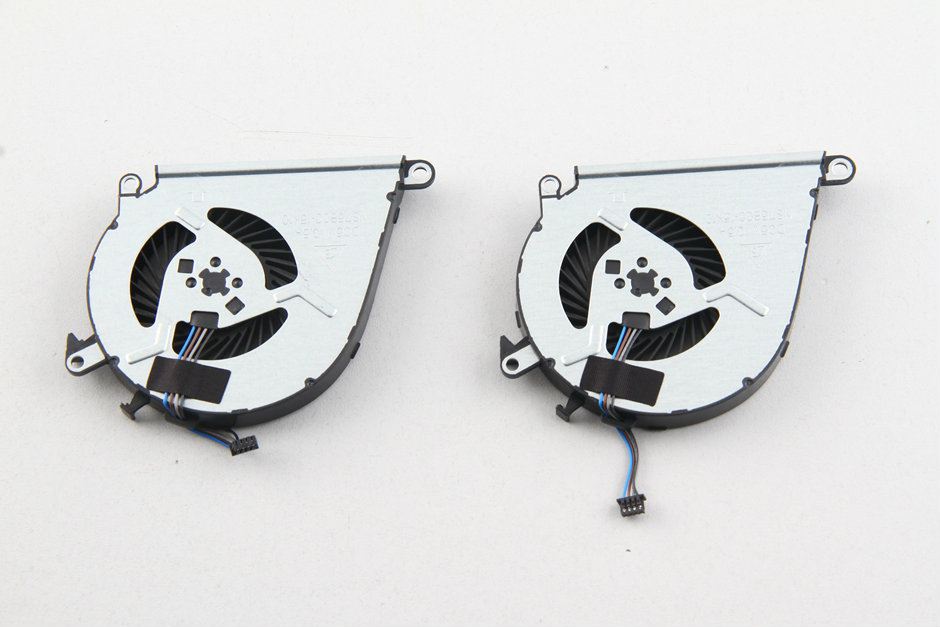
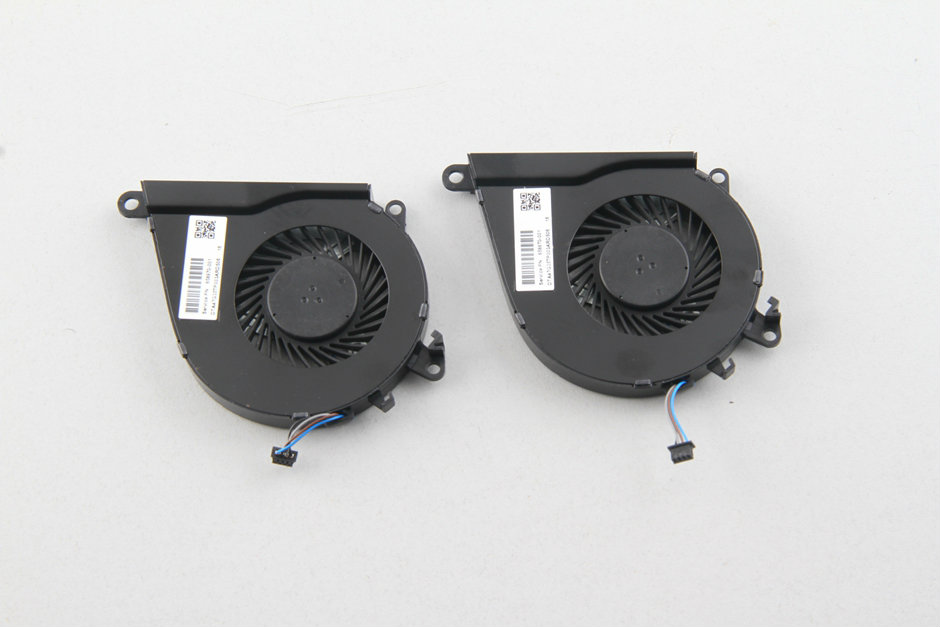
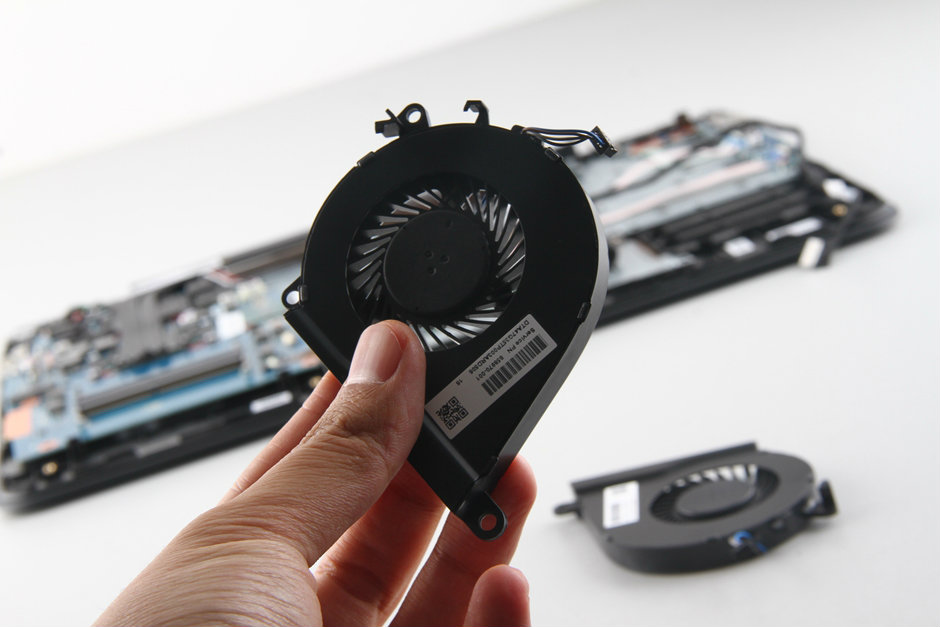
7. Remove the cooling fan
Remove all screws that secure the cooling fan and disconnect the cooling fan cable from the motherboard.
7. Remove the heat sink
Remove the six screws securing the heat sink to the motherboard.
Lift and remove the heat sink.
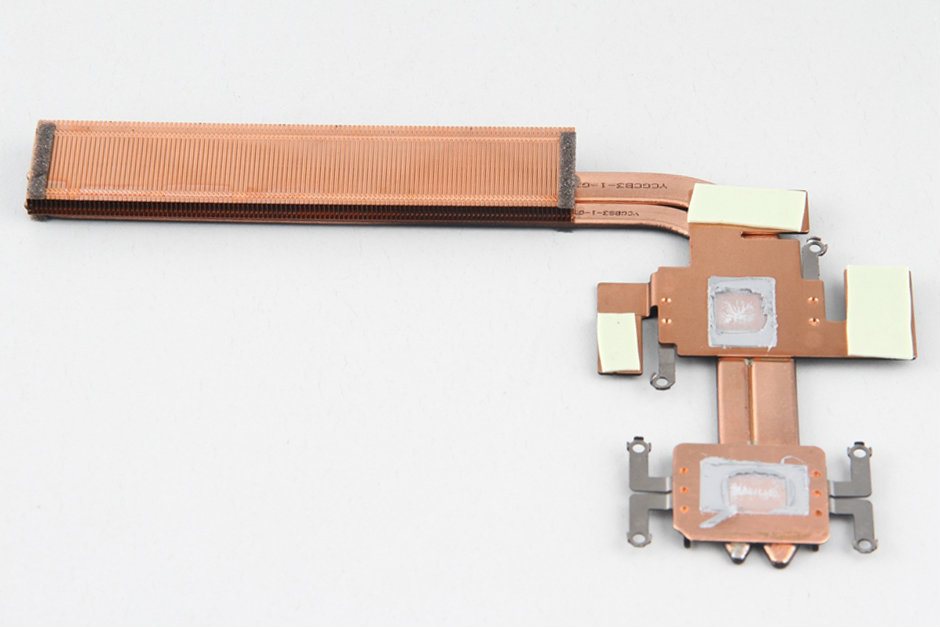
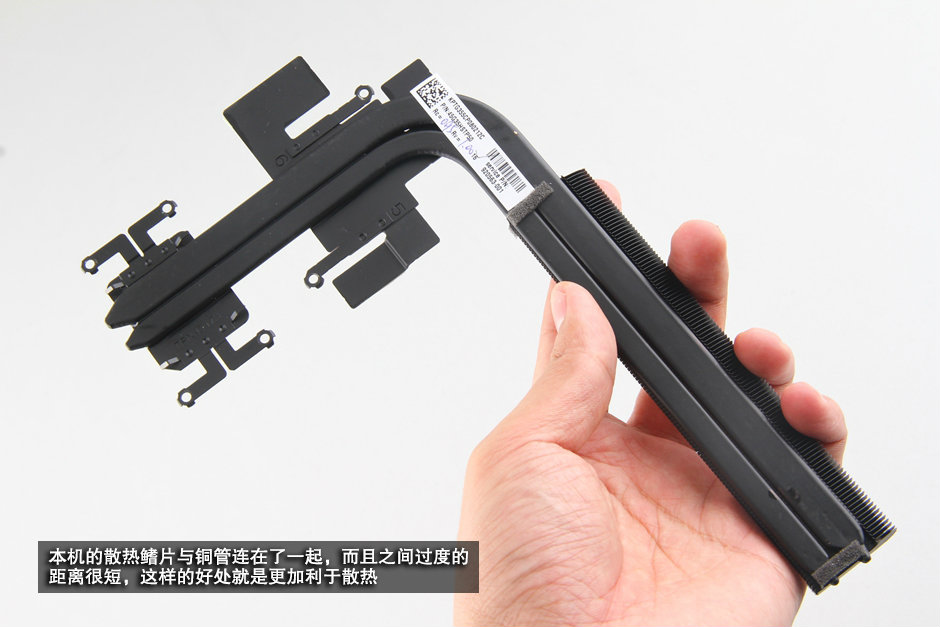
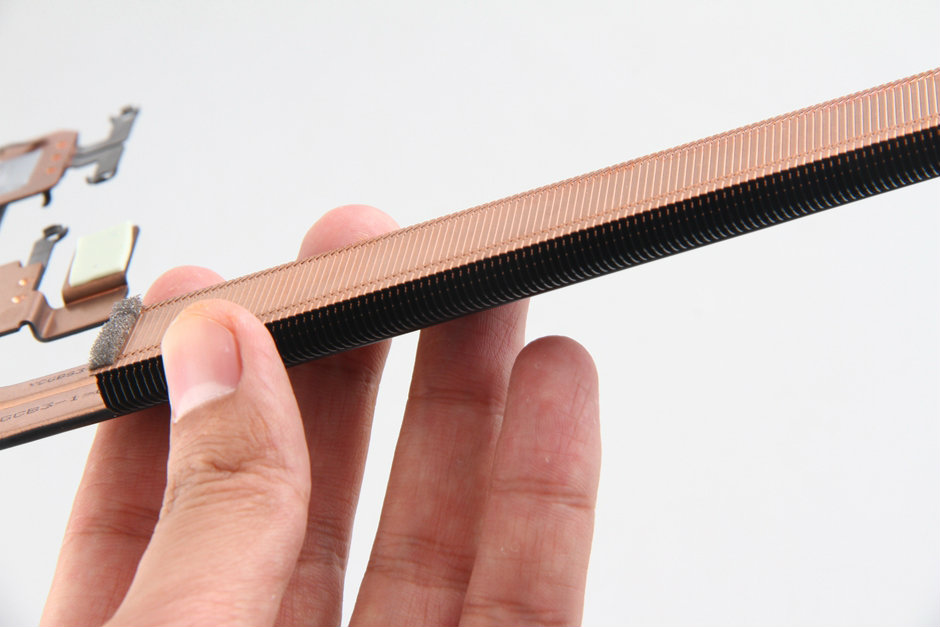
The heat sink is connected to the copper pipes. This structure is more conducive to heat dissipation.
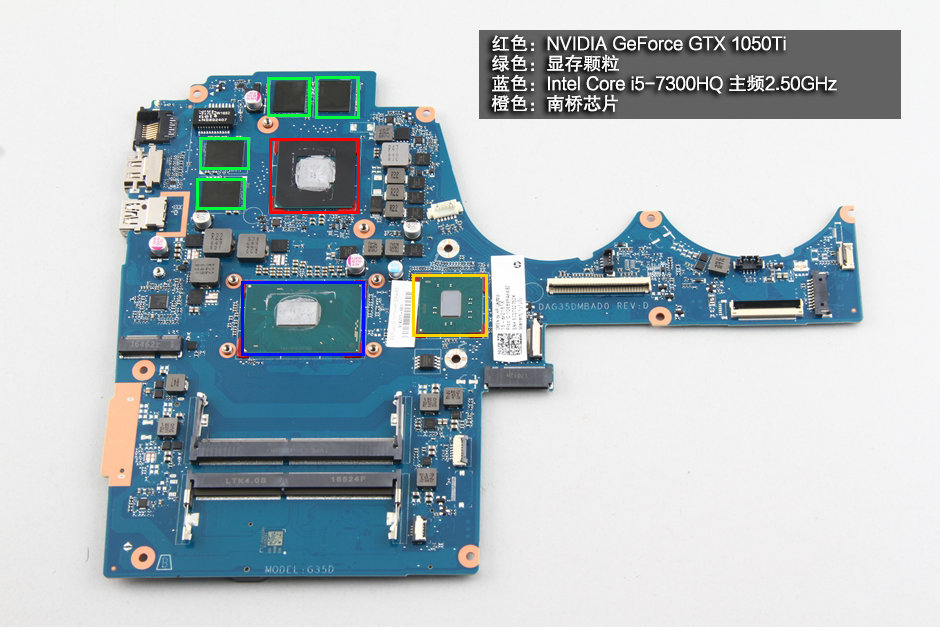
Red: NVIDIA GeForce GTX 1050Ti
Green: video memory
Blue: Intel Core i5-7300HQ 2.50 GHz Processor (6M Cache, up to 3.50 GHz), with Intel HD 630 Graphics card
Orange: South Bridge
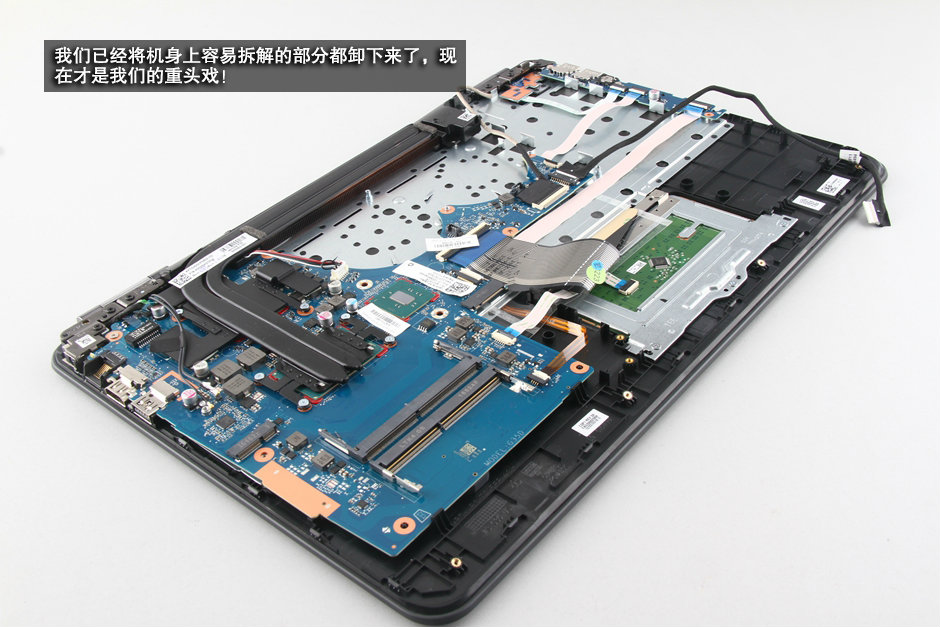
With the motherboard removed, you can access the palm rest. However, replacing the keyboard would be very difficult because it is soldered directly onto the palm rest.
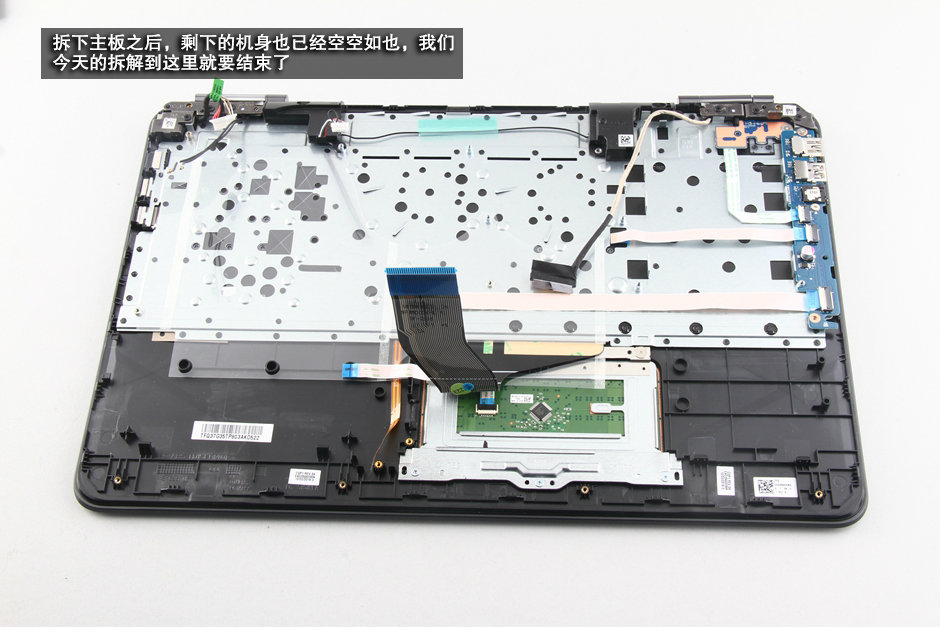
Now, the HP Omen 15 disassembly process is complete.
Hi, sir. Can you tell me the cable part number?
Can you tell me how to remove the Ethernet drop jaw hinge from the bottom panel so I can replace it? I can’t seem to find those instructions anywhere.
Do you mean removing the RJ45 port?