In this guide, I will explain how to disassemble the HTC One E8 to remove the back cover, battery, rear camera, front camera, microphone, speaker, and motherboard.
Want to stay connected to MyFixGuide.com? Follow us on Facebook to check out the latest teardowns.
First, remove the SIM card and SD card slot.
Starting from the speaker cover, these two plastic covers are fixed with glue. You need to heat it with a heat gun.

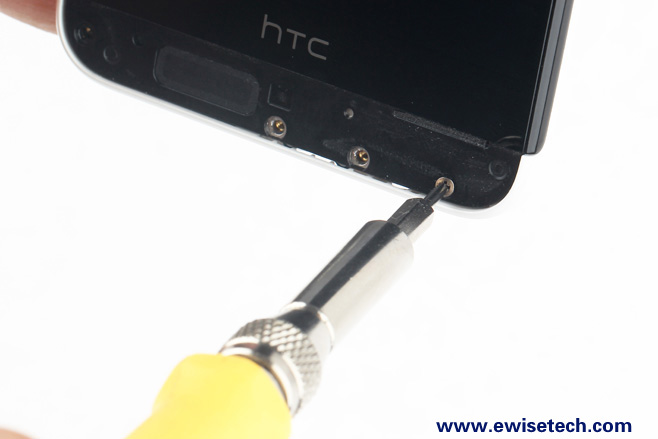
Once the cover is removed, you can find the hidden screws. There are two screws under the top speaker cover, and there are four screws under the bottom speaker cover; remove these six screws.
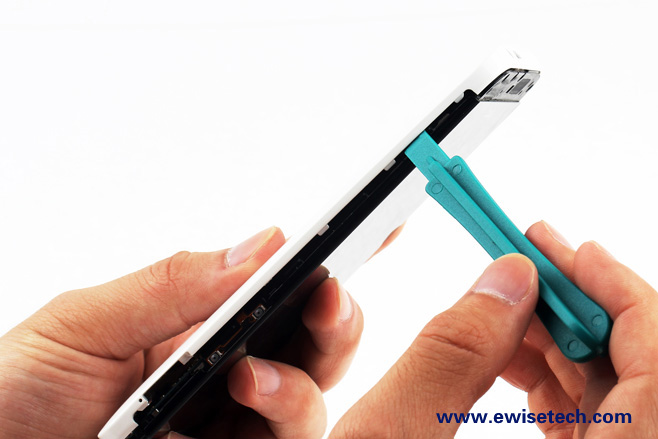
Insert a pry tool under the back cover and slide it to separate the bottom cover from the phone.
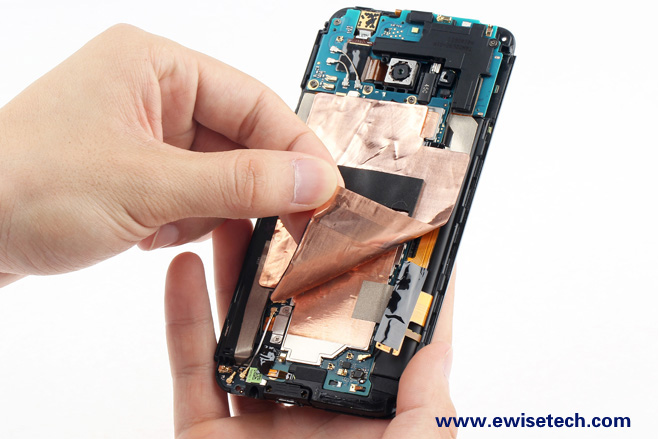
There are four FPC antennas on the back cover. There are two layers of foil.
We first tried to tear off the first layer.
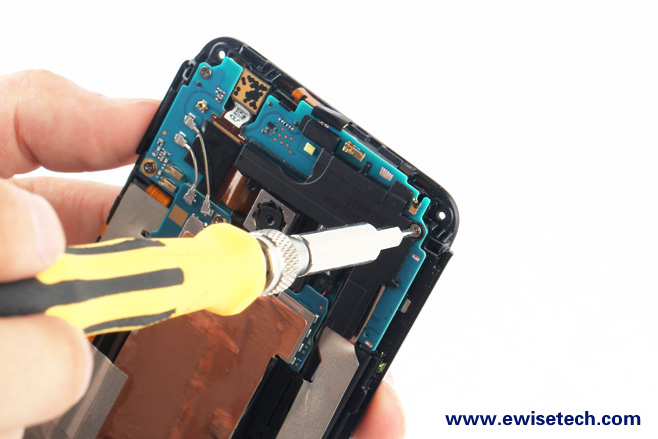
Remove the screw securing the plastic shield cover.
Remove the plastic shield cover.
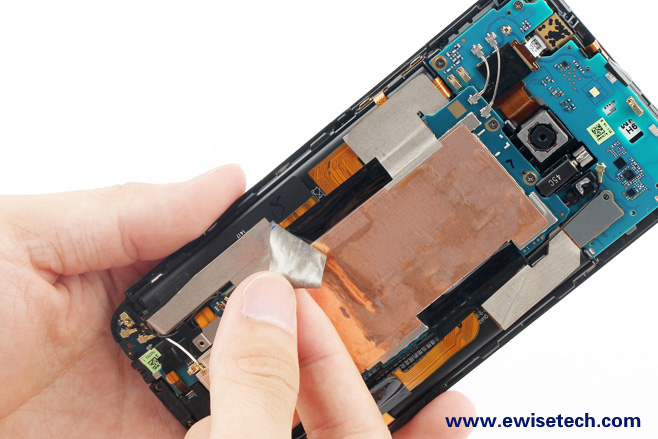
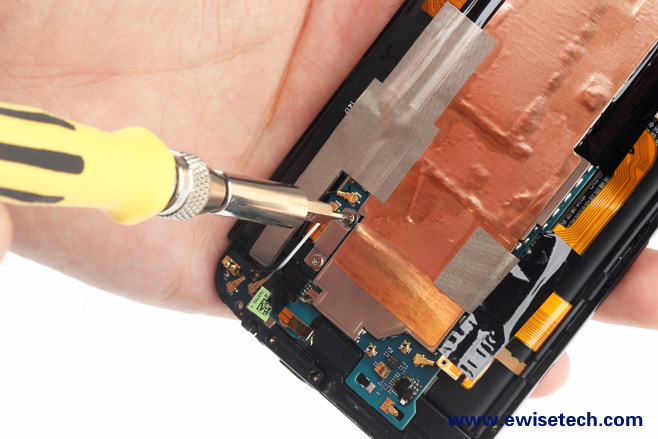
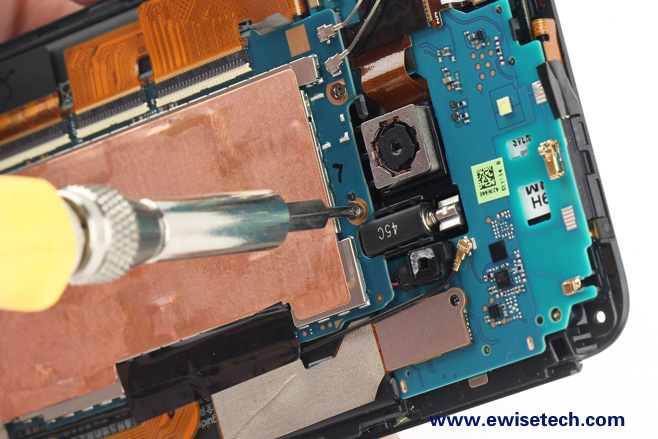
Each connector is covered with a layer of foil. Tear off the foil and open the connector to remove the screws securing the circuit board.
Remove all screws securing the motherboard.
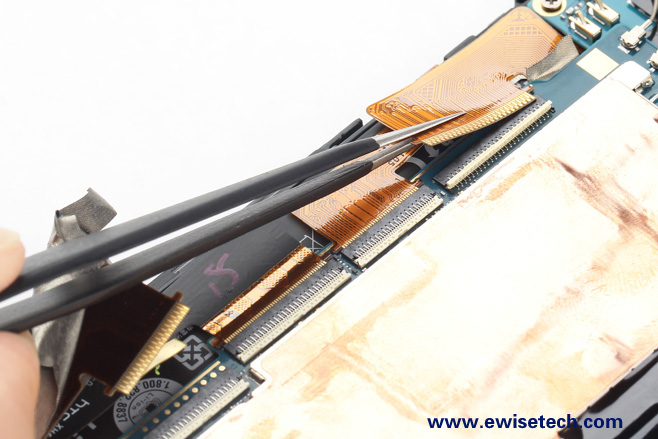
Disconnect all cables.
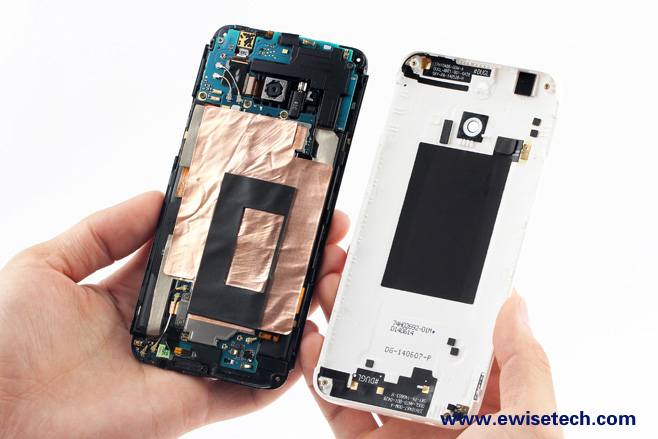
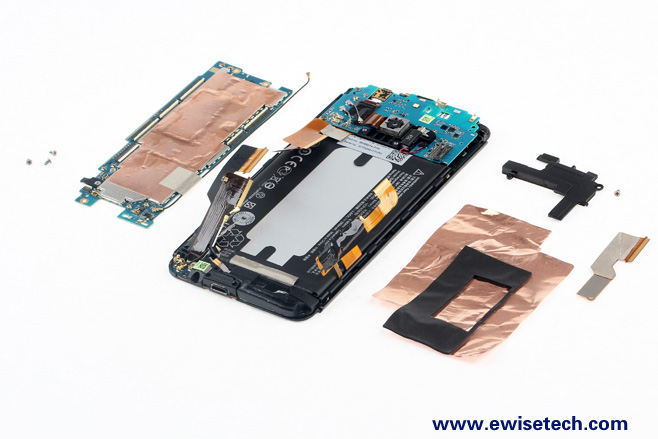
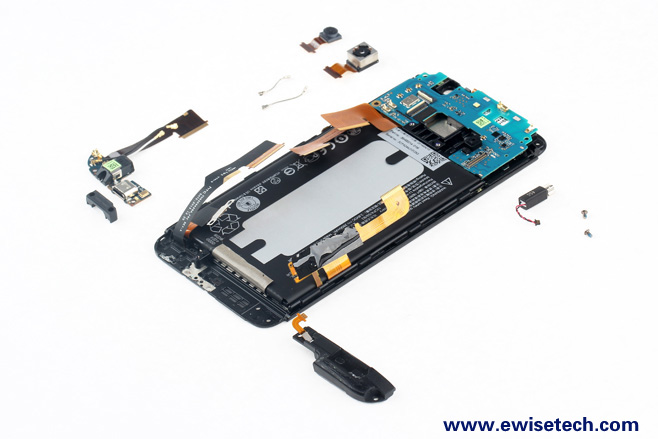
HTC One E8 circuit board, copper foil, and plastic shield
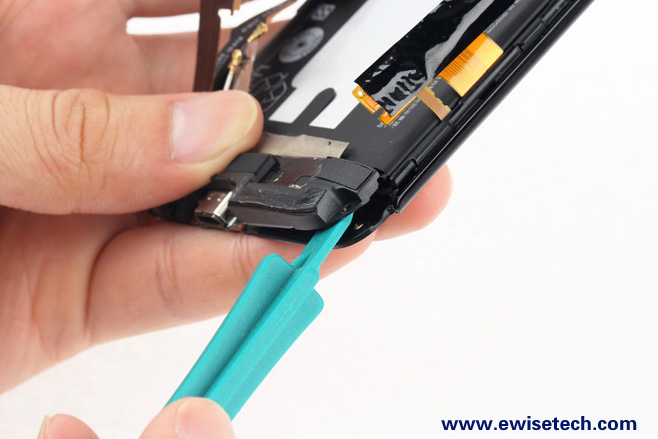
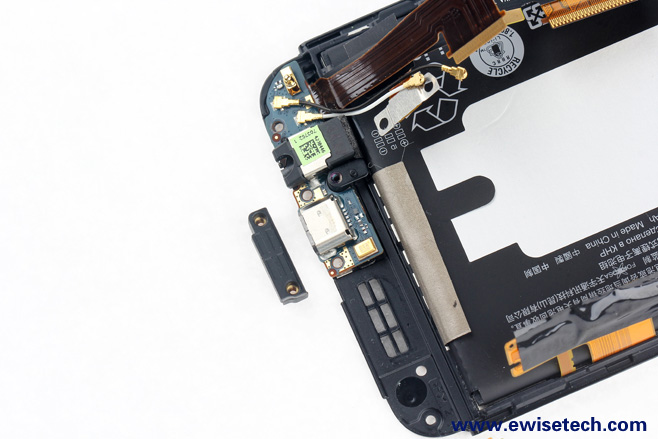
The camera and vibrator are connected to the main board via a flexible cable. The speaker module, headphone jack, and USB connector module are all secured with glue, while the USB connector is held in place by a plastic cover plate. Remove the two screws securing the plastic cover plate.
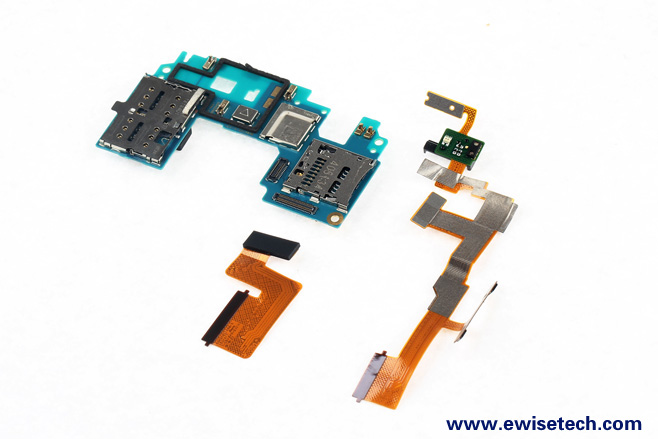
Remove two screws and disconnect the two volume button cables. You can remove the small circuit board.
On the other side of the circuit board, remove the sensor, volume buttons cable, and soft cable.
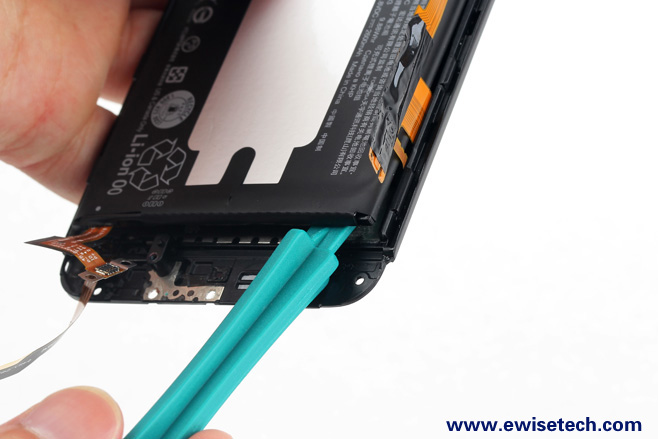
Pry up and remove the battery.
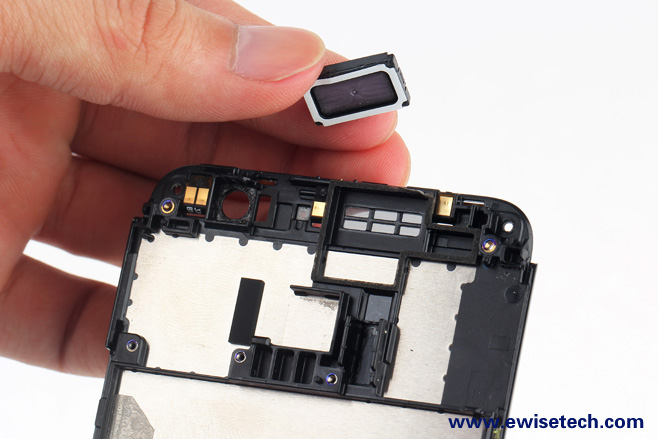
Remove the speaker.
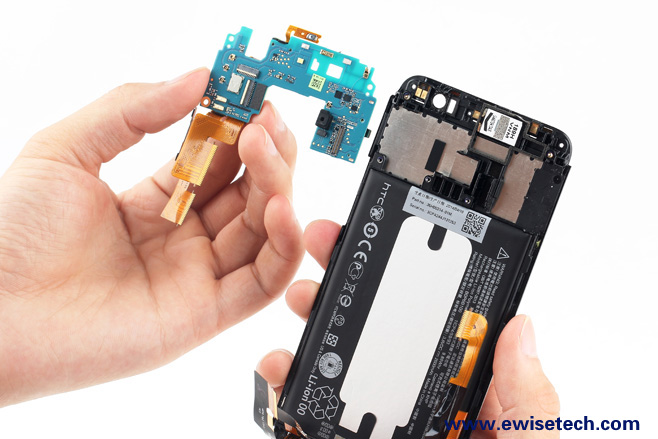
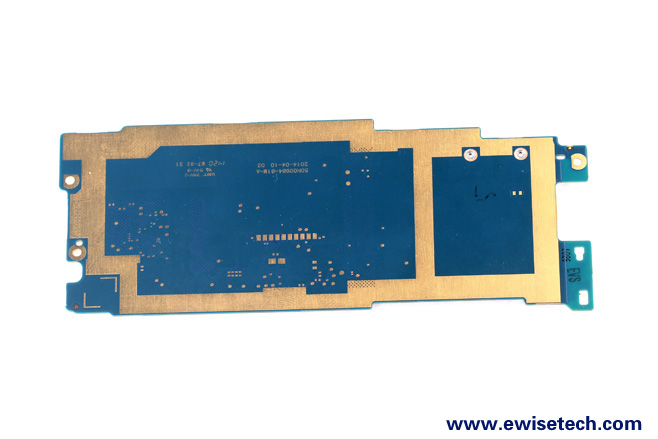
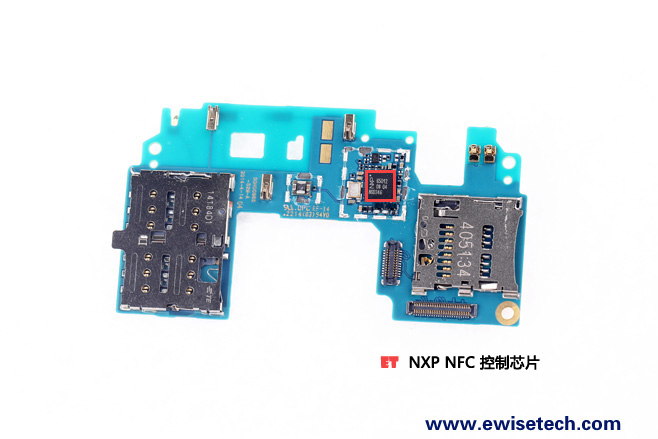
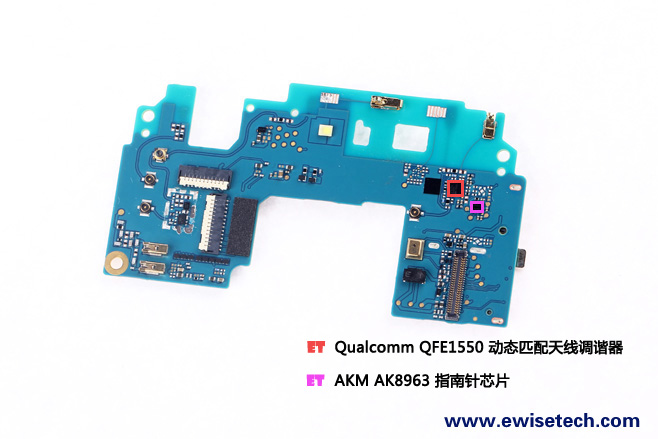
Motherboard
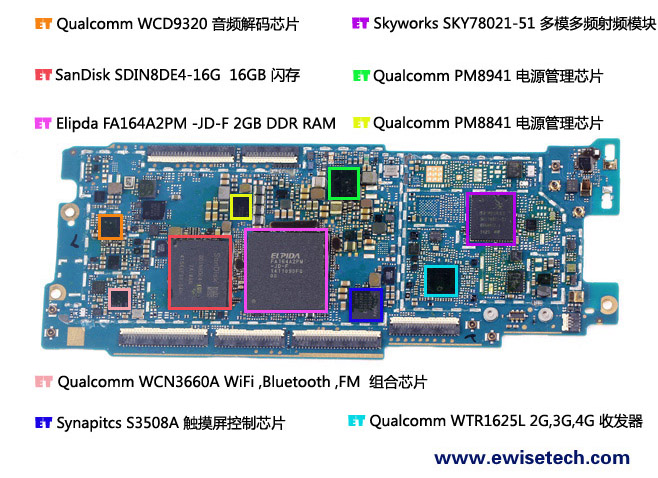
The HTC One E8 uses a Qualcomm Snapdragon 801 (MSM8974AC) processor.
Via ewisetech.com