In this guide, we will show you how to remove the display on the OnePlus 5 smartphone. The removal instructions are divided into eight steps.
Repair Tools Needed:
T1 screwdriver
1.5 x 25mm Phillips screwdriver
Suction cup
Pick
Spudger
SIM card eject tool
Teardown is what we do! Follow us on Facebook for the latest repair news.
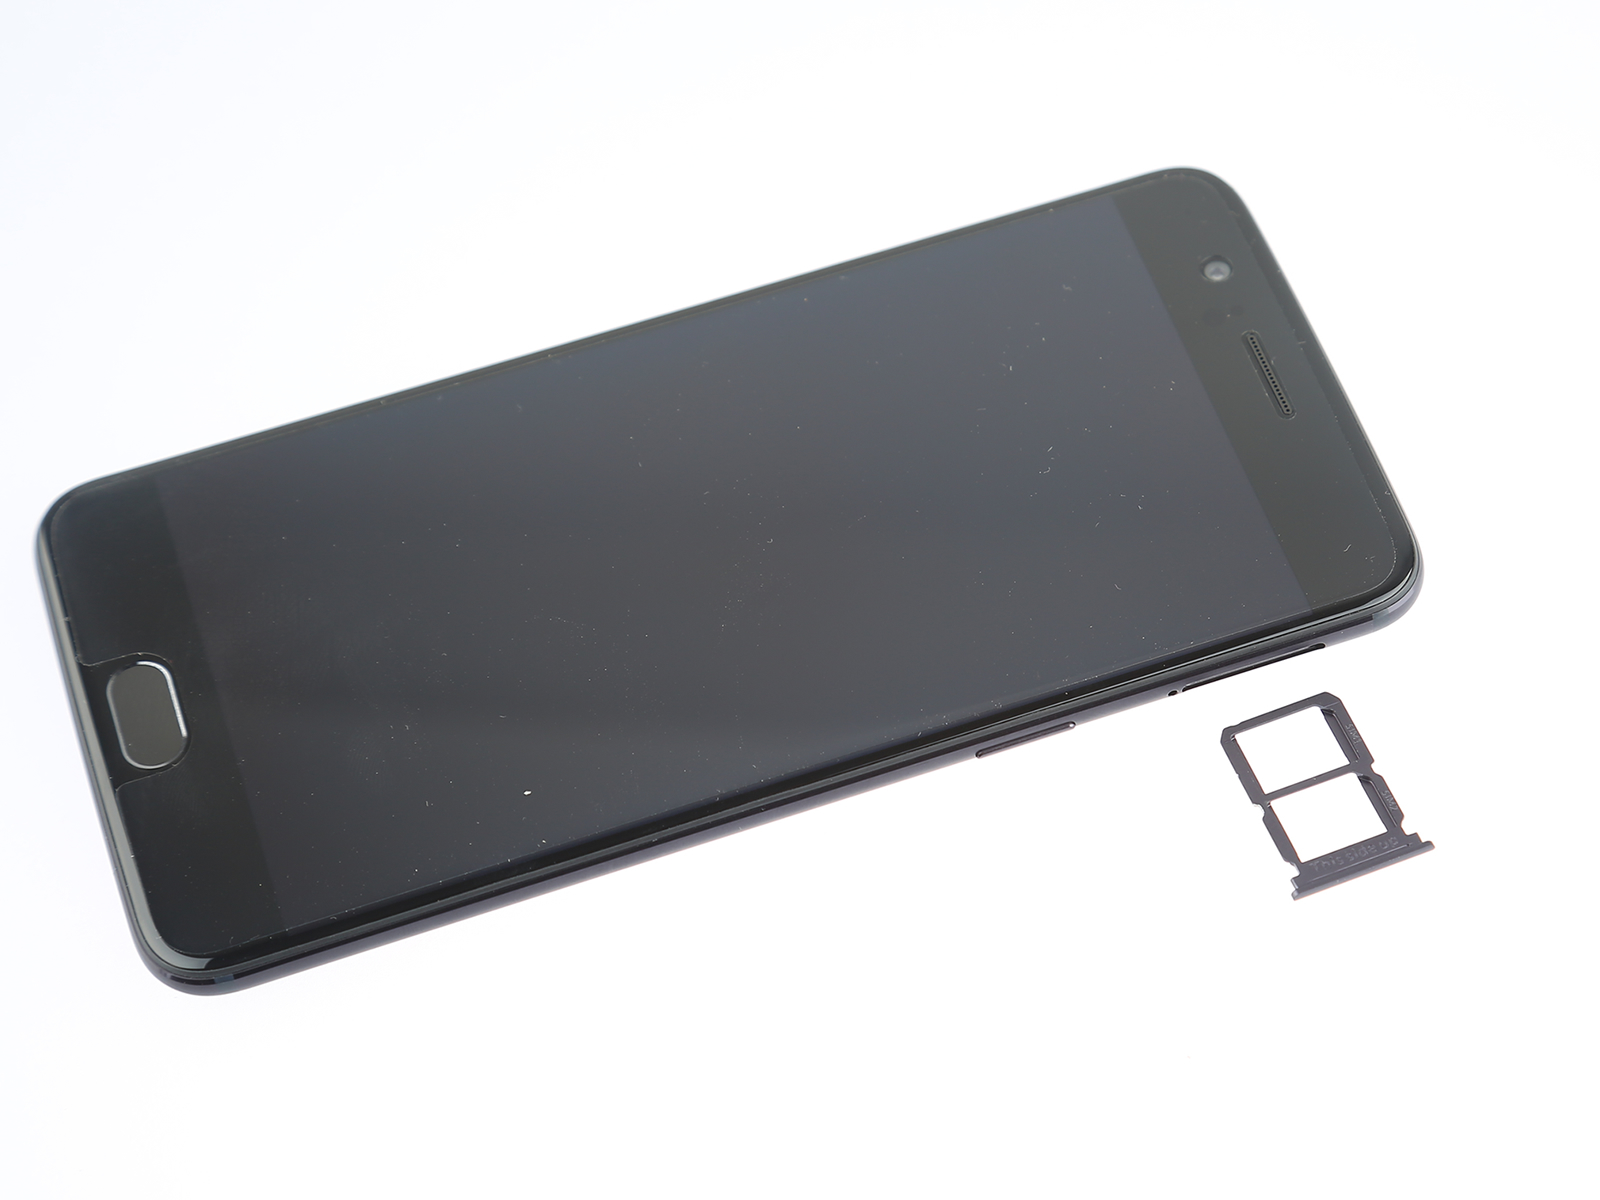
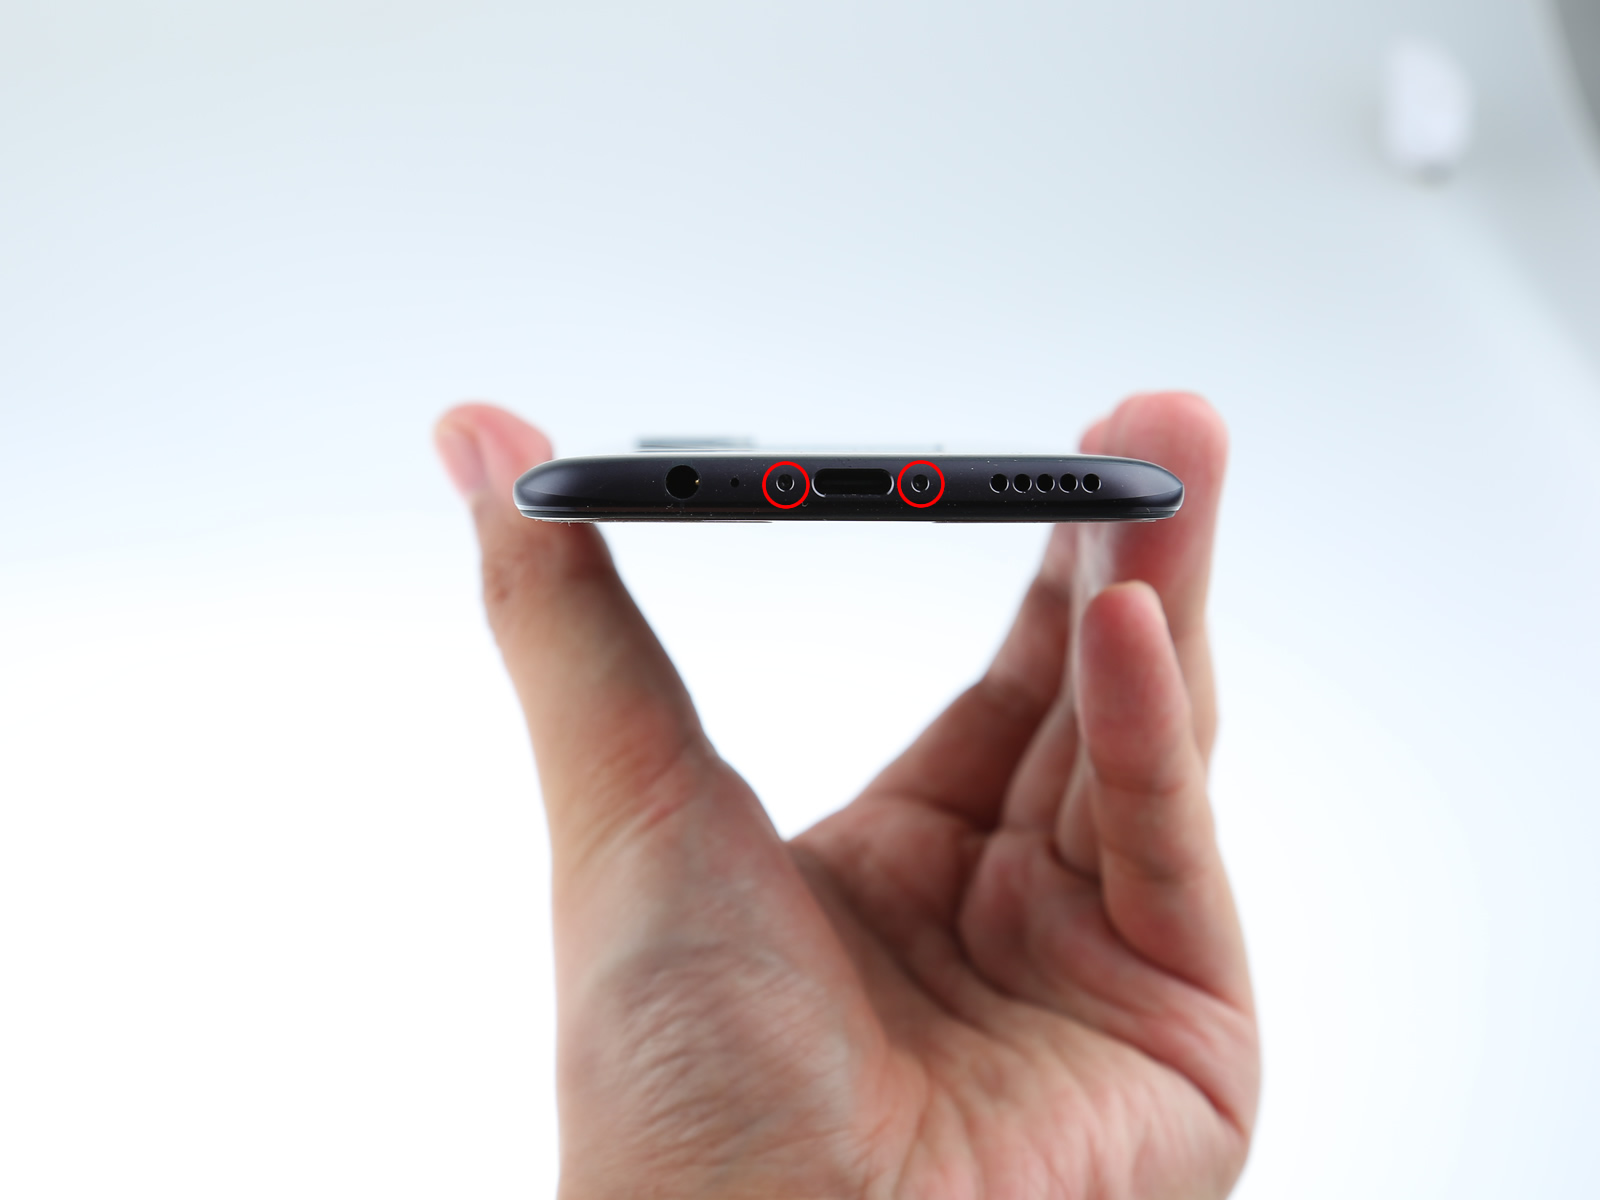
1. Remove the SIM card tray and two screws
Powered off the OnePlus 5 and removed the SIM card tray using the SIM card eject tool.
Remove the two screws close to the USB Type-C port with a T1 screwdriver.
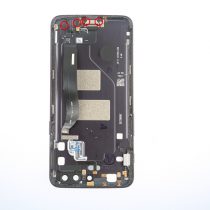
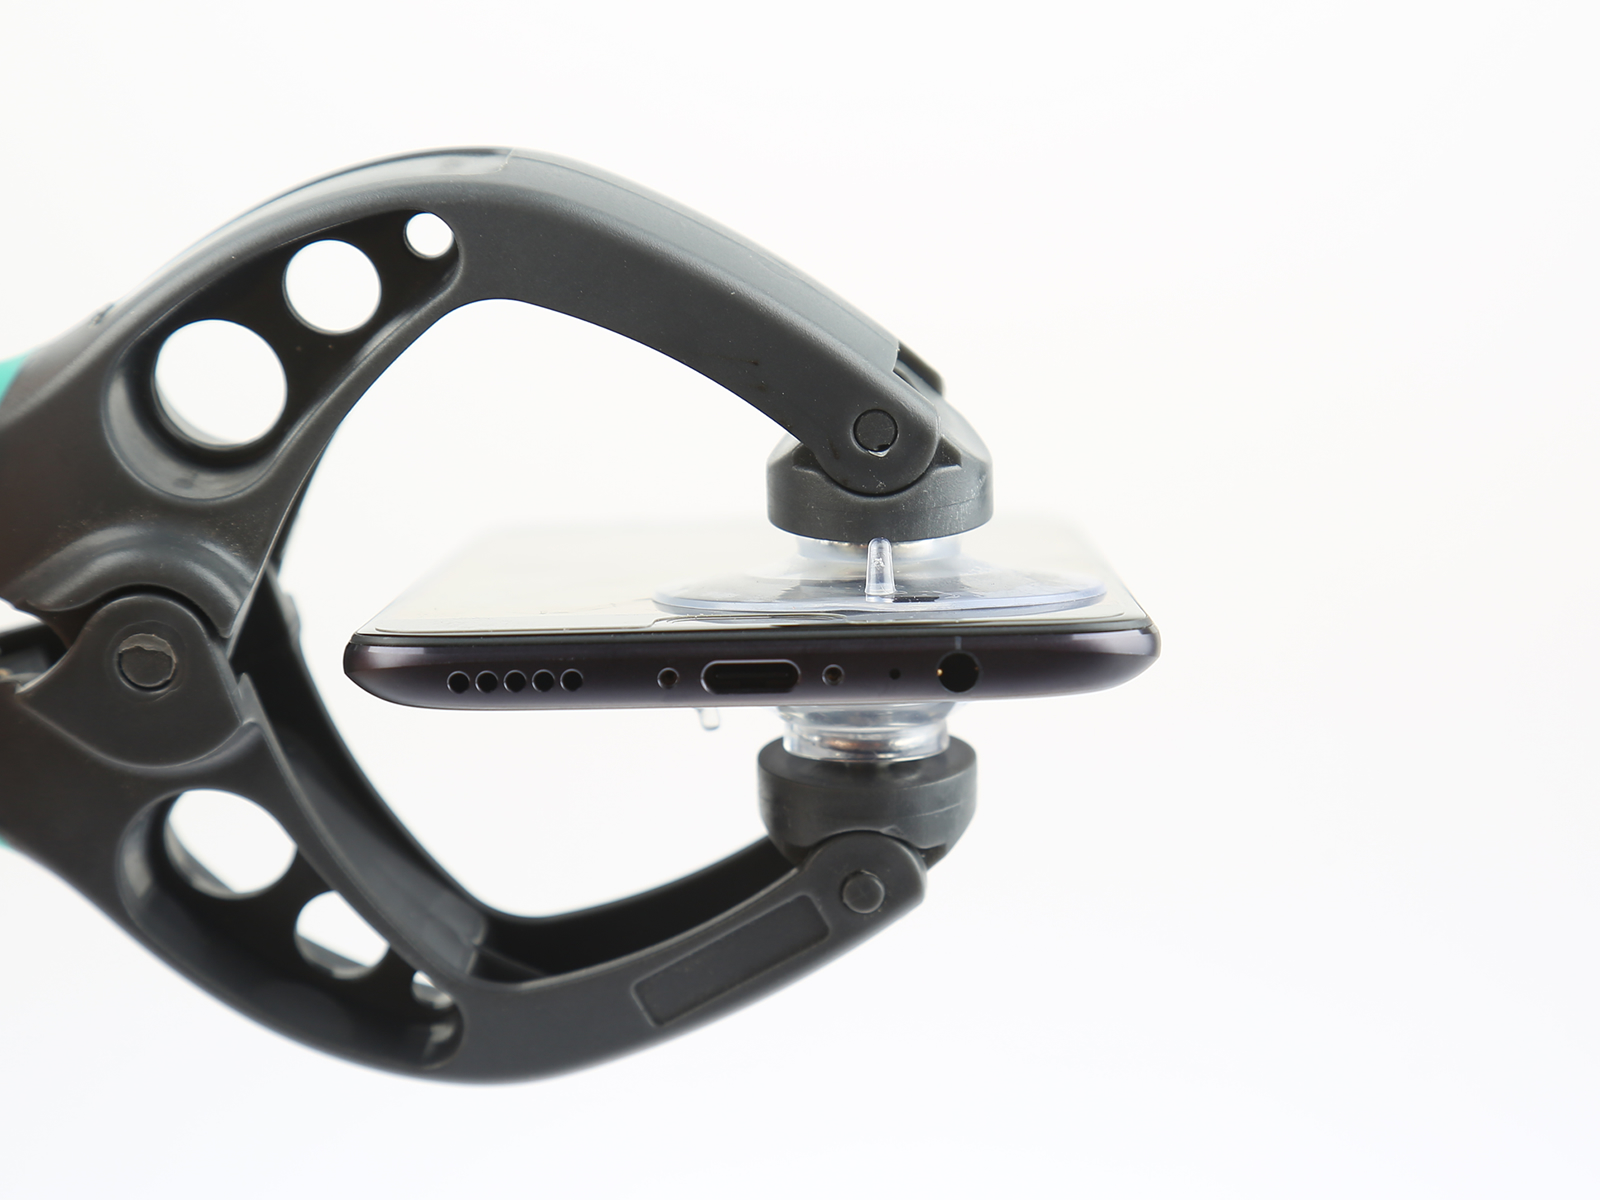
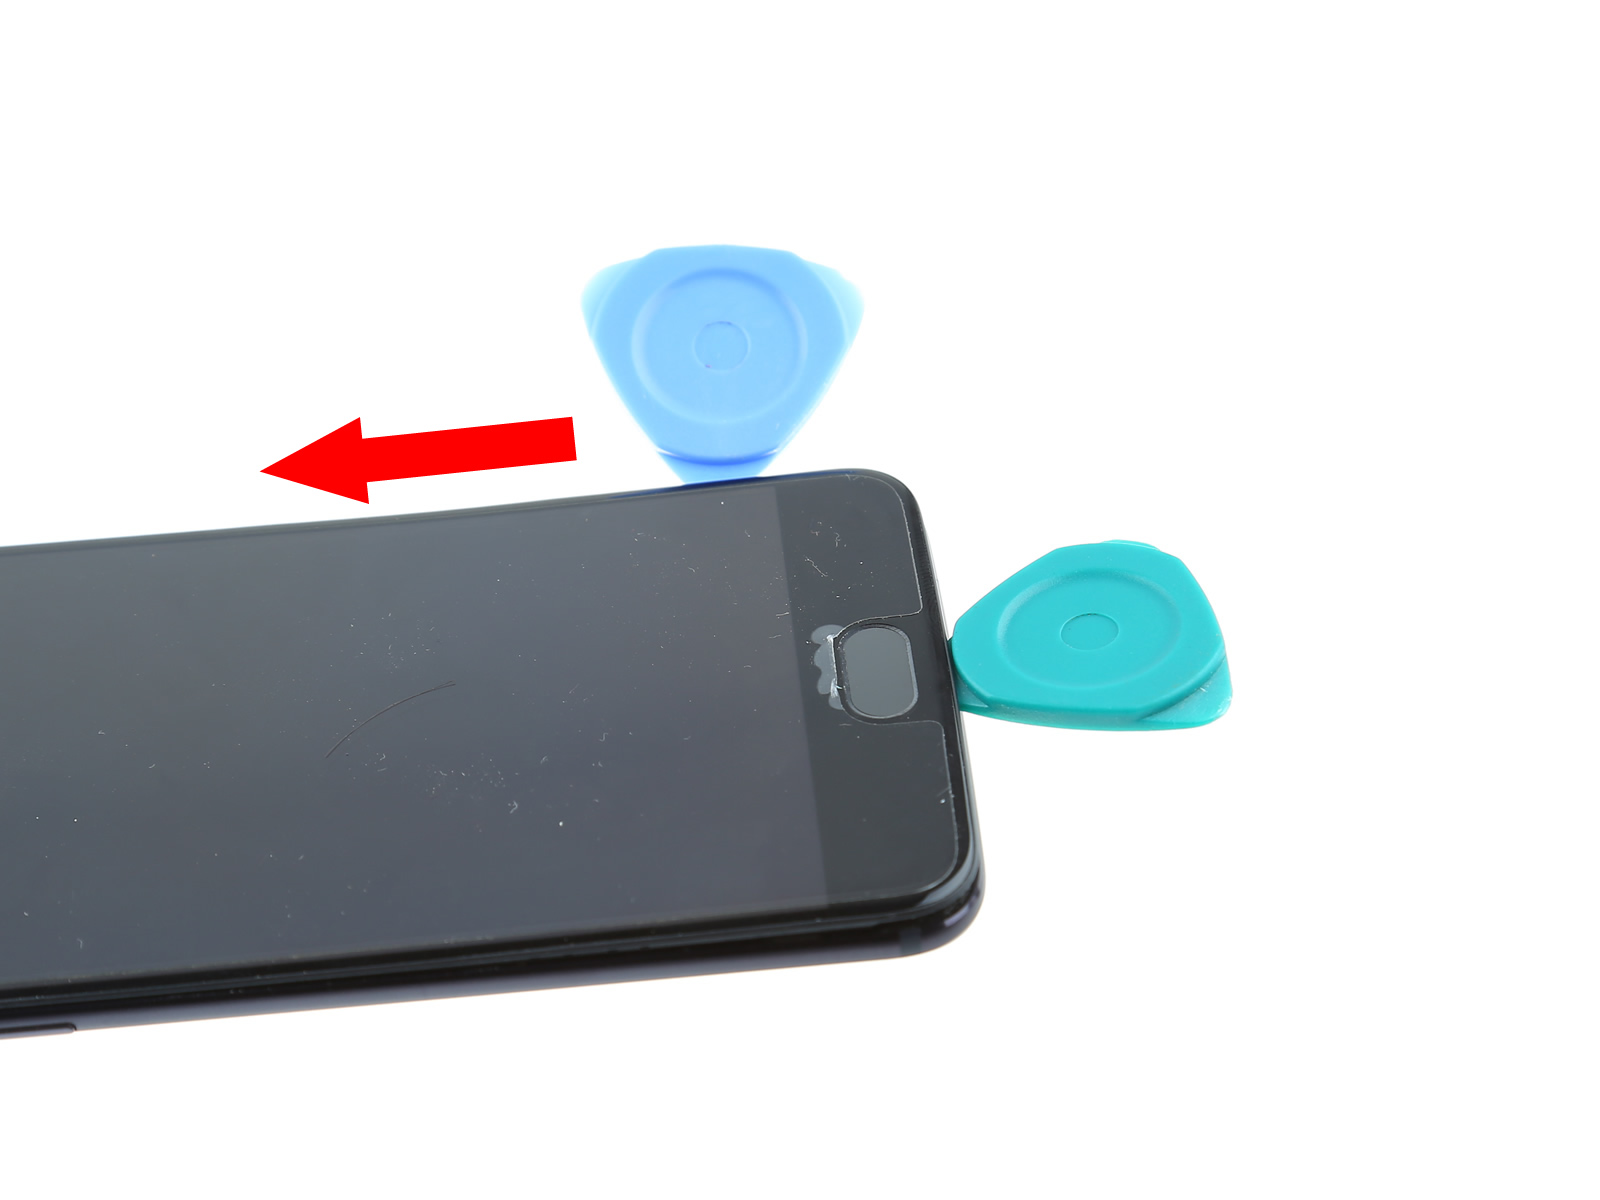
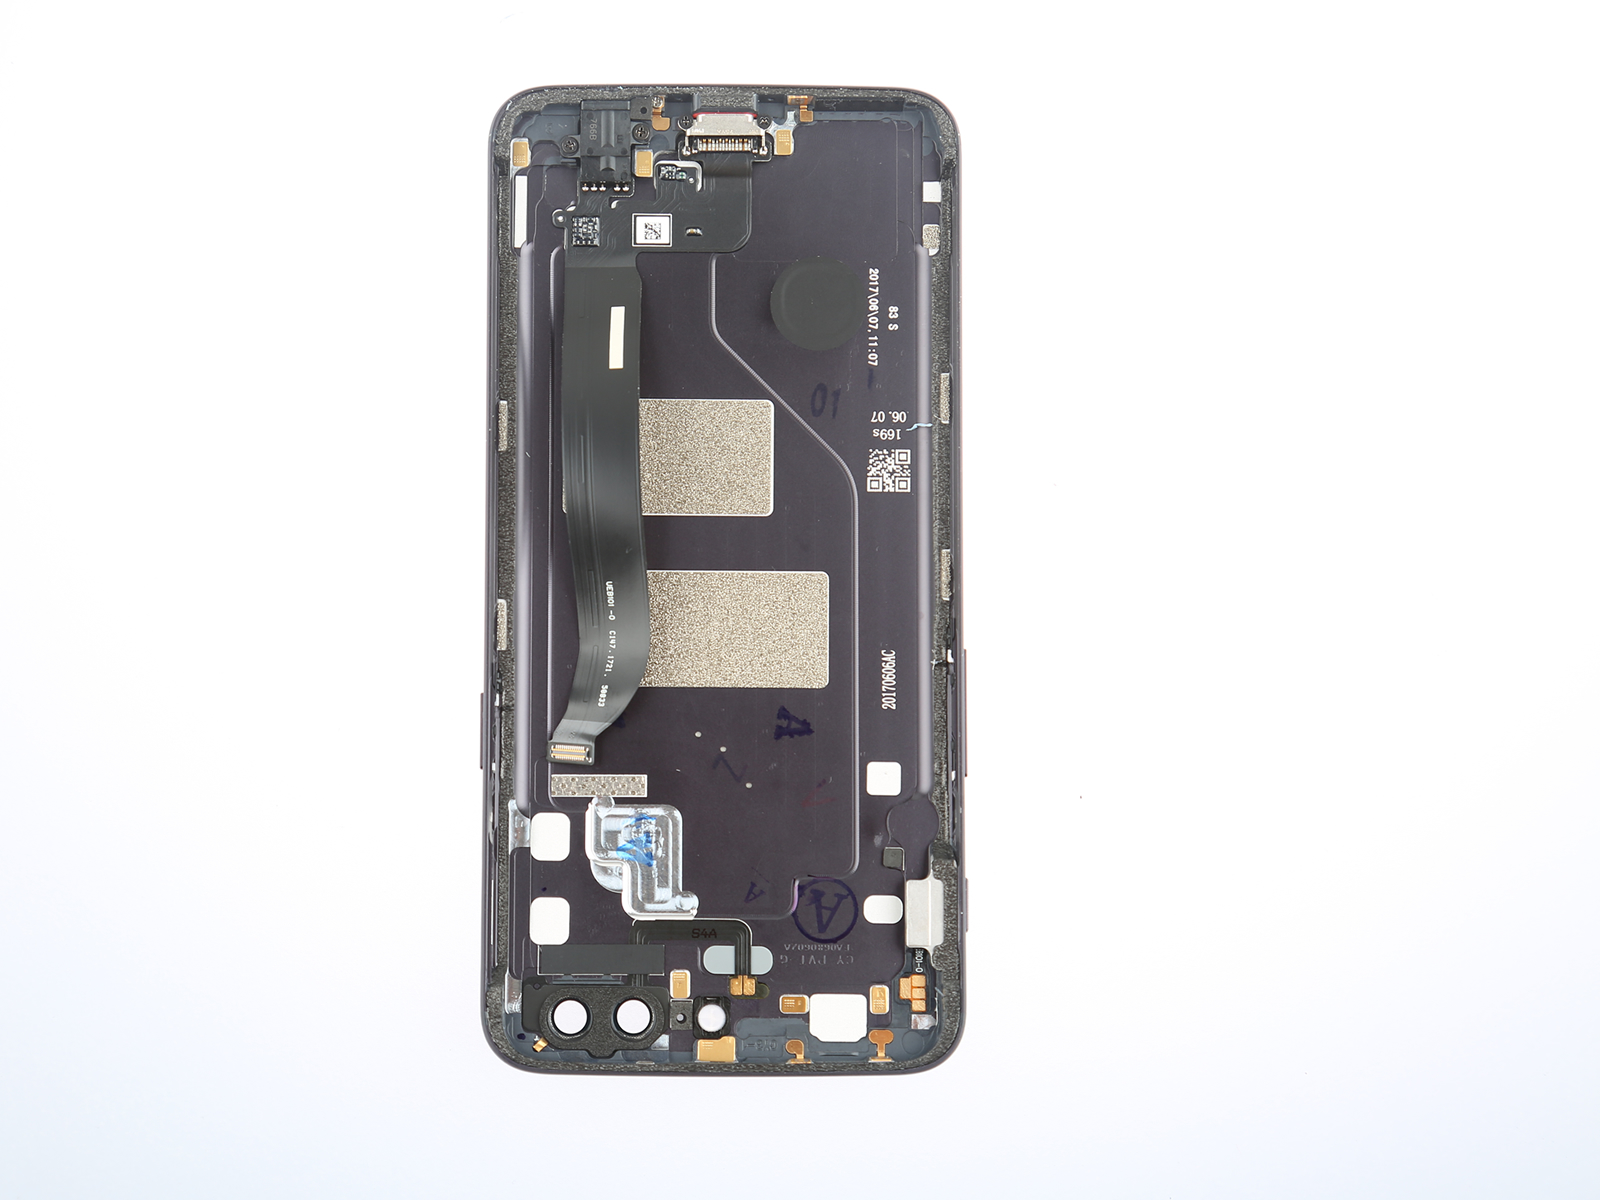
2. Open the back cover
Open the back cover a little bit with a suction cup.
Insert a pick between the back cover and the display assembly, and slide the pick along the display edge to release the back cover from the body.
3. Remove the back cover
Remove the screws with a 1.5 x 25mm Phillips screwdriver.
Remove the metal plate.
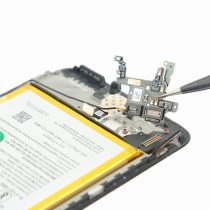
To protect the hardware, we need to disconnect the battery connector first and then disconnect the USB Type-C connector.
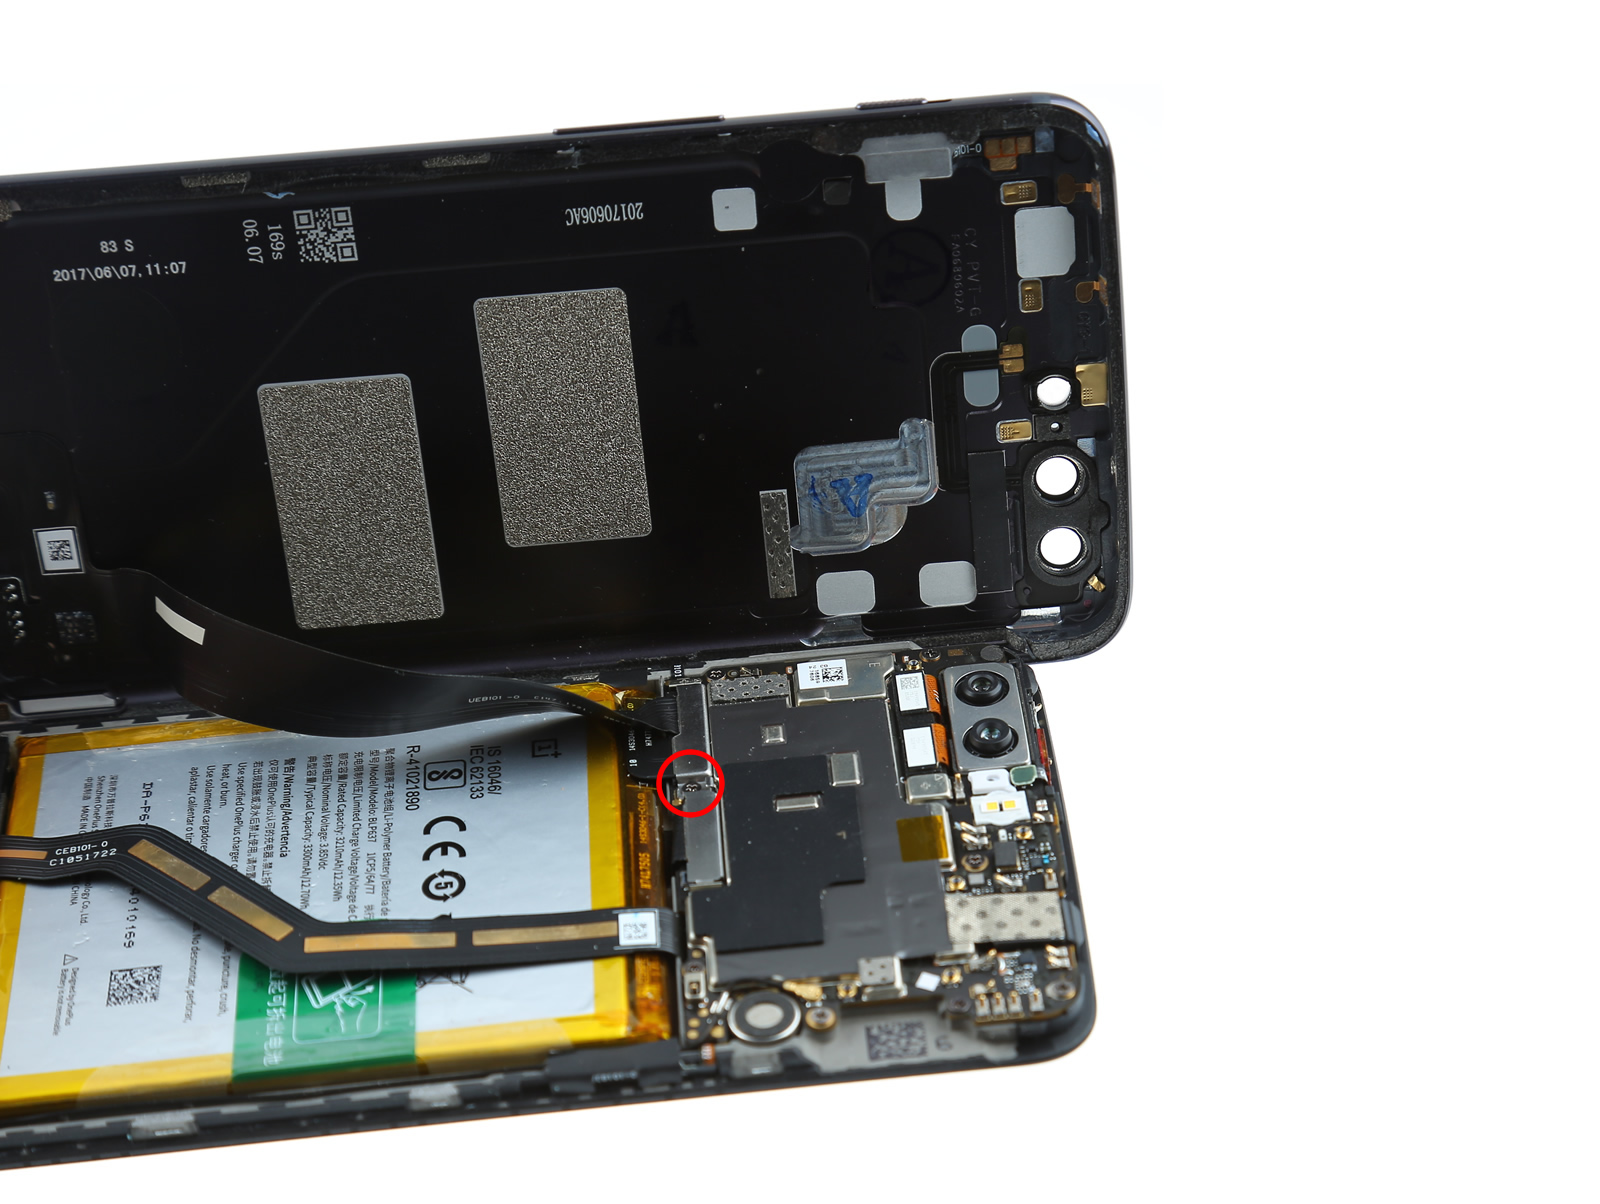
You can see the USB Type-C and 3.5mm headphone jack on the back cover.
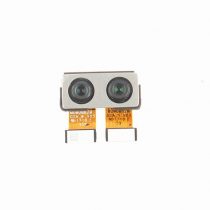
4. Remove the rear camera
Disconnect the two camera connectors from the motherboard.
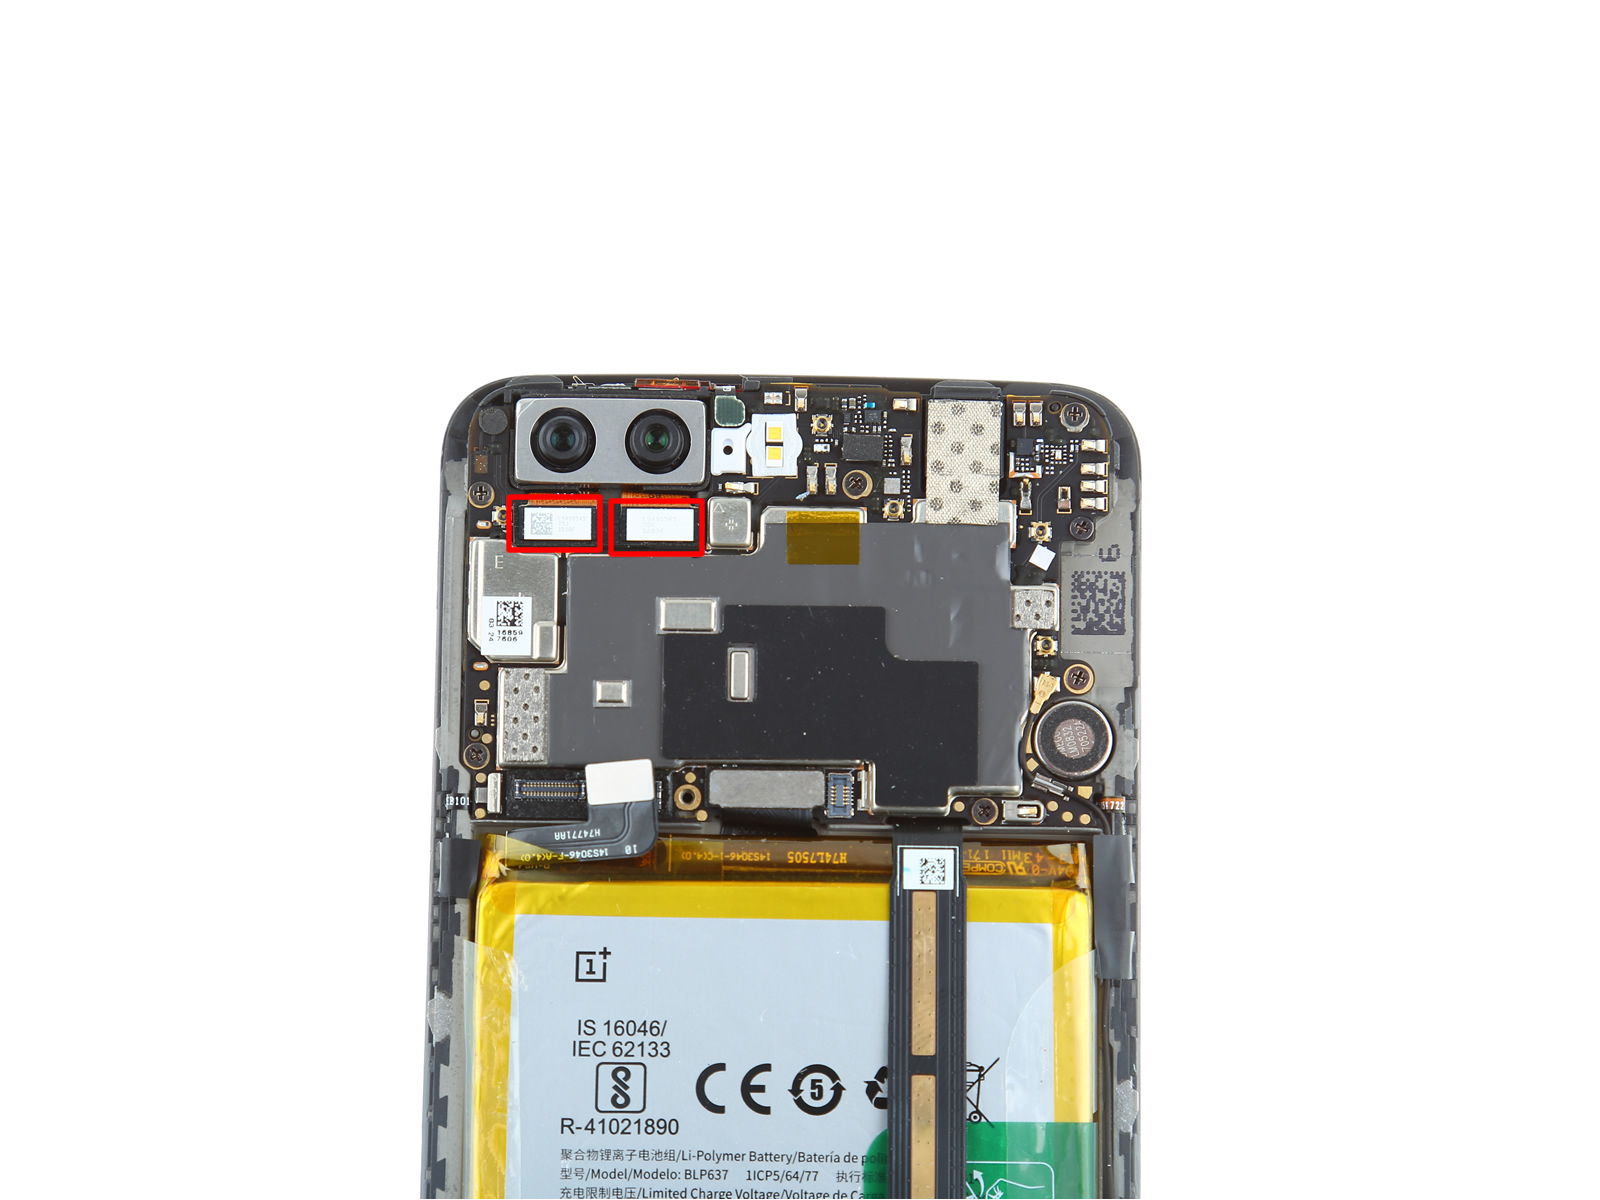
Take the rear camera out of its slot.
5. Remove the motherboard
Remove the 7 screws securing the motherboard to the chassis.
Disconnect the 3 cables from the motherboard.
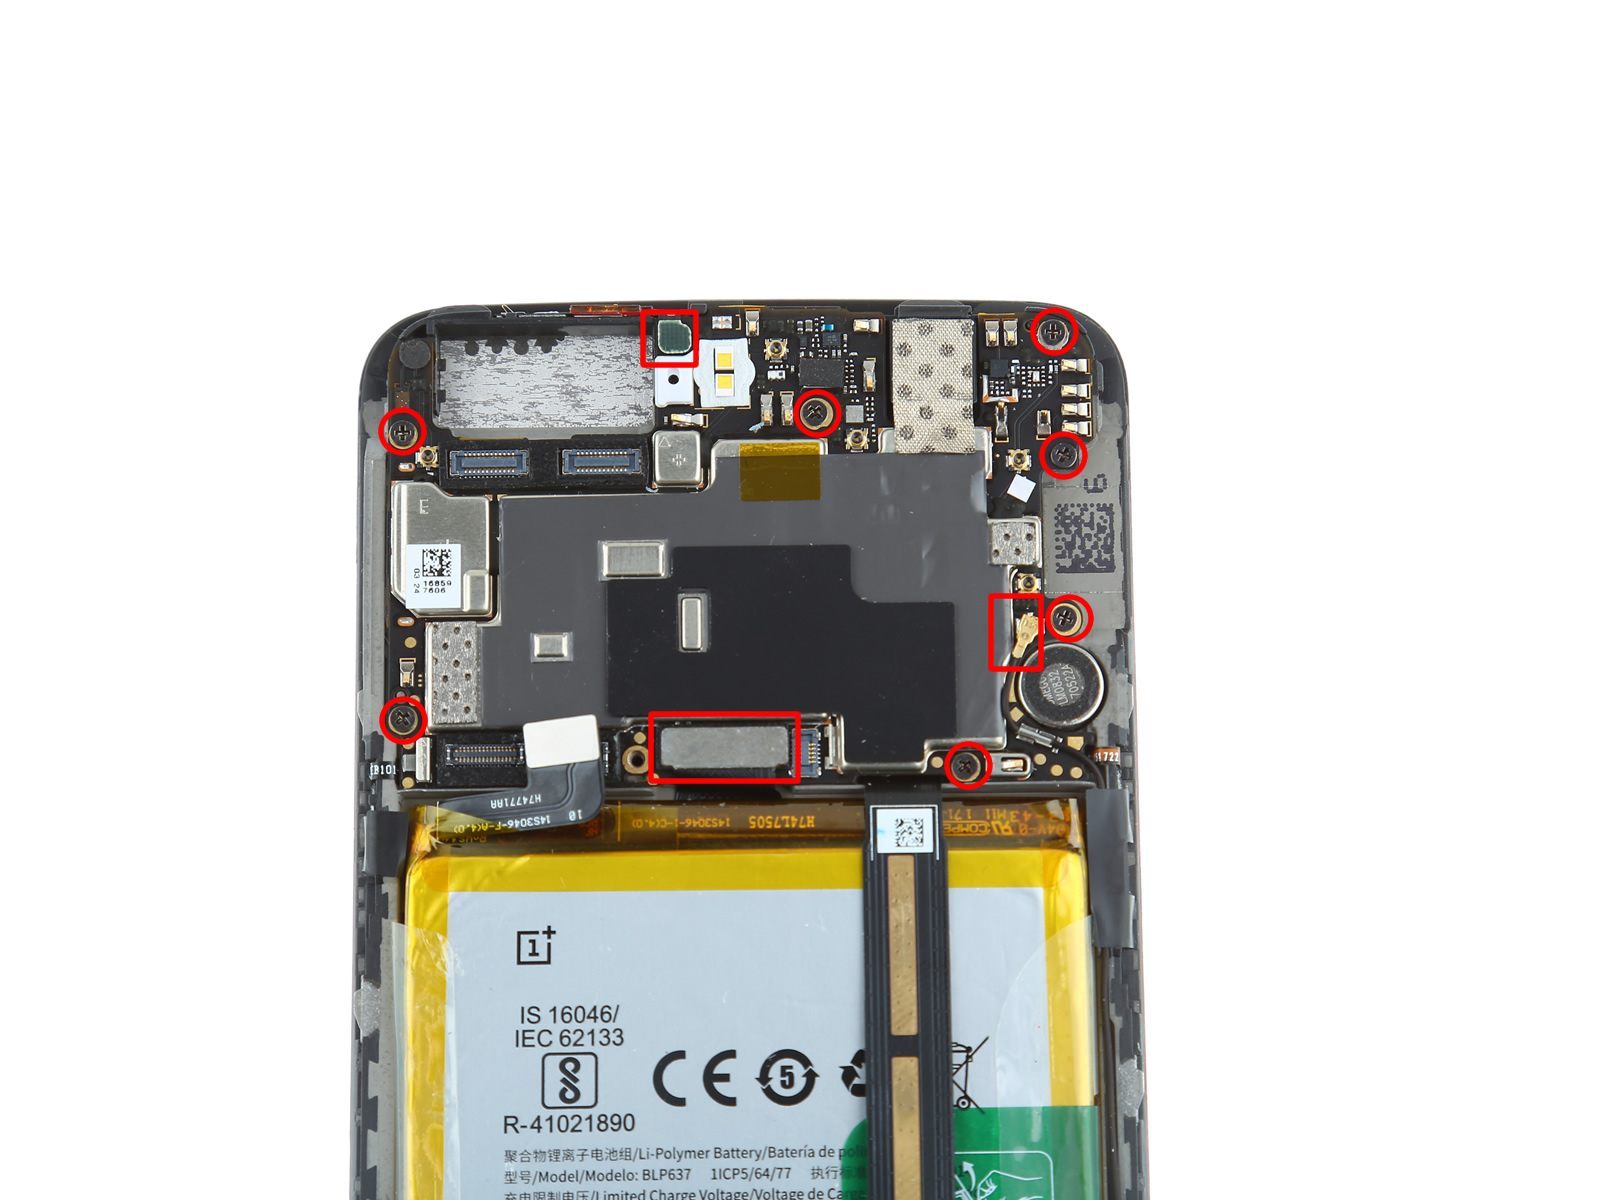
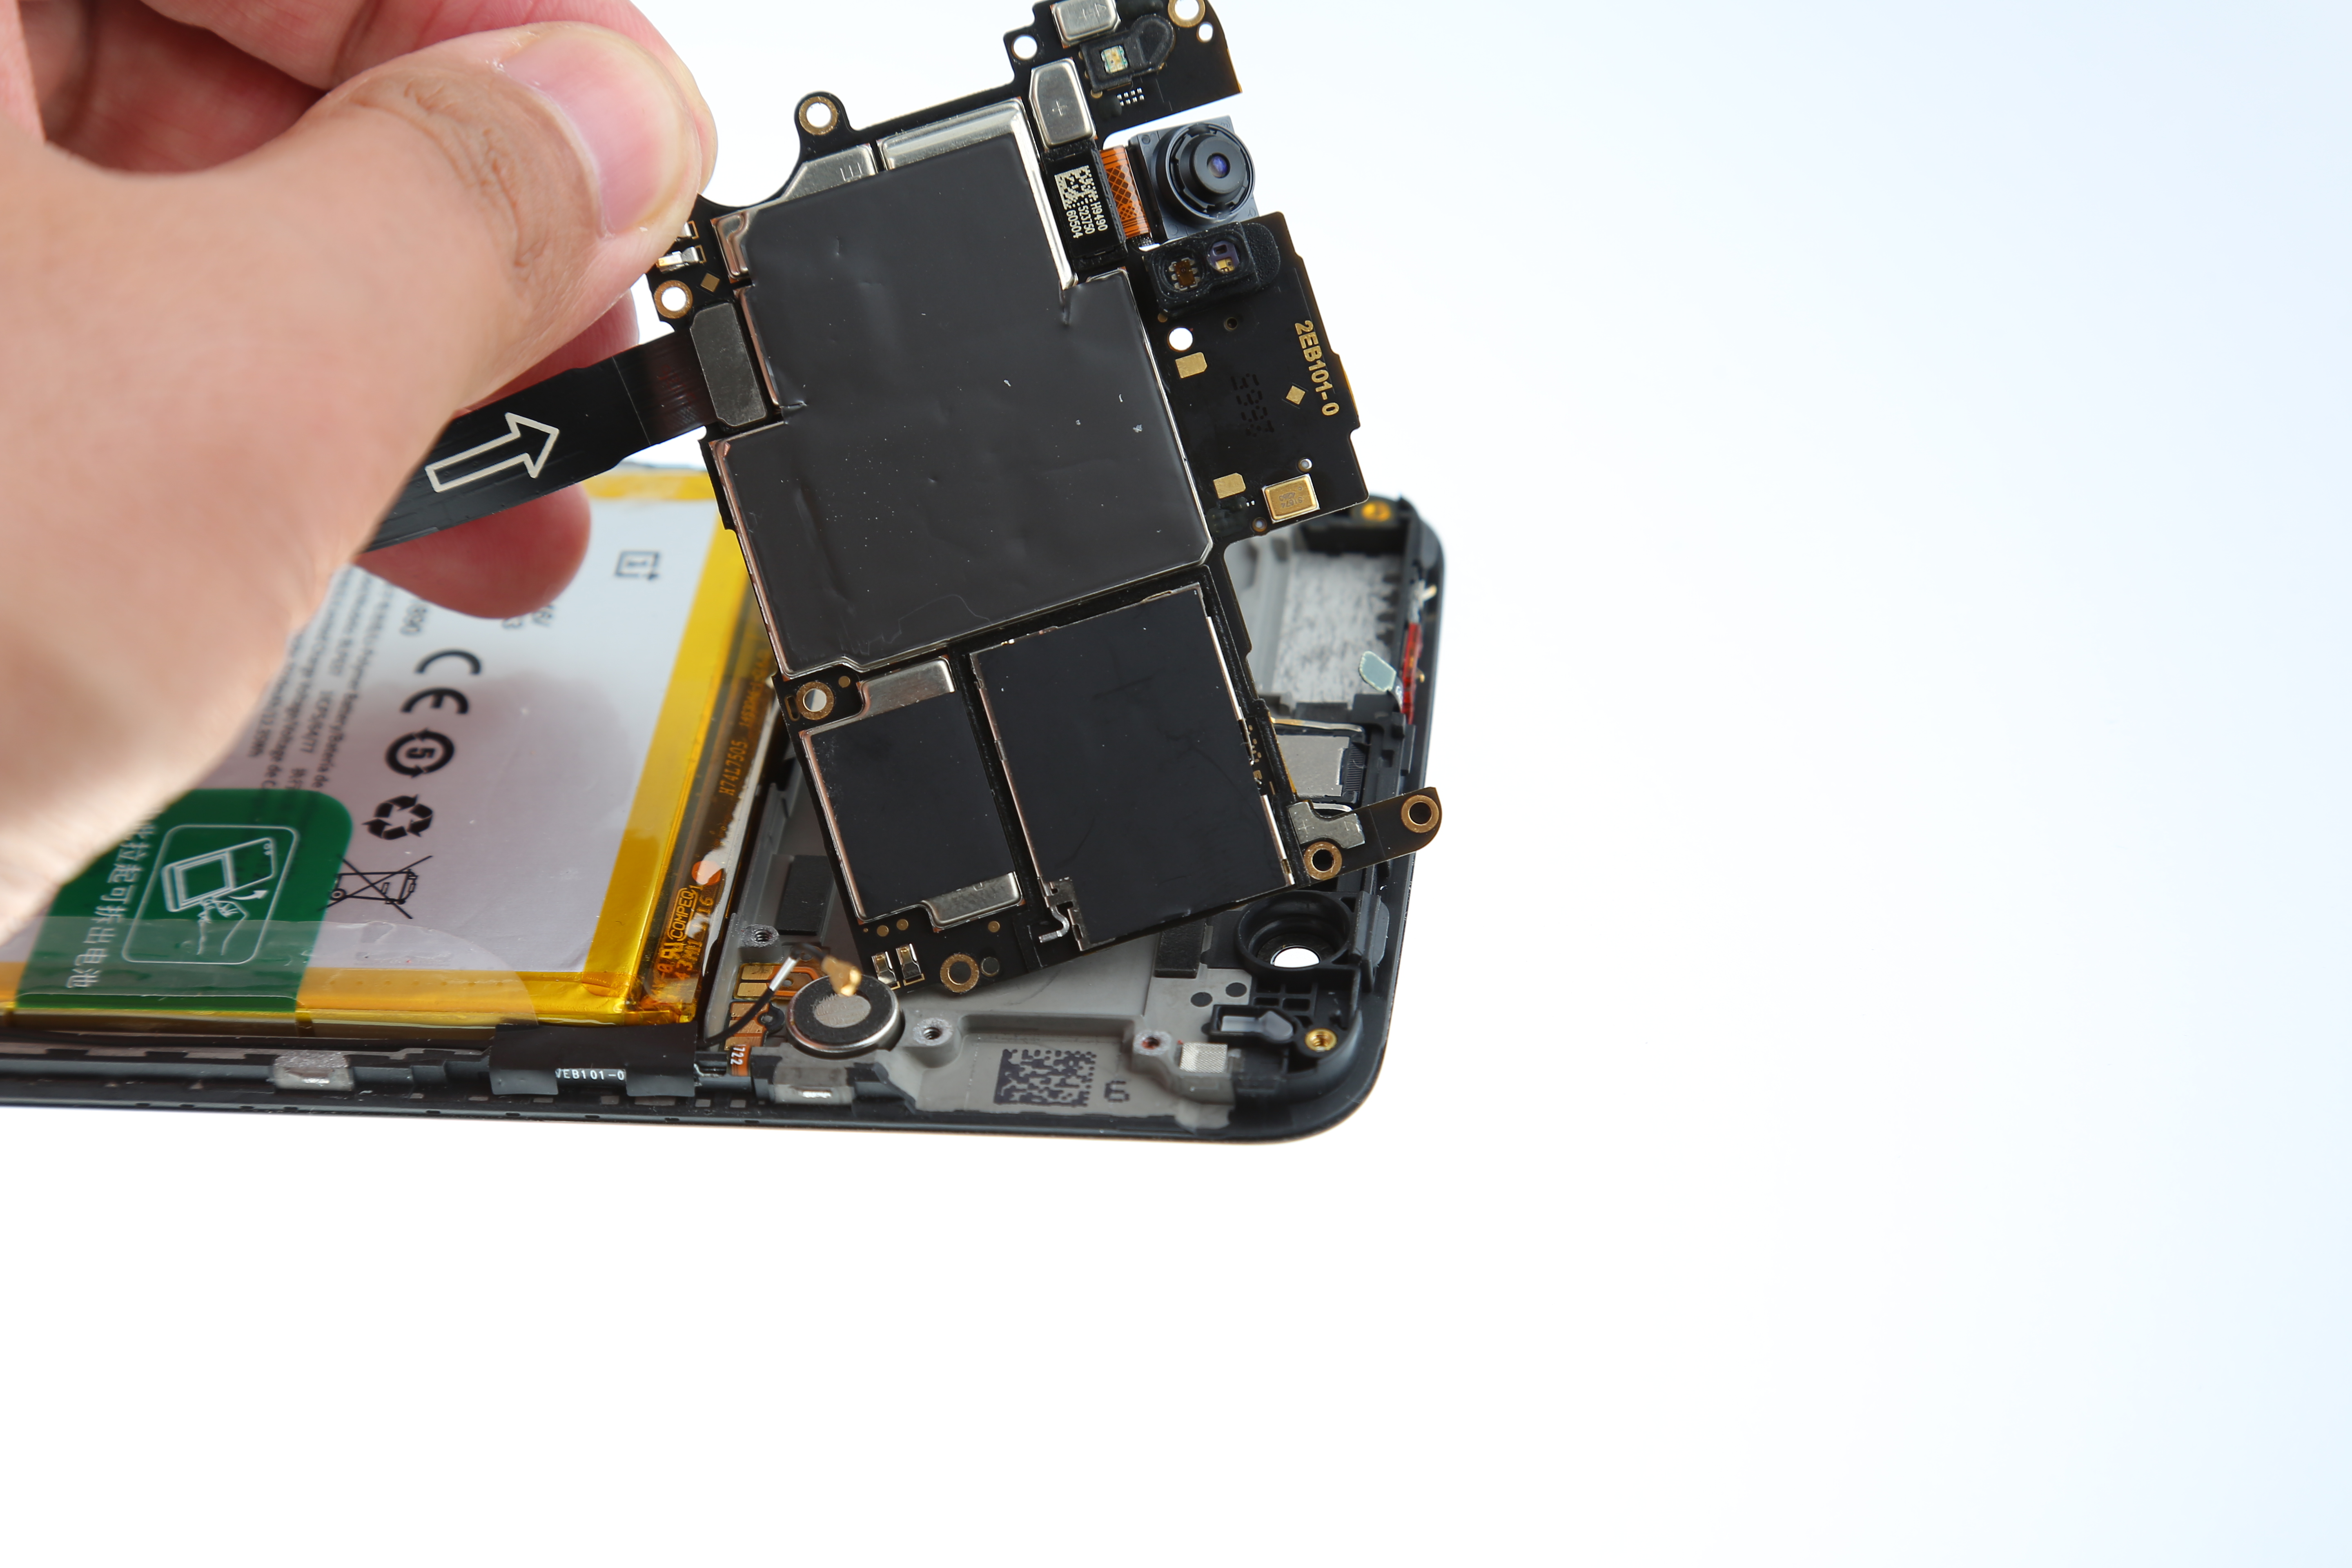
Lift the motherboard, and you can access the main FPC cable.
Disconnect the FPC cable from the motherboard, and the motherboard can be removed.
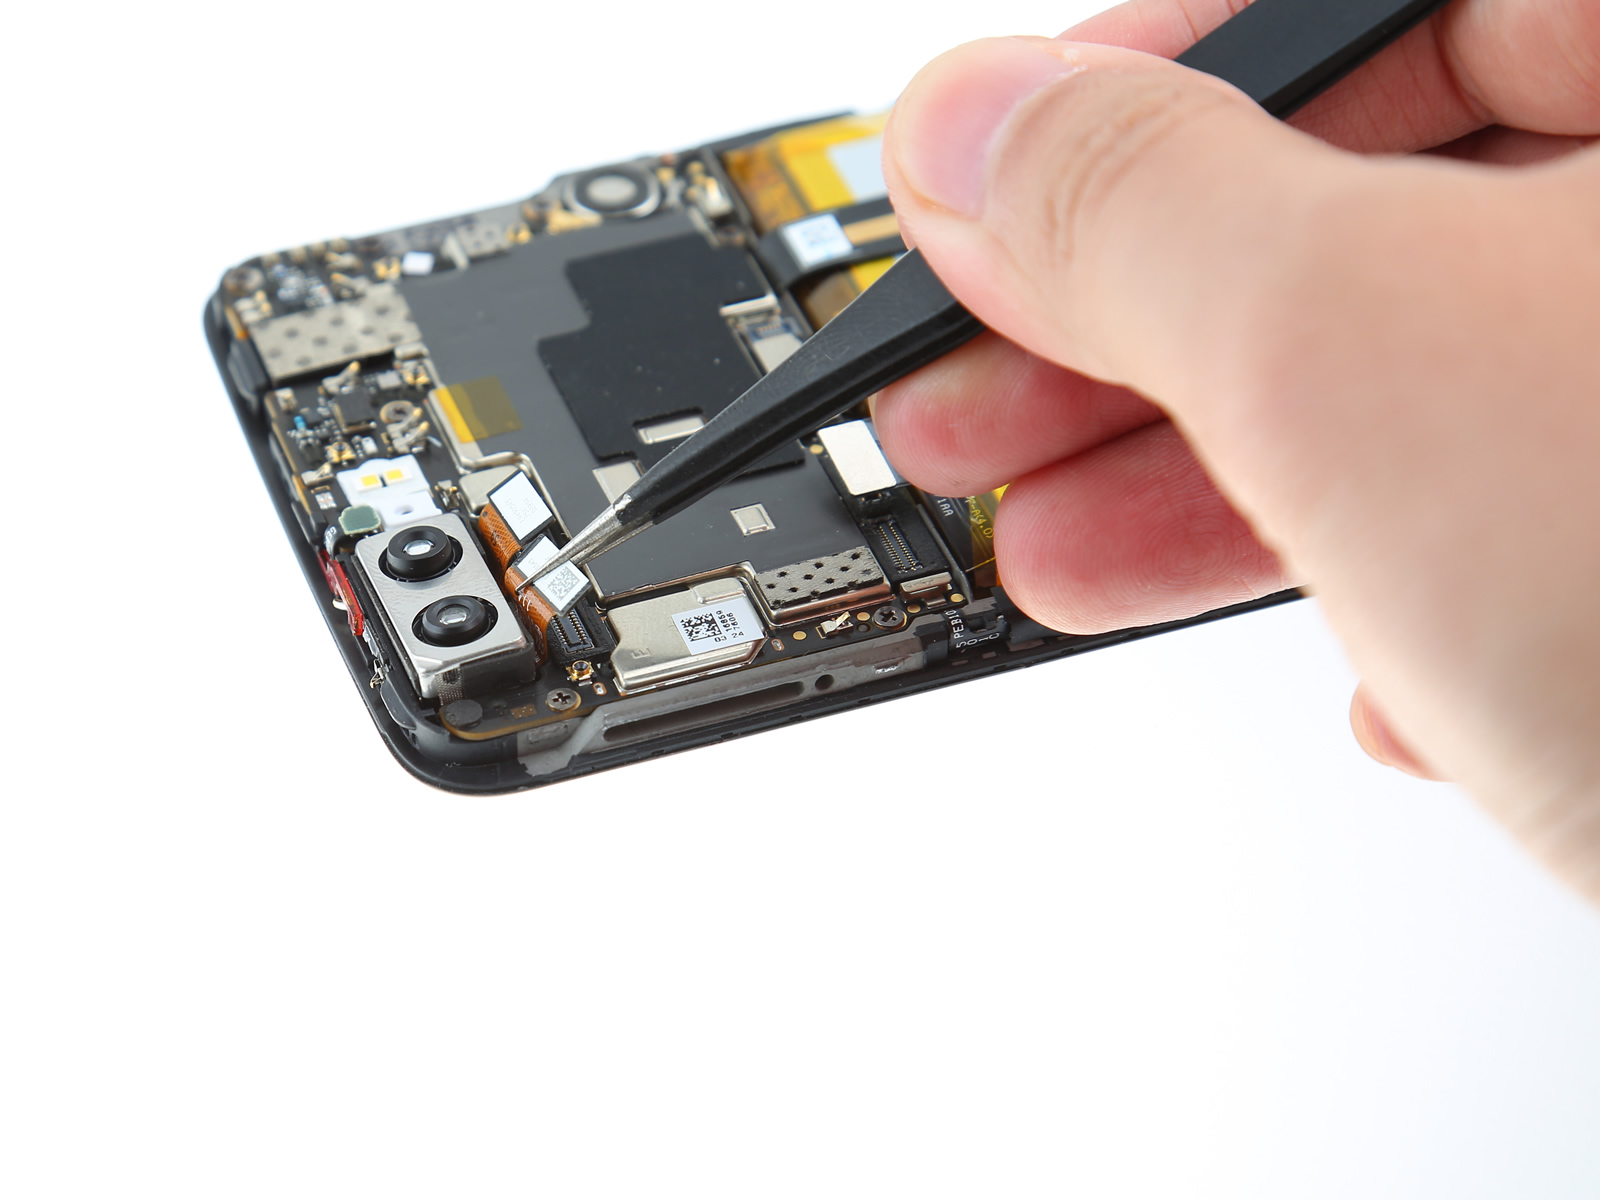
The microphone is secured on the body with glue and can be easily removed.
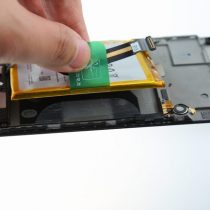
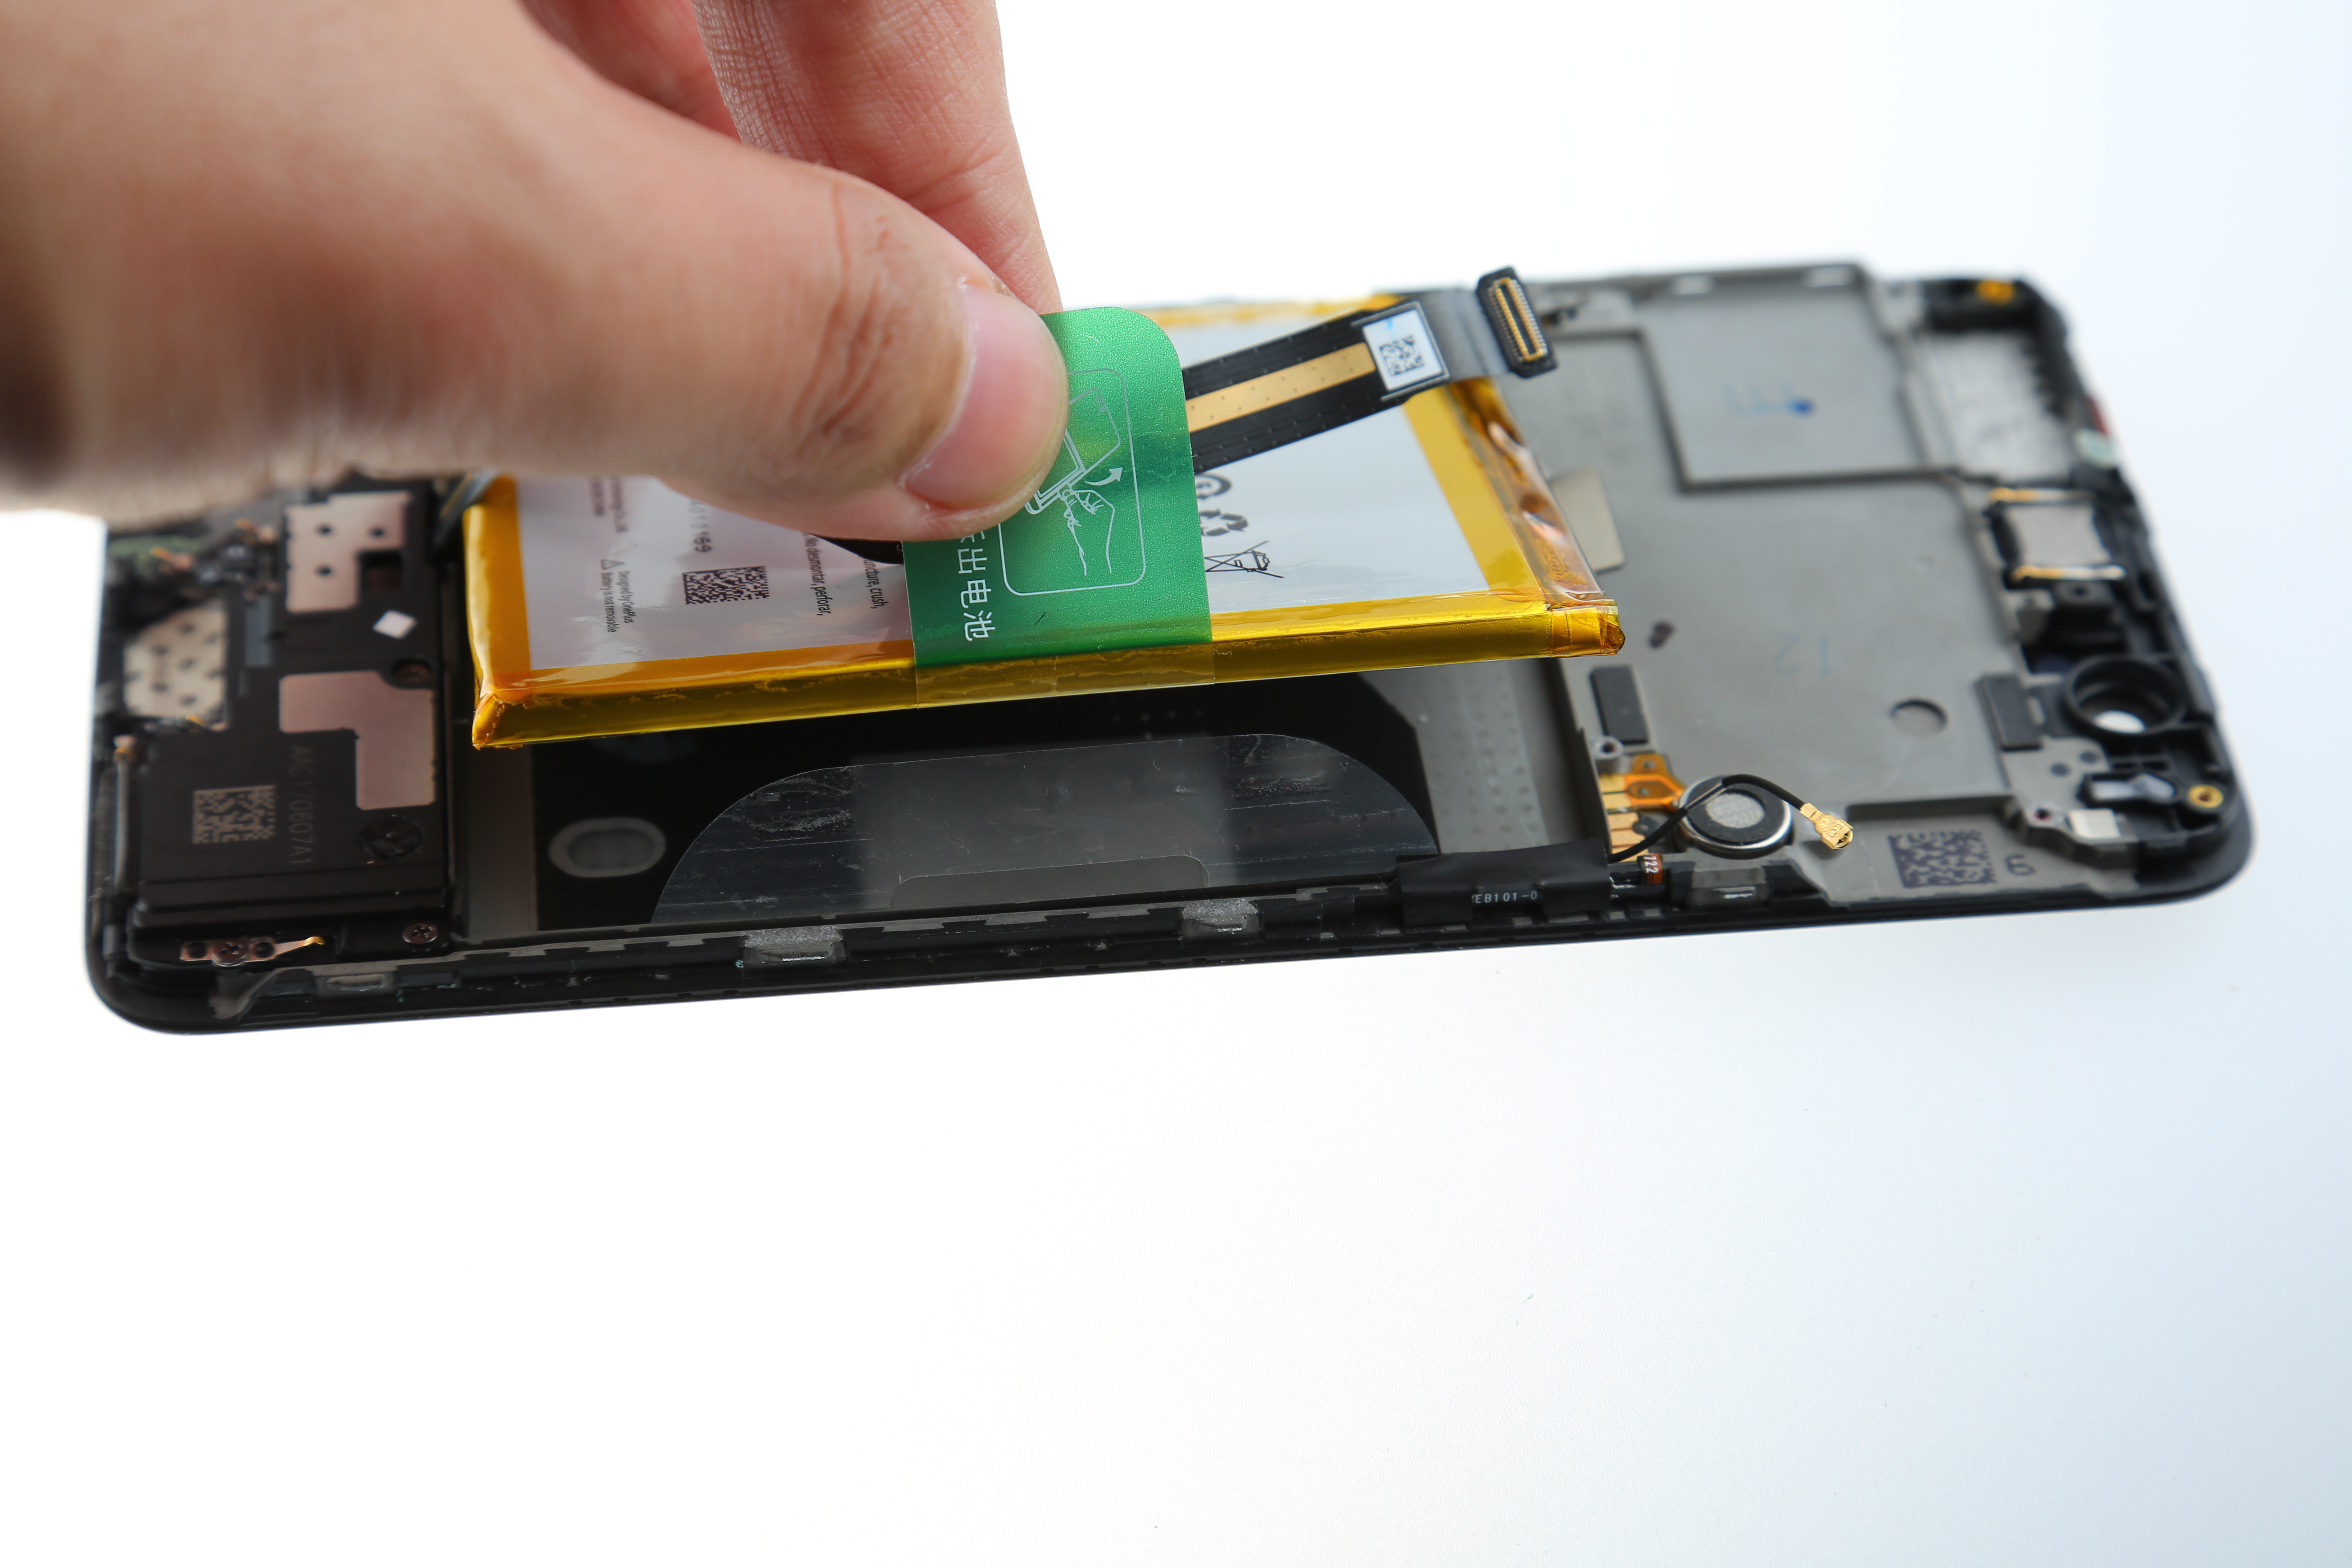
6. Remove the battery
Uncover the scotch tape on both sides.
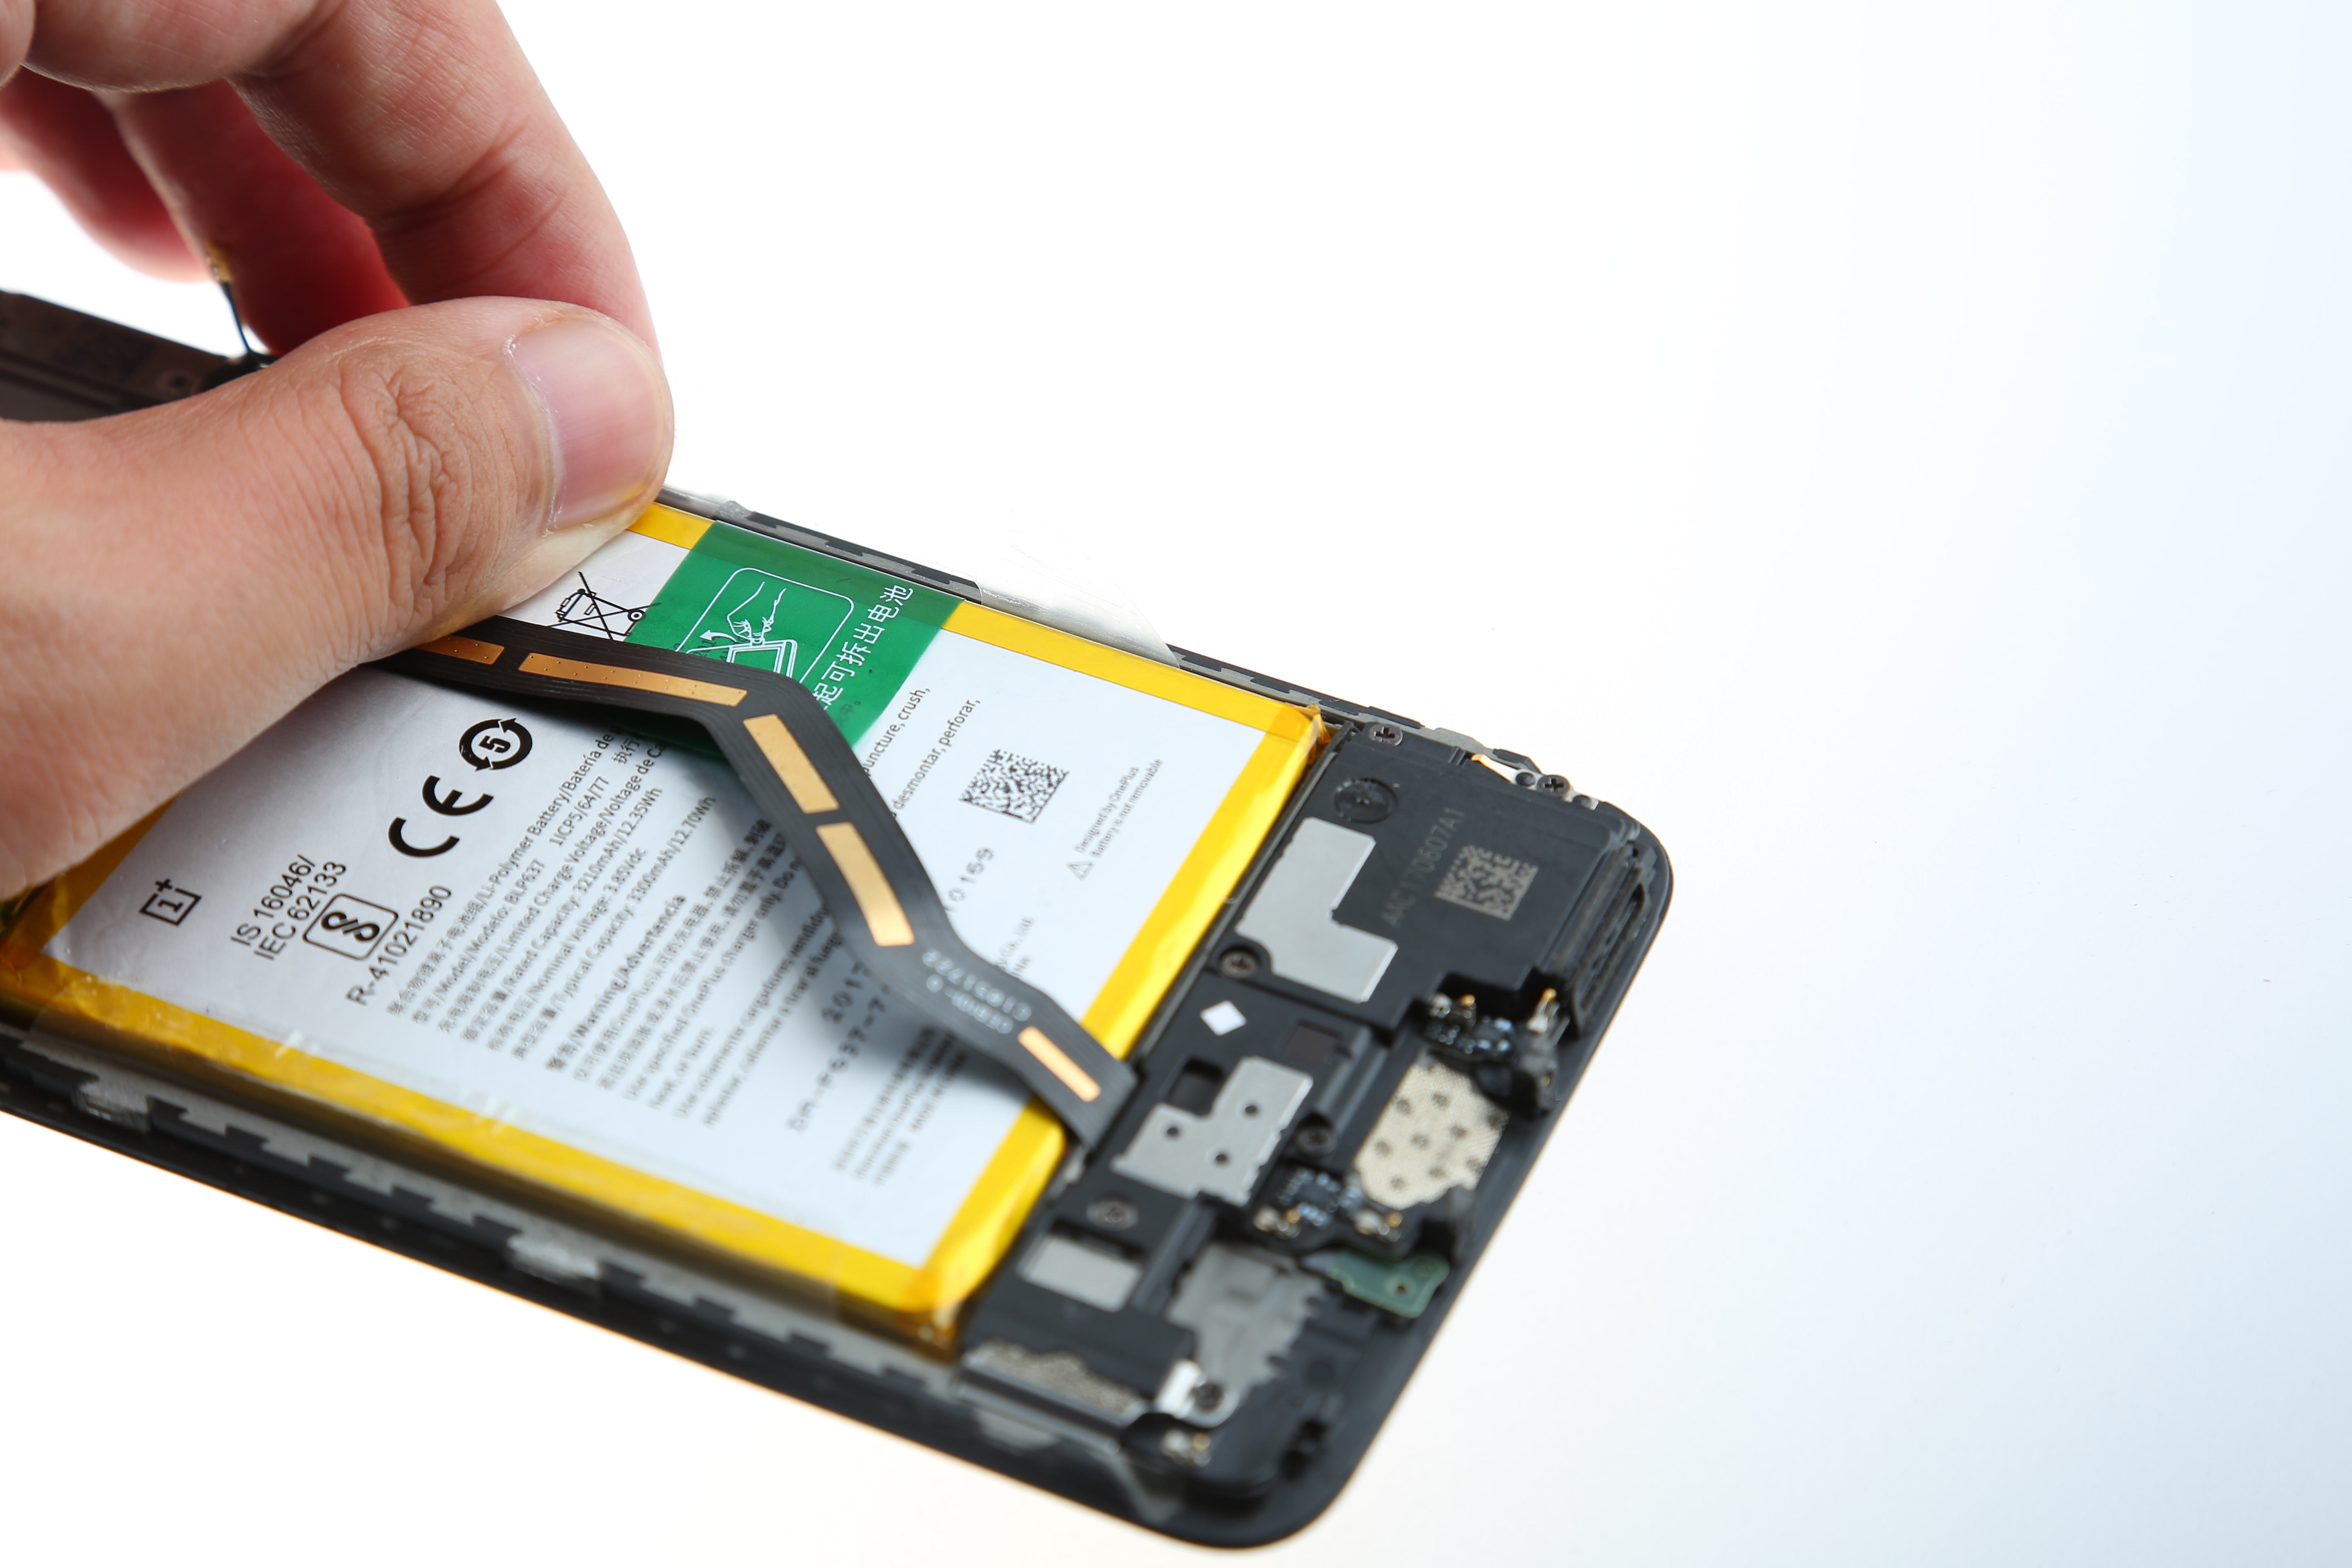
Lift the green tape to remove the battery.
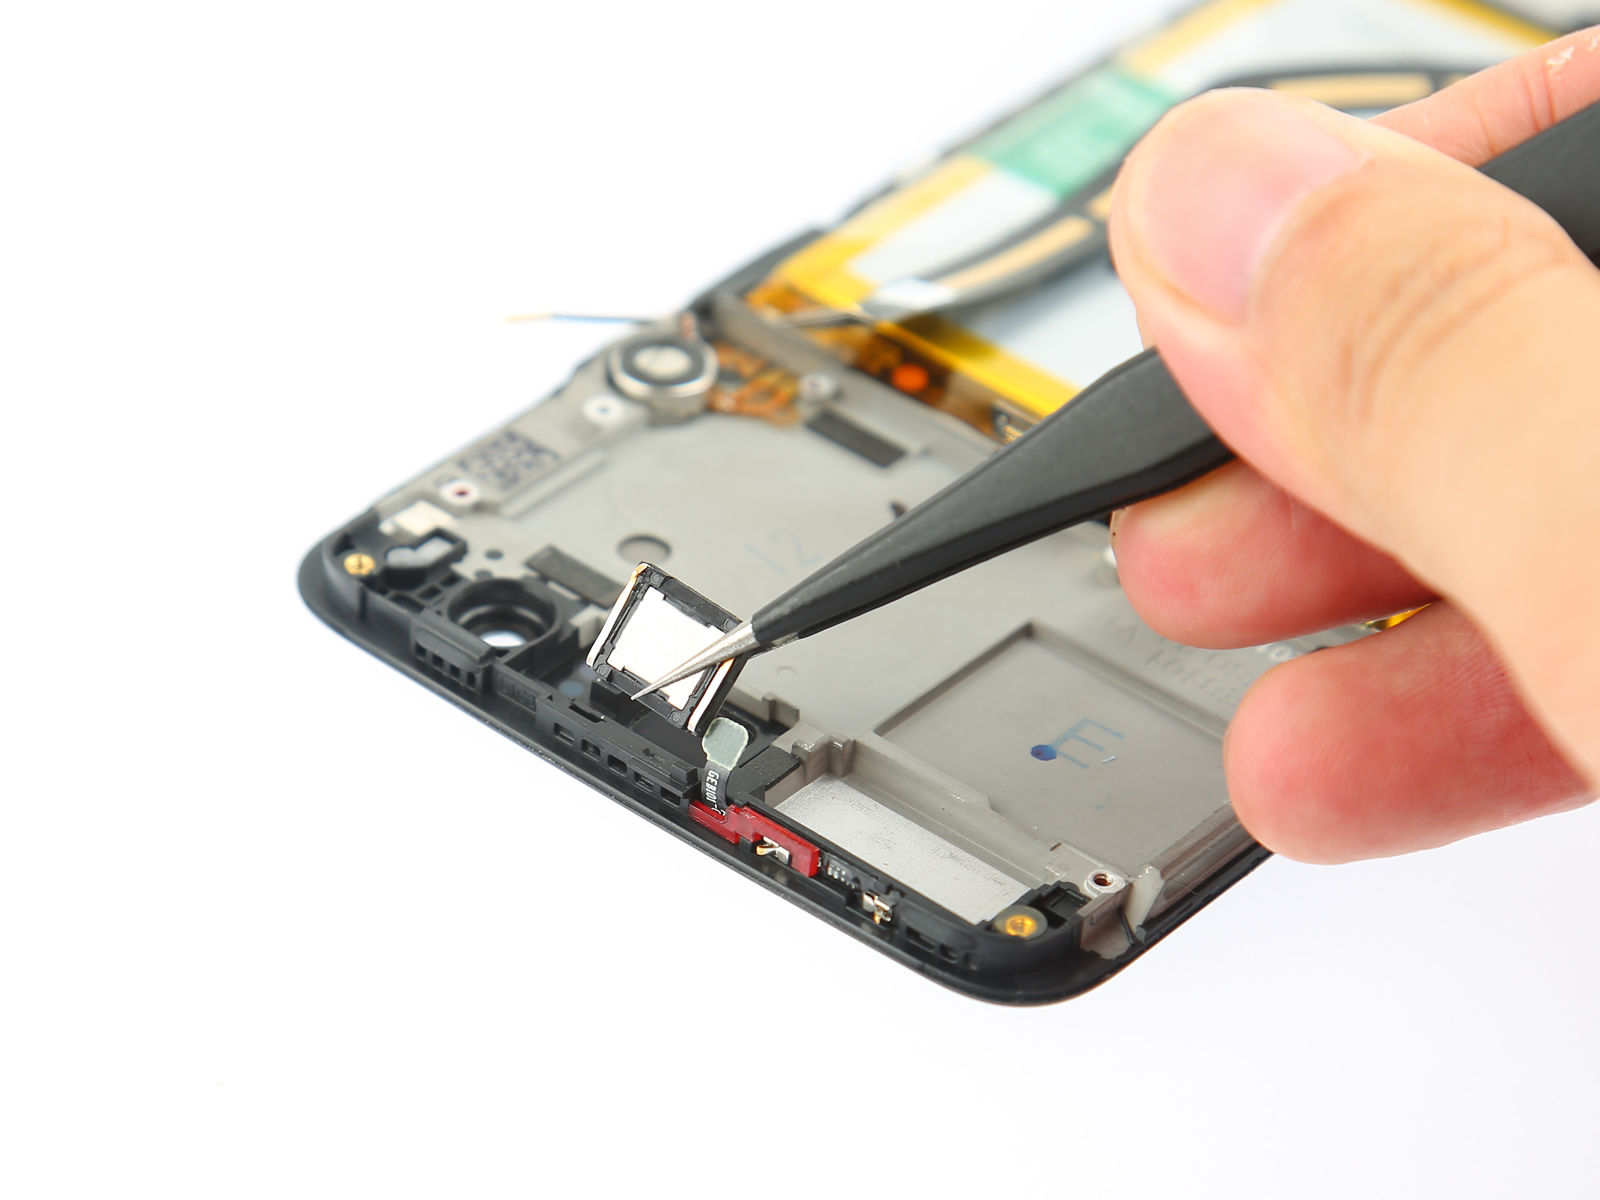
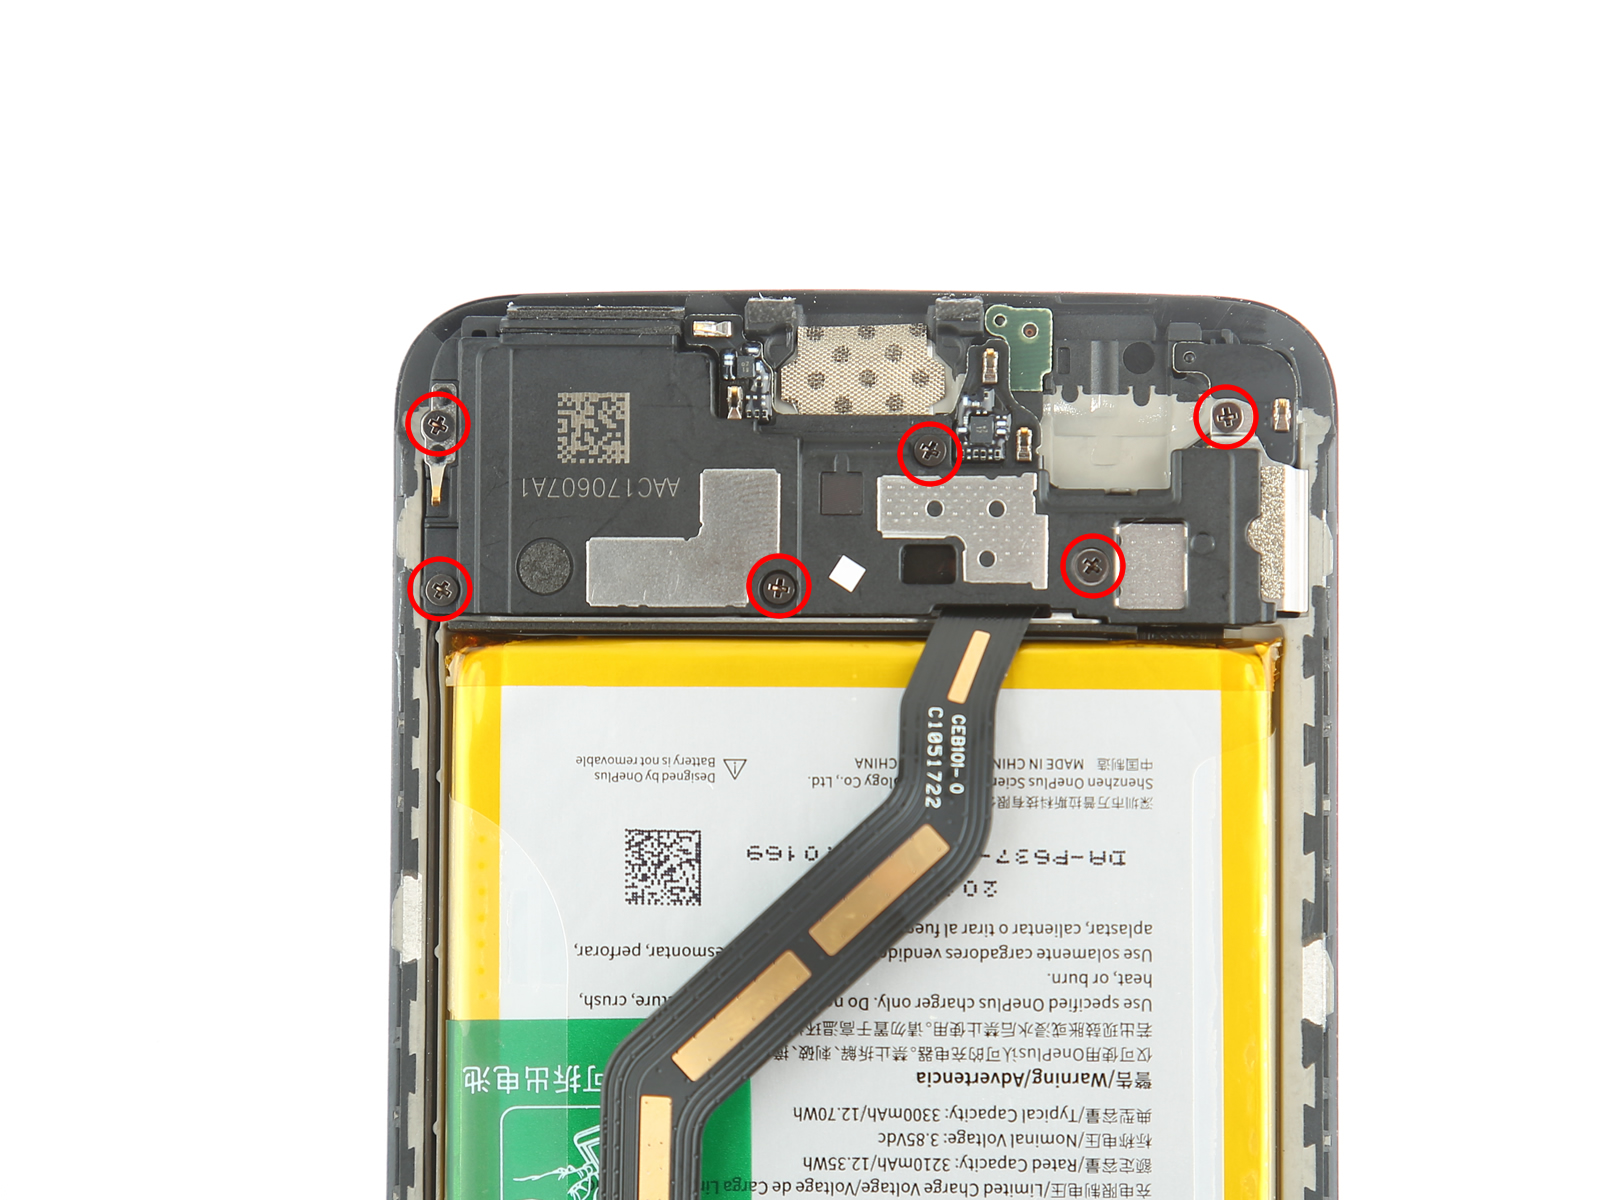
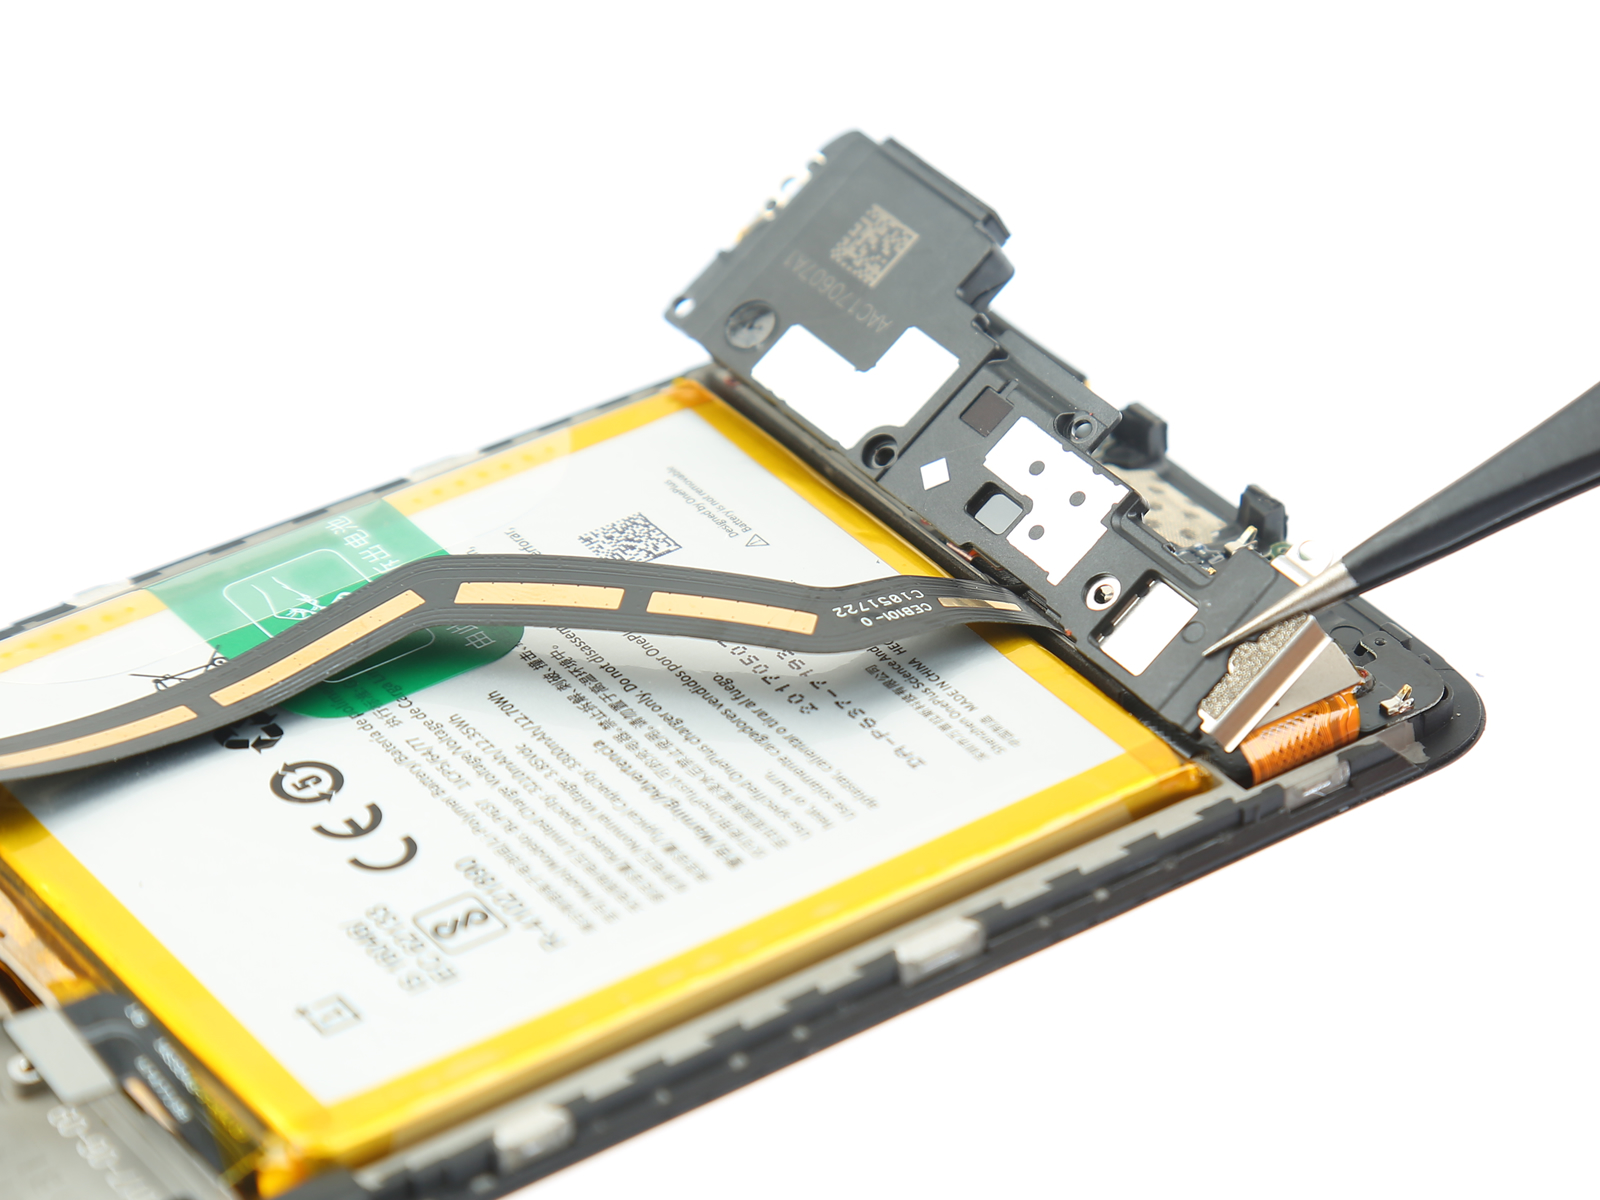
7. Remove the loudspeaker
Remove the six screws securing the loudspeaker in place.
Remove the loudspeaker module.
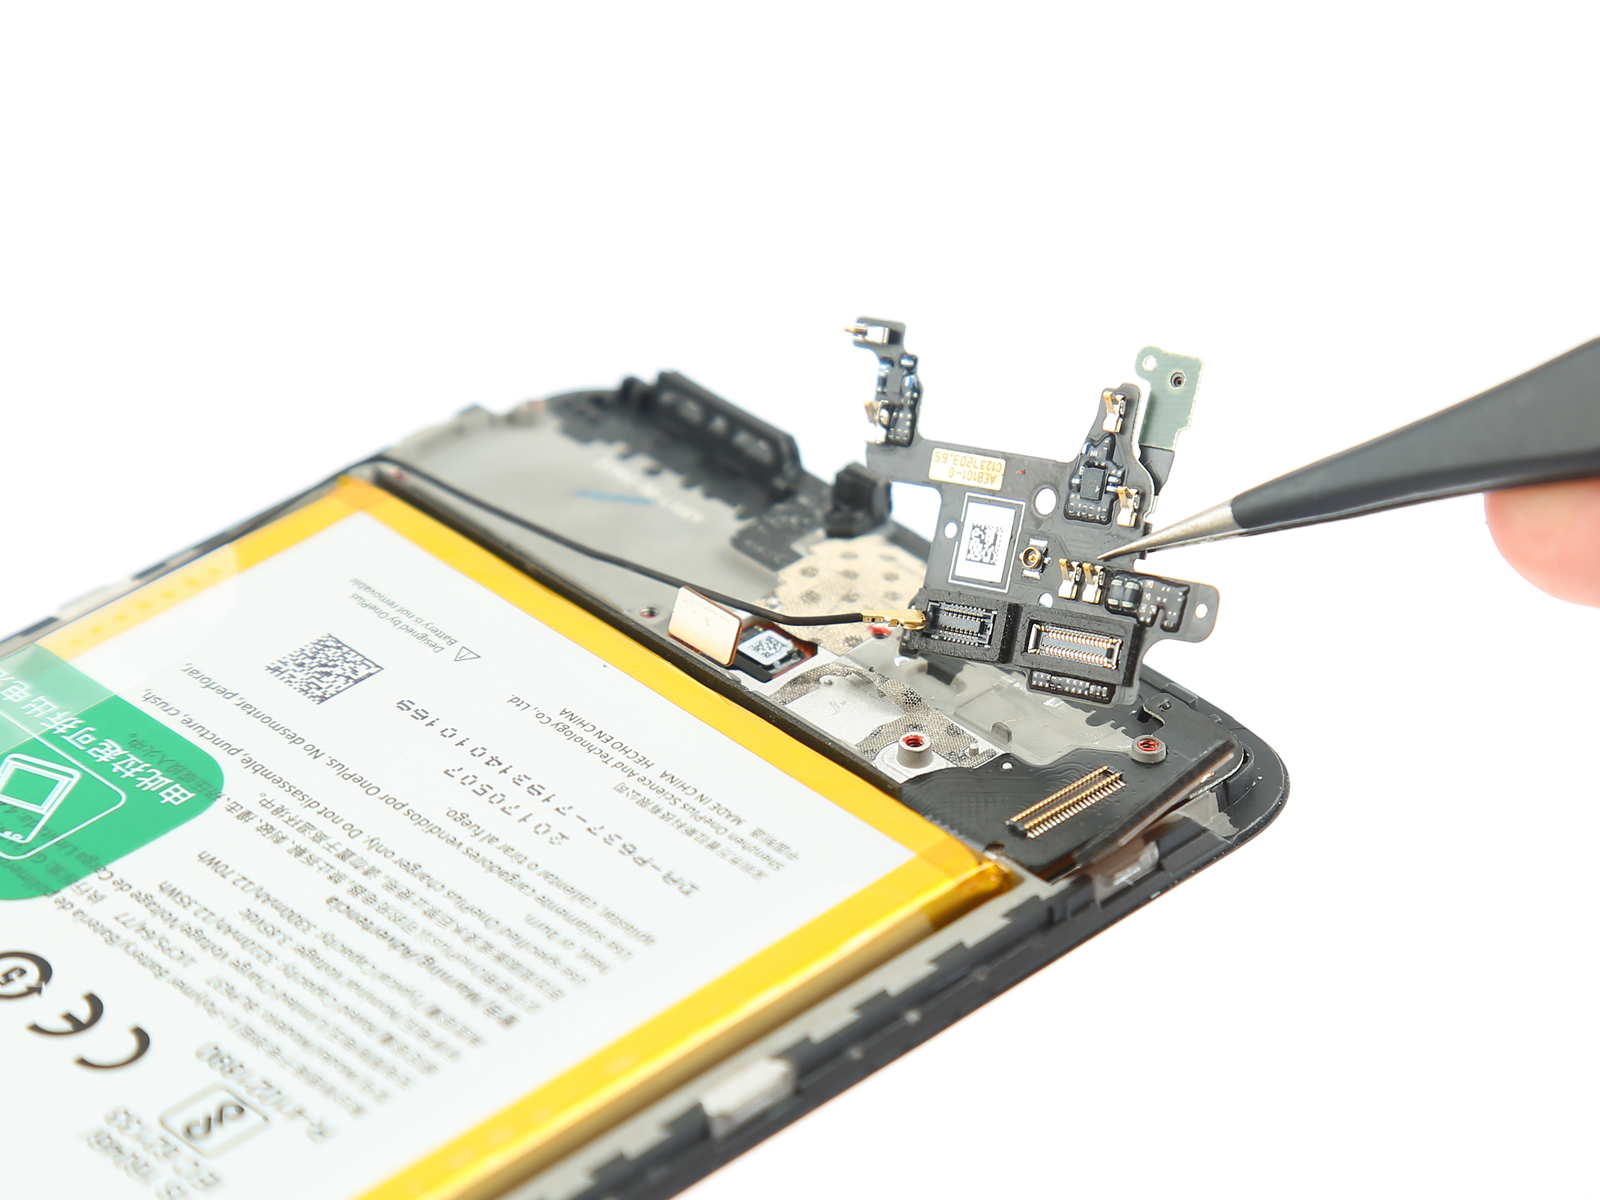
8. Remove the sub-board
With the loudspeaker removed, you can access the sub-board.
The sub-board is very thin and is secured on the body with glue. It is not easy to remove it.
You need to use a thin blade to tilt it up slowly.
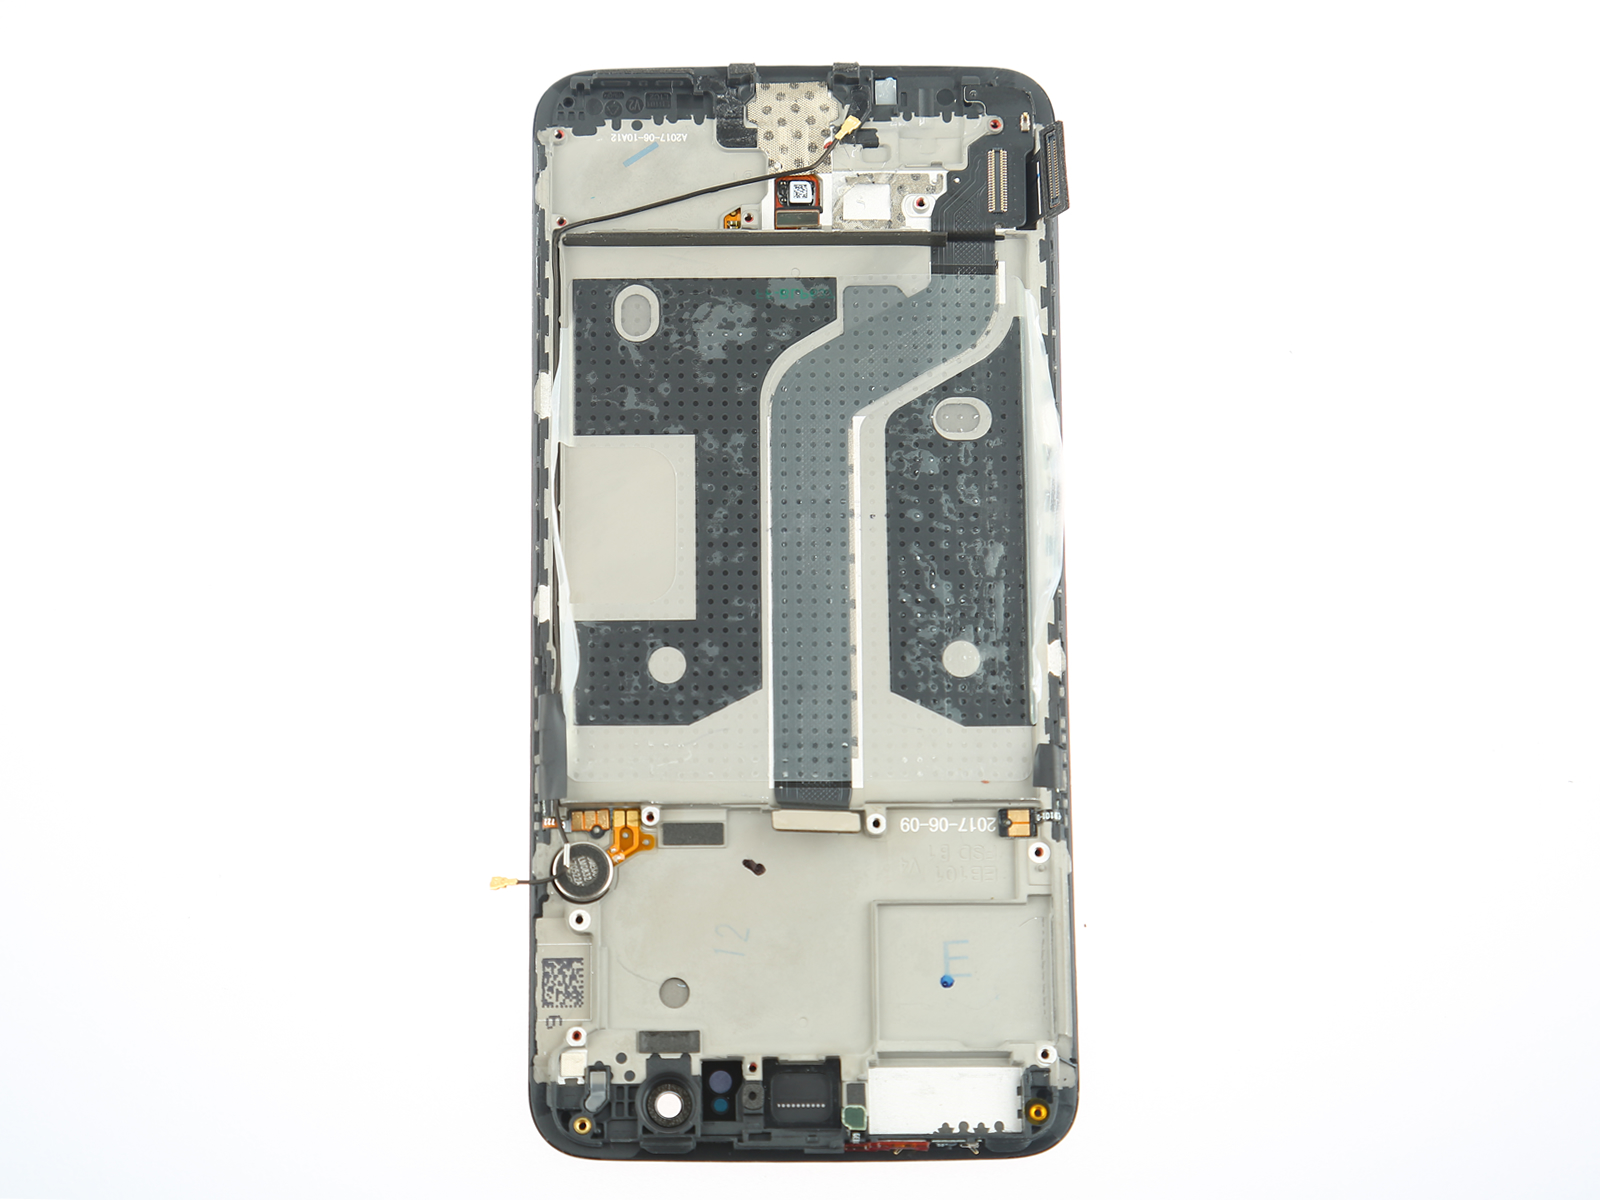
You may also need to remove some very small parts of the display assembly.
If you are not a maintenance engineer, I suggest you buy a display assembly with the frame so that replacing it will be easier.
You can find the OnePlus 5 teardown here. For other parts replacement tutorials, please visit the OnePlus 5 repair guide category.