A screenshot is a captured screen image that shows what the laptop is displaying. It lets you share important files or images with others. It’s also a time-saving feature that allows you to share specific information instantly.
Taking screenshots has become mandatory for everyone. Almost every user takes screenshots in their daily use, whether on a laptop, PC, or mobile device with a different operating system. Each device and system has a different method to take a screenshot.
Today, we bring you a tutorial that explains the different and most popular methods to take a screenshot on Windows 10 systems. The methods mentioned below are available for both Windows laptops and Windows PCs.
Taking a screenshot through Windows Key + PrtSc Key
This method is the easiest way to take a screenshot on Windows OS. All you need to do is go to the screen you want to capture and follow these steps:
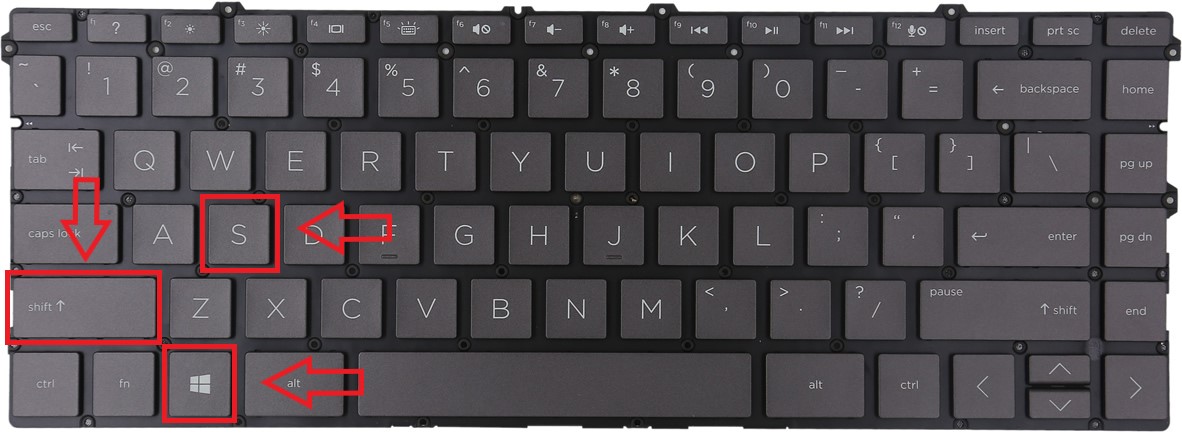
- Press the Windows key (the Windows logo key) and the Print Screen key (possibly written as Prt Sc on the keyboard) at the same time.
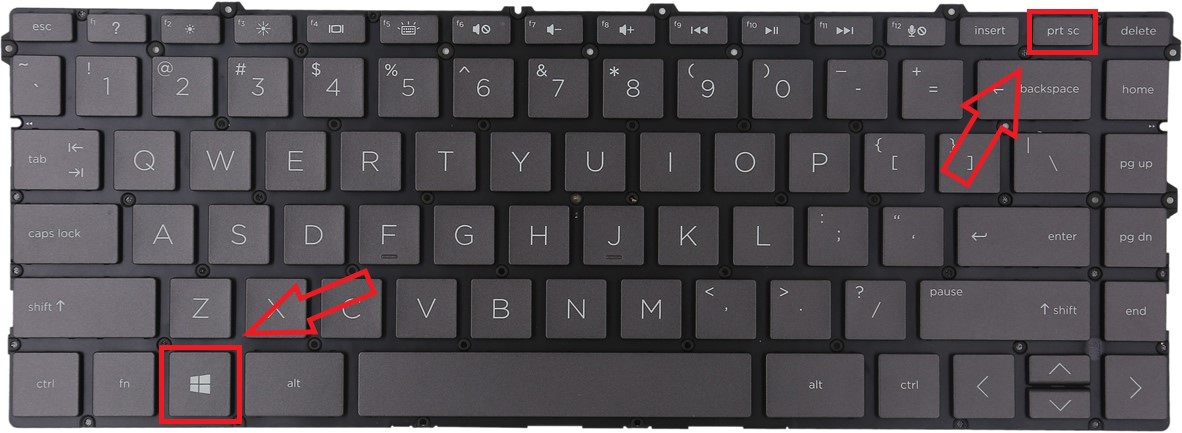
(After pressing both keys at the same time, you may see a flicker on the screen, which means that a screenshot has been taken.)
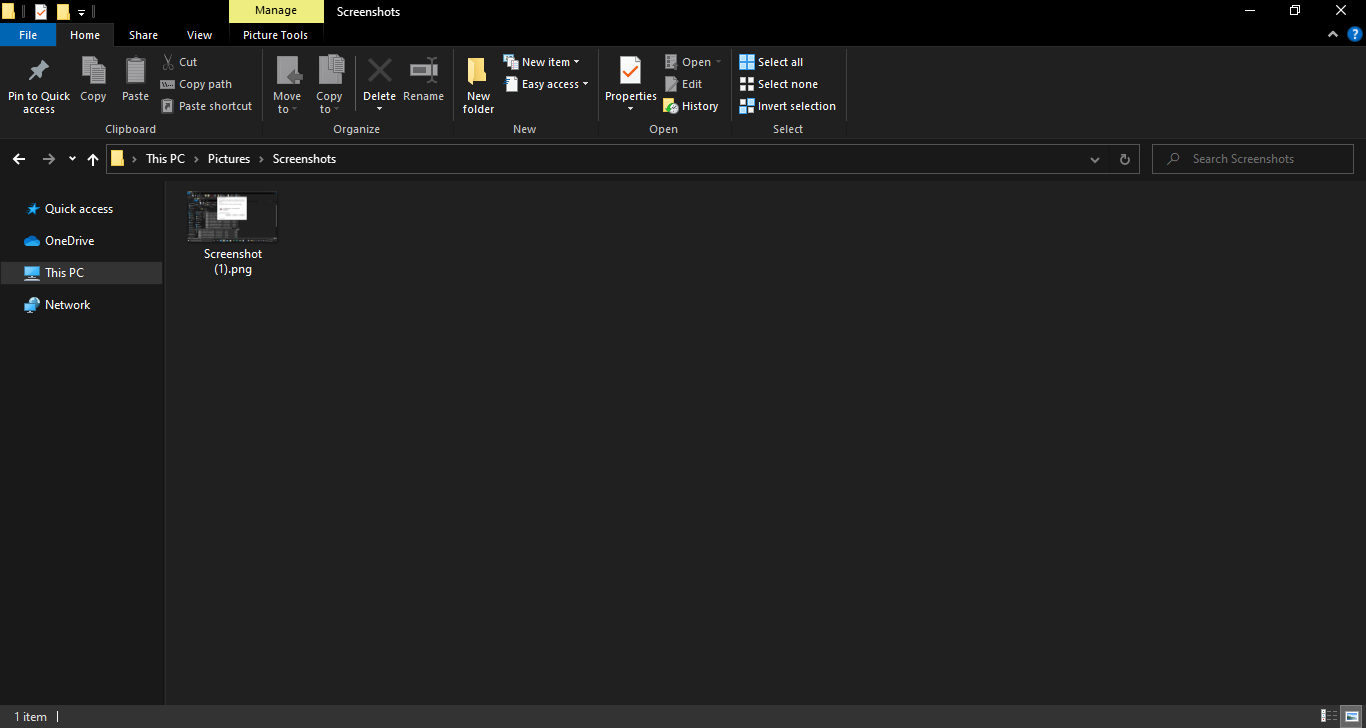
- Now go to the directory C:\Users\Username\Pictures\Screenshots, and the screenshot you captured will be there.
Taking a Screenshot through the Snip & Sketch Tool
In this method, we will use a pre-installed Windows program called Snip & Sketch. The following are the steps.
- Go to the screen you want to capture, then press Windows Key + Shift + S.
A small rectangular mini-bar will appear with the following options:
Rectangular Mode (Size a rectangle for your screenshot)
Free-form Mode (Draw free-hand with your cursor)
Window Mode (Choose a specific window to capture)
Full-screen capture Mode (Grab an image of your entire screen)

- Select the mode type from the bar to capture the screen, and it will be captured.
- A notification (from Snip and Sketch) will appear at the bottom right; click it.
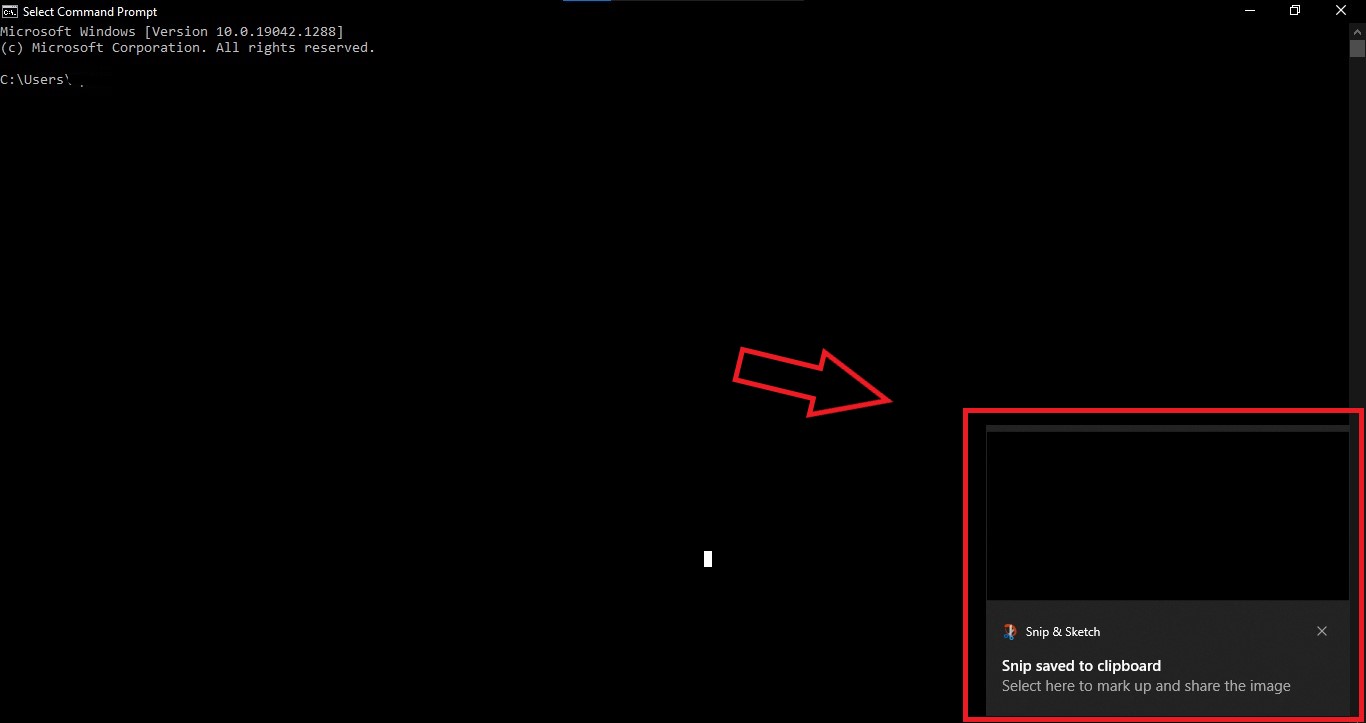
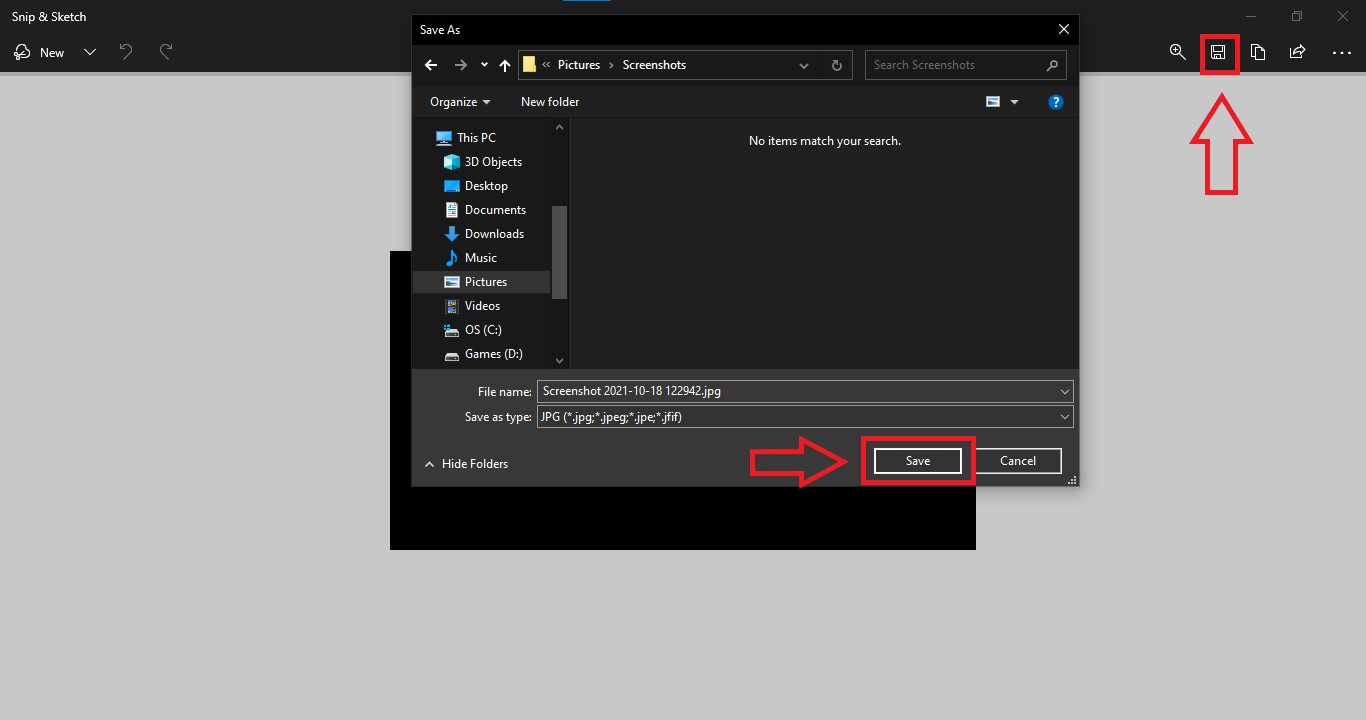
- Once clicked, the Snip and Sketch window will appear. Here, you can further edit the screenshot.
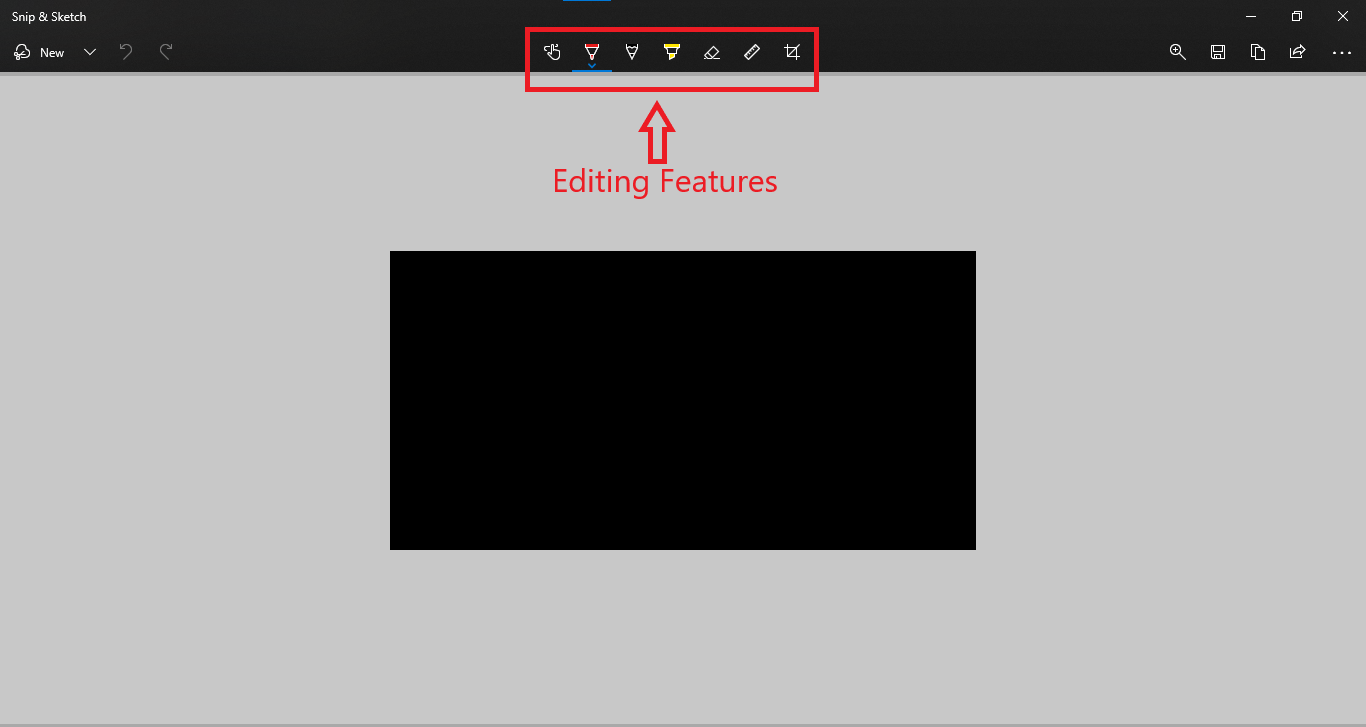
- Once you’ve made the changes, click Save, then select the directory where you want to save the screenshot.
Taking a screenshot through the Print Screen Key
This method not only applies to Windows 10 but also applies to older Windows versions (Windows 8.1, 8, 7, or lower). The steps are as follows:
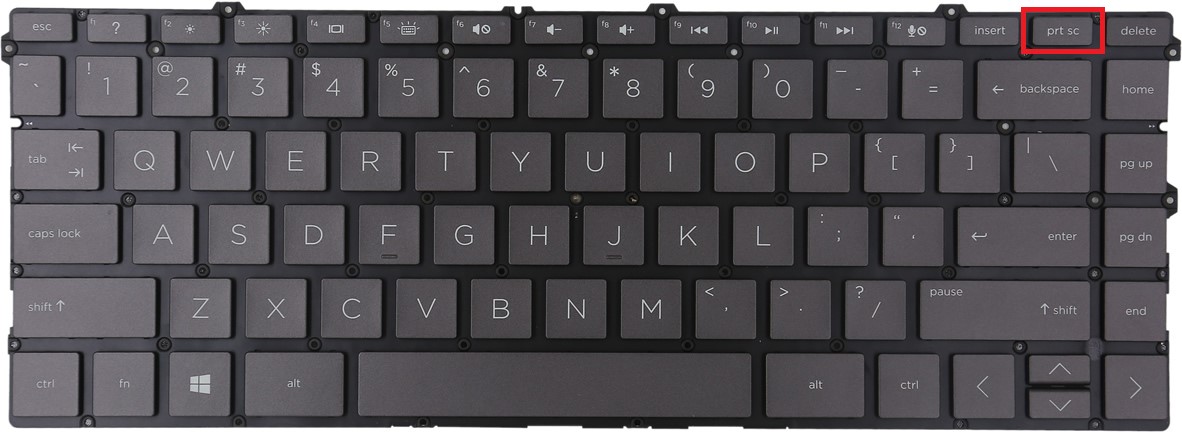
- Press the Prt Sc (or Print Screen) key (on the keyboard) on the screen you want to capture, and the screenshot will be copied to the clipboard.
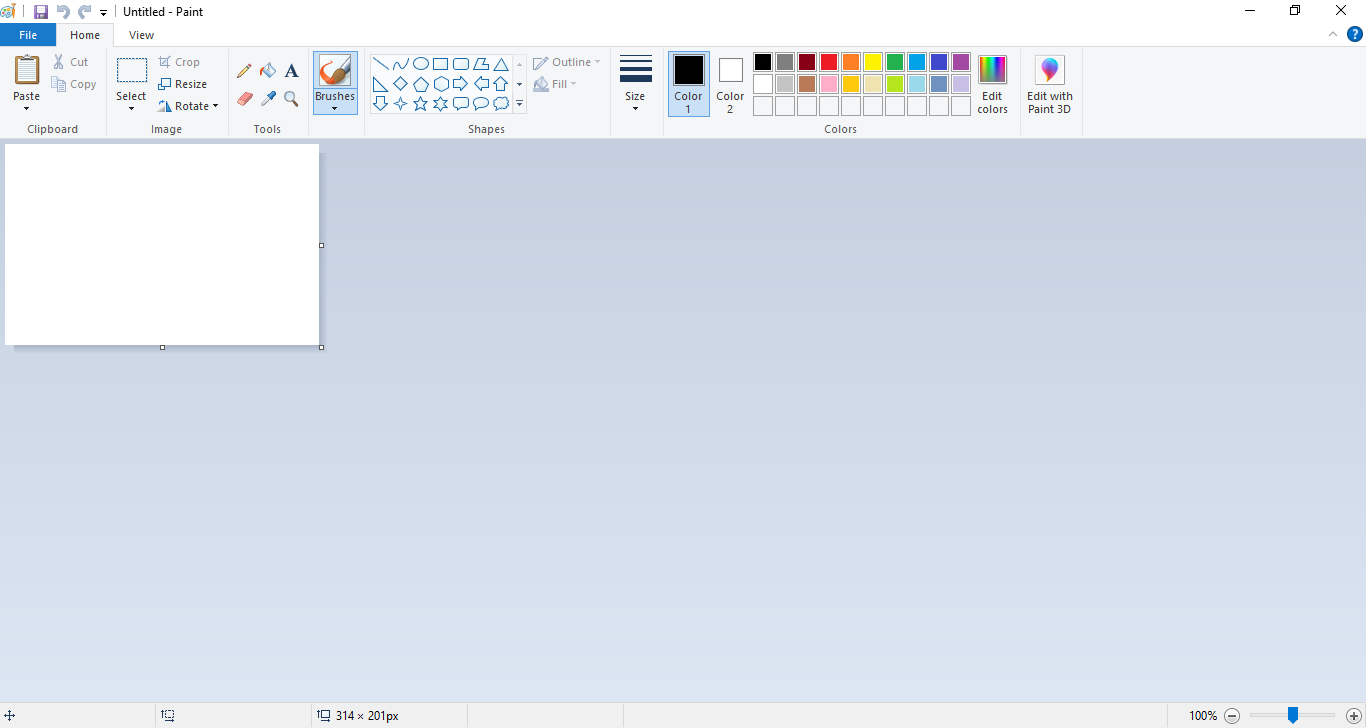
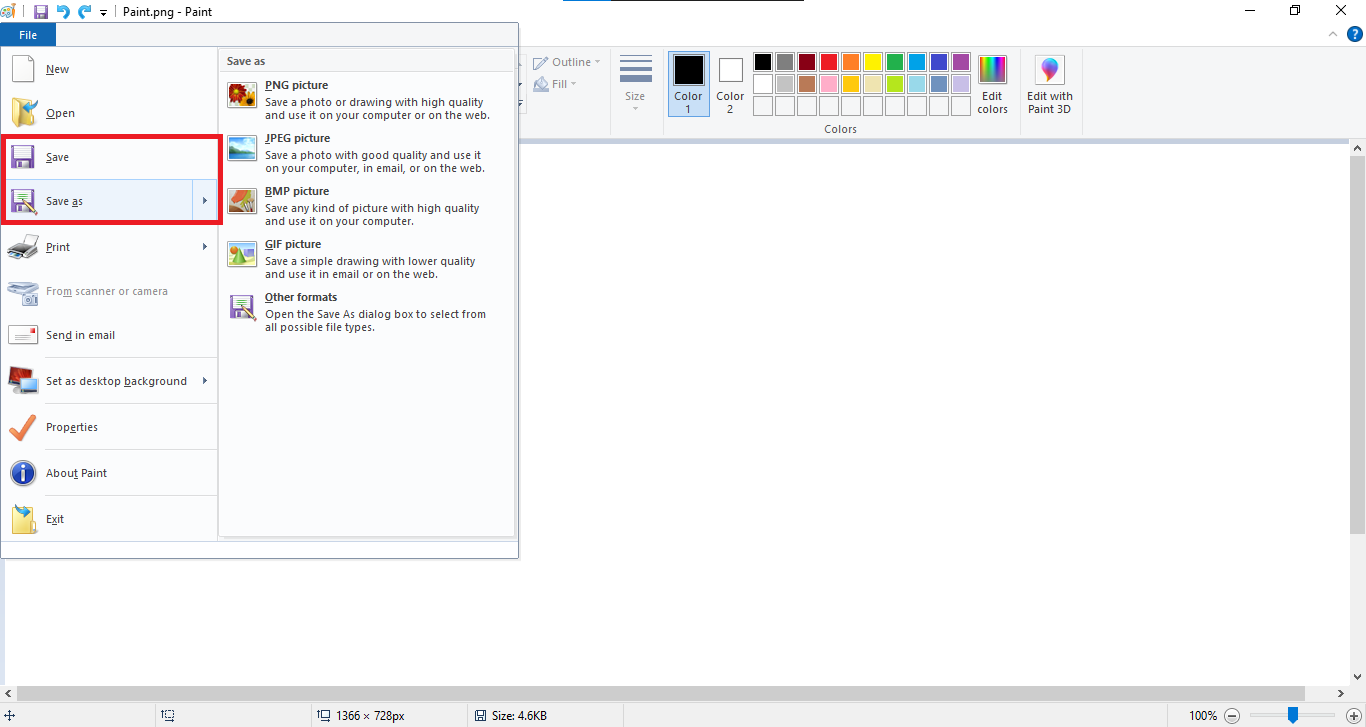
- Now open any program that allows you to paste the image, such as Microsoft Word or Paint. We recommend using the Paint app, which saves images in PNG format.
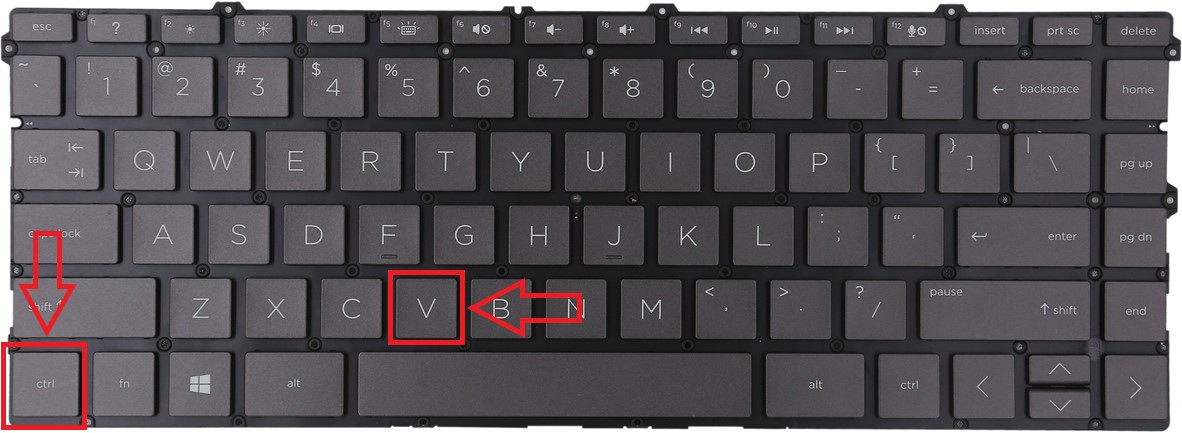
- Once you open the program, press Ctrl+V to paste the copied image.
- Now save the screenshot file in the format and directory you want.
Taking a screenshot through the Xbox Game Bar
It is another easy option to take a screenshot on Windows OS, but it works only on the latest Windows version (Windows 10).
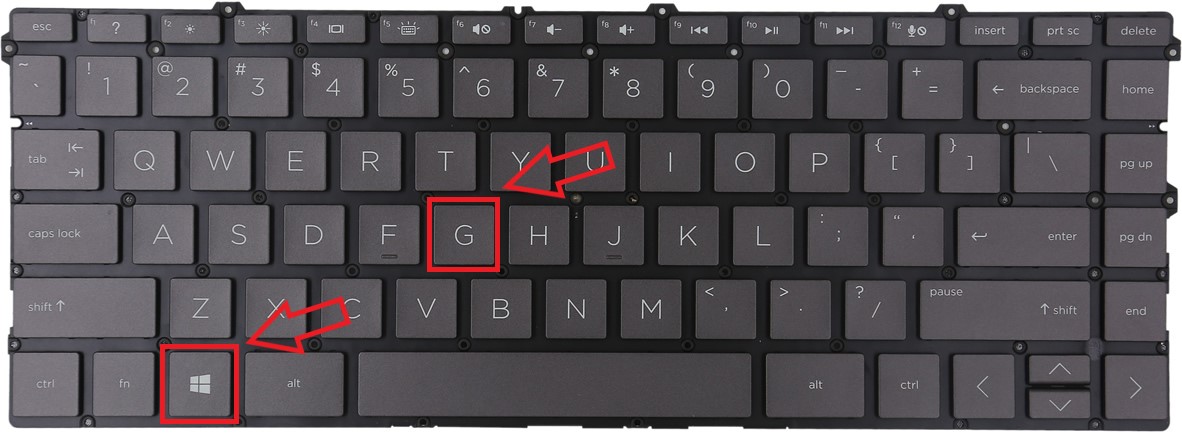
- Press Windows Key + G on the screen you want to capture.
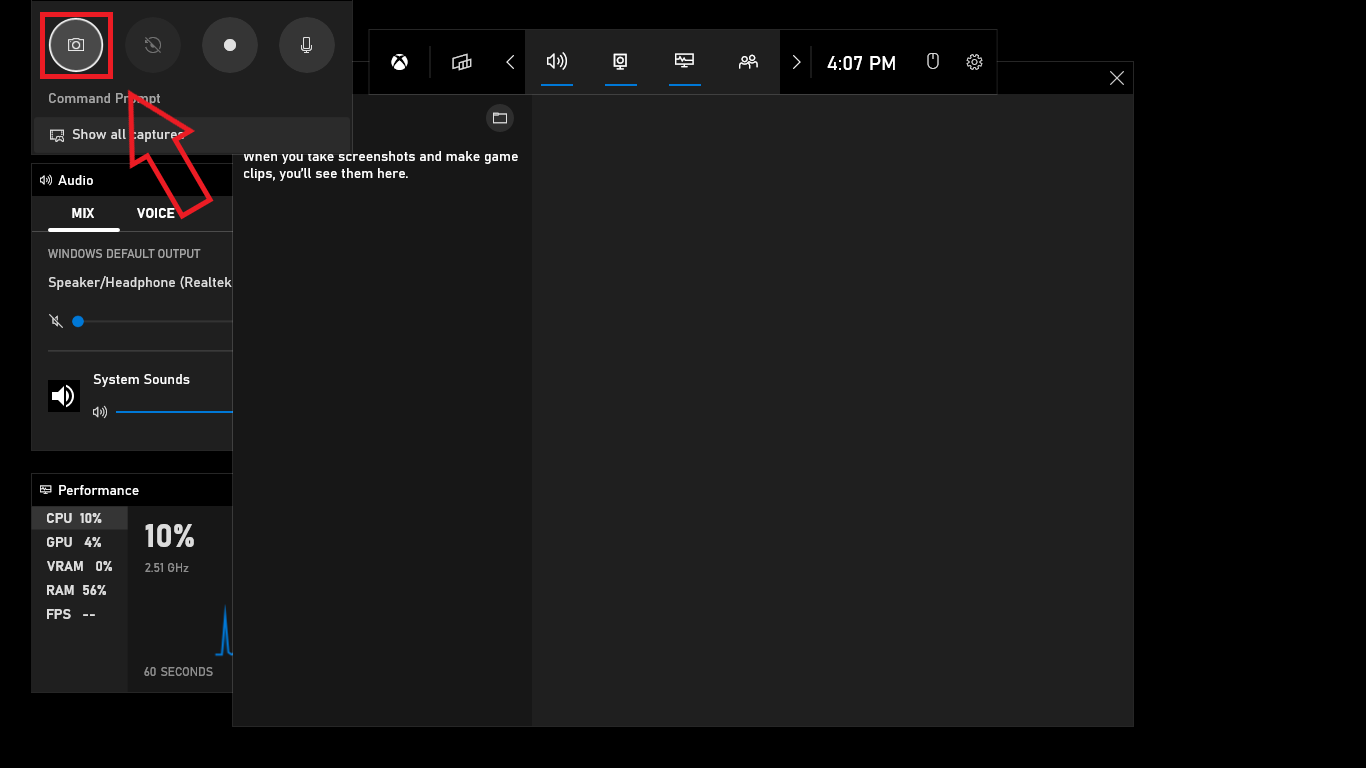
- An overlay menu with a camera icon will appear. Click the icon to capture a screenshot.
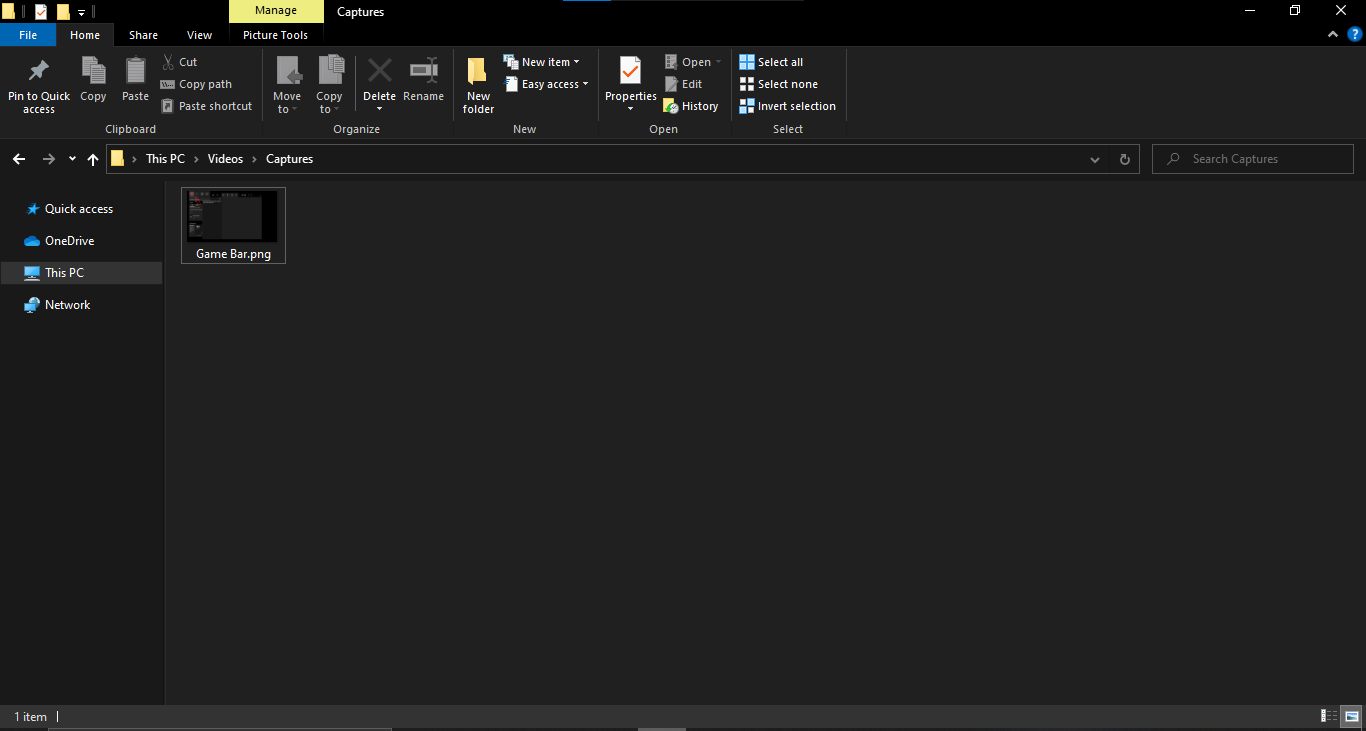
- In the following directory, C:\Users\Your Username\Videos\Captures, you can access the screenshots you have taken.
Another benefit of this application is that it lets you record the screen. Further, it supports voice recording through a microphone while screen recording.
Taking a Screenshot through Third-Party Software
If you cannot access or are not satisfied with all the methods, you can try third-party applications specially developed for this purpose. These applications will also allow you to do more with your screenshots, such as editing them. Some of the most popular applications for taking and editing screenshots are as follows:
Snagit (Paid Software)
Lightshot (Freeware)
Greenshot (Freeware)
Most probably, all these methods have solved your query about how to take a screenshot. If you have any problems or questions about the notebook, please check out our other tutorials.