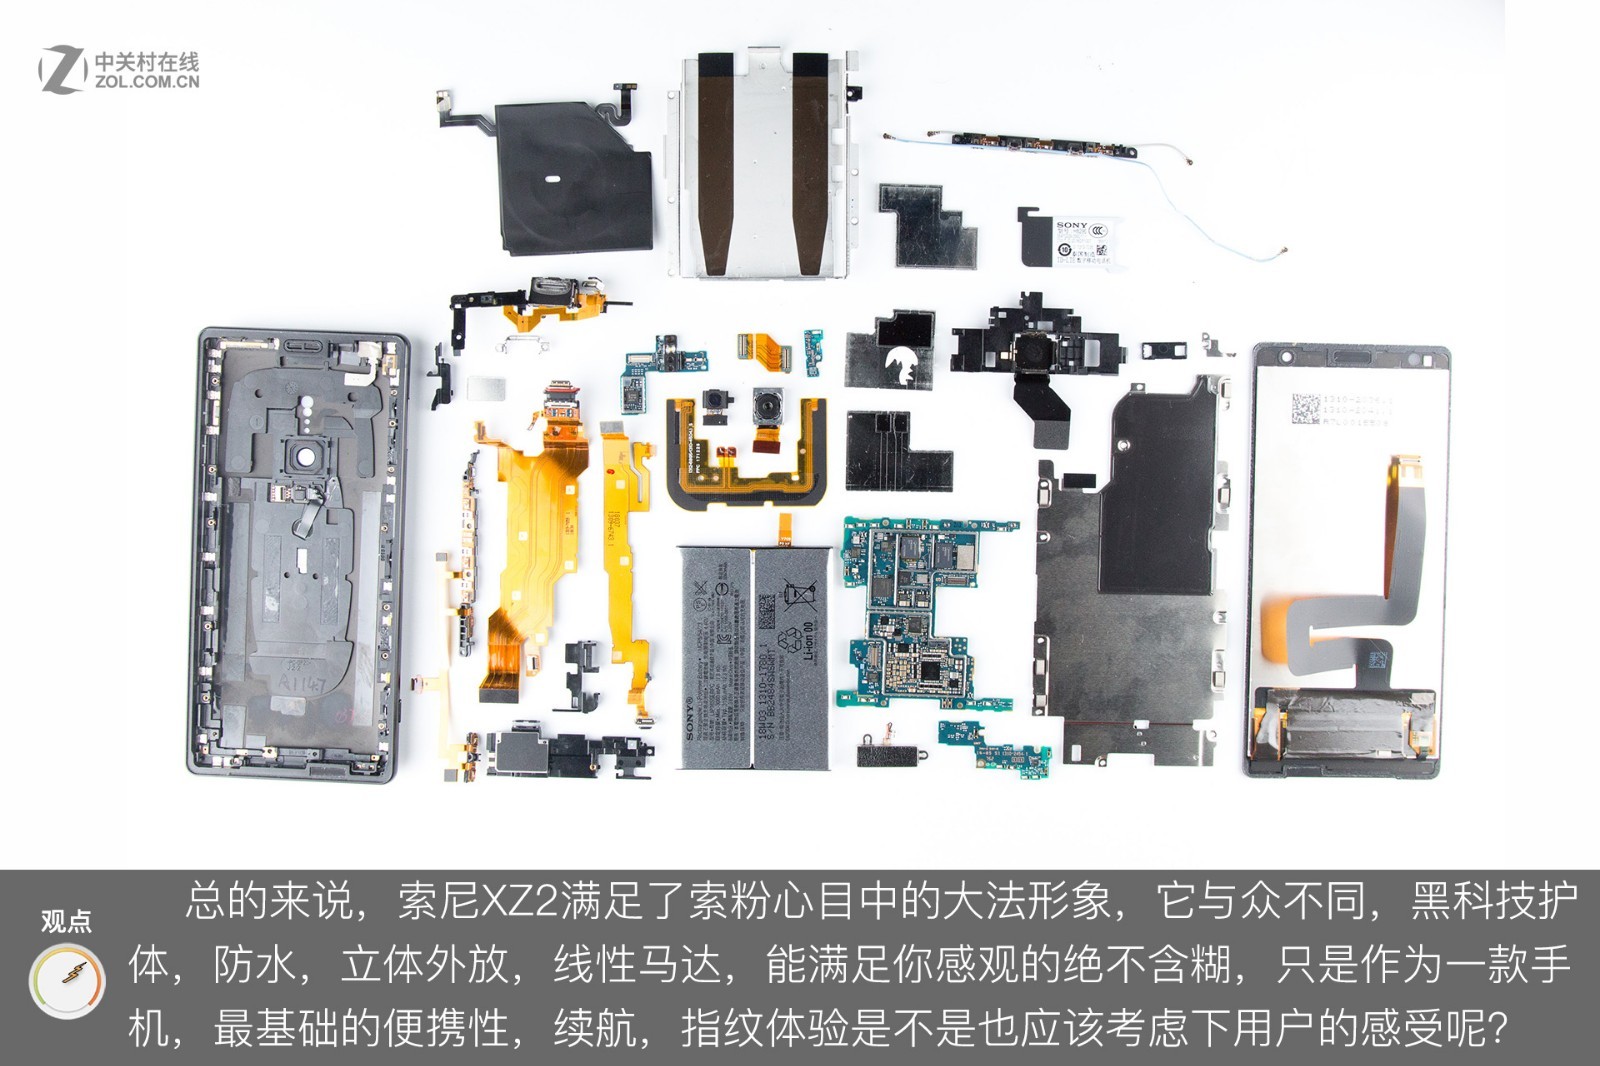
Although the Sony Xperia XZ2 was launched at MWC this year, it has only recently been on sale in China. The biggest highlight of this phone is its full-screen design. The phone has an excellent appearance with glass panels applied to both the front plate and back cover. Today, we will take apart the Sony XZ2 to explore its internal structure and workmanship.
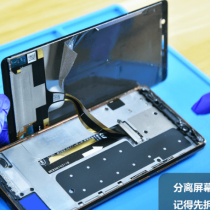
1. Removing the display assembly
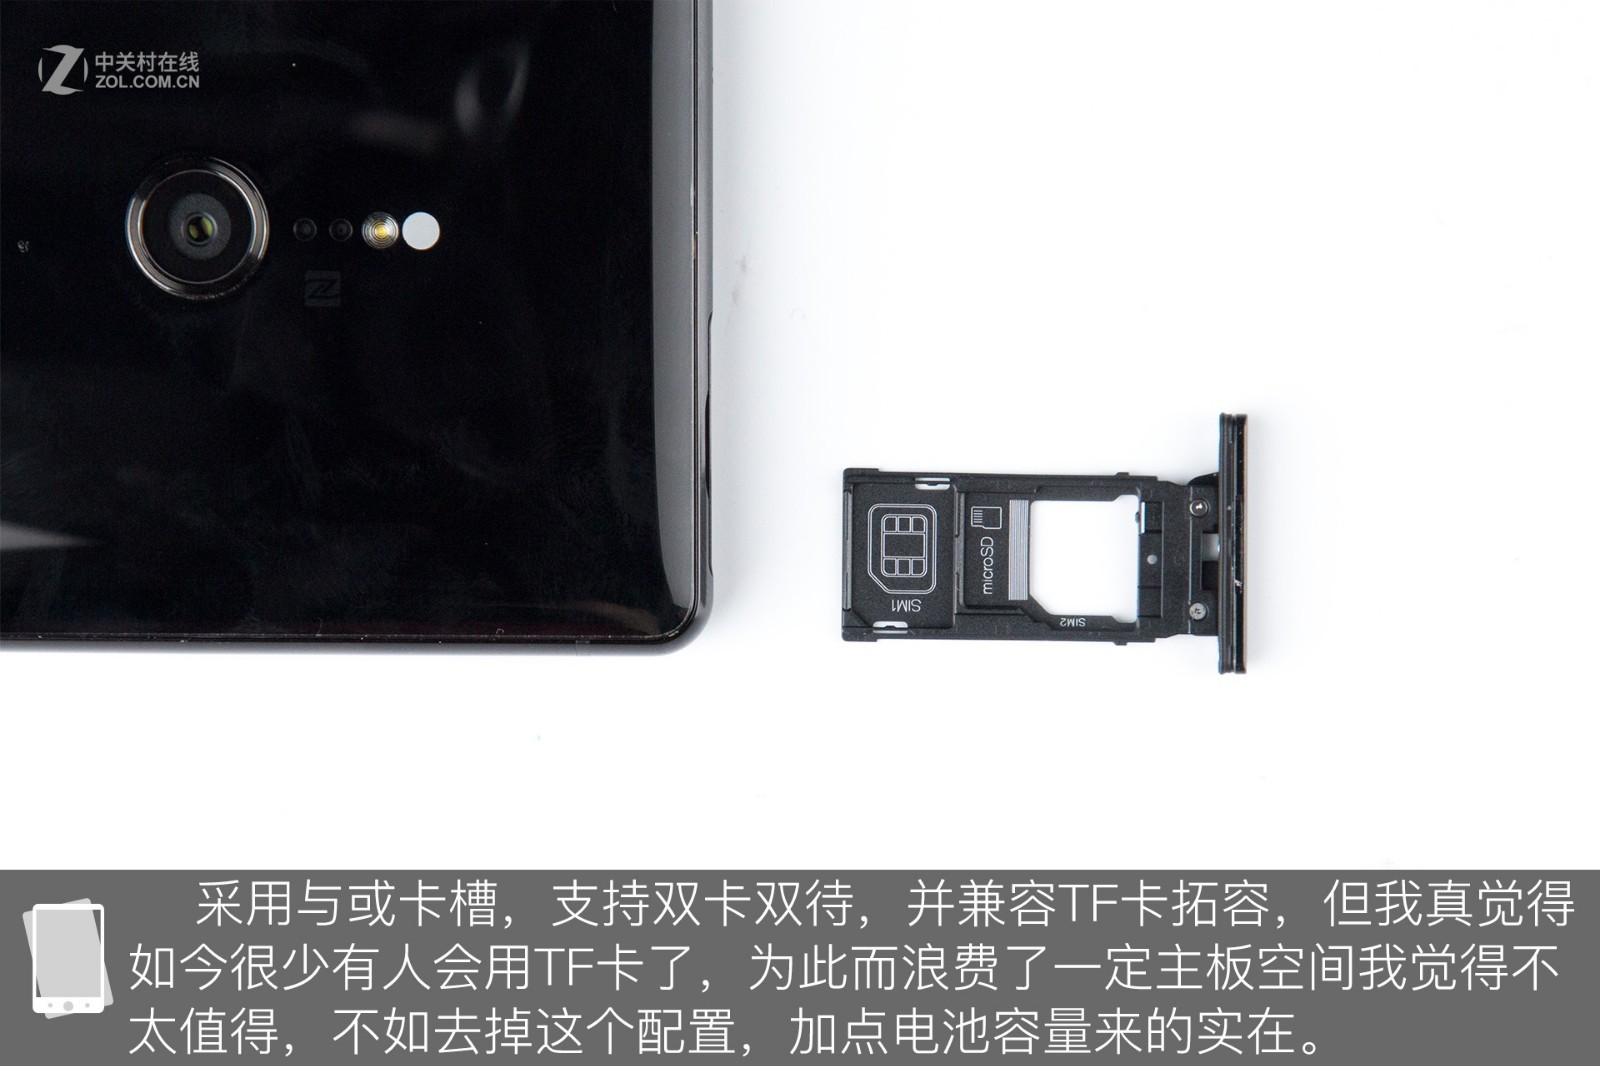
First, remove the SIM card tray. This phone supports TF card expansion, but since very few smartphones currently use TF cards, I think the phone does not need a TF card slot.
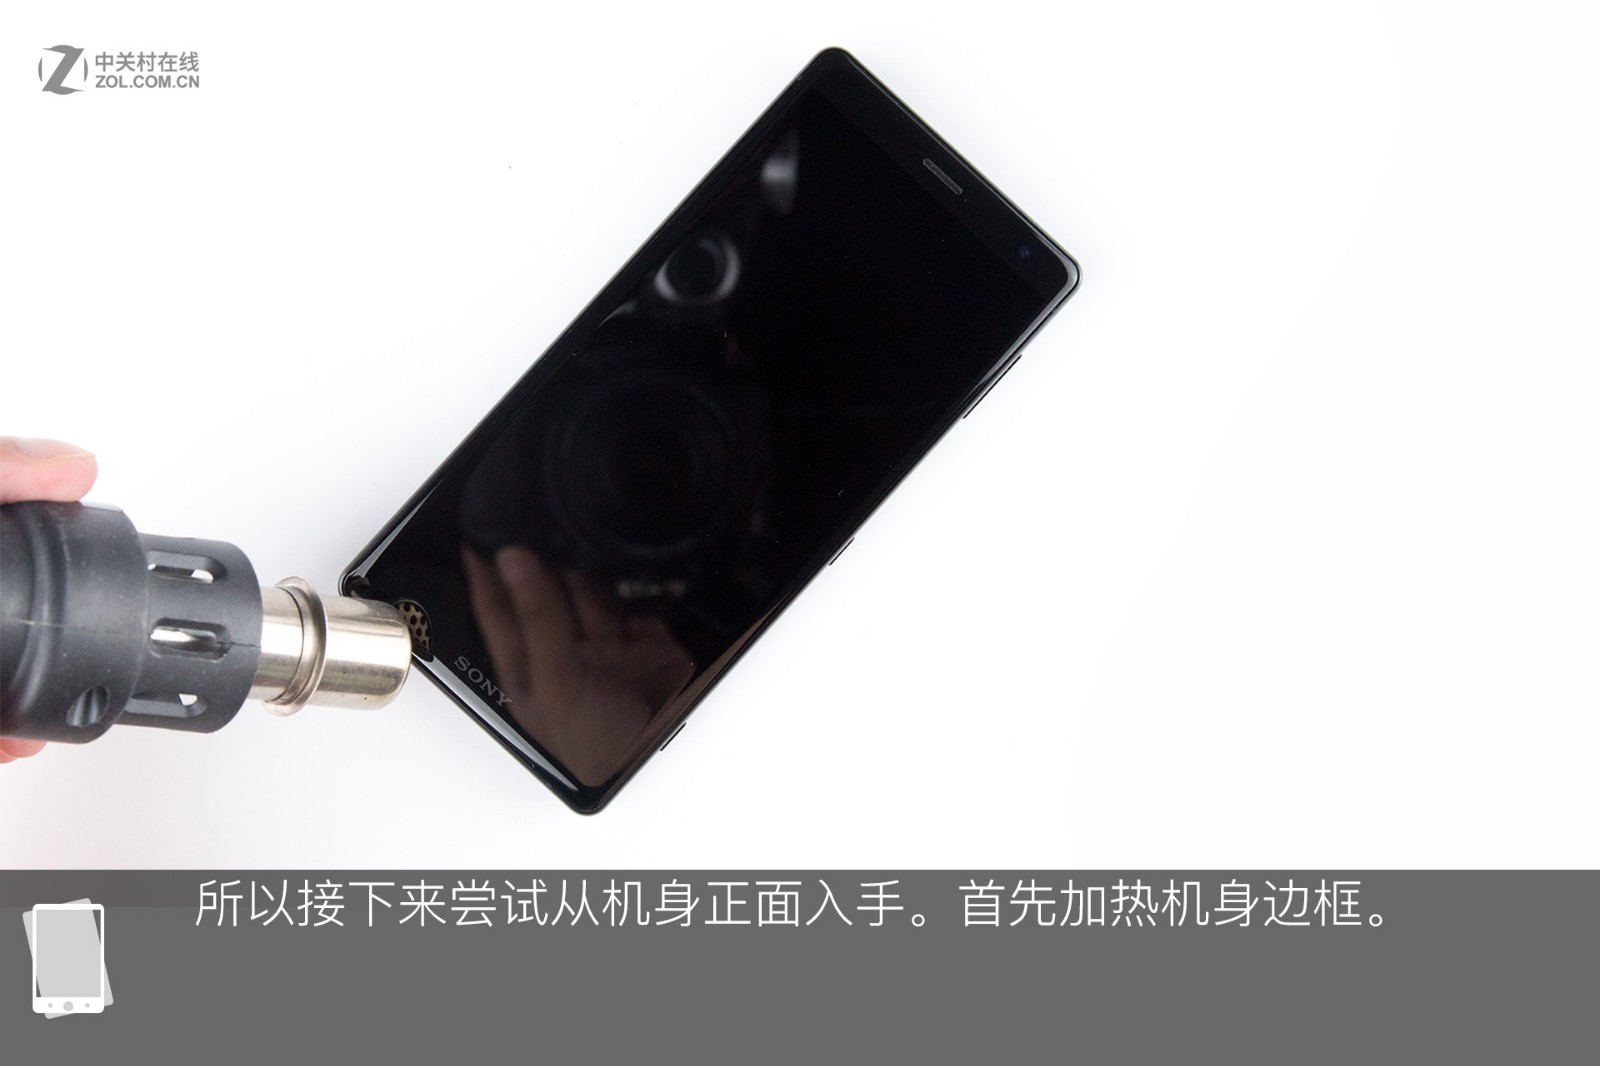
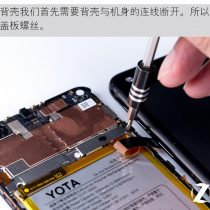
I tried heating the back cover with a hot air gun and then prying it open with a suction cup, but I was unsuccessful. The back cover failed to separate from the phone body.
Therefore, I plan to separate the screen from the body. I am heating the edges of the smartphone.
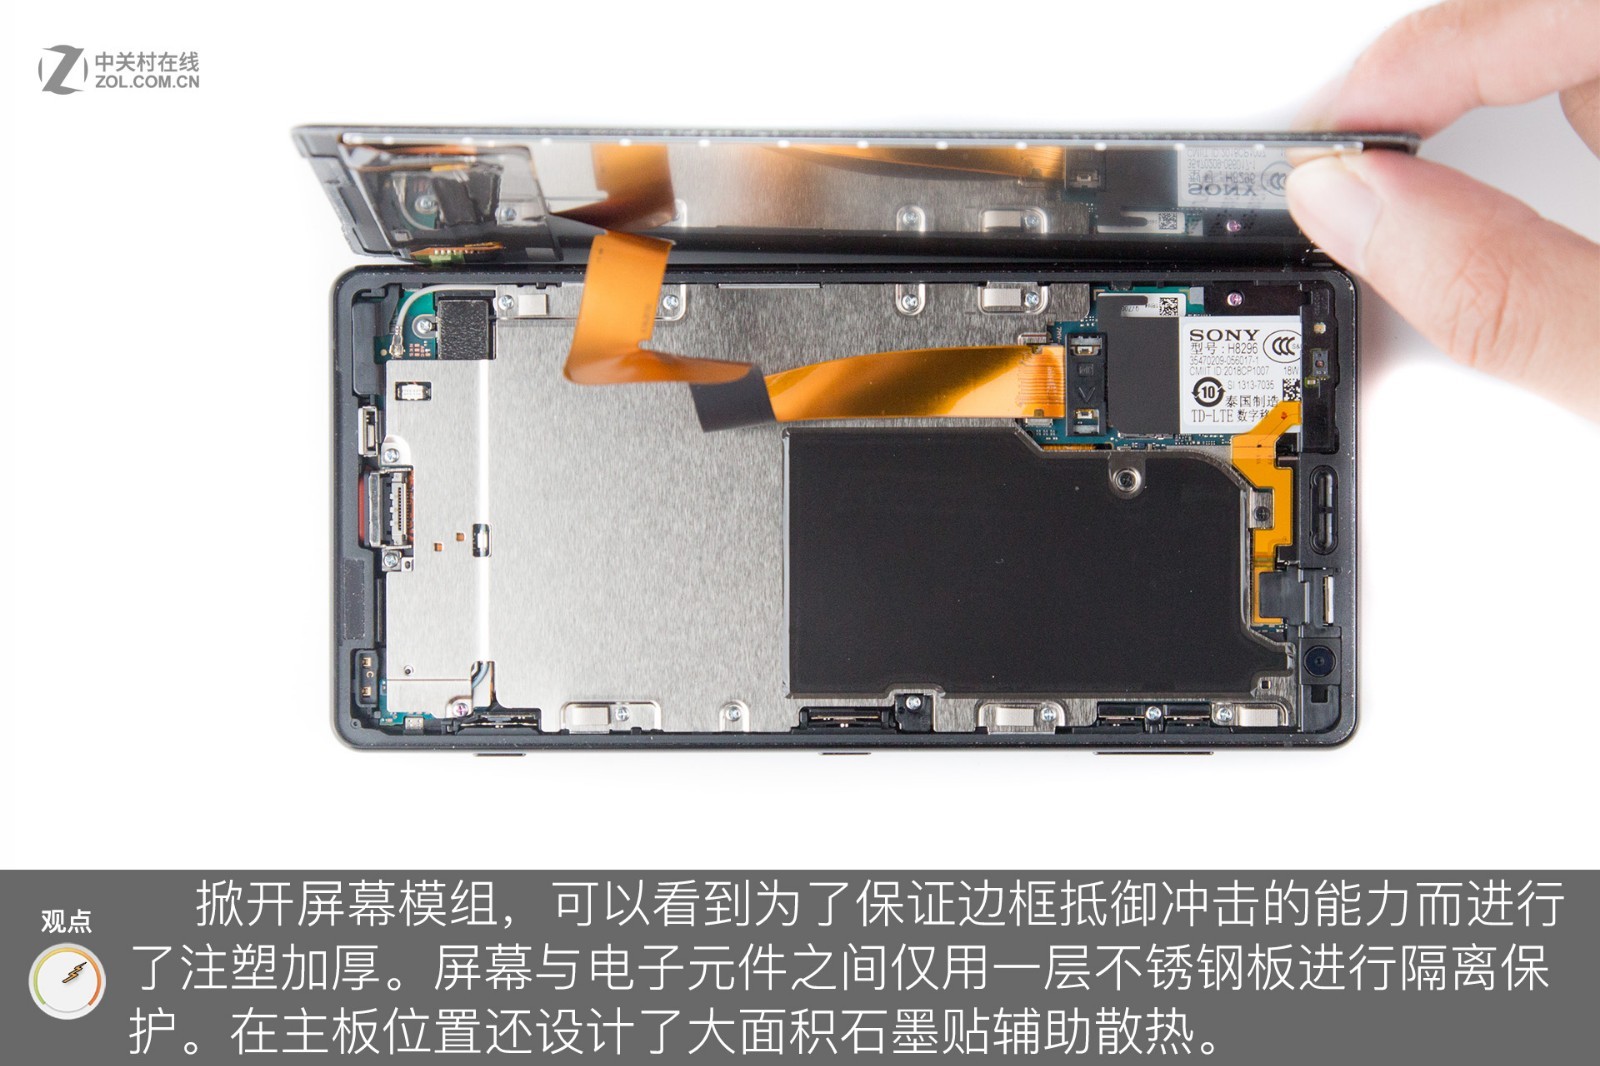
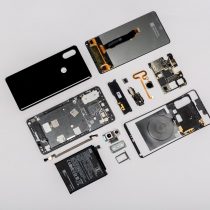
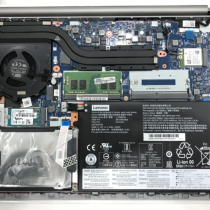
After separating the screen module, we found that its edges have been thickened to enhance impact resistance. The screen is isolated from other electronic components by a layer of stainless steel plate. Multiple graphite stickers are designed on the motherboard to help improve heat dissipation.

2. Removing the stainless steel plate
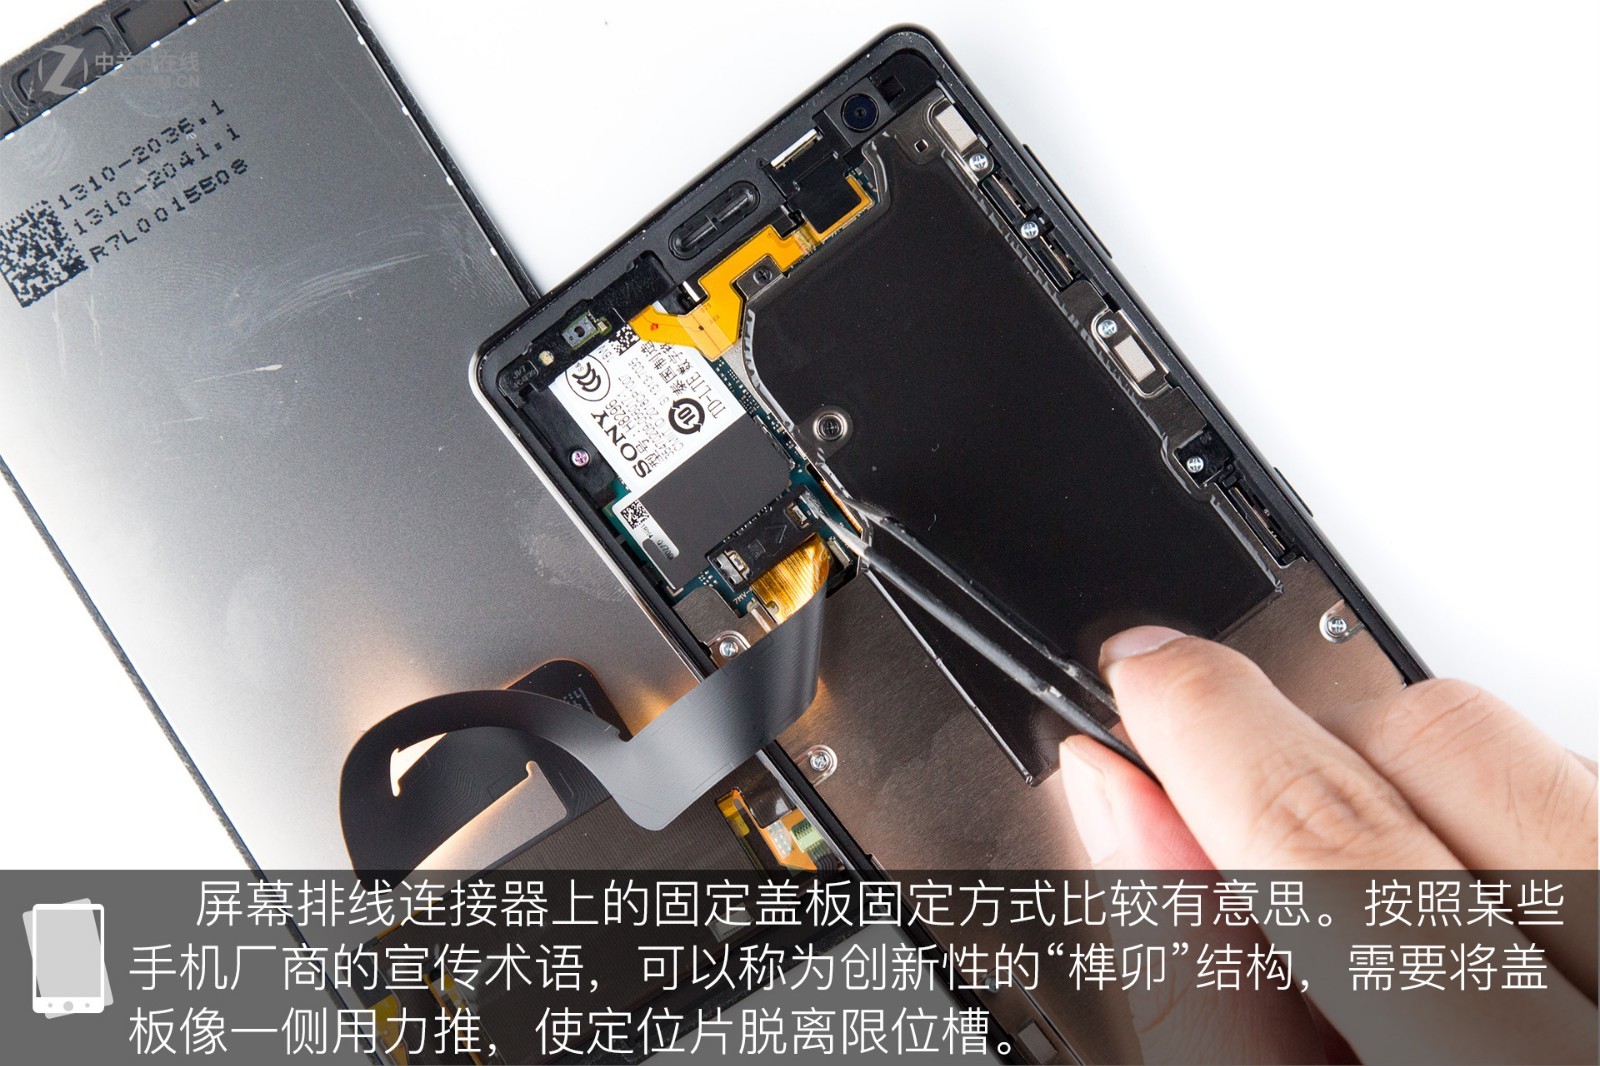
The way the cover and the display screen cable are secured is quite ingenious. You need to press one side of the cover before you can remove it.
It is apparent that the front camera occupies most of the top bezel, leaving only space for the rubber ring. The bottom bezel is the same length as the top bezel, which suggests that Sony has minimized the top and bottom bezels, yet the LCD screen still occupies a large portion.
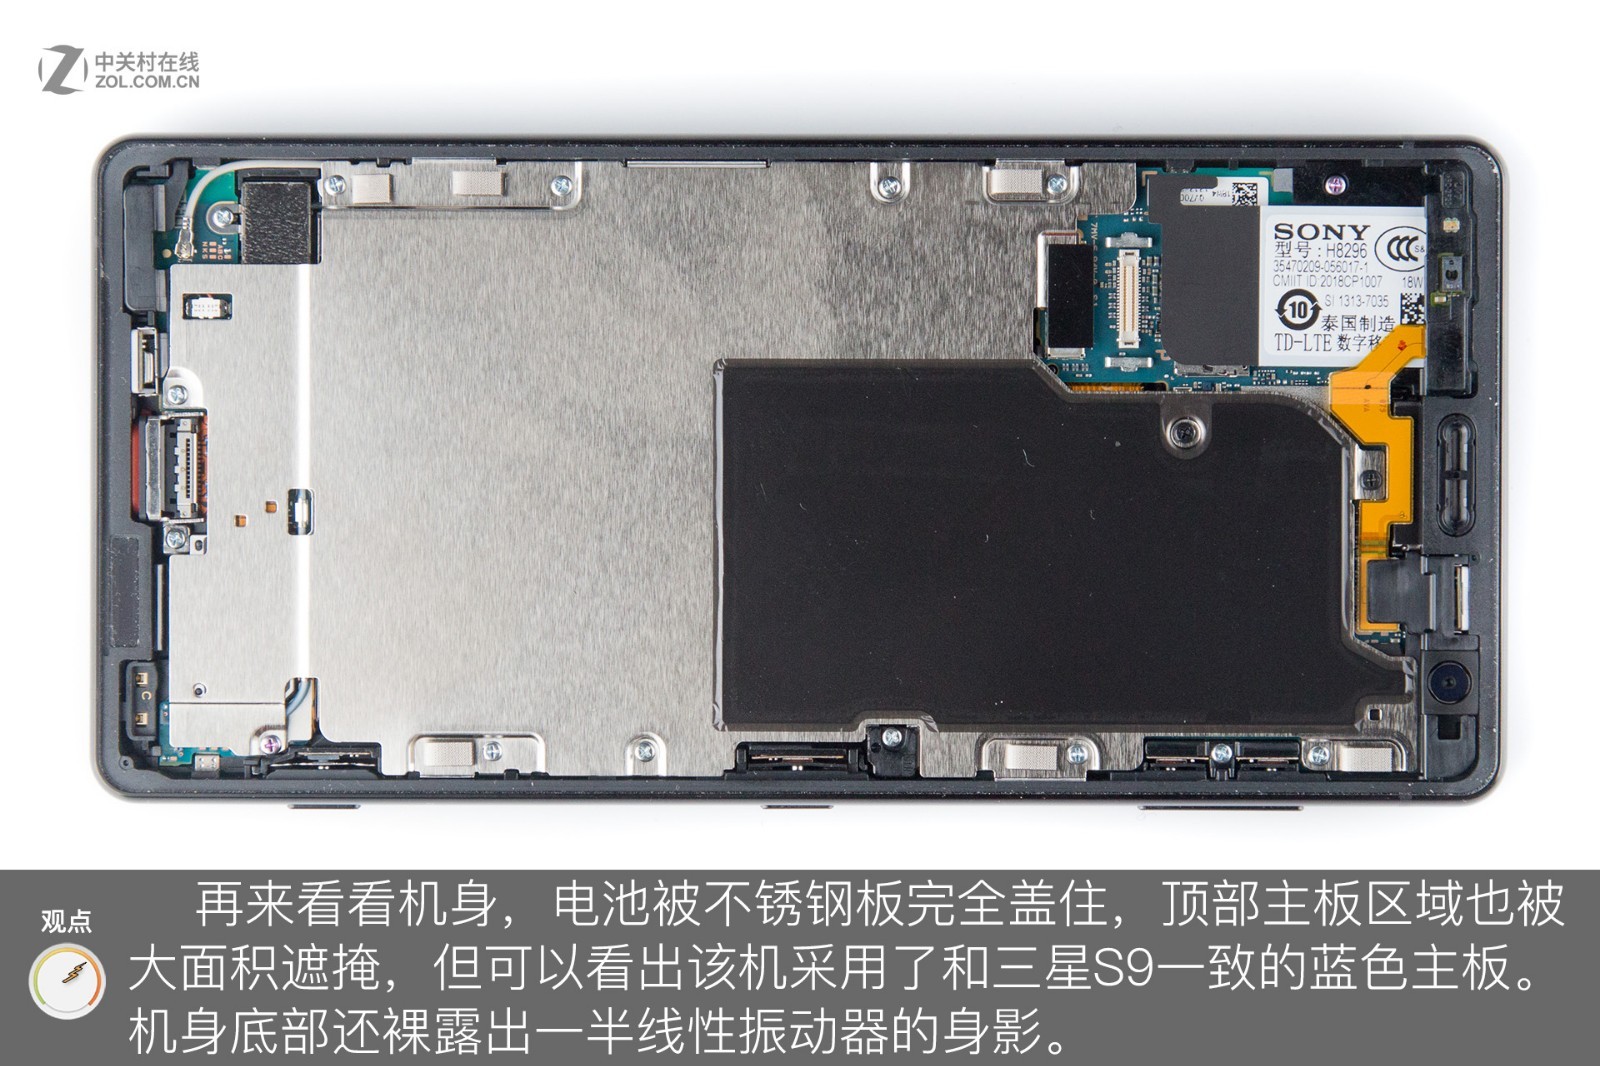
A stainless steel plate covers the battery compartment and the top section of the motherboard. This smartphone features the same blue motherboard as the Samsung Galaxy S9.
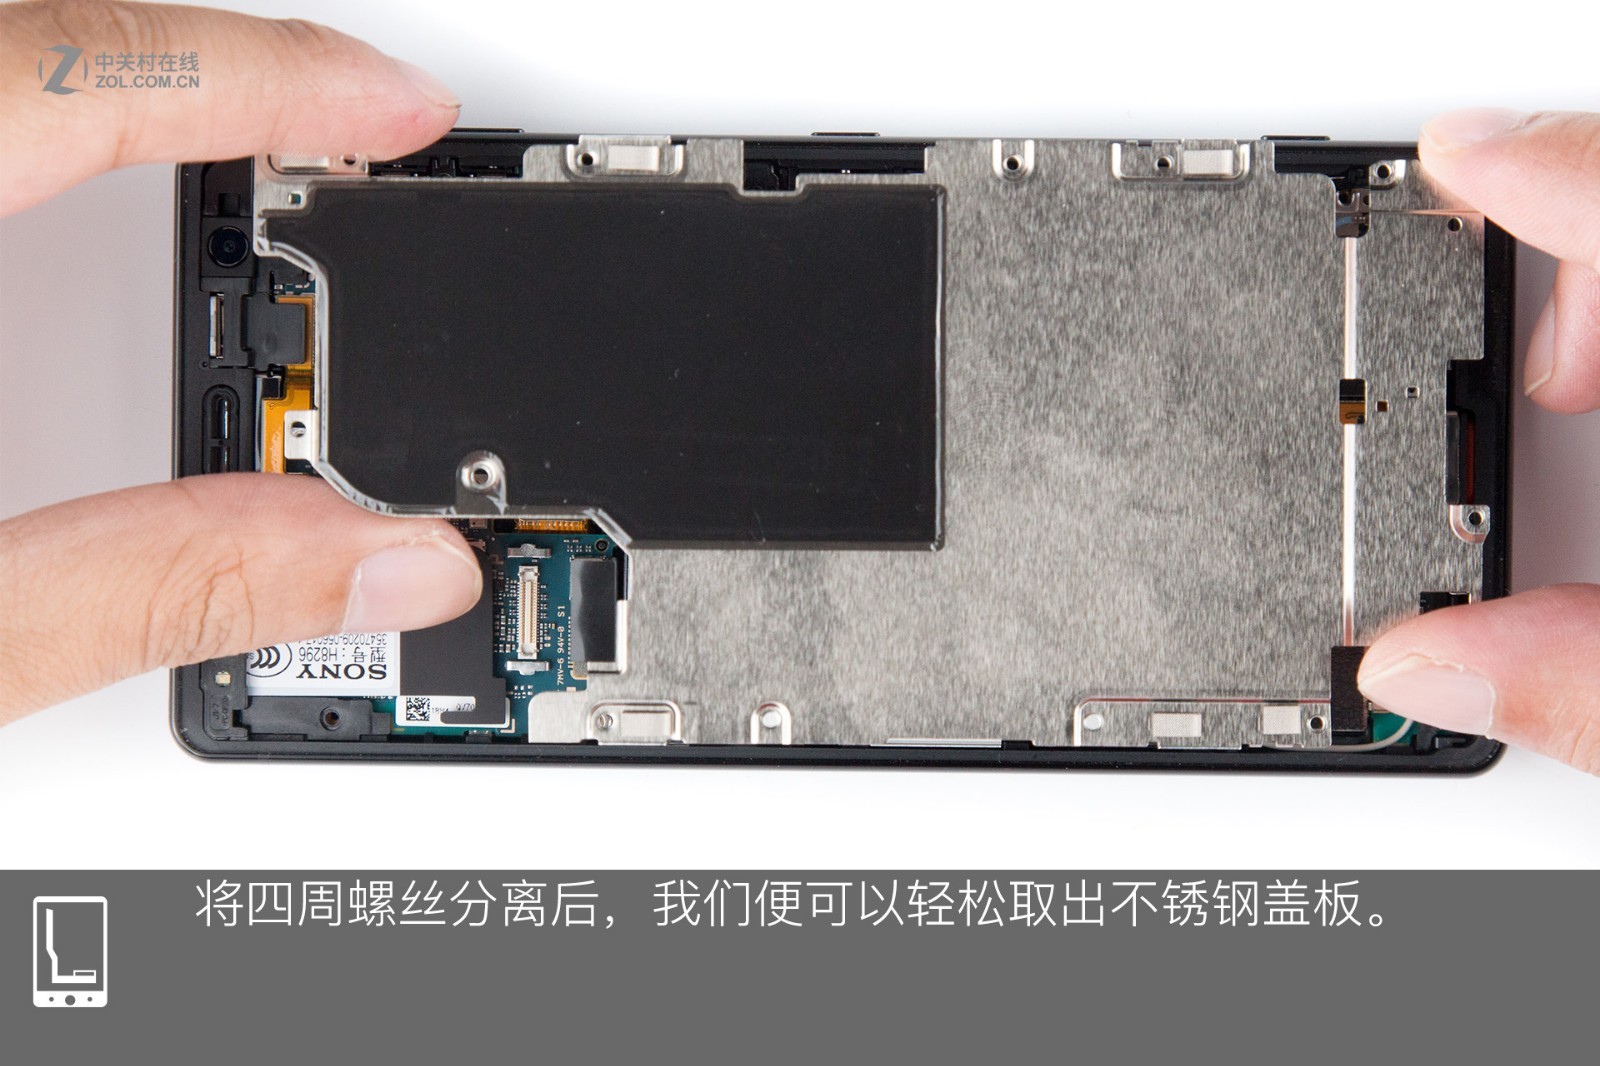
After removing all the screws securing the stainless steel plate, it can be easily removed.

3. Removing the battery
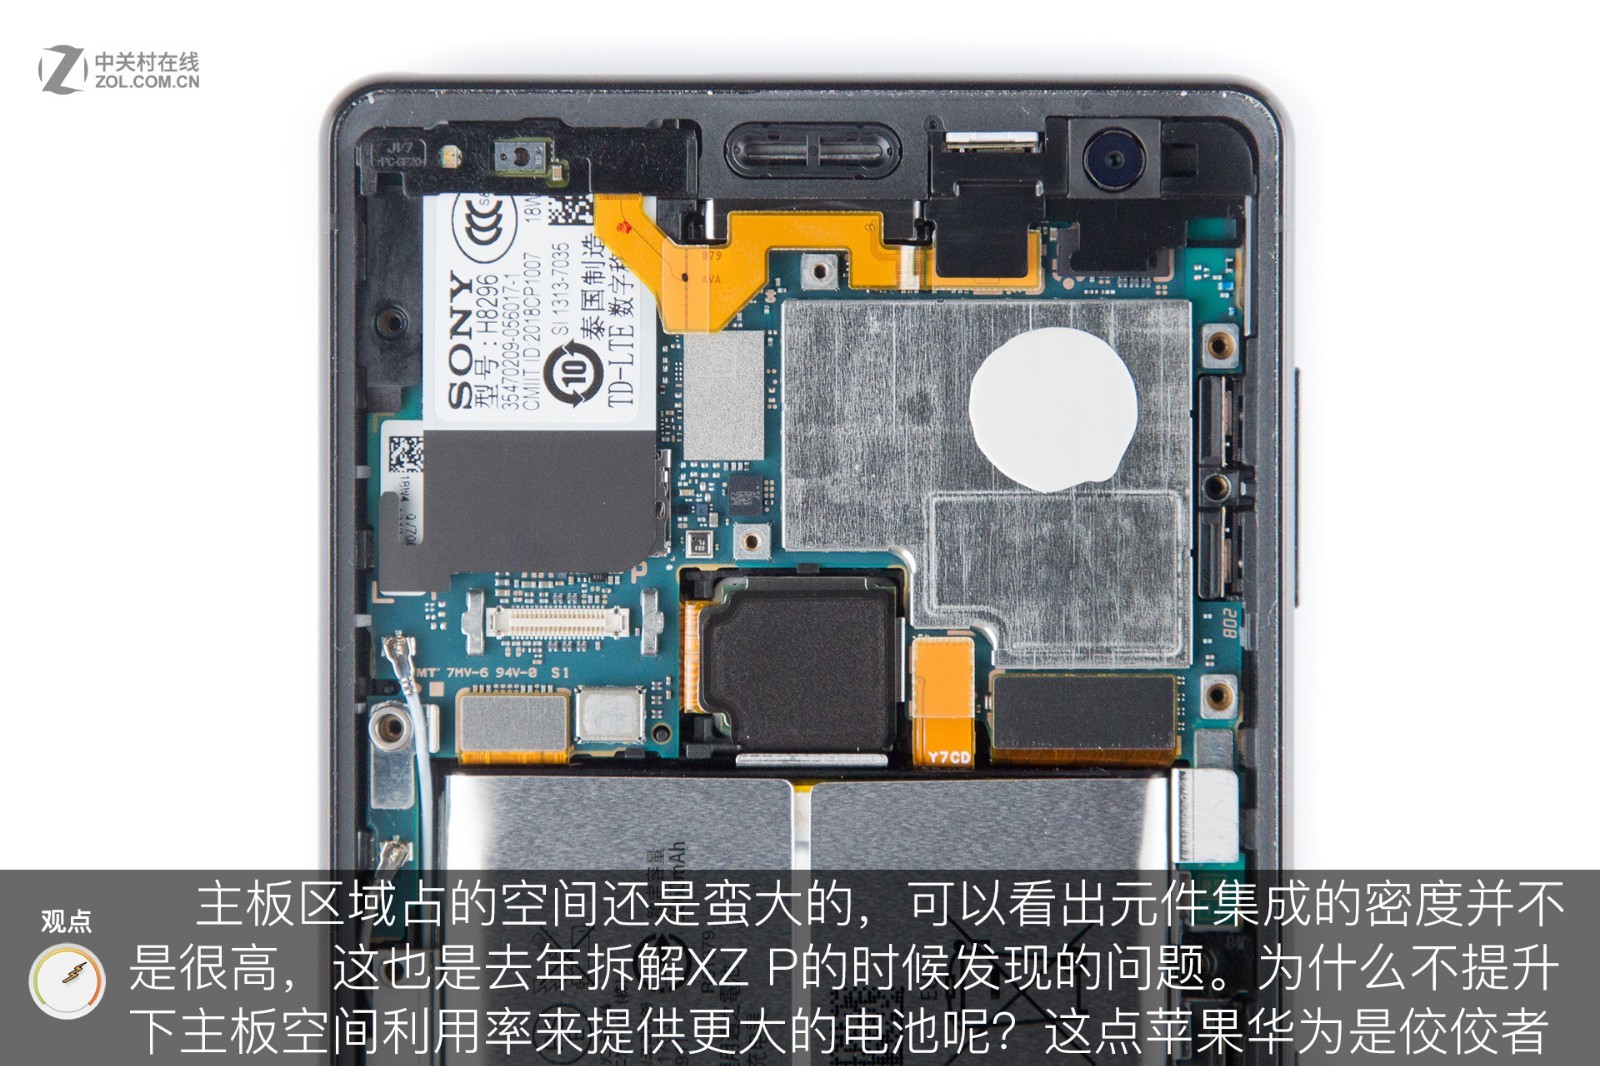
The motherboard occupies a large area of the internal space, indicating that it has low space integration. In fact, the Sony XZ P motherboard also has low integration. Many manufacturers, including Huawei and Apple, are increasing the integration of the motherboard to allow for a larger battery capacity.
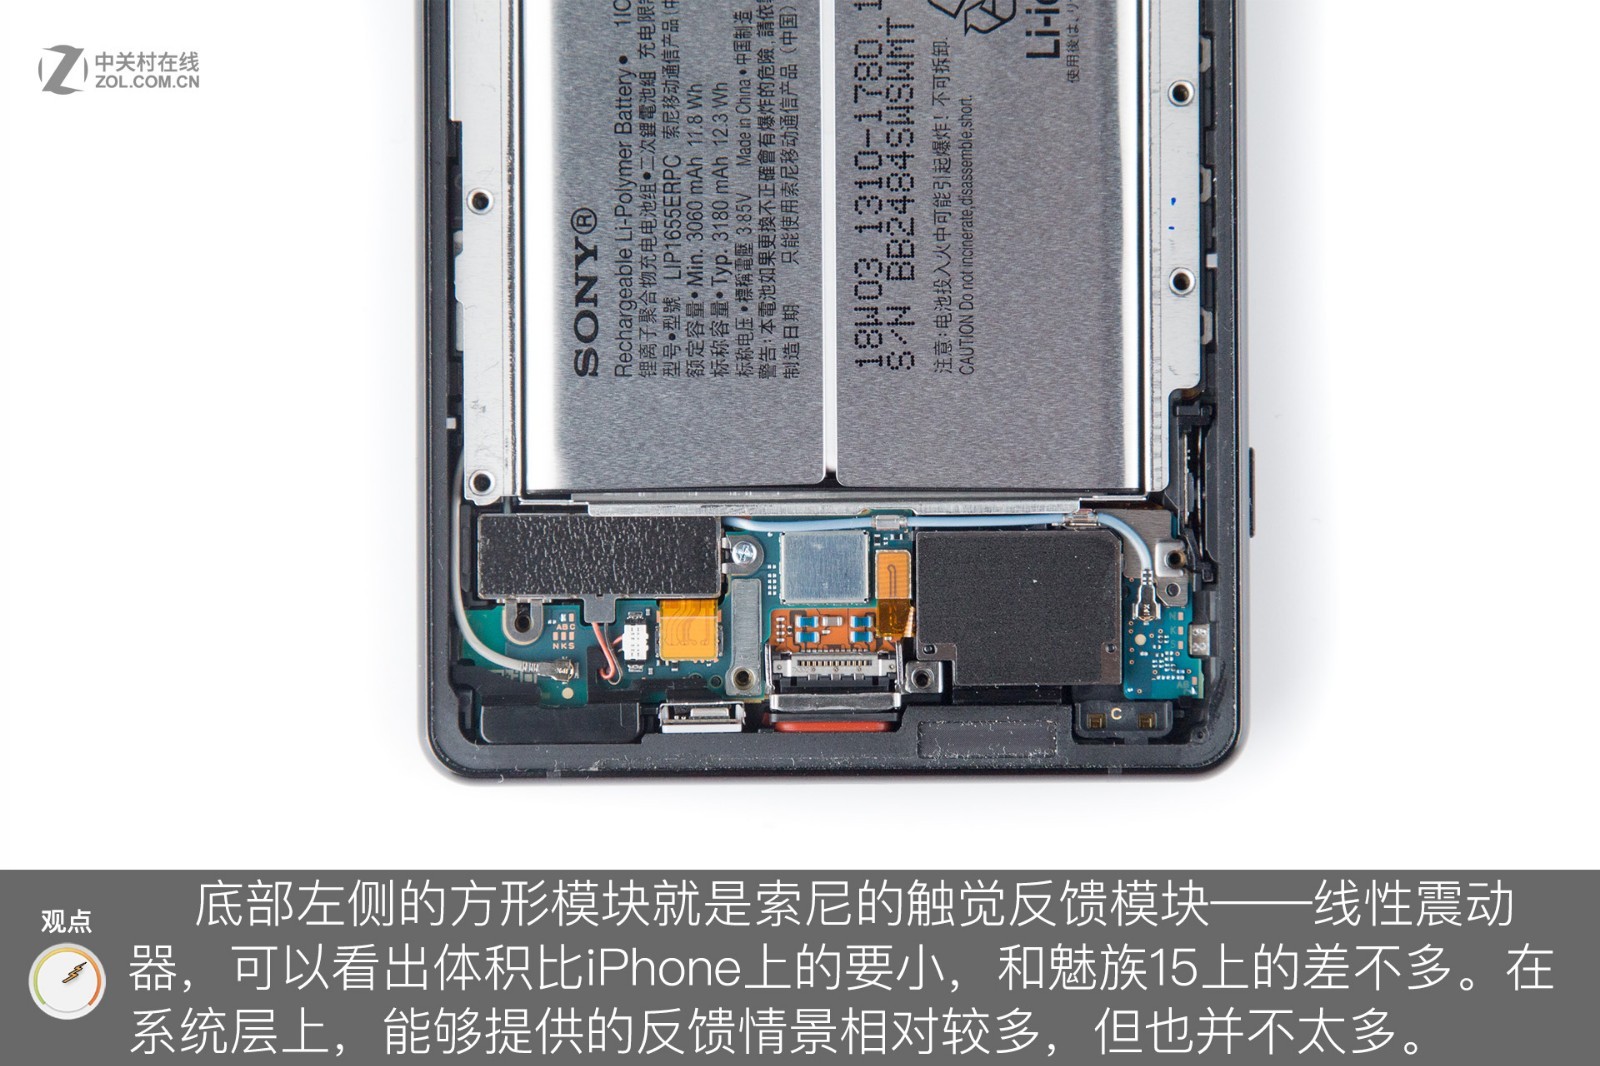
The square module on the bottom left is a Sony linear motor. This motor is smaller than the iPhone motor and is roughly the same size as the motor in the Meizu 15.
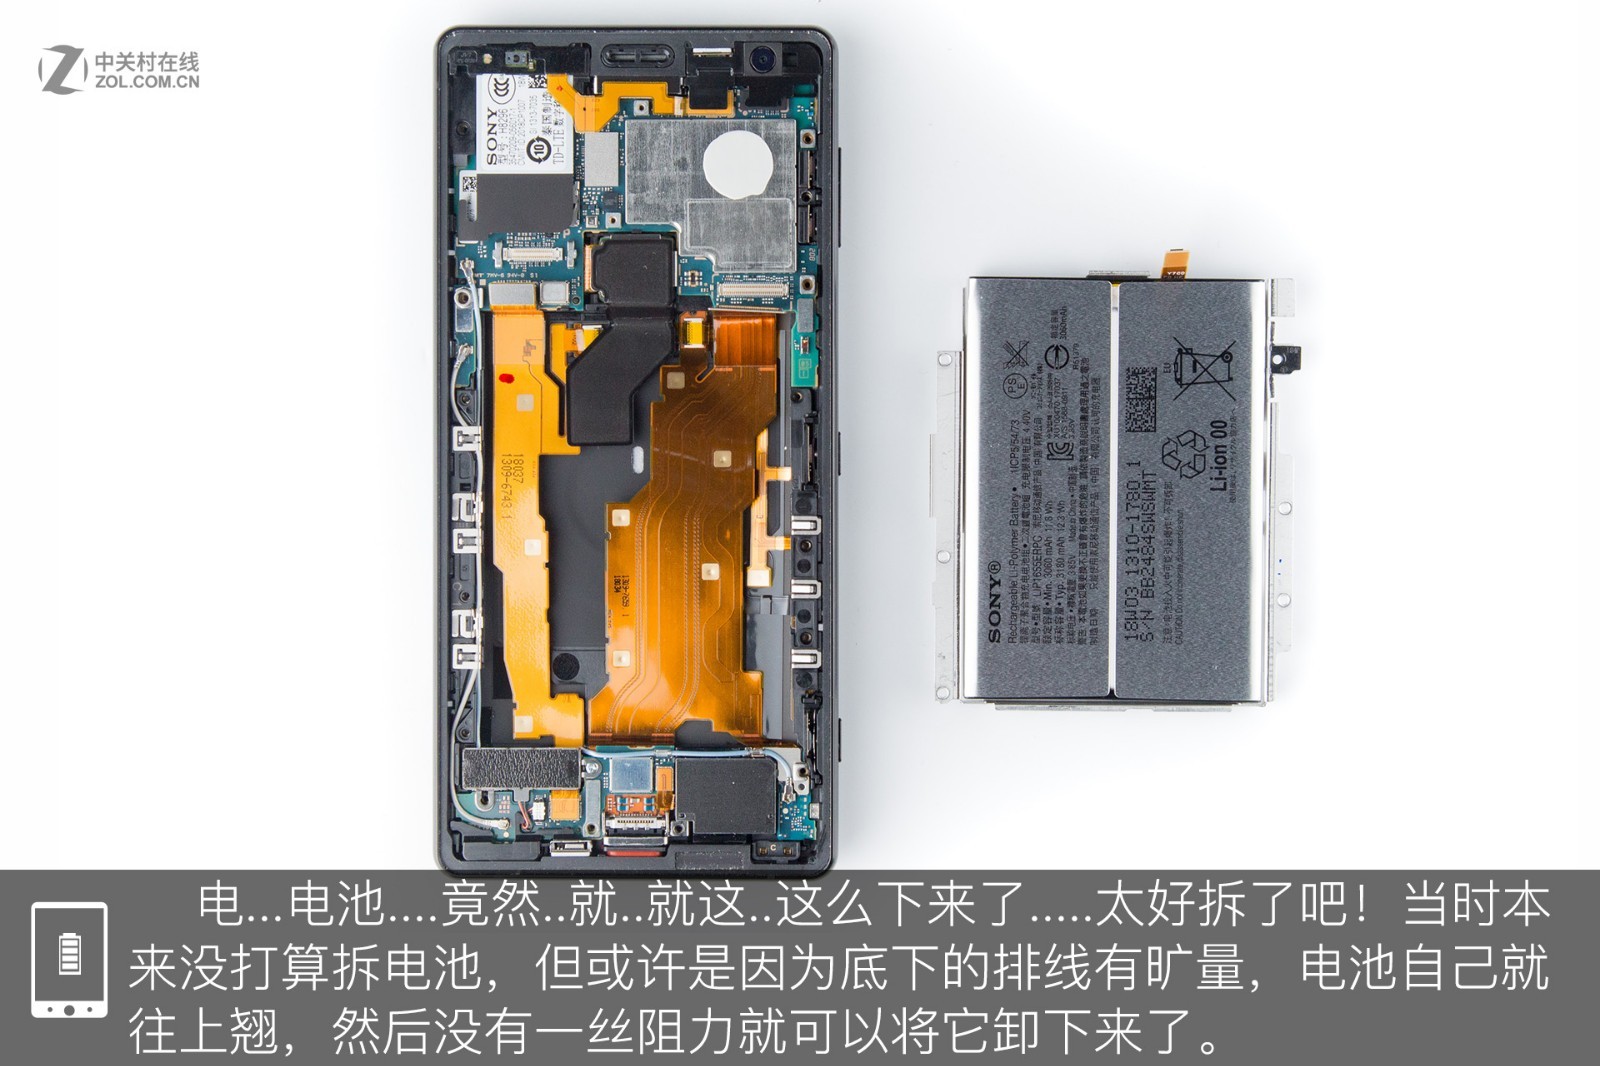
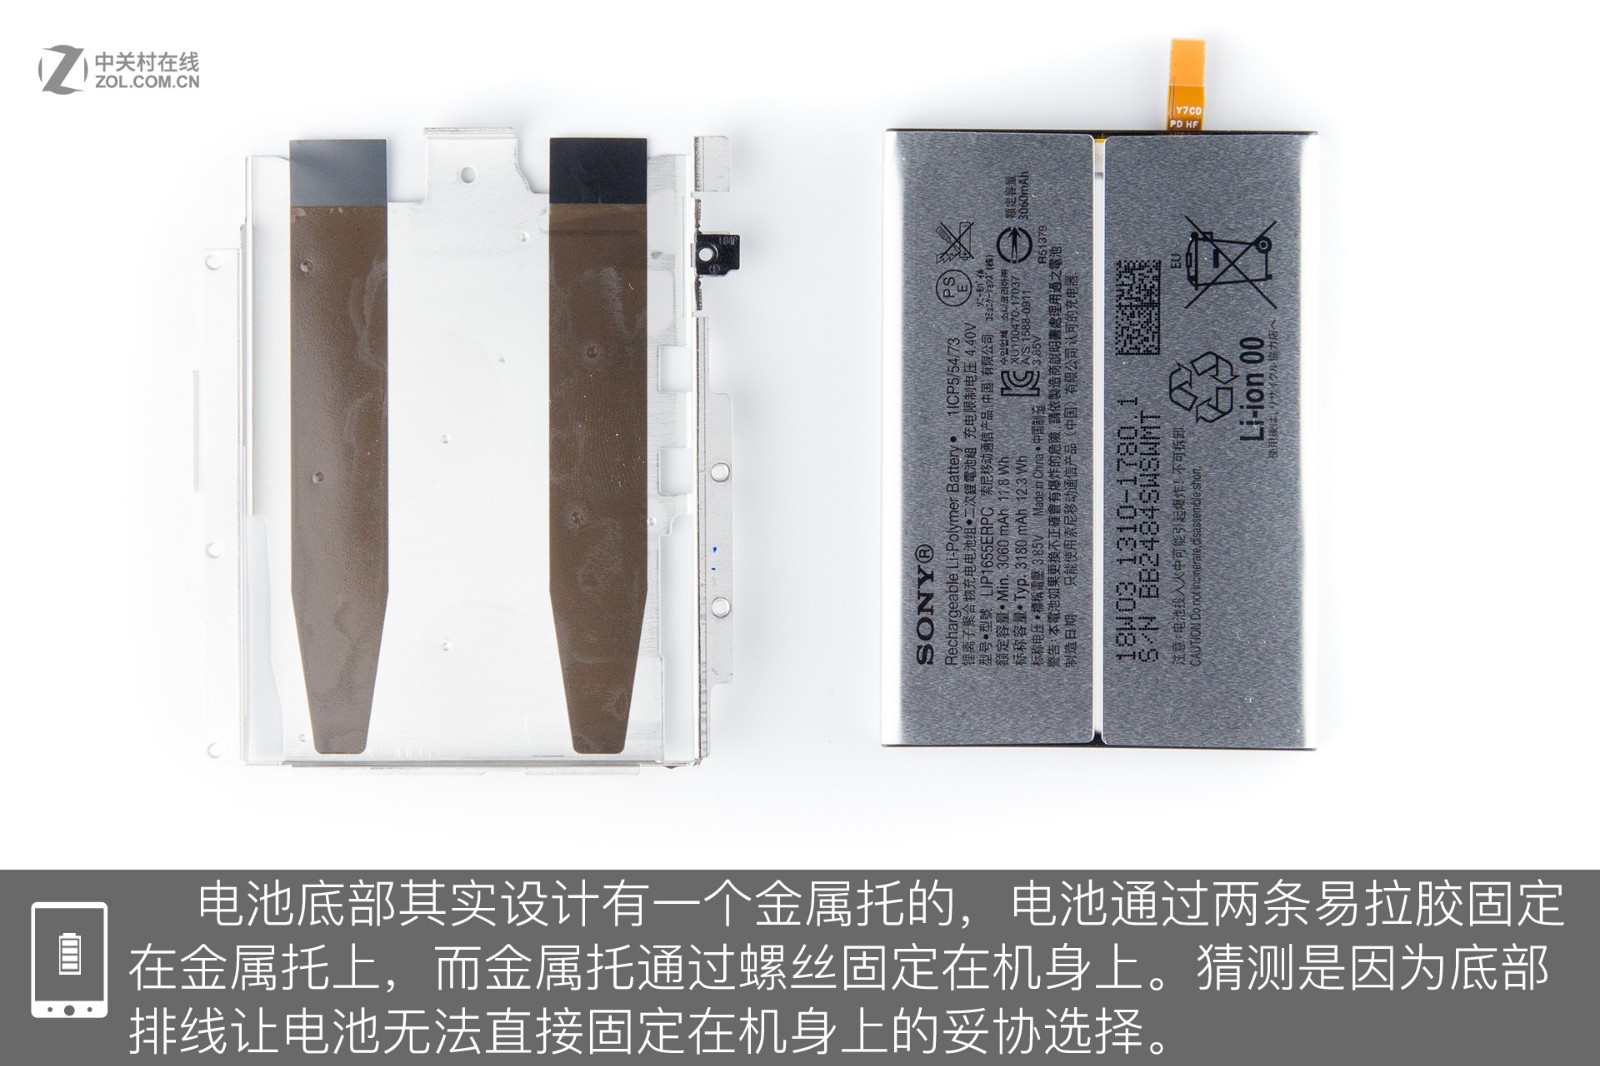
Removing the battery is very simple. The bottom of the battery has a metal tray, and the battery is secured to the tray with two easy-pull adhesive tapes. The tray is secured to the chassis with screws. The battery cannot be directly secured to the phone body due to the cable at the bottom.
4. Removing the front camera
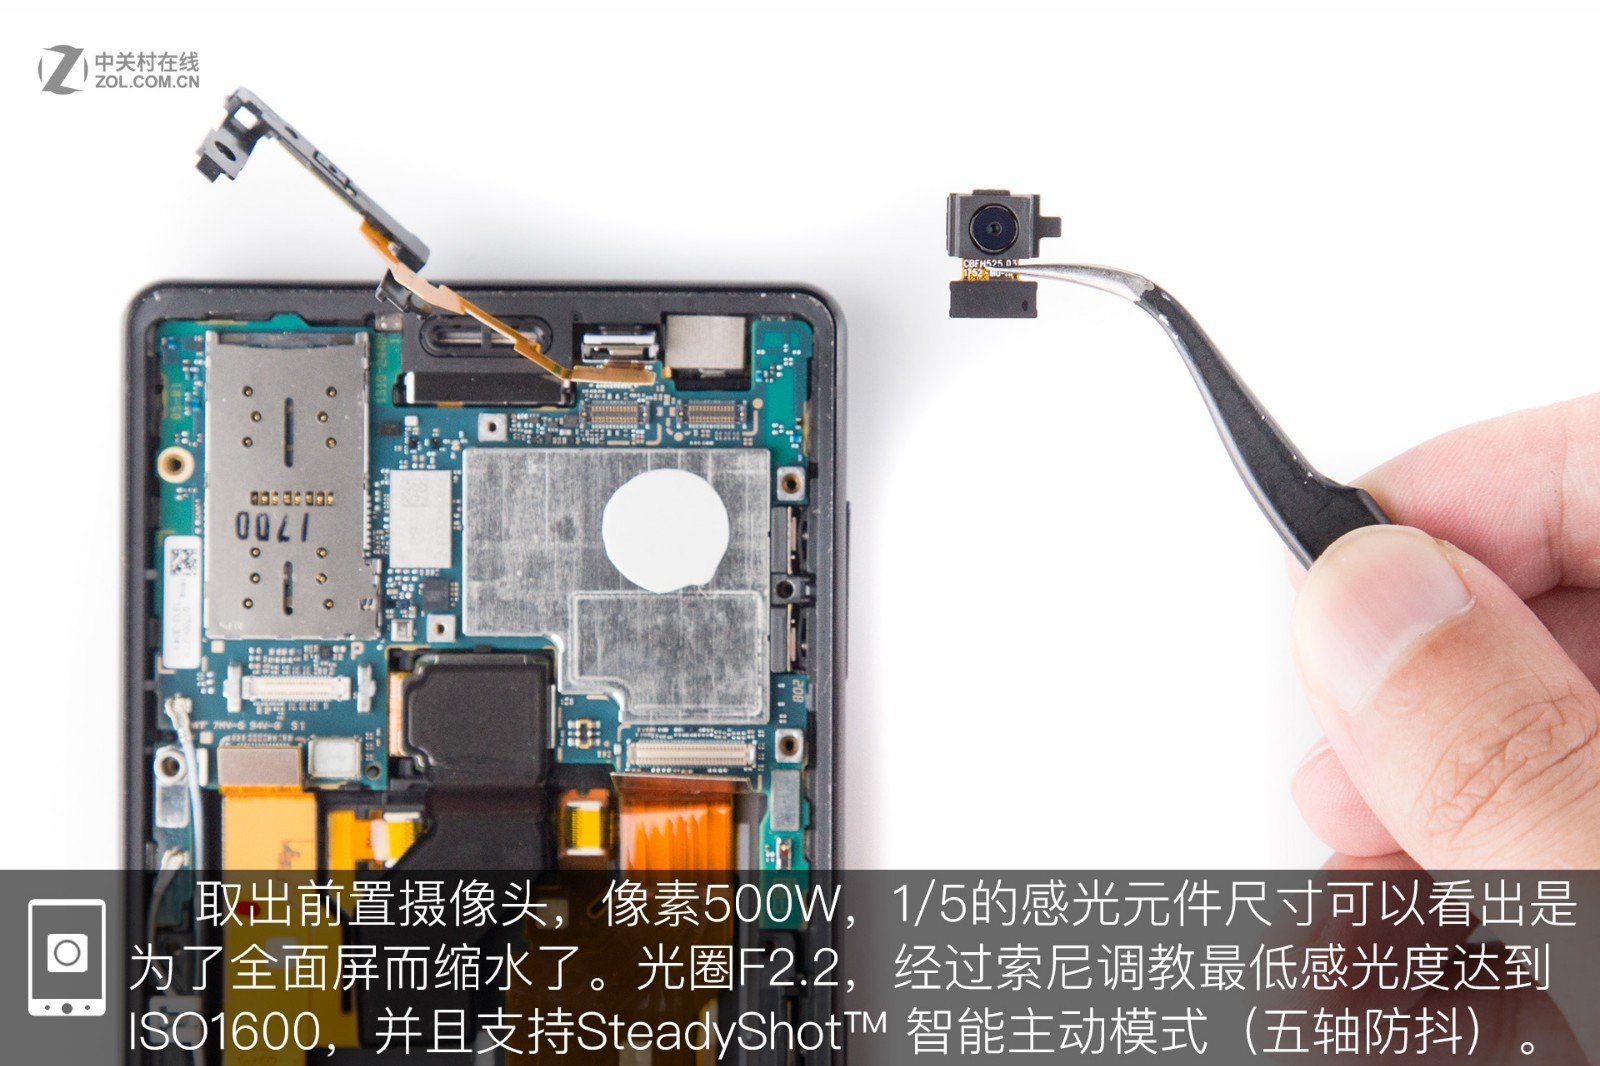
Remove the front camera module. This phone has a 5MP front camera with an aperture of F/2.2 and a minimum ISO of 1600. The camera supports SteadyShot mode.
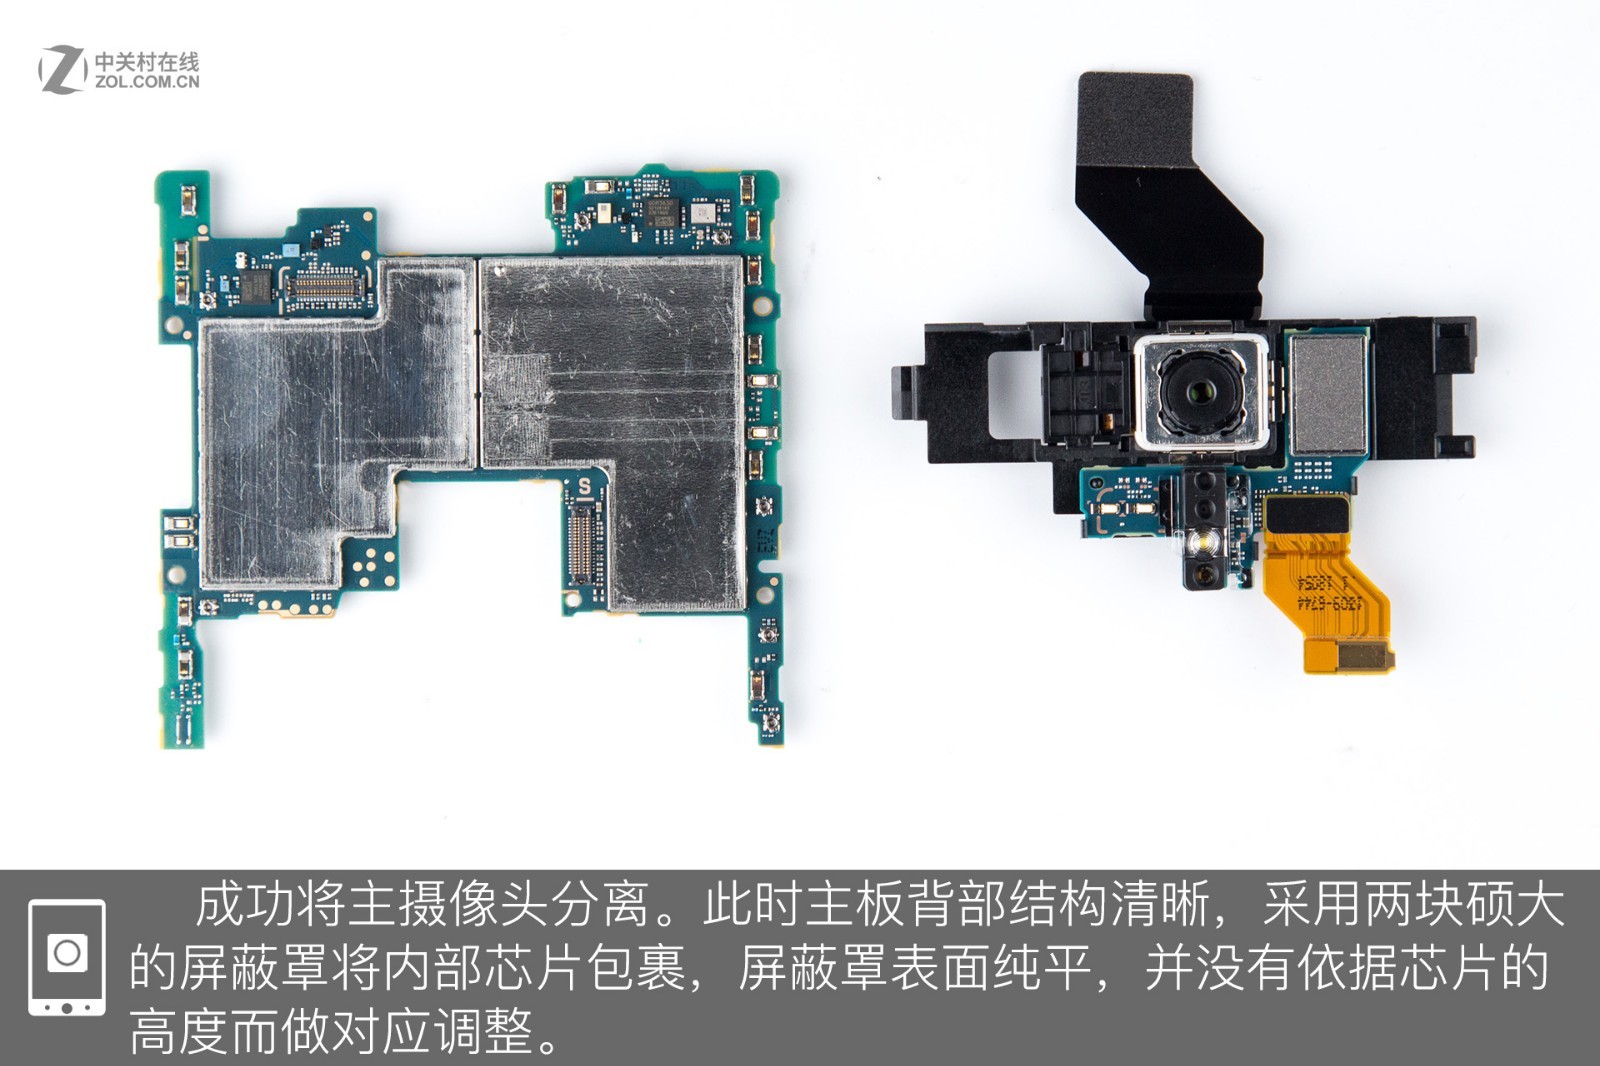
The main camera has been successfully removed. The components on the back of the motherboard are clearly visible. Two large metal shields protect the internal chips.
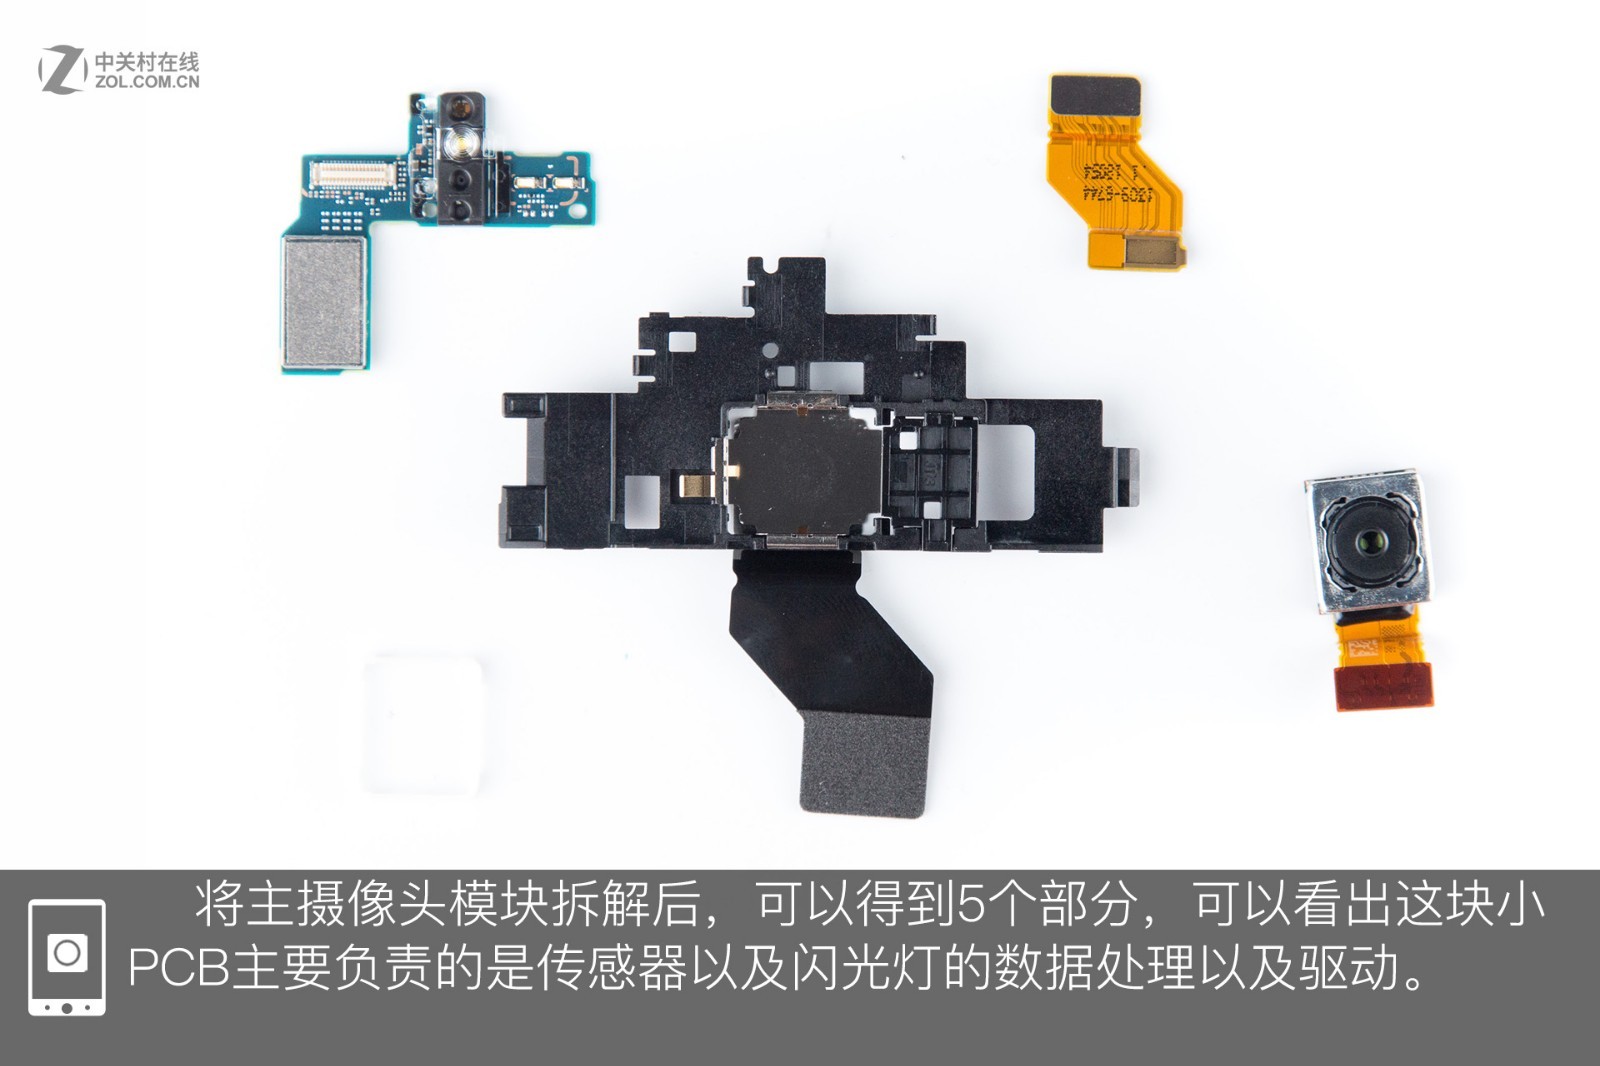
After tearing down the main camera, we can get five components. The small CPB board is mainly responsible for data processing and driving the sensor and flash.
Remove the metal shield on the motherboard, and we can access the NXP 55303 chip.
5. Chips
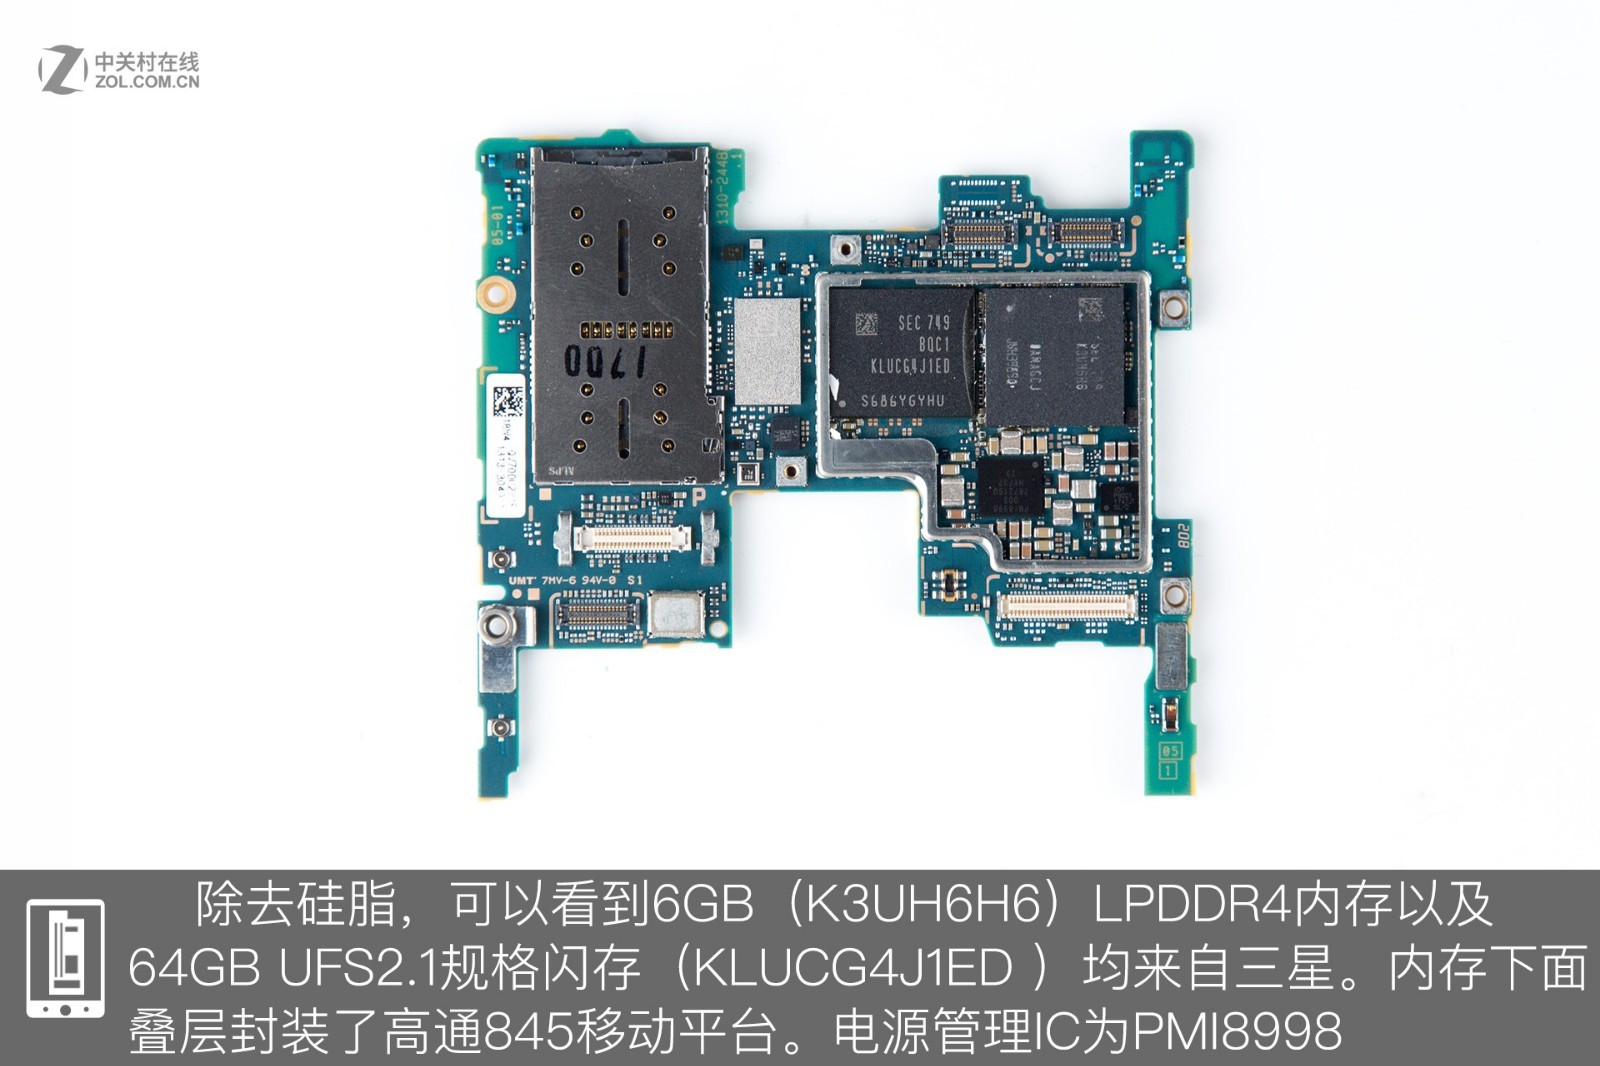
After removing the thermal paste, the 6GB of LPDDR4 memory and 64GB of UFS2.1 flash storage are visible. The Qualcomm Snapdragon 845 chip is packaged beneath the memory chip, and its power management IC model is PMI8998.
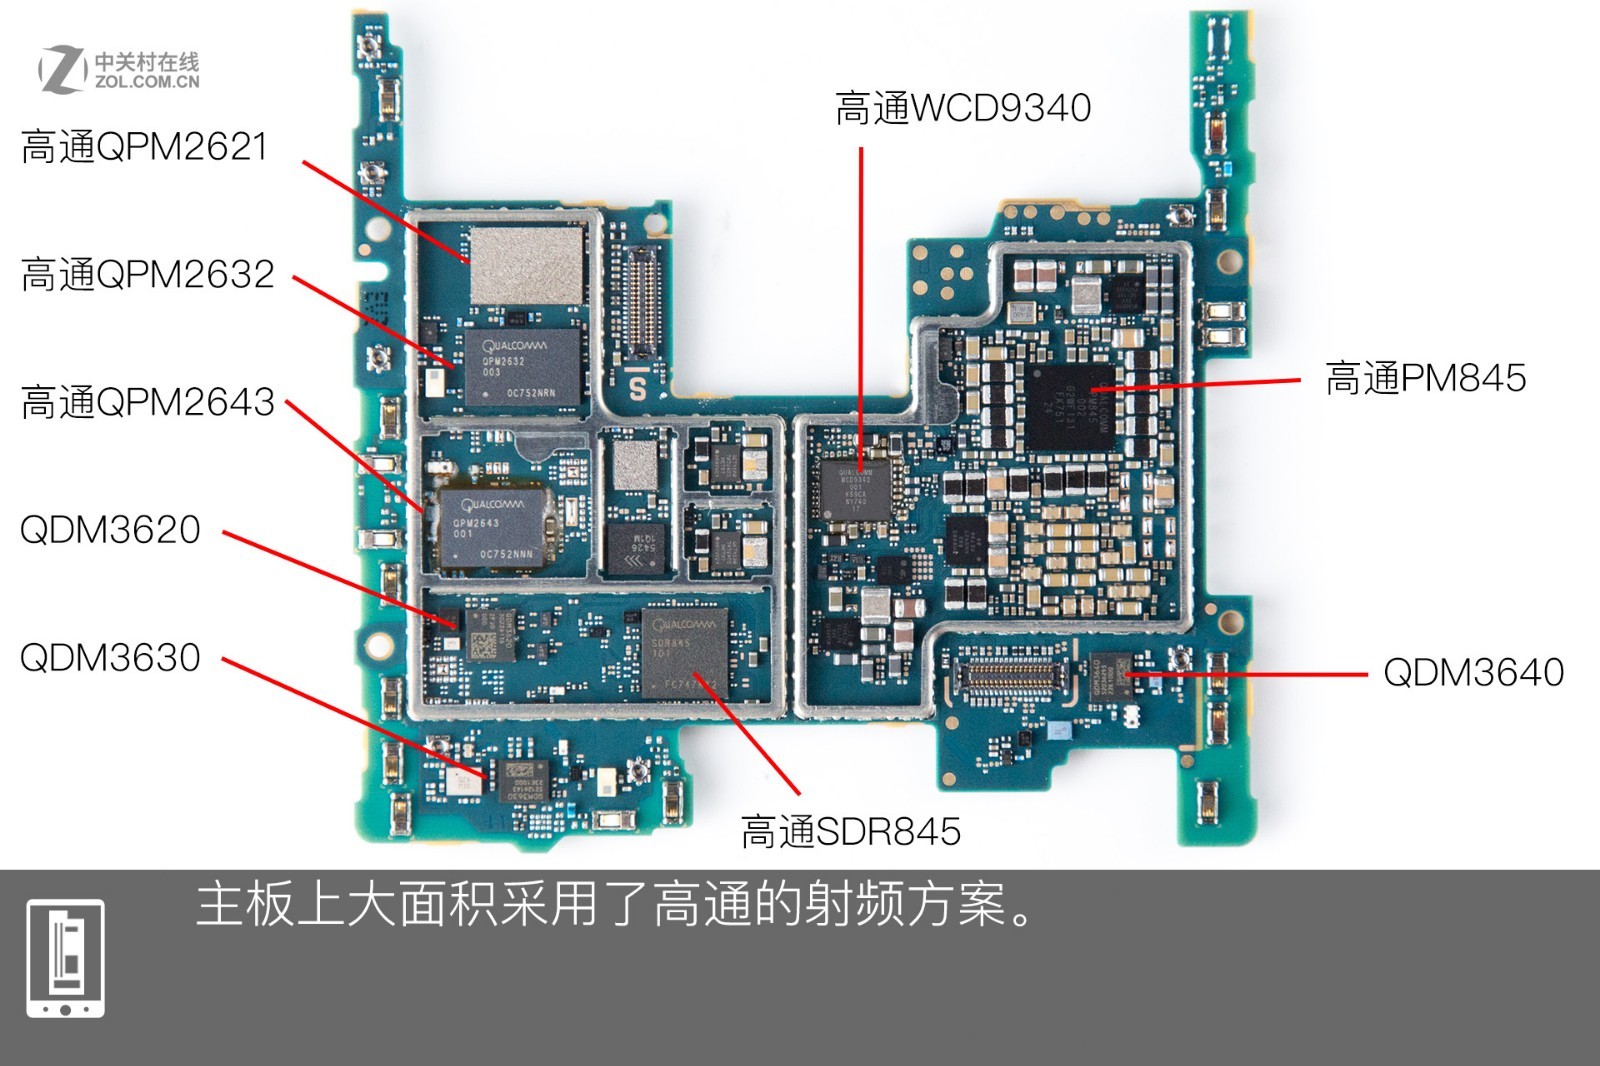
The motherboard uses many Qualcomm chips, including the Qualcomm QPM2621, QPM2632, QPM2643, QDM3620, QDM3630, PM845, SDR845, and QDM3640.
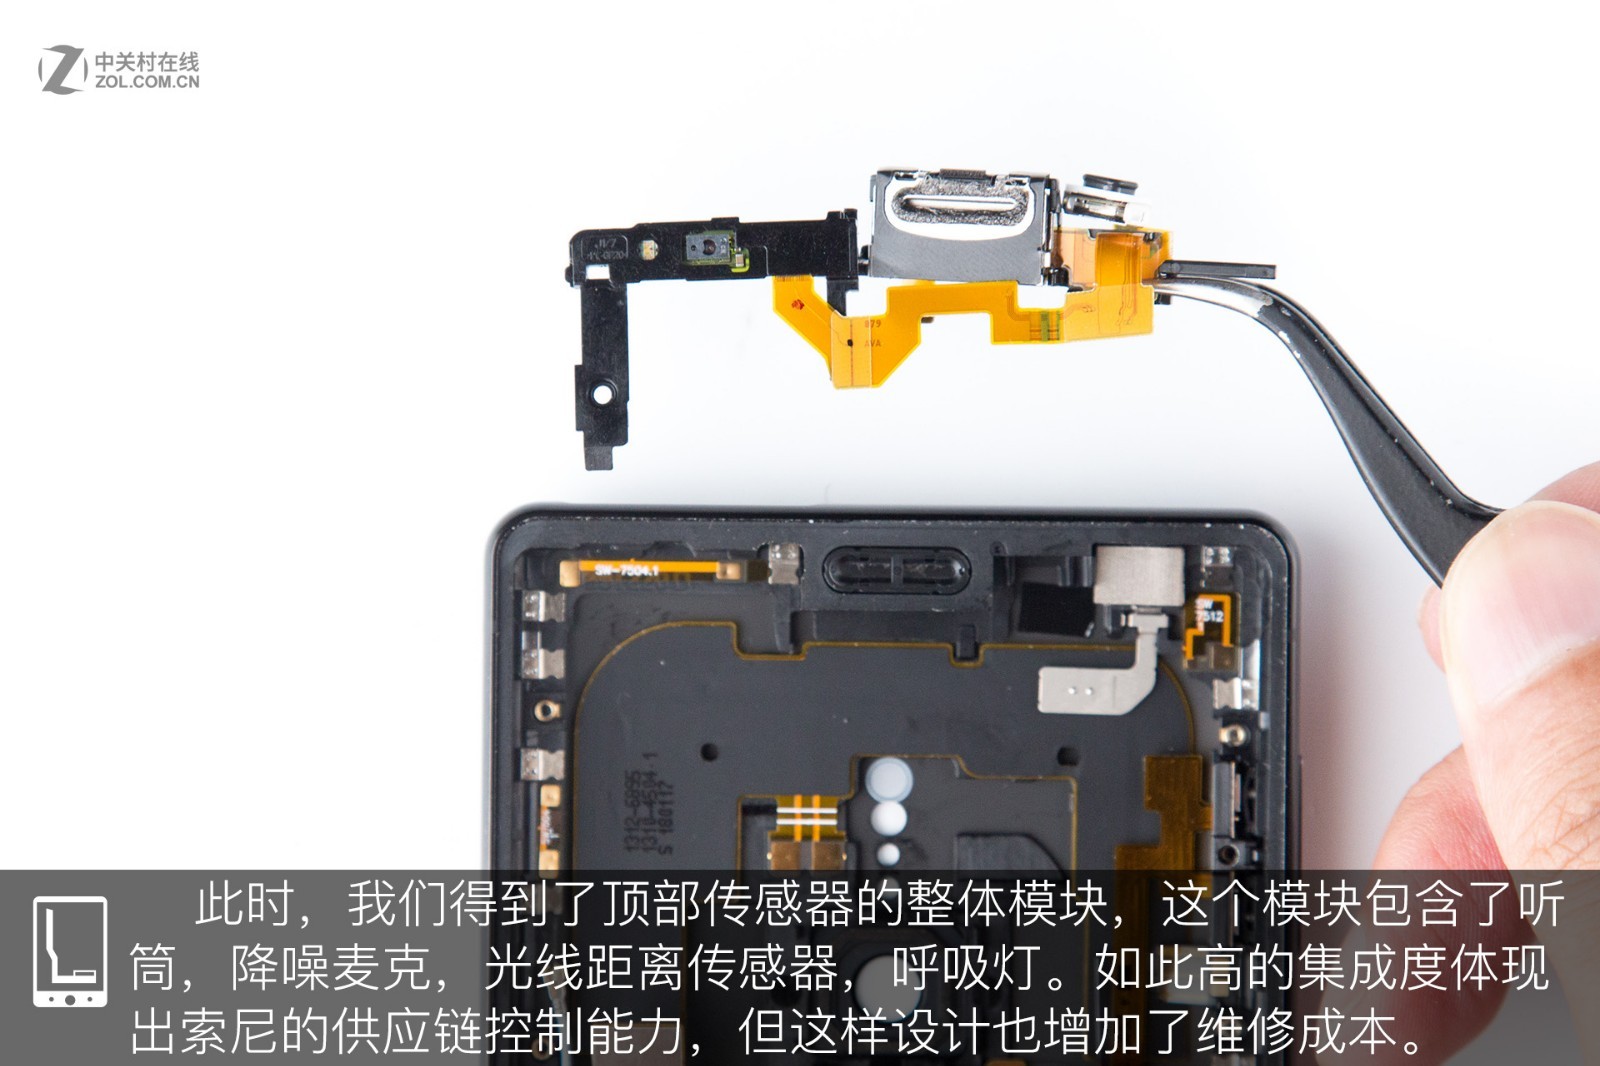
At the same time, we can see the entire sensor module on the top. This module contains the earpiece, noise-canceling microphone, light distance sensor, and breathing light. The module has a high level of integration. However, such a design increases maintenance costs.
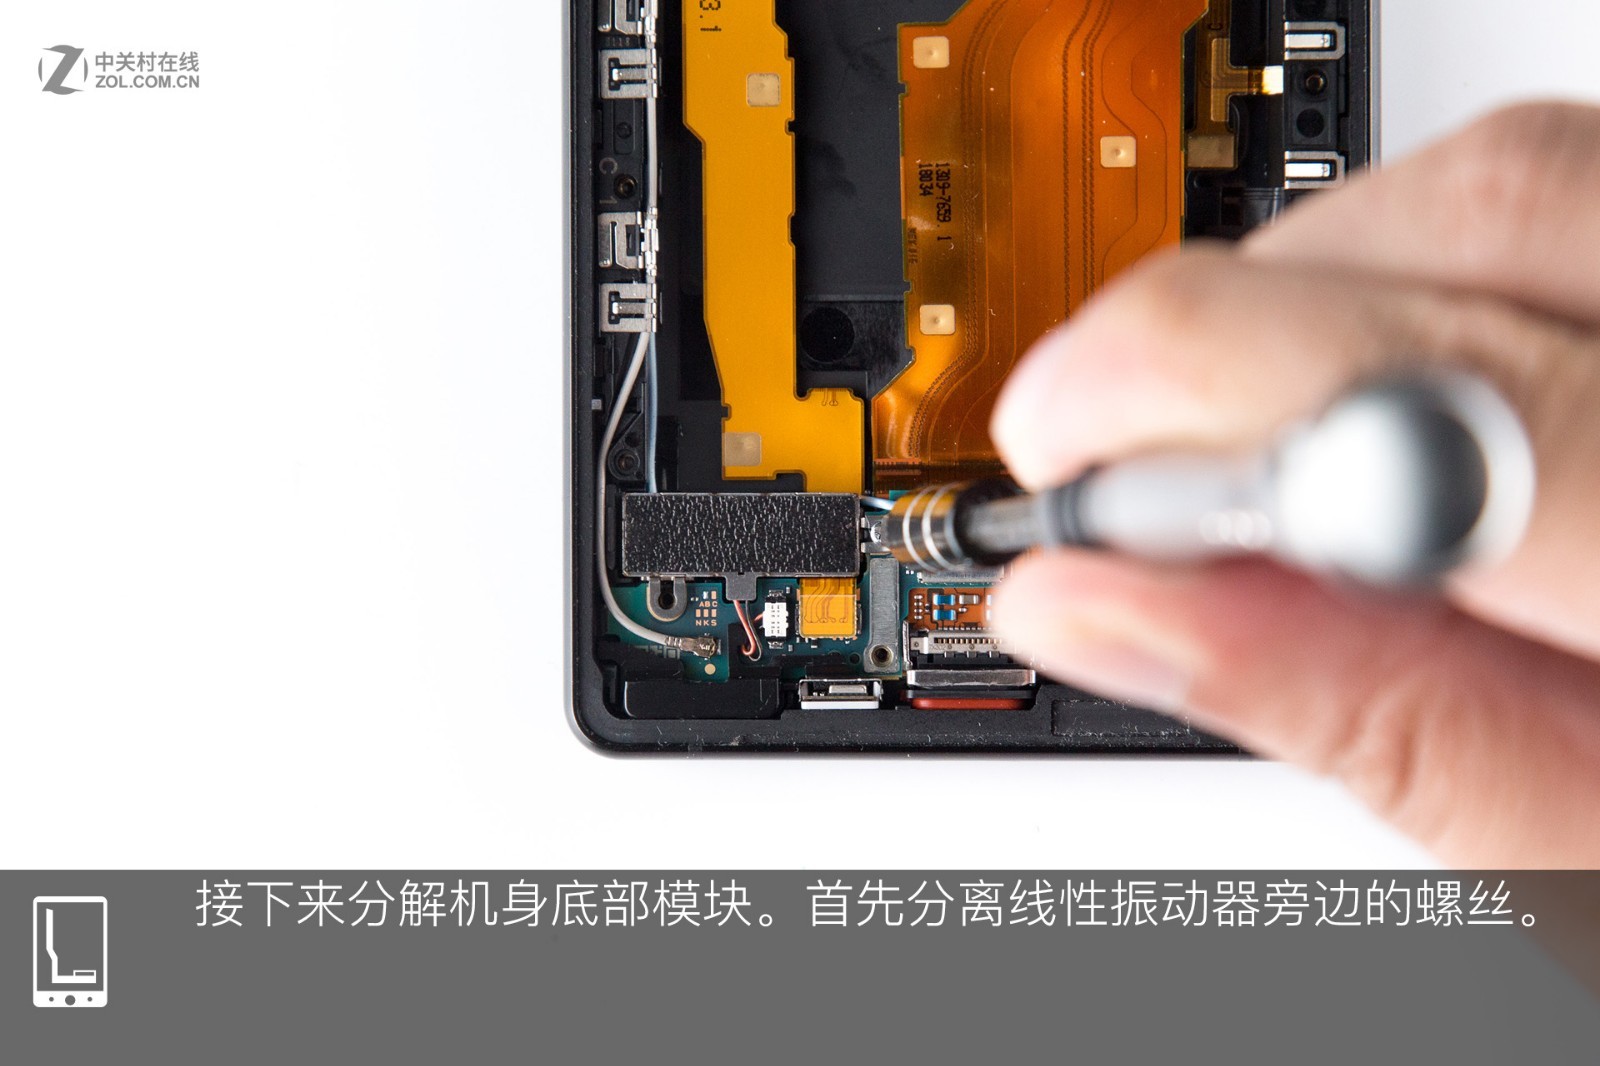
Next, we disassemble the bottom module. Remove the screws near the linear vibrator.
6. Removing the loudspeaker and wireless charging module
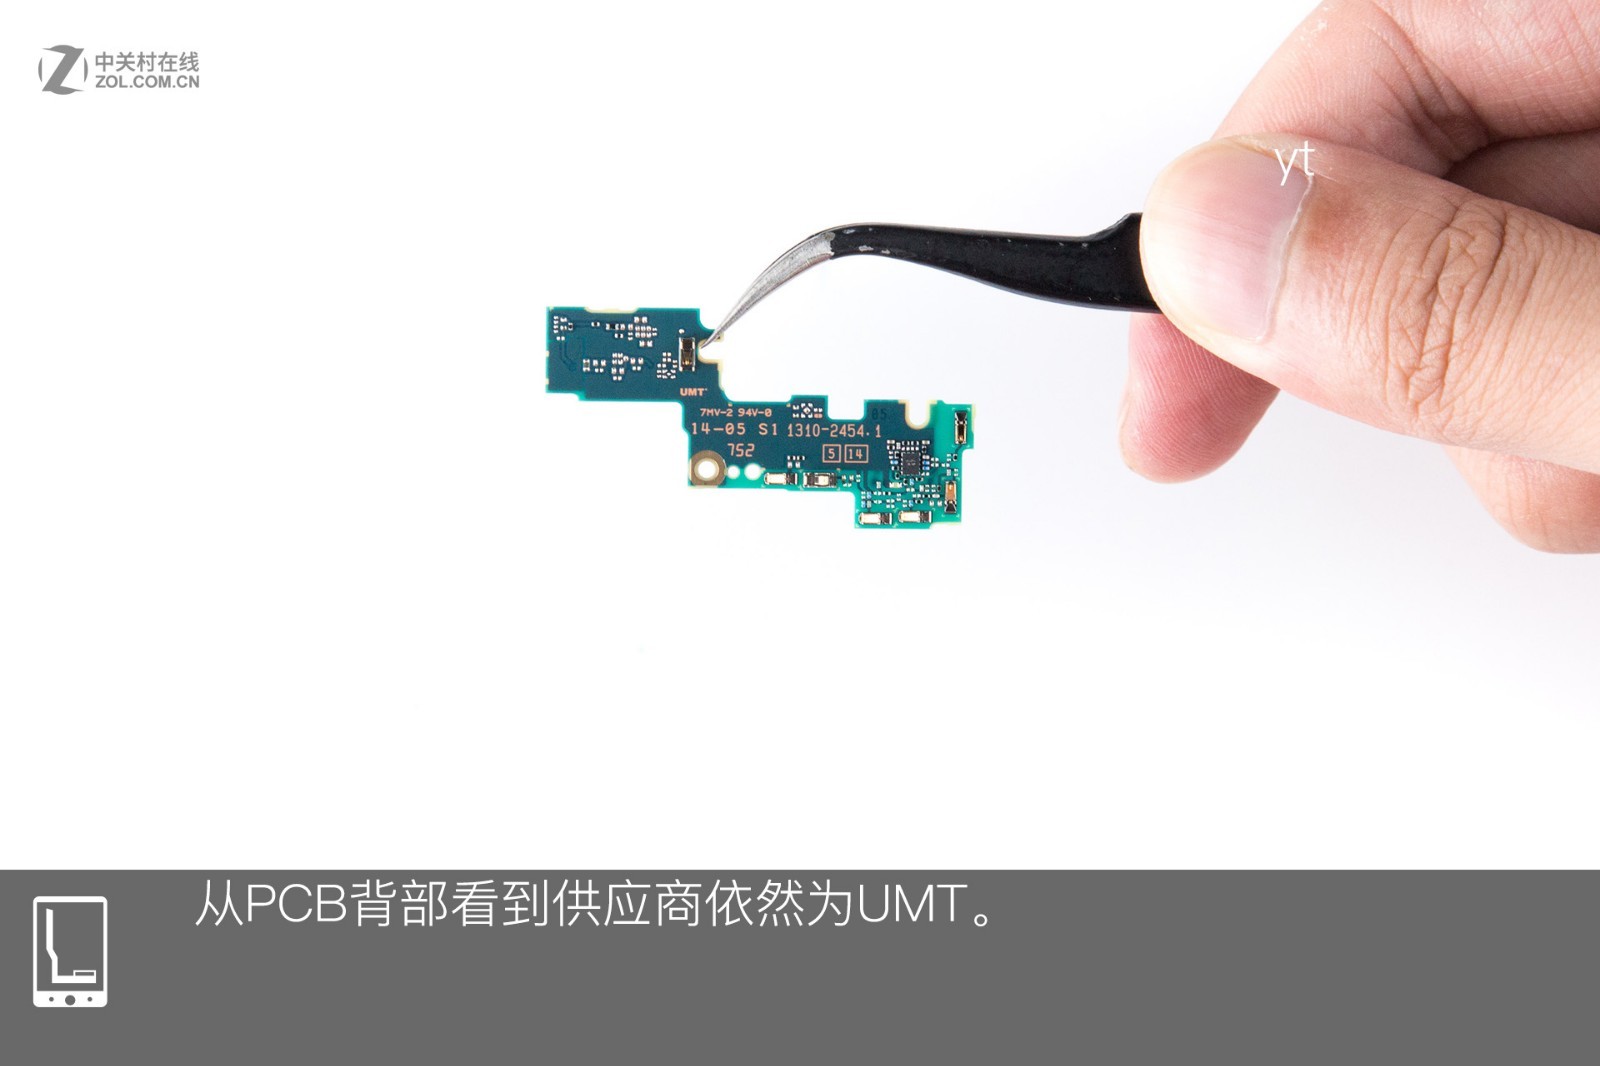
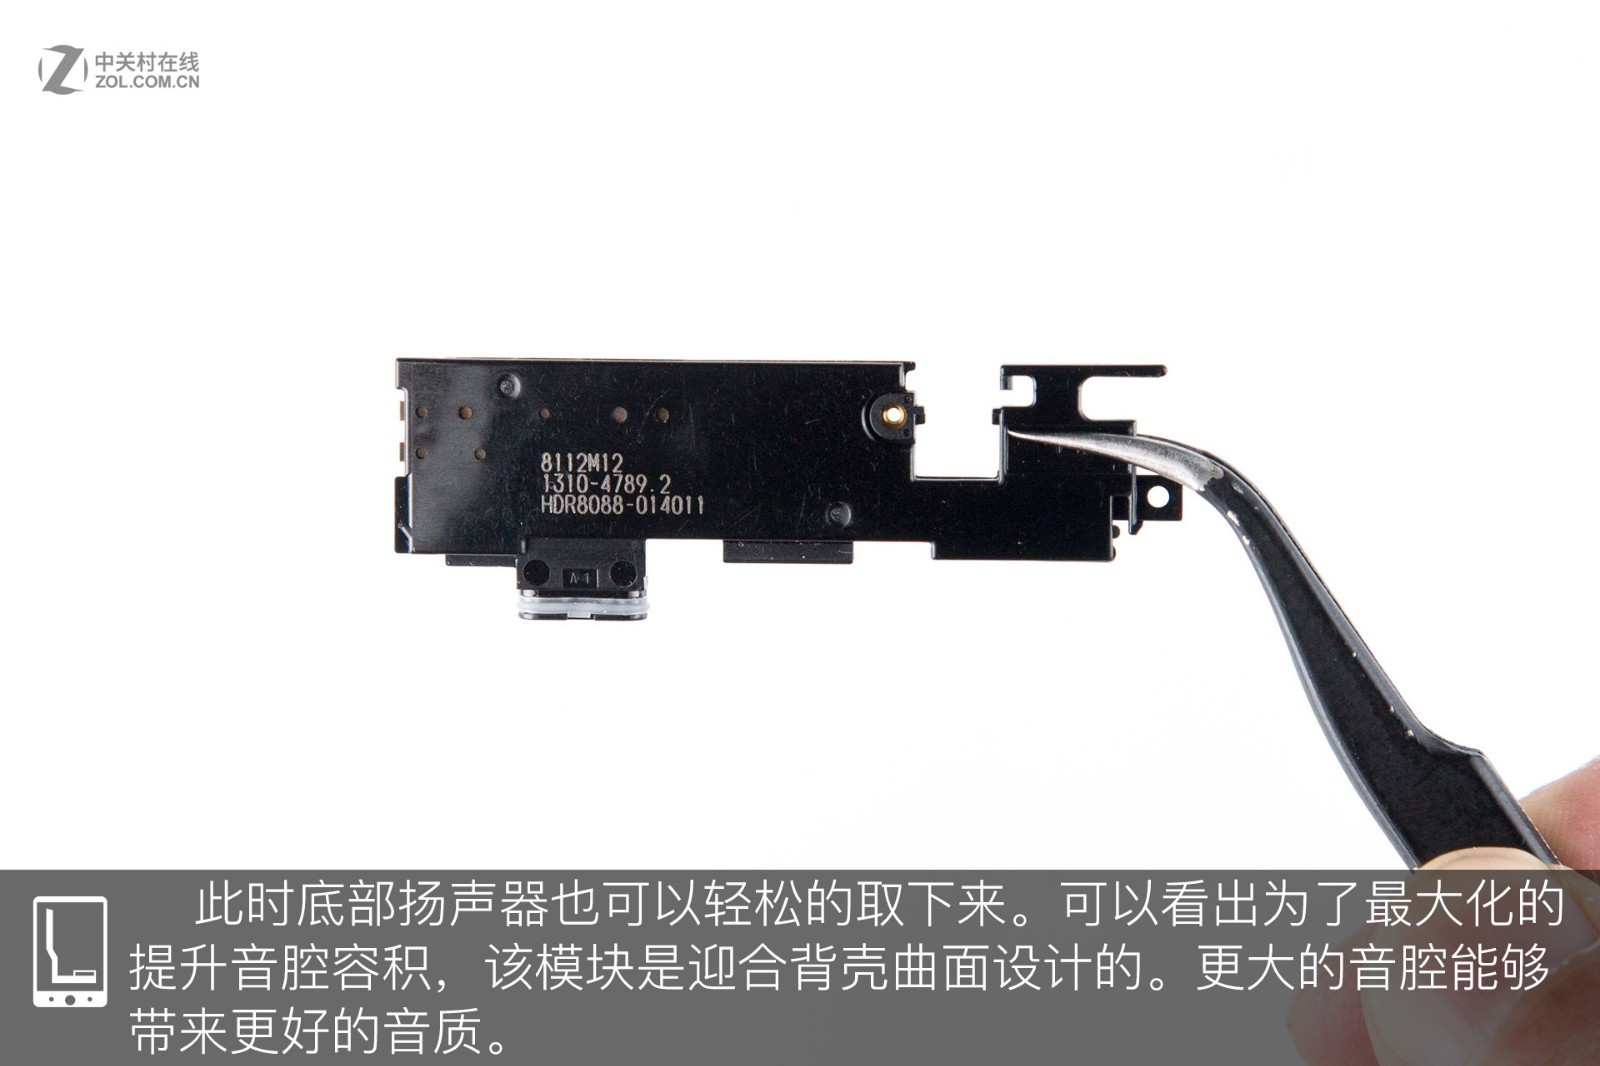
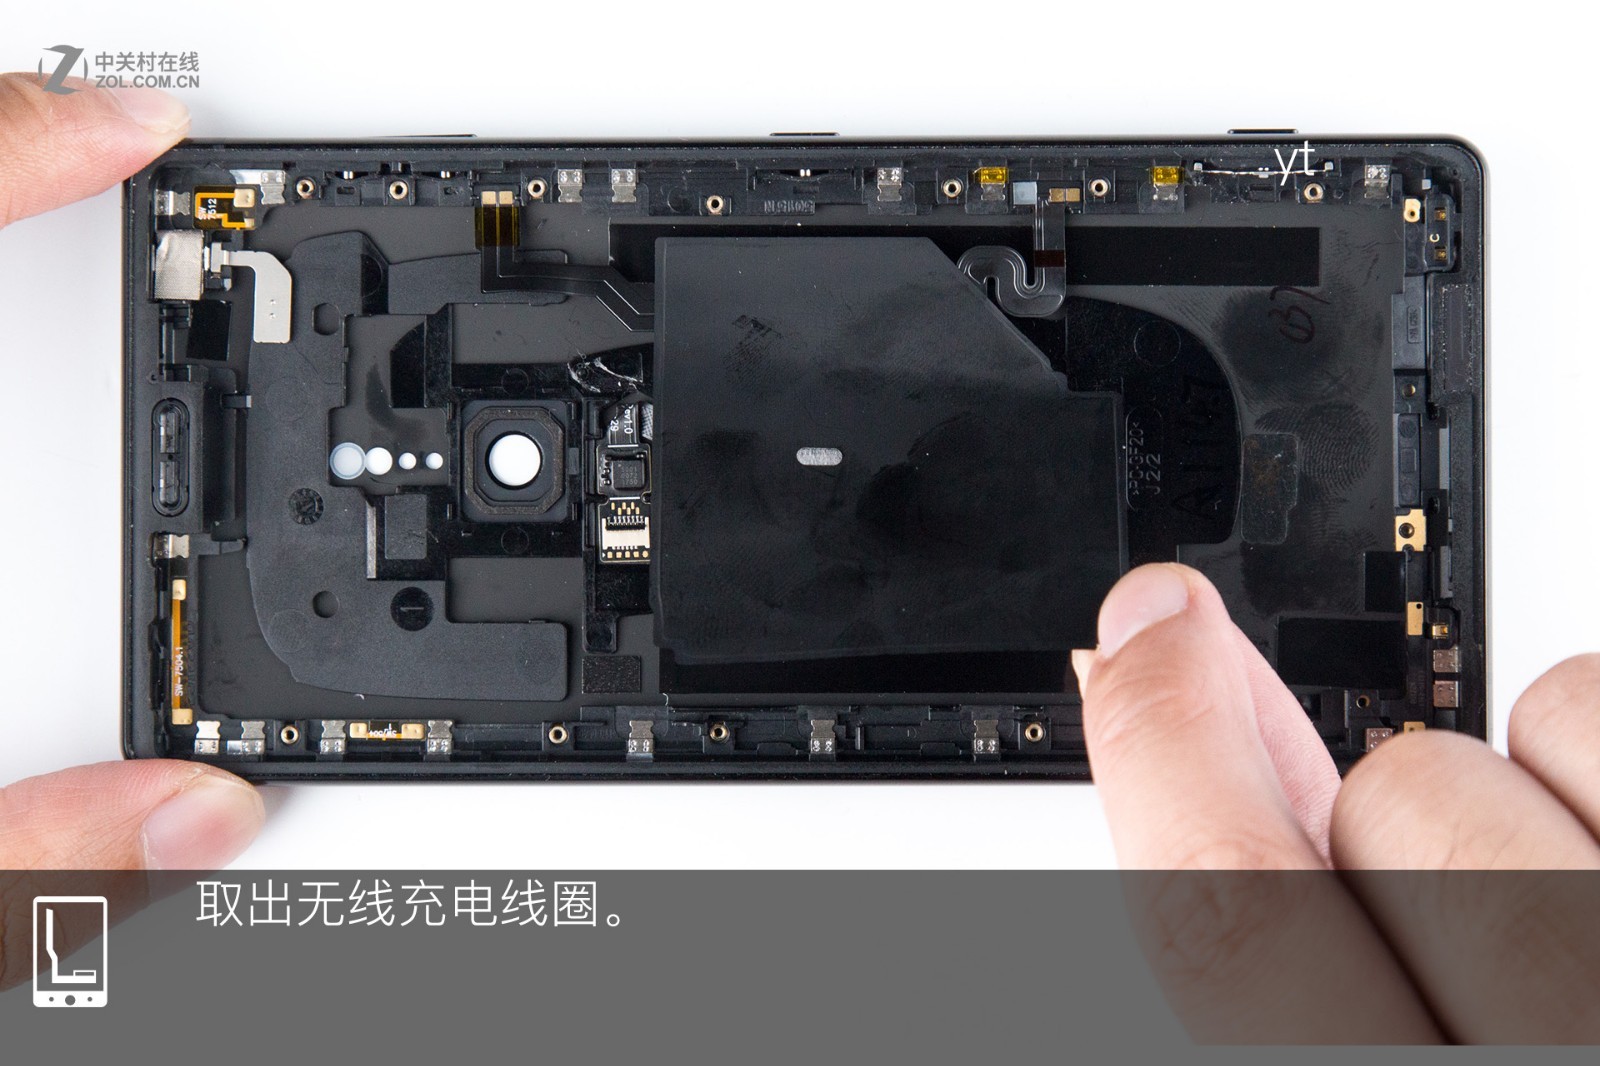
The PCB is provided by UMT. The bottom speaker can be easily removed. The sound chamber volume has been increased, which can offer better sound quality. Take out the wireless charging module..
Summary
Overall, the disassembly process is not easy. The Sony Xperia XZ2 can meet all the expectations of fans. With its unique design, excellent waterproof performance, linear motor, and high technology, this smartphone provides an outstanding user experience. In addition, its quality is also quite excellent. However, the XZ2 has issues with portability and relatively short battery life.
Hi.
I need to get the motherboard for my Sony Xperia XZ2 model H8296.
Is there any way you can get it for me to buy?
Write to the mail.
Thank you.