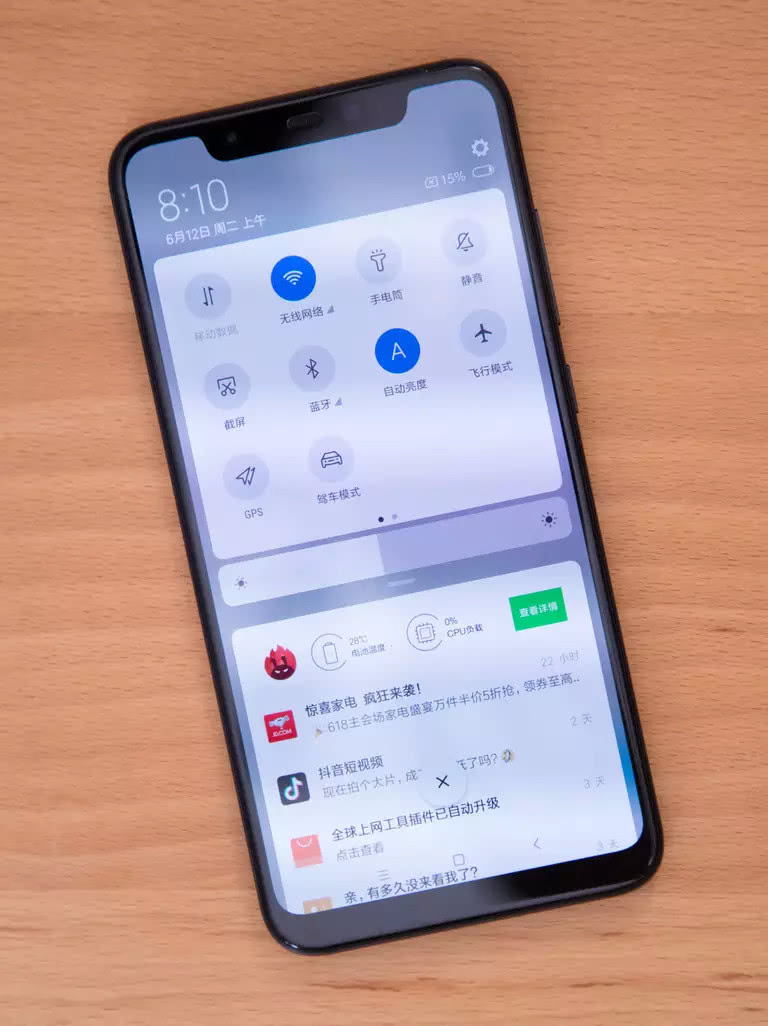
Xiaomi held a launch event on May 31 to unveil the Xiaomi Mi 8. The 6.21-inch phone features a rear fingerprint sensor and supports IR face unlock. By the way, Explorer Edition features the world’s first pressure-sensitive under-display fingerprint sensor and supports 3D structured light facial unlocking. Today, we will show the teardown process of the Xiaomi Mi 8 to explore its internal structure.
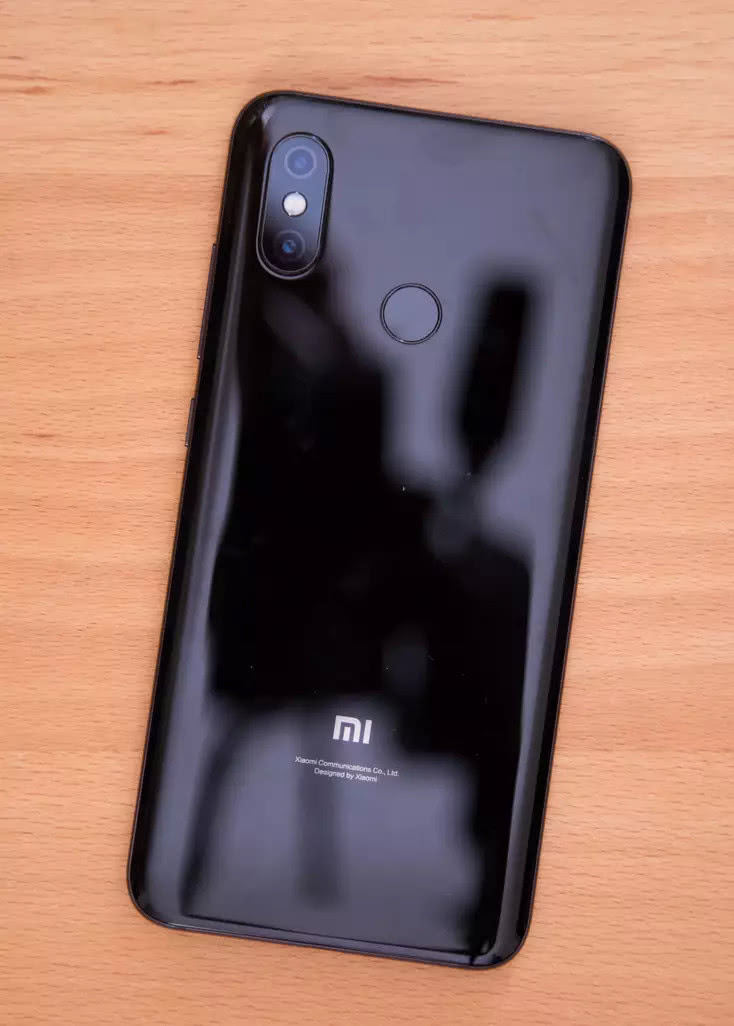
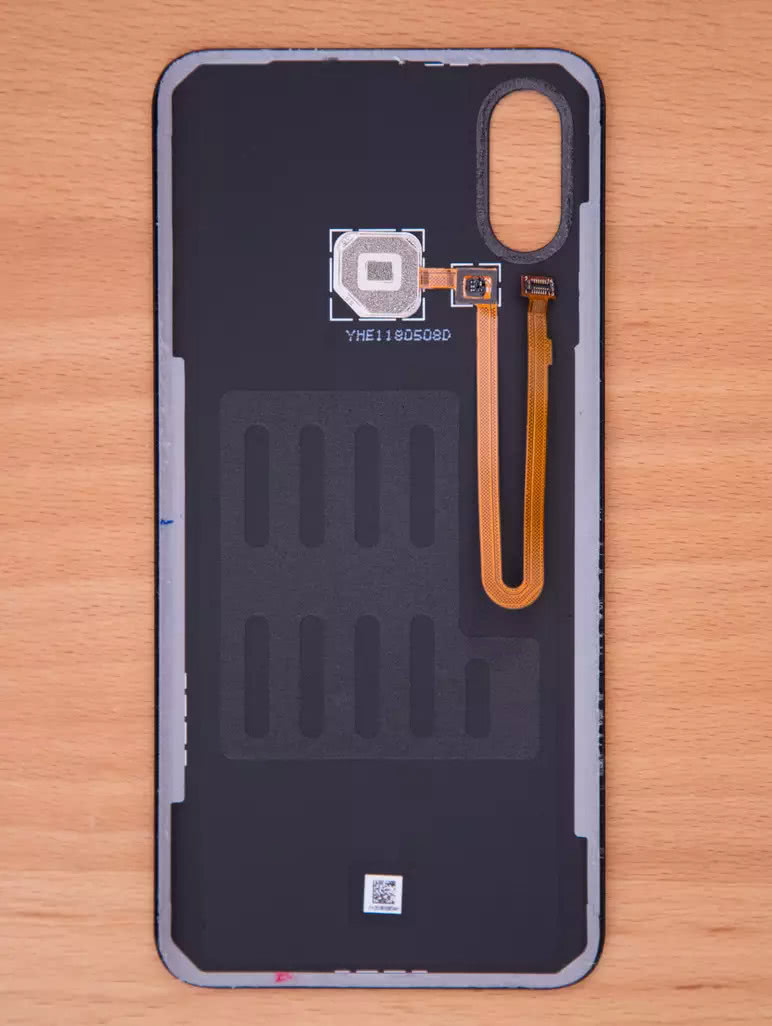
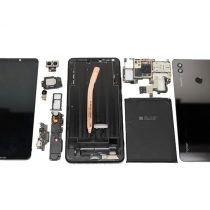
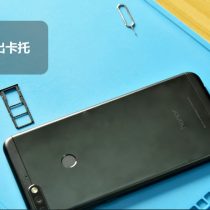
This phone features a narrow bezel design, with bezels thinner than those on other smartphones. The body is made of curved glass, suggesting the back cover is not secured with glue or screws, and no screws were found at the bottom of the phone either. I heated the edges of the phone with a heat gun, then used a pick to separate the back cover from the body. After removing the back cover, its internal structure became clearly visible.
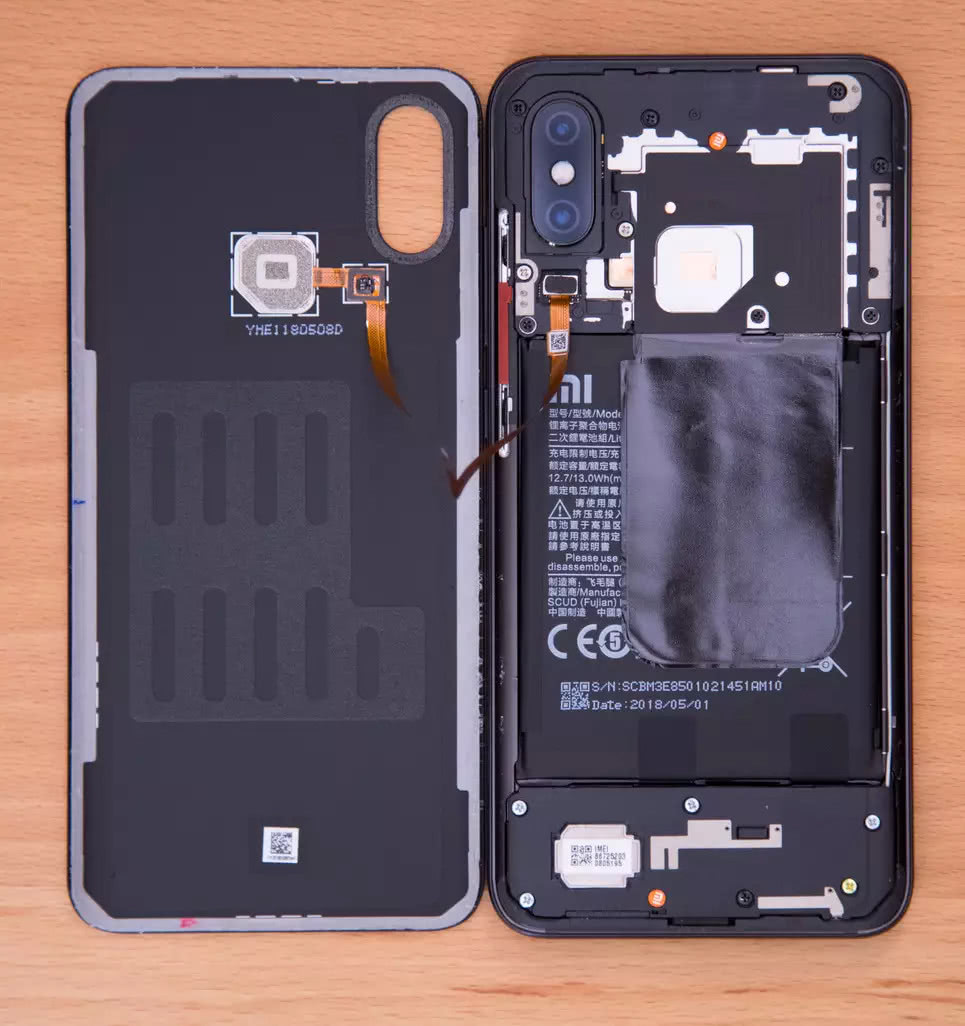
The fingerprint recognition module is connected to the motherboard via a cable. The cable connector is easy to disconnect because it is not secured by metal plates or screws. After removing the back cover, a large amount of thermal film, metal sheets, and copper pieces can be seen. When the back cover is removed from the body, it remains intact and without any scratches. After removing the screws, the main board and the sub-board can be separated.

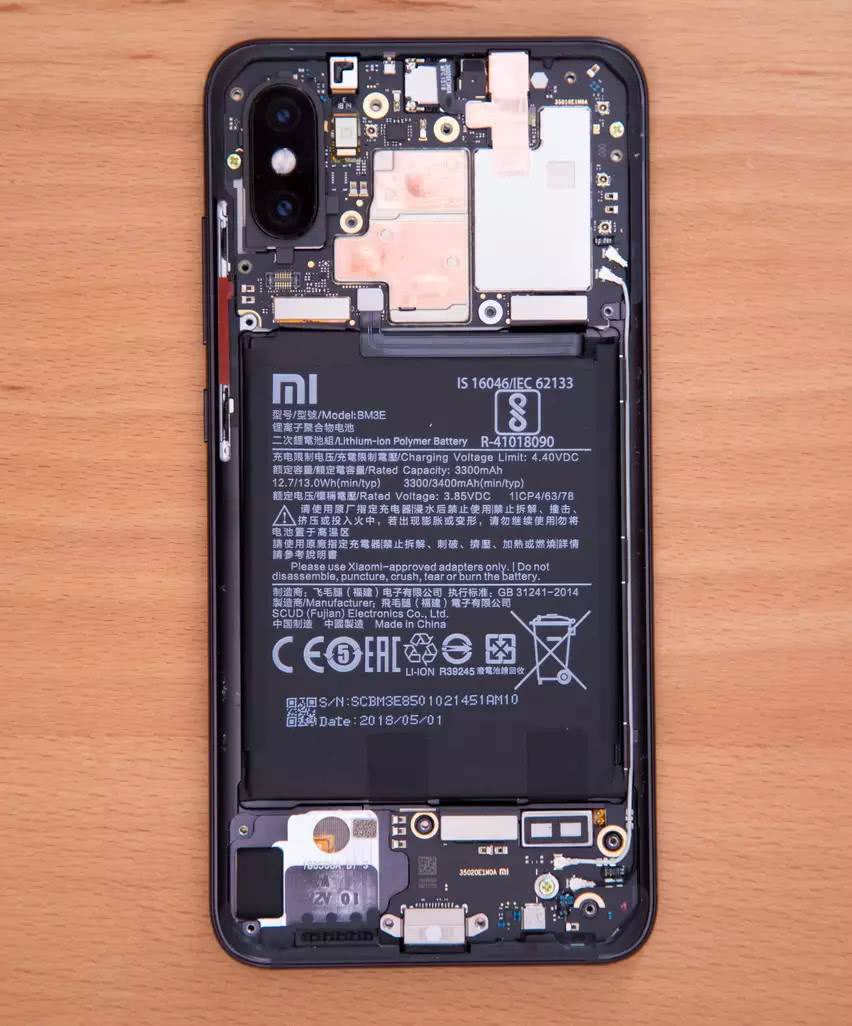
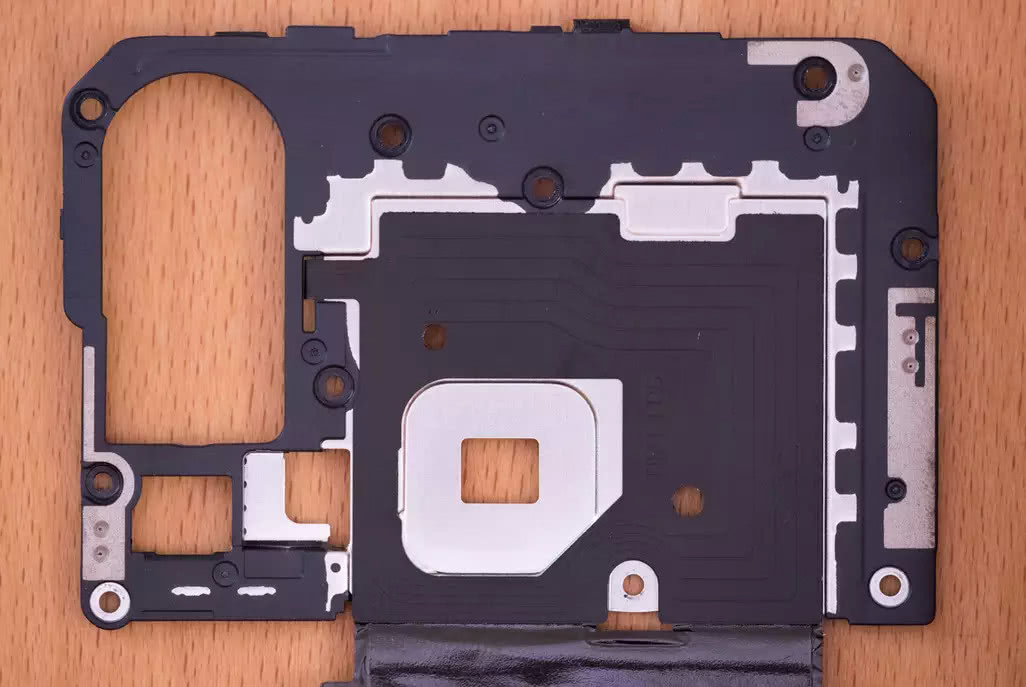
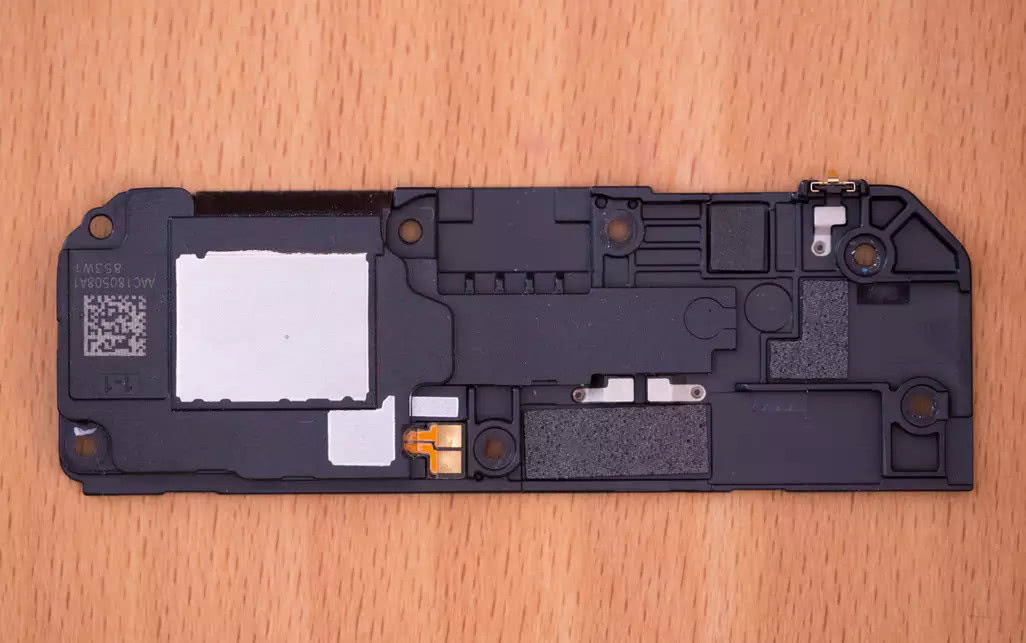
The NFC chip is integrated into the cover plate of the motherboard, and the part with black lines is the NFC chip. Now you can see that the speaker is mounted on the sub-board cover plate. After removing the three small screws that secure the motherboard to the sub-board, the motherboard and sub-board can be taken out. Once the motherboard is removed, the camera module can be directly observed. The yellow component is a heat-dissipation copper plate.
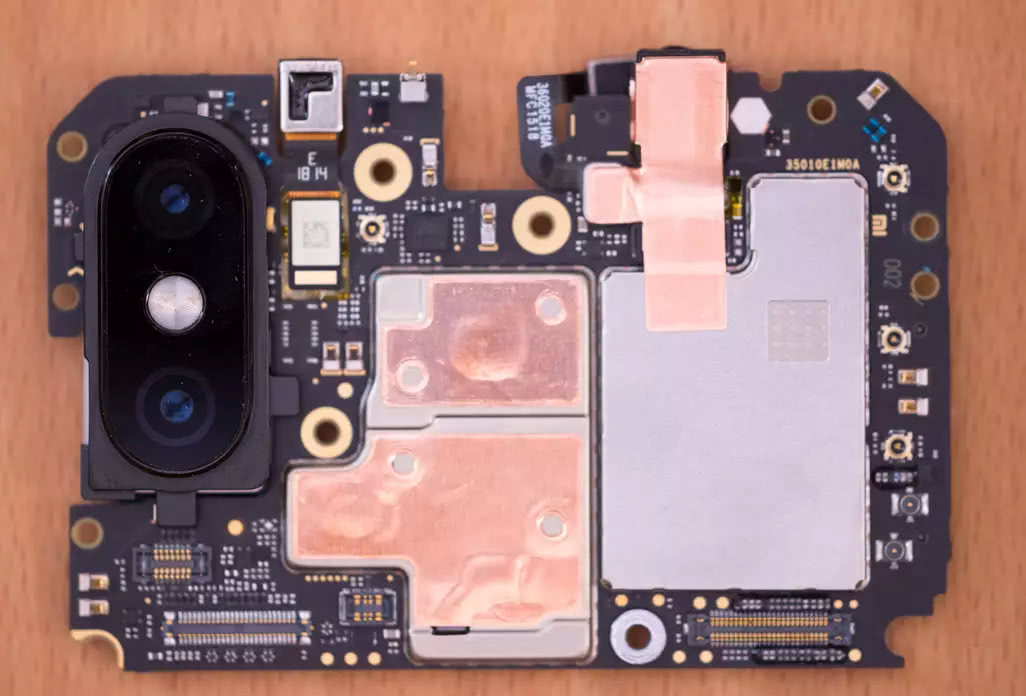
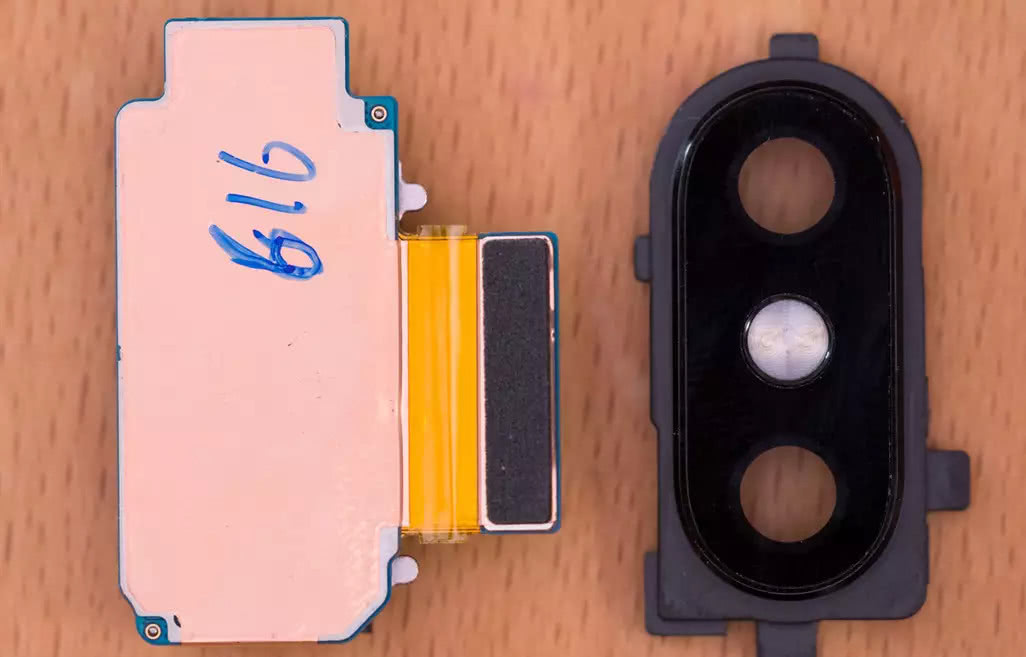
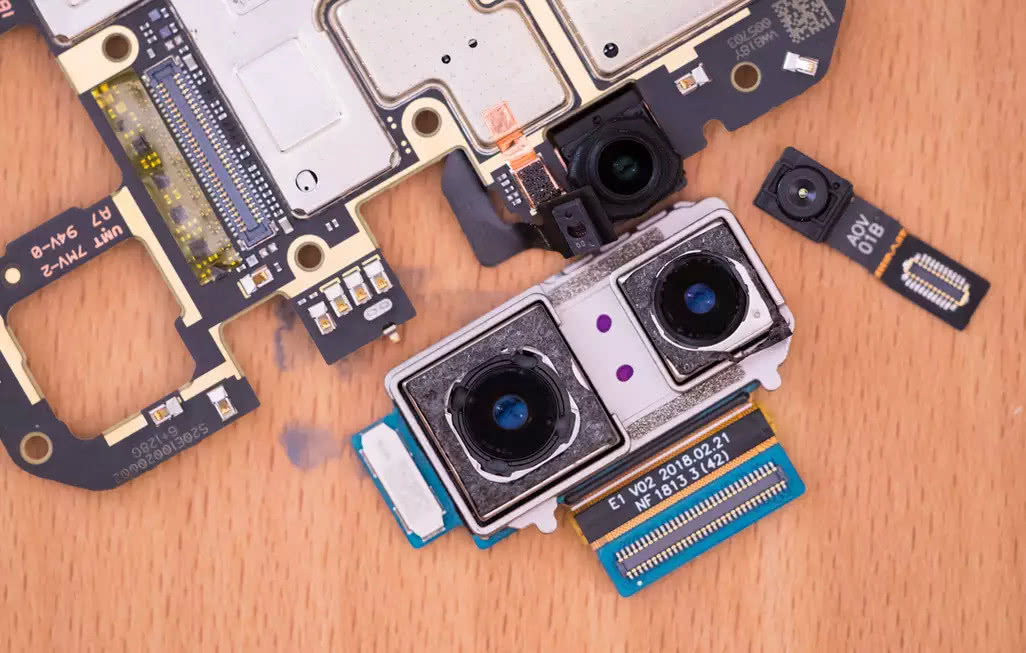
It is not easy to remove the main camera. First, the glass cover of the main camera must be forcibly removed. After removal, this cover can still be reinstalled on the camera, as it is secured to it with glue.
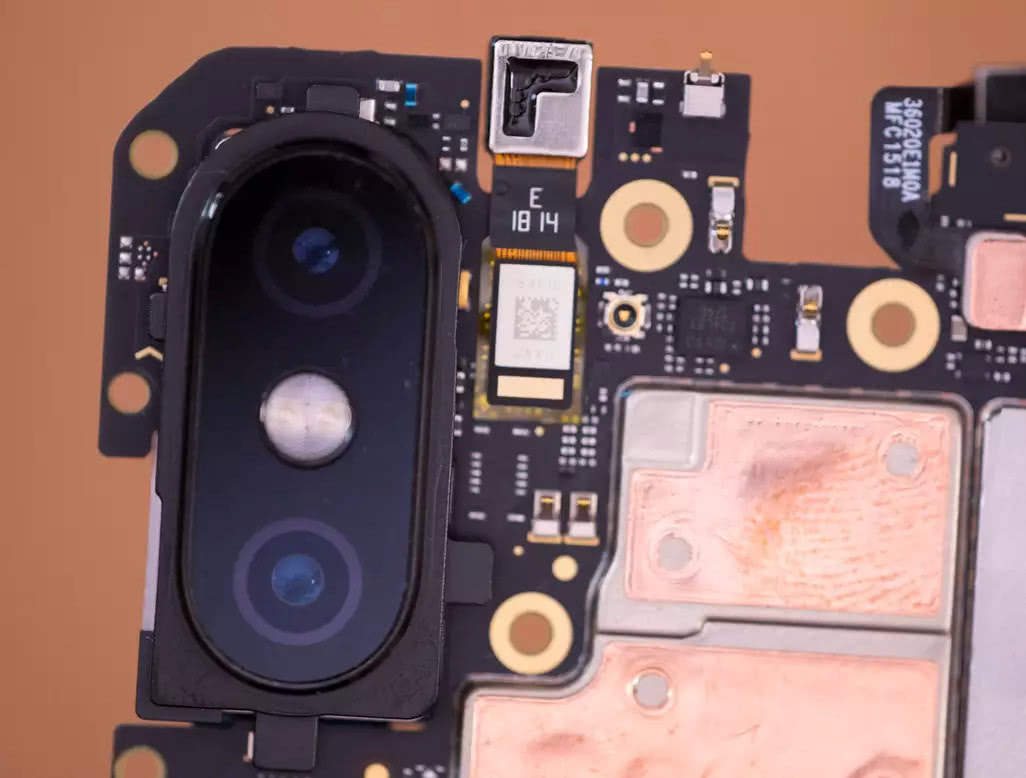
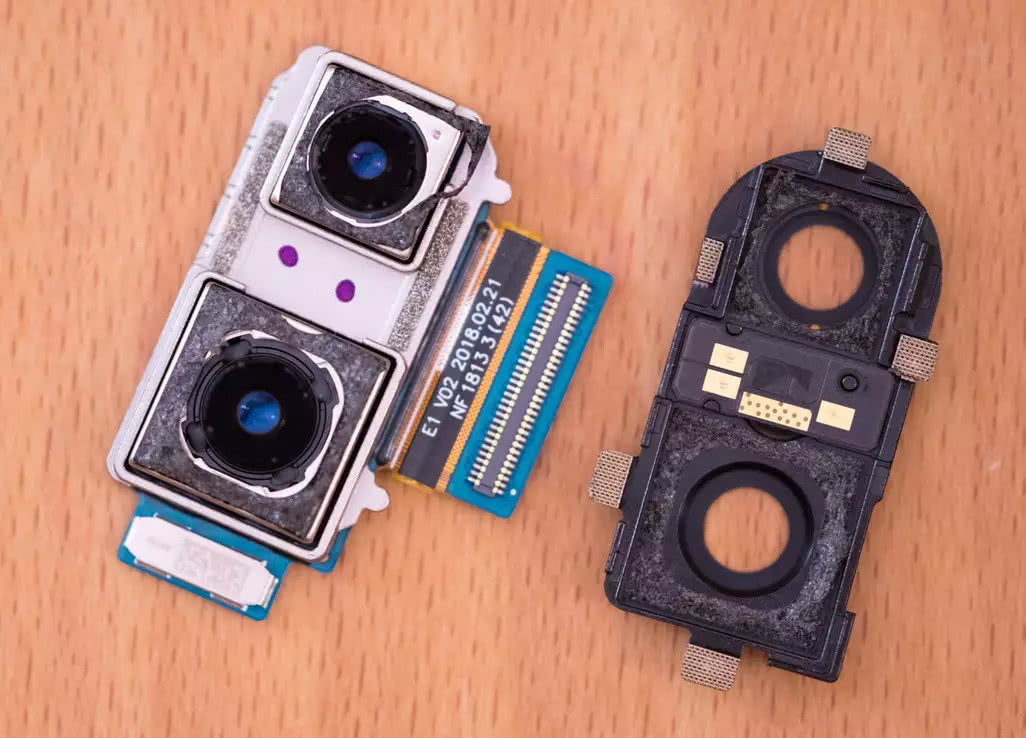
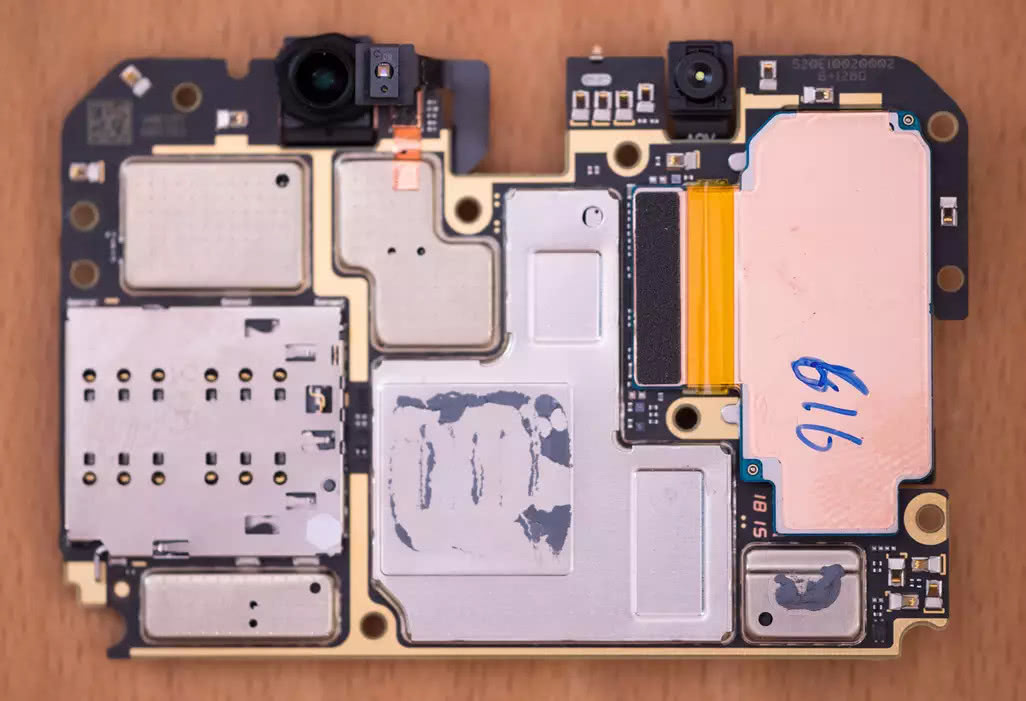
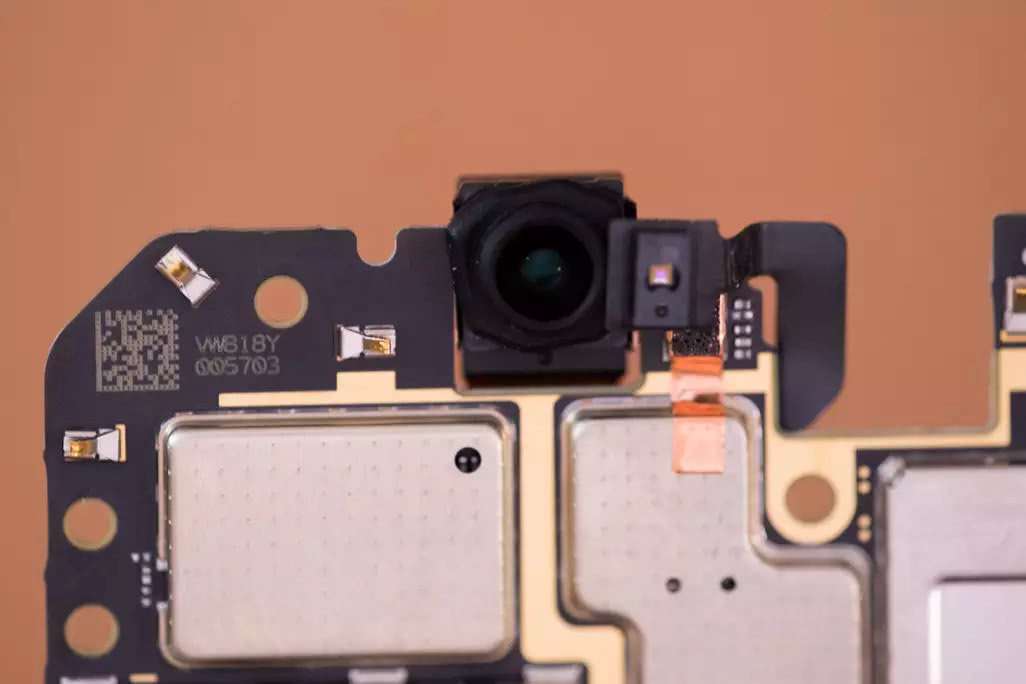
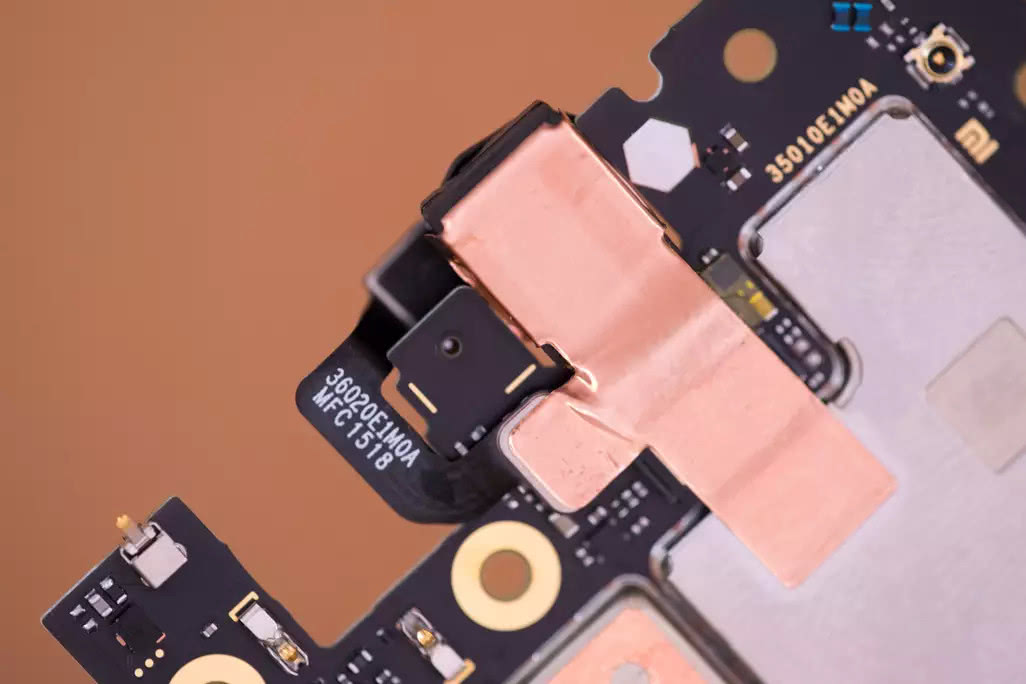
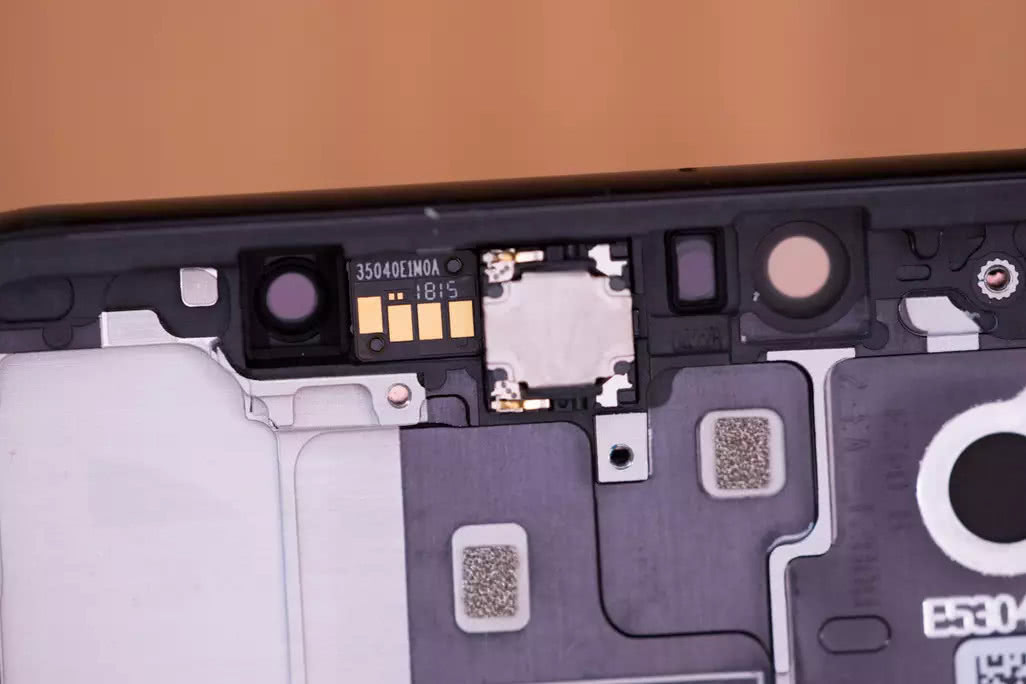
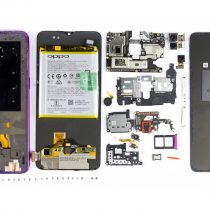
The main camera has now been removed, although the disassembly process was not easy. The secondary camera is secured to the motherboard’s metal shielding layer with a copper piece. Removing the camera will damage the thermal structure. Below the frame are the front camera, proximity sensor, infrared camera, headphone jack, and infrared LED. The disassembly of the infrared camera is relatively simple: disconnect the cable to remove it, and this will not cause structural damage.
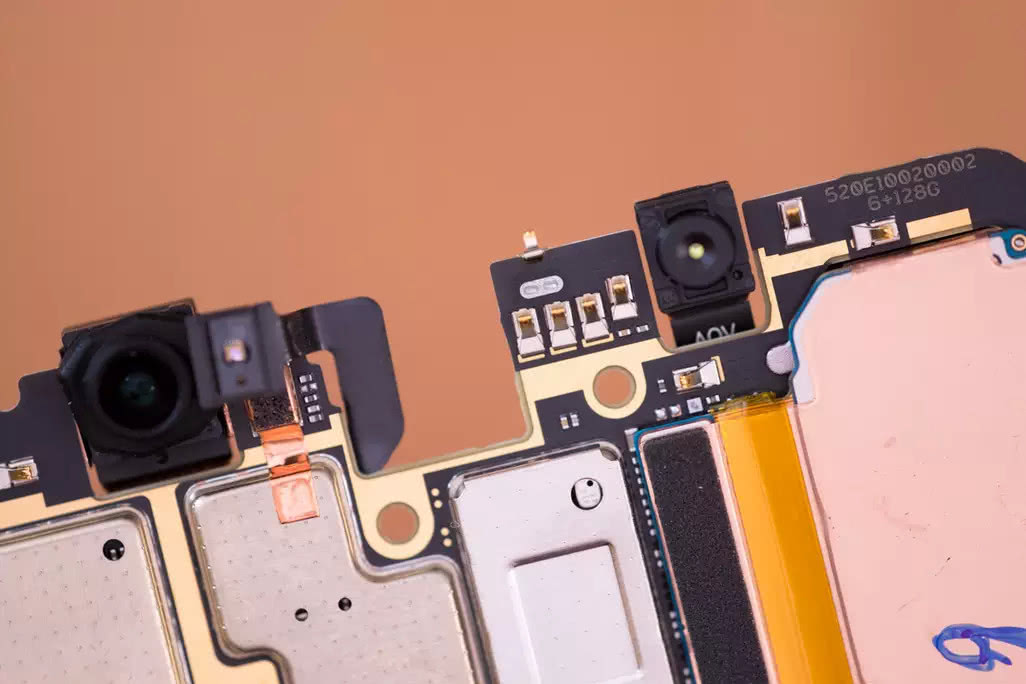
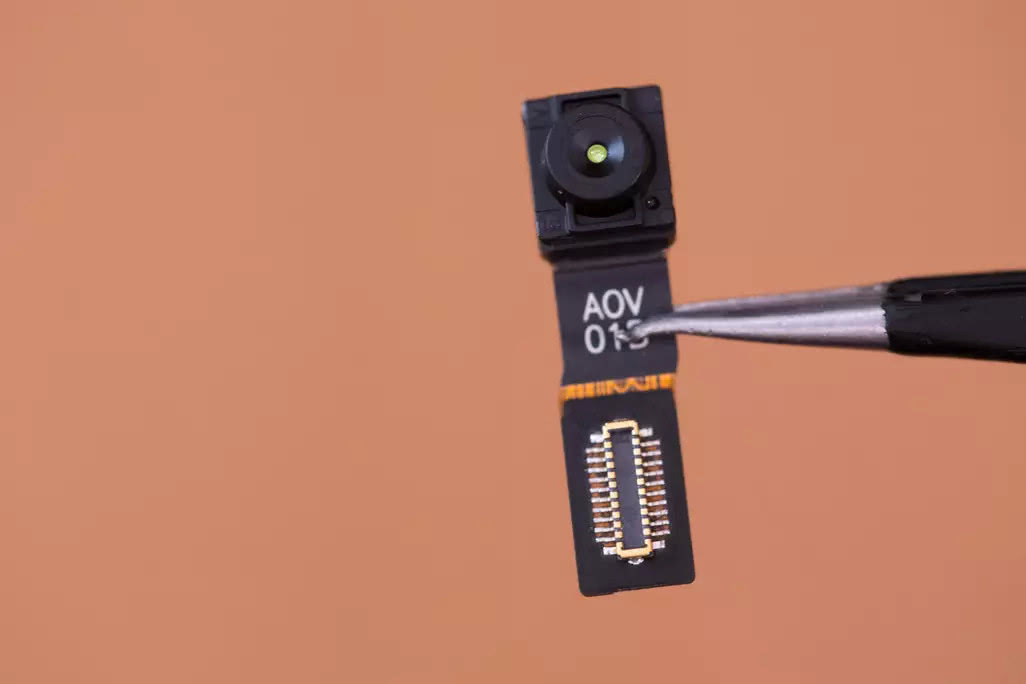
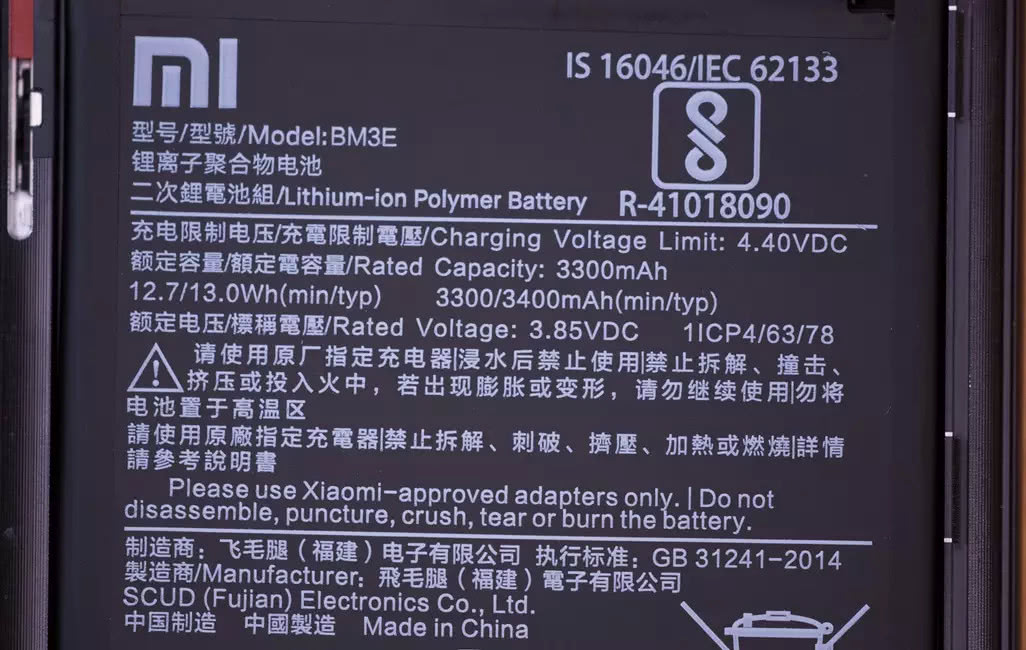

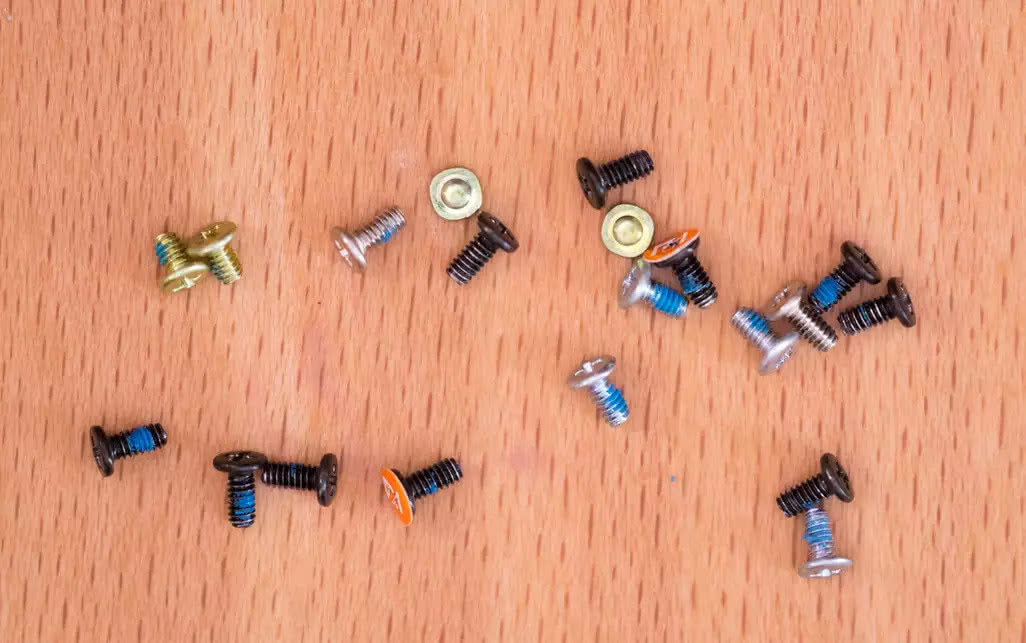
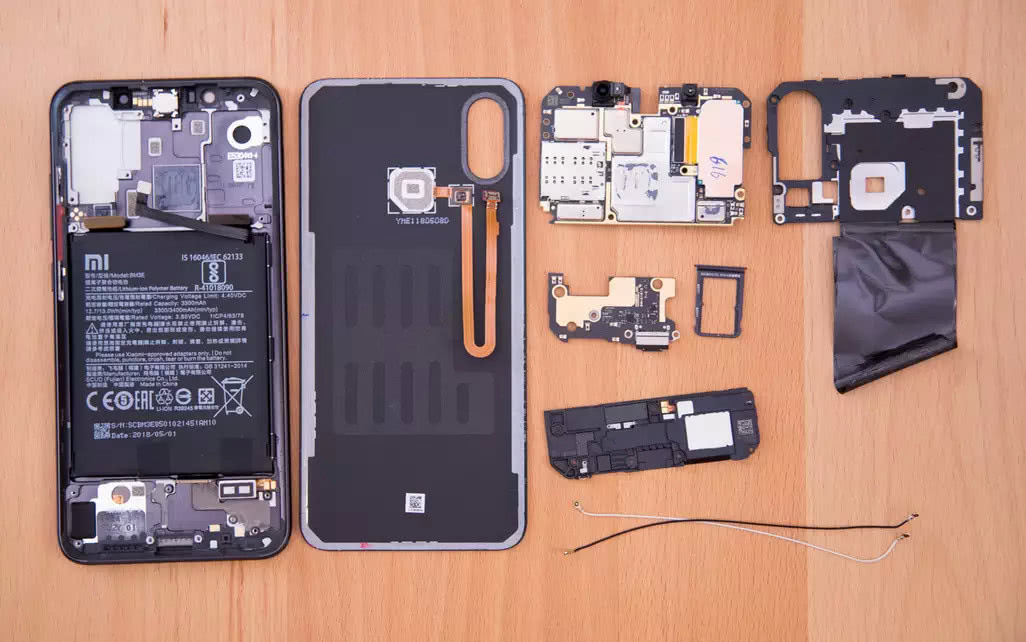
The phone features a front camera, a selfie camera, and an infrared camera. Twenty screws of two different sizes were removed during disassembly. It has a built-in 3400 mAh battery manufactured by SCUD. The phone uses a linear vibration motor.
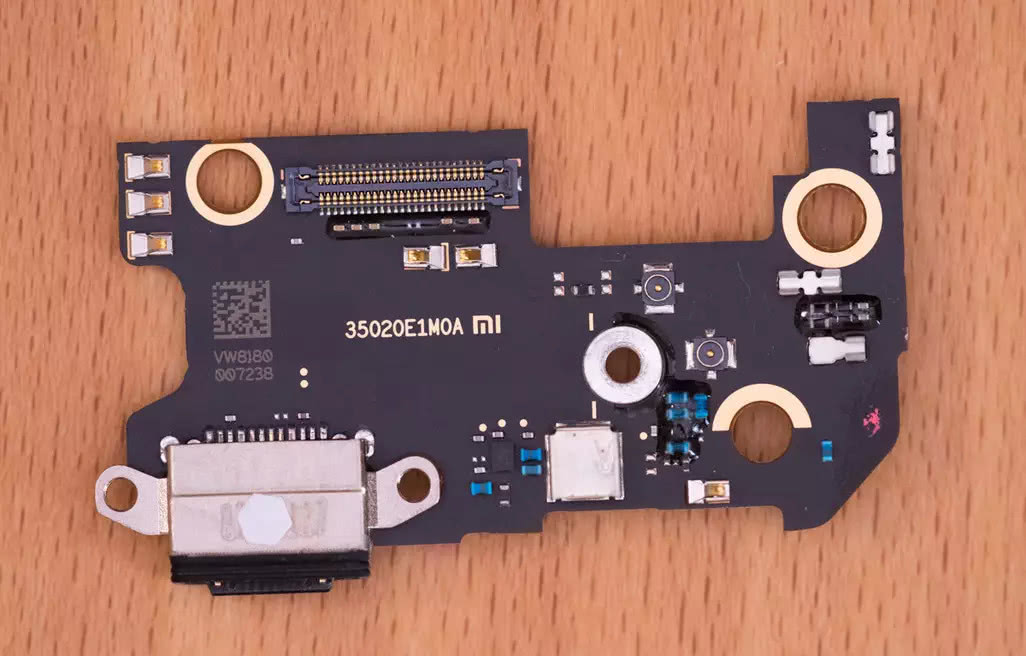
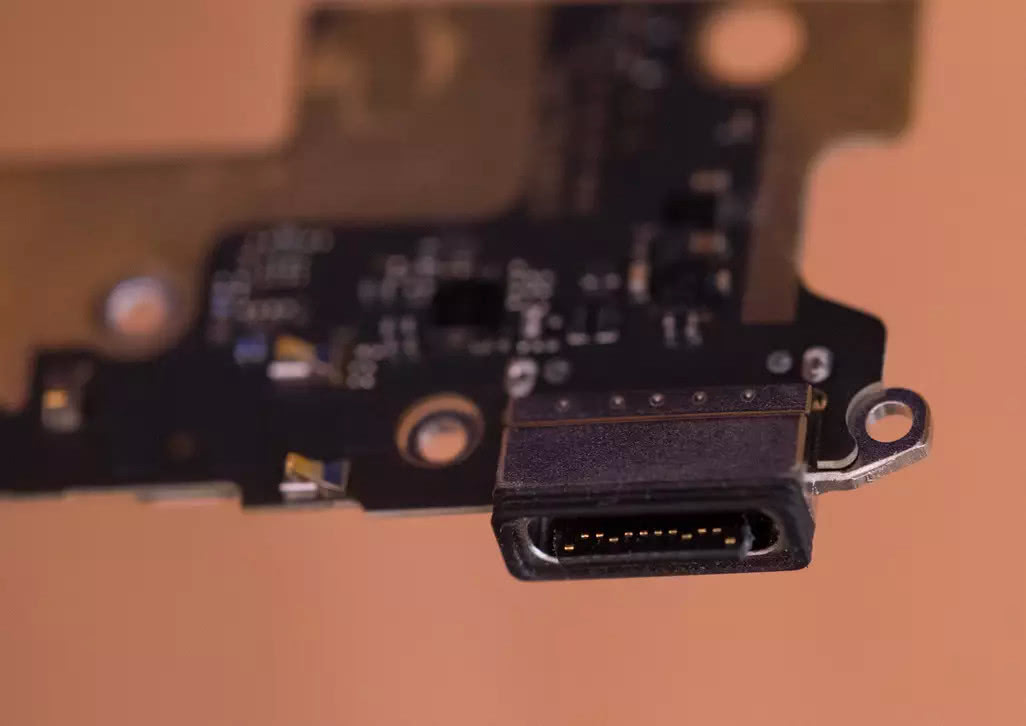

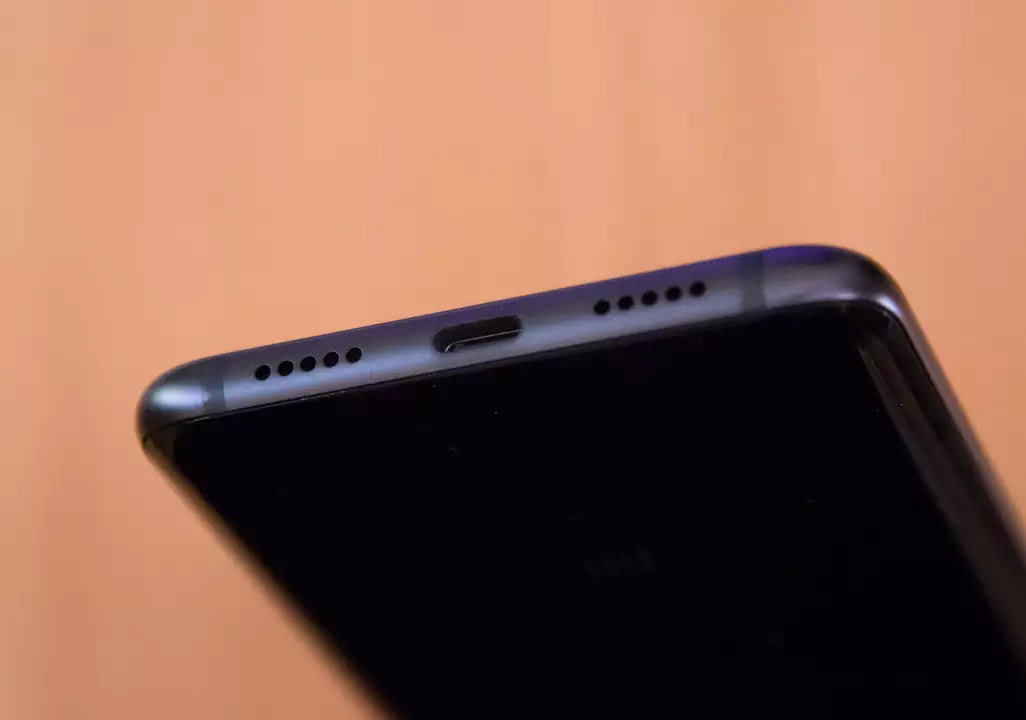
The metal contacts of the microphone, the infrared LED, and the Type-C port are integrated onto a sub-board. The back of the sub-board is attached to the phone body with double-sided tape. At this point, the teardown of the Xiaomi 8 is complete.

Hello
Where are the GPS chip and the GPS antenna?
Thanks
Cecile
Because its metal shield is soldered directly to the motherboard, we have no way to access the chip.
Can you show us where the GNSS chip is located on a motherboard image, please?