
In this guide, I will explain how to disassemble the Asus MeMO Pad 8 to remove the back cover, battery, rear camera, front camera, and motherboard.
Want to keep in touch with us? Follow us on Facebook for more repair news.
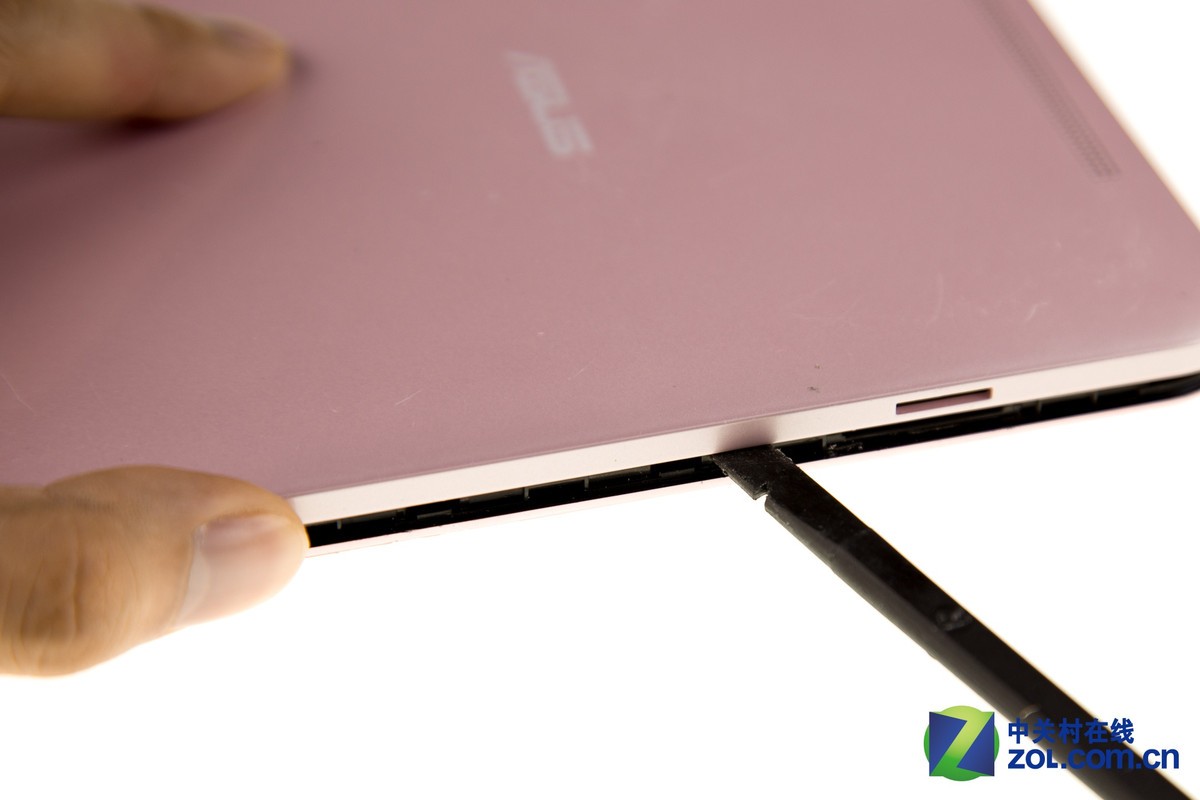
The back cover of the ASUS MeMO Pad 8 is made of plastic. The back cover is secured by several clips and can be removed by simply prying it up with a tool.
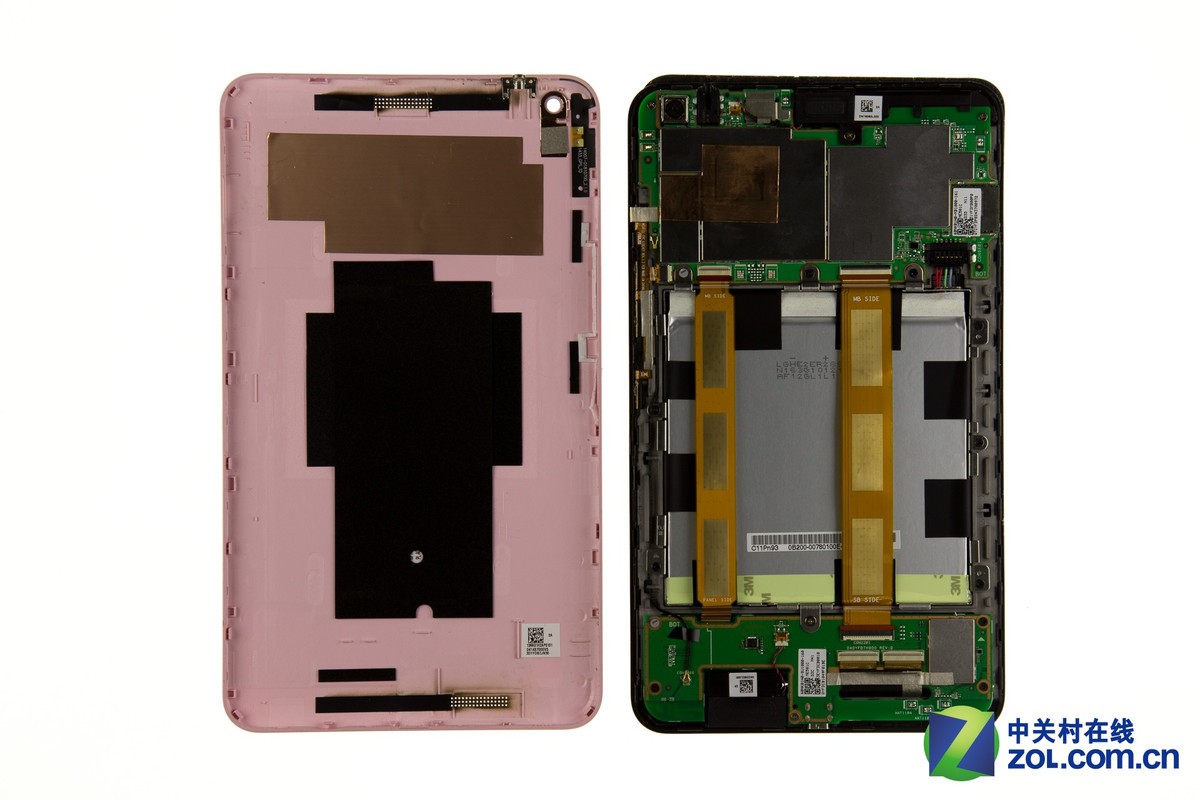
After removing the back cover, you can access the internal components of the ASUS MeMO Pad 8.
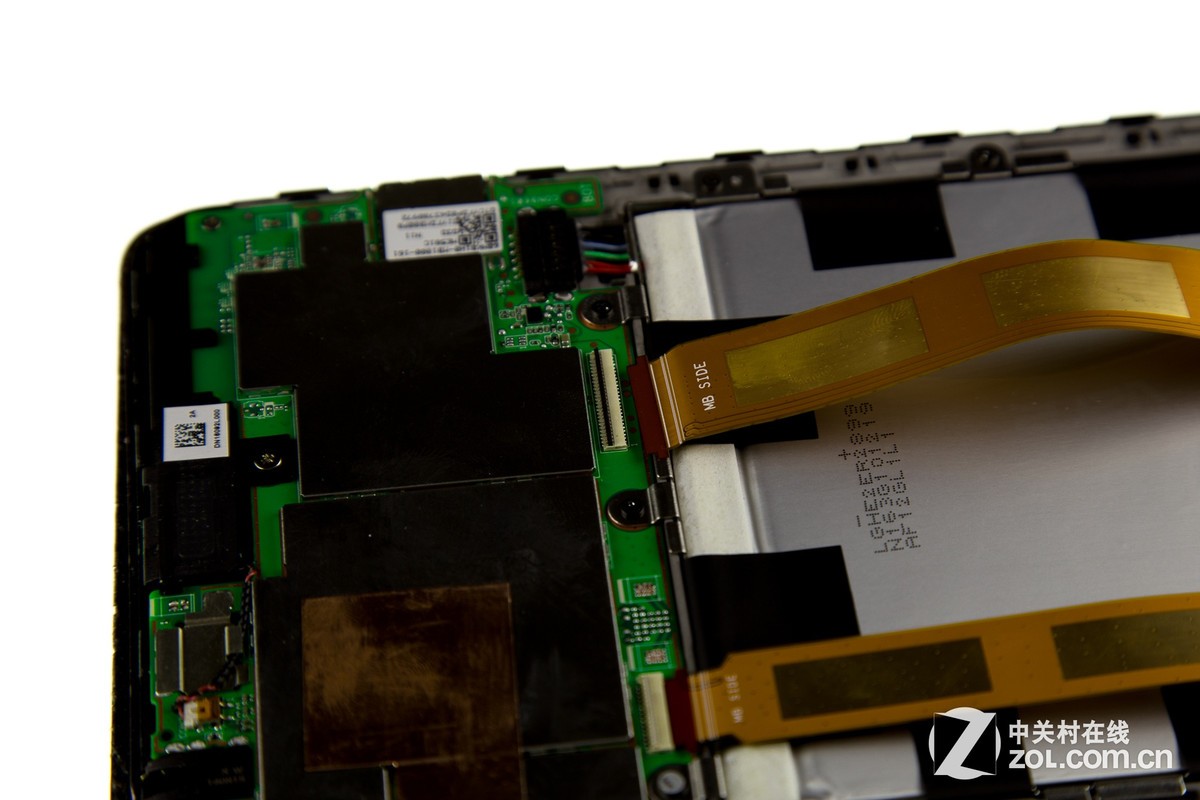
The LCD display cable is located on the left side, while the data transfer cable is on the right.
Unlock the connector and disconnect the two cables.
The Wi-Fi antenna of the MeMO Pad 8 is integrated into the back cover.
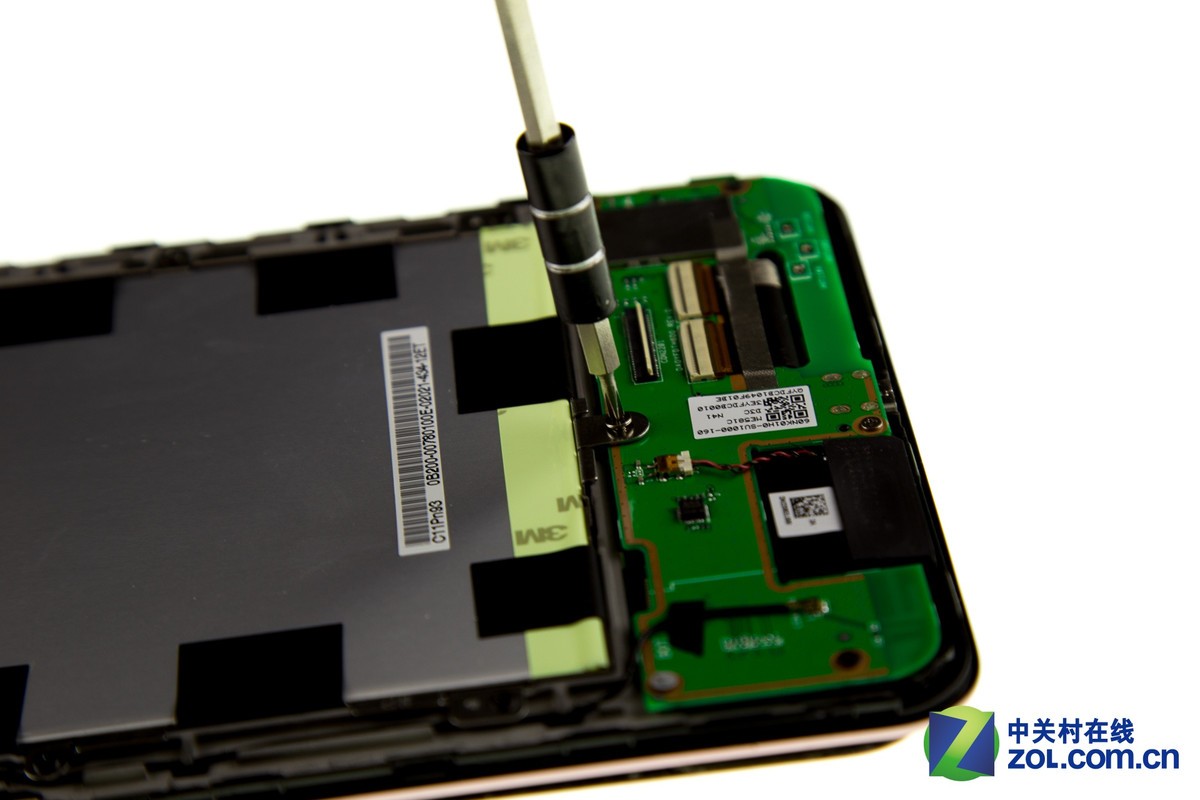
Remove the nine screws securing the battery.
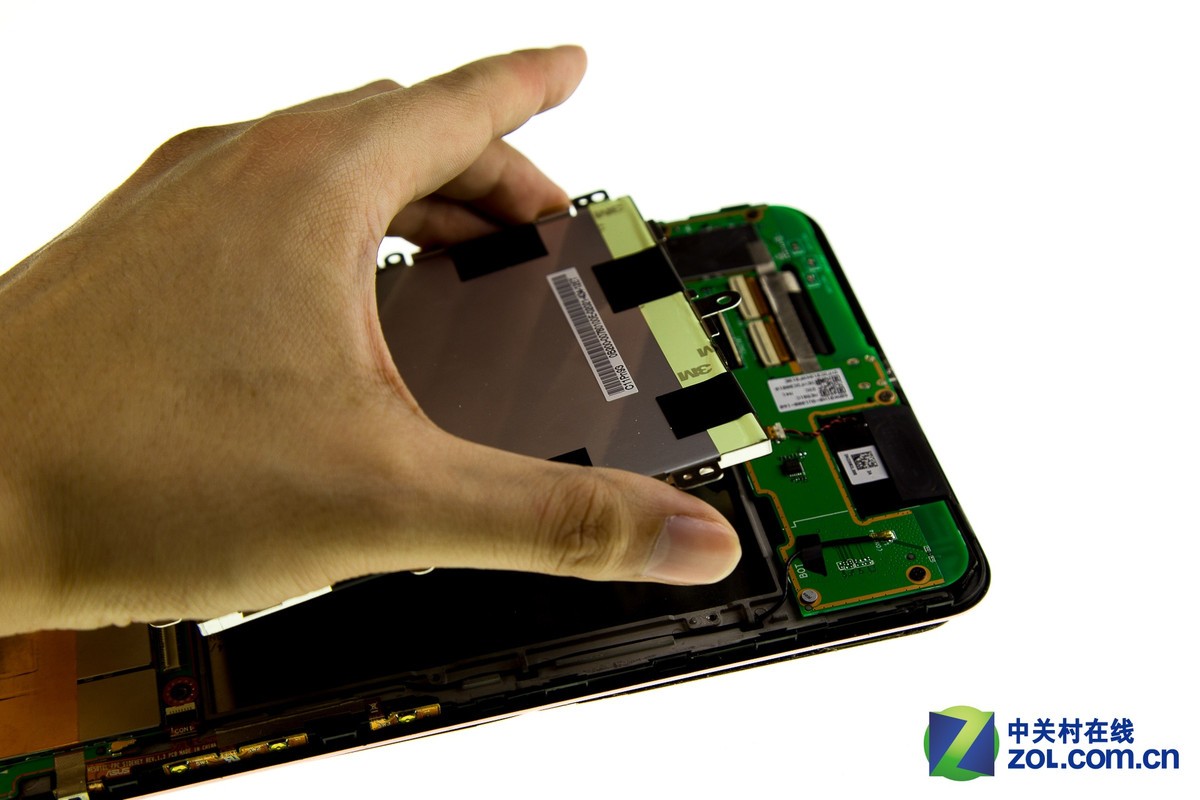
Lift and remove the battery.
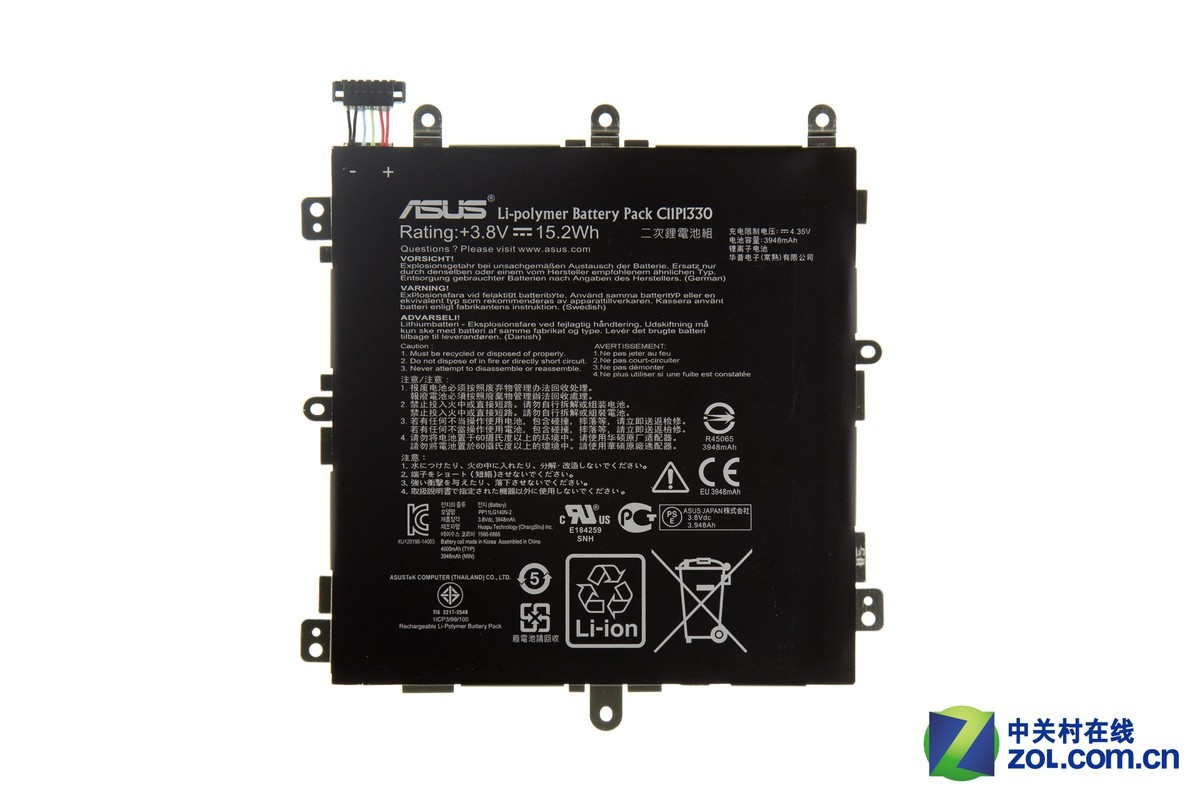
The Asus MeMO Pad 8 comes with a 3.8V, 3948mAh, 15.2Wh Li-ion battery, and the Asus part number is C11P1330.
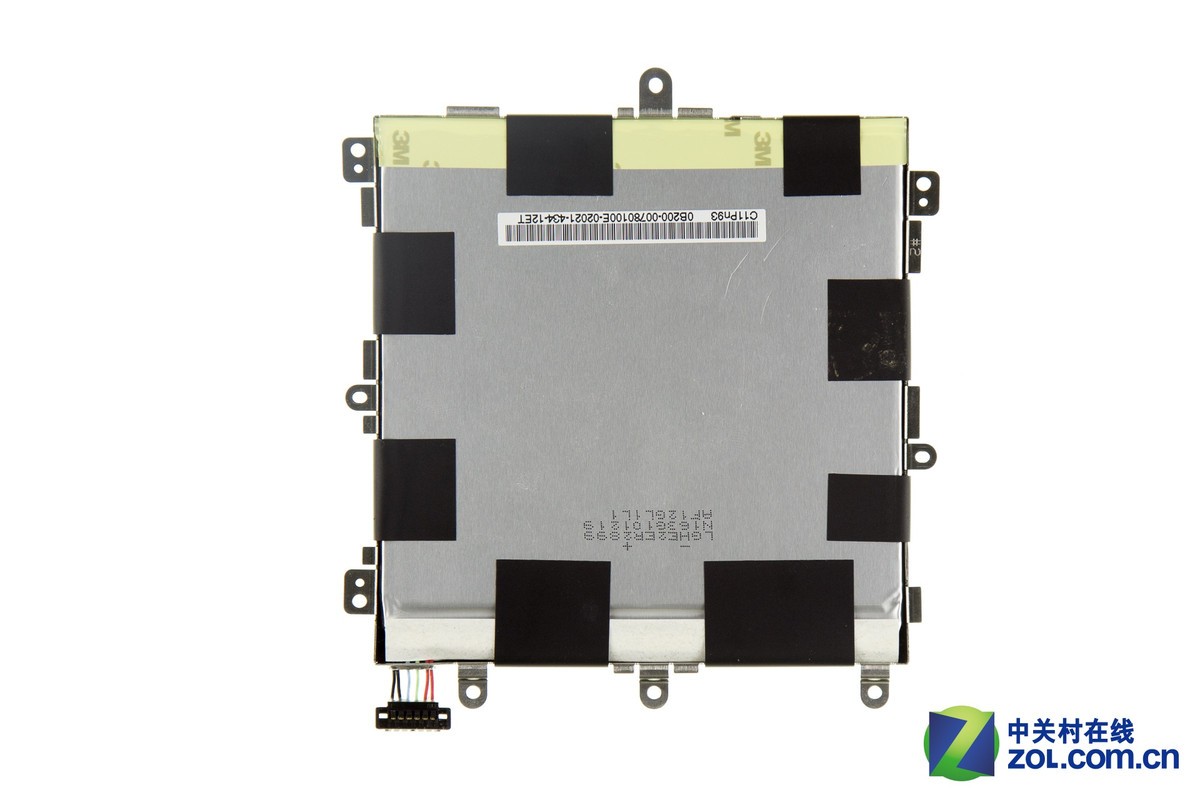
The battery is secured to the metal bracket with black tape.
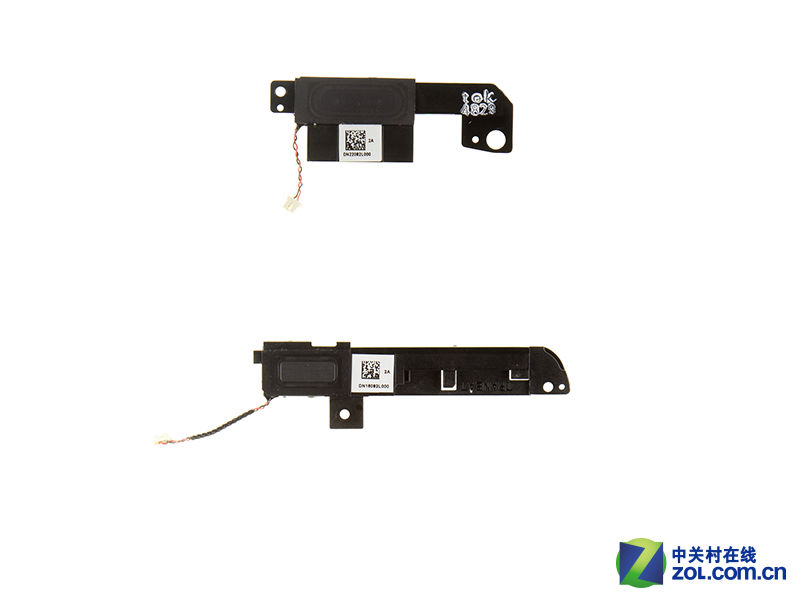
The Asus MeMO Pad 8 features dual speakers located at the top and bottom of the body.
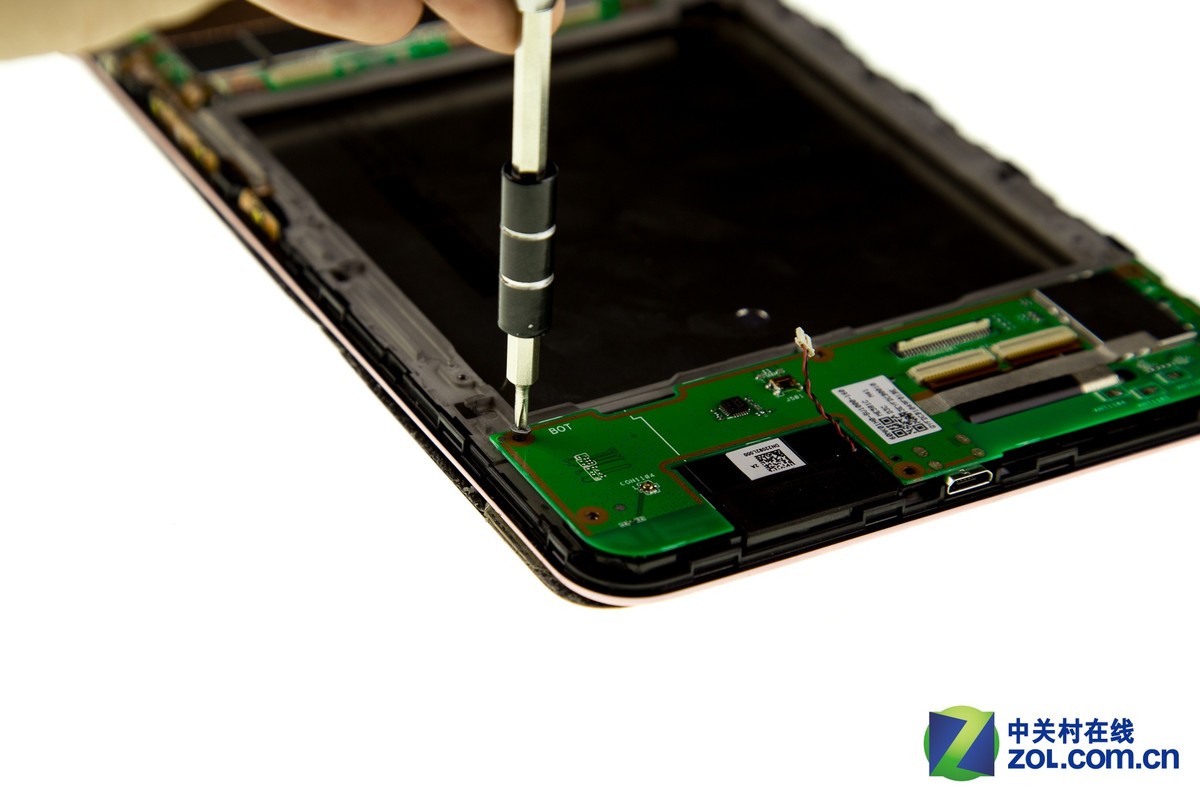
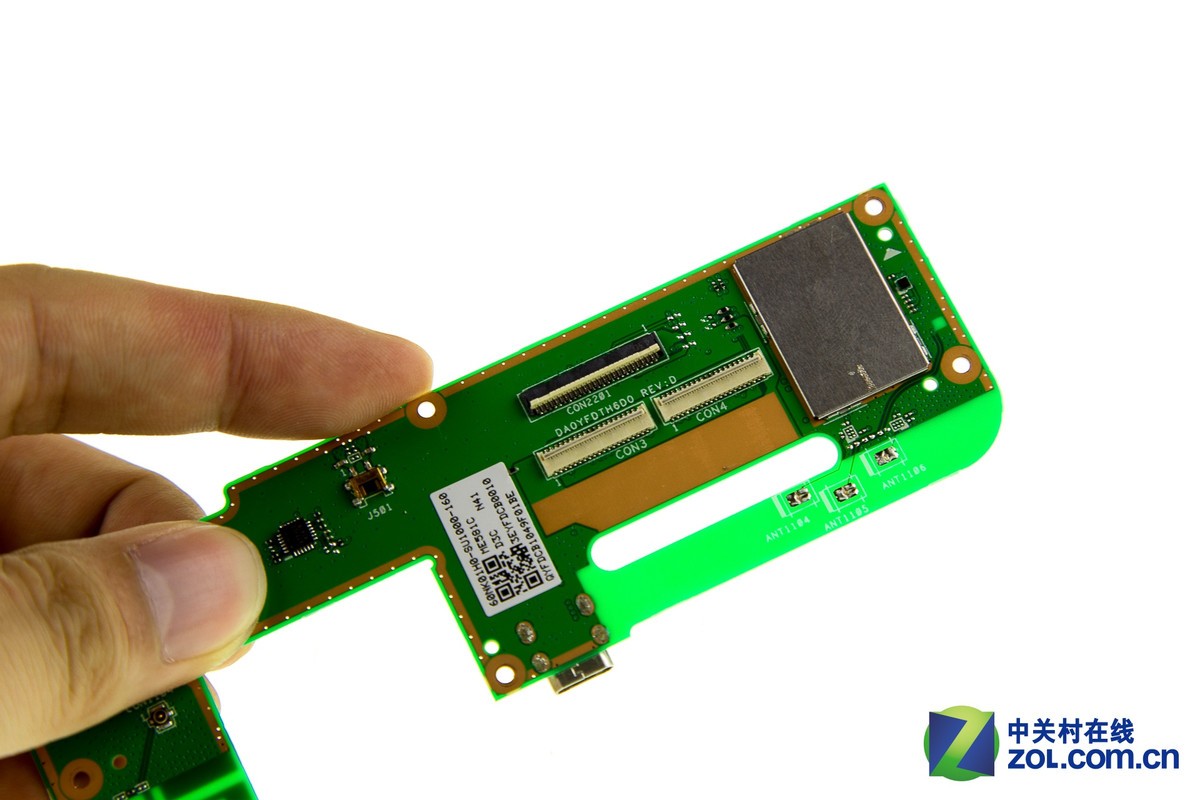
There are five screws securing the small board.
Remove the screws securing the circuit board and disconnect the ribbon cable. Use a pry tool to lift the circuit board from the bottom and remove it.
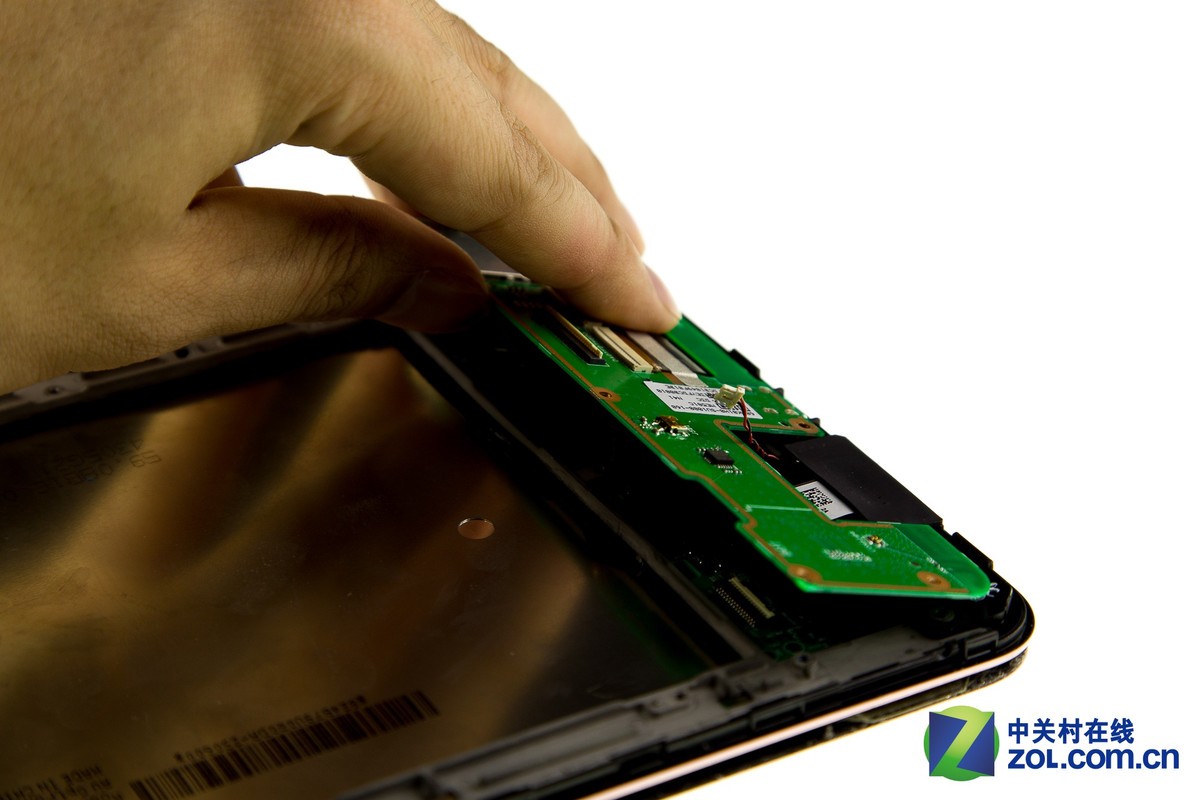
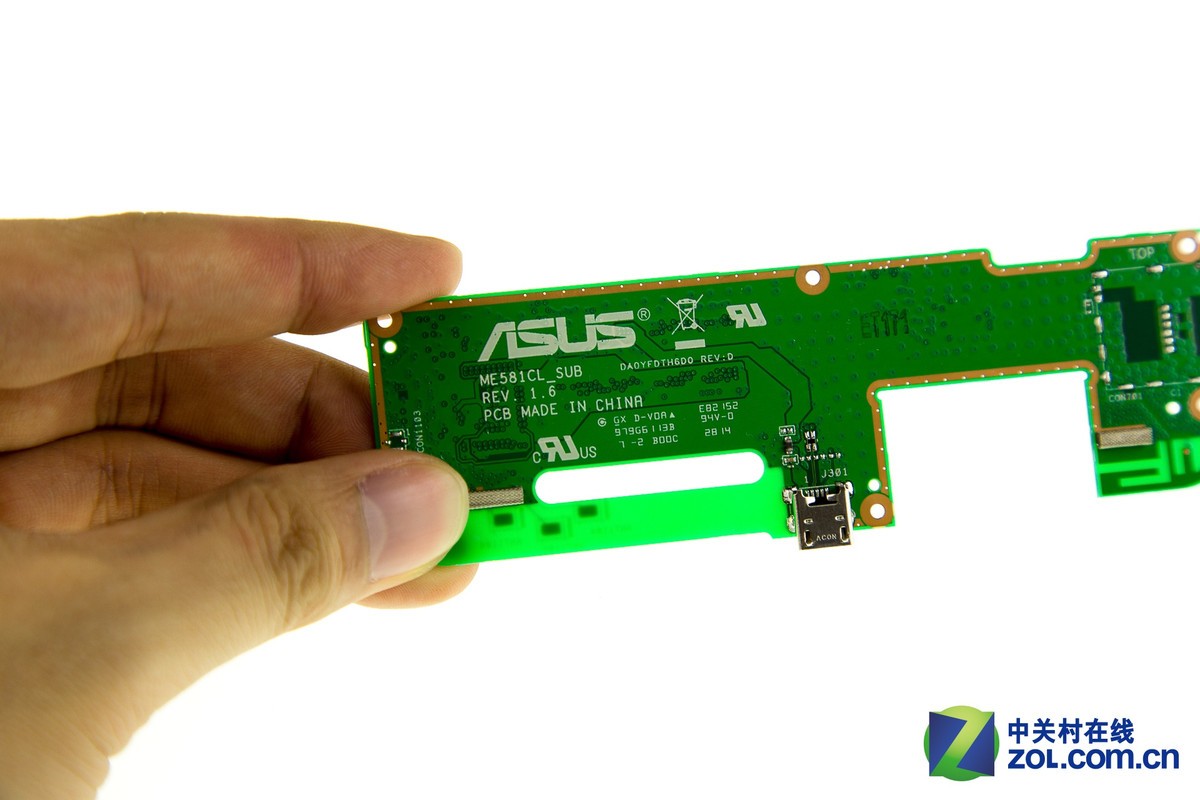
There are three connectors on the circuit board.
Remove the three screws securing the motherboard and remove the motherboard.
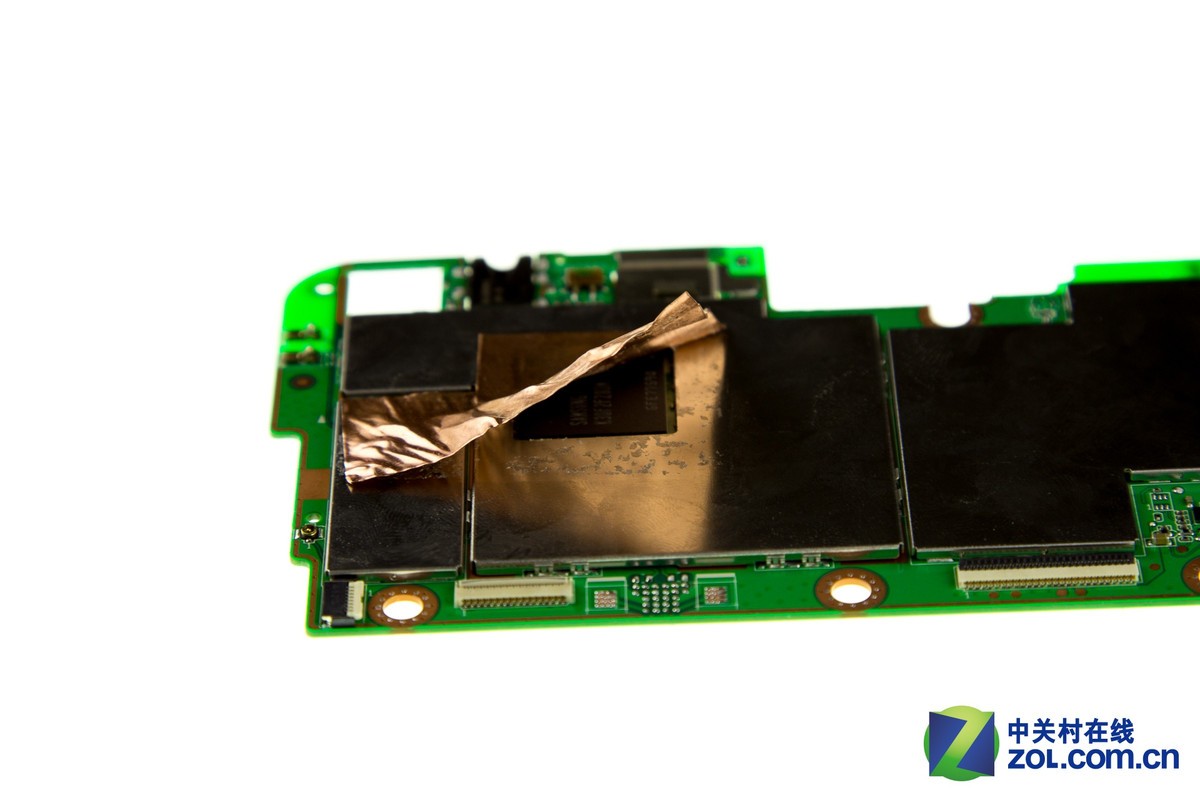
The motherboard is covered with some metal shields. On the metal shield, there is a layer of sheet metal. The sheet metal is mainly responsible for cooling the chips.
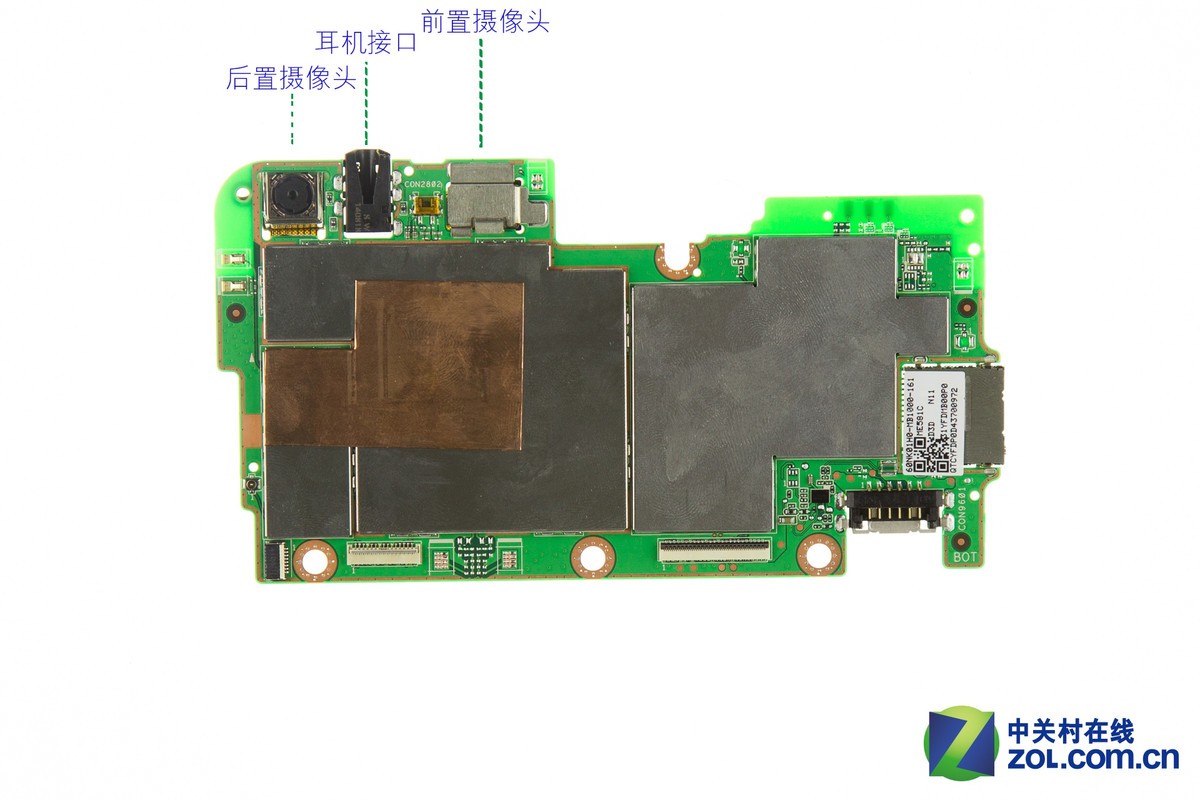
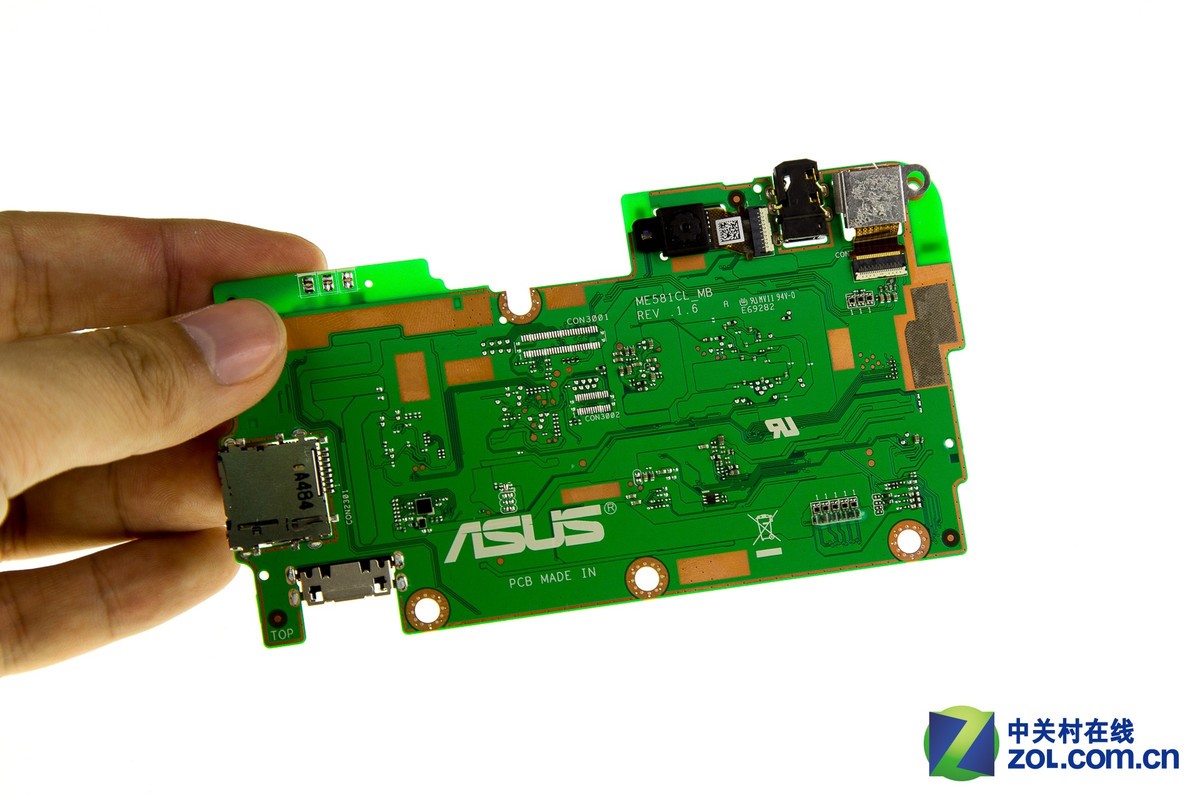
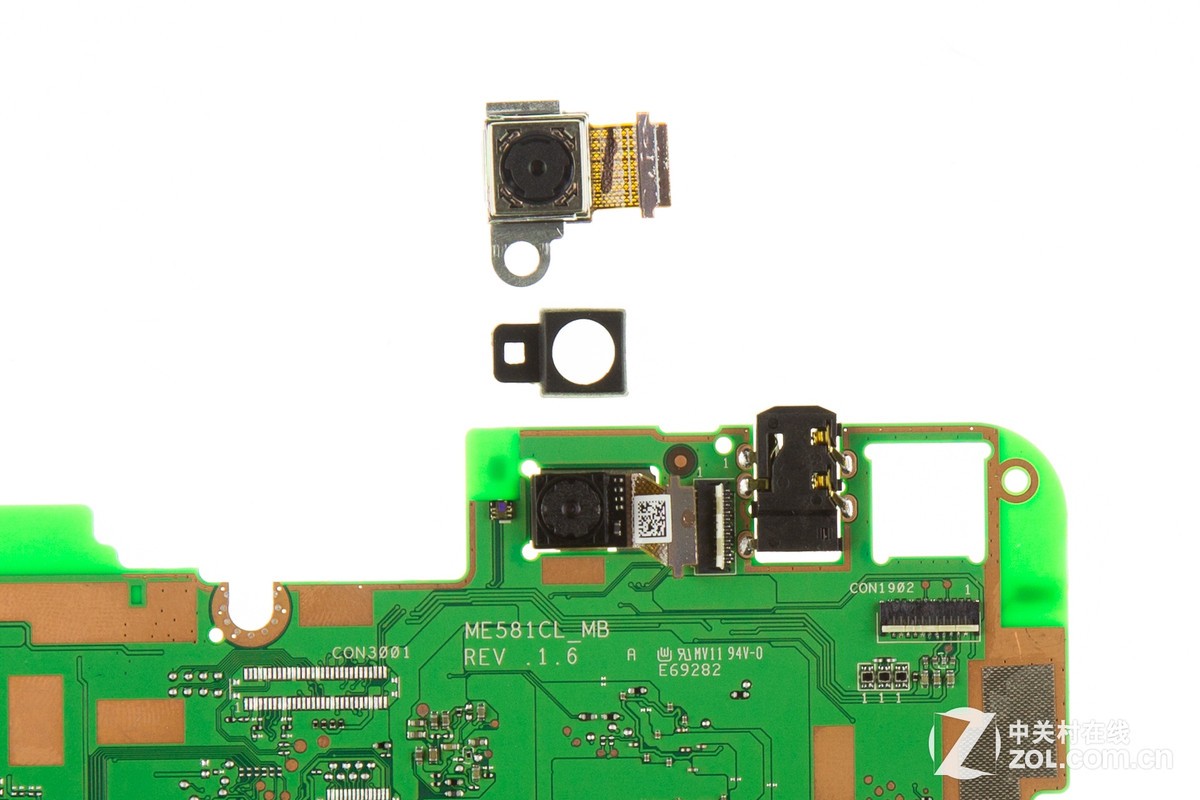
The motherboard integrates a front camera, a rear camera, and a 3.5mm headphone jack.
Remove the metal sheet.
Asus MeMO Pad 8 motherboard
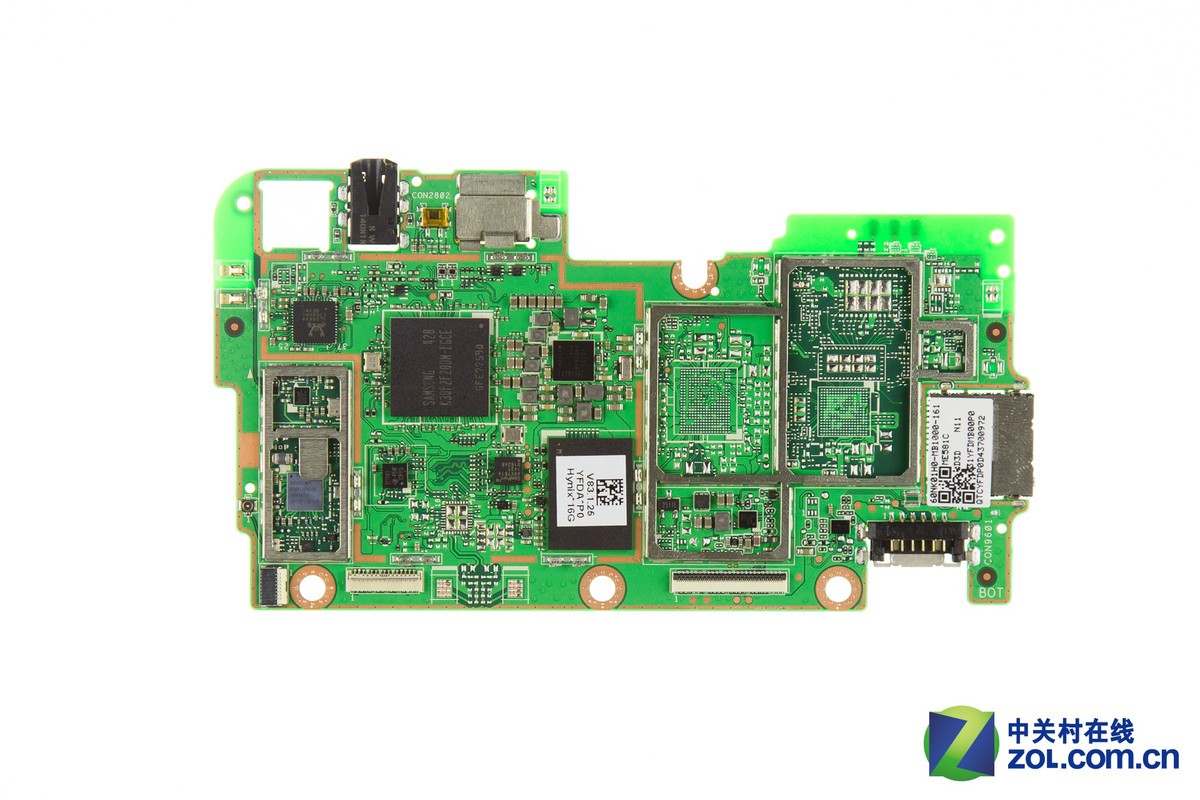
The back of the motherboard
Rear camera and front camera
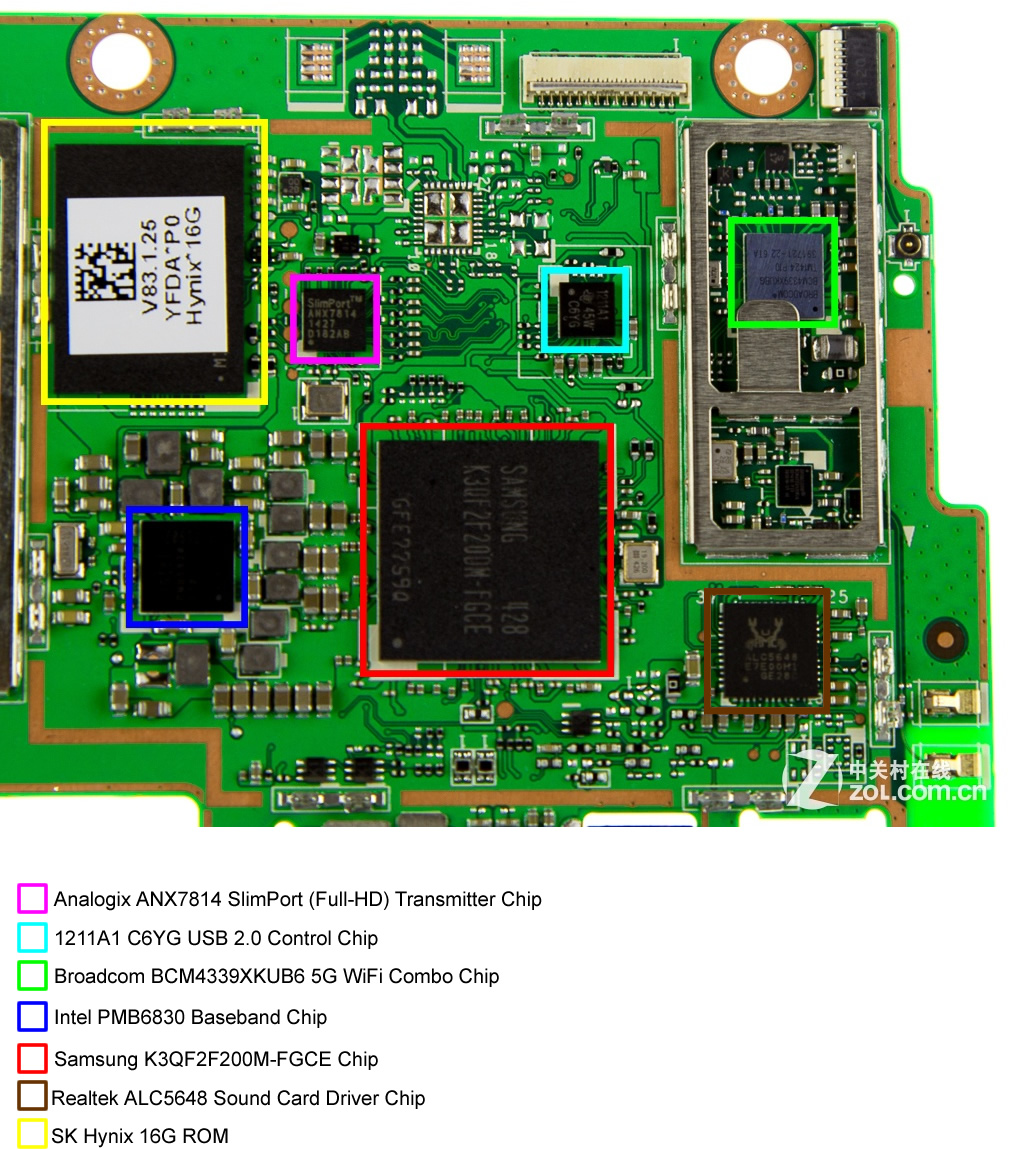
Chips on the back of the motherboard

Chips on the front side of the motherboard
Source: zol.com.cn
Unfortunately, I can’t start the tablet after disassembly. What do you think the problem is? (I’m doing this because I want to know why the tablet still sees the headphones even after disconnecting it.)