
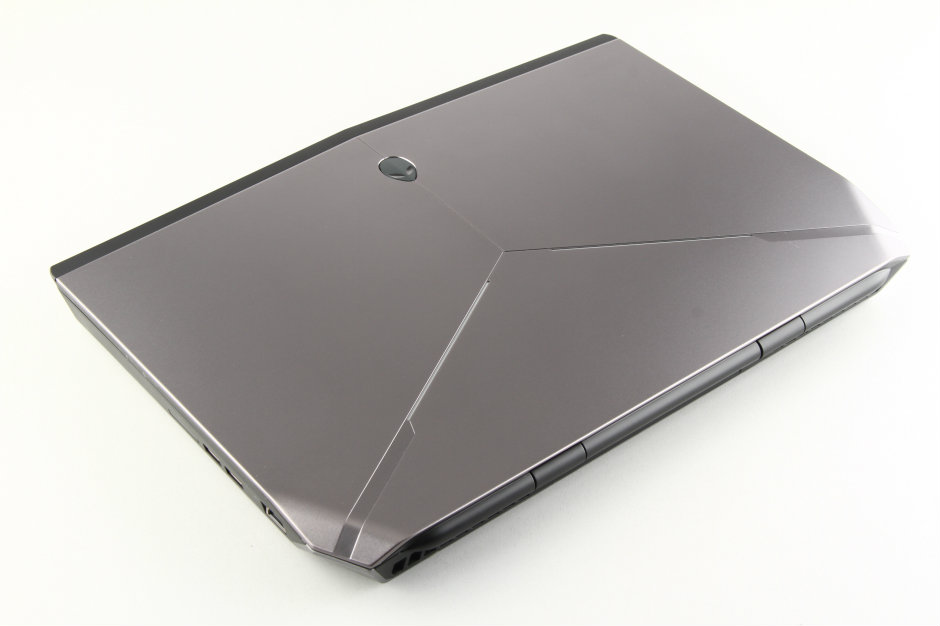
In this guide, I will explain how to disassemble the Dell Alienware 15 to remove the service cover, battery, RAM, SSD, hard drive, CMOS battery, keyboard, palm rest, display assembly, cooling fan, and motherboard.
Looking for more guides? Follow us on Facebook for all the latest repair news.
Remove the two screws securing the service cover.
Use a flathead screwdriver to pry up the service cover and remove it.
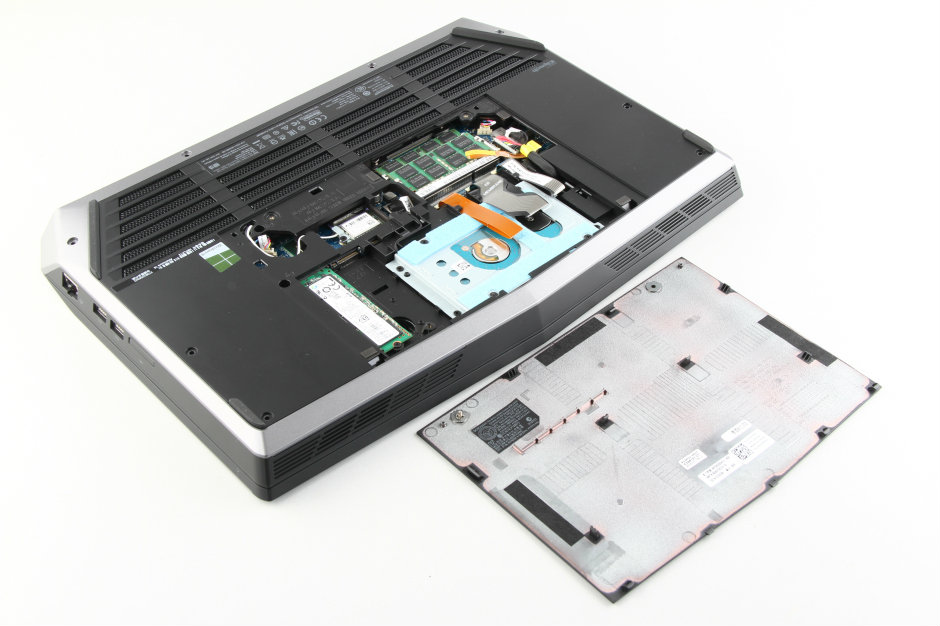
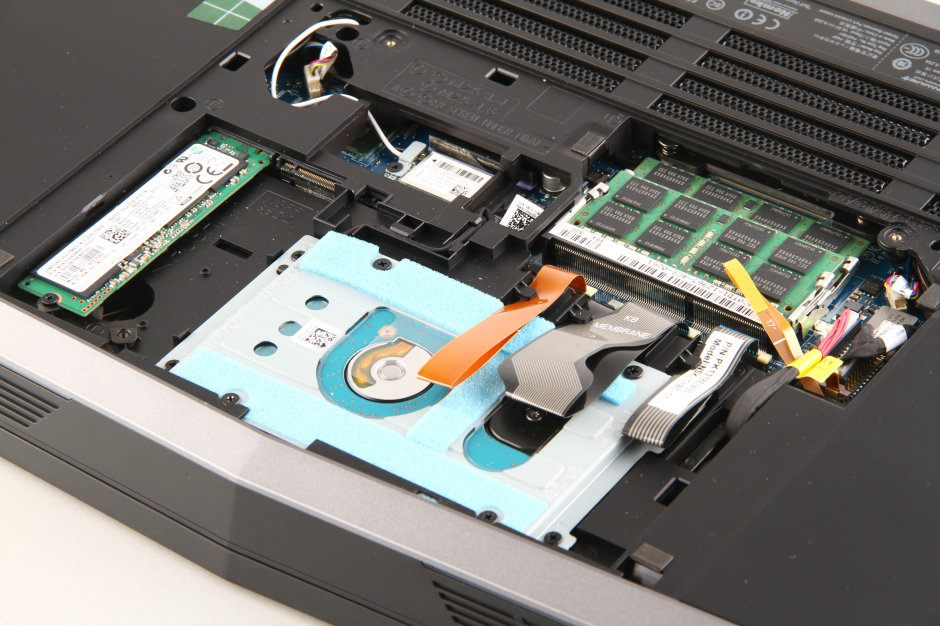
Under the cover, you can access the RAM, SSD, hard drive, and wireless card.
Use your nails to separate the clips on both sides and remove the memory module.
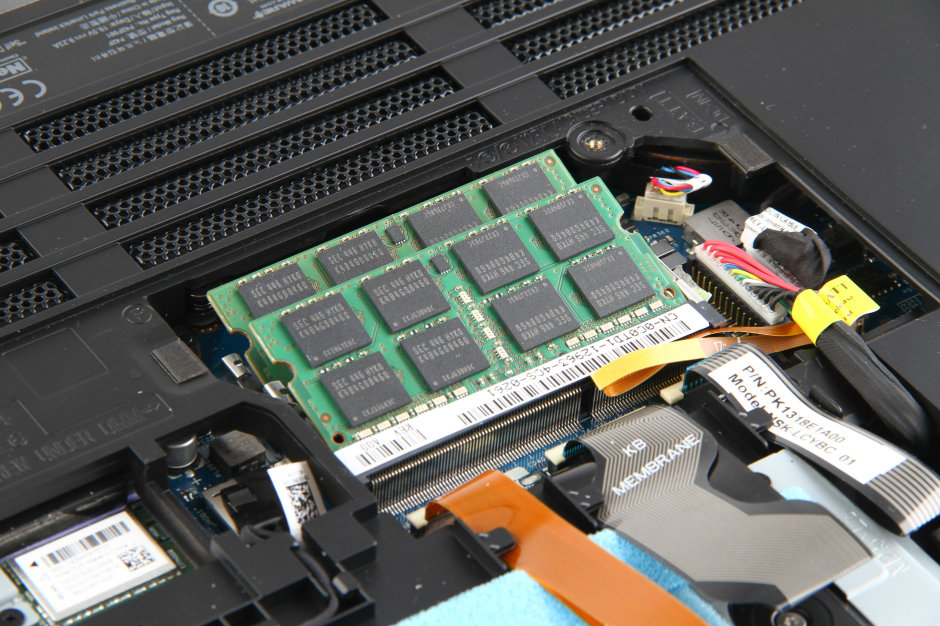
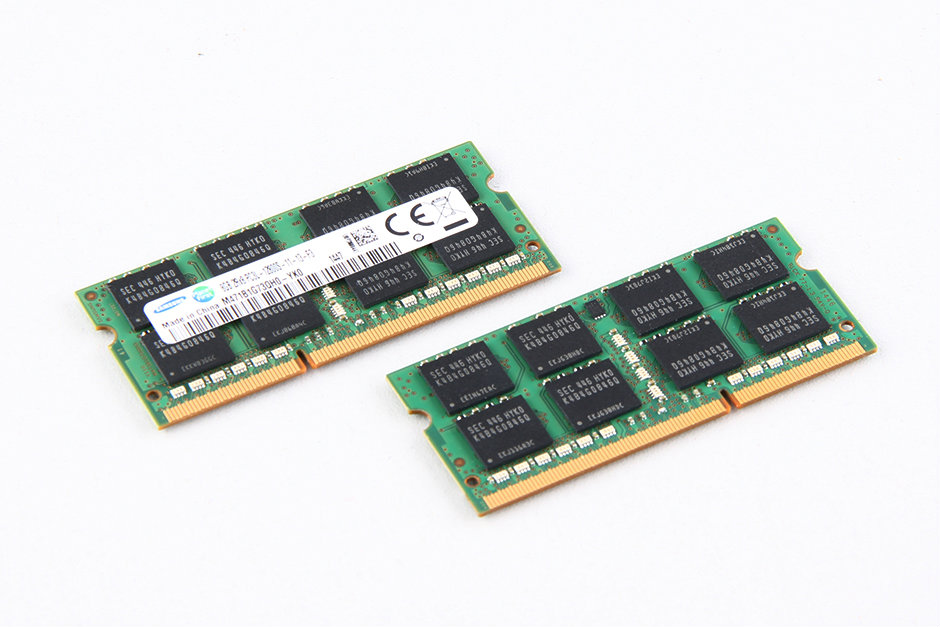
The Dell Alienware 15 comes with two 8GB PC3L-12800S RAM modules. If you need to upgrade your memory, you will need to replace the existing memory modules.
Remove the screw securing the SSD and pull the SSD out of the M.2 slot.
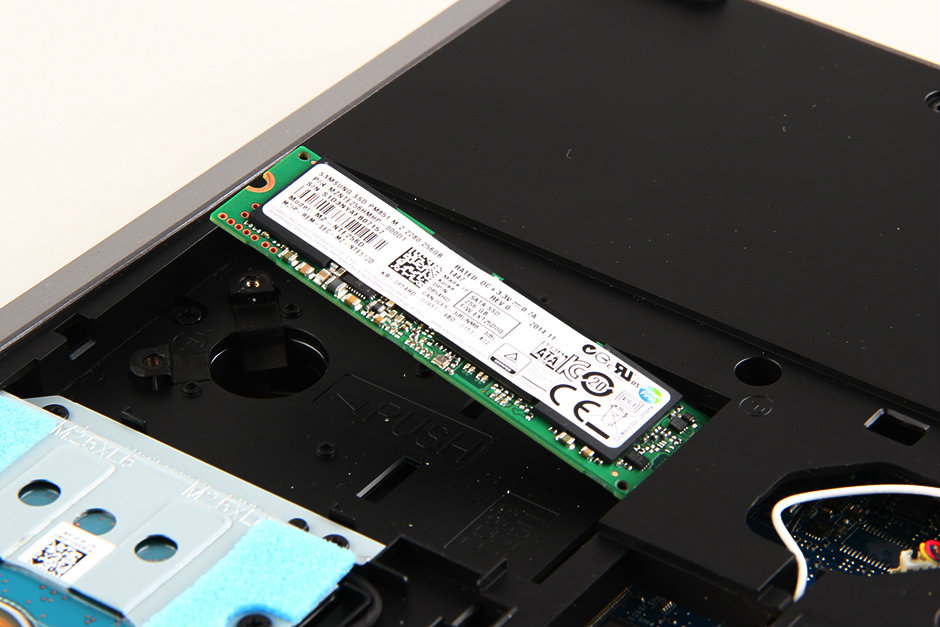
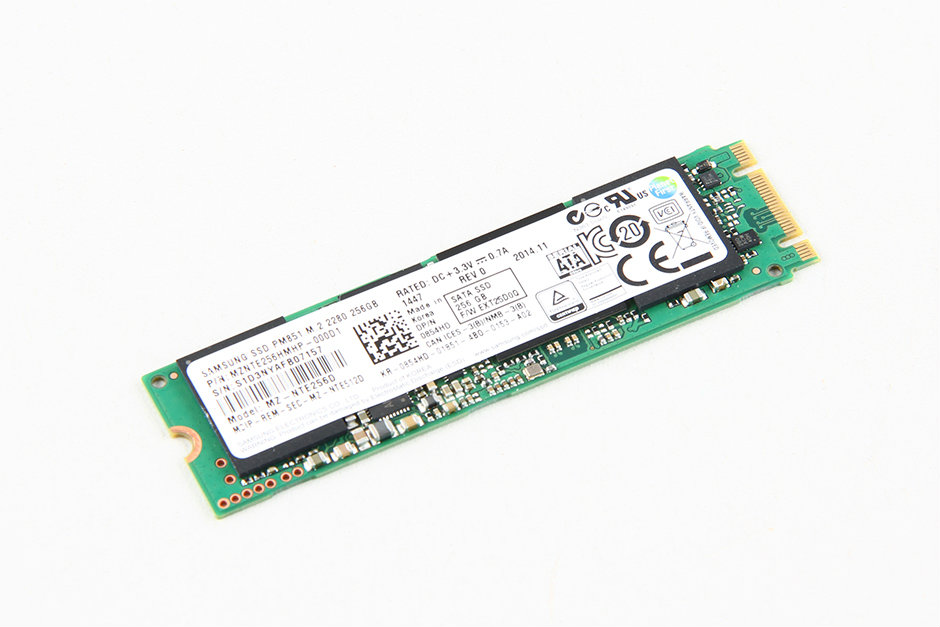
The Dell Alienware 15 features a Samsung 256GB M.2 NGFF SSD. This SSD is primarily used for installing the Windows operating system, and its 256GB capacity is more than sufficient.
Disconnect the HDD cable from the motherboard and remove the screws securing the hard drive.
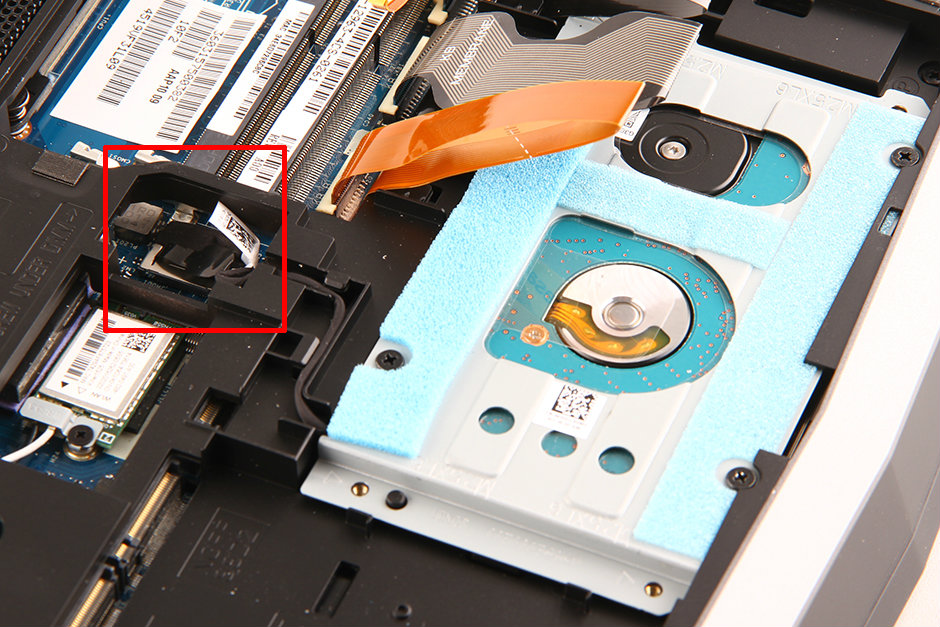
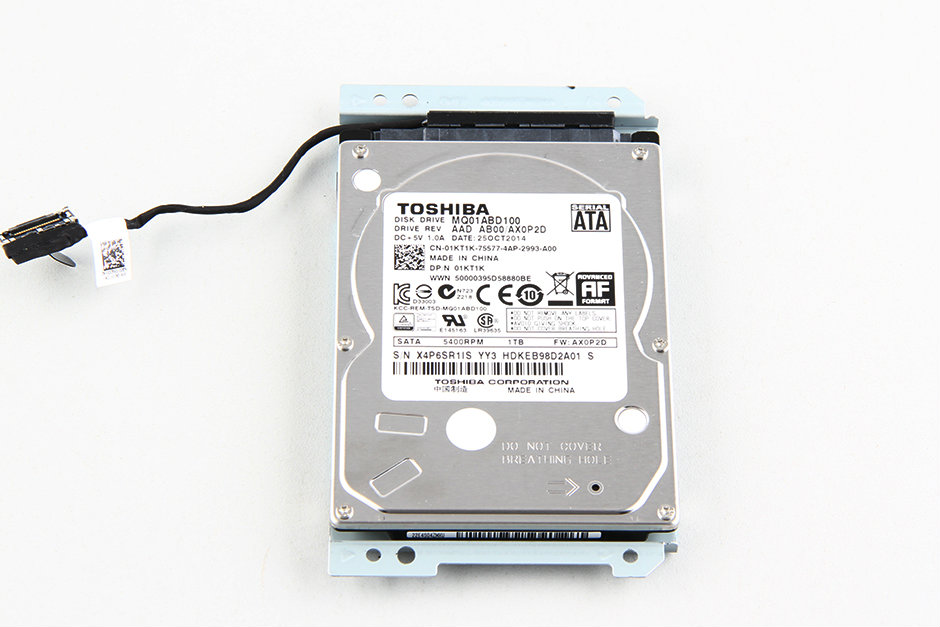
The Dell Alienware 15 features a Toshiba 1TB hard drive. It is mounted on a metal bracket. If you need to replace the hard drive, you need to remove it and install it on the new hard drive.
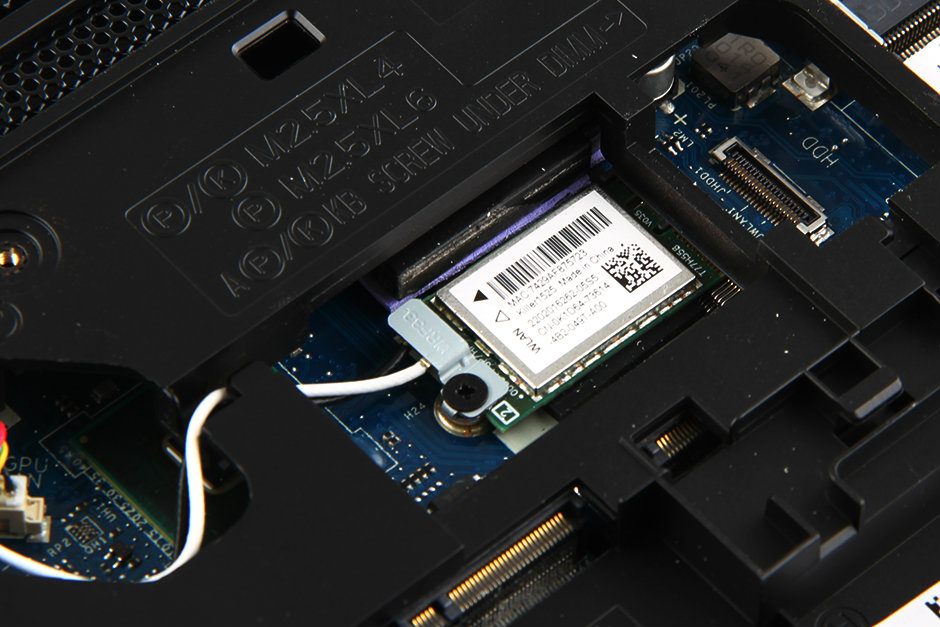
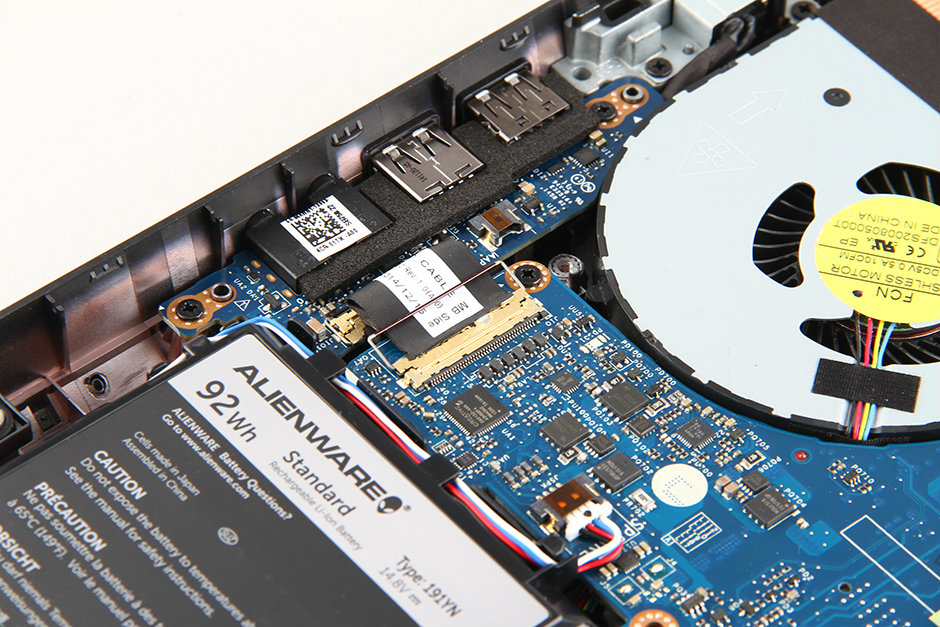
Remove the screw and disconnect the two antenna cables, and then the wireless card can be removed.
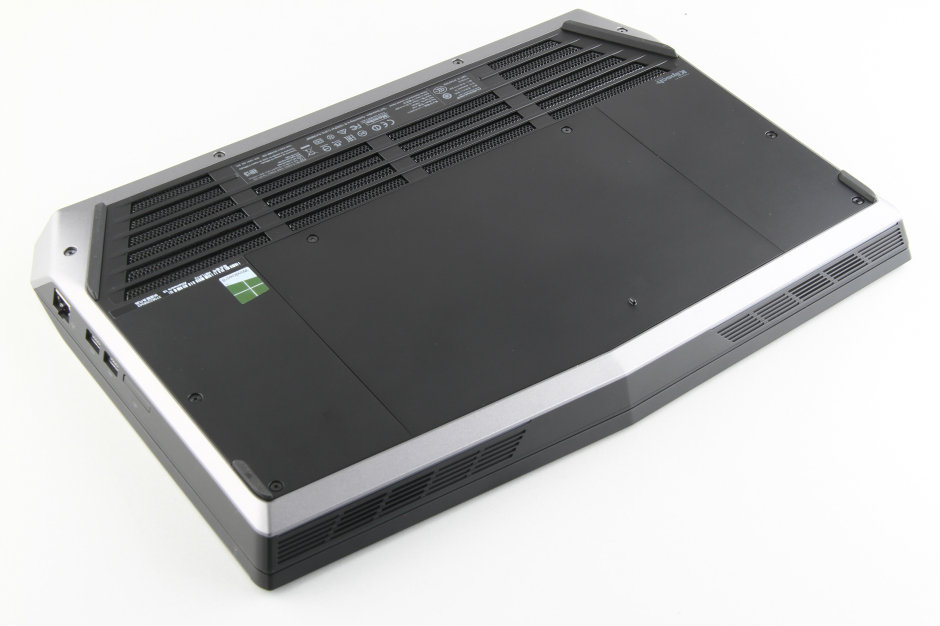
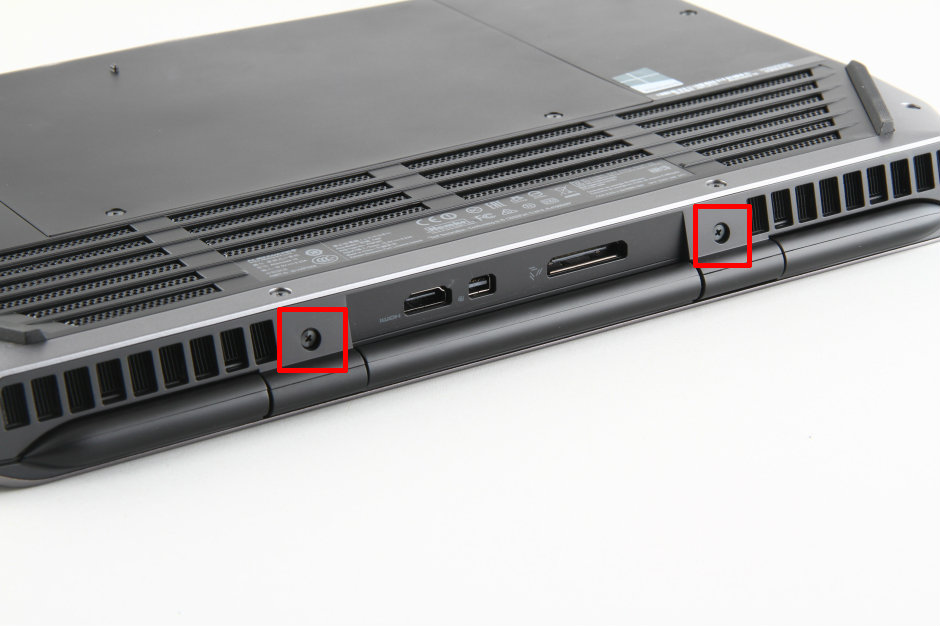
Remove all screws from the bottom cover, including the two screws on the rear of the laptop.
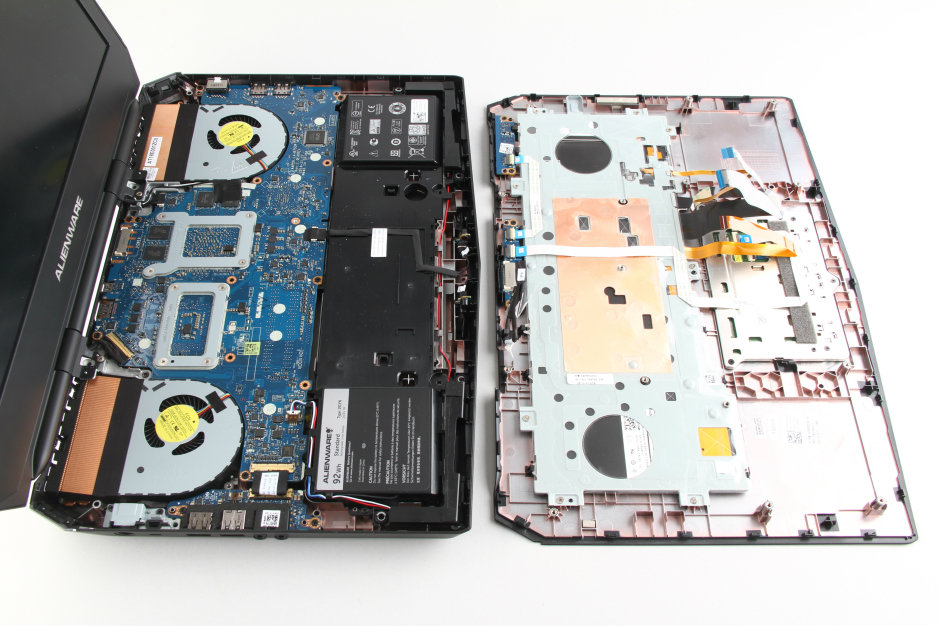
Insert a plastic pry tool under the palm rest. There are some clips on the palm rest to secure it to the chassis. Slide the pry tool to unlock all the clips. Once all the clips are unlocked, you can remove the palm rest.
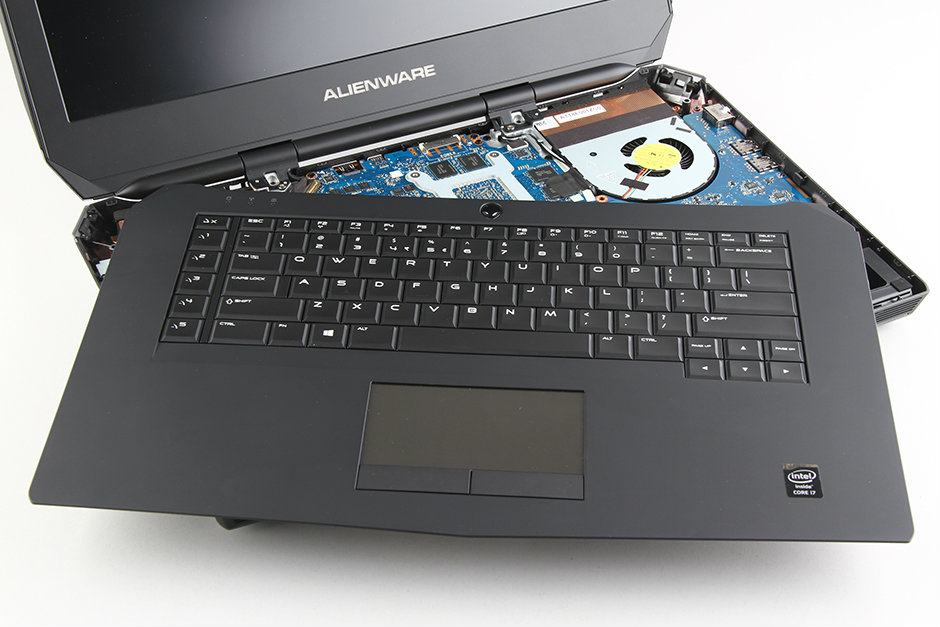
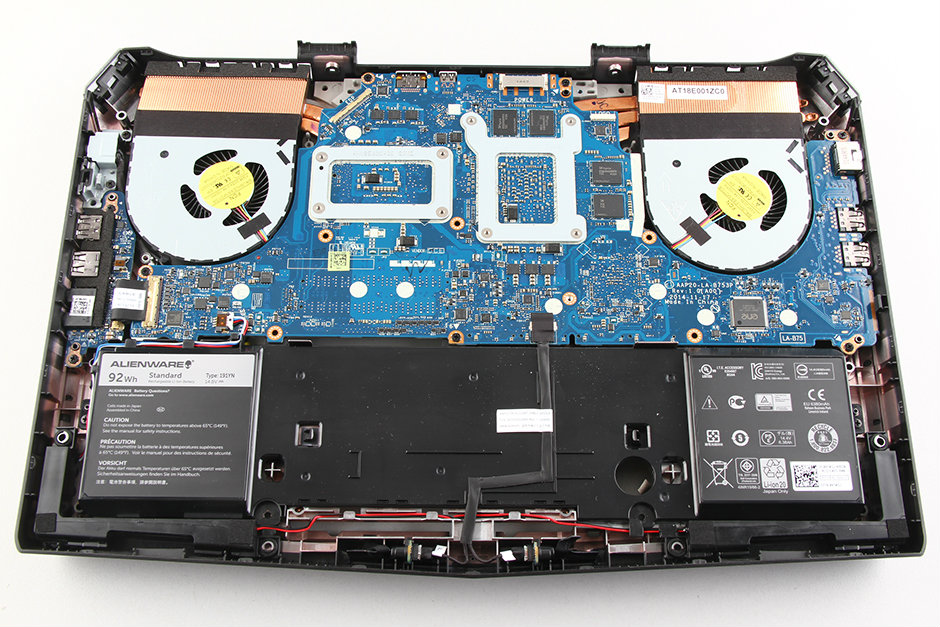
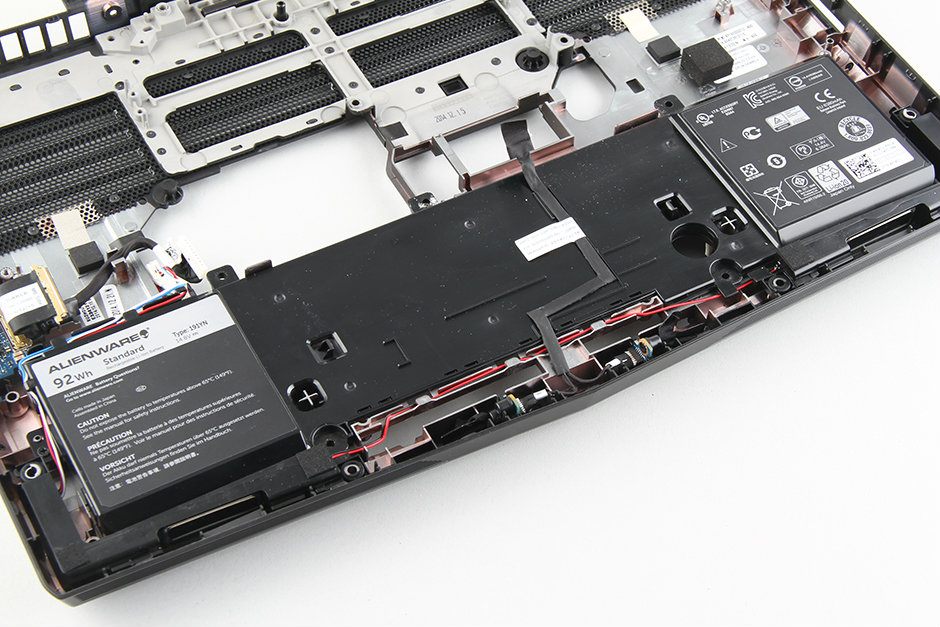
After removing the palm rest, you can access the battery, speakers, motherboard, and fan.
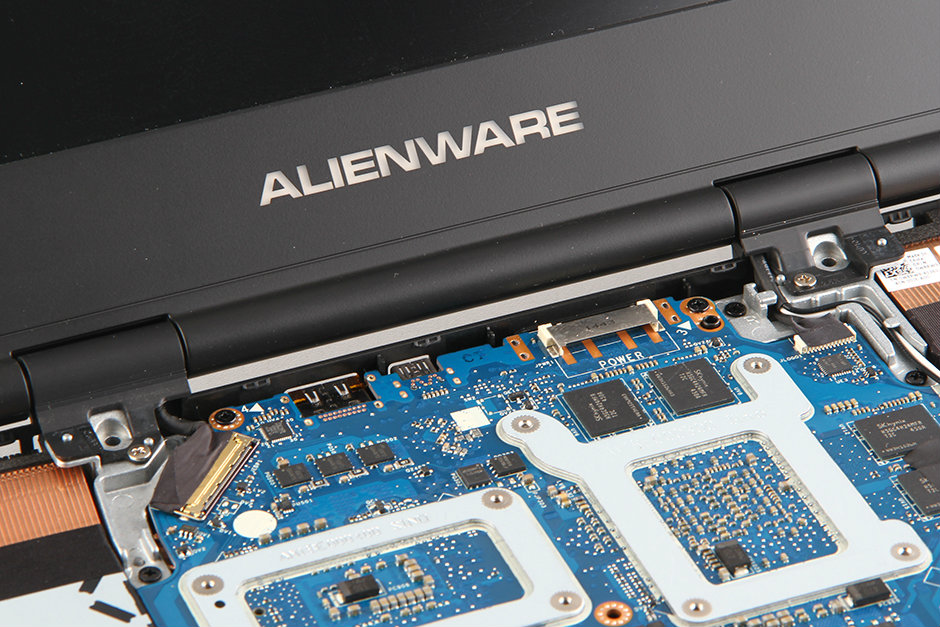
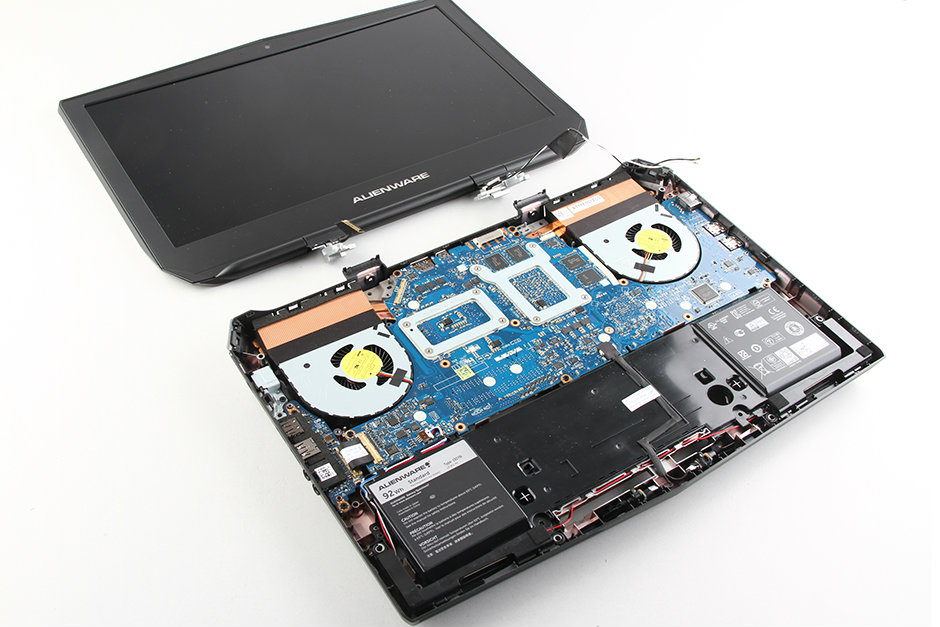
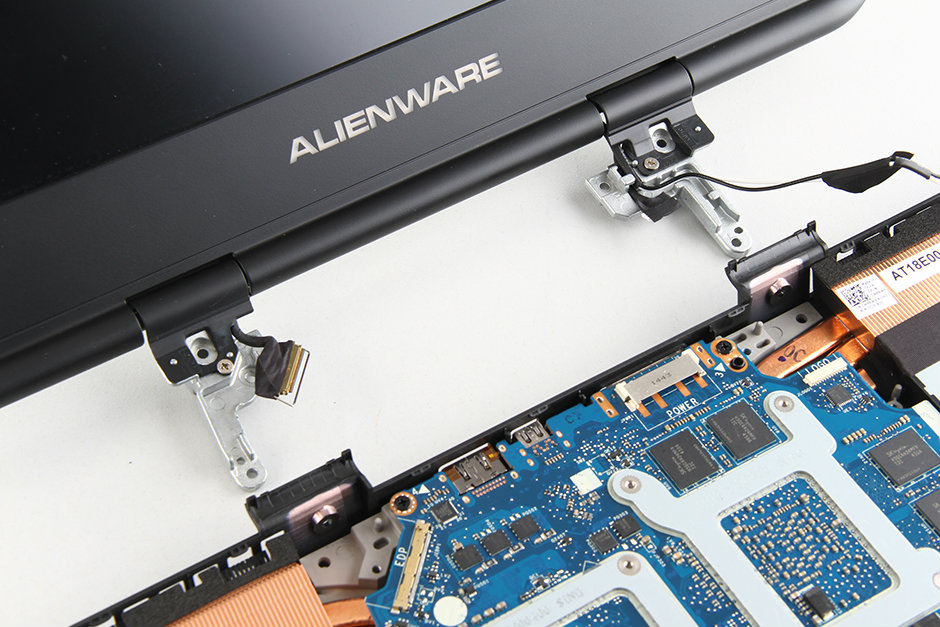
Remove the four screws securing the LCD hinge and disconnect the LCD cable from the motherboard.
Remove the screen assembly.
Remove all screws securing the motherboard.
Disconnect all the cables from the motherboard.
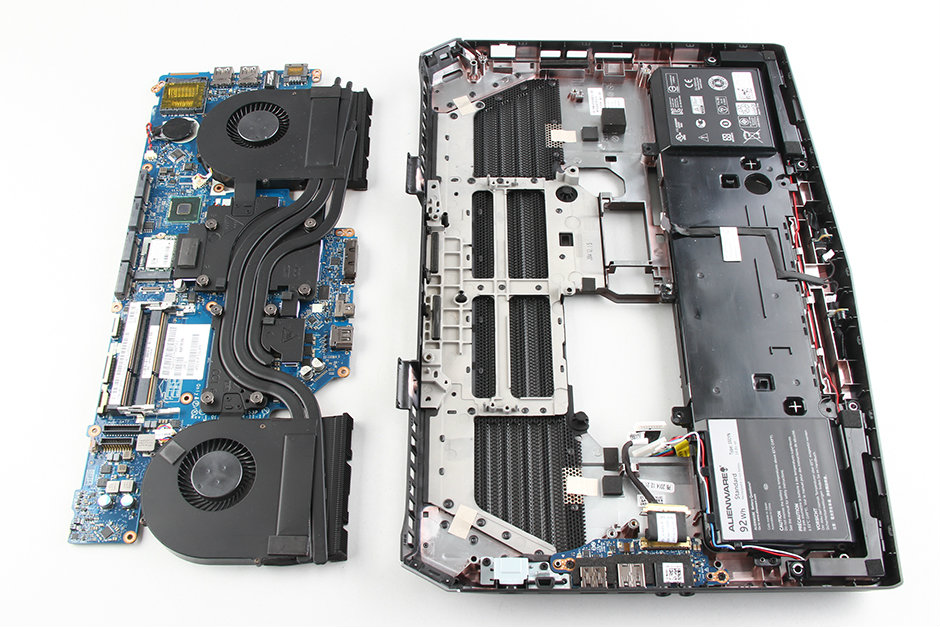
Lift the motherboard from one side with your hand, then wiggle it until it completely separates from the bottom cover.
The Dell Alienware 15 comes with a 92Wh Li-ion battery.
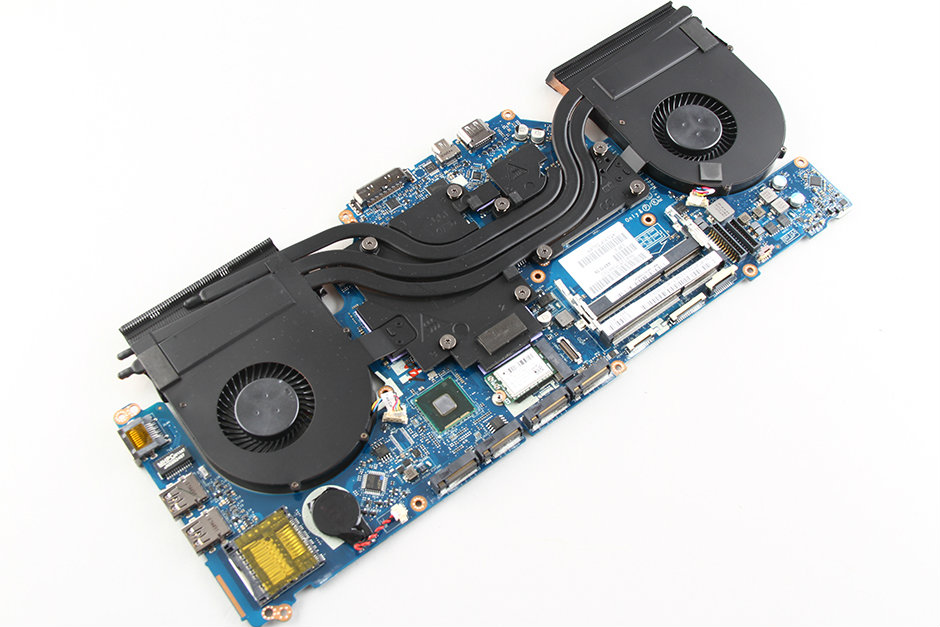
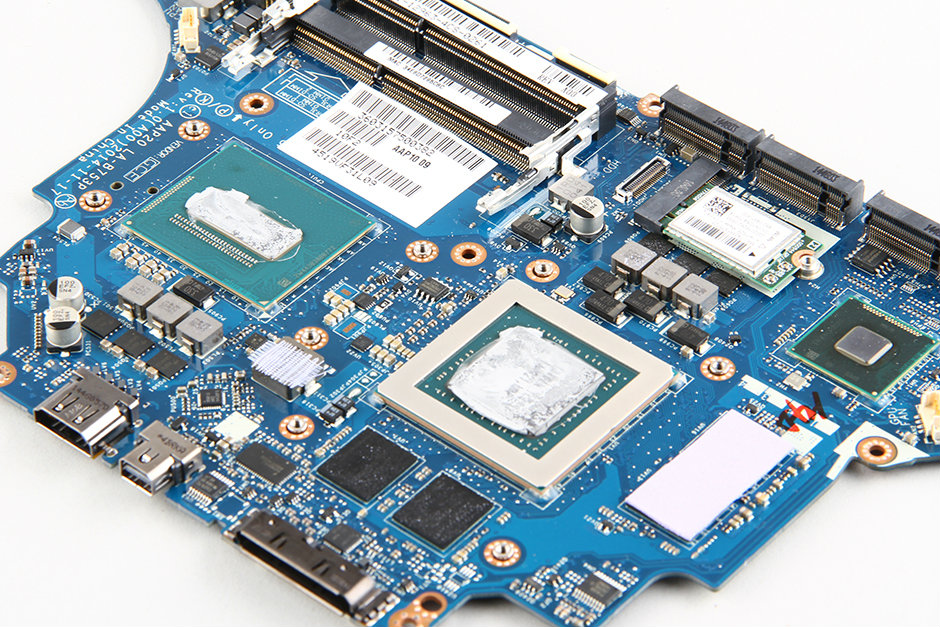
On the front of the motherboard, only the cooling system, wireless network card, and CMOS battery can be removed.
Remove all screws securing the heat sink and disconnect the two fan cables from the motherboard.
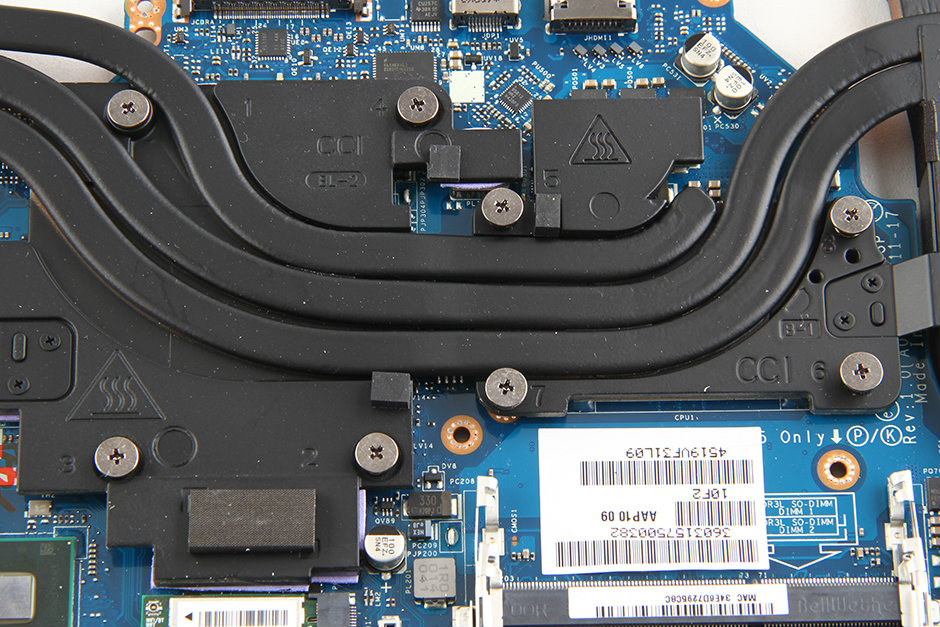
Remove the heat sink and cooling fan from the motherboard.
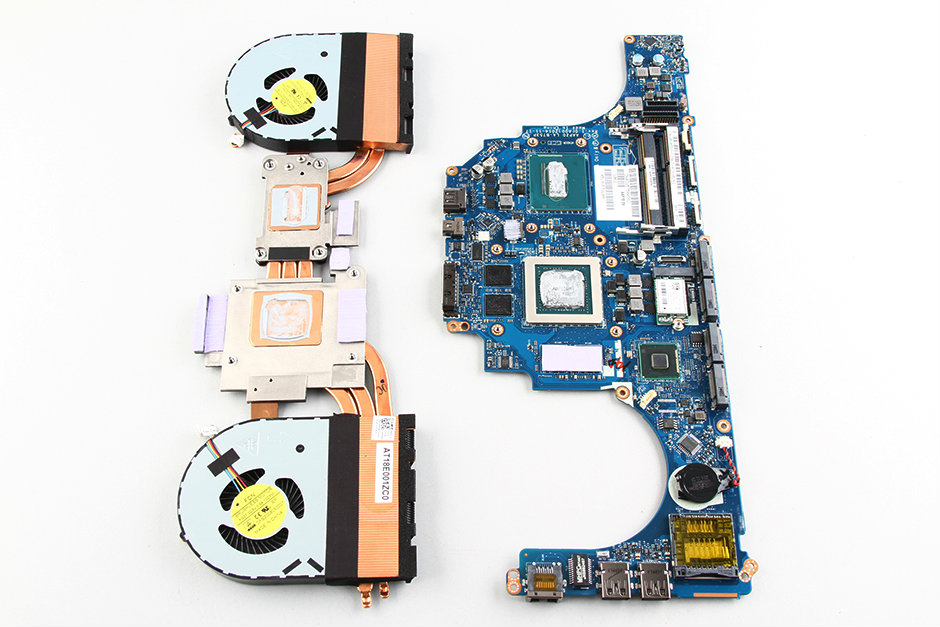
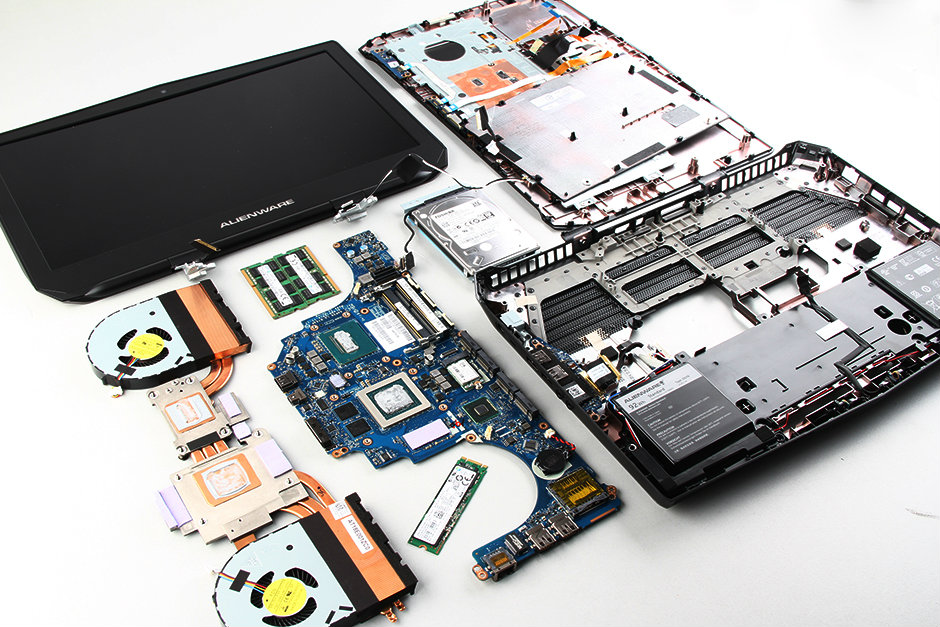
The cooling system of the Dell Alienware 15 consists of two fans and three heat pipes, which not only cool the processor and graphics card but also cover the memory chips of the graphics card.
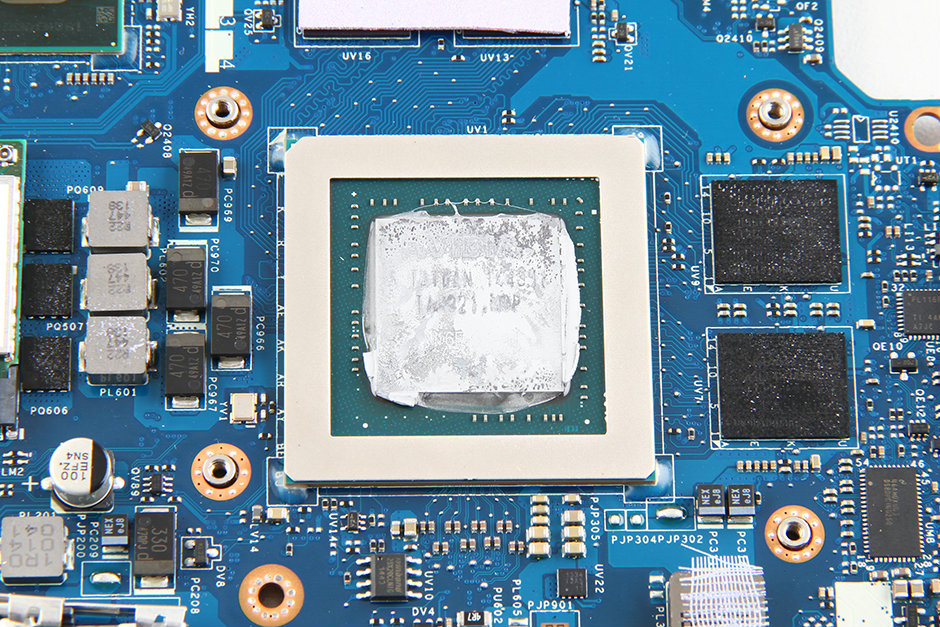
Close-up of the graphics card
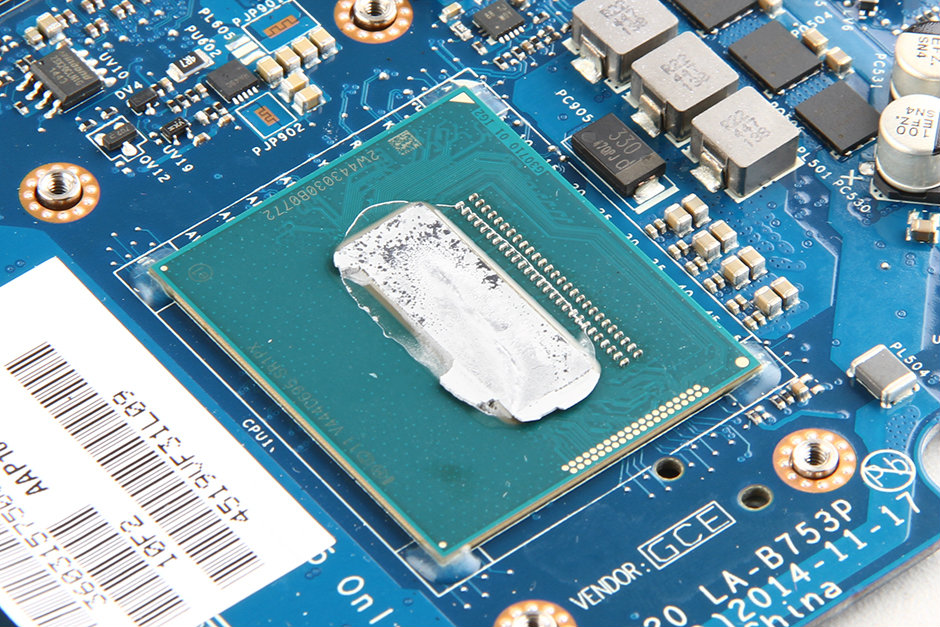
The processor of the Dell Alienware 15 is soldered to the motherboard, so its processor cannot be replaced.
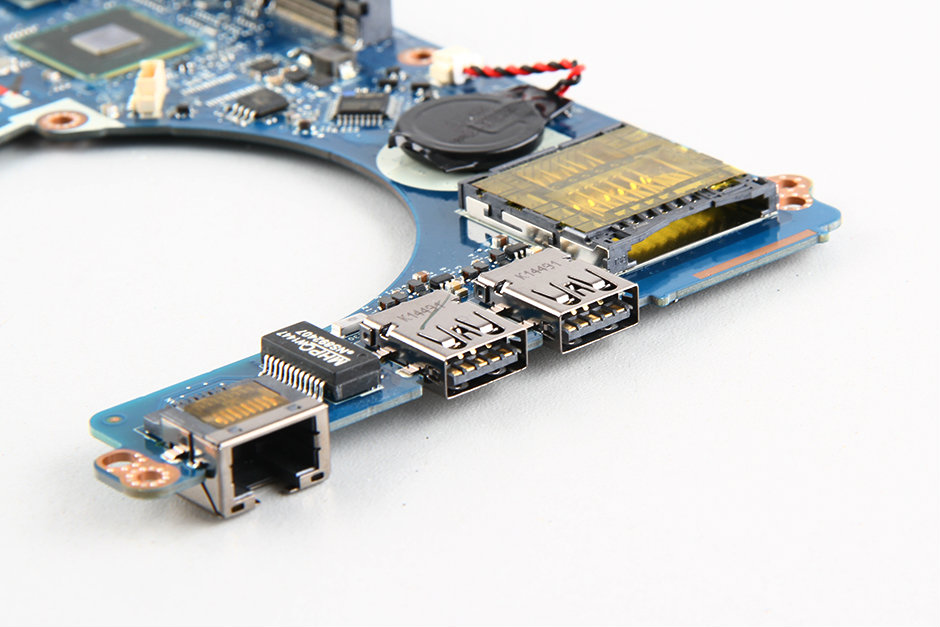
Close-up of the ports on the motherboard

Dell Alienware 15 internal parts

Muchas gracias por la calidad de las fotos y lo precisos que son !! Me alegra ver paginas así
I noticed there is a thick cable next to the RAM that says remove the battery first. Should I remove that cable before removing the hard drive, SSD, and RAM?
You forgot to disconnect the ribbon cables for the keyboard/palm rest.
Can you kindly let me know what type (specification) of screws are used for the service cover?
I believe they are just small Phillips. Most should work.
Thanks, Brandon. Can you please advise on whether Philips Screwdrivers #00 and #01 will work fine on this? I will have to purchase the Toolkit, and I don’t want to buy one that doesn’t work.
Neo, the size 1 fits perfectly. The toolset I use for disassembly is 11$ USD. It is from Tekton, and it has lasted me a long time. https://www.amazon.com/TEKTON-2830-Precision-Electronic-27-Piece/dp/B009MKGRQA/ref=sr_1_6?ie=UTF8&qid=1471177655&sr=8-6&keywords=tekton+screwdriver+set