
In this guide, I will explain how to disassemble the HP EliteBook Folio 9480m to remove the hard drive, SSD, RAM, wireless card, 3G module, heat sink, cooling, and motherboard.
Looking for more funny teardowns? Follow us on Facebook for all the latest repair news.
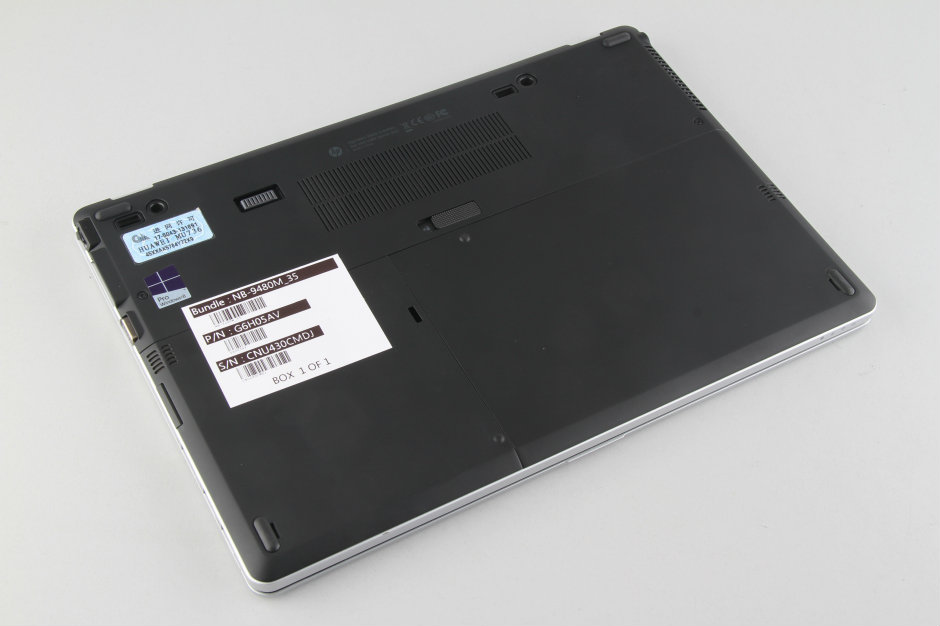
From the white sticker on the bottom cover, we can see that its model is the HP EliteBook Folio 9480m.
Slide the battery switch to the left, then slide down the battery to remove it.
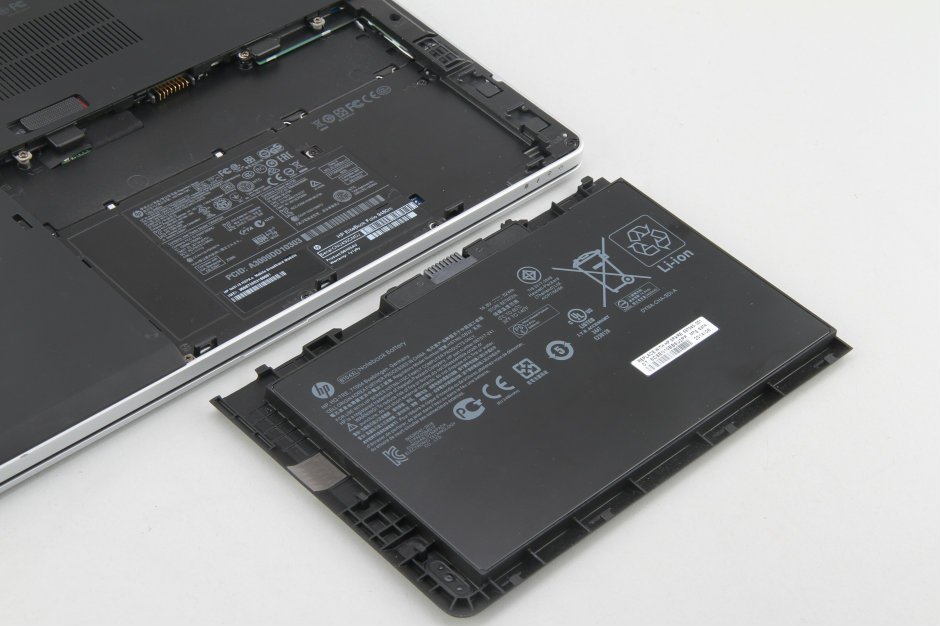
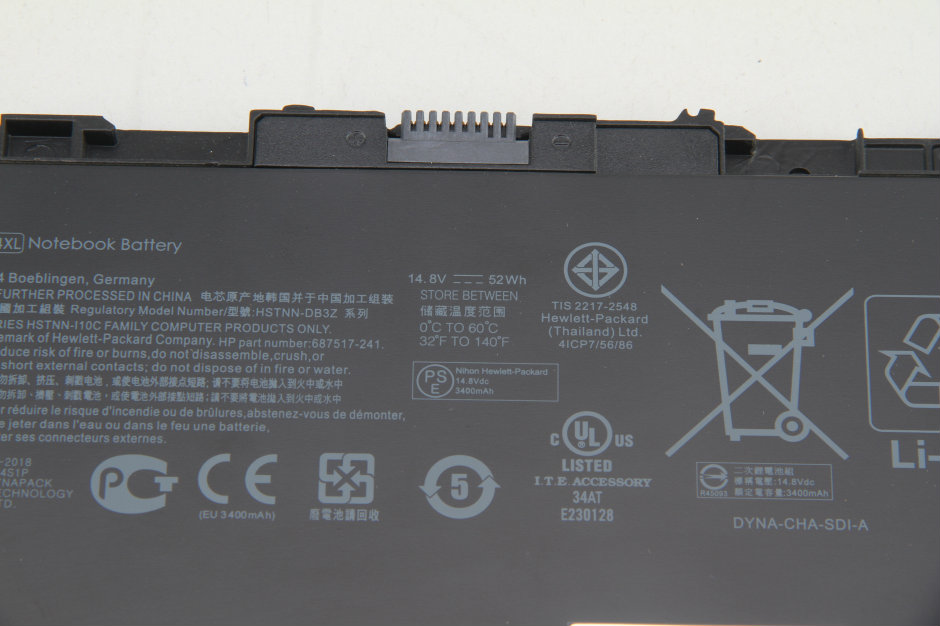
The 9480m comes with a 14.8V, 52Wh Li-ion battery. The HP part numbers are HSTNN-DB3Z and 687517-241.
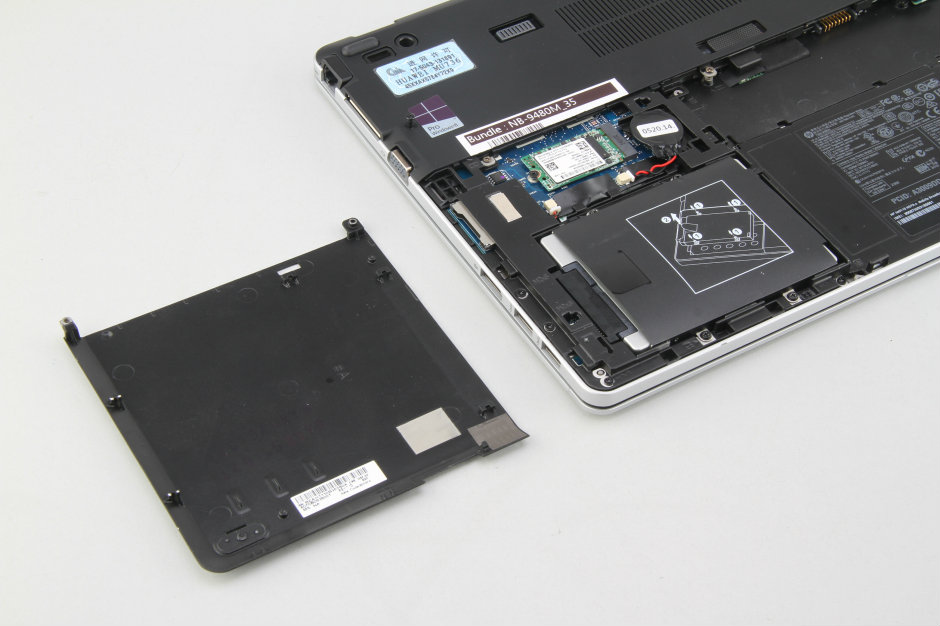
Unlock and remove the hard drive cover.
Under the cover, you can access the hard drive, wireless card, and CMOS battery.
Unlock and remove the RAM cover.
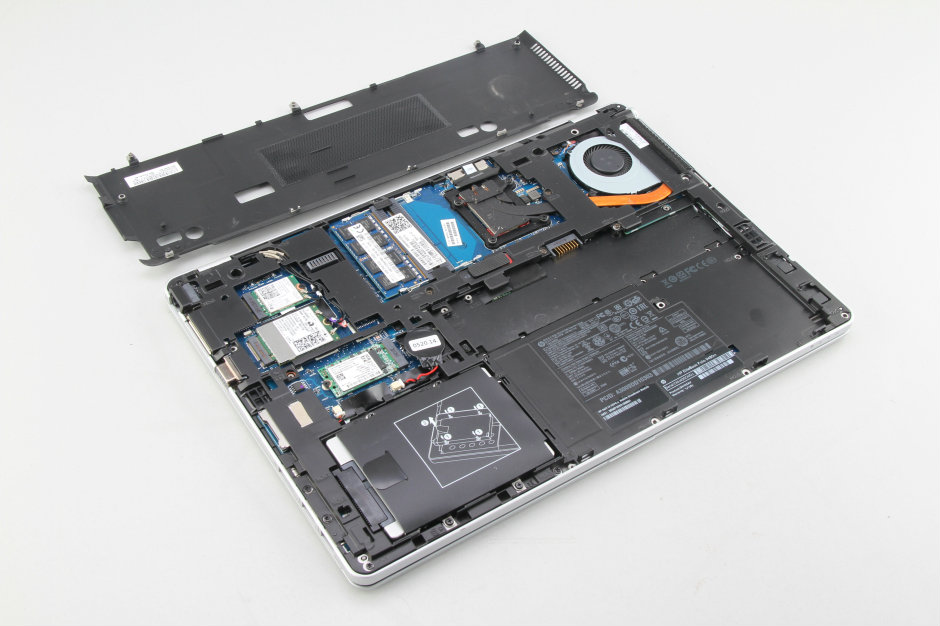
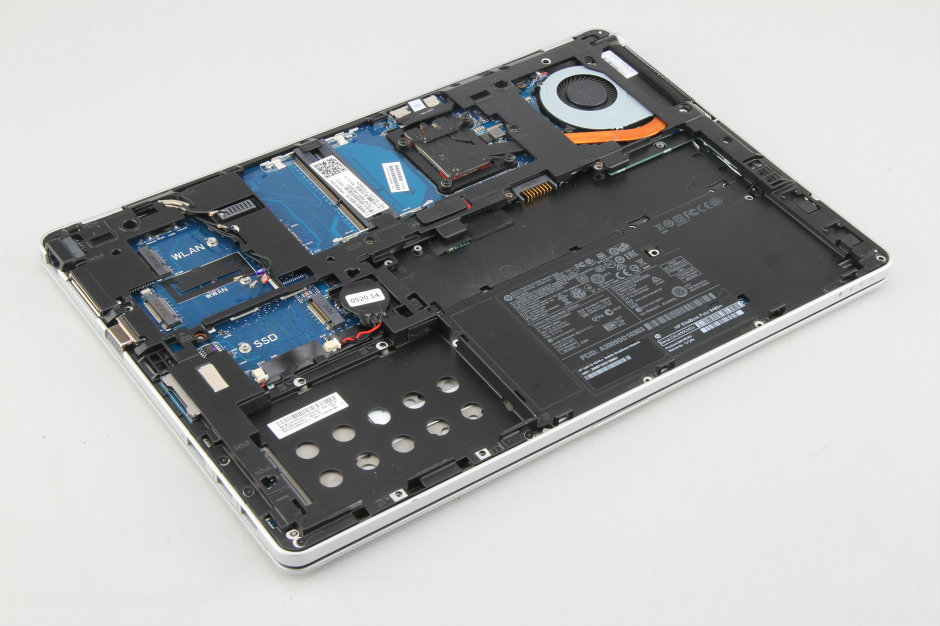
When all the covers are removed, you can access the hard drive, SSD, wireless card, 3G module, RAM, and cooling fan.
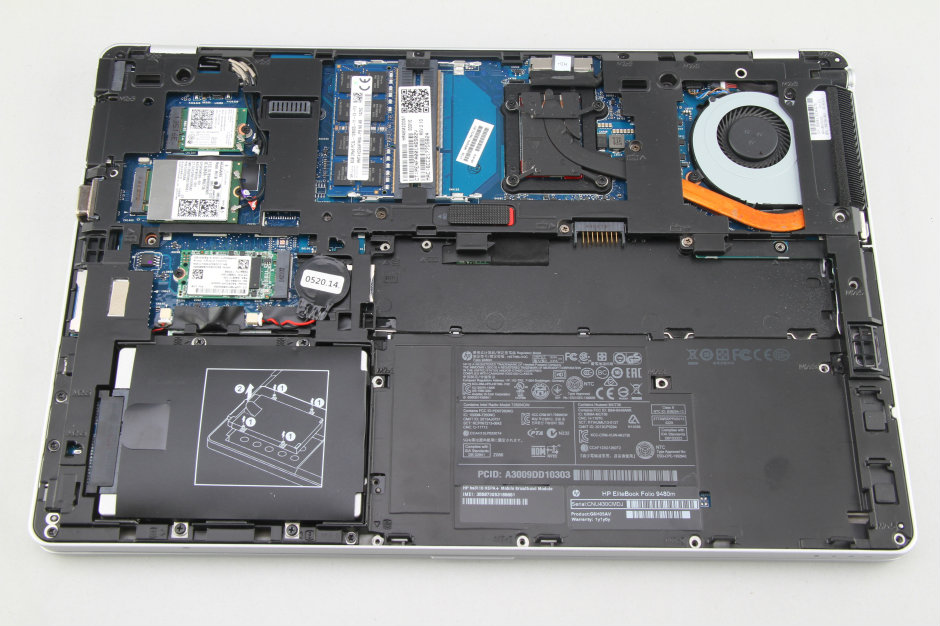
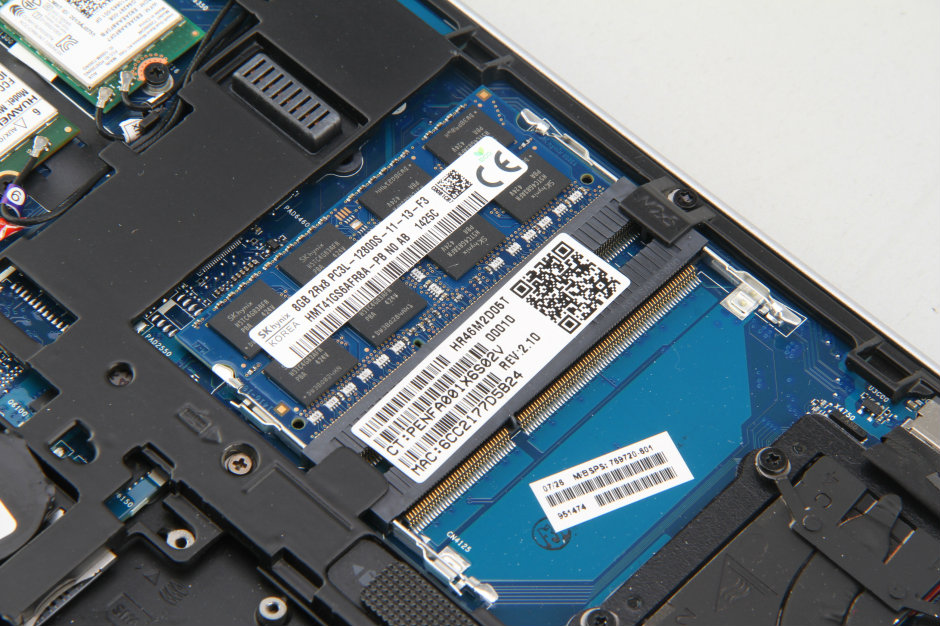
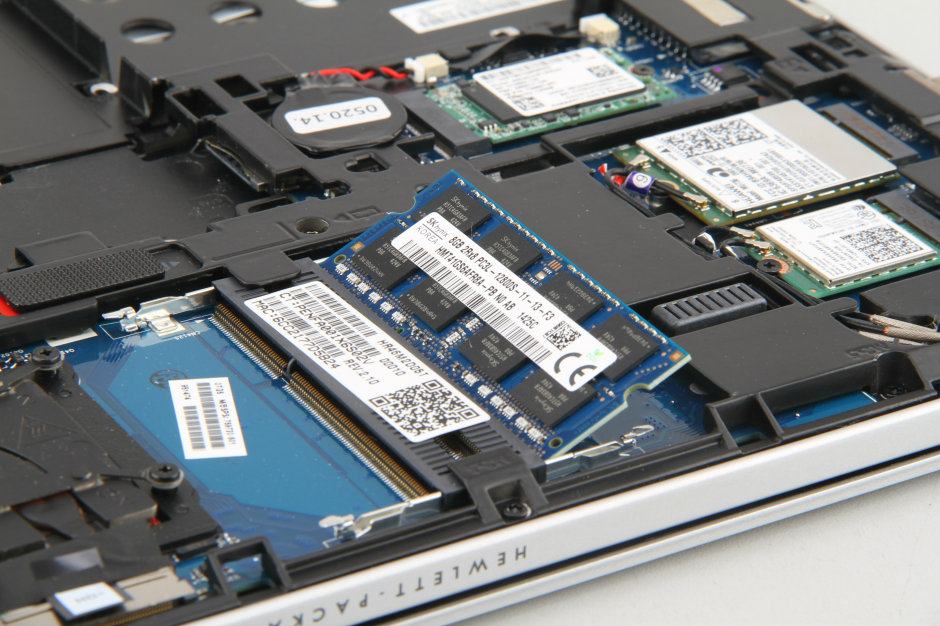
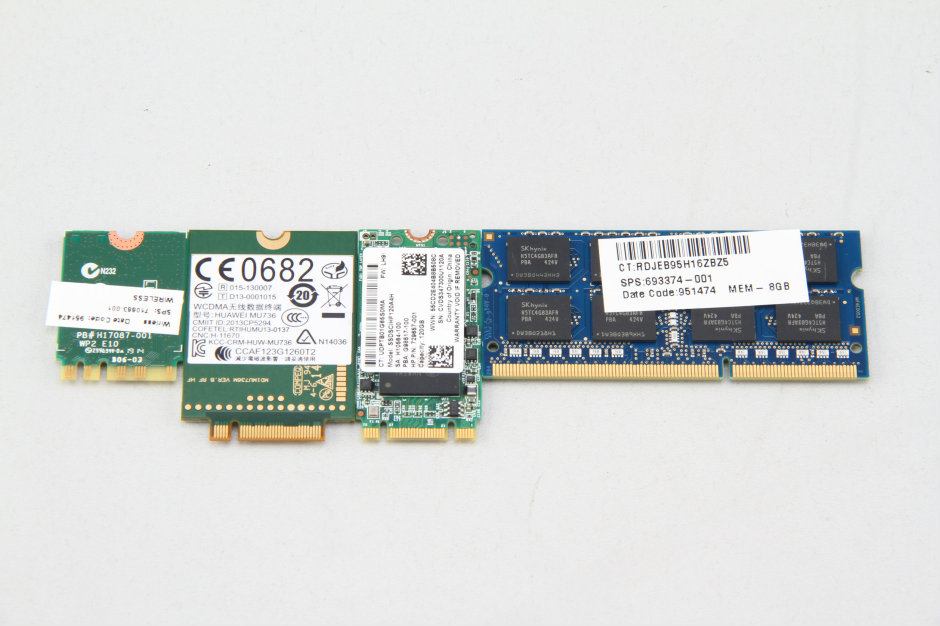
The HP EliteBook Folio 9480m features an SK Hynix 8GB RAM module. It also has a spare RAM slot, allowing users to upgrade their RAM.
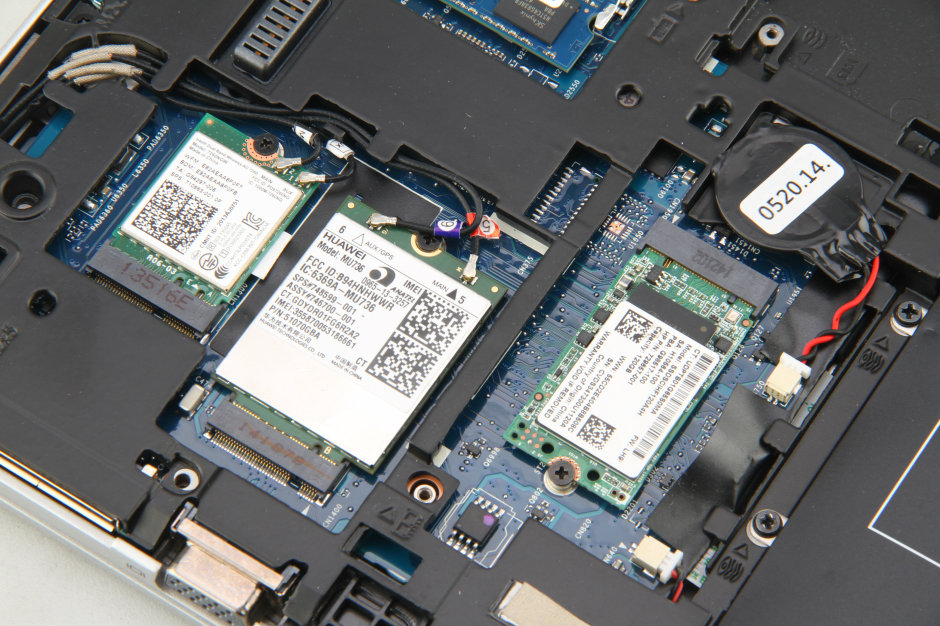
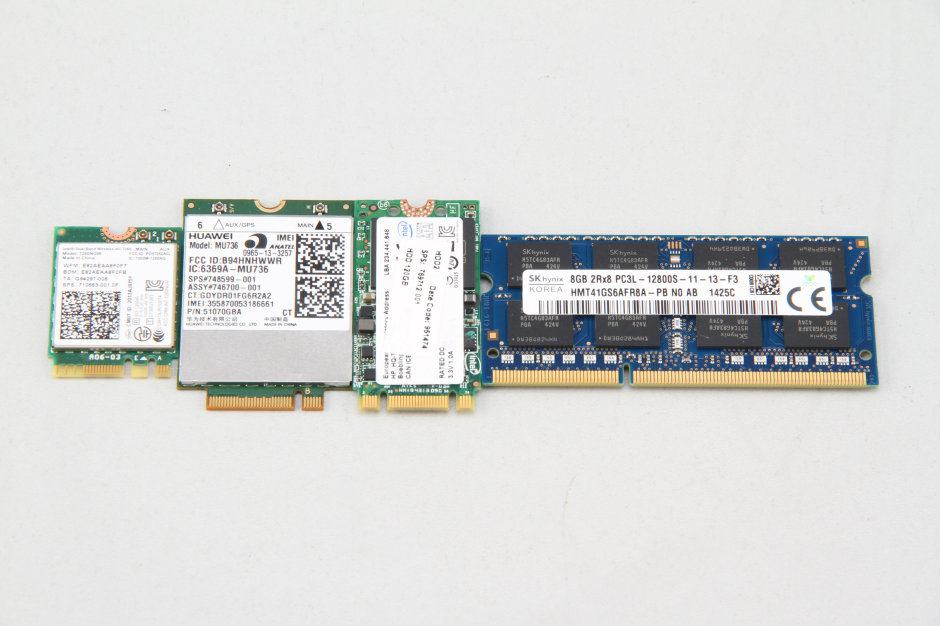
The HP EliteBook Folio 9480m comes with a Huawei MU736 3G module, a wireless card, and an SSD.
Remove the four screws securing the hard drive. Lift the black tape by hand and slide it to the right to remove the hard drive.
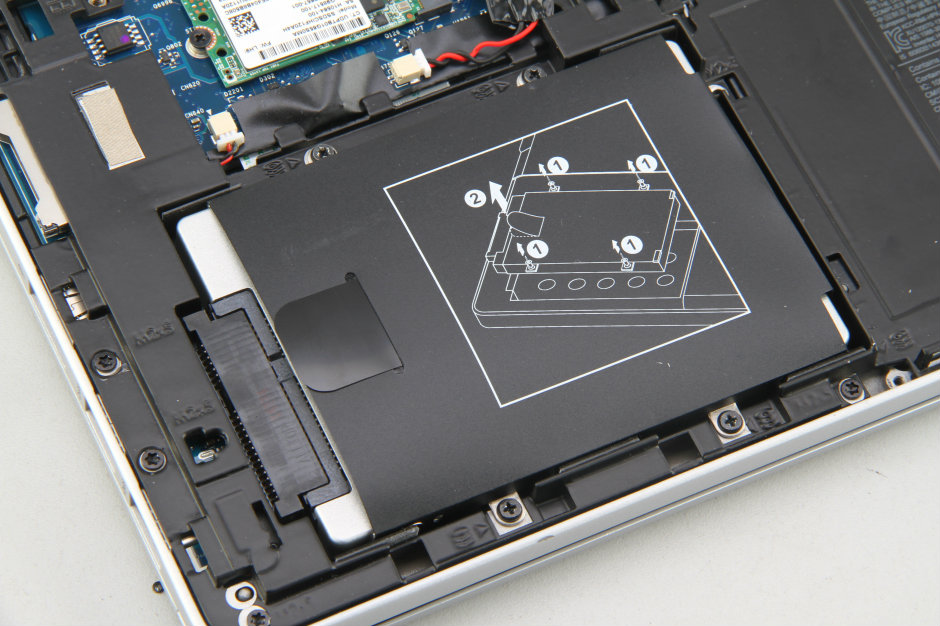
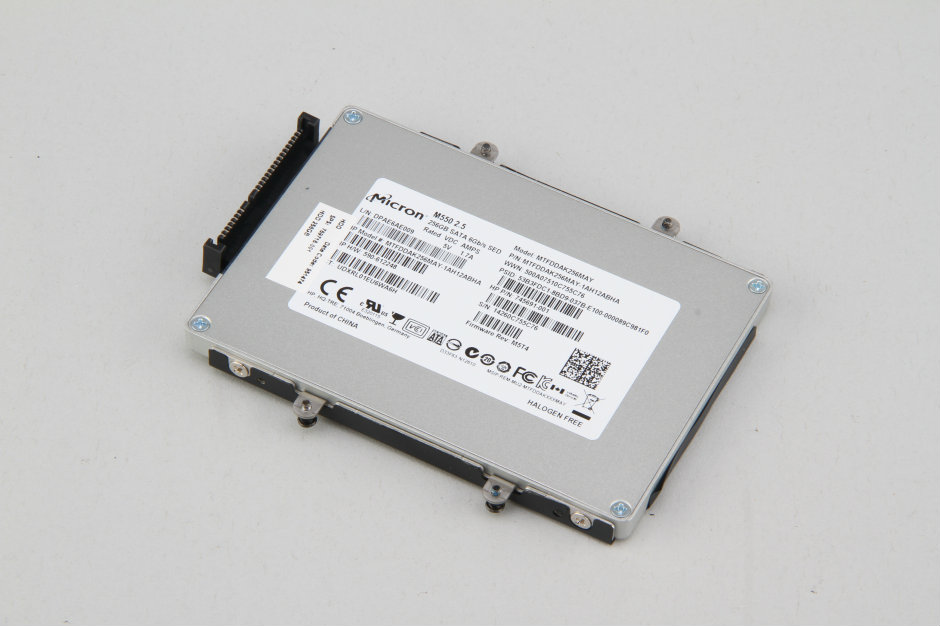
The laptop comes with a Micron 256GB 2.5″ SSD. It is installed on an HDD caddy. To replace the SSD, you need to remove it and install it on the new SSD.
Use your nails to separate the clips on both sides, and the memory module will pop out automatically.
Remove the screws securing the wireless card, SSD, and 3G module, then remove them from their respective slots.
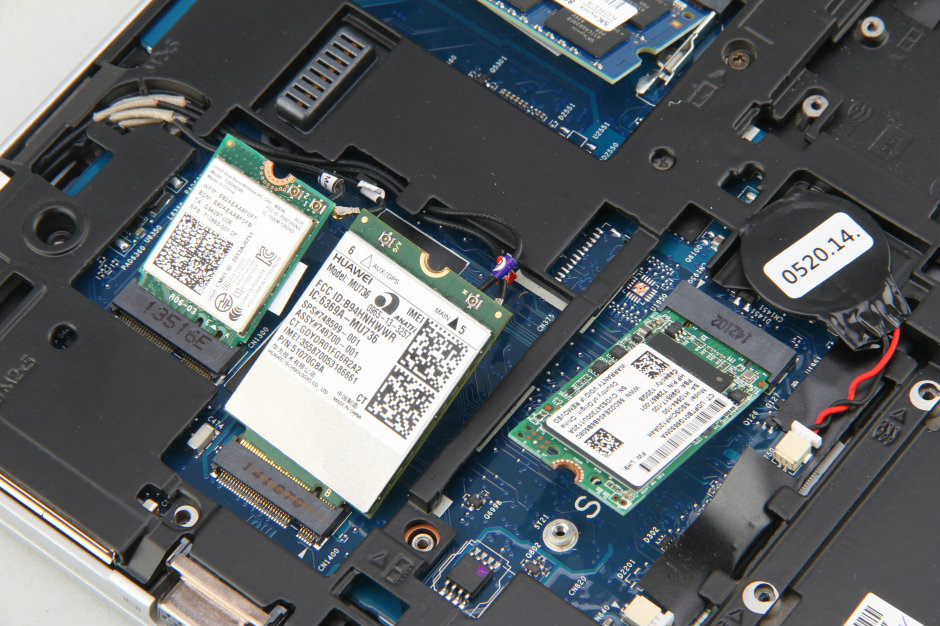
Close-up of the wireless card, 3G module, RAM module, and SSD
Remove all screws securing the metal mounting bracket.
Insert a plastic pry tool under the metal bracket. Slide the pry tool to separate the metal bracket from the laptop.

Loosen four screws securing the heat sink and remove one screw securing the cooling fan.
Disconnect the fan ribbon cable from the motherboard and remove the cooling system from the laptop.
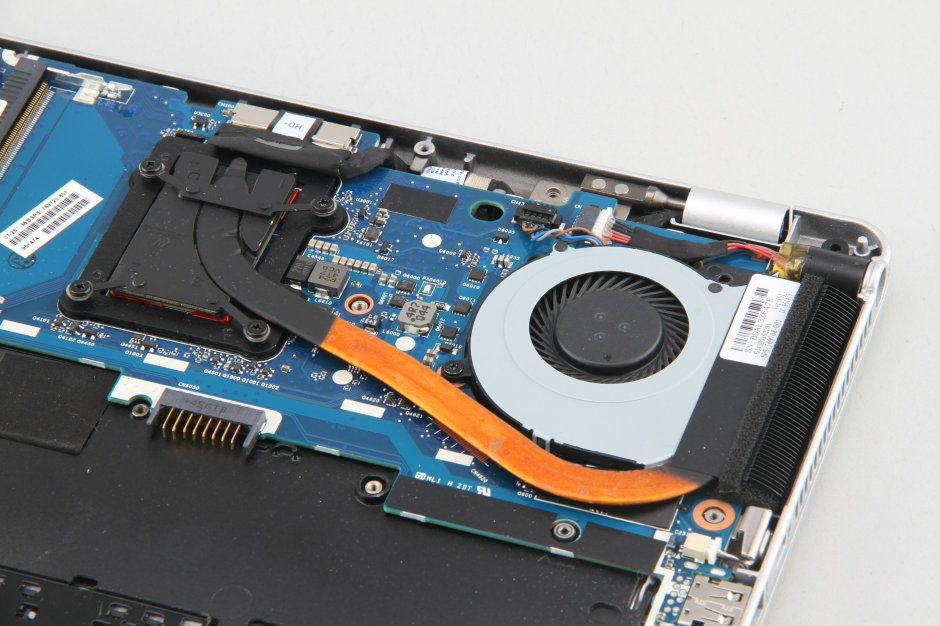
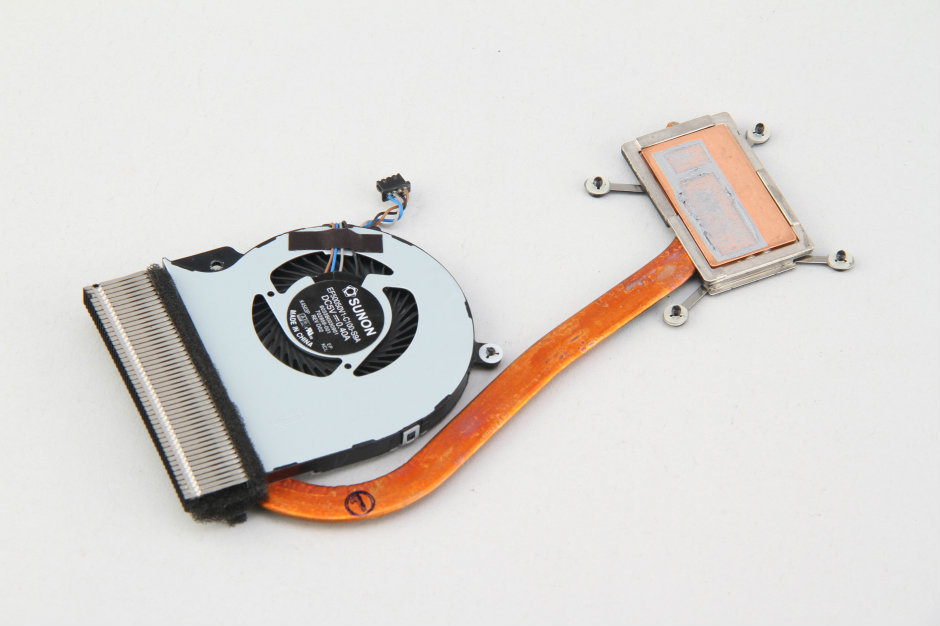
Close-up of the heat sink and cooling fan. This cooling system has only one copper pipe and a single fan, which is sufficient to meet the cooling requirements for an ultrabook.
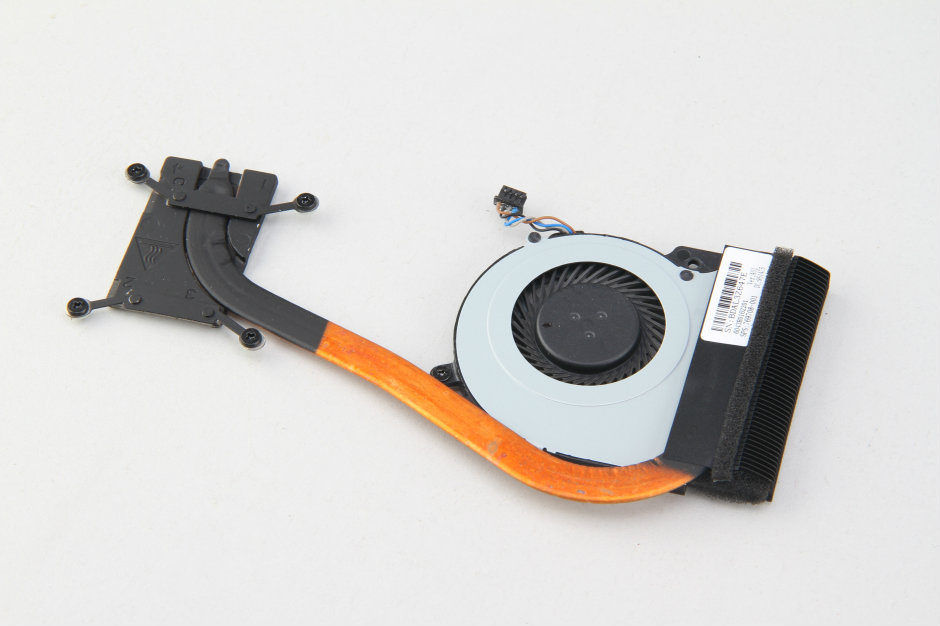
The cooling fan is coming from SUNON.
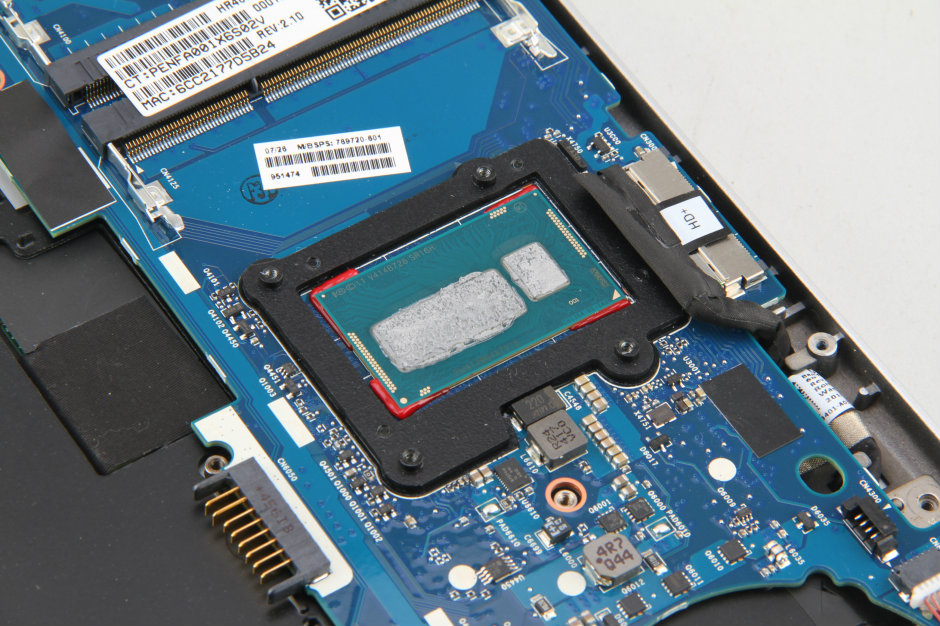
The processor of the HP EliteBook Folio 9480m is soldered directly onto the motherboard, so it cannot be upgraded or replaced.
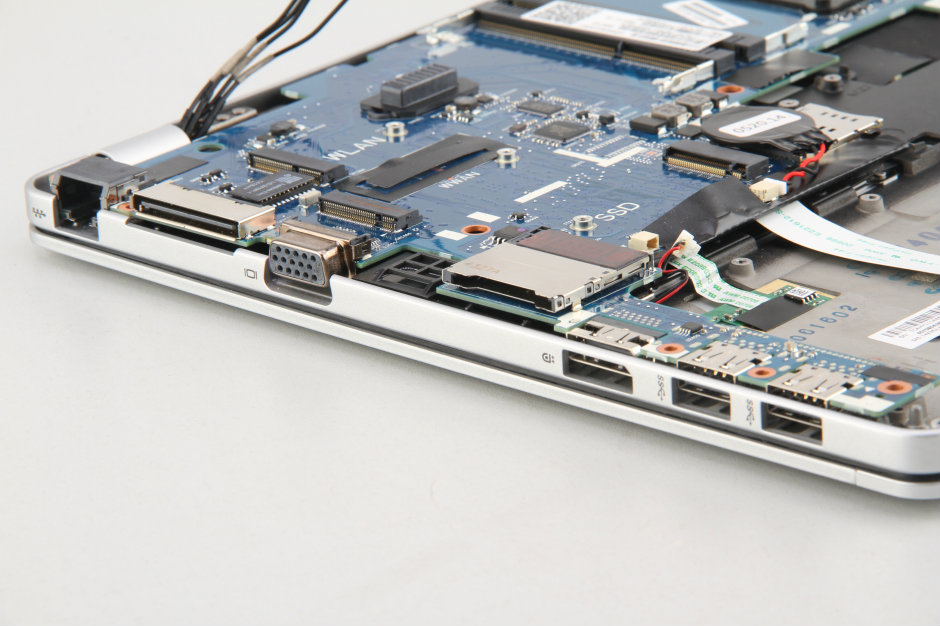
DC power jack
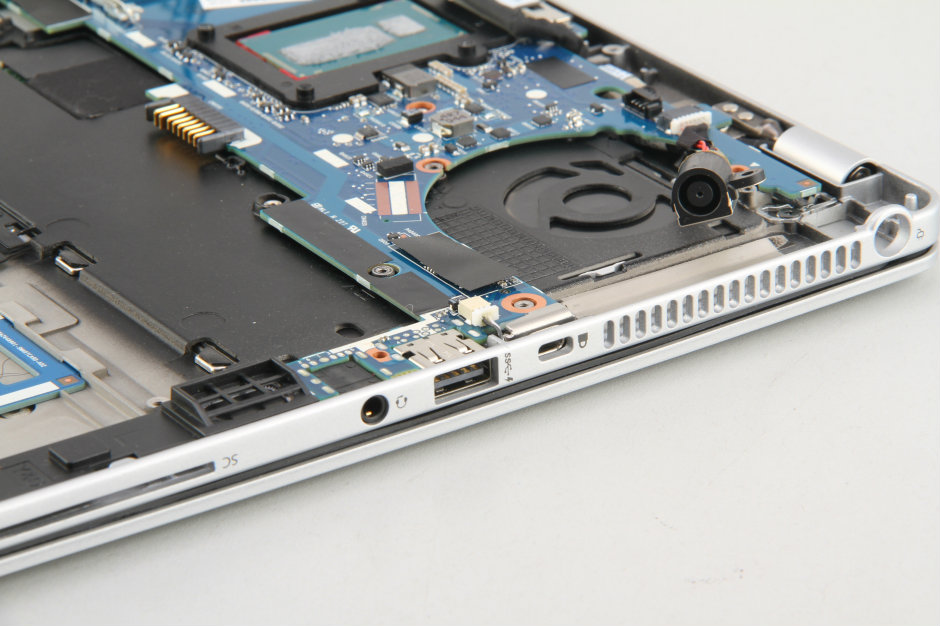
Close-up of the ports on the motherboard
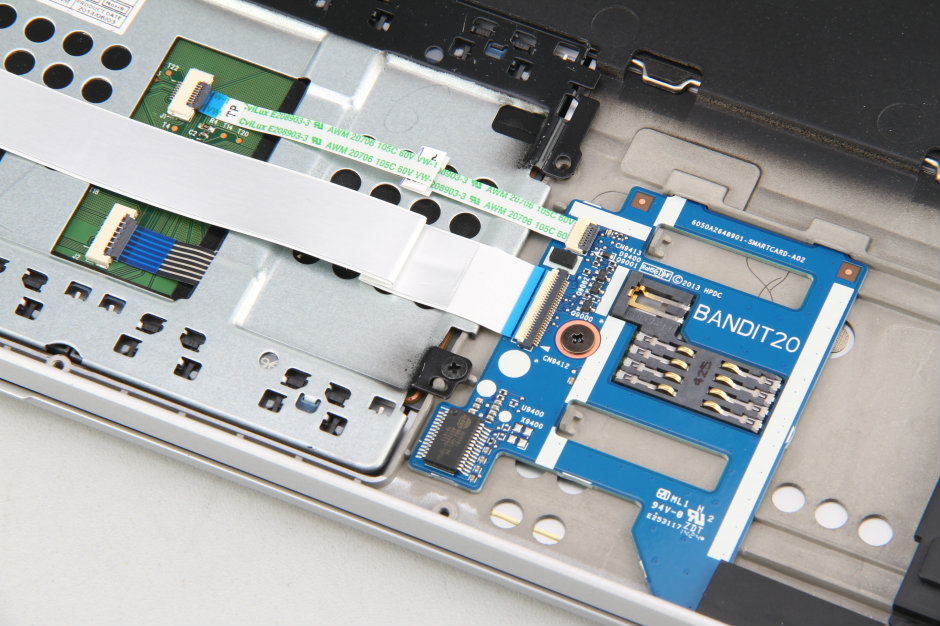
Touchpad
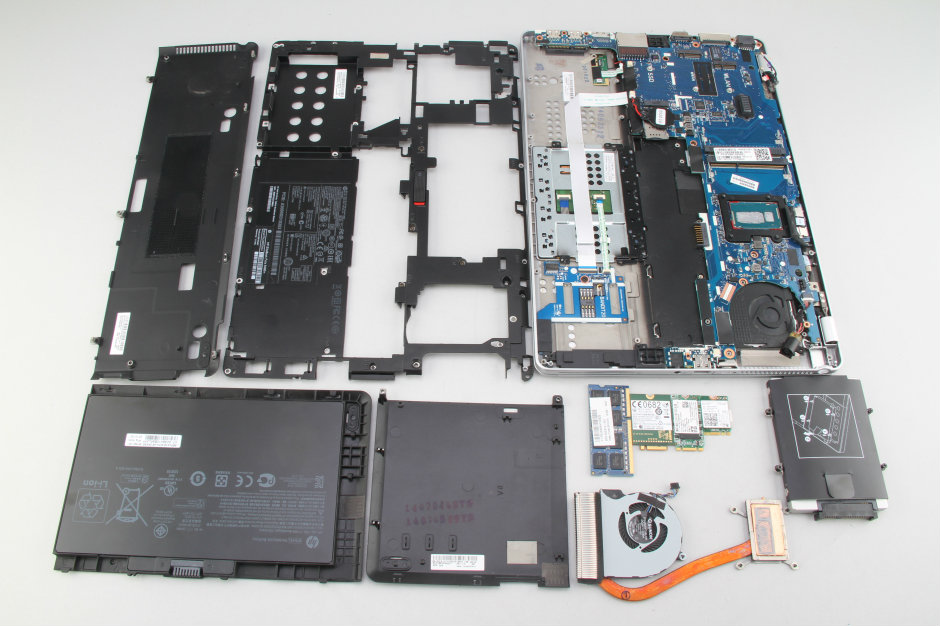
HP EliteBook Folio 9480m internal components
I successfully changed the HDD to an SSD. AWESOME! But somehow, I seem to have disconnected the internal speakers. For the life of me, I can’t see what I might have done.
Thoughts?