
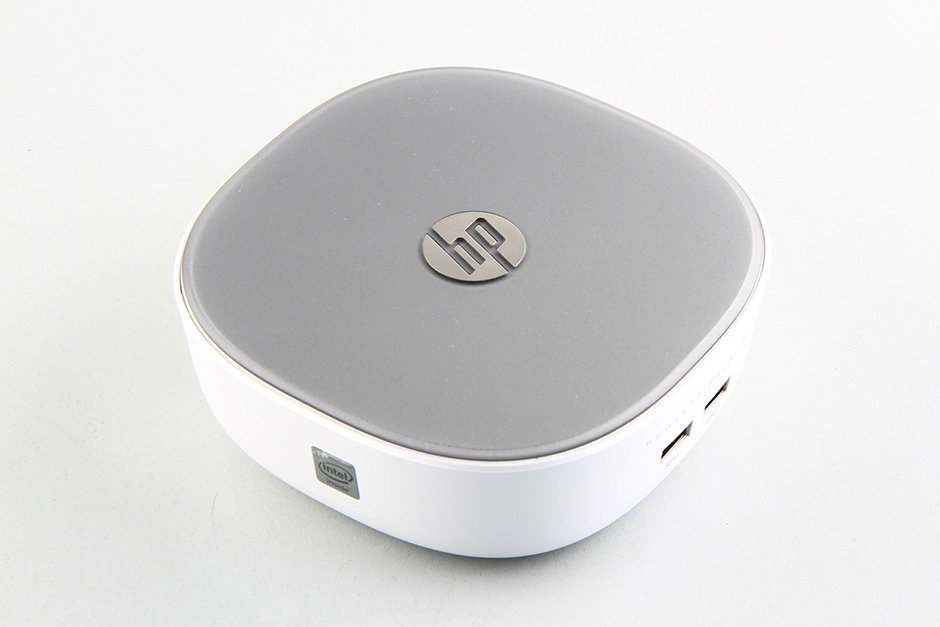
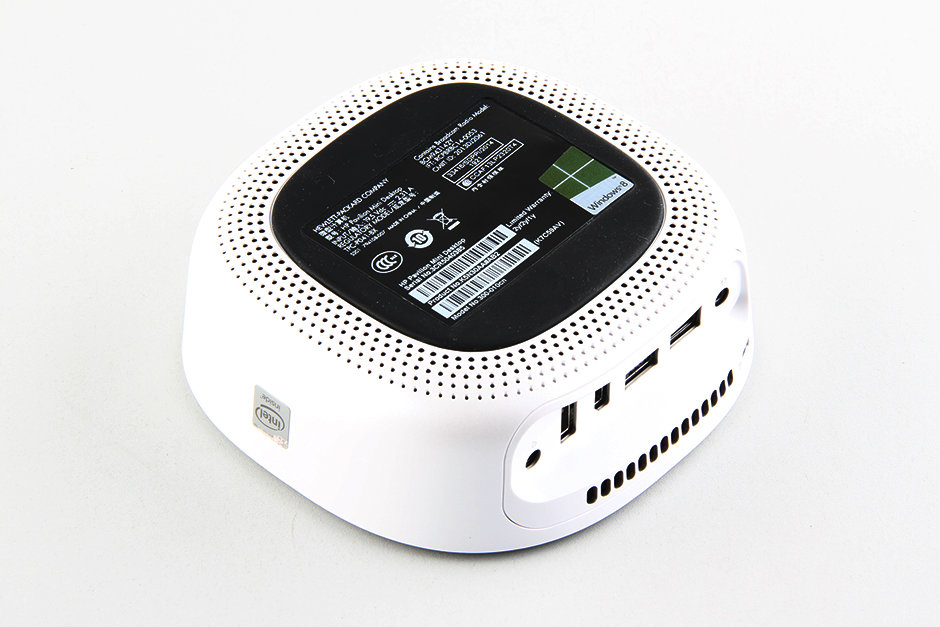
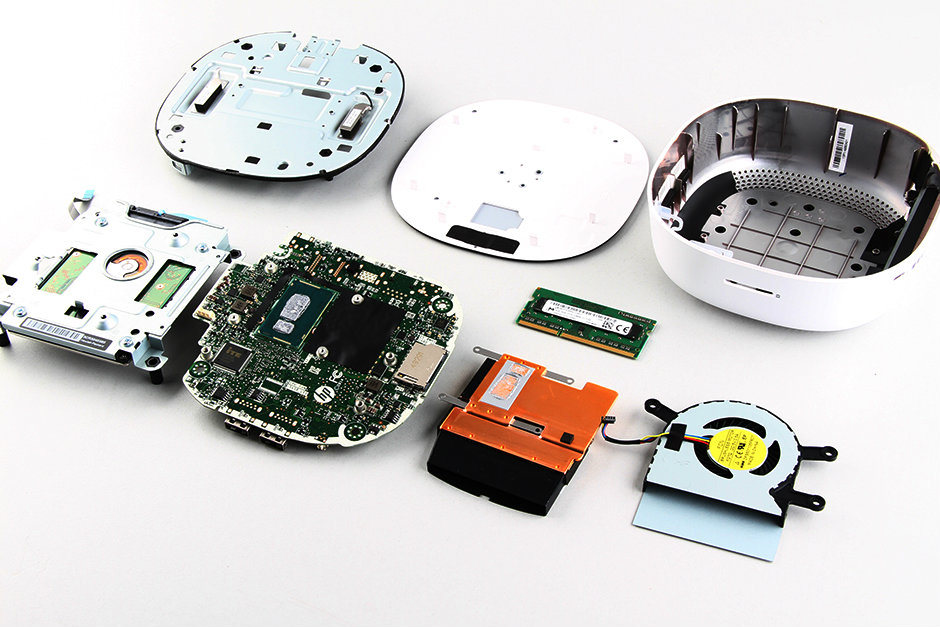
In this guide, I will explain how to disassemble the HP Pavilion Mini 300 to remove the hard drive, wireless card, heat sink, cooling fan, and motherboard.
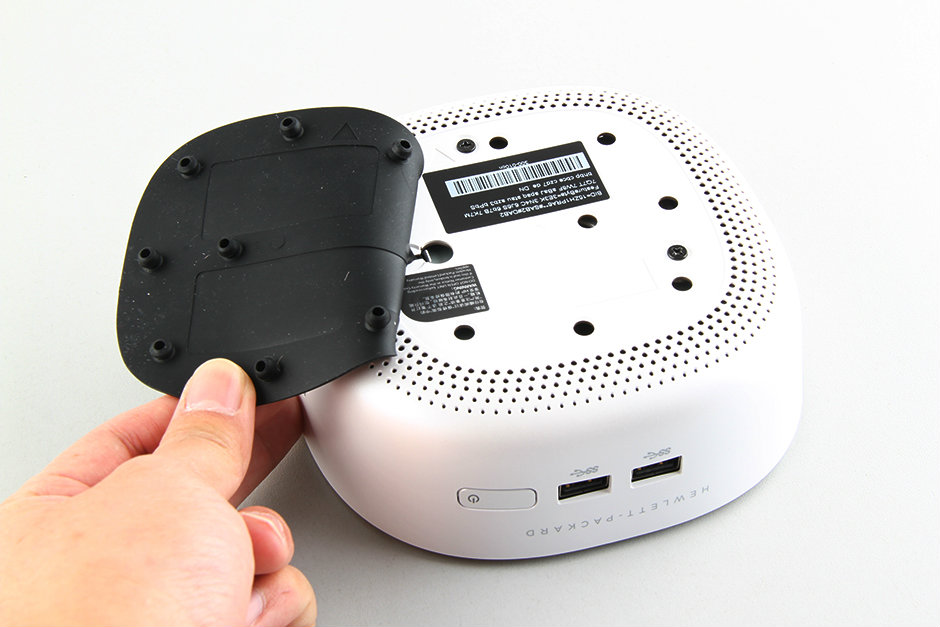
Remove the rubber cover. You can find two screws.
Remove these two screws.
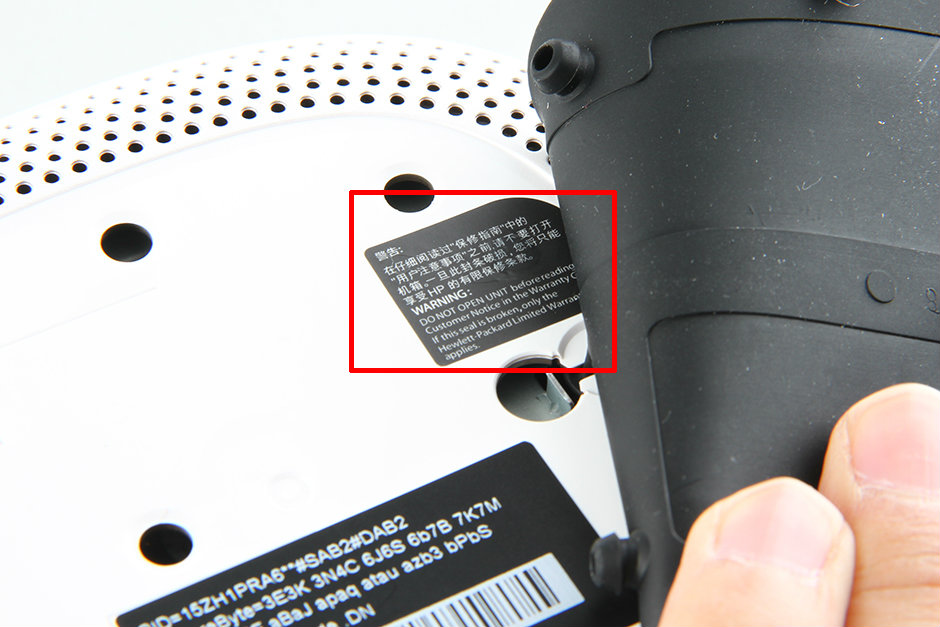
On the black sticker, HP reminds us not to open the computer. Otherwise, the warranty will be void.
Insert a plastic pry tool under the cover. Slide the pry tool along the edge of the cover to separate it from the computer.
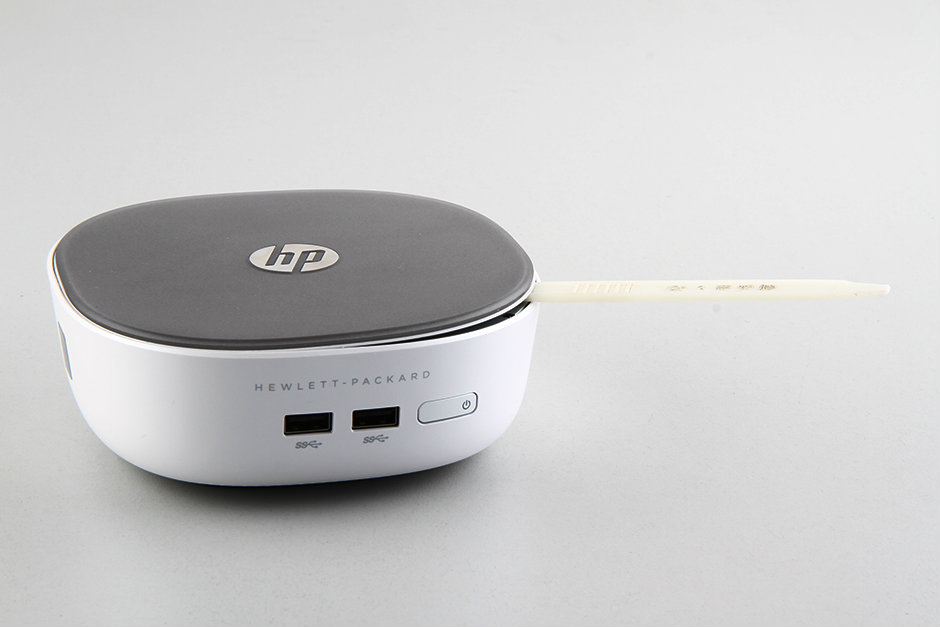
Since this lid has no latches, you can easily remove it.
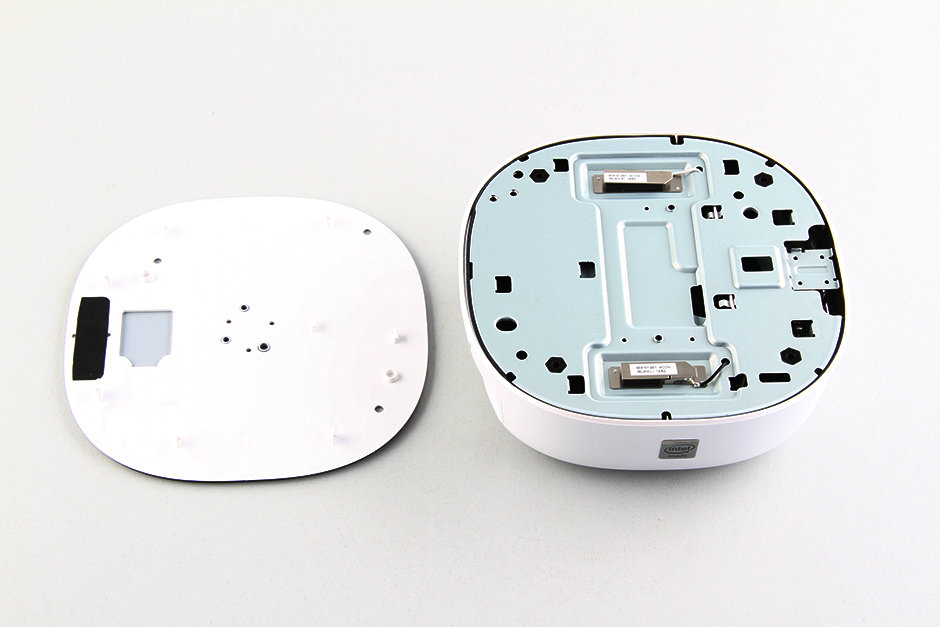
After removing the cover, we did not find any internal components. To access the internal components, we still need to remove the bottom shell.
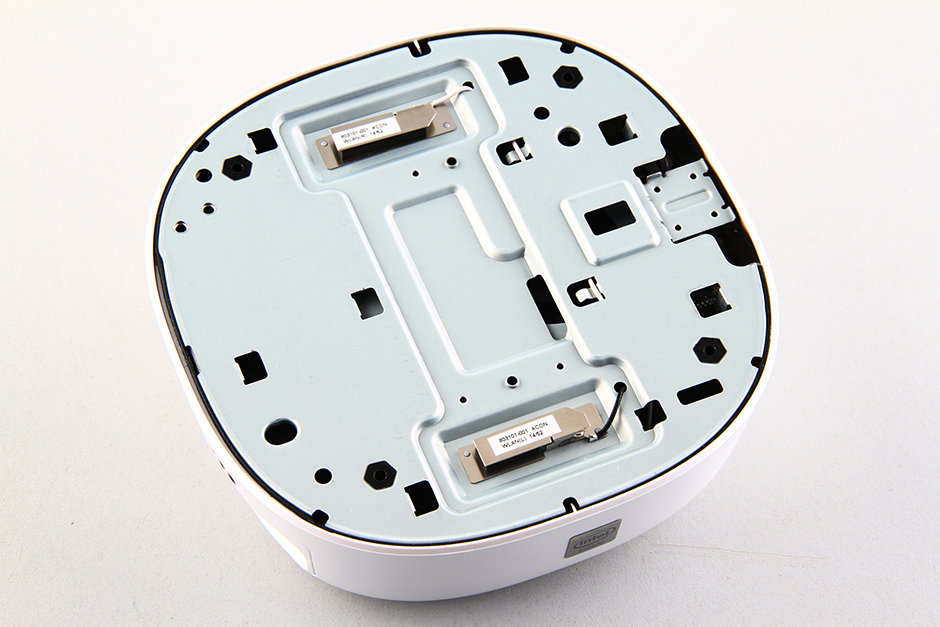

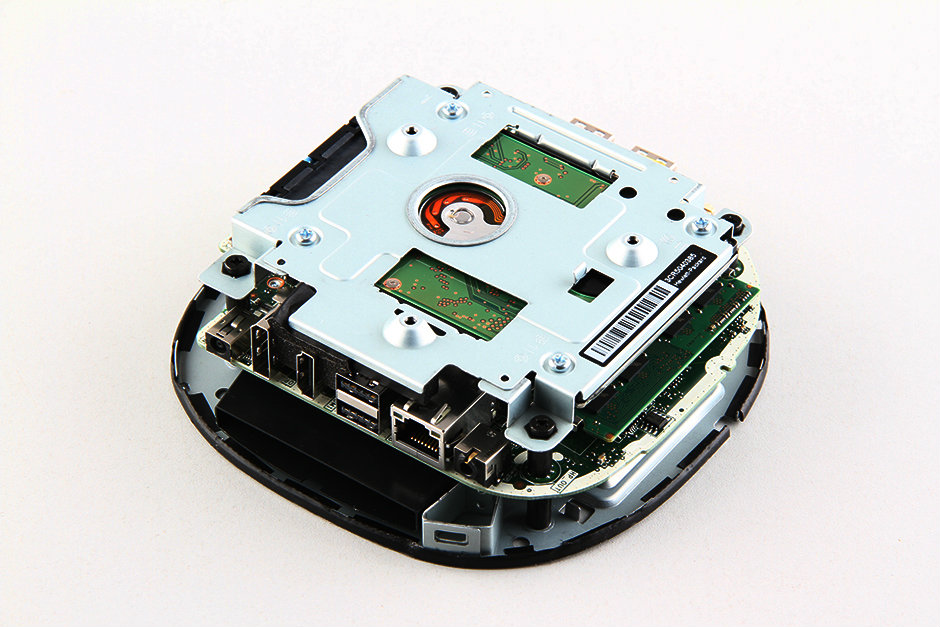
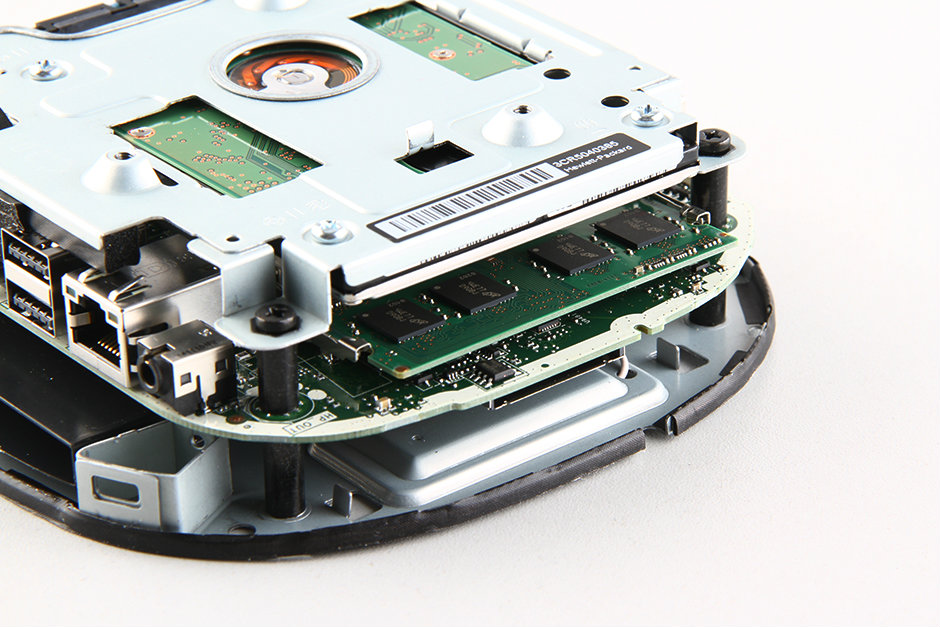
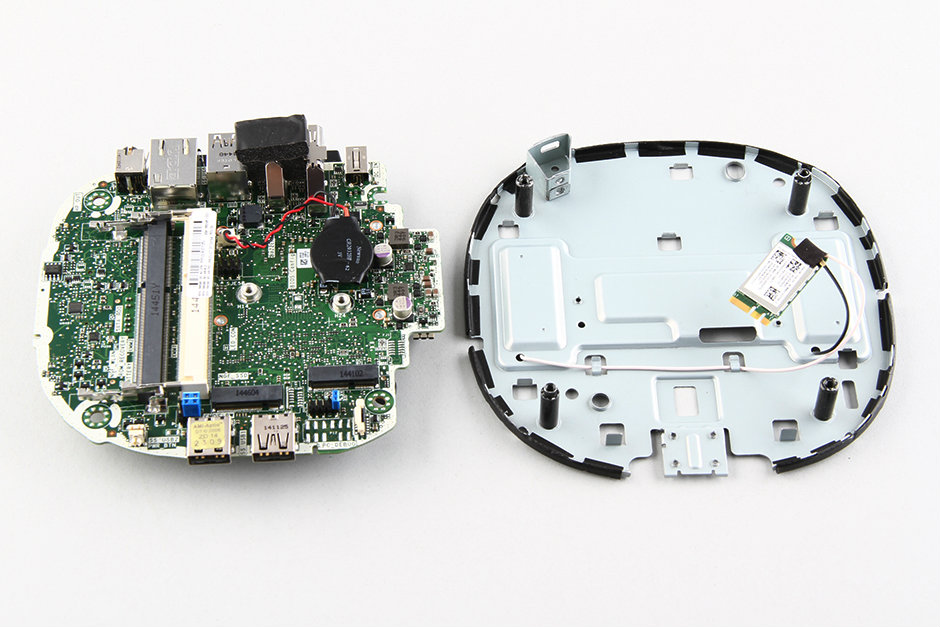
After removing the bottom cover, we found that all its components are mounted on this central assembly.

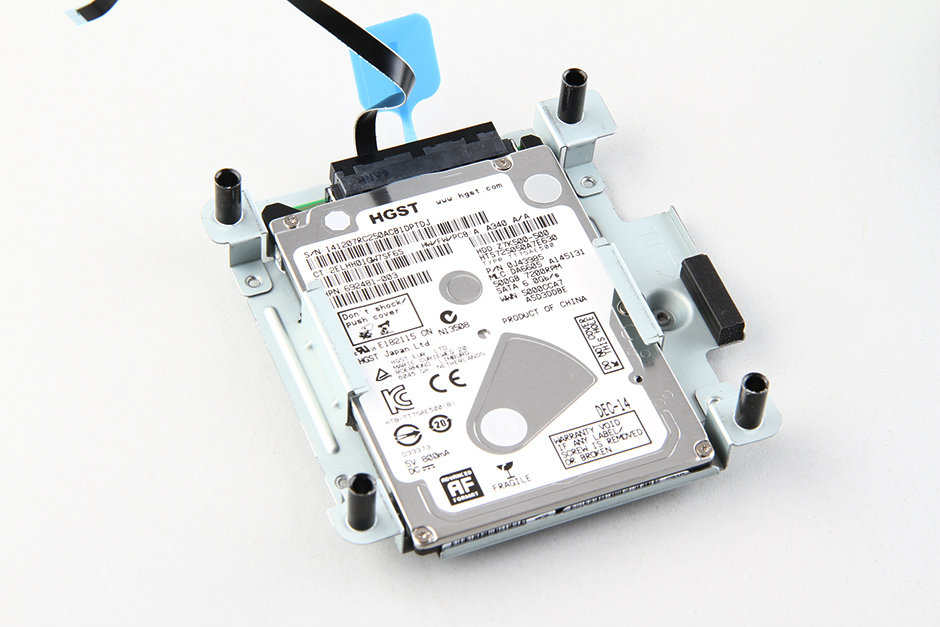
Flip this component upside down, remove several visible screws, then disconnect the HDD ribbon cable from the motherboard to remove the hard drive module.
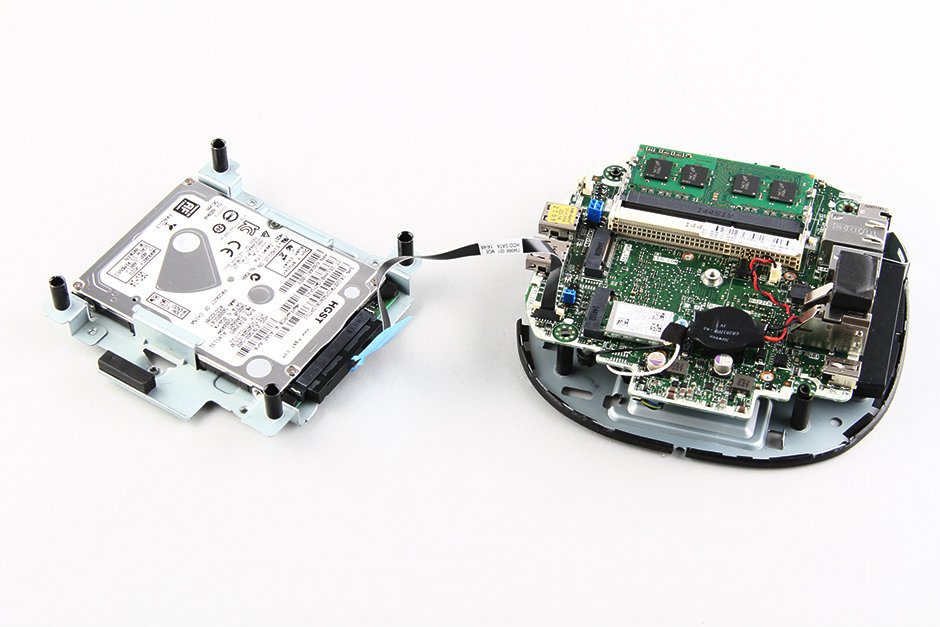
The HP Pavilion Mini 300 comes with an HGST 500GB hard drive.
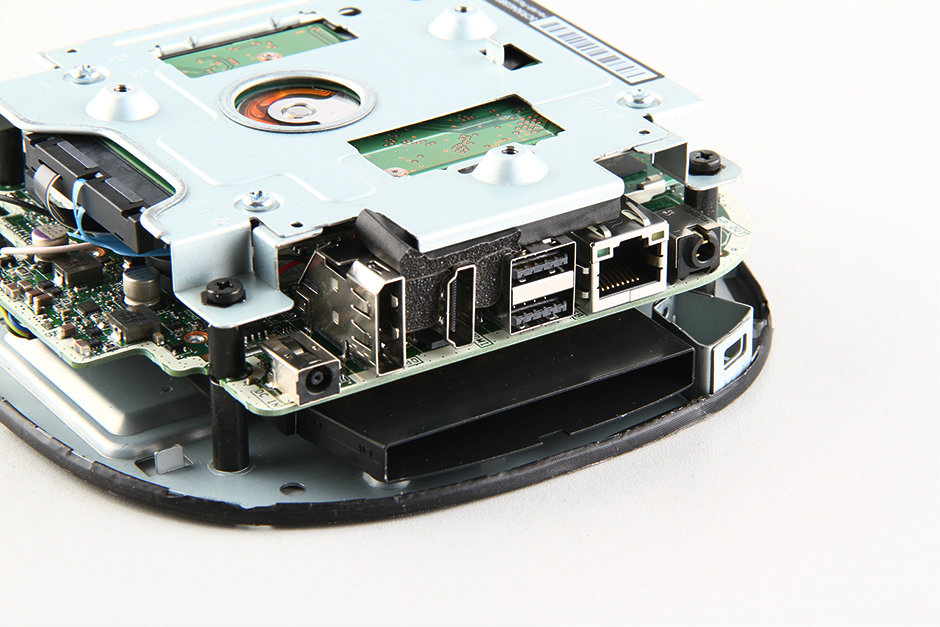
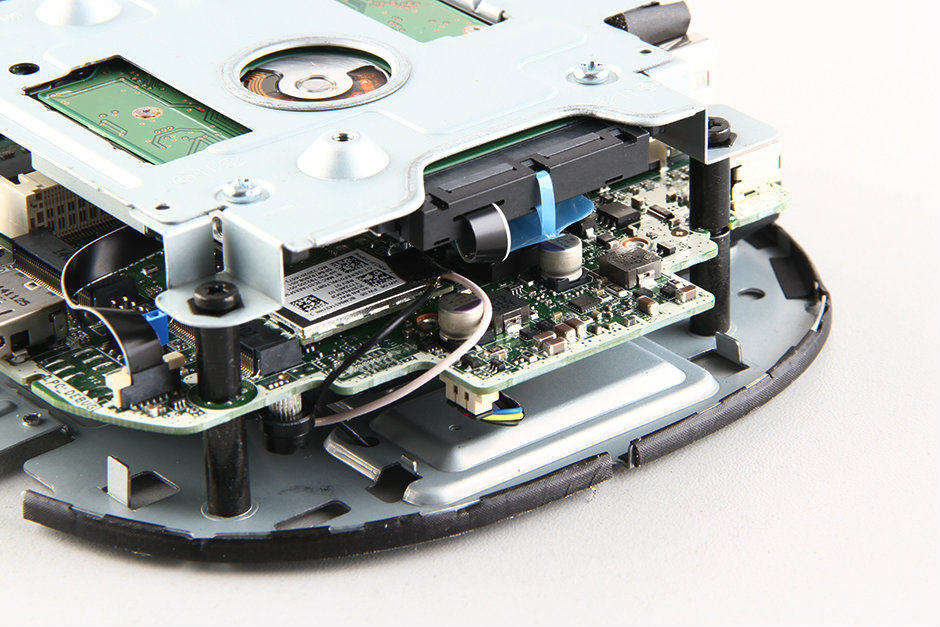
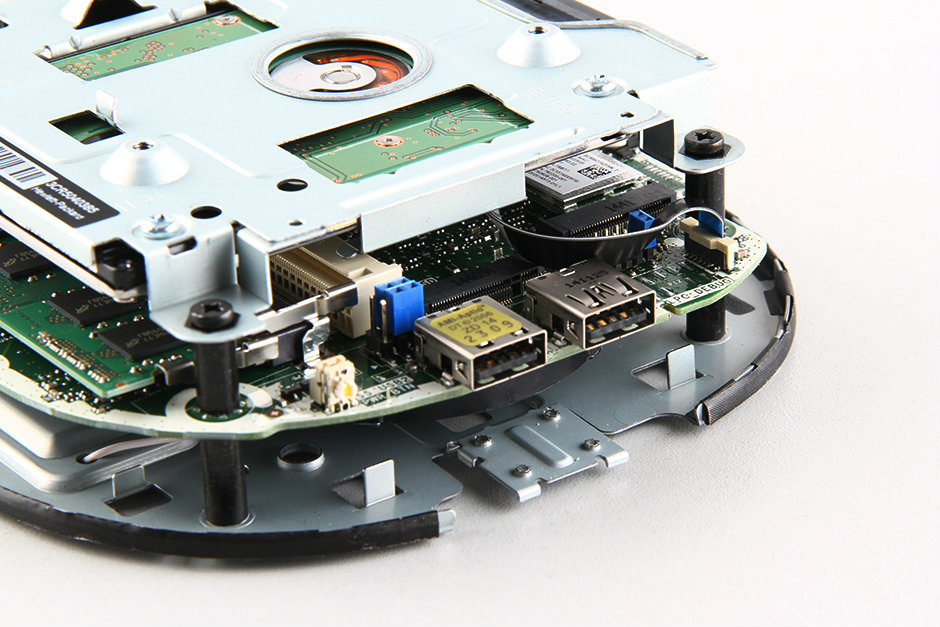
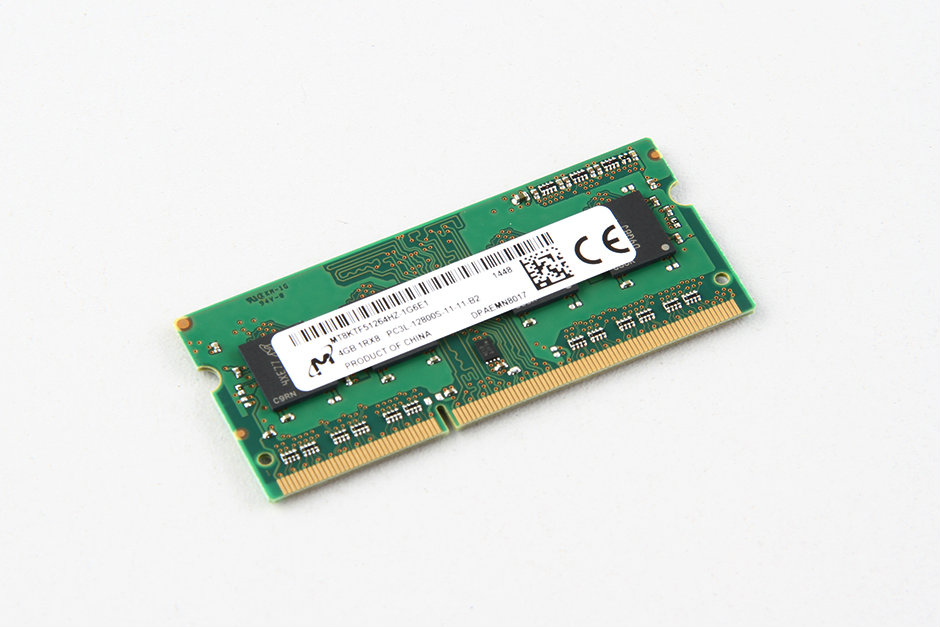
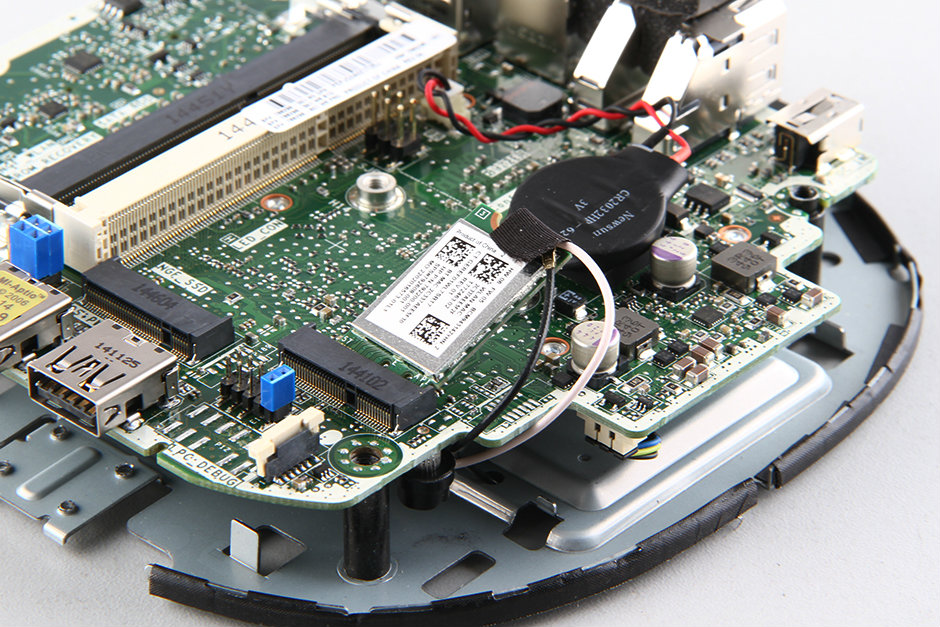
After removing the hard drive, we can access the memory, wireless network card, and CMOS battery.

Use your nails to separate the clips on both sides to remove the memory module. It has two memory slots, but only one memory module is installed; you can add another memory module to upgrade the memory.
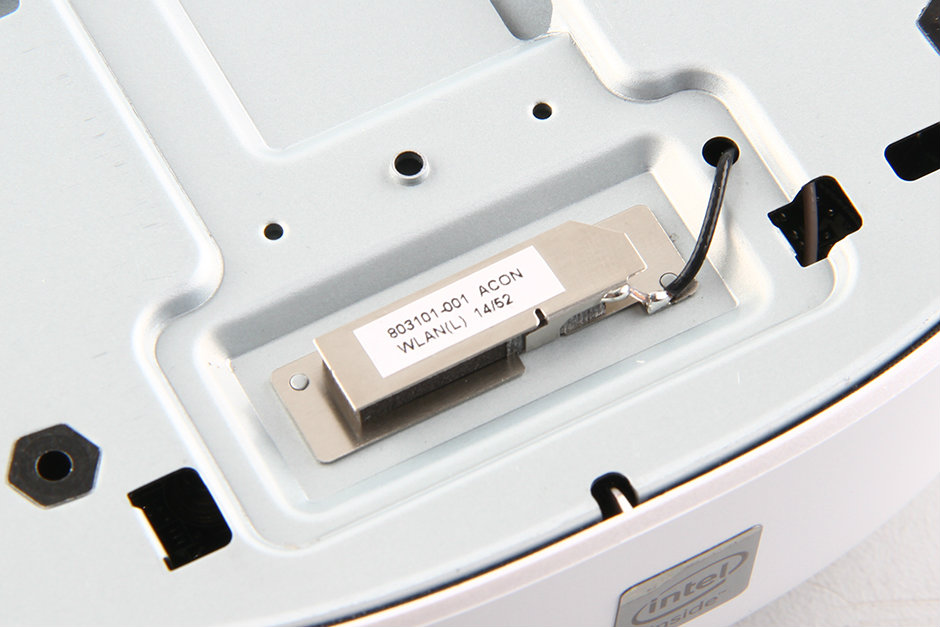
Remove the screws securing the wireless network card and pull the wireless network card out of the slot.
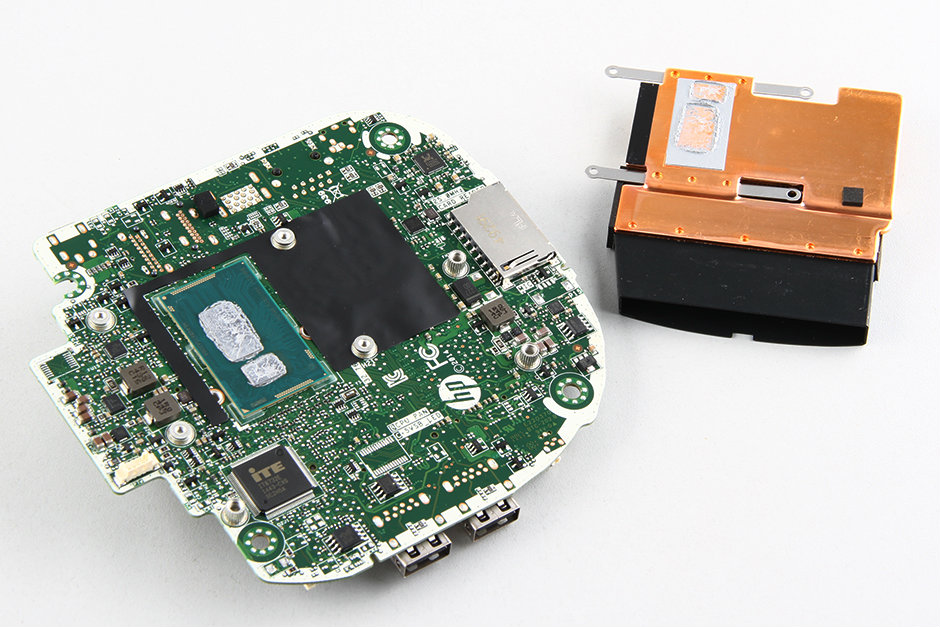
Remove the three screws securing the cooling fan.
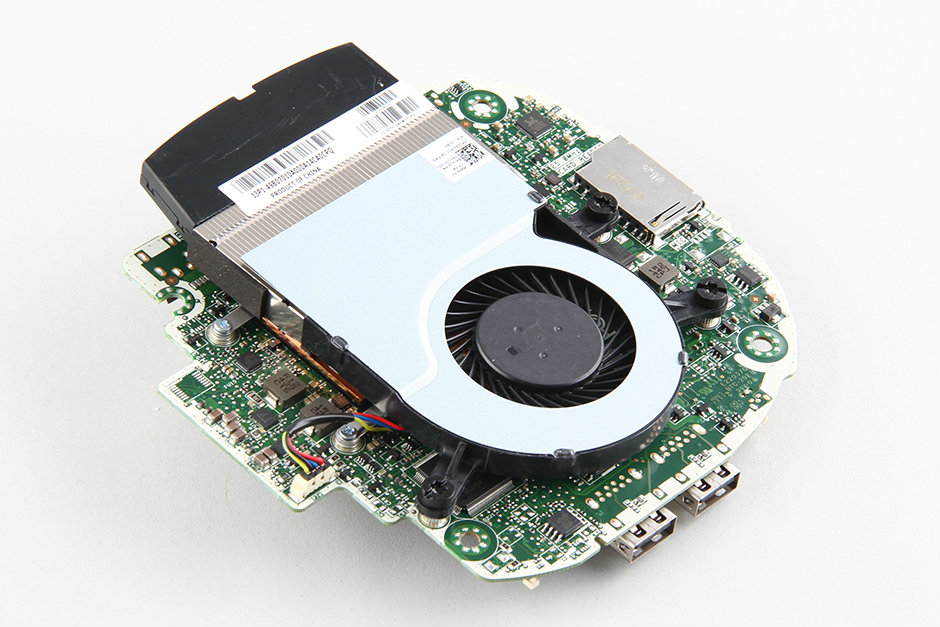
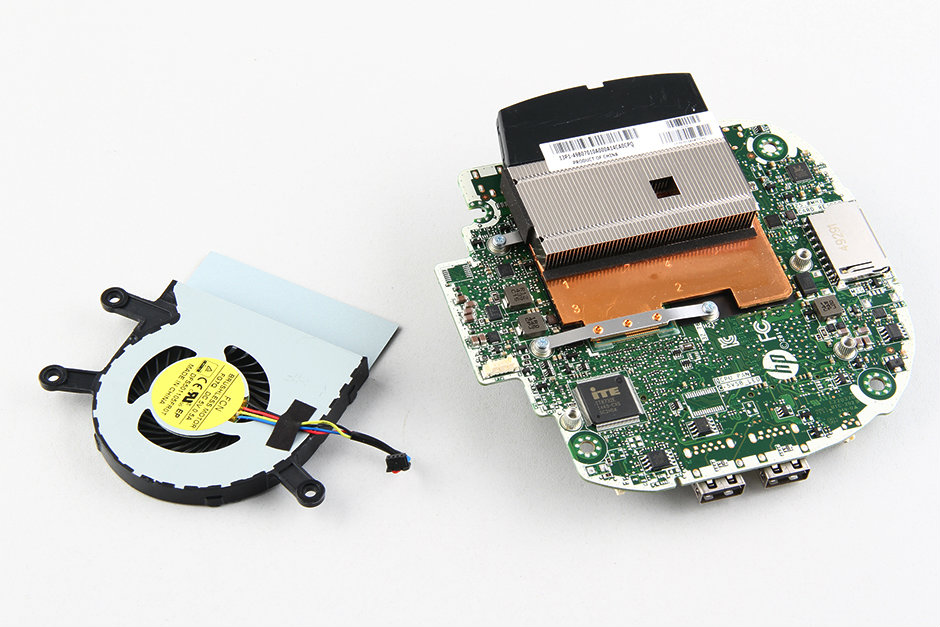
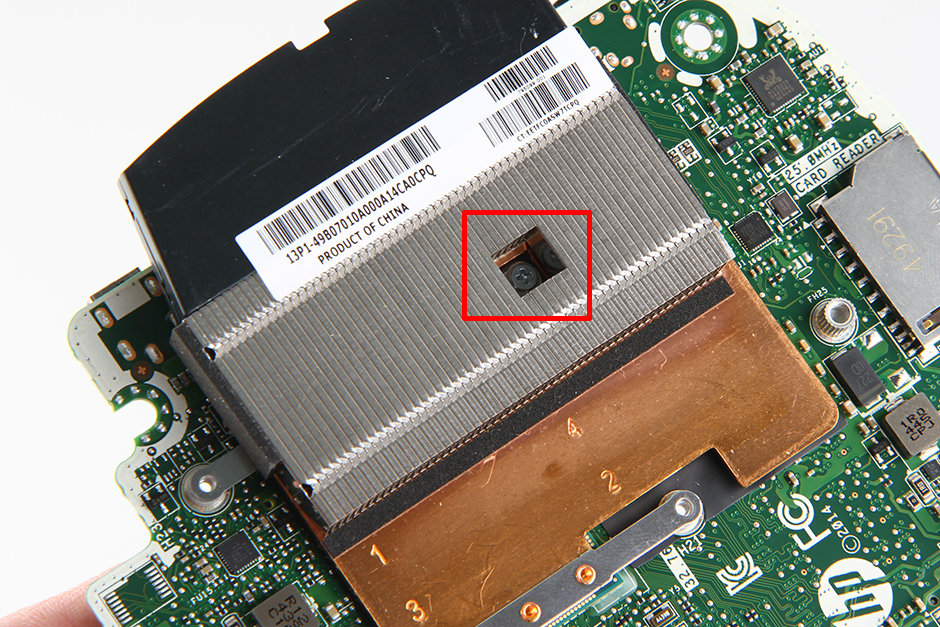
Remove the screw securing the heat sink.
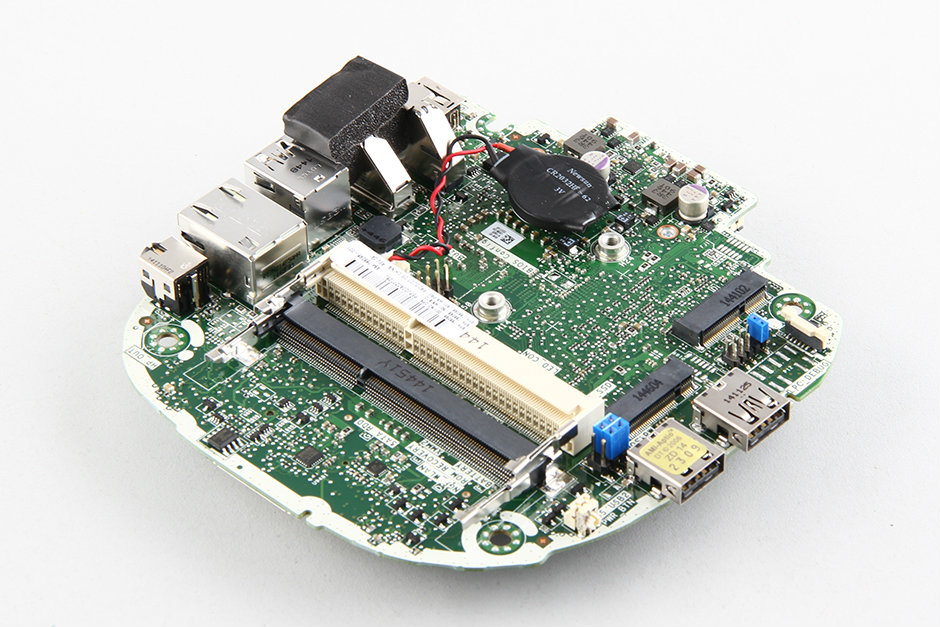
HP Pavilion Mini 300 internal parts
Where can I buy the cooler for this mini desktop?
Hi, is it possible to connect the cooling fan to the motherboard on the HP Mini 300-010? Please explain why these blue pinouts and open pins are given. Thank you in advance.