
In this guide, I will explain how to disassemble the Nokia N1 to remove the screen assembly, battery, rear camera, front camera, speaker, and motherboard.
Want to keep in touch with us? Follow us on Facebook for more repair news.
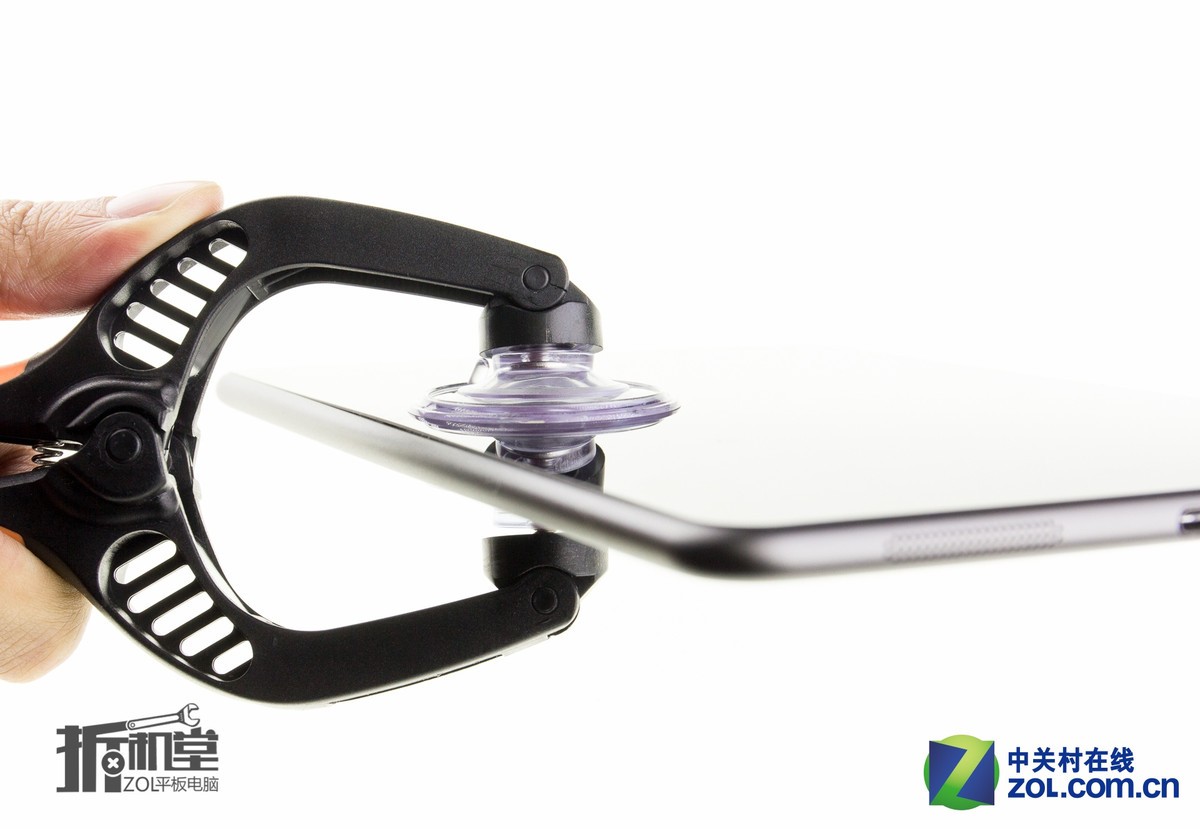
First, use a heat gun to heat the edge of the screen.

Heat for about two minutes, then use a suction cup to pry up the screen assembly.
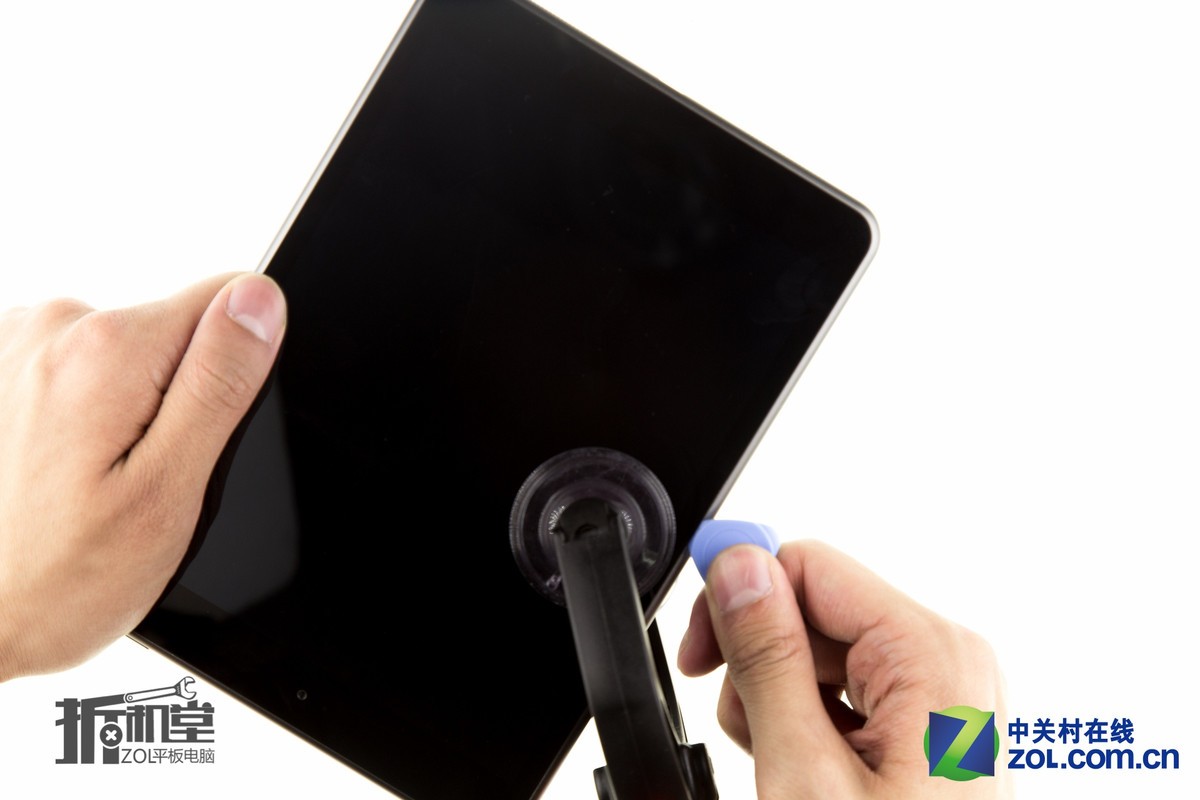
Now, you can insert a pick or pry tool into the gap.
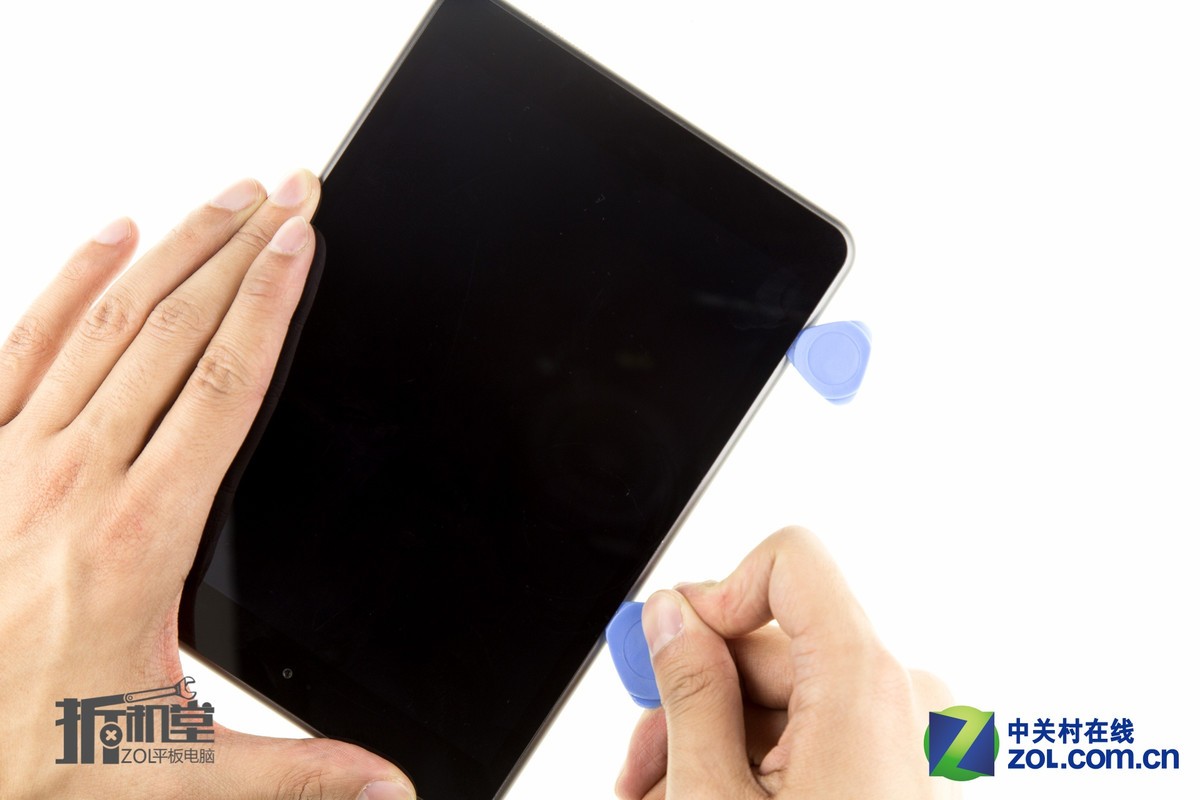
Insert another pick and slide the pick to expand the gap.
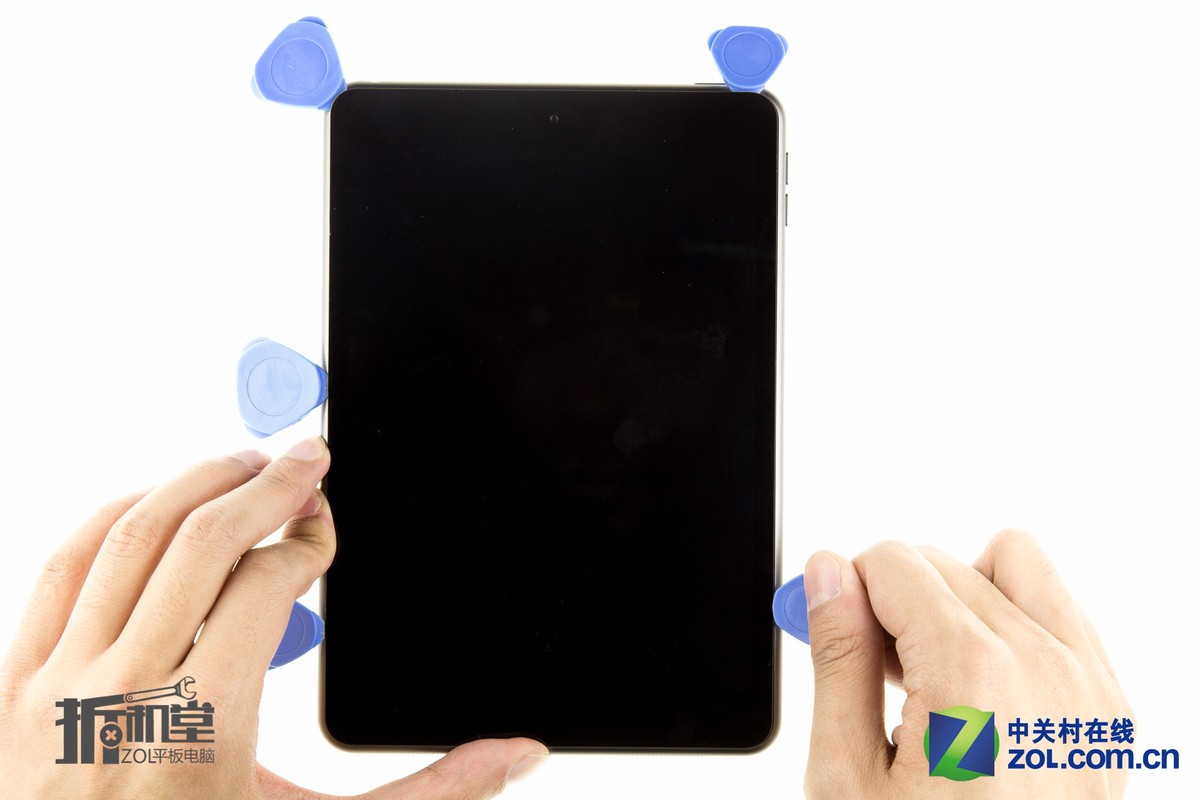
Finally, we insert five picks, then lift the screen from one side. Please note that the screen cable is connected to the motherboard. Do not apply excessive force, as this may damage the display cable.
Disconnect the LCD cable from the motherboard and remove the screen assembly.
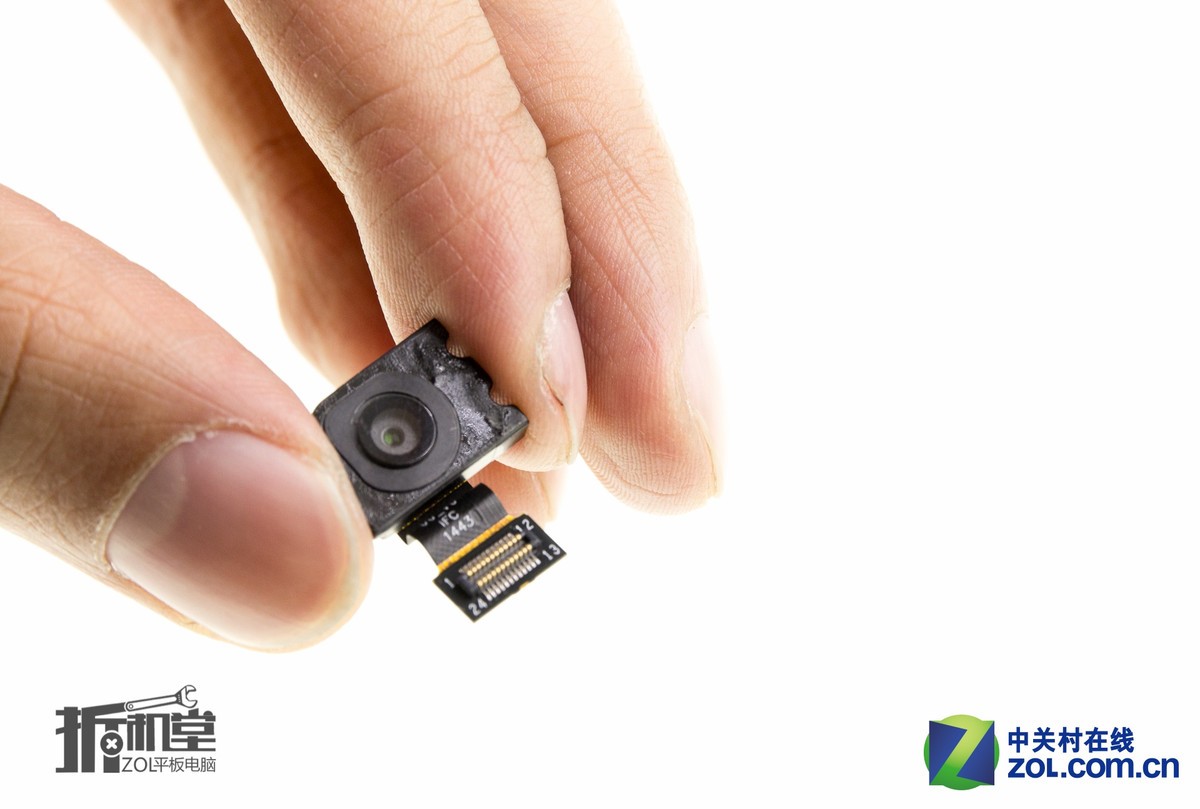
Disconnect the cable from the motherboard and remove the rear camera module. This tablet features an 8-megapixel camera.


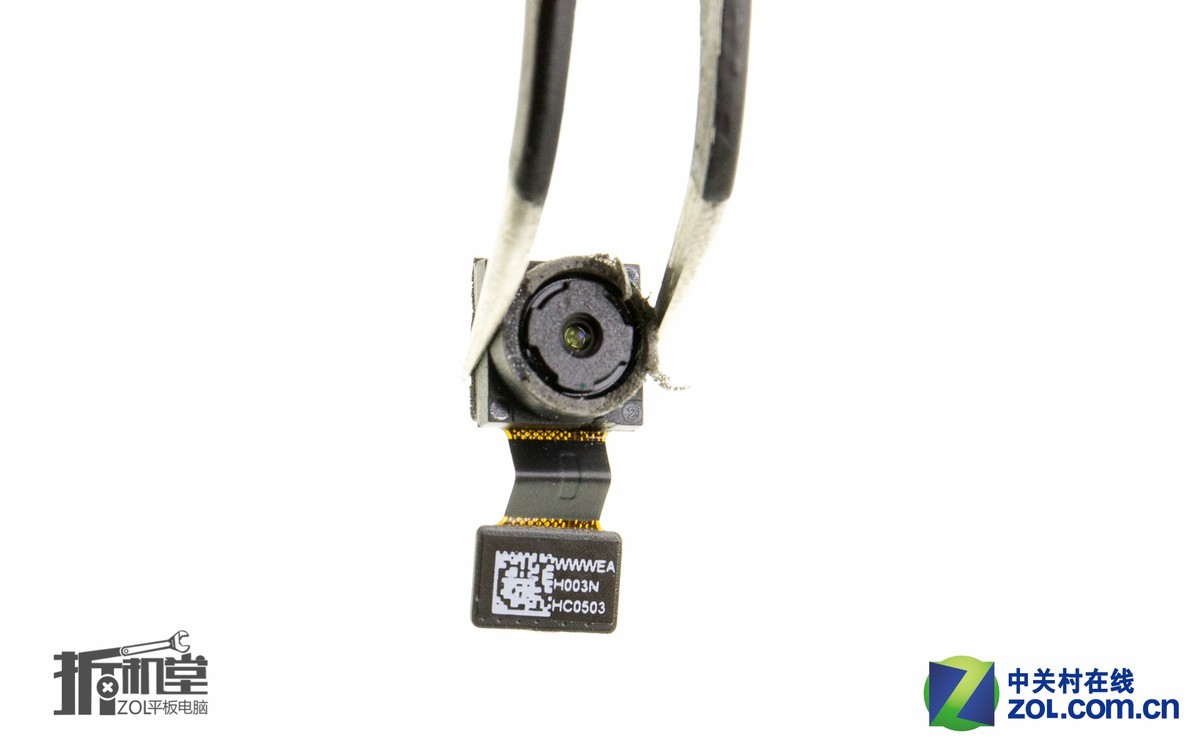
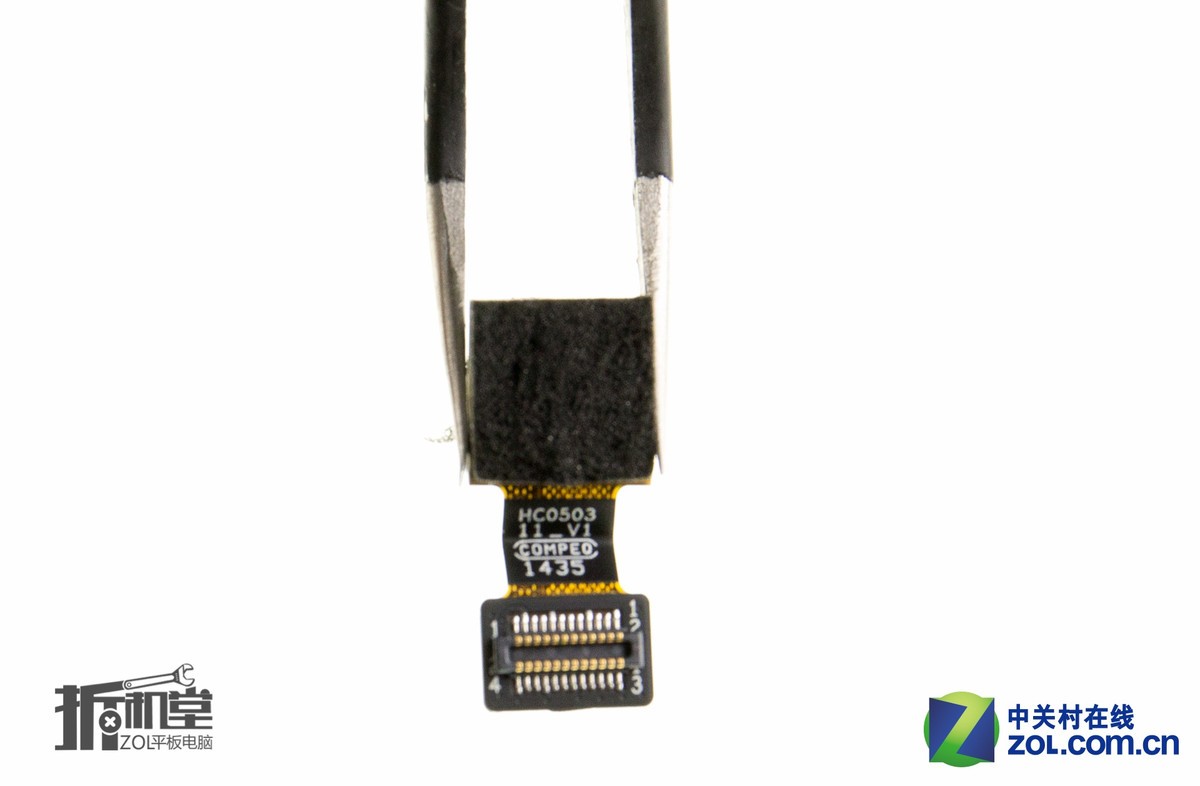
5MP front camera
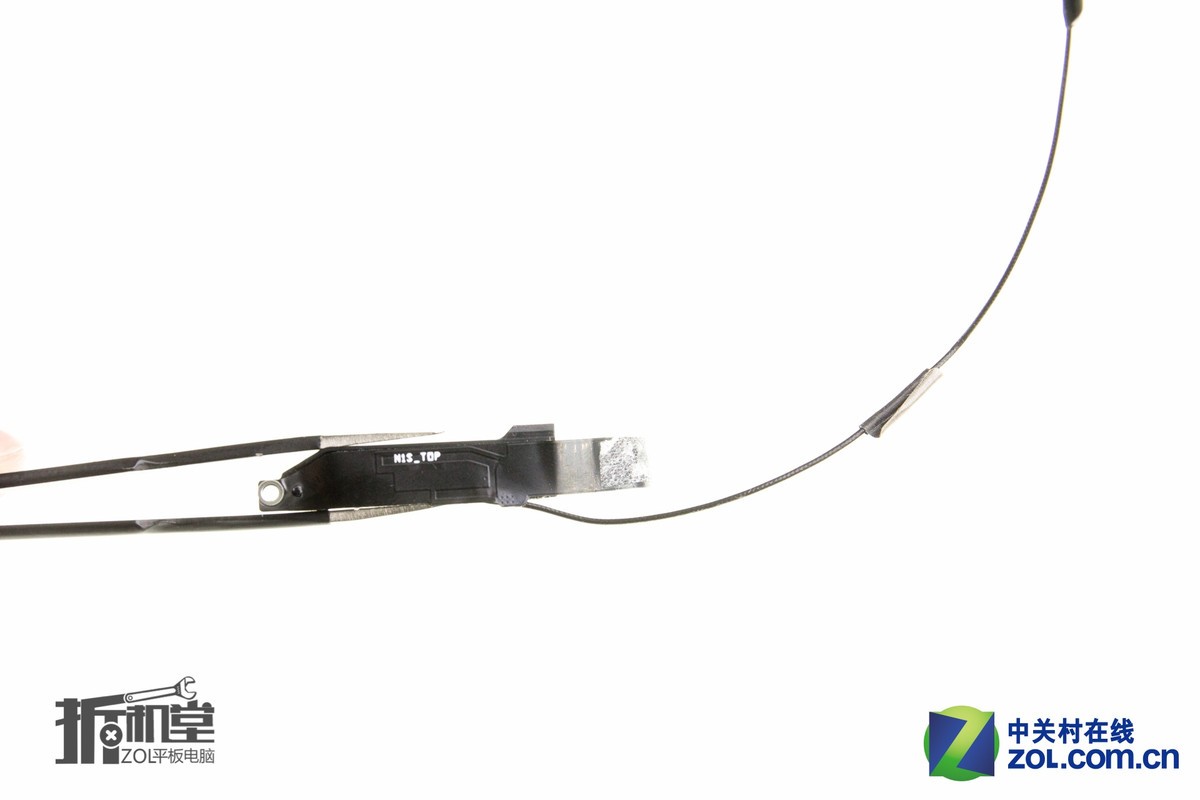
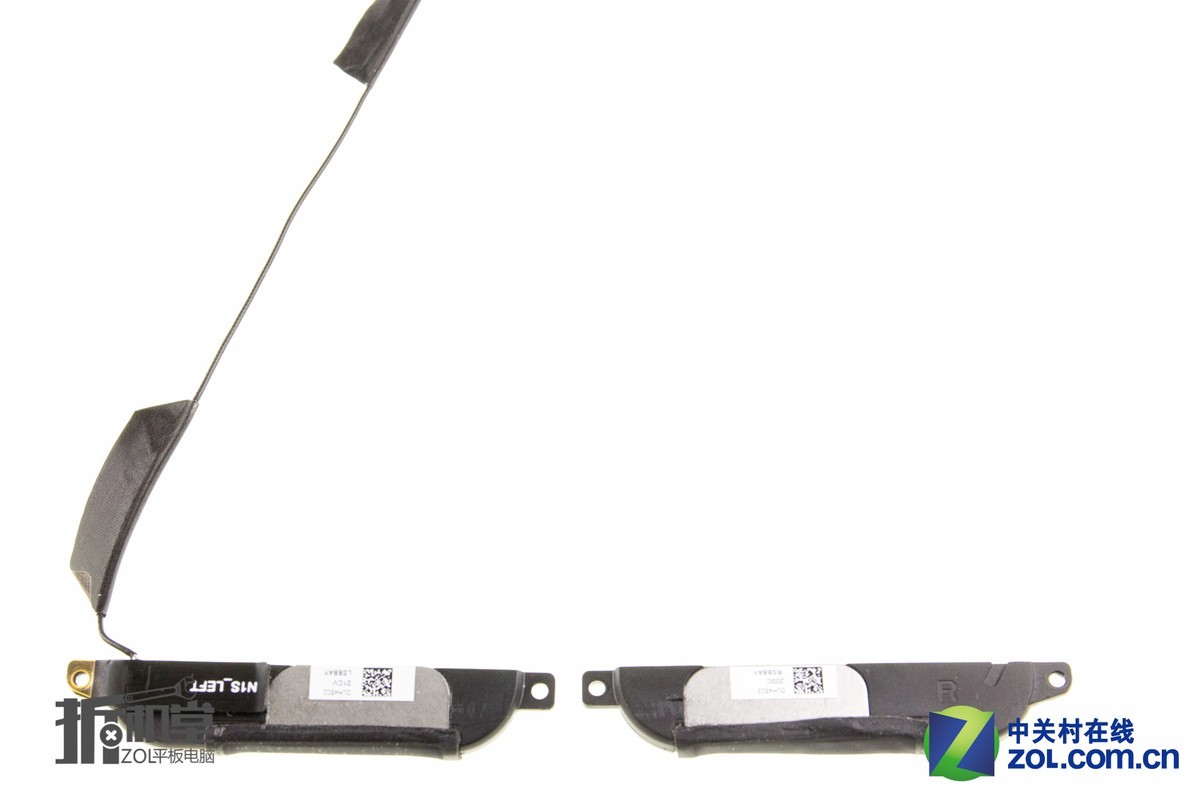
Wi-Fi antenna

Left and right speakers
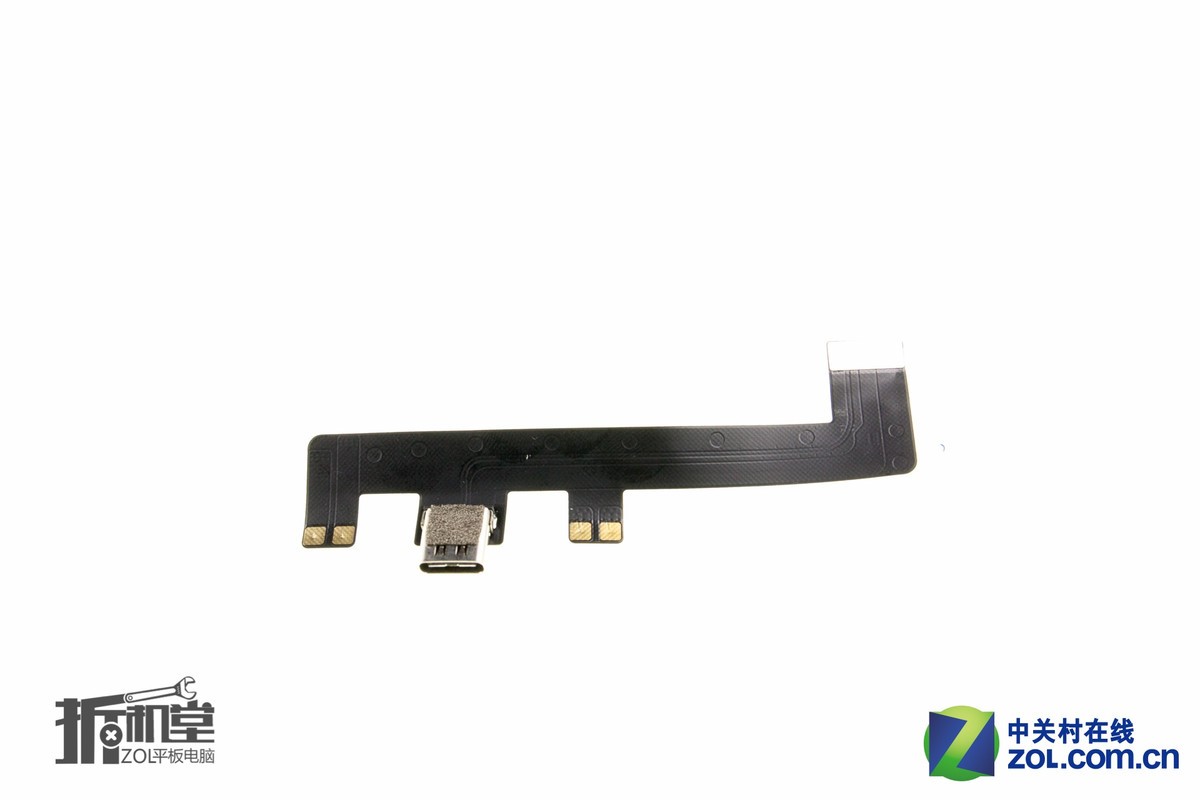
The Type-C port is integrated into the soft cable.
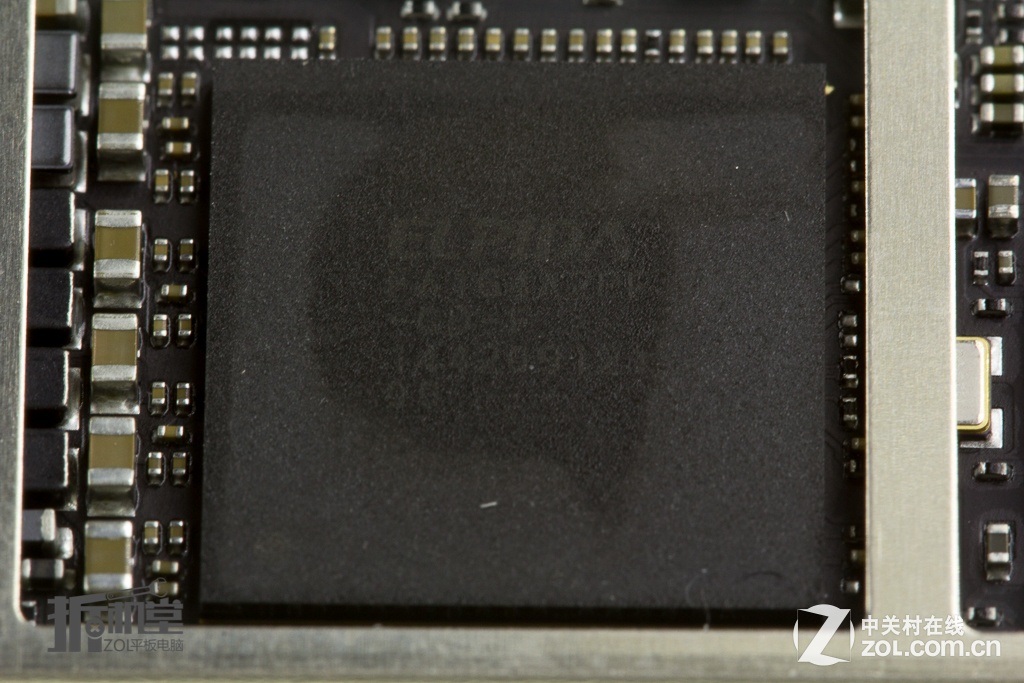
Samsung eMMC 5.0 32GB ROM

Elpida 2GB RAM
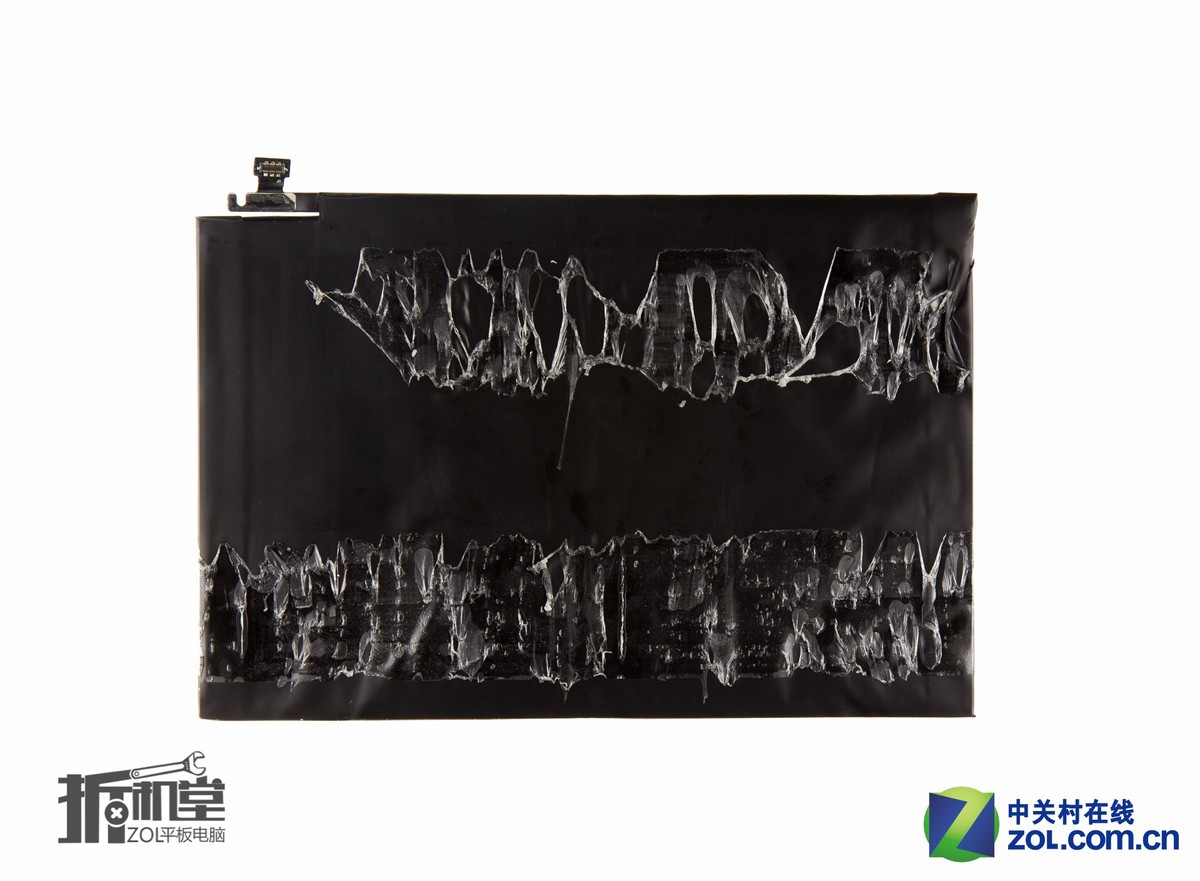
The Nokia N1 comes with a 5300mAh, 19.61Wh Li-Polymer battery.
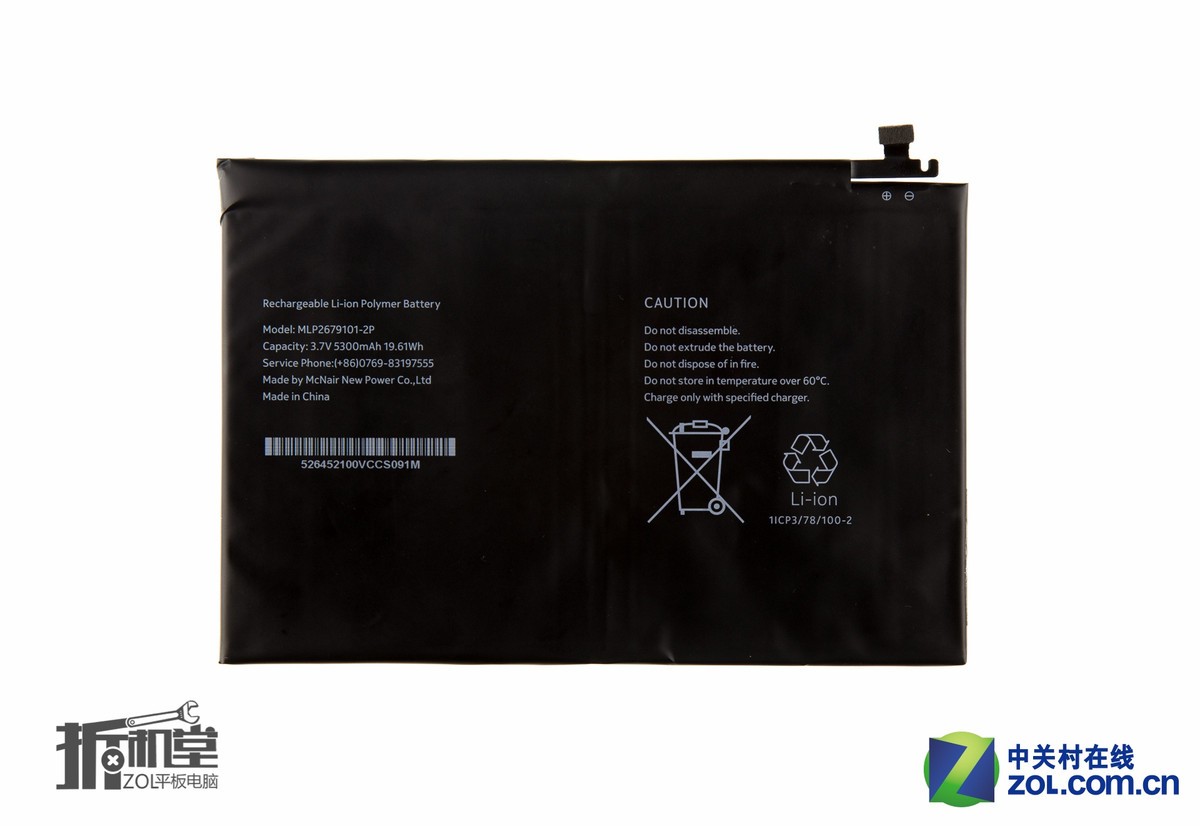
The battery is glued to the bottom cover. You need to insert a pry tool under the battery and slowly separate it.
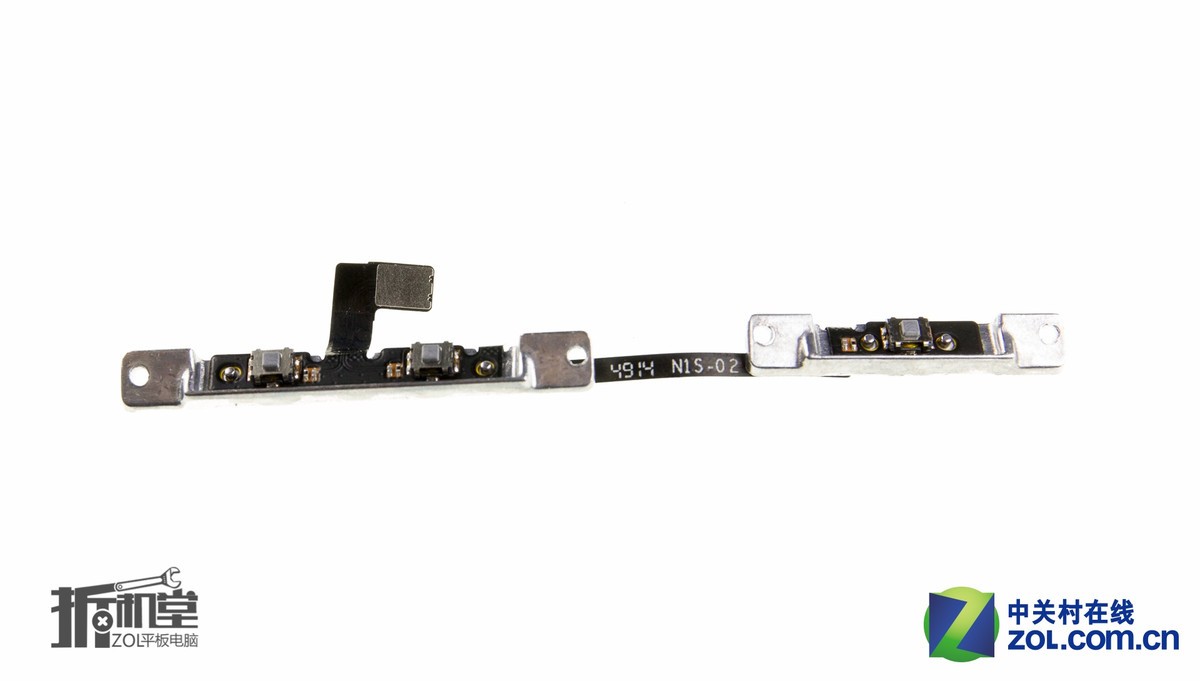
Button board
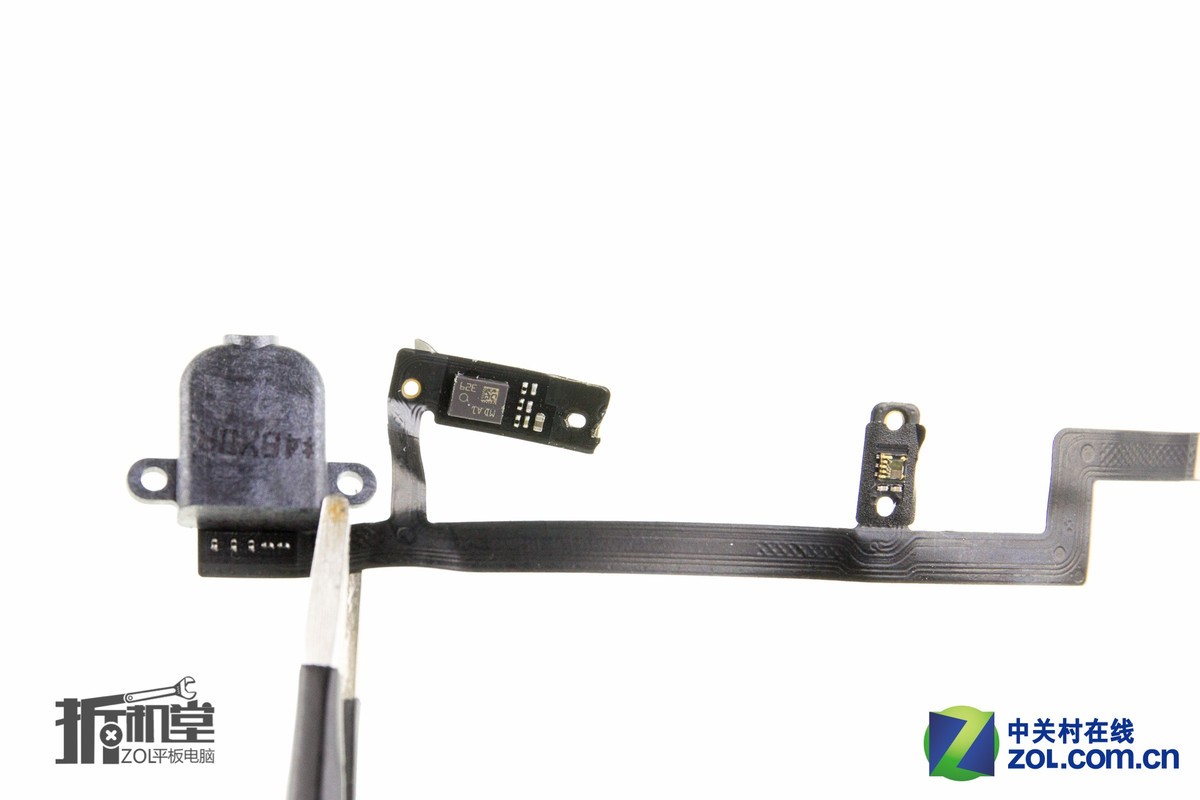
A 3.5mm headphone jack and microphone are integrated into this cable.
Source: zol.com.cn