In this guide, you will learn how to disassemble the Acer Aspire 4551G to remove and replace the keyboard, cooling fan, palm rest, wireless card, screen, DVD drive, hard drive, and motherboard.
Join us on the social network! Follow us on Facebook for all the latest repair news.
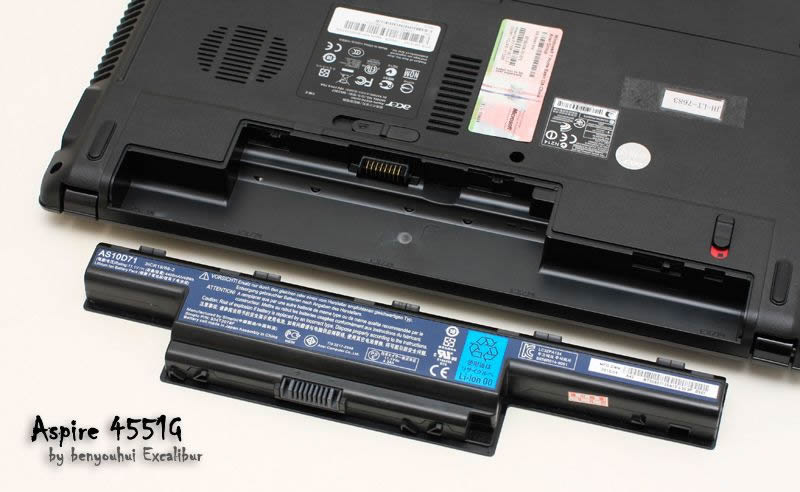
Unlock and remove the battery.
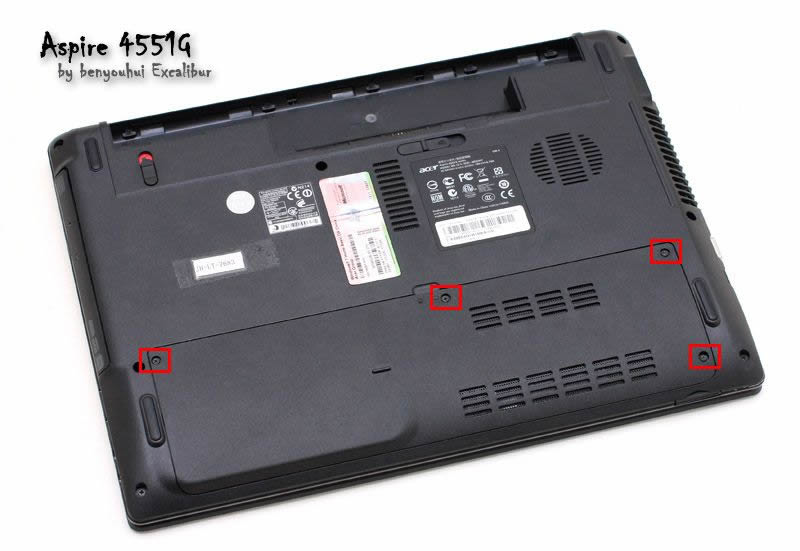
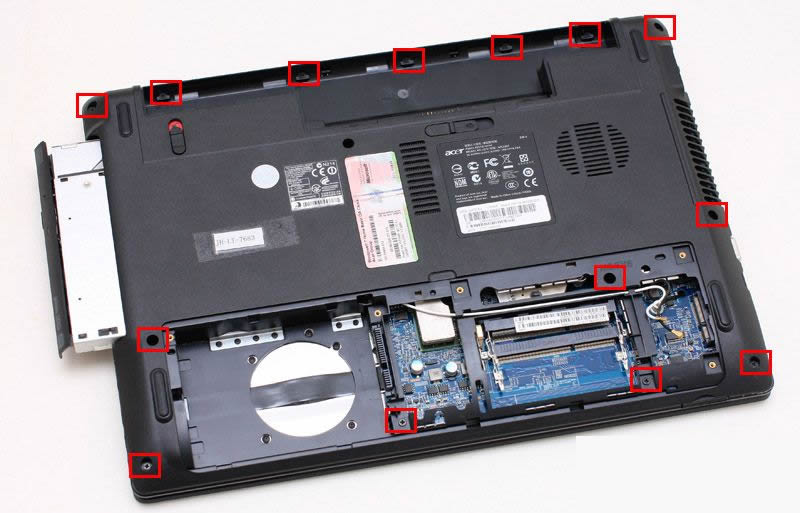
Remove the four marked screws to remove the service cover.
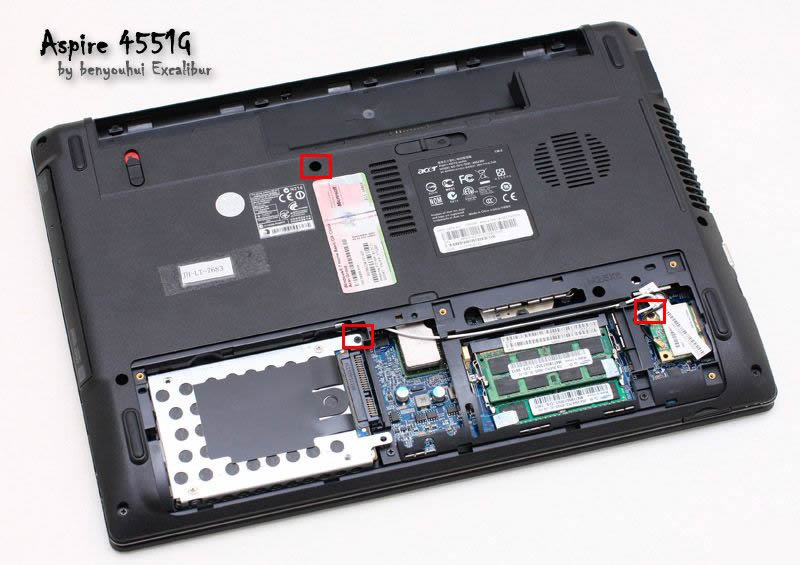
After removing the service cover, you can access the hard drive, memory module, and wireless card.
To remove the hard drive, just remove the securing screw.
Slide the latches to remove the memory.
Unplug the two antennas and unscrew the screw to remove the wireless card.
Unscrew the optical drive screw to pull out the optical drive.
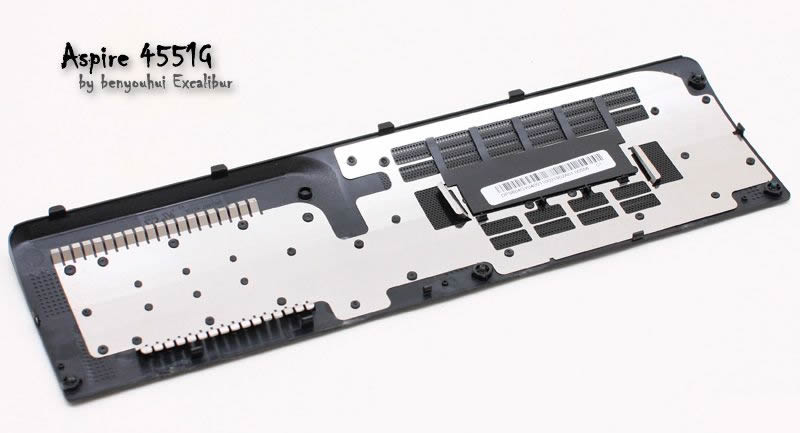
Close-up of the back of the service cover.
Pull out the optical drive and unscrew all the marked screws. There are two screws below the optical drive, which also need to be removed.
The removed memory modules and the wireless card

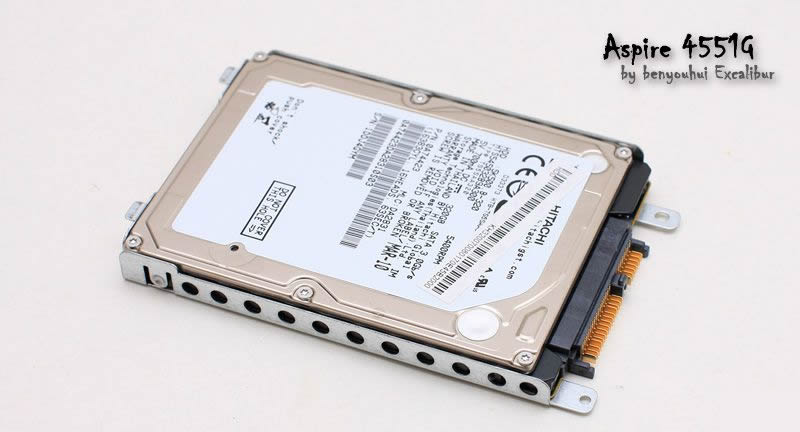
The Acer Aspire 4551G comes with a Hitachi 320GB 5400rpm hard drive.
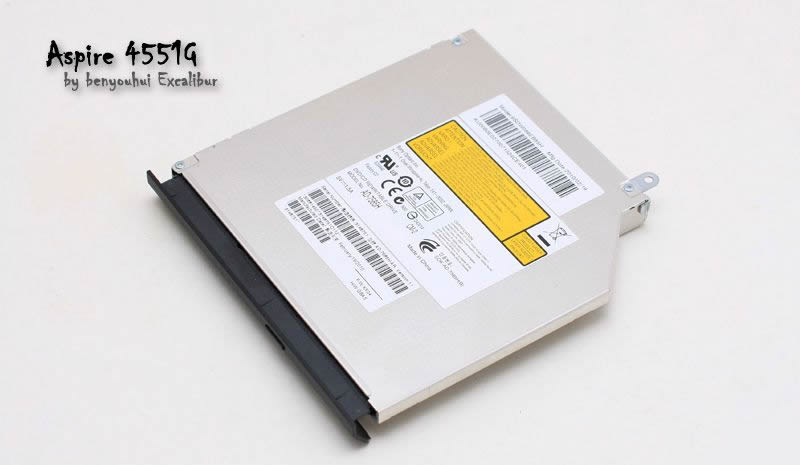
Close-up of the DVD burner.
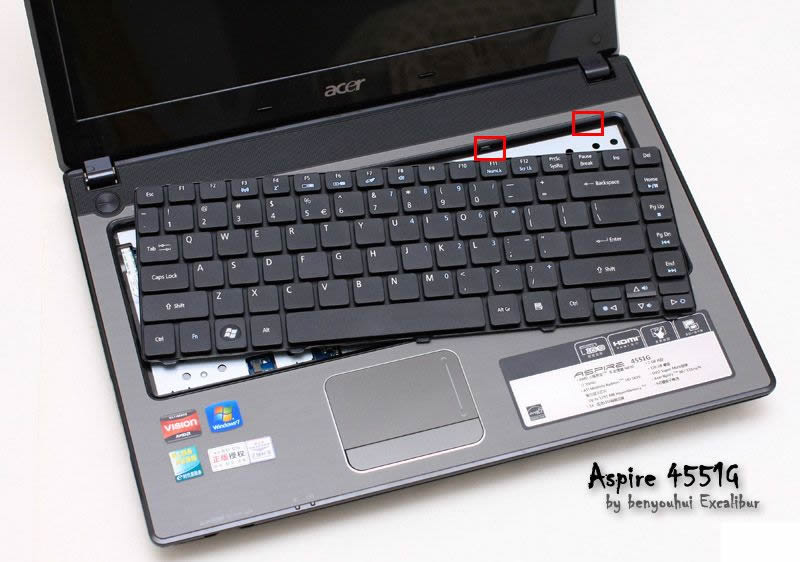
Open the laptop and press the clip to remove the keyboard.
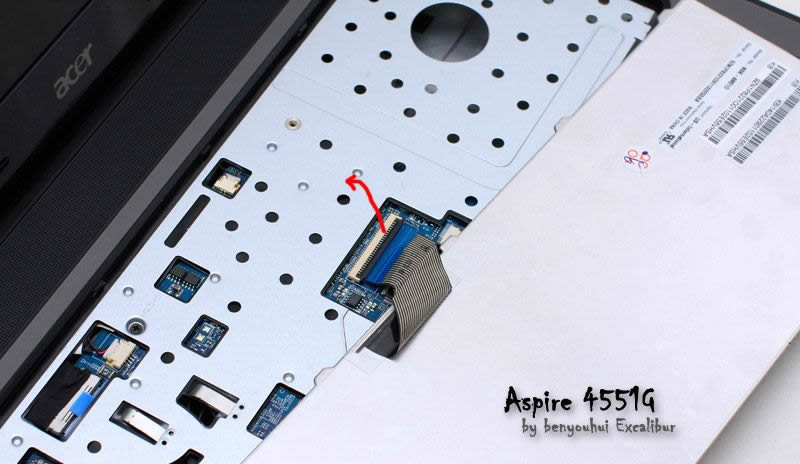
Place the keyboard on the palm rest and disconnect the keyboard cable.
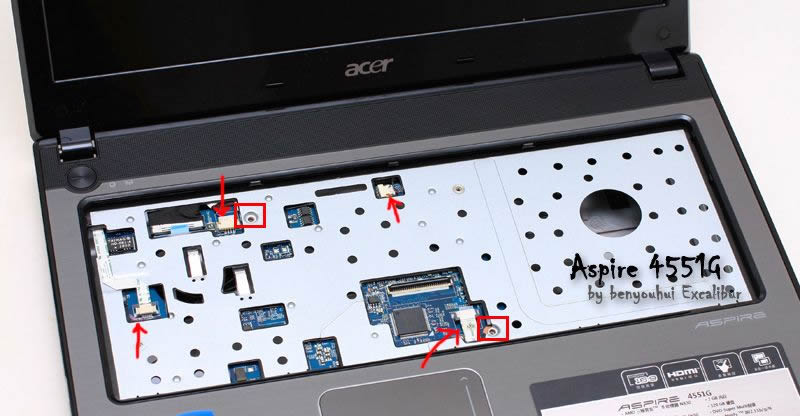
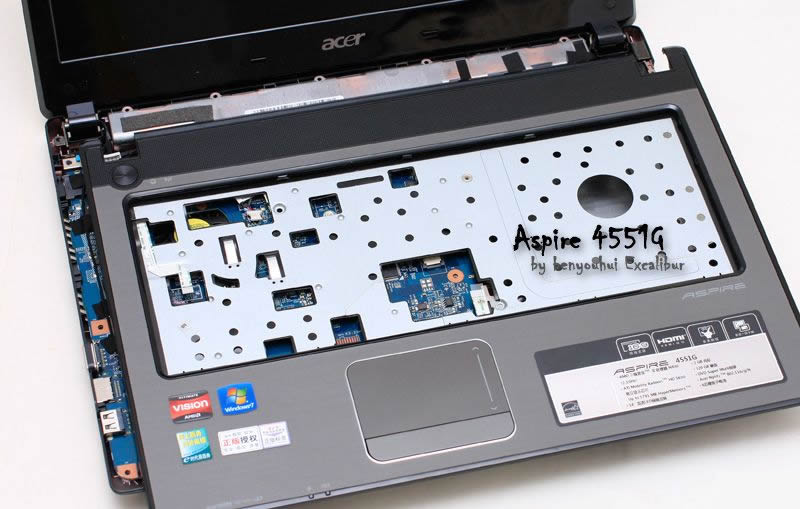
Unscrew the two screws and unplug the marked cables on the palm rest.
Now insert a card or pry bar between the palm rest and the bottom cover, and slide the card to detach the palm rest from the bottom cover.
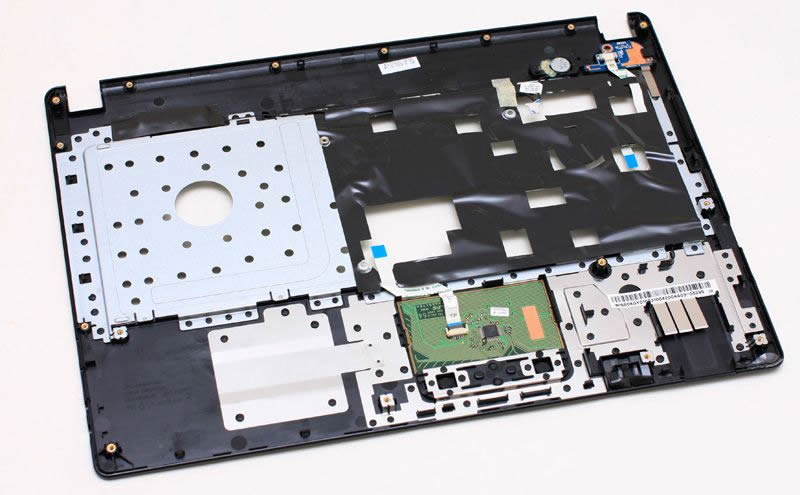
Close-up of the back of the palm rest
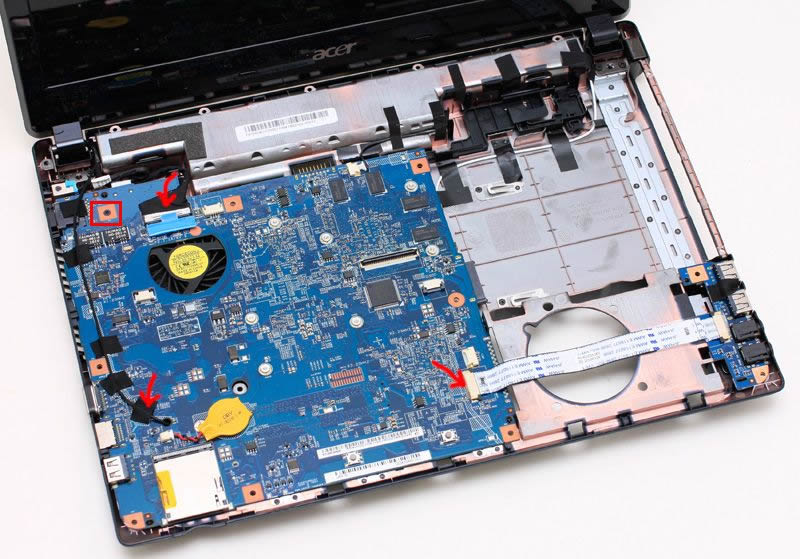
Once the palm rest is removed, we can access the motherboard and other small parts. Remove the marked screws and take out the motherboard.
After removing the motherboard, let’s continue to remove the screen assembly. Simply unscrew the four screws that secure the screen hinges.
Close-up of the display assembly.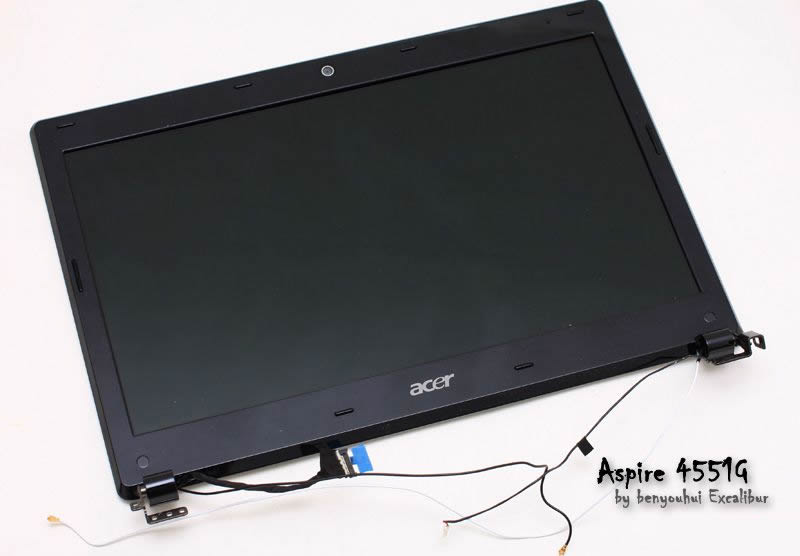
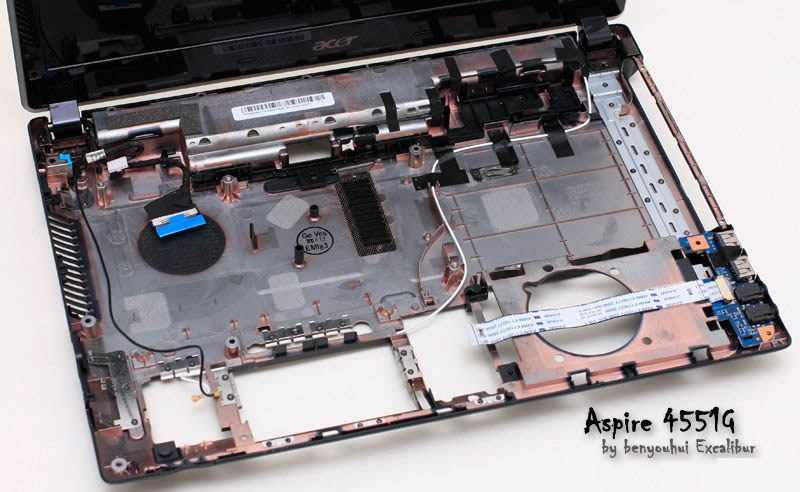
Close-up of the bottom case.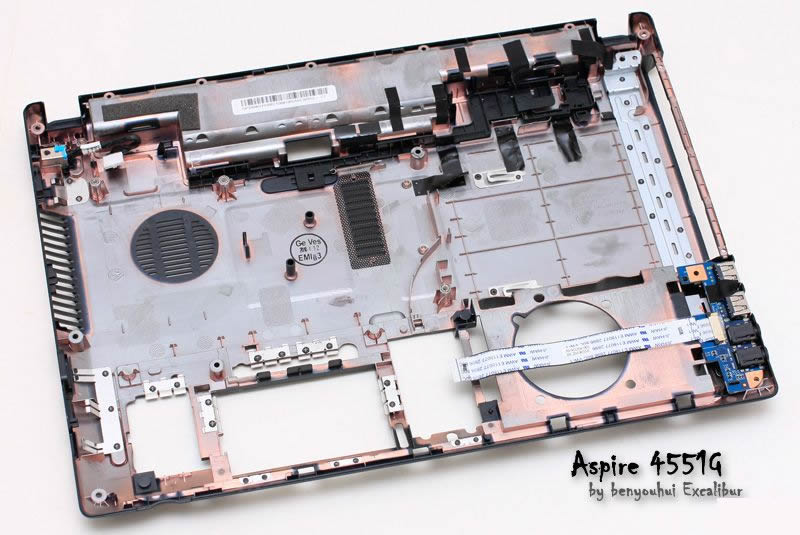
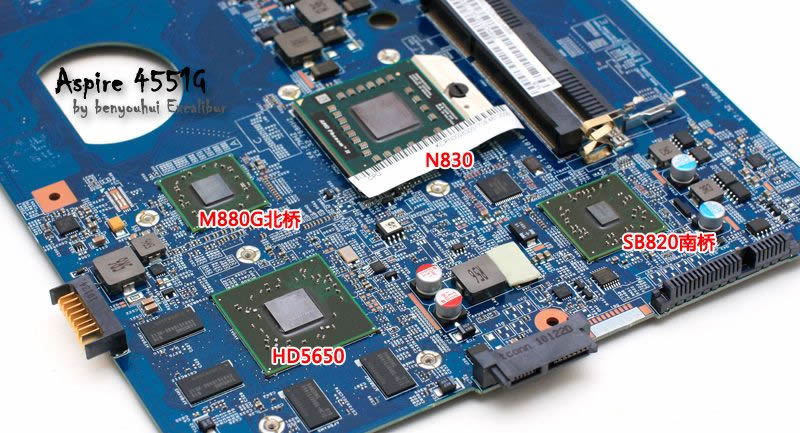
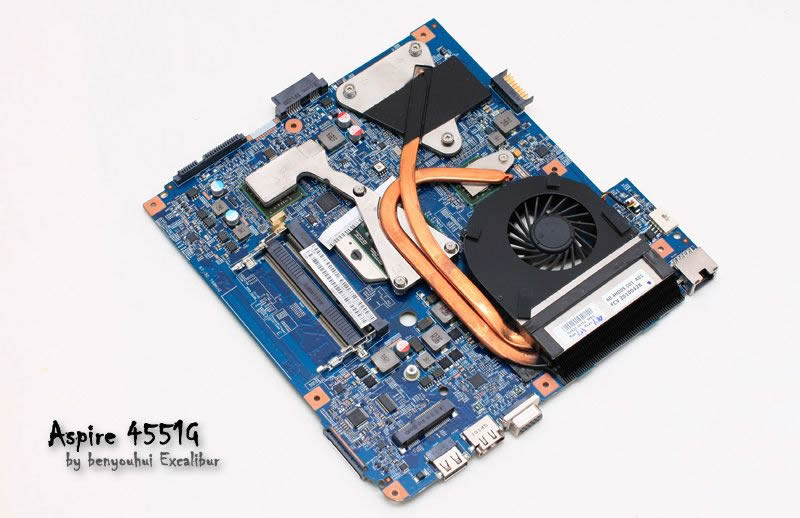
Close-up of the motherboard
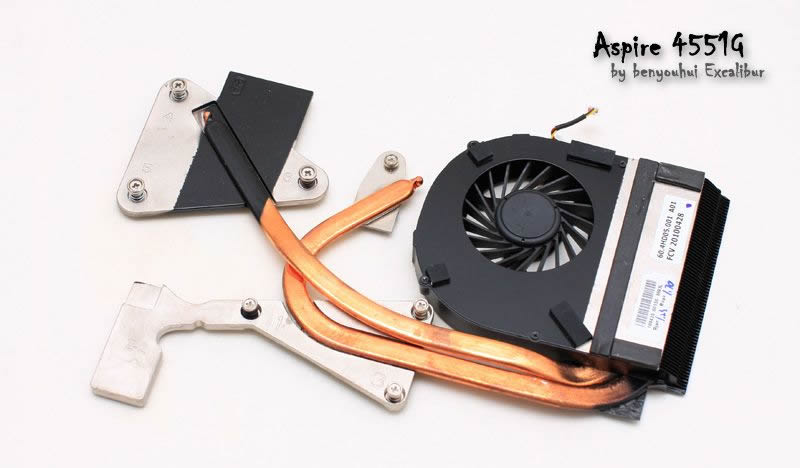
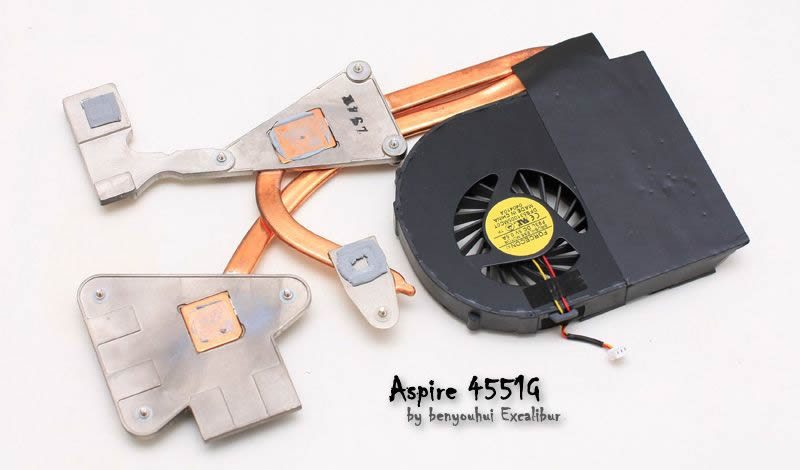
Unplug the fan cable, then loosen the screws in the order shown on the heat sink. You can remove the cooling system.
Various chips on the motherboard.