
In this guide, I will explain how to disassemble the Acer Aspire P3-171 to remove the bottom case, battery, SSD, speakers, LCD screen, USB board, heat sink, cooling fan, and motherboard.
Want to stay connected to MyFixGuide.com? Follow us on Facebook to check out the latest teardowns.
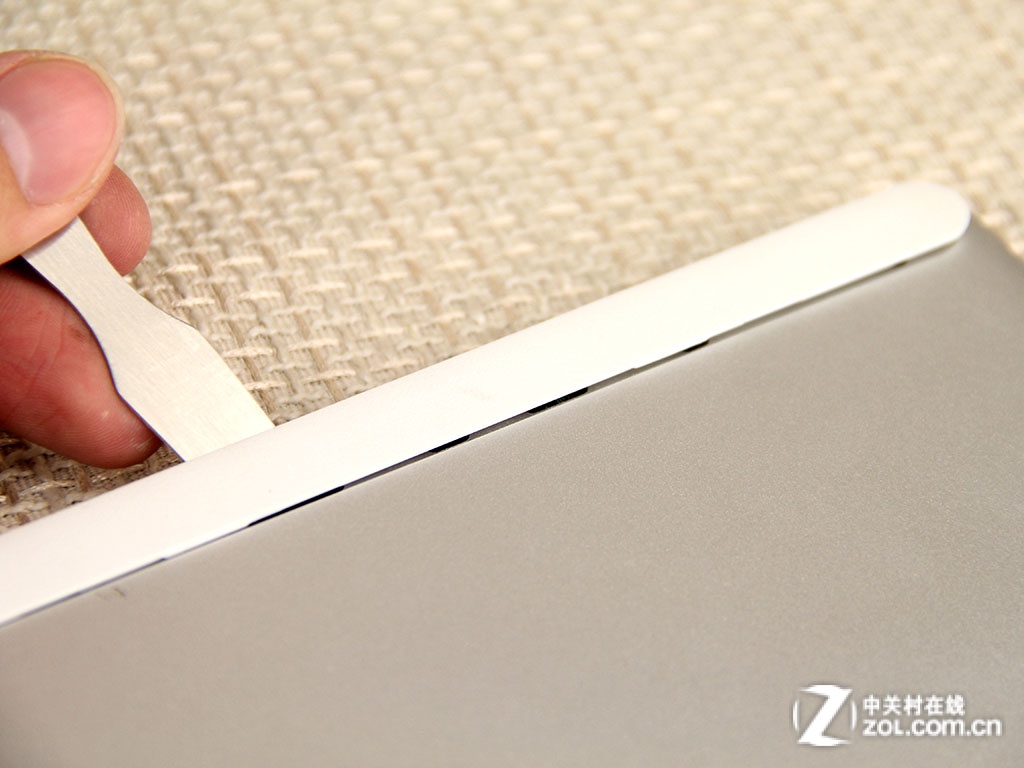
First, we need to remove the white bezel.
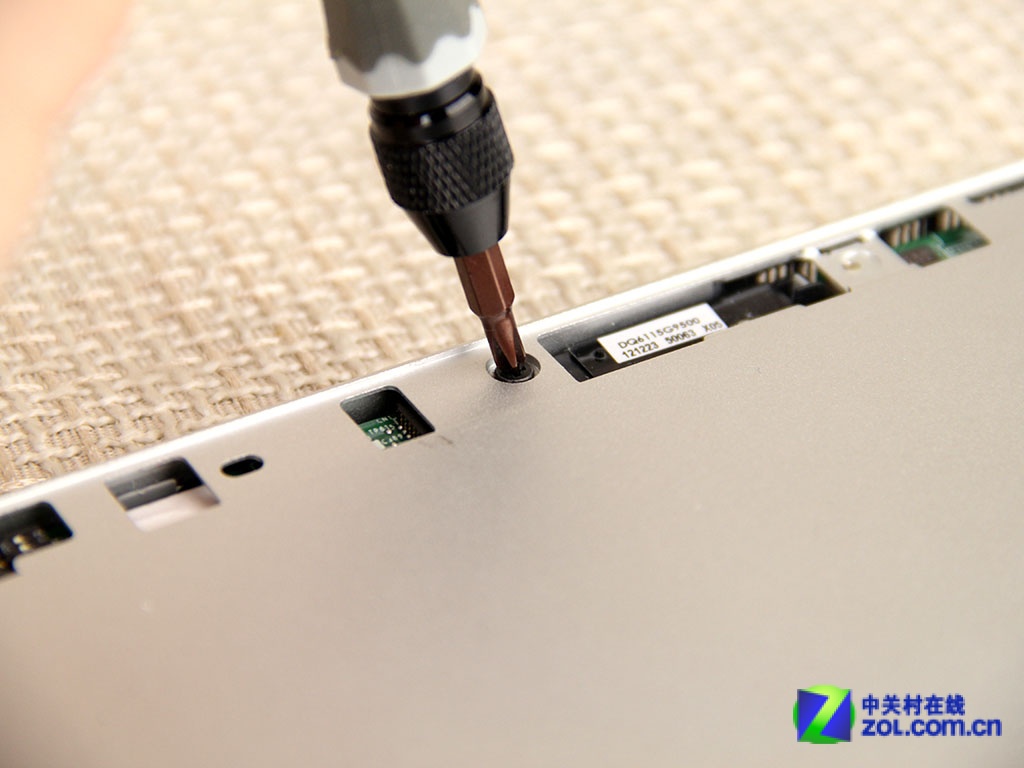
Under the white bezel, you can find three screws. Remove these screws.
Insert a pry tool under the LCD screen. Slide the pry tool to remove the LCD screen.
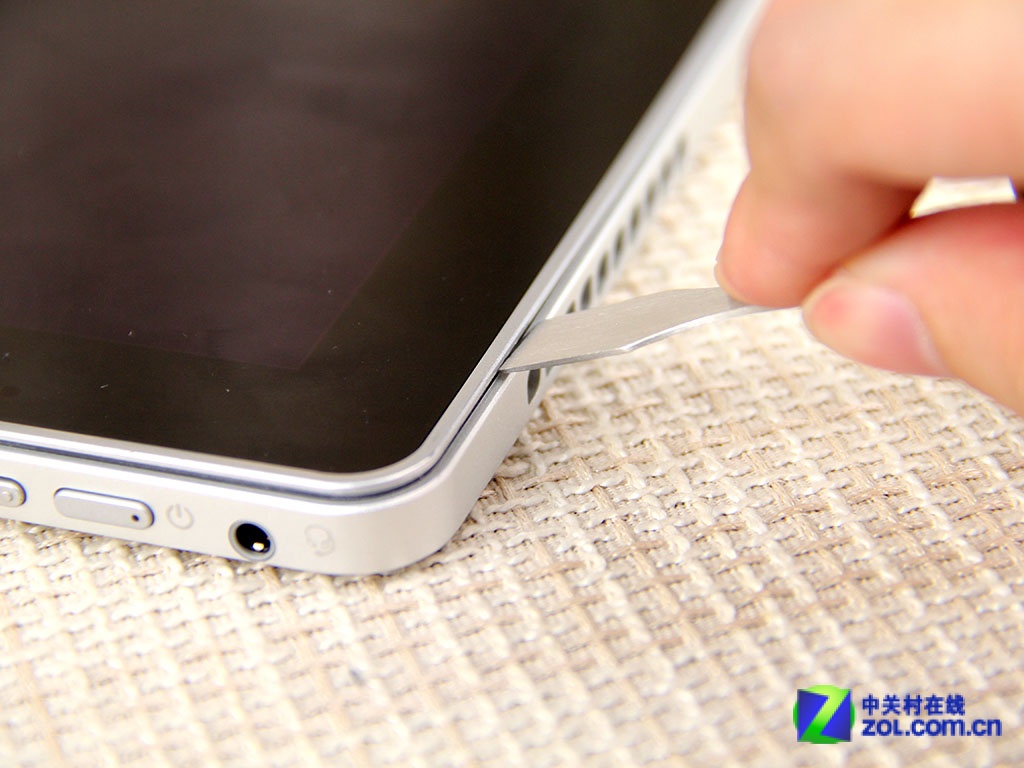
There are several clips on the screen used to secure it to the laptop. You need to unlock all the clips.
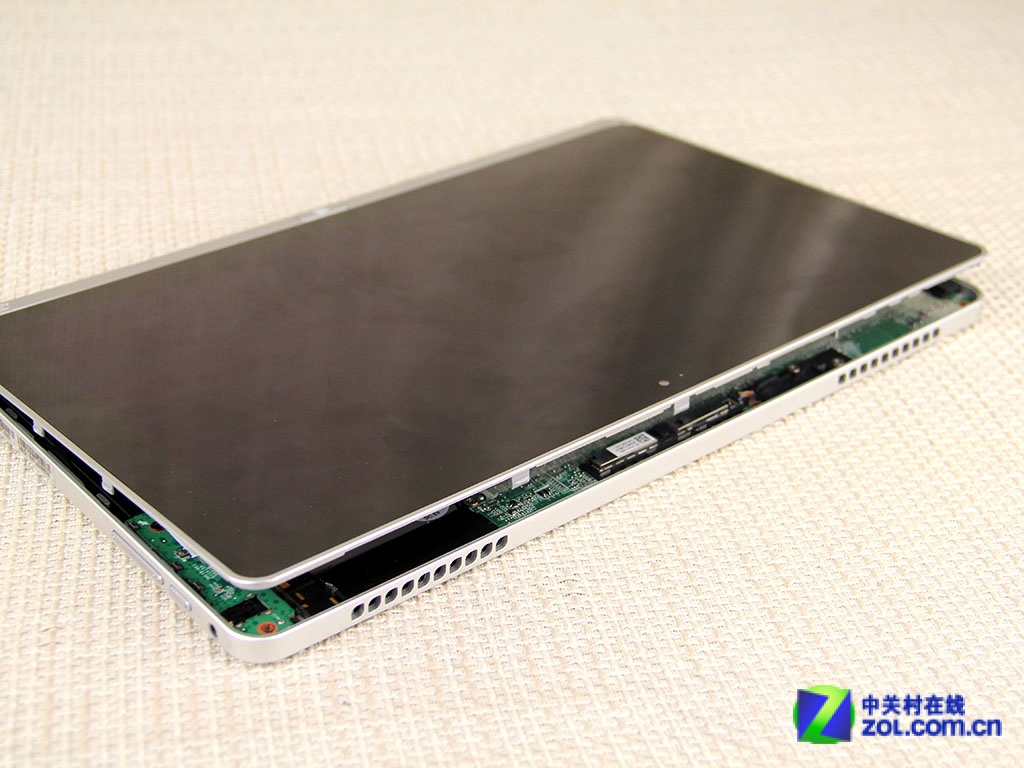
Lift the LCD screen. Please be careful as the LCD cable is still connected to the motherboard. You need to disconnect the battery connector from the motherboard first, and then disconnect the LCD cable.
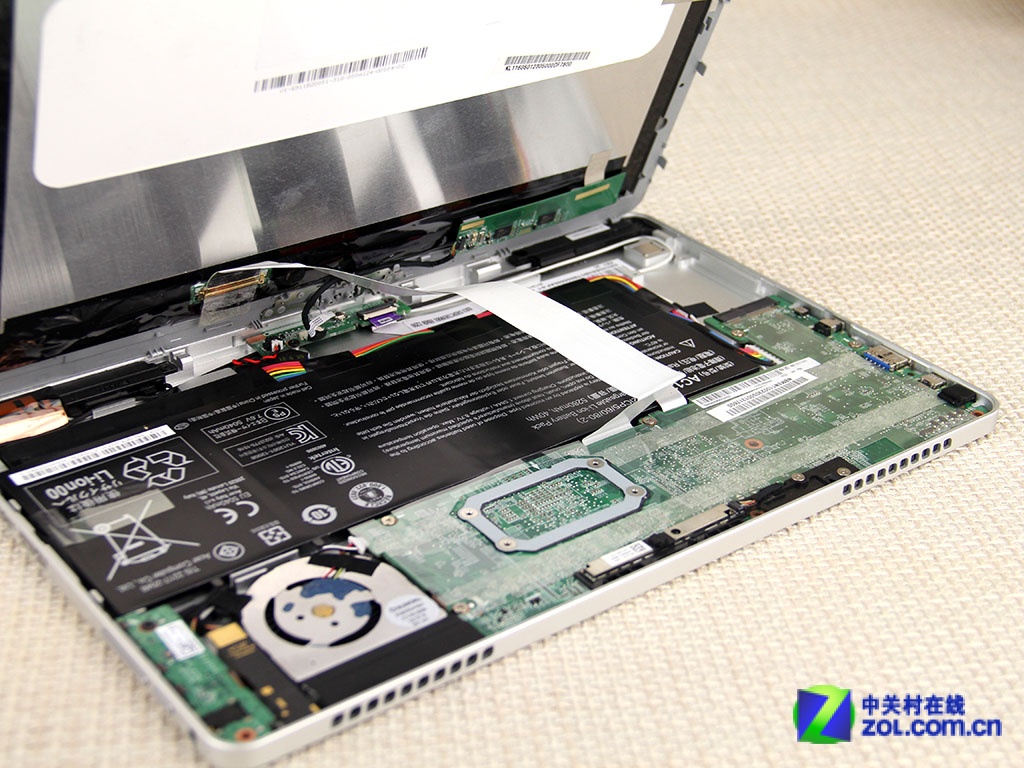
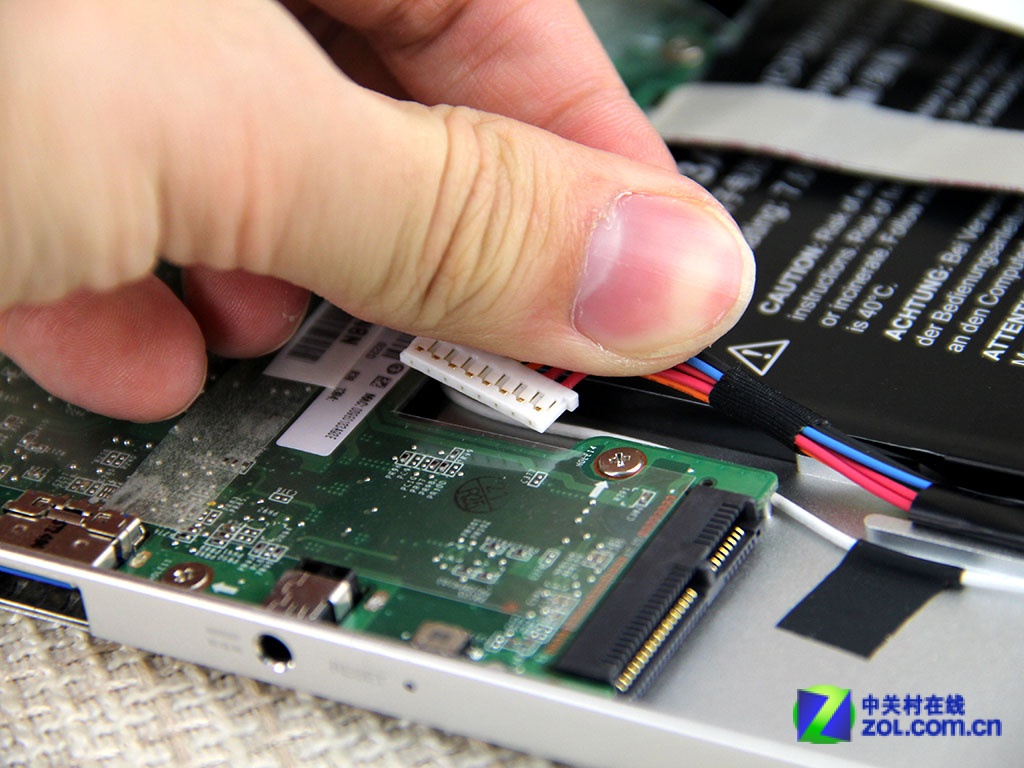
Disconnect the battery connector from the motherboard.
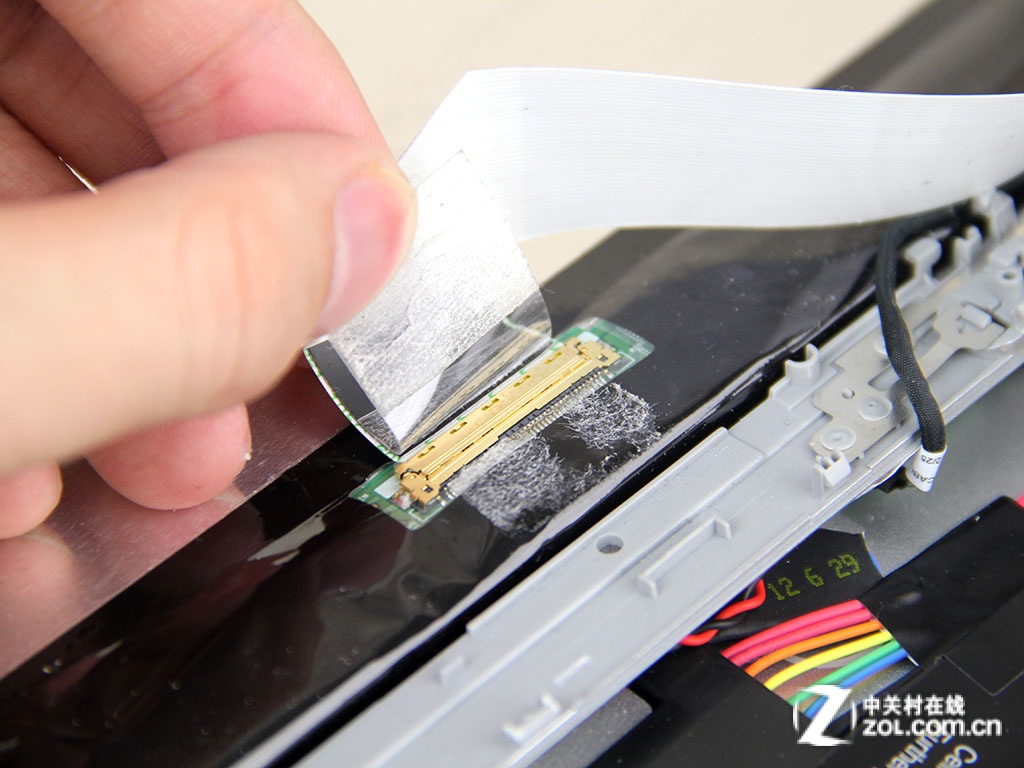
Uncover the scotch tape and disconnect the LCD cable from the motherboard.
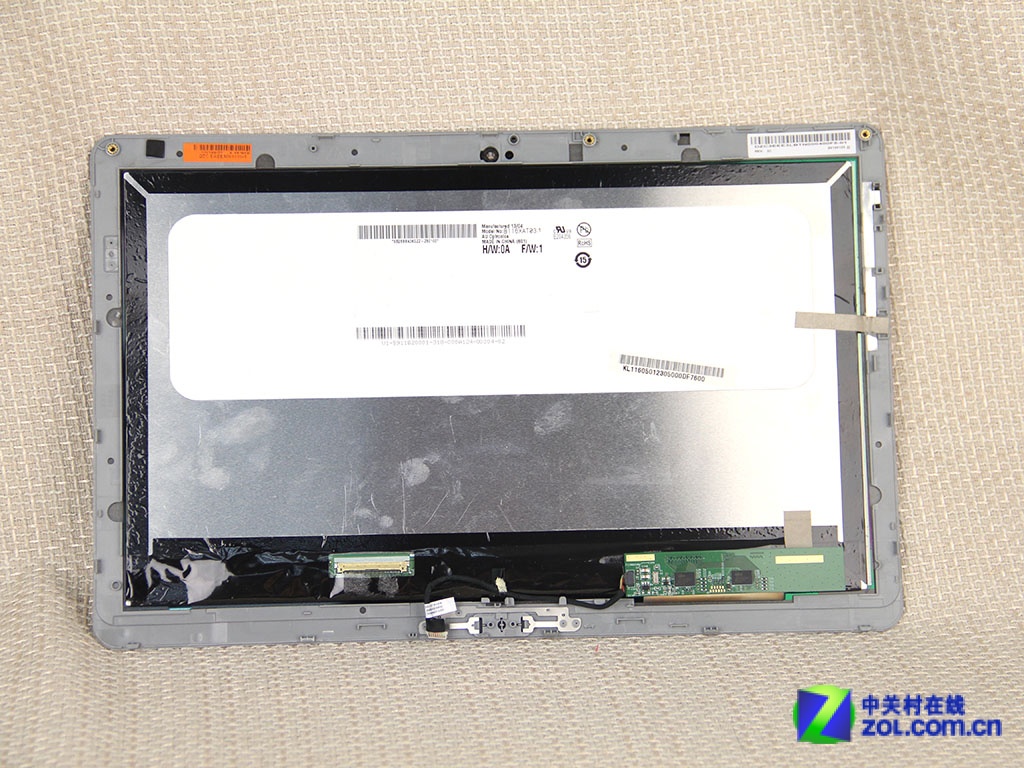
The Acer Aspire P3-171 screen has been removed. According to the sticker on the back of the LCD panel, this LCD panel is manufactured by AUO.
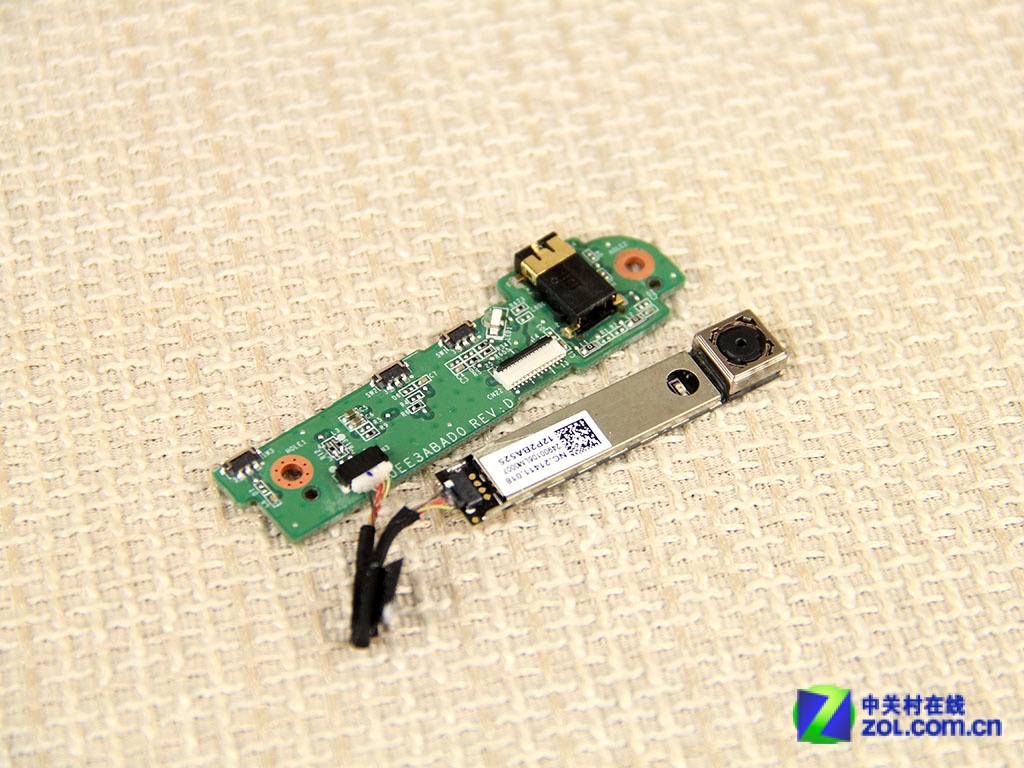
Here are the audio jack and front camera.
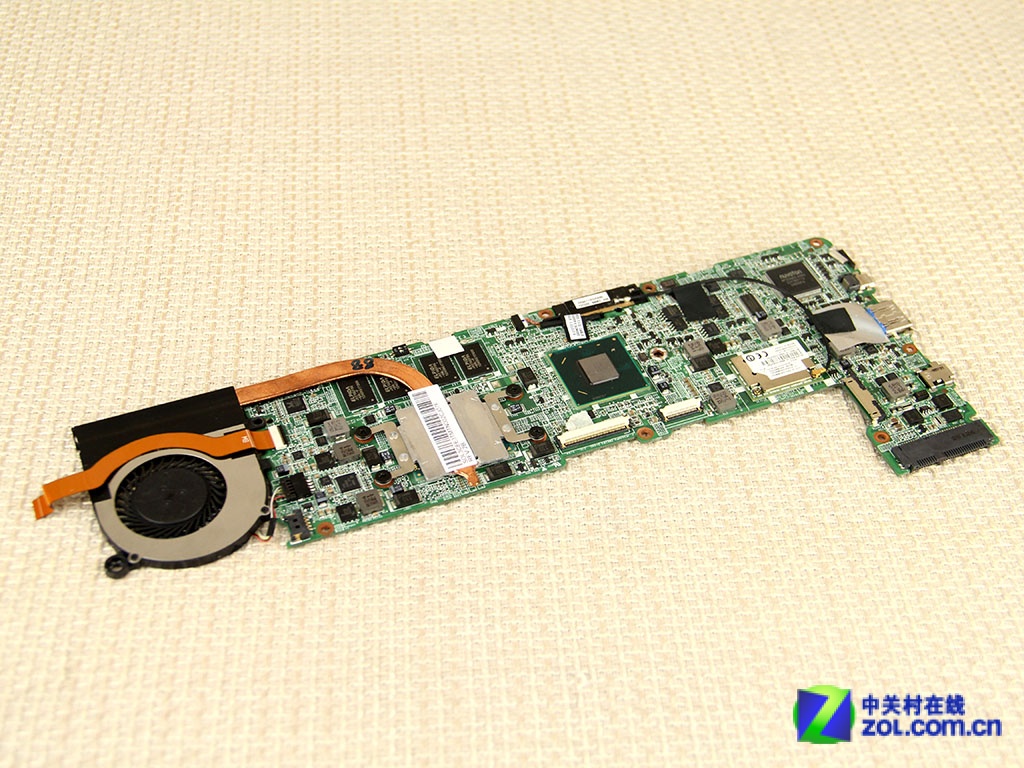
Remove all screws securing the motherboard and disconnect all ribbon cables from it. Lift the motherboard from one side and remove it from the palm rest.
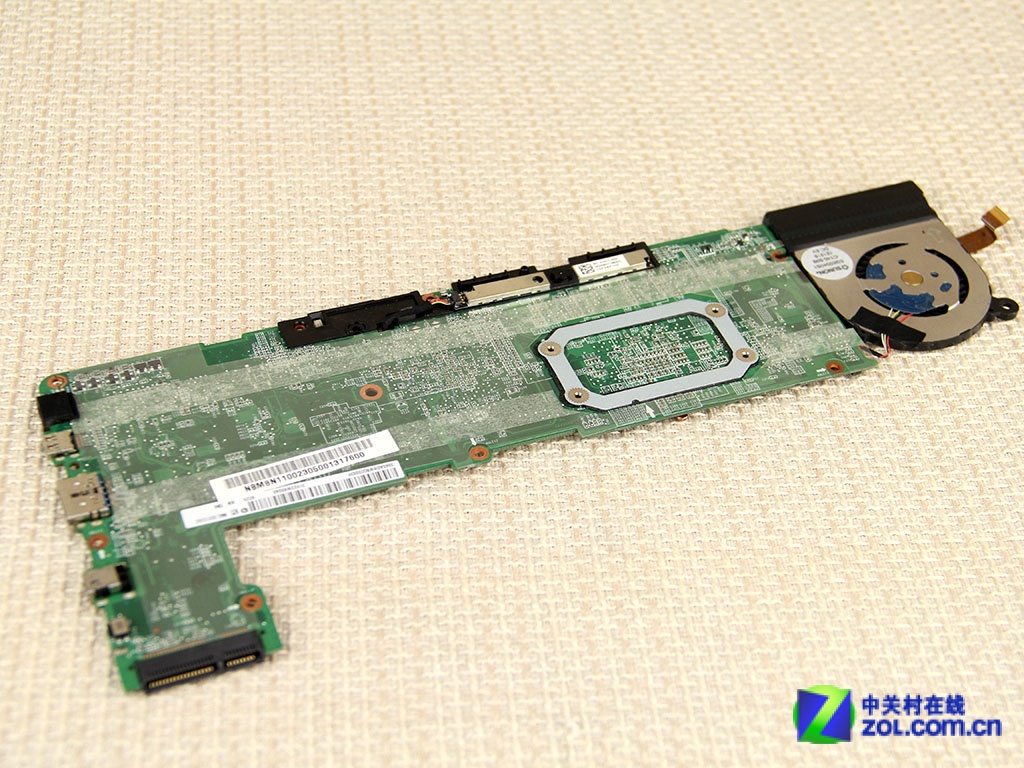
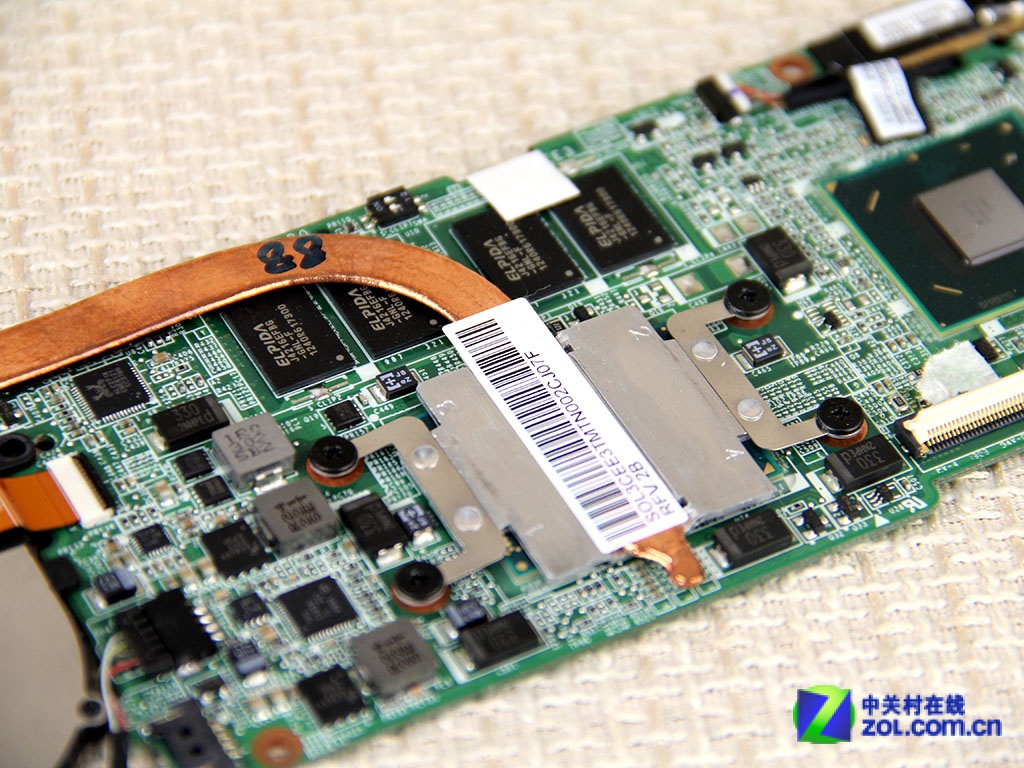
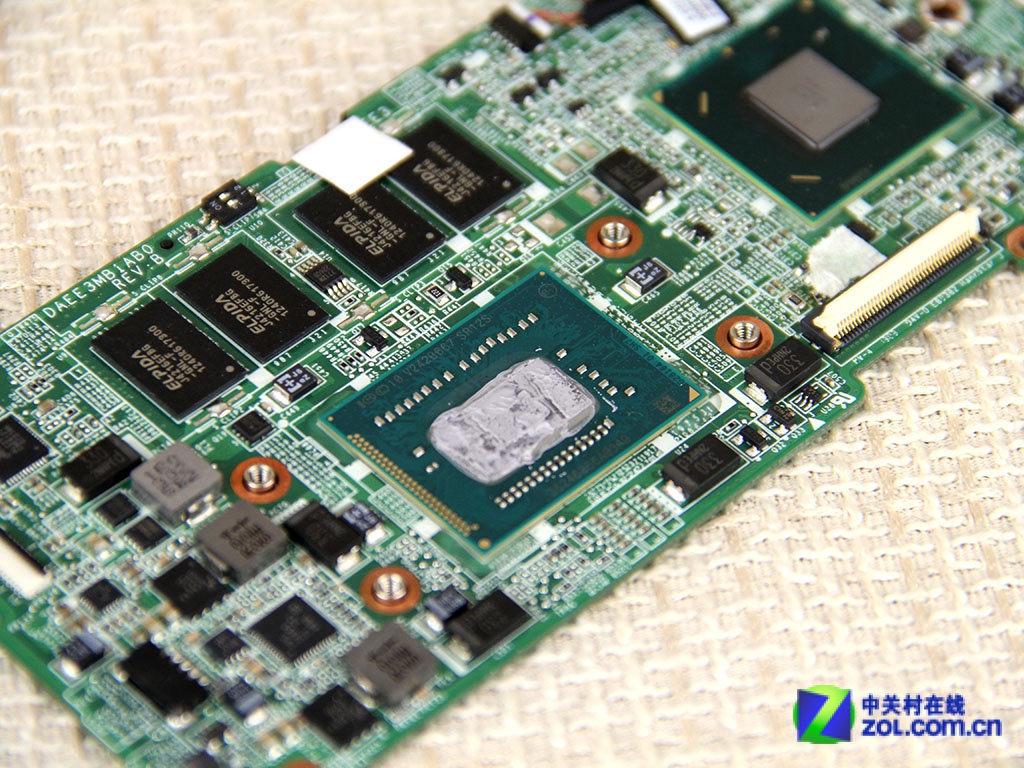
The back of the motherboard
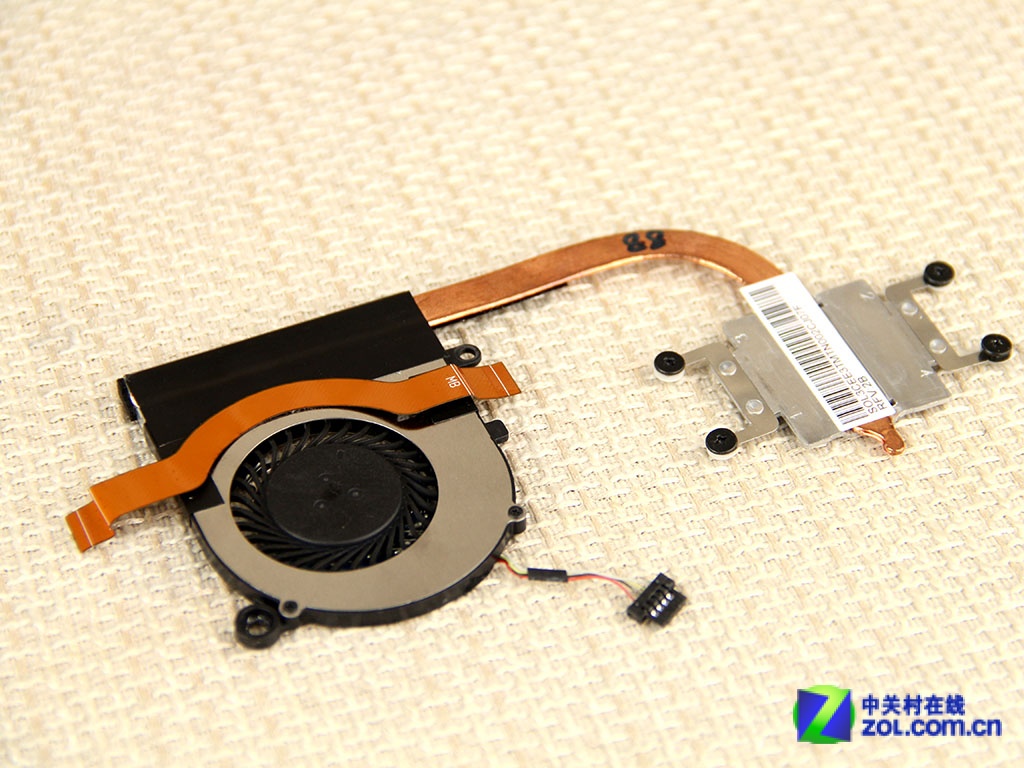
Acer Aspire P3-171 cooling fan
Heatsink
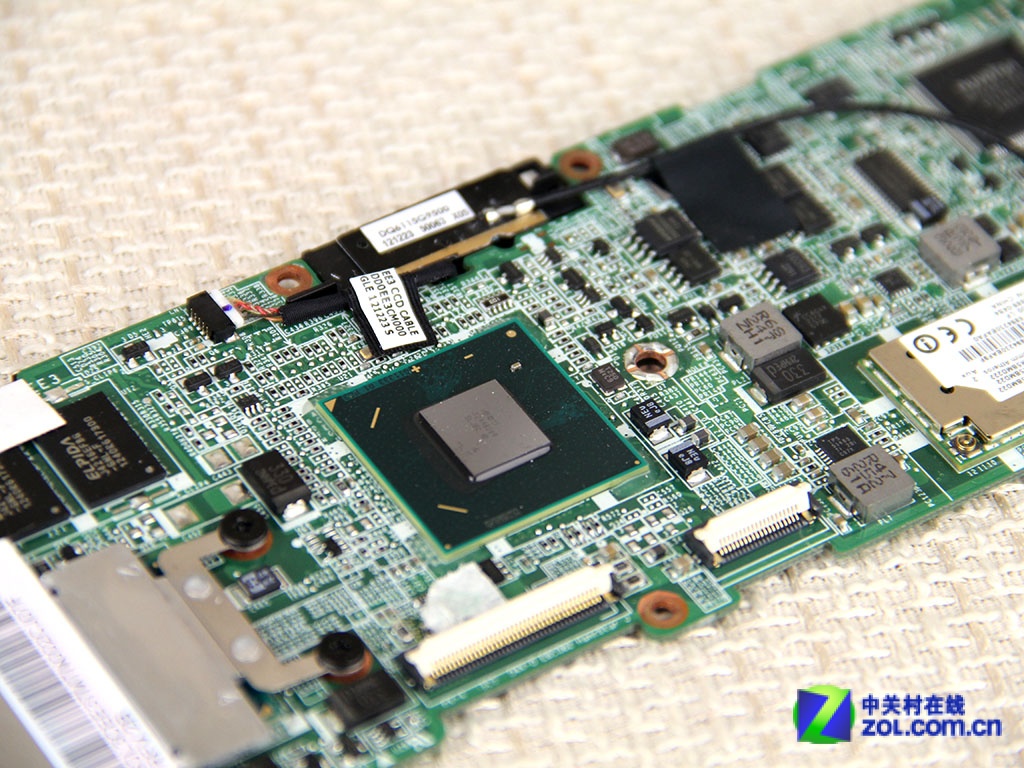
South Bridge chip
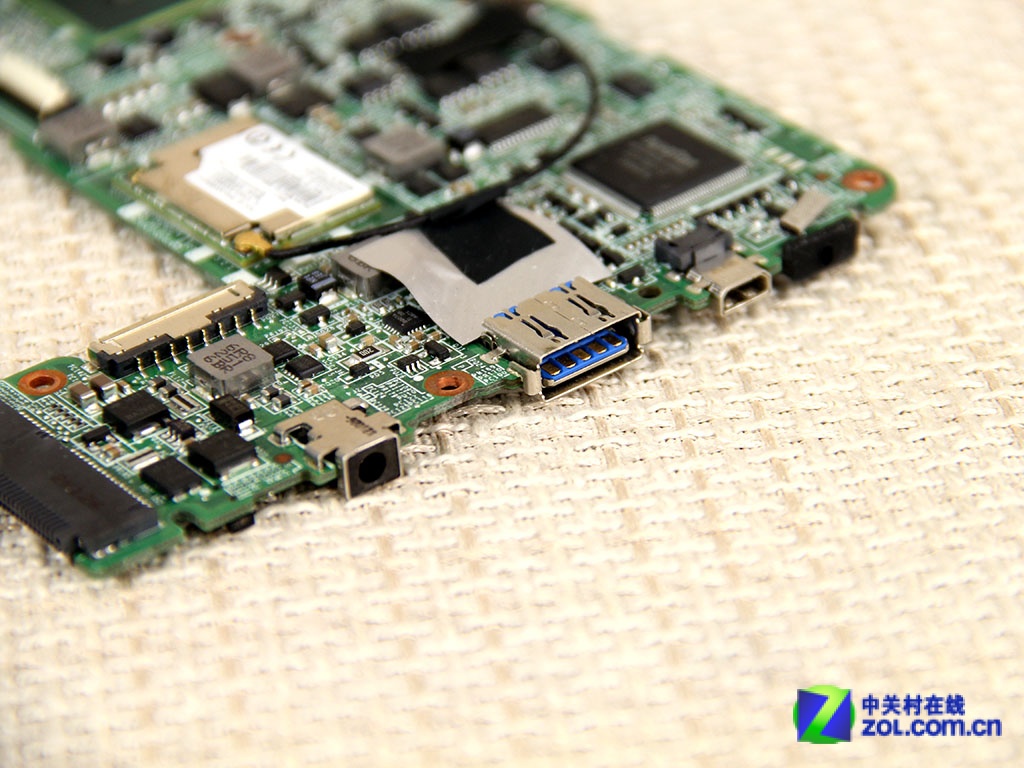
The wireless card module is welded to the motherboard, so it can not be upgraded.
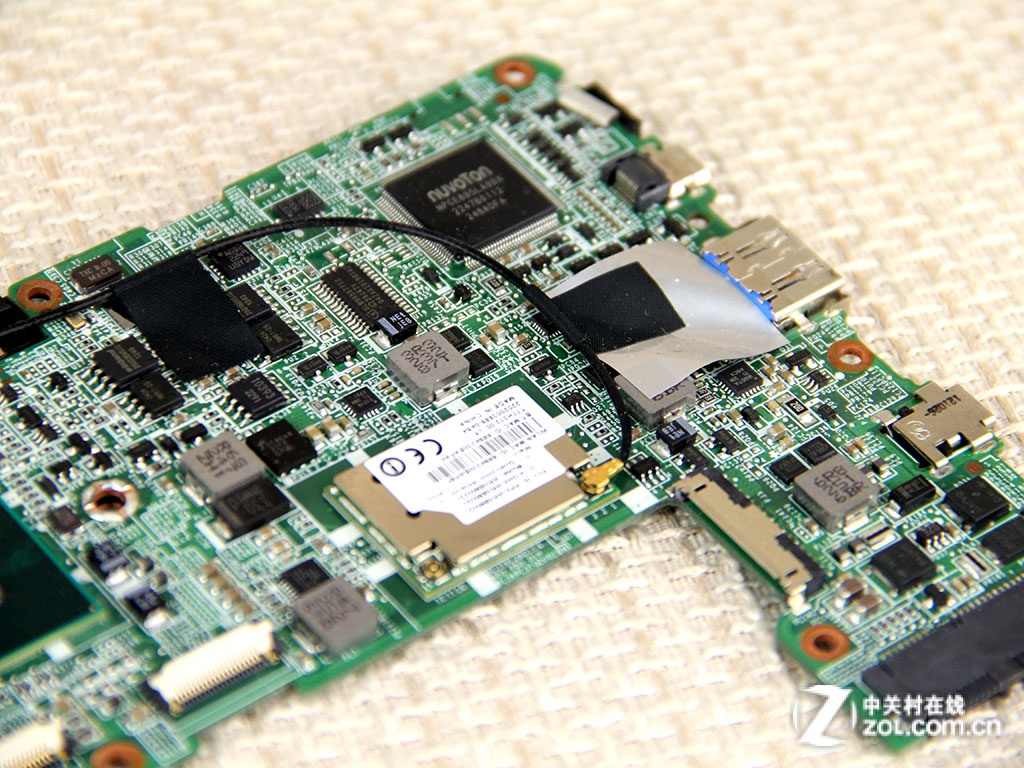
USB 3.0 port
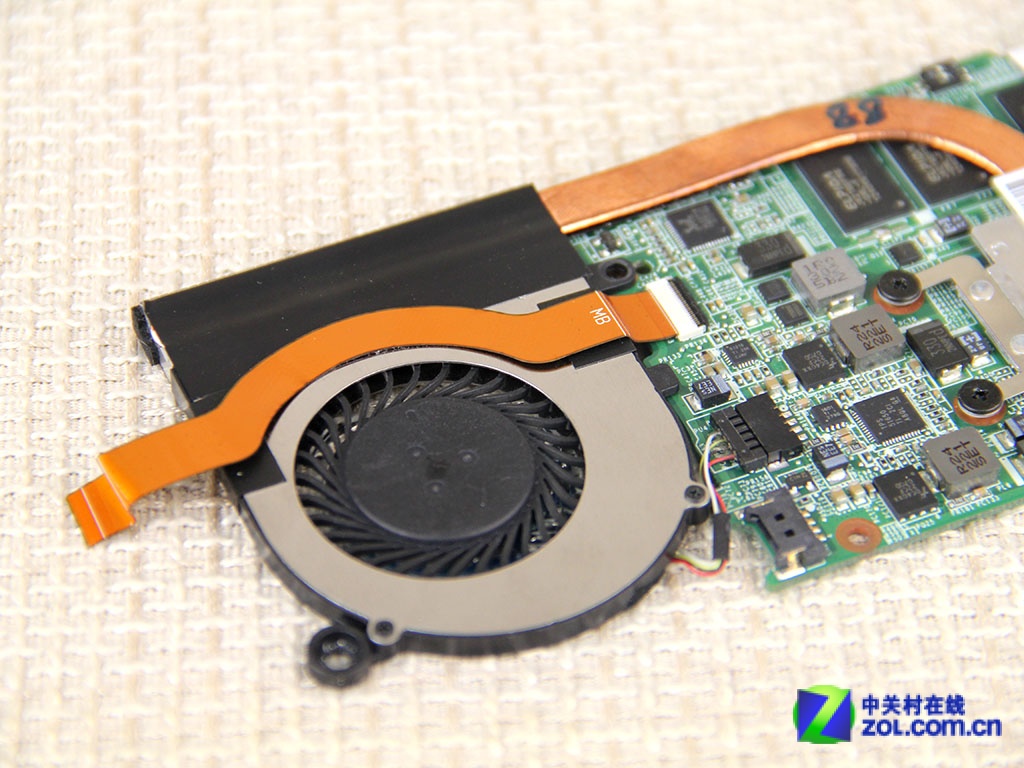
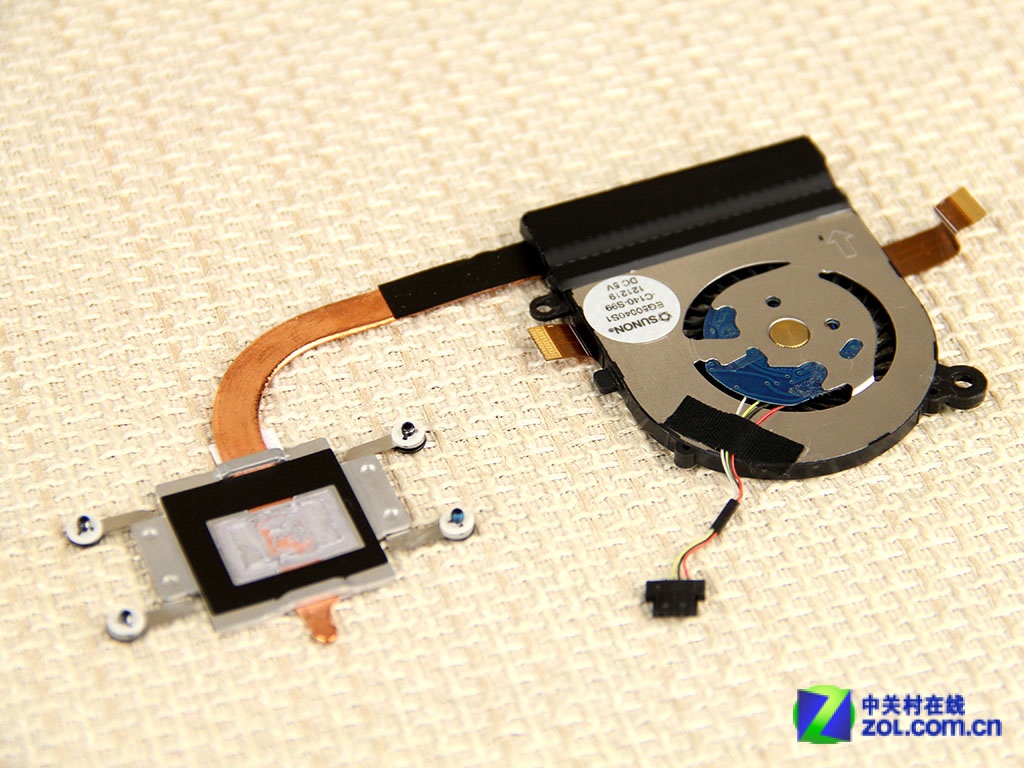
Here are the heat sink and cooling fan.
The processor of the Acer Aspire P3-171 is soldered onto the motherboard, so the processor cannot be upgraded.
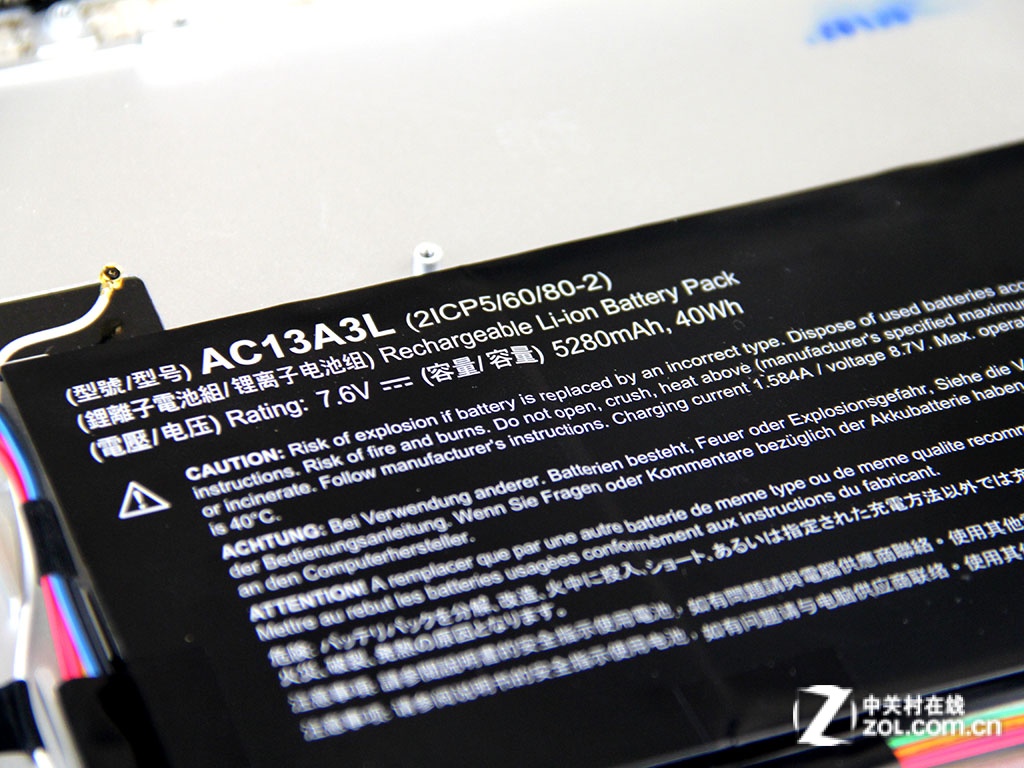
The laptop comes with a 40Wh Li-ion battery. The Acer part number is AC13A3L.
Is the RAM and SSD removable?
It is immovable.
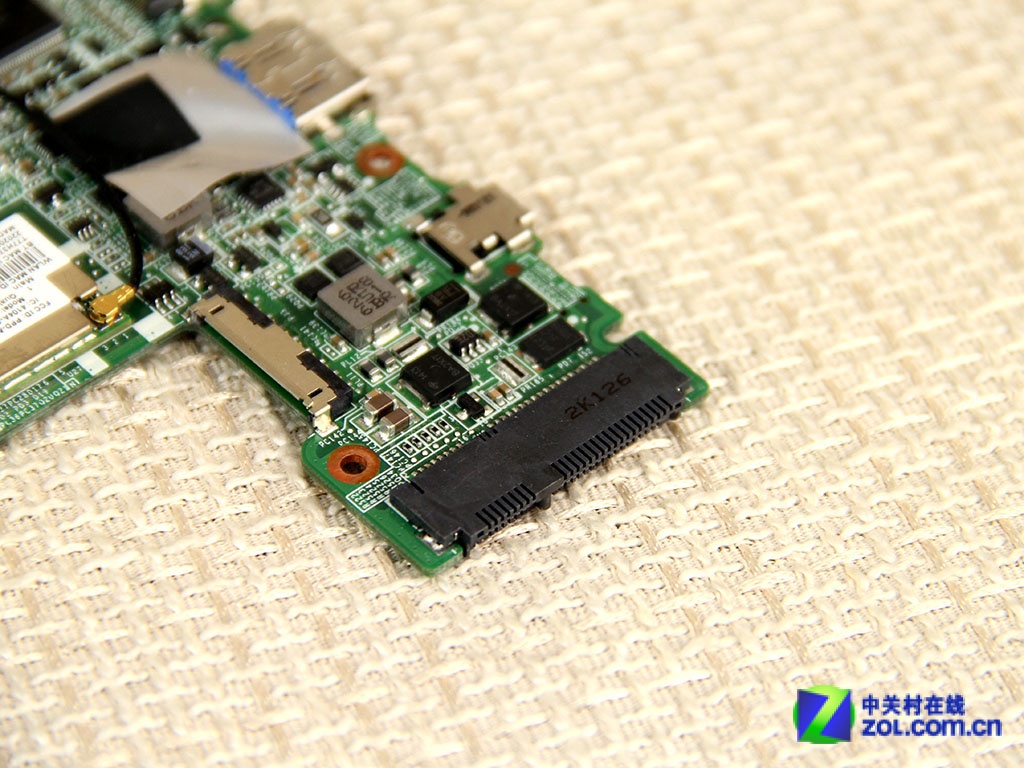
You can remove it, but it must be the same size as the original SSD/HDD. In most cases, it’ll just be an SSD. Search for a Toshiba SSD ultrabook, and you’ll find one.
The hard drive can be upgraded. You need to use an mSATA drive.
Experiencing a dark screen (backlight does not light). Can it be fixed?
Hello! Can someone tell me if the RAM is broken? Do I need to buy a new motherboard?
One more thing, my tablet is not showing anything on the screen, and the fan is working.
I think the problem is the RAM.