
In the following guide, I show you how to disassemble an Acer Aspire V3-571G laptop.
Join us on the social network! Follow us on Facebook for all the latest repair news.
You can use this guide for the following procedures:
– Accessing and removing the hard drive, RAM modules, optical drive, and wireless card.
– Accessing the palm rest and trackpad.
– Disconnecting and removing the laptop keyboard.
– Removing the motherboard.
– Removing the cooling fan.
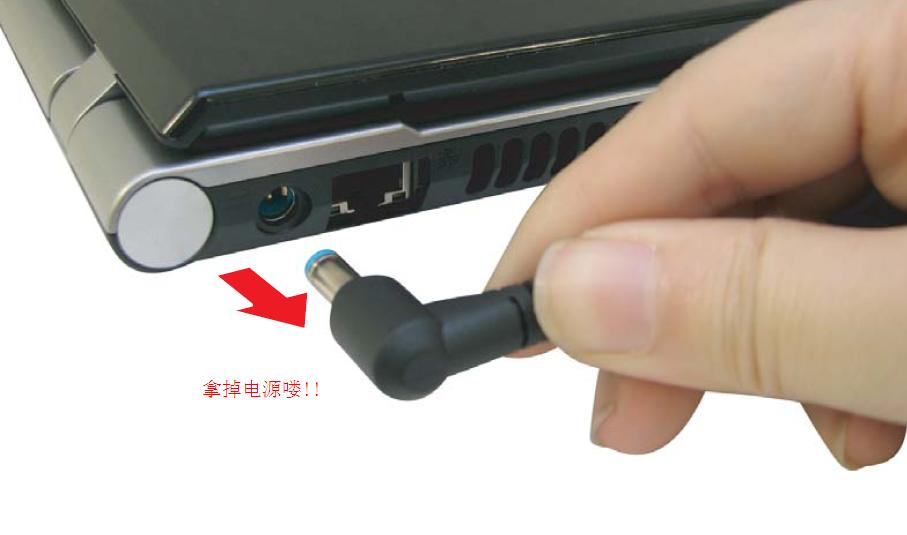
Before you start taking apart your laptop, make sure it’s turned off.
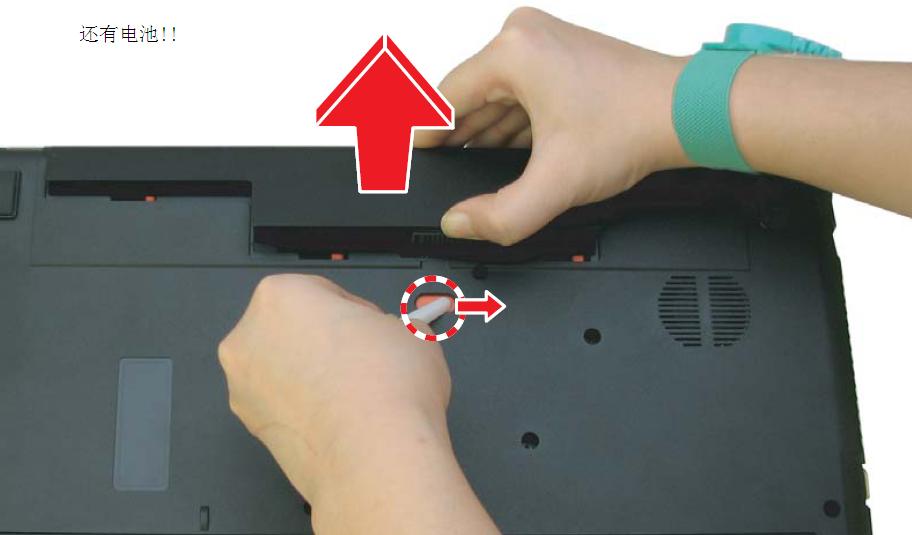
Unplug the AC adapter and remove the battery first.
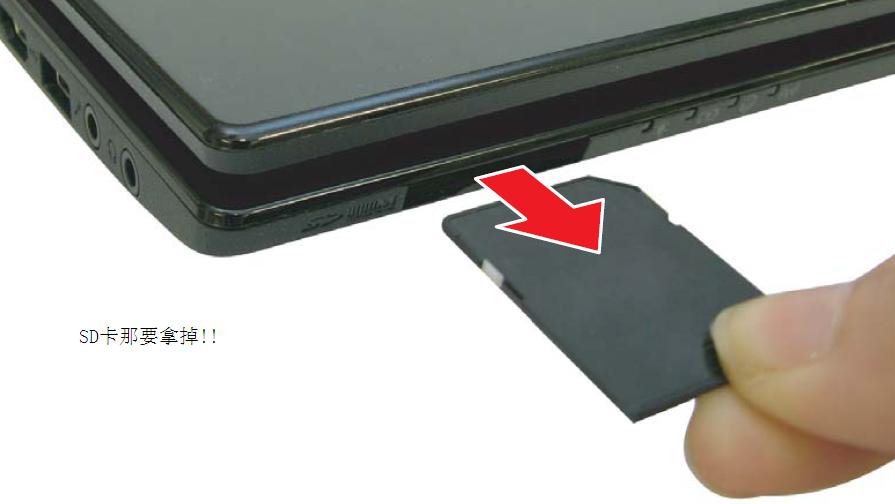
Pull out the SD card.
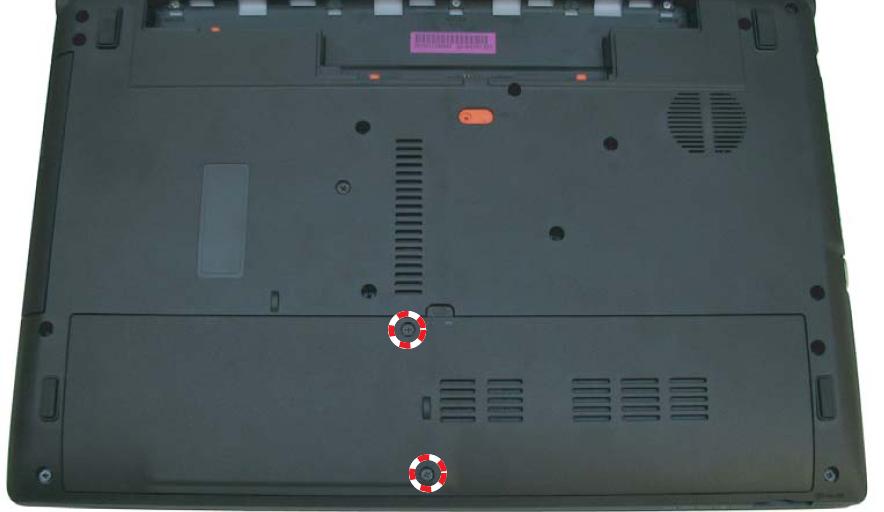
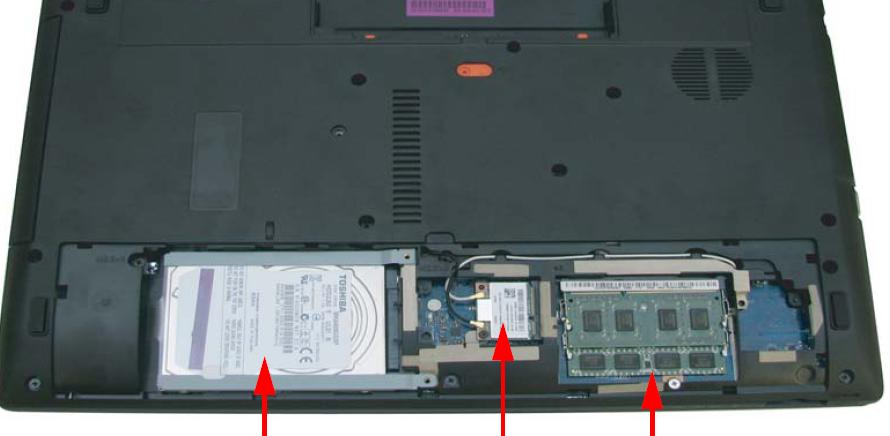
Loosen the two screws to remove the service cover. You can access the hard drive, wireless card, and memory.
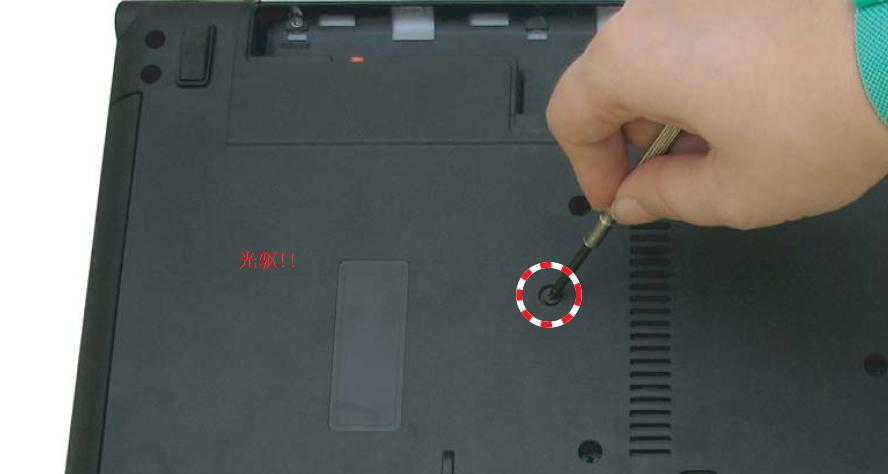
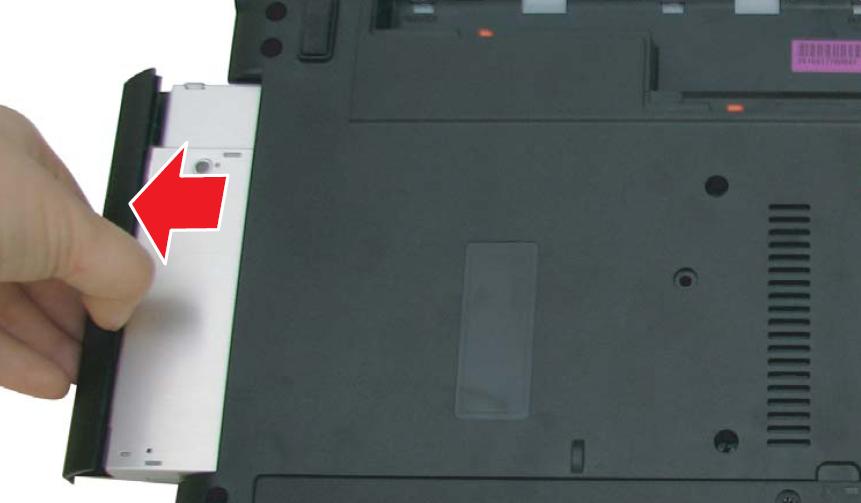
Unscrew the marked screw, and then you can pull out the optical drive.
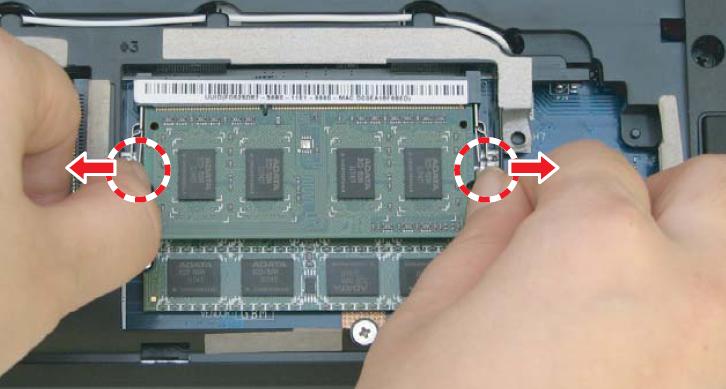
Slide the two latches to remove the memory module.
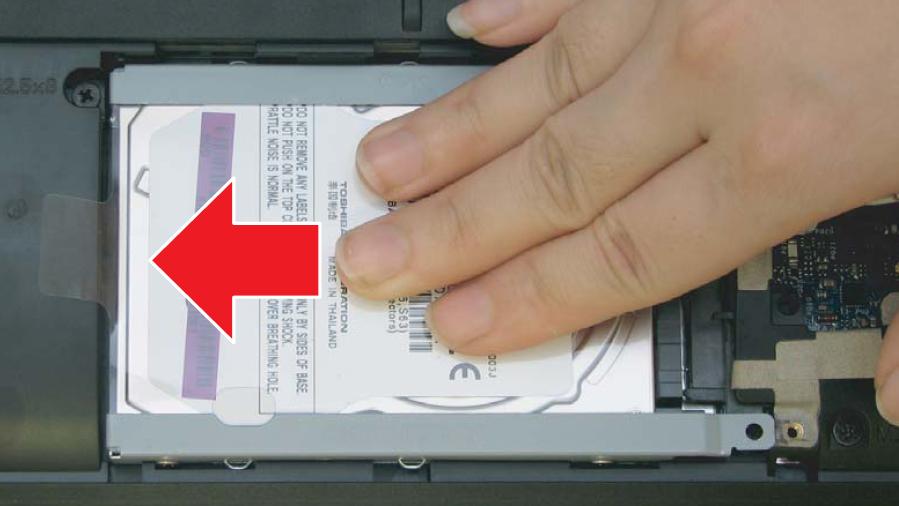
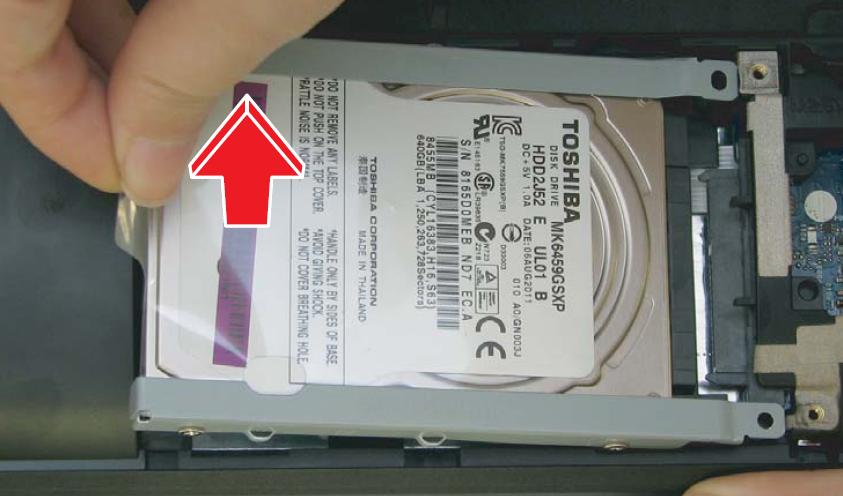
Push the hard drive to the left and then pull it out.
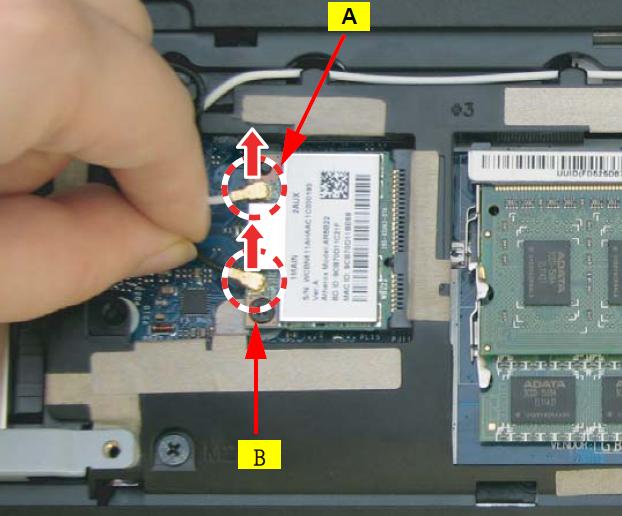
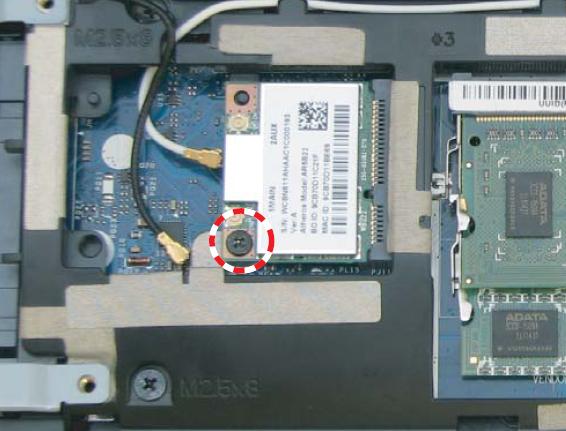
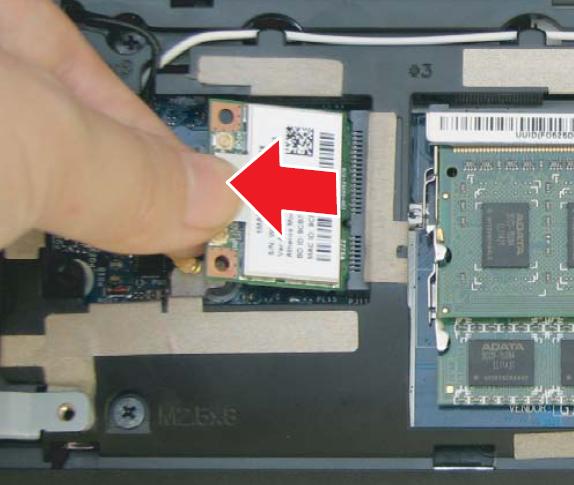
Unplug the two antennas and unscrew the marked screw to remove the wireless card.
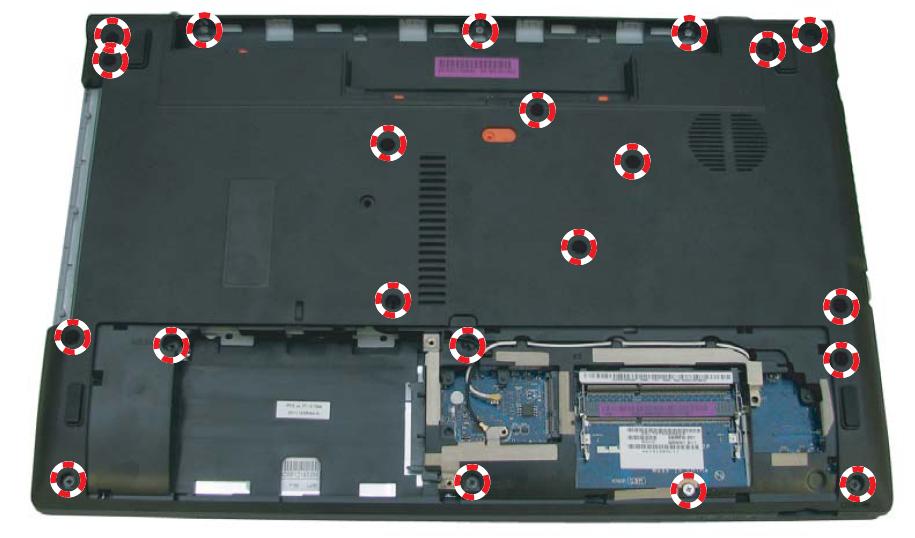
Remove all 21 screws from the back cover.
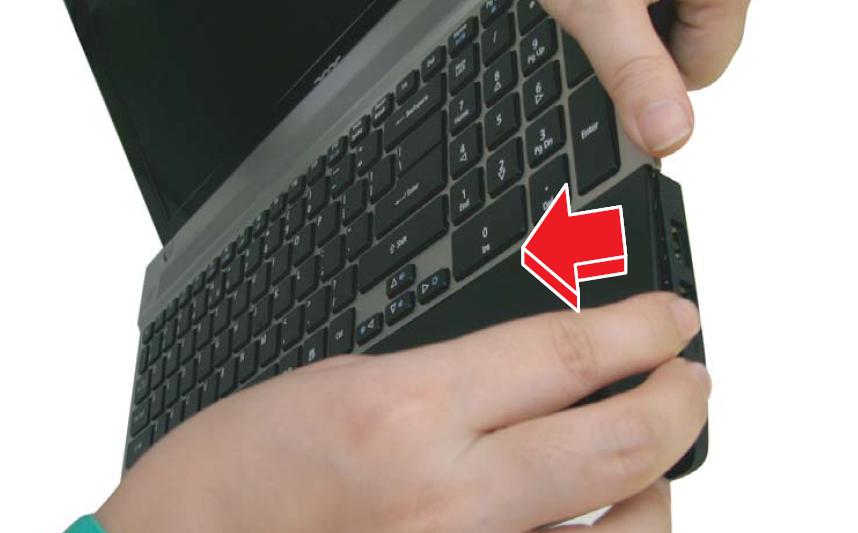
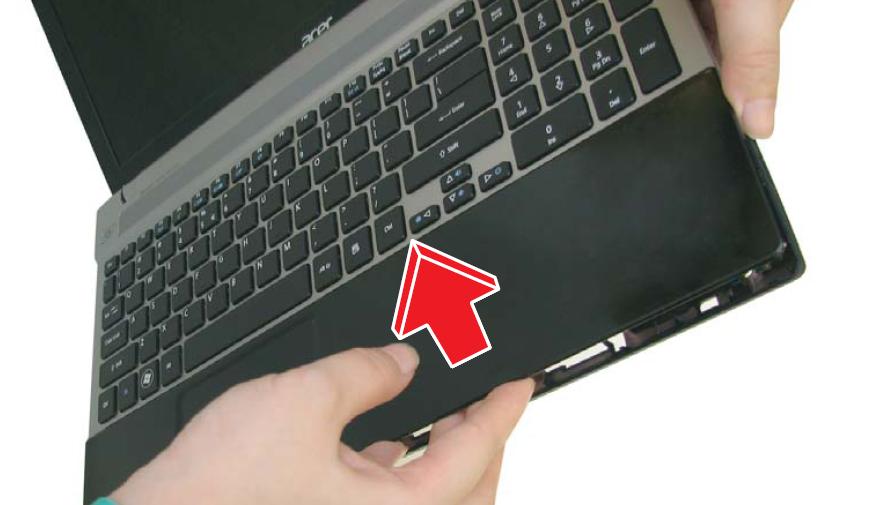
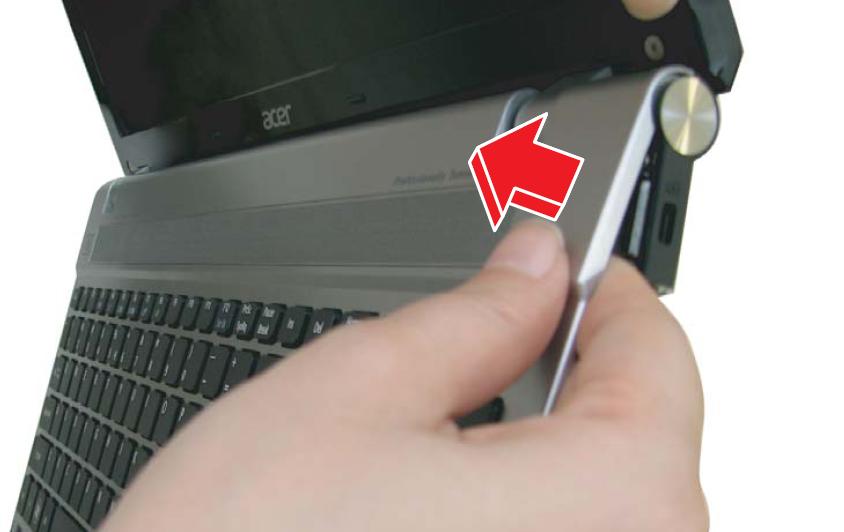
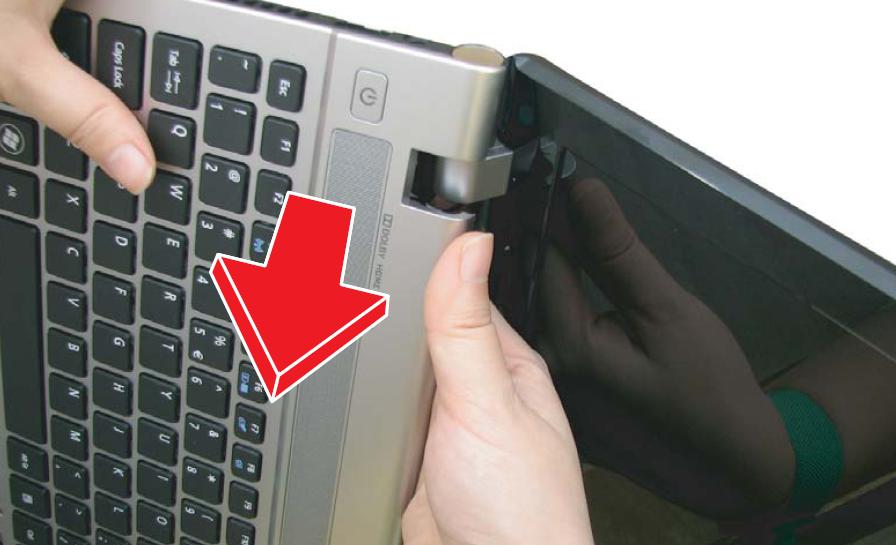
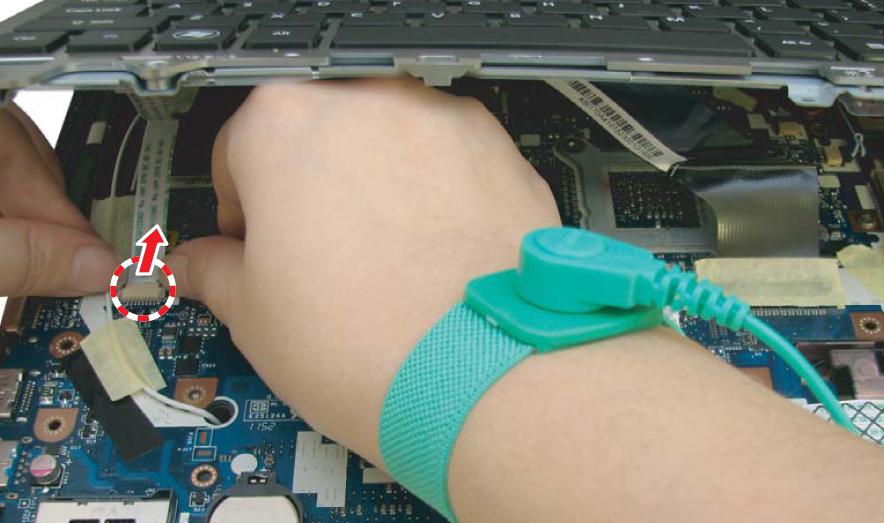
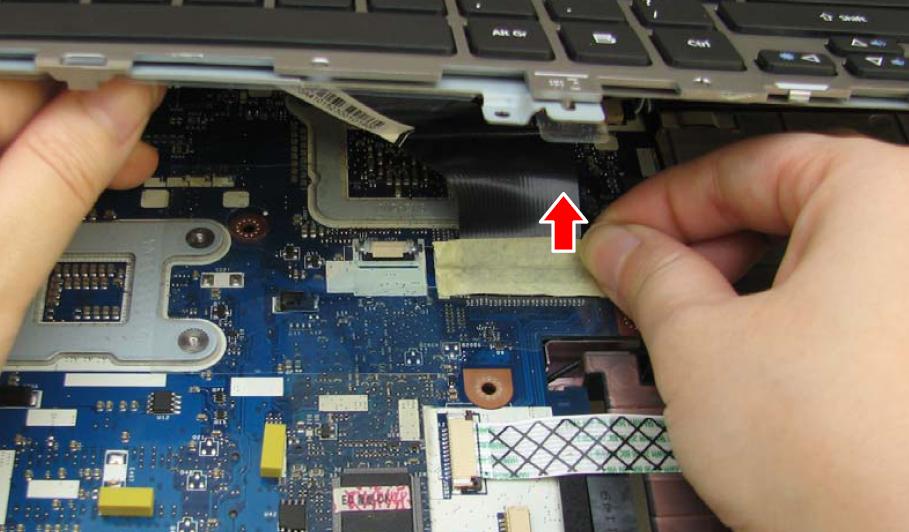
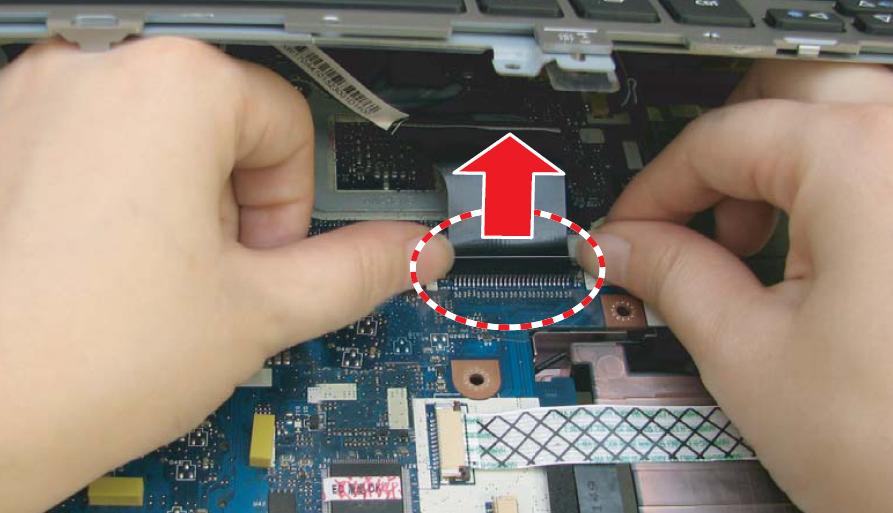
Move to the palm rest section, press the latch to pop out the keyboard, lift it up, disconnect the keyboard cable at the back, and then remove the keyboard.
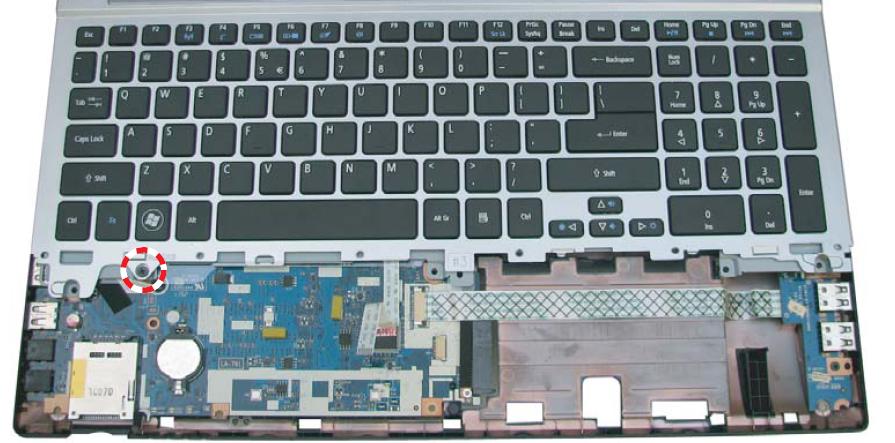
Unscrew the marked screw and then pry off the keyboard.
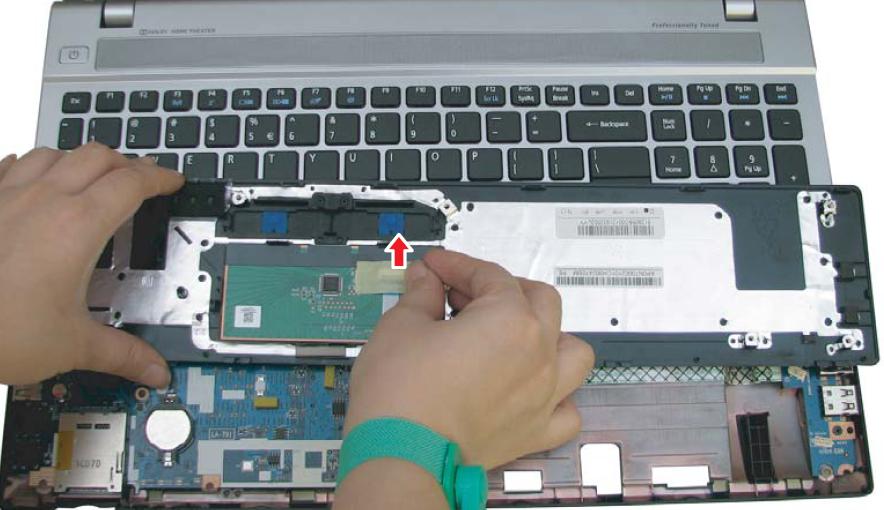
Unplug the backlight cable and keyboard cable. The keyboard ribbon cable is secured with tape, so please remove the tape first.
After removing the palm rest, you can access the motherboard, fan, speaker, and USB board.
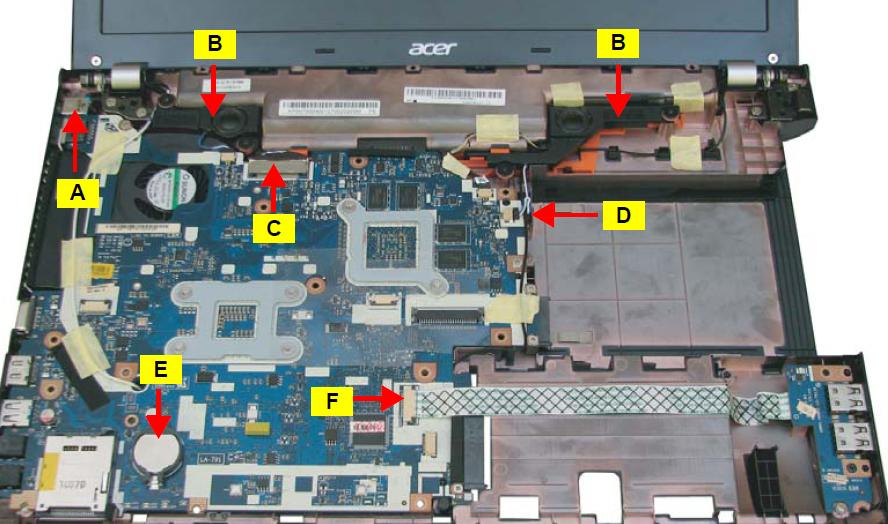
Remove the two antennas and then carefully tear off the tapes securing them.
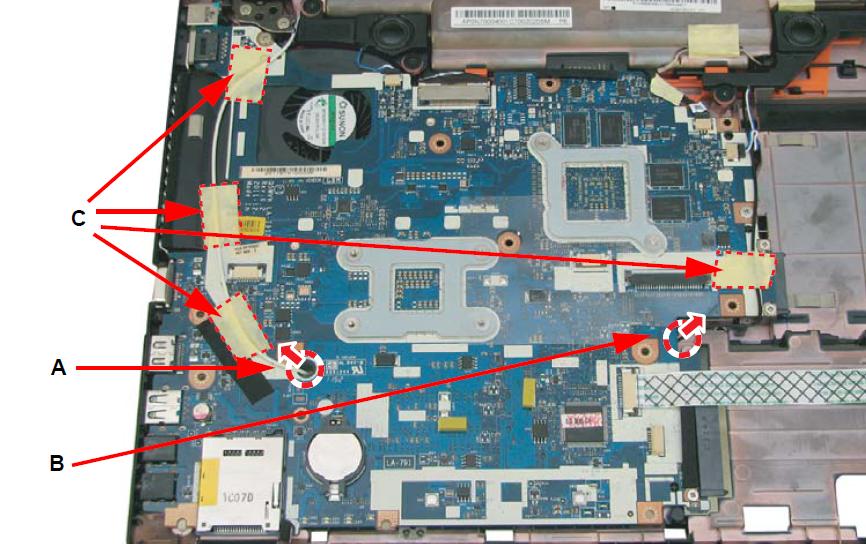
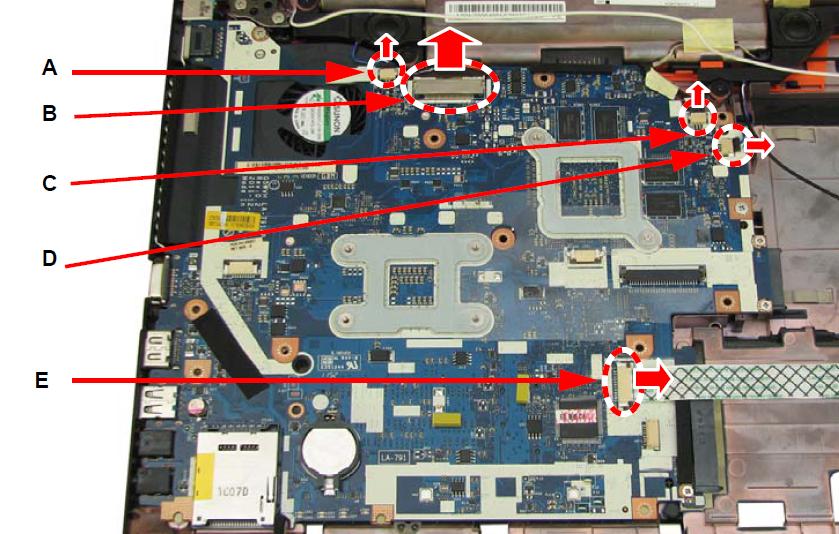
Disconnect the five connectors and remove the two screws marked in the second photo. Then, you can remove the motherboard.

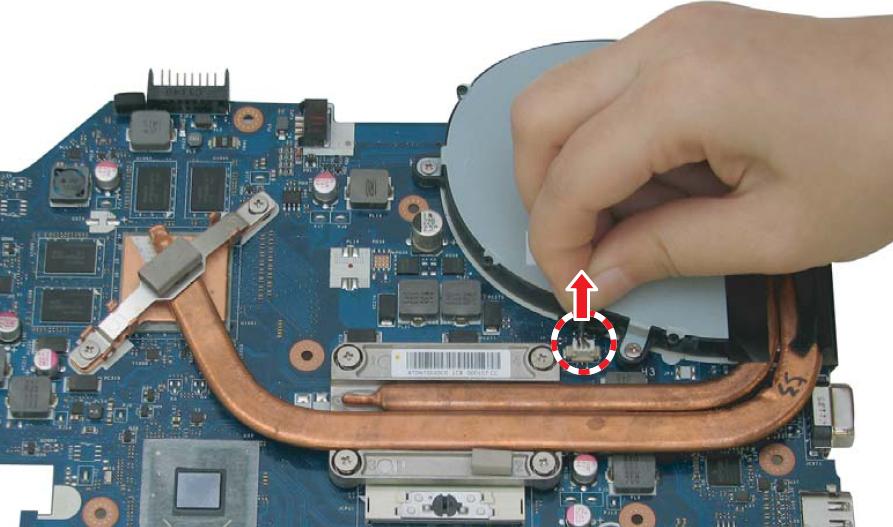
Unplug the fan and unscrew the marked screws. You can remove the fan and the heat sink assembly.

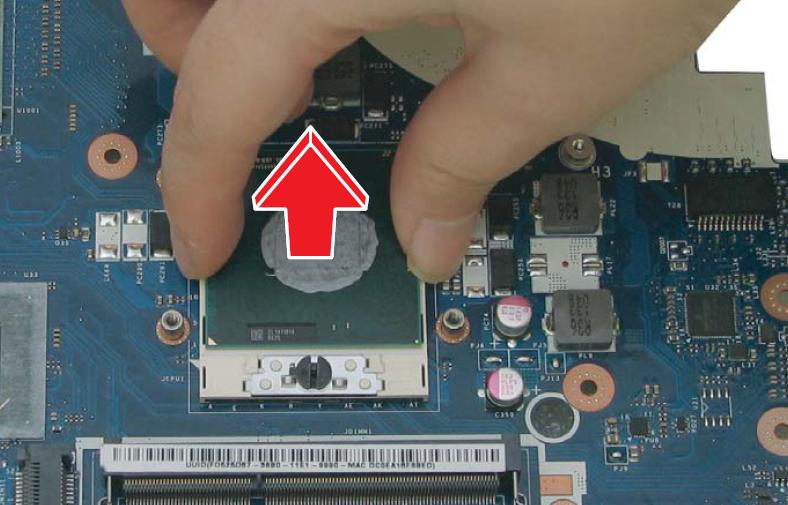
Rotate the marked screw, and then you can remove the CPU.

How can I disassemble the earphone plug and change it? Do I have to weld it?
Are they different from model to model?
Thank you in advance.
onaylu
I’m curious, too. Mine seems to be very loose.