
In this guide, I will explain how to disassemble the Acer Aspire V5-471 to remove the battery, hard drive, DVD drive, wireless card, RAM, heat sink, cooling fan, and motherboard.
Looking for more guides? Follow us on Facebook for all the latest repair news.
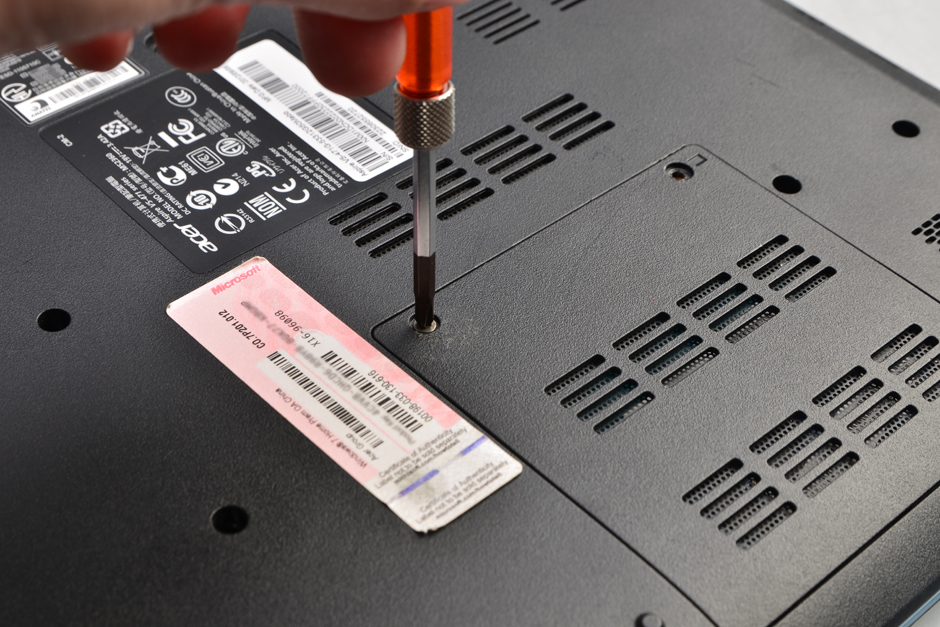
Remove the two screws securing the memory cover and remove the cover.
Remove all screws from the bottom cover.
This laptop has two memory slots, but only one memory module is installed. You can add another memory module to upgrade the memory.
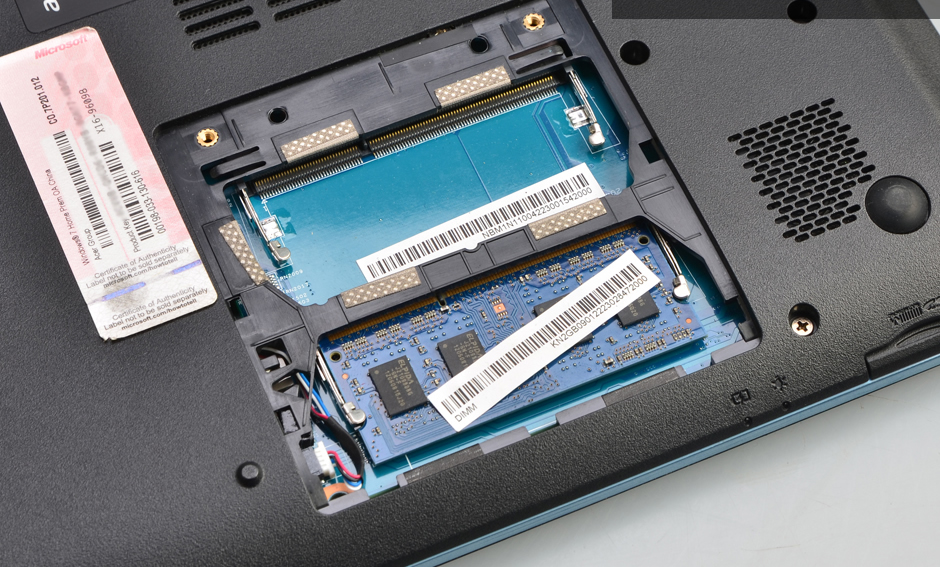
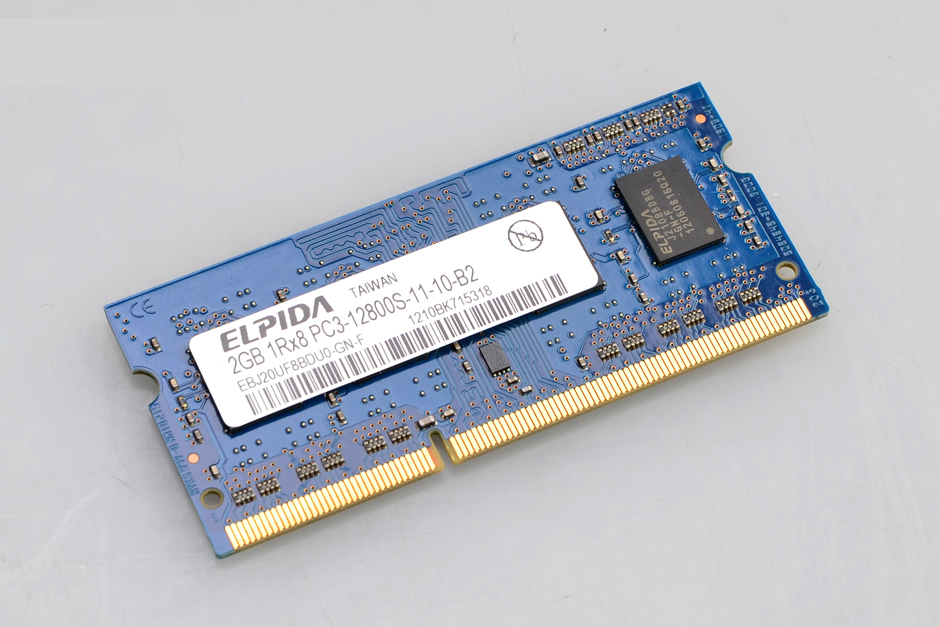
The Acer Aspire V5-471 comes with an ELPIDA 2GB RAM module.
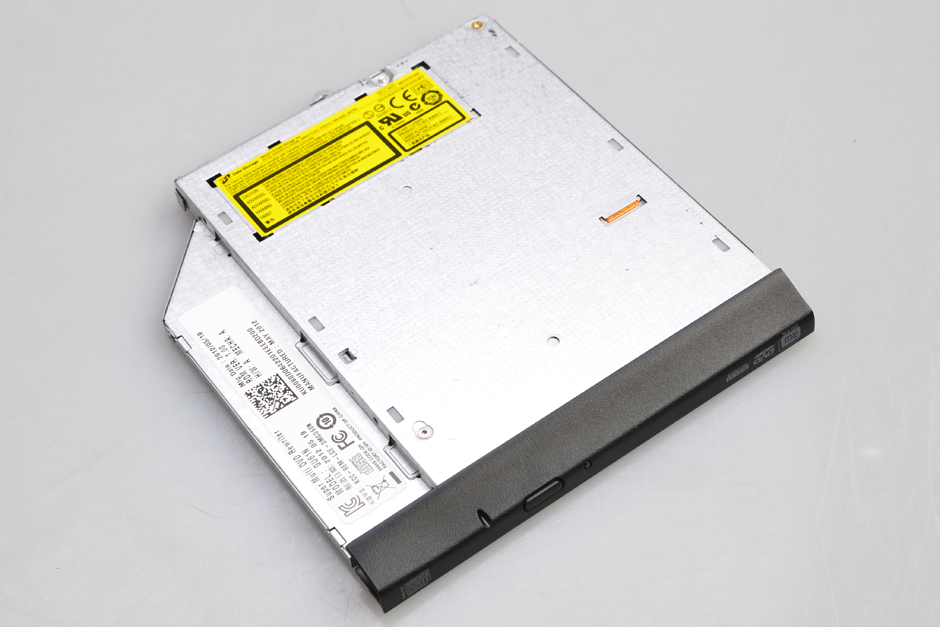
Remove the screw securing the DVD drive and gently pull it out.
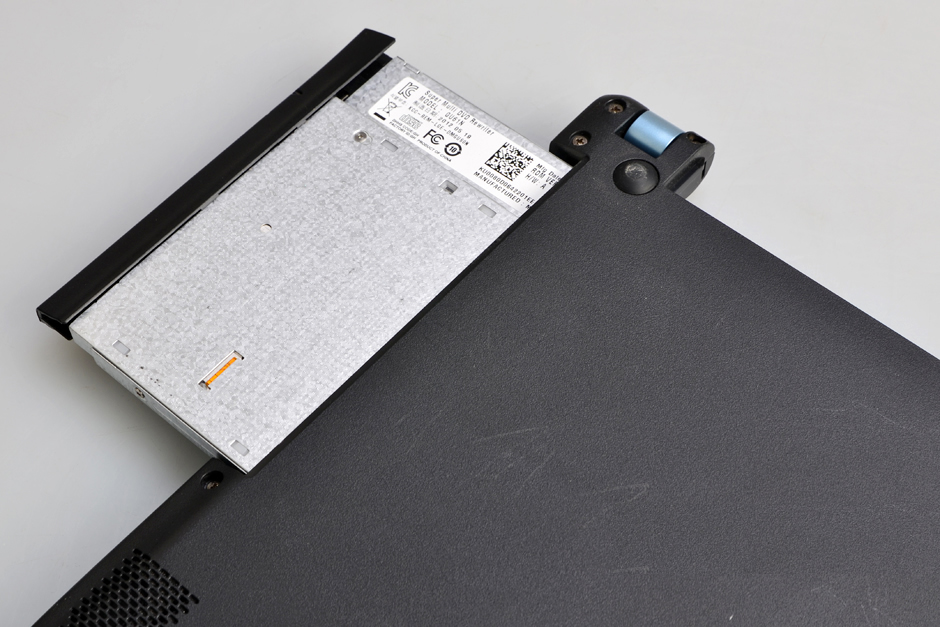
The Acer Aspire V5-471 comes with a GU61N 9.5mm SATA DVD burner.
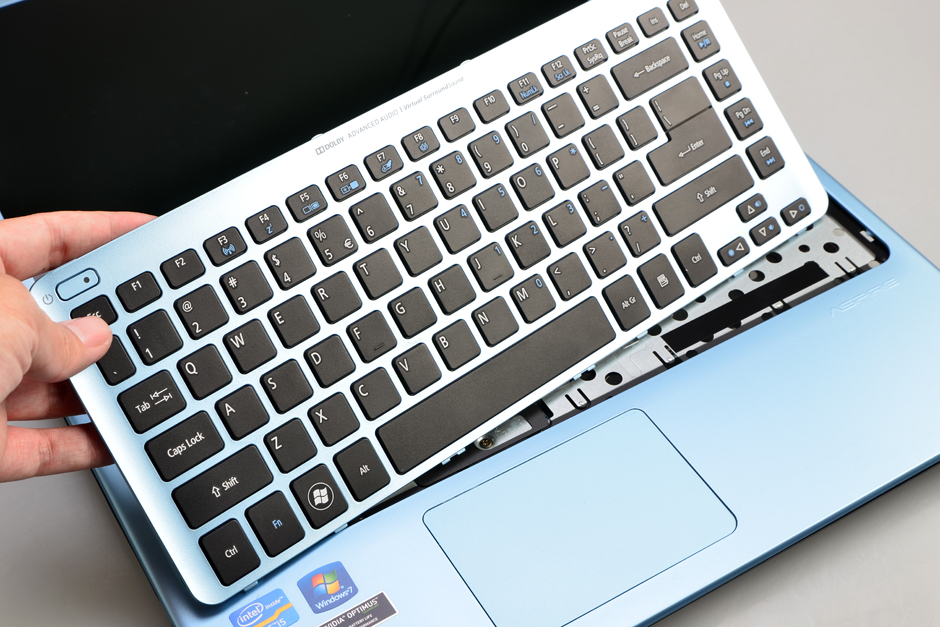
Insert a spudger under the keyboard, gently pry it open, and disconnect the keyboard cable from the motherboard.
There are several latches on the keyboard that secure it to the palm rest; you need to release these latches to remove the keyboard.
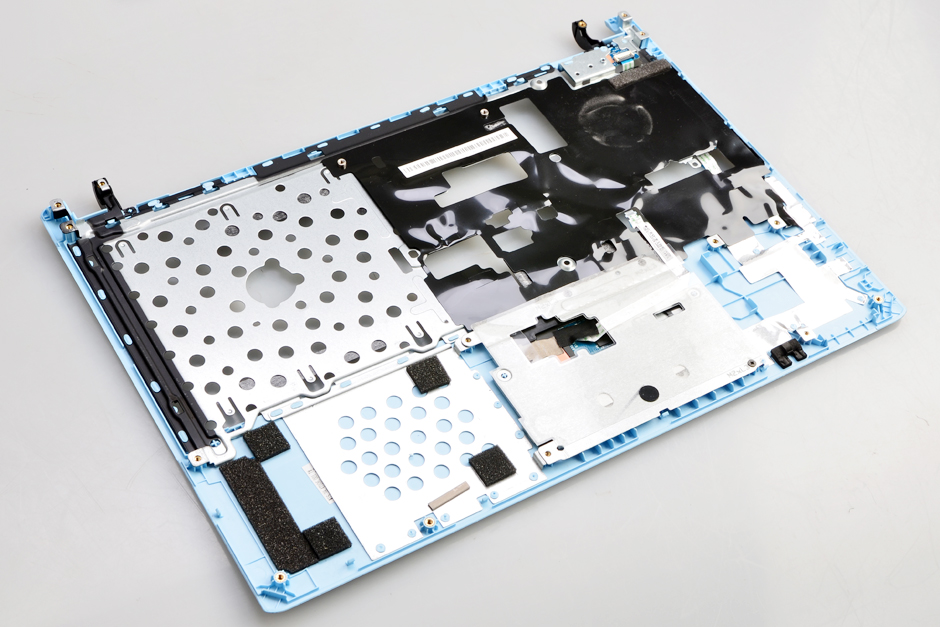
Insert a pry tool between the bottom cover and palm rest. Slide the pry tool to completely separate the palm rest from the laptop. On the back of the palm rest, you can access the touchpad.
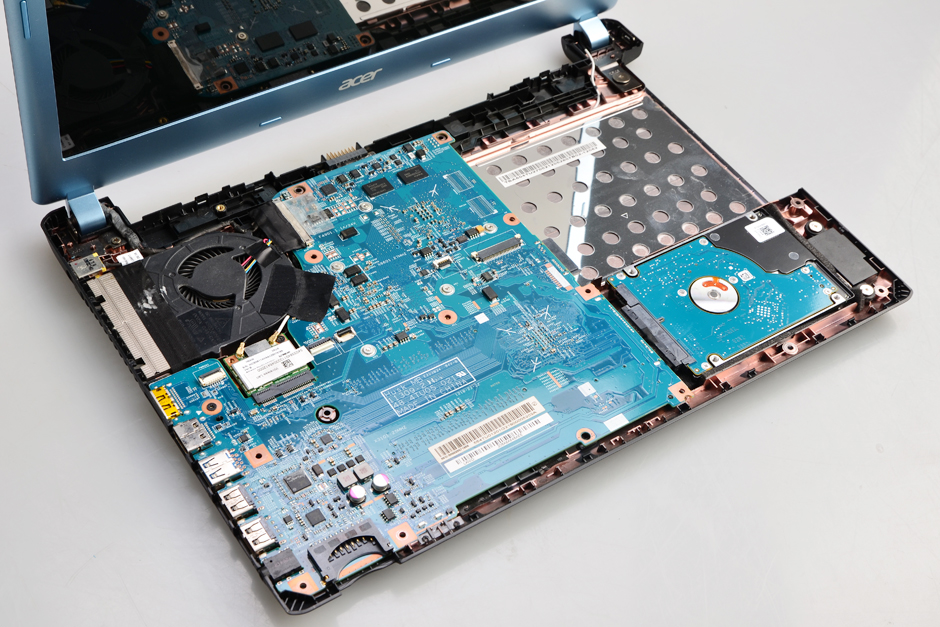
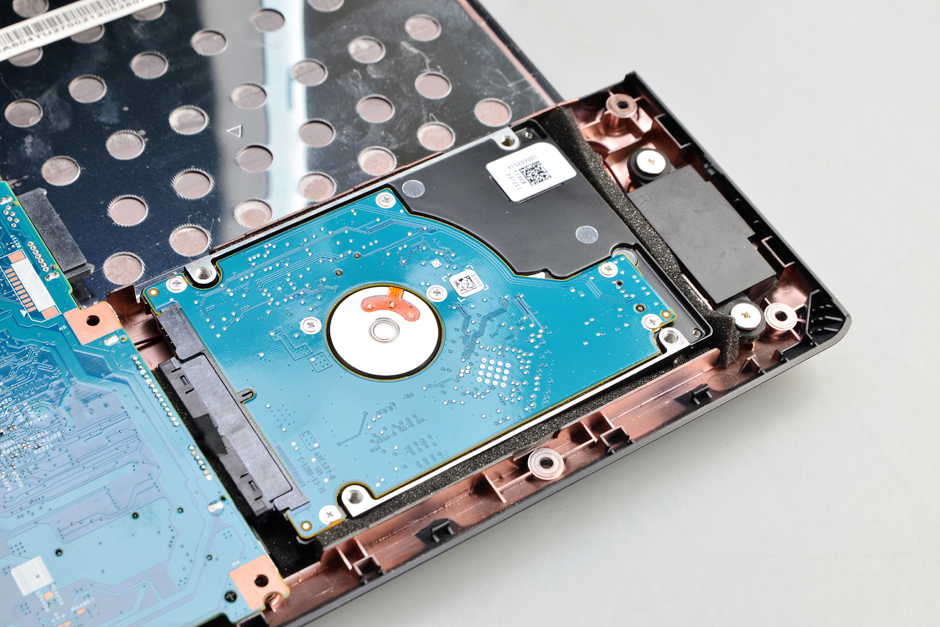
Under the palm rest, you can access the hard drive, cooling fan, motherboard, and wireless card.
Close-up of the hard drive module
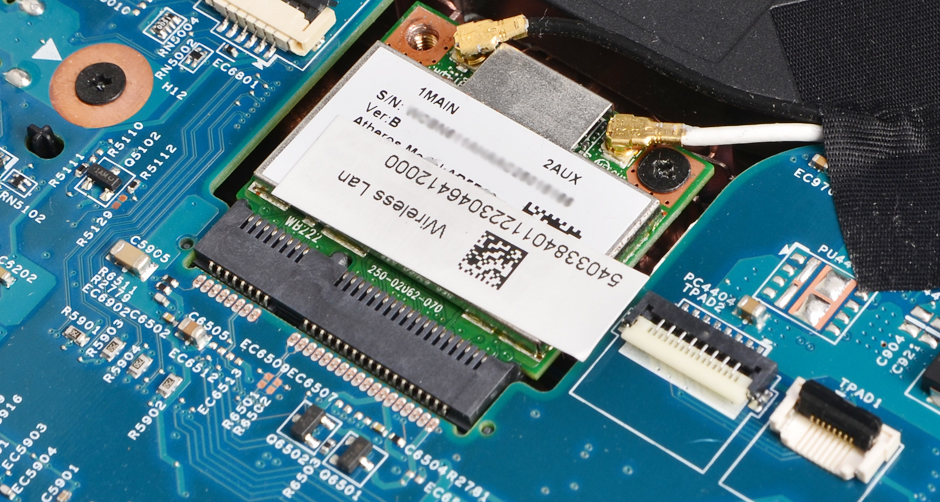
Disconnect the two antenna cables and remove the screw. You can remove the wireless card.
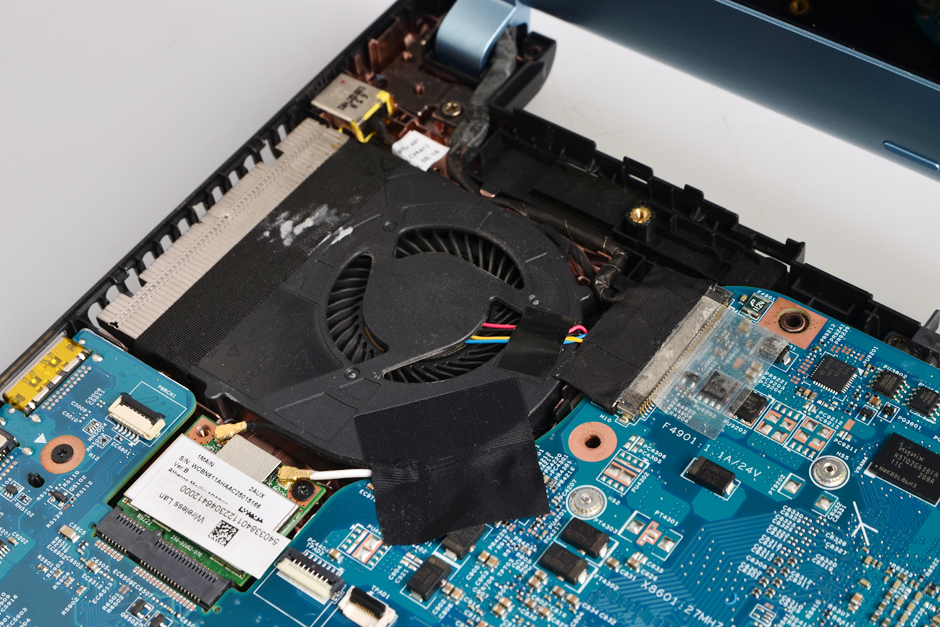
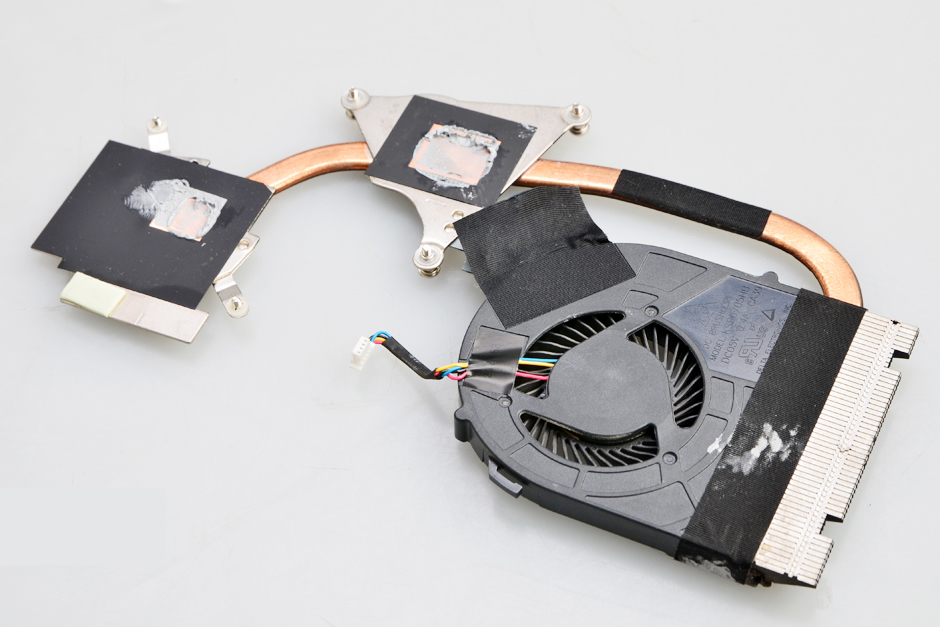
Close-up of the cooling fan
Remove the screws securing the motherboard and disconnect all ribbon cables attached to it.
Lift the motherboard from one side with your hand and gently wiggle it until it is fully detached from the laptop.
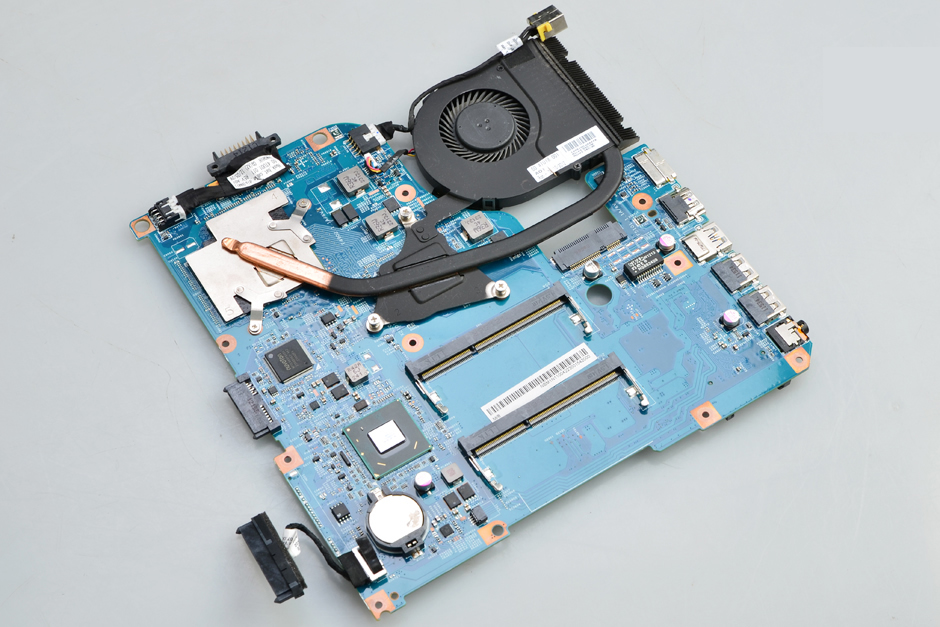
Loosen all screws securing the heatsink and disconnect the fan ribbon cable from the motherboard to remove the cooling system.
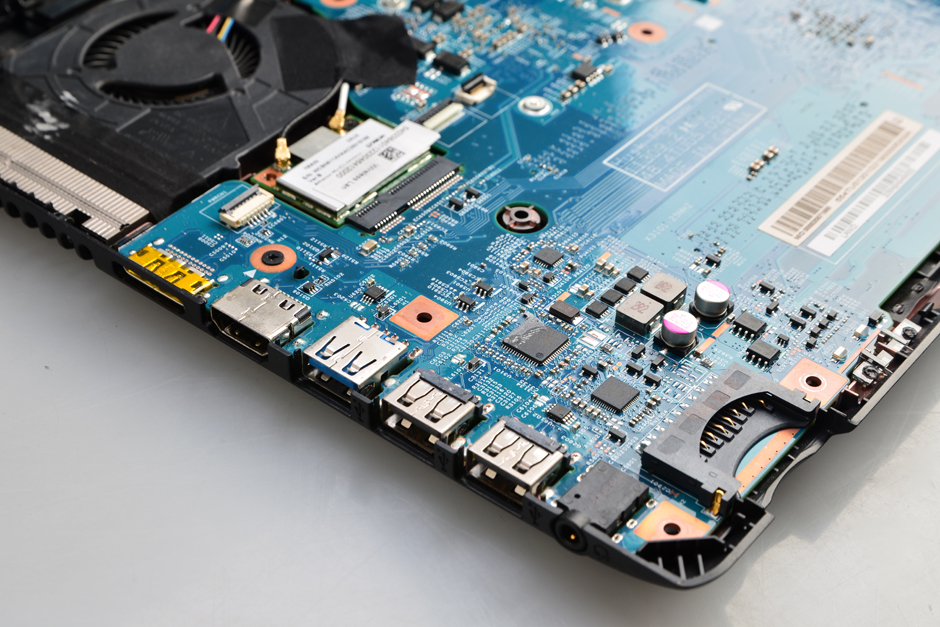
Close-up of the ports
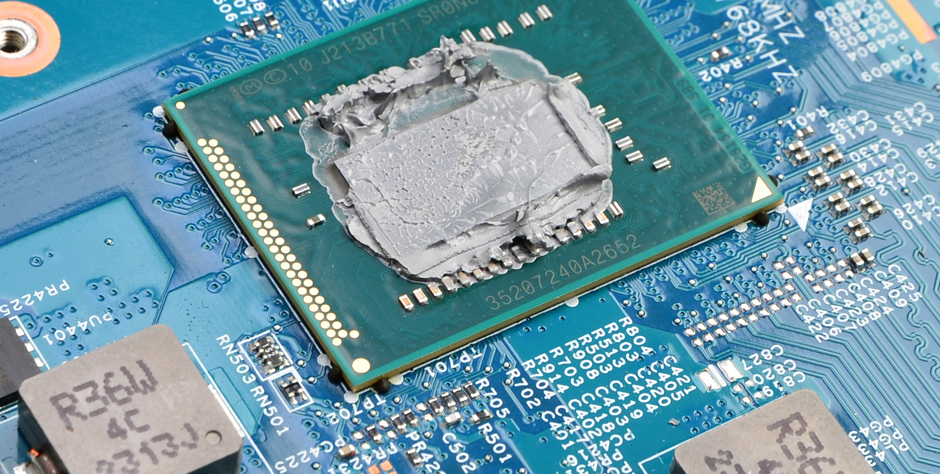
The processor is soldered to the motherboard, so it cannot be upgraded.
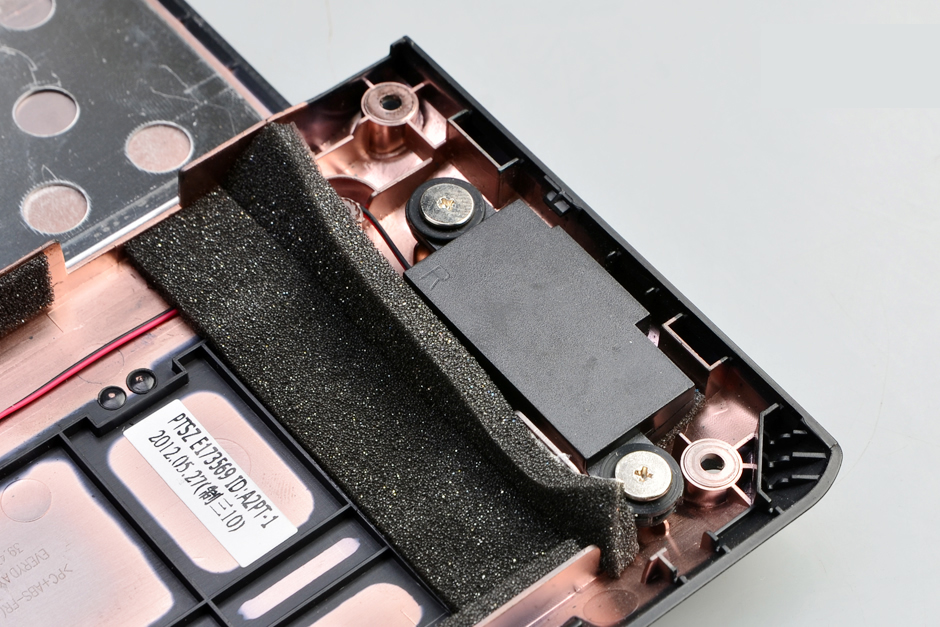
Speaker module
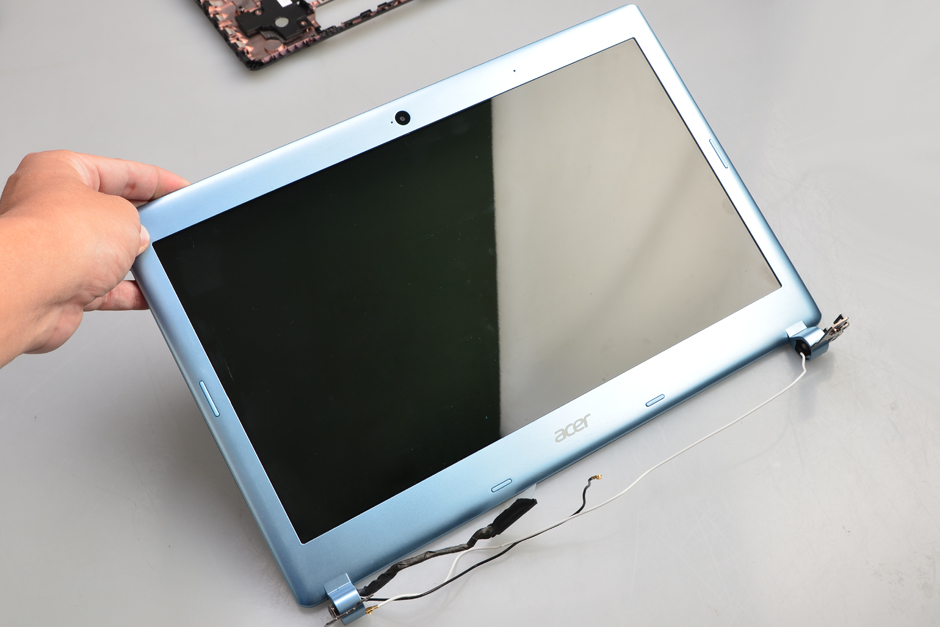
Disconnect the display cable and antennas from the motherboard, and remove the screws that secure the hinge to remove the screen assembly.
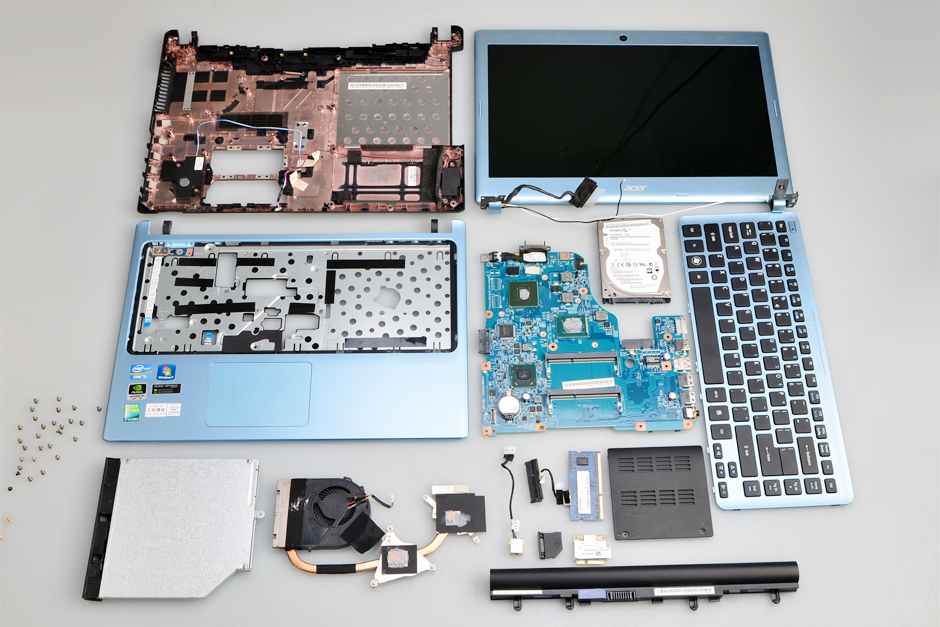
Acer Aspire V5-471 internal parts


My laptop is an Acer E5-471p-31d8 with a Core i3-4030u. Can I upgrade it to a 7th-generation Core i7?