In this guide, I will explain how to disassemble the Apple iPad mini 4 to remove the display assembly, camera, volume button, speaker, battery, and motherboard.
Want to be the first to see inside the latest gadgets? Follow us on Facebook for the latest news from MyFixGuide.com.
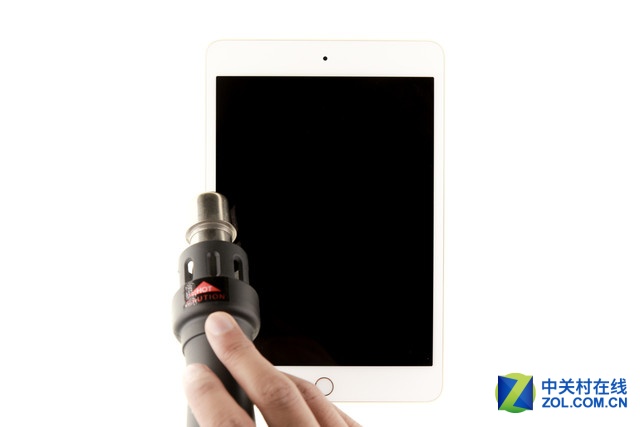
The screen and body of the iPad are fixed with glue, so we use a heat gun to heat the edges of the display.
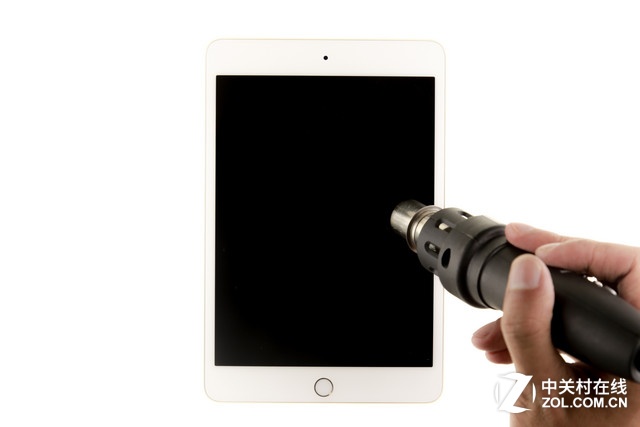
Heat it for about 5 minutes.
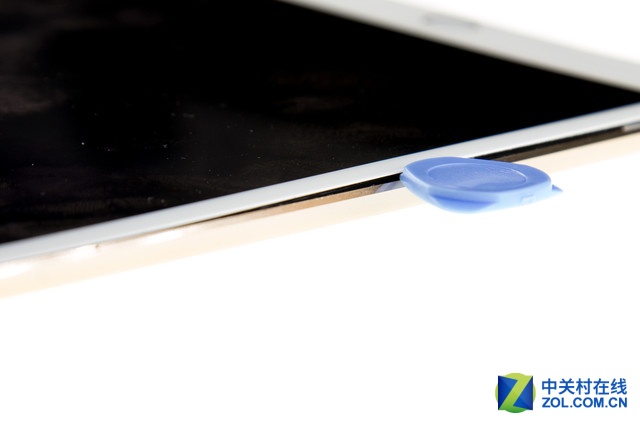
Opened the display assembly a little bit with a suction cup and inserted a guitar pick between the display assembly and the base.
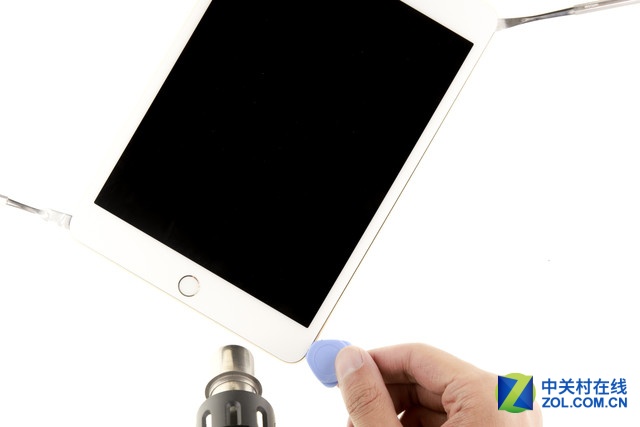
Slide the guitar pick along the edge to continue opening the display.
Now you can open the display assembly. Be careful, as the LCD and touch cables are still connected to the motherboard.
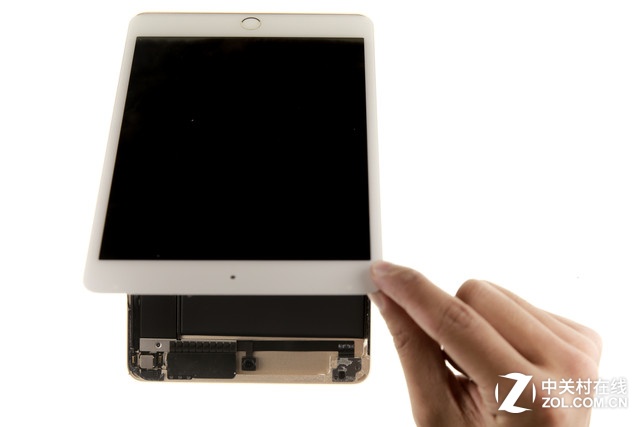
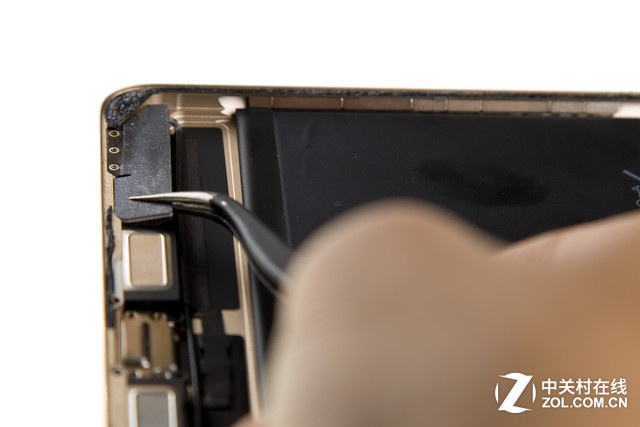
Remove the LCD cable cover and disconnect the LCD cable and touch cable.
The display assembly was removed completely.
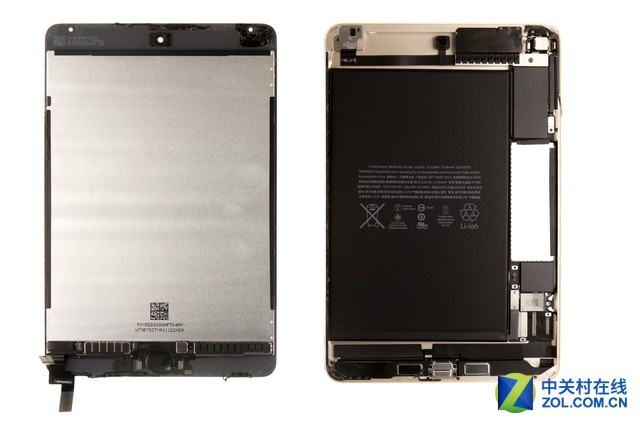
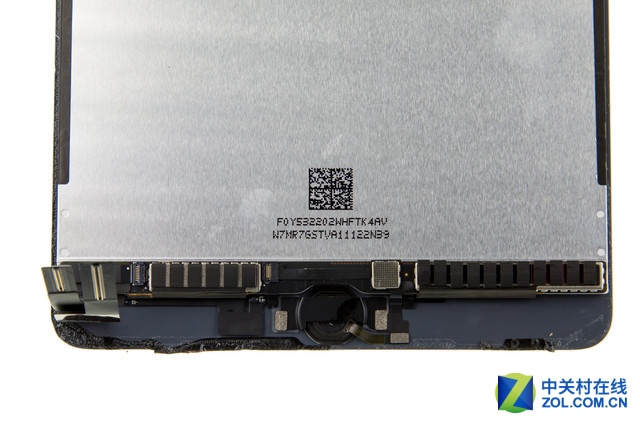
The display assembly integrated a touch ID, touch component, display components, and screen cover. Since the Touch ID is fixed on the display, it is very difficult to replace.
Close-up of the Touch ID
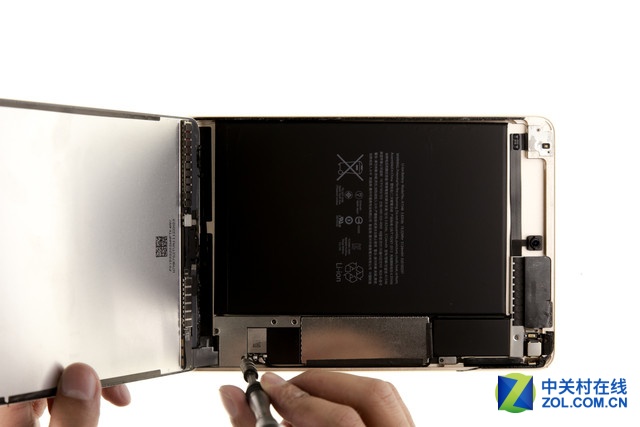
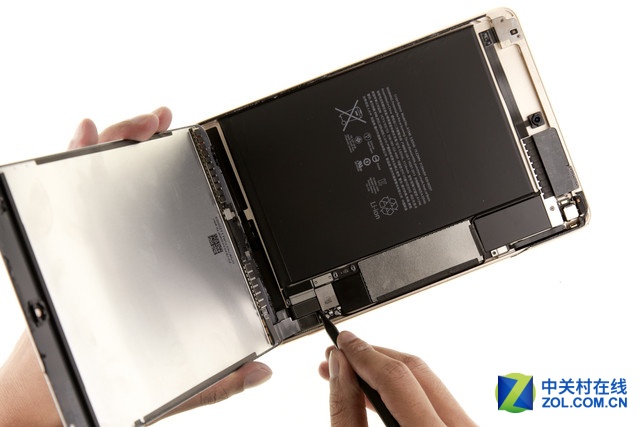
Before touching the internal components, you should remove the battery first.
Disconnect the battery connector from the motherboard.
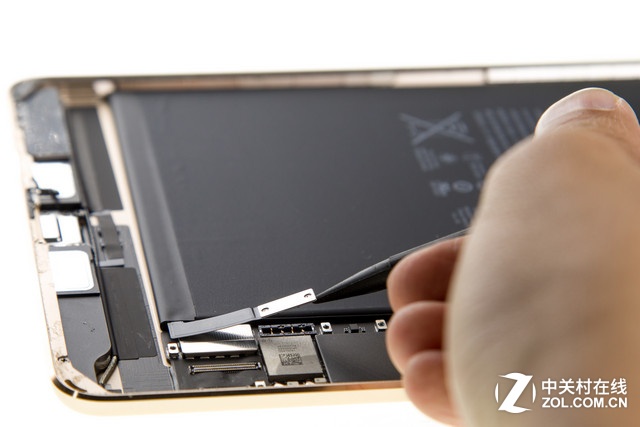
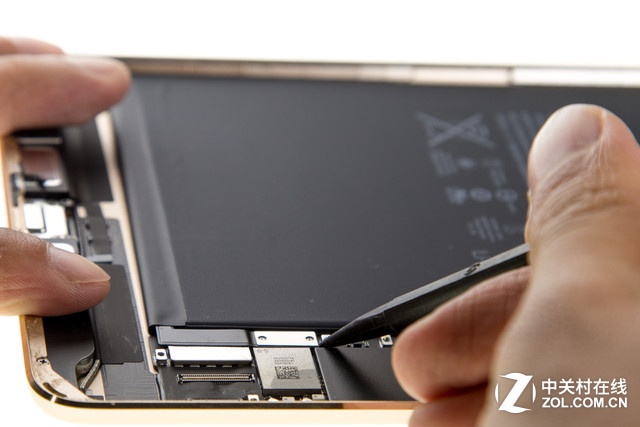
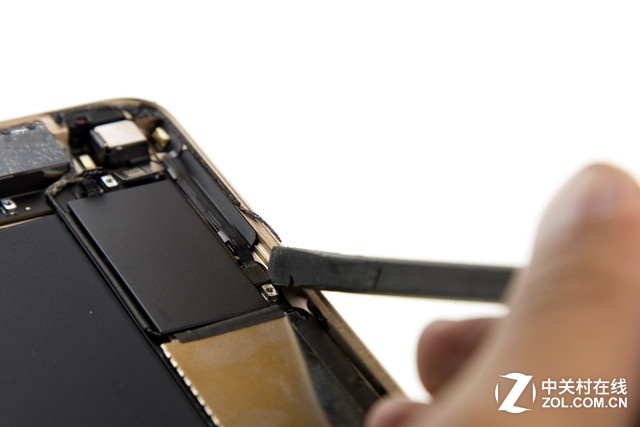
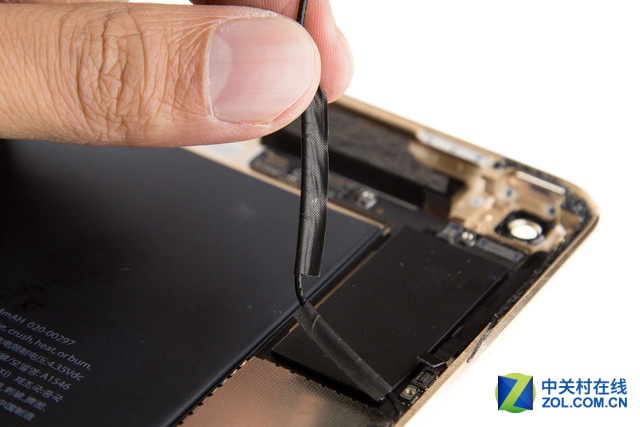
There are some black tapes.
Remove all the black tapes.
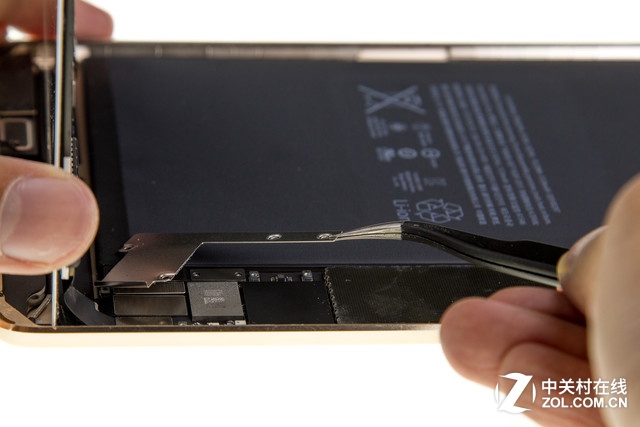
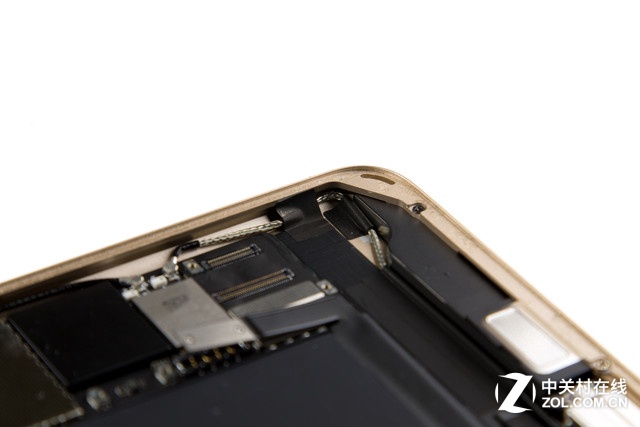
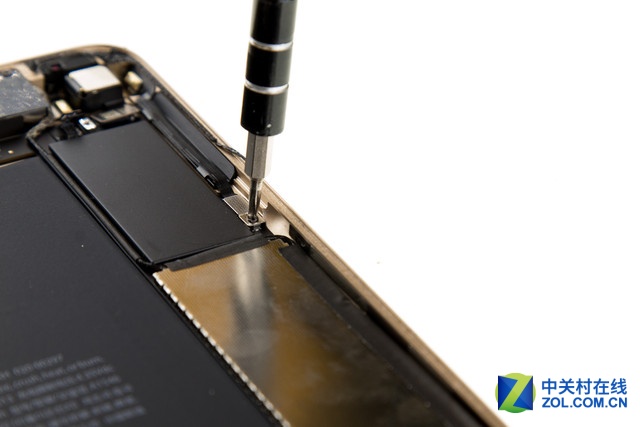
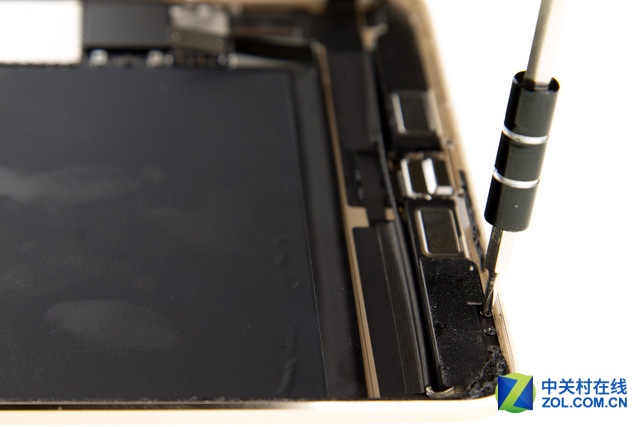
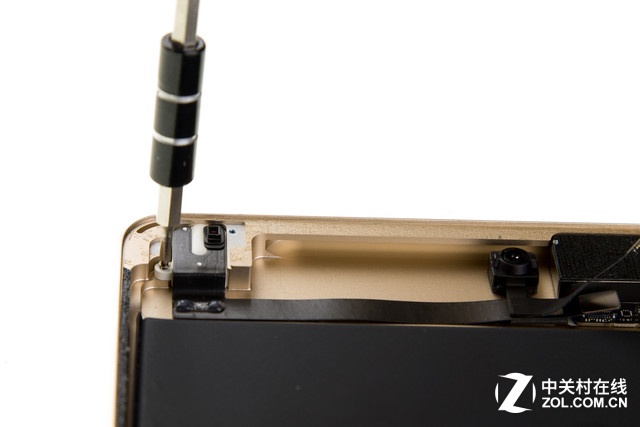
Remove the two screws.

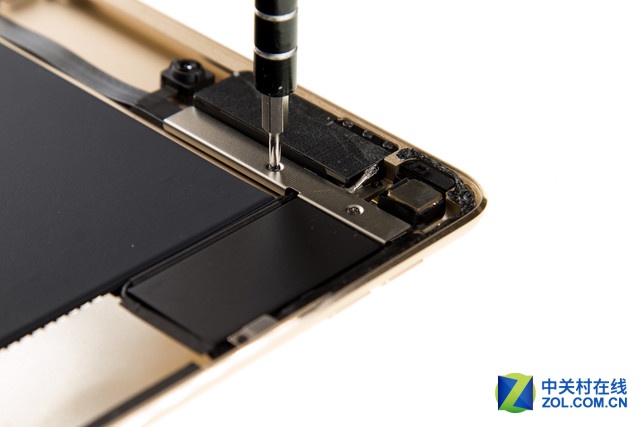
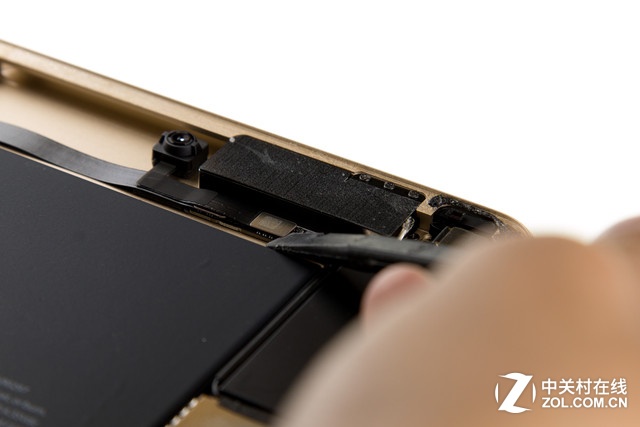
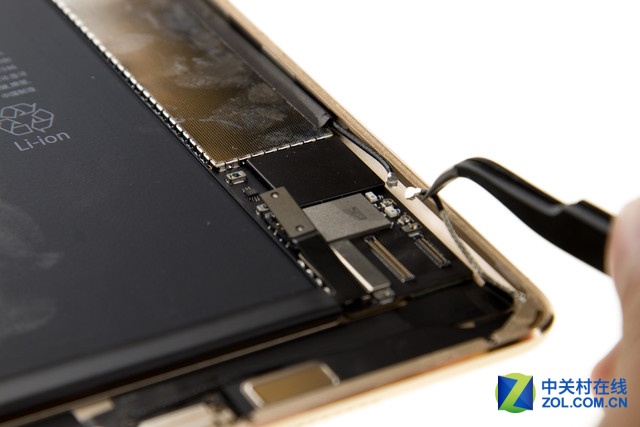
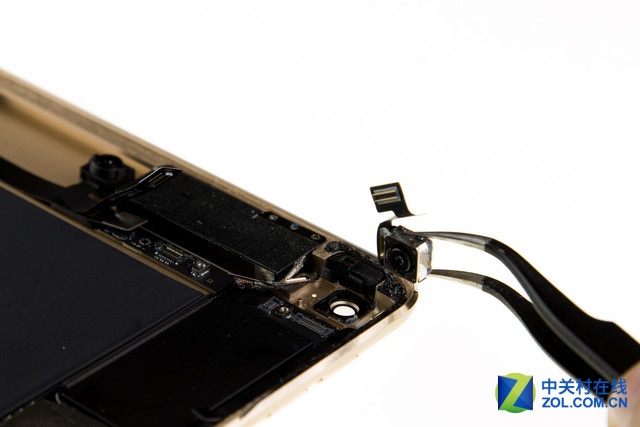
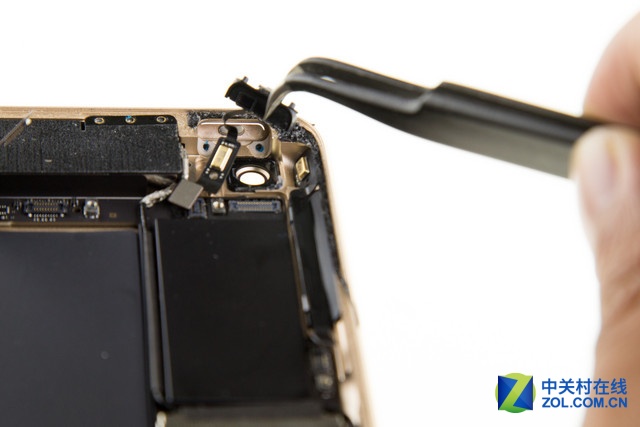
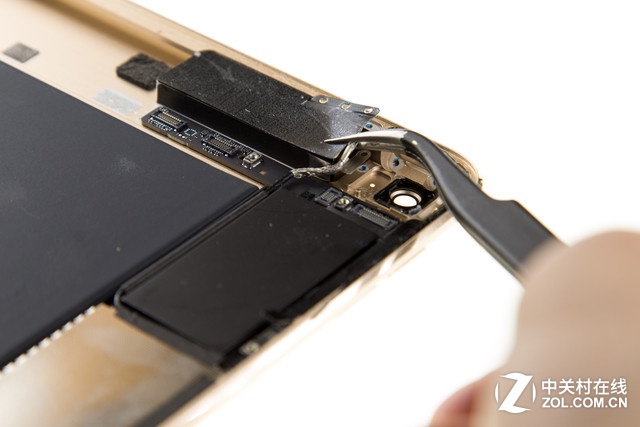
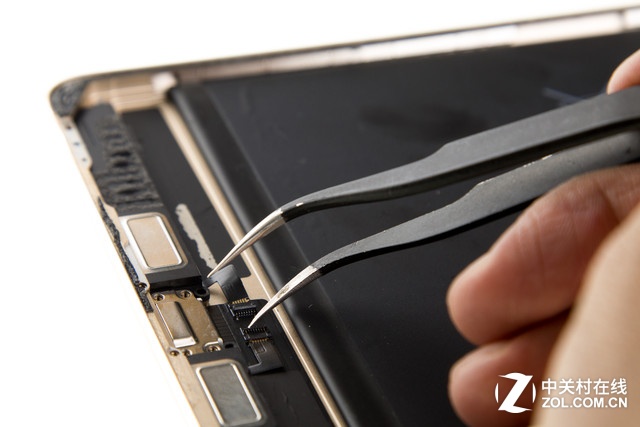
After removing the cover, you can access the rear camera cable, front camera cable, and headphone cable.
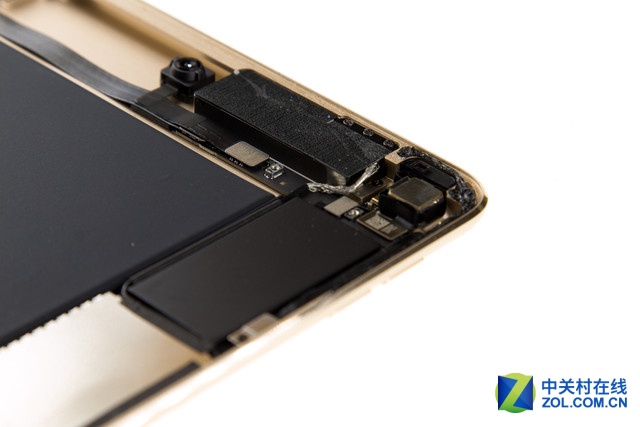
Disconnect the rear camera cable, front camera cable, and headphone cable.
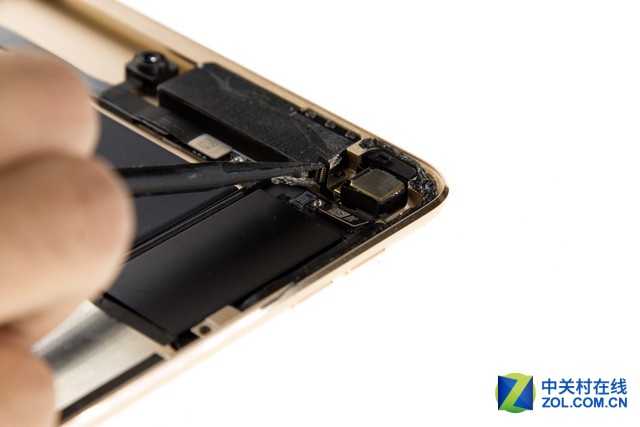
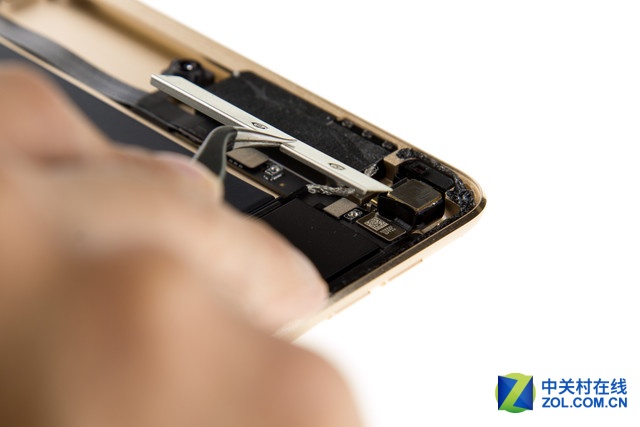
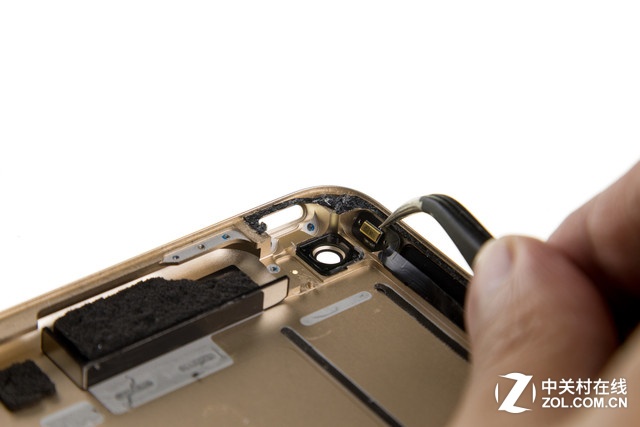
Disconnect the volume button cable.
Disconnect the RF antenna.
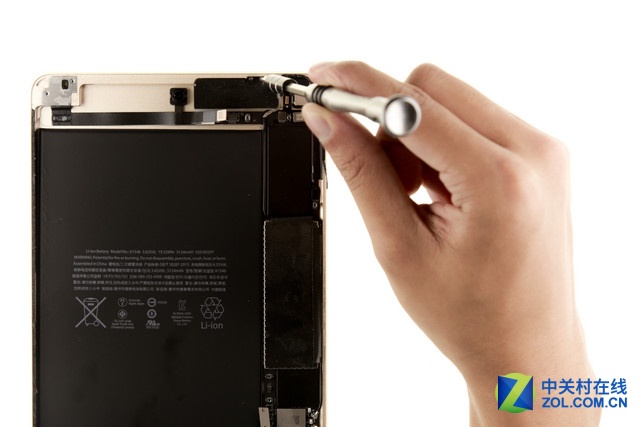
Remove the eight screws.
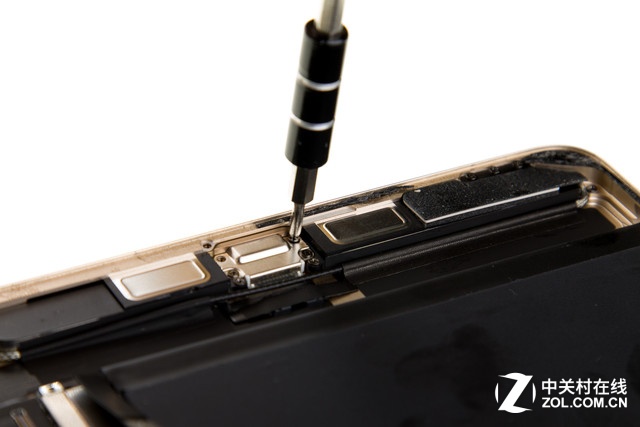
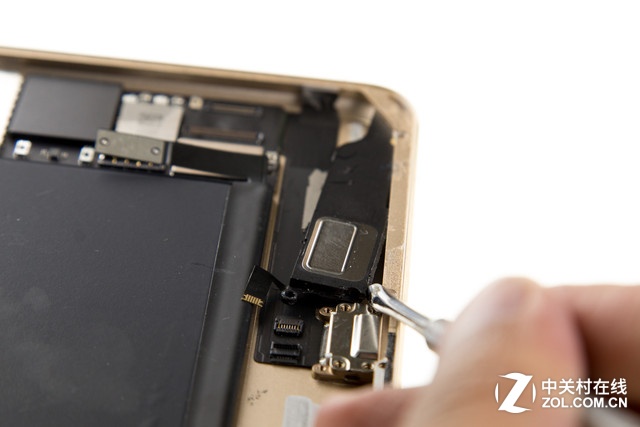
Remove the four screws securing the speaker module.

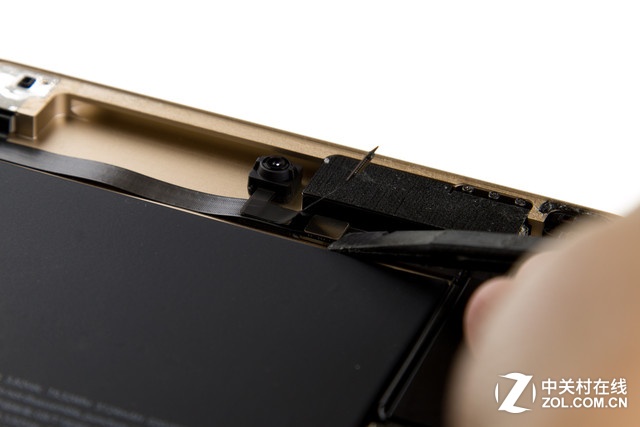
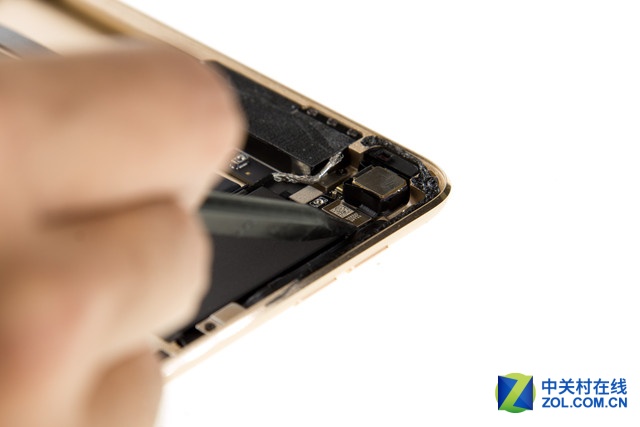
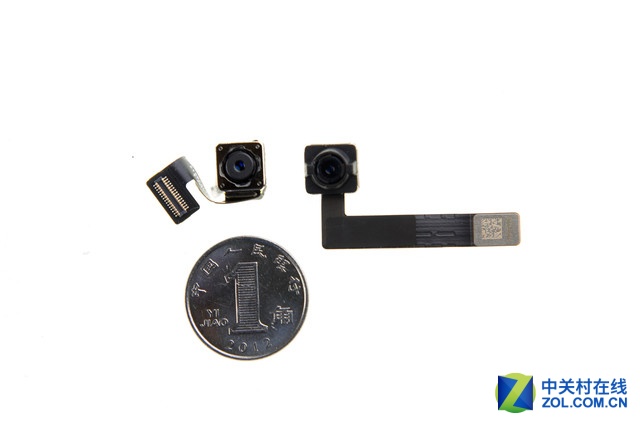
Remove the rear camera.
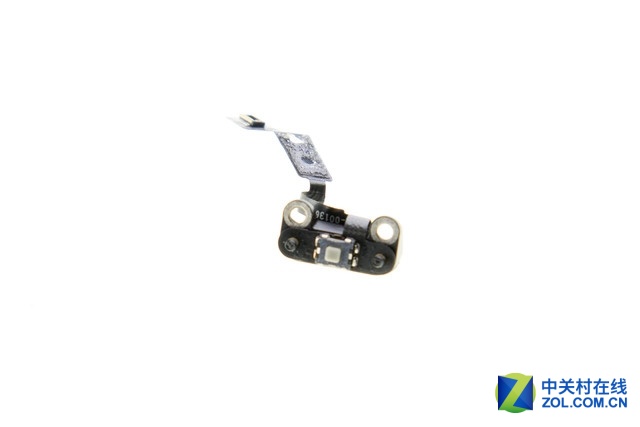
Power button module
Rear camera and front camera
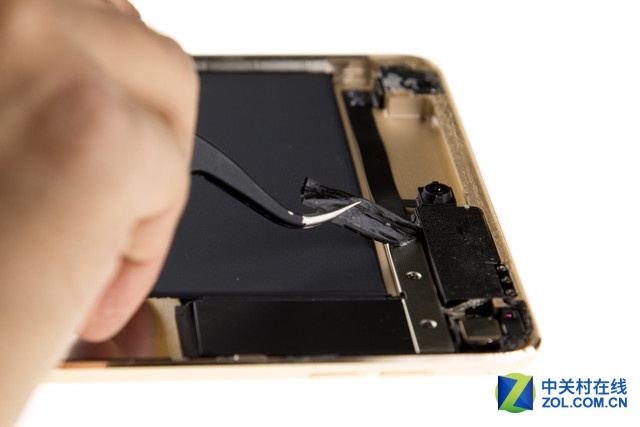
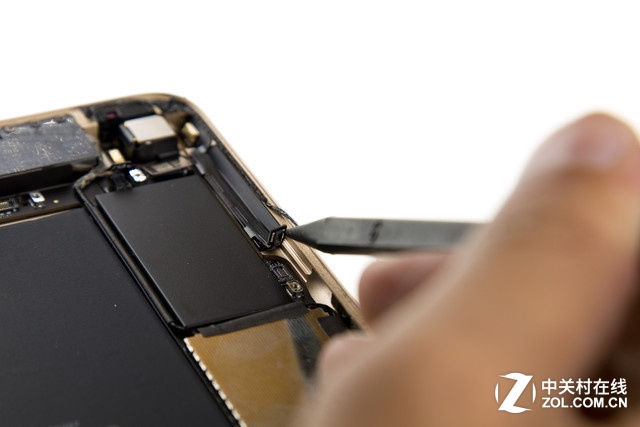
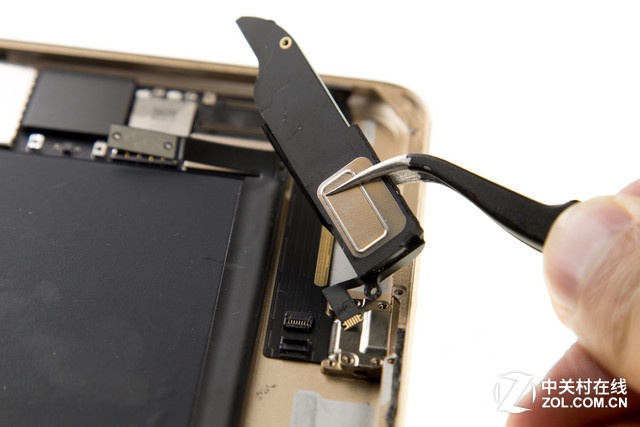
Remove the RF antenna.
Disconnect the speaker cable.
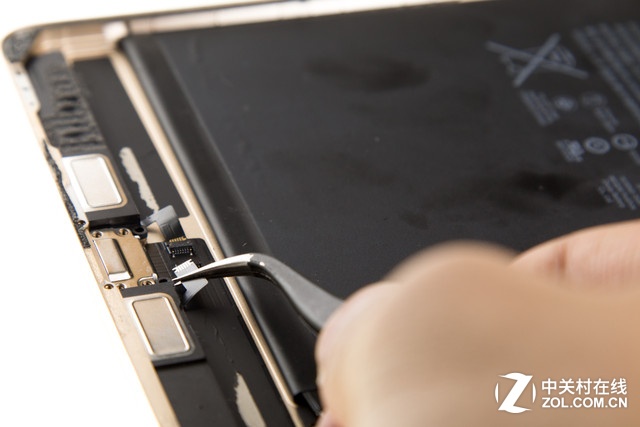
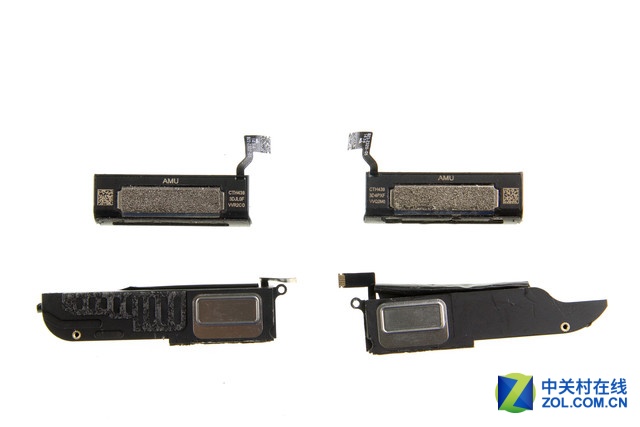
Remove the left and right speaker modules.
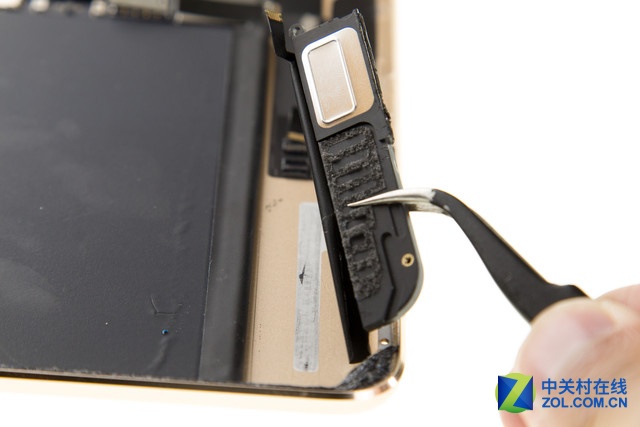
Compared to the speaker of the iPad Air.
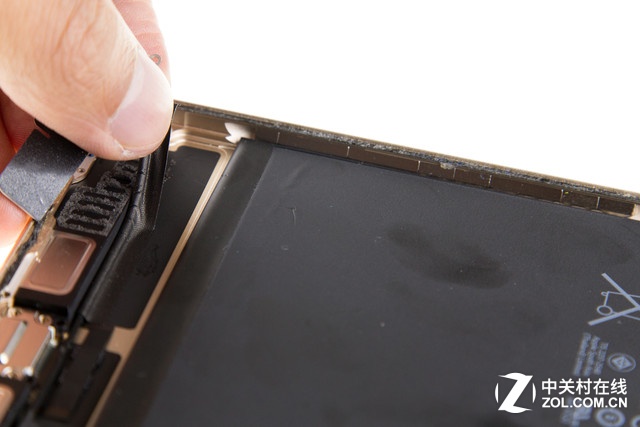
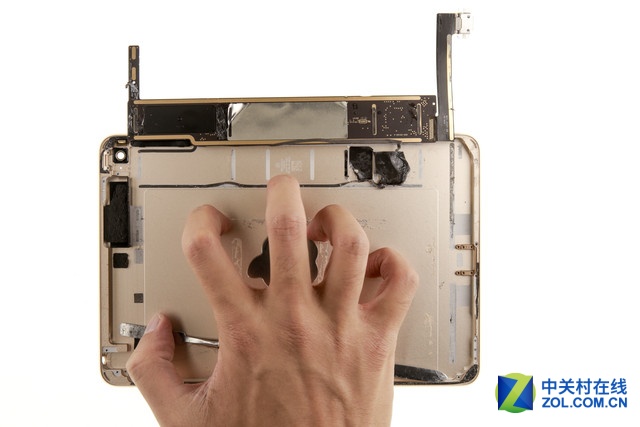
Insert an old card under the battery, pry it up, and remove the battery.
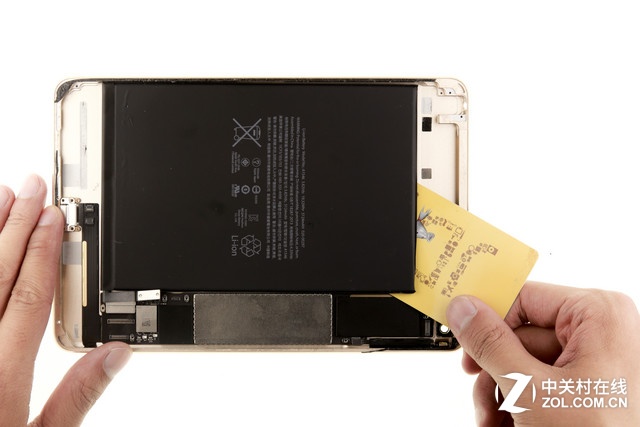
Heat it for about 5 minutes.

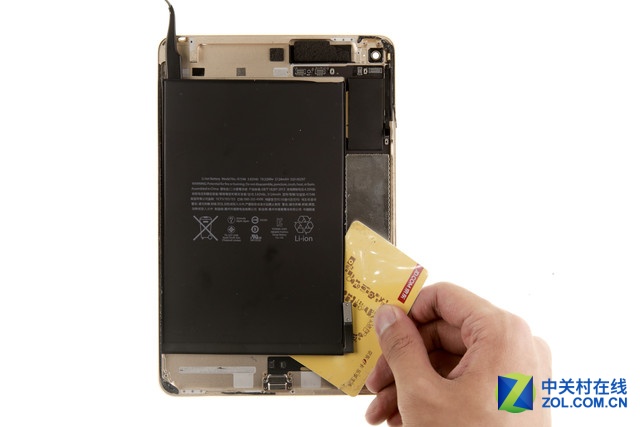
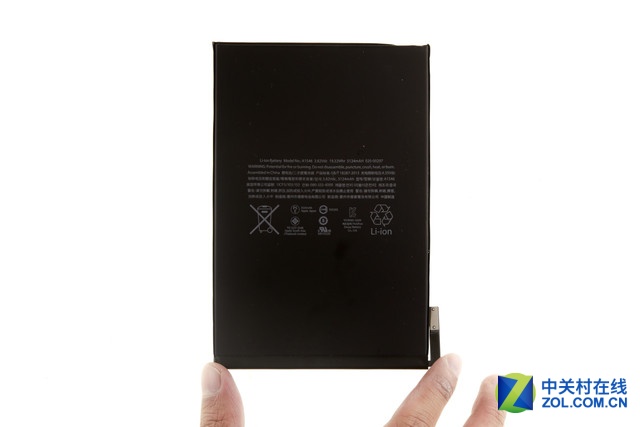
Now, the battery was removed.
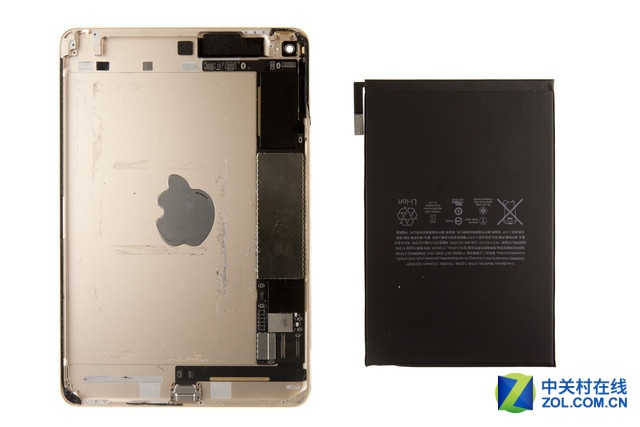
From the back of the battery, it can be seen that it is fixed to the back cover with glue.
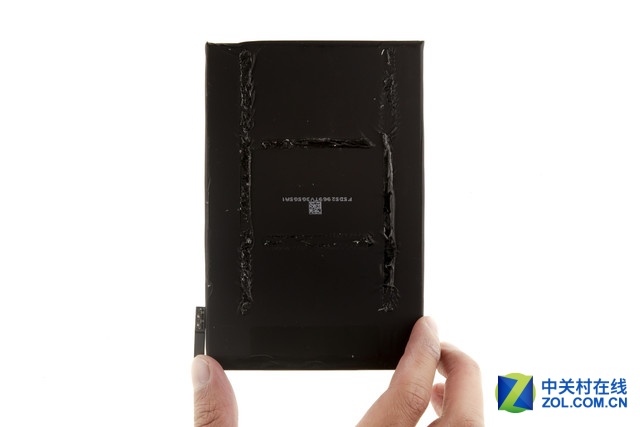
The iPad mini 4 uses a 5124 mAh Li-Polymer battery.
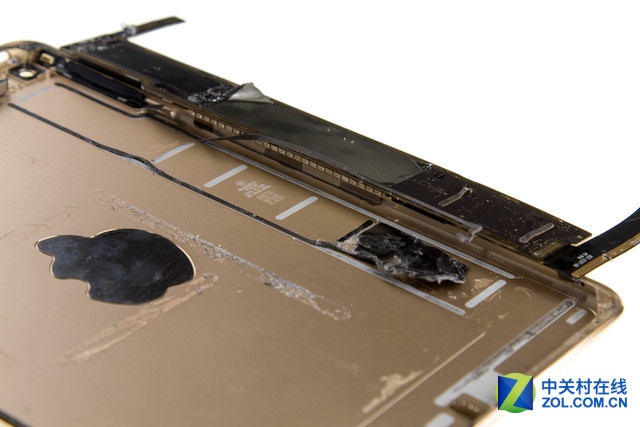
Remove the motherboard.
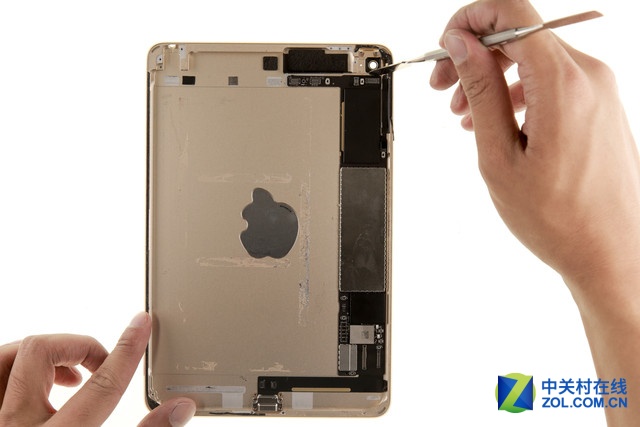
The motherboard is fixed to the back cover with double-sided tape.
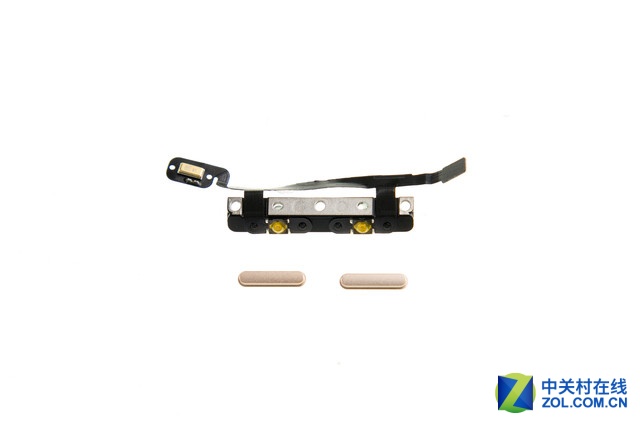
Remove the volume button.
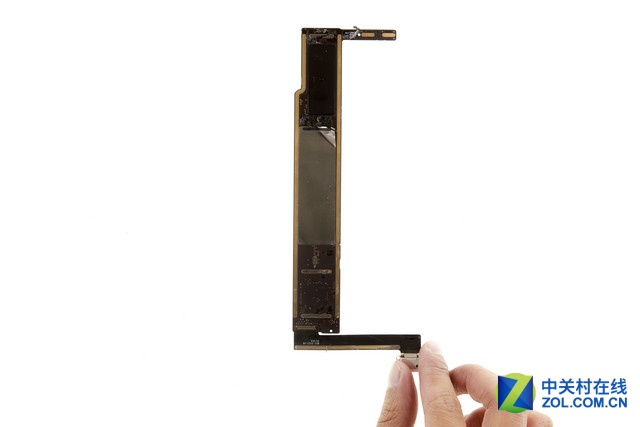
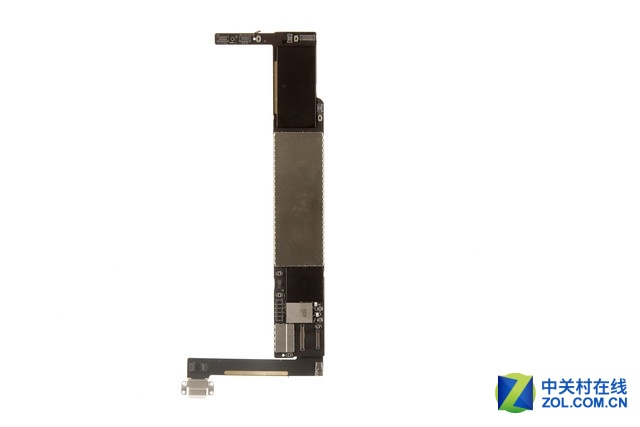
iPad mini 4 motherboard
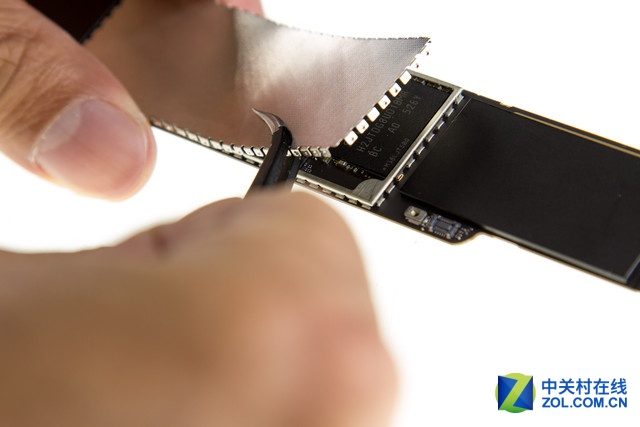
Remove the metal shield.
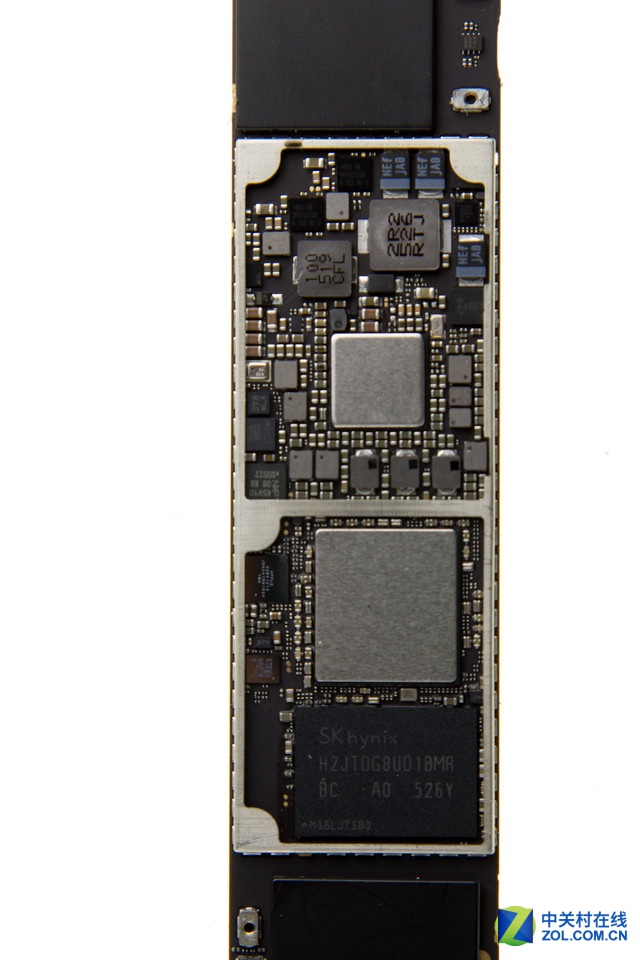
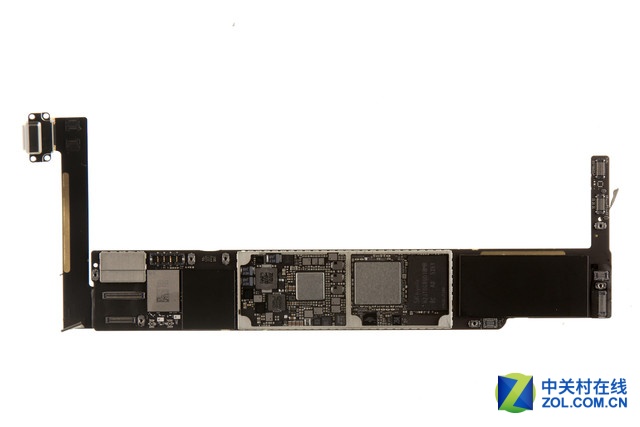
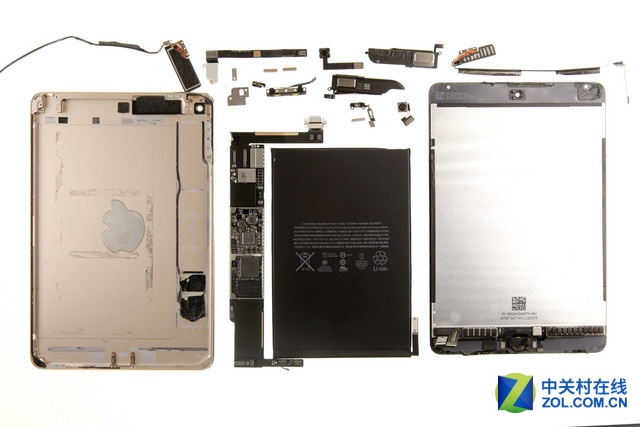
iPad mini 4 internal parts
Source: zol.com.cn