
In this guide, I will explain how to disassemble the Asus ZenFone 6 to remove the back cover, battery, camera, speaker, and motherboard.
Want to stay connected to MyFixGuide.com? Follow us on Facebook to check out the latest teardowns.
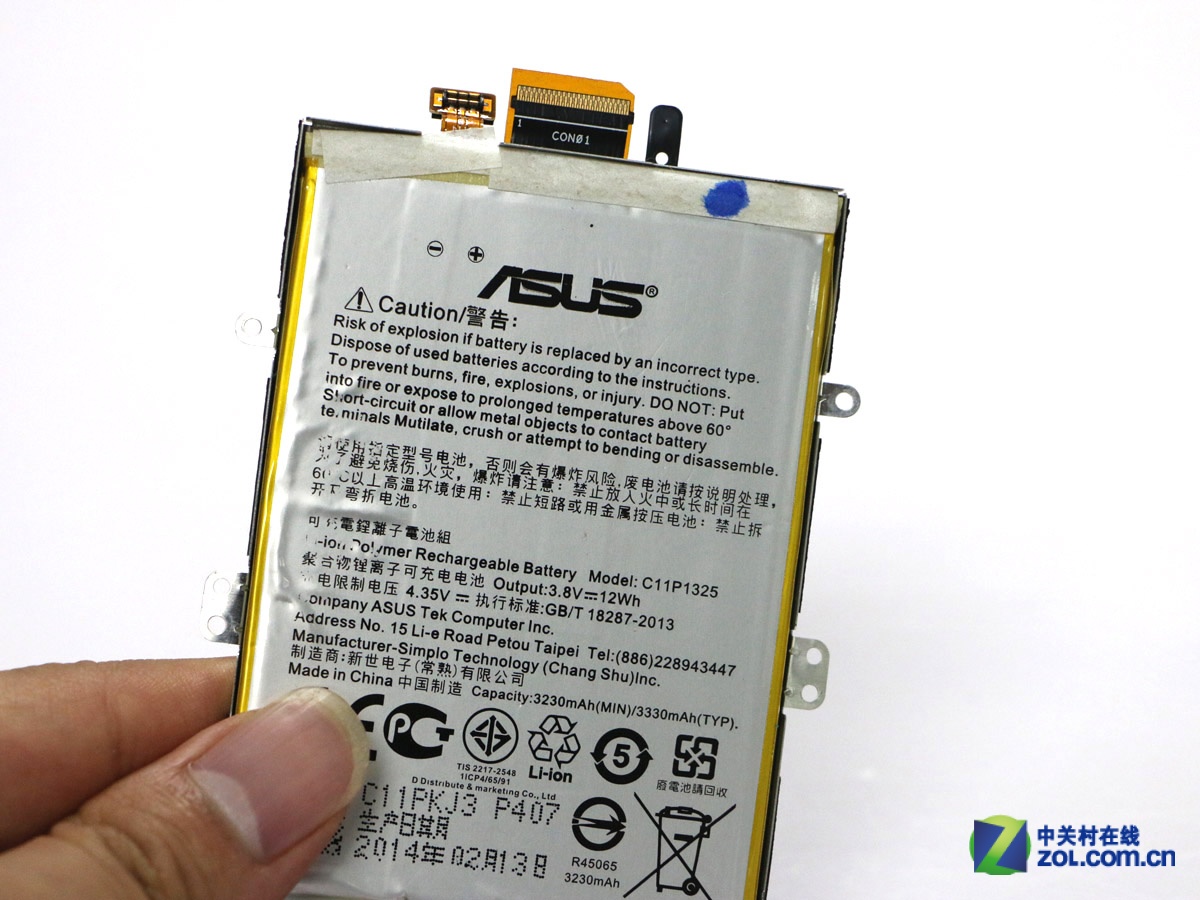
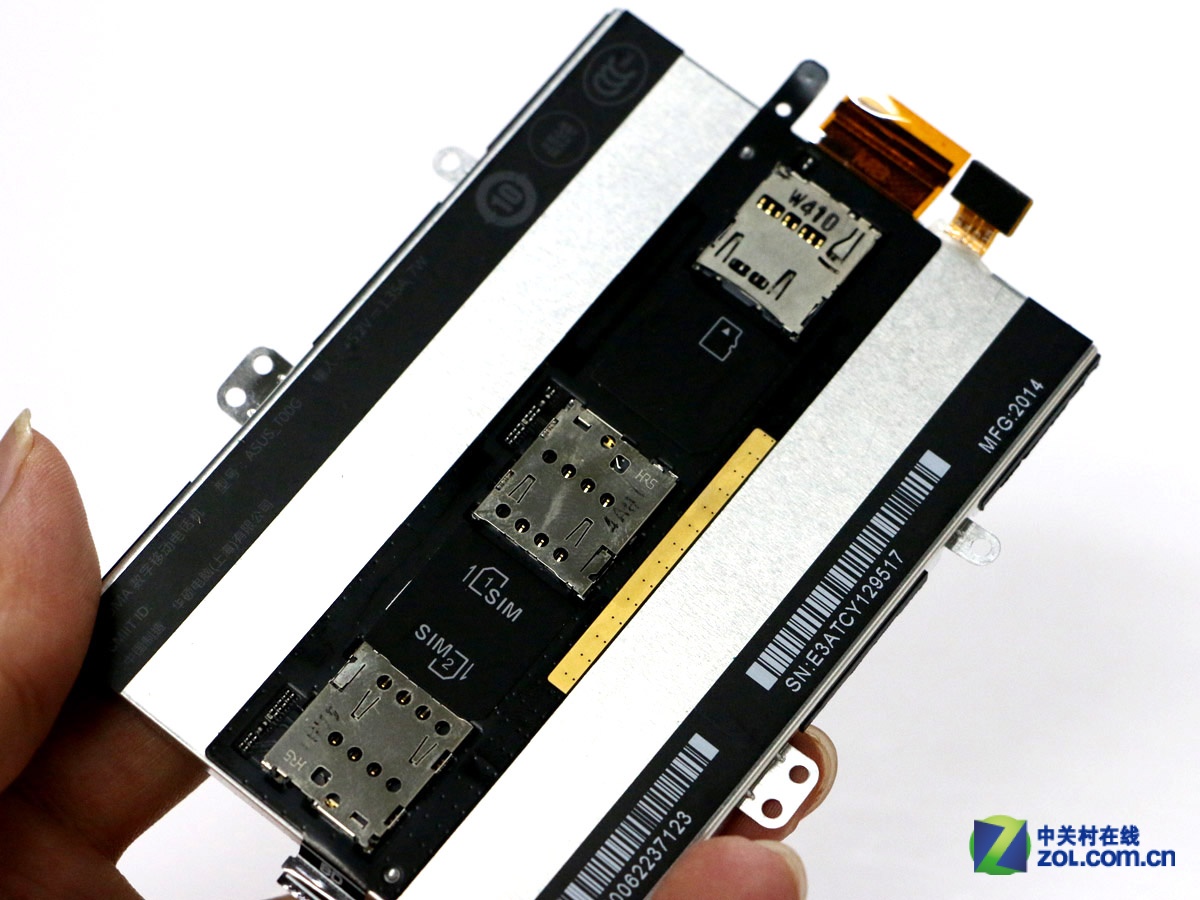
The battery of the ASUS ZenFone 6 is non-removable, but the back cover can be removed.
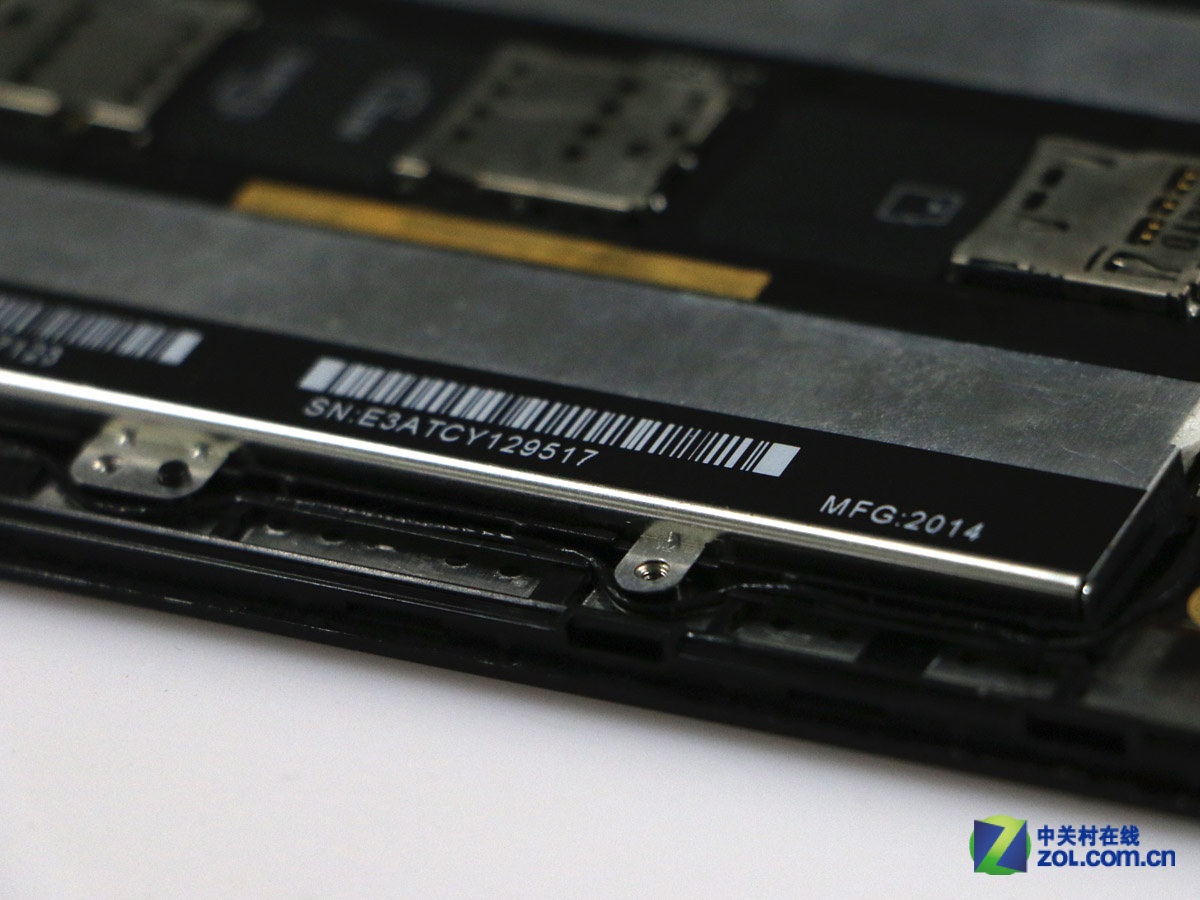
The SIM card slot and Micro SD card slot are fixed on the battery.
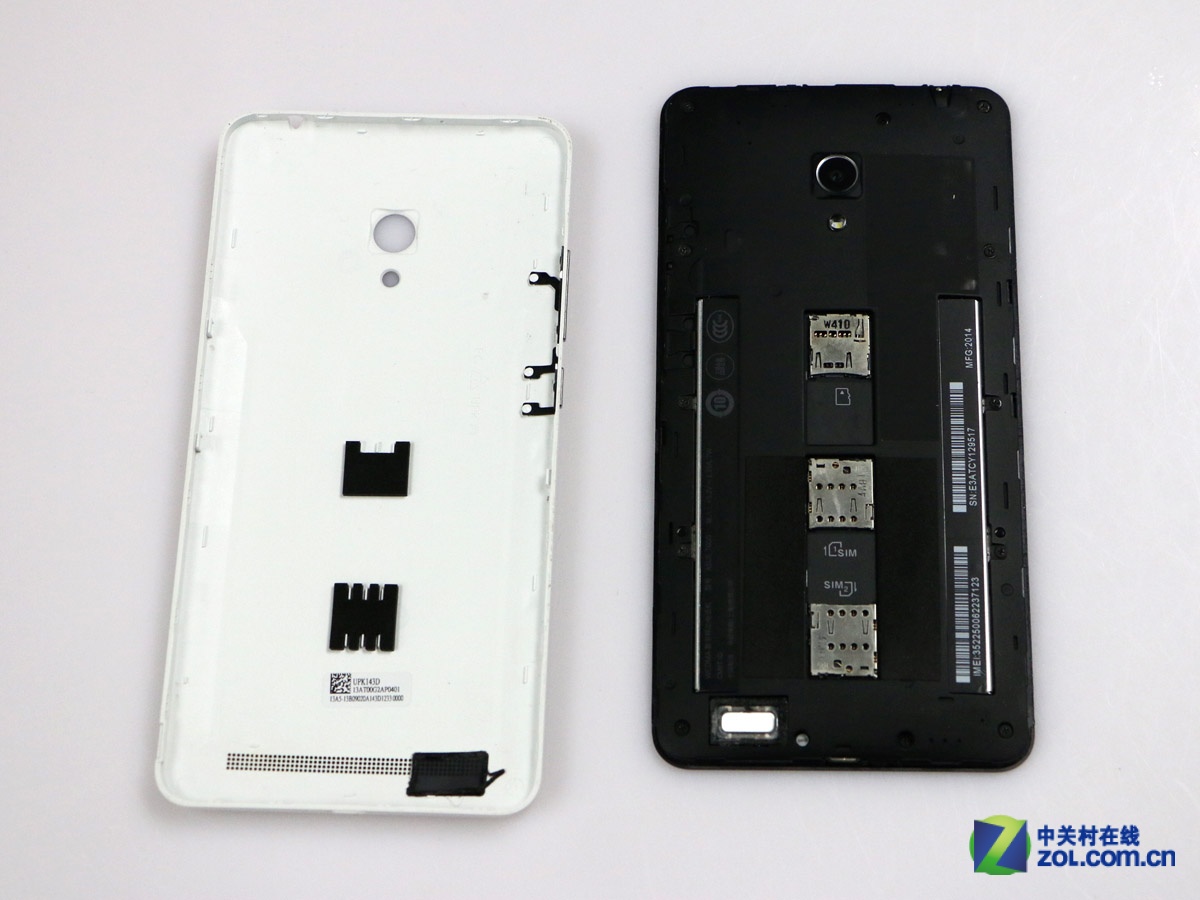
Due to the slot design, replacing the battery will be inconvenient.
Here is the speaker.
This is the bottom of the phone. You can see the USB port.
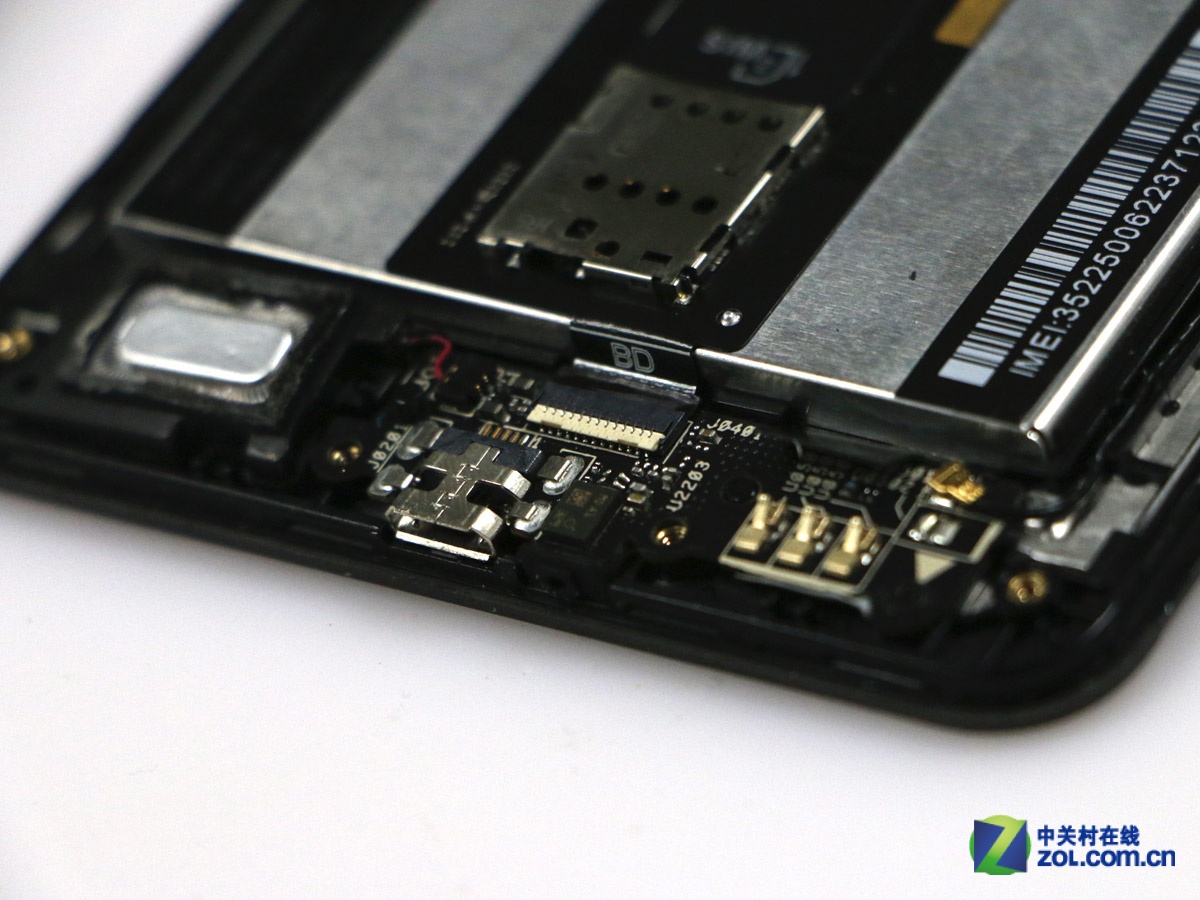
The cable layout is quite reasonable.
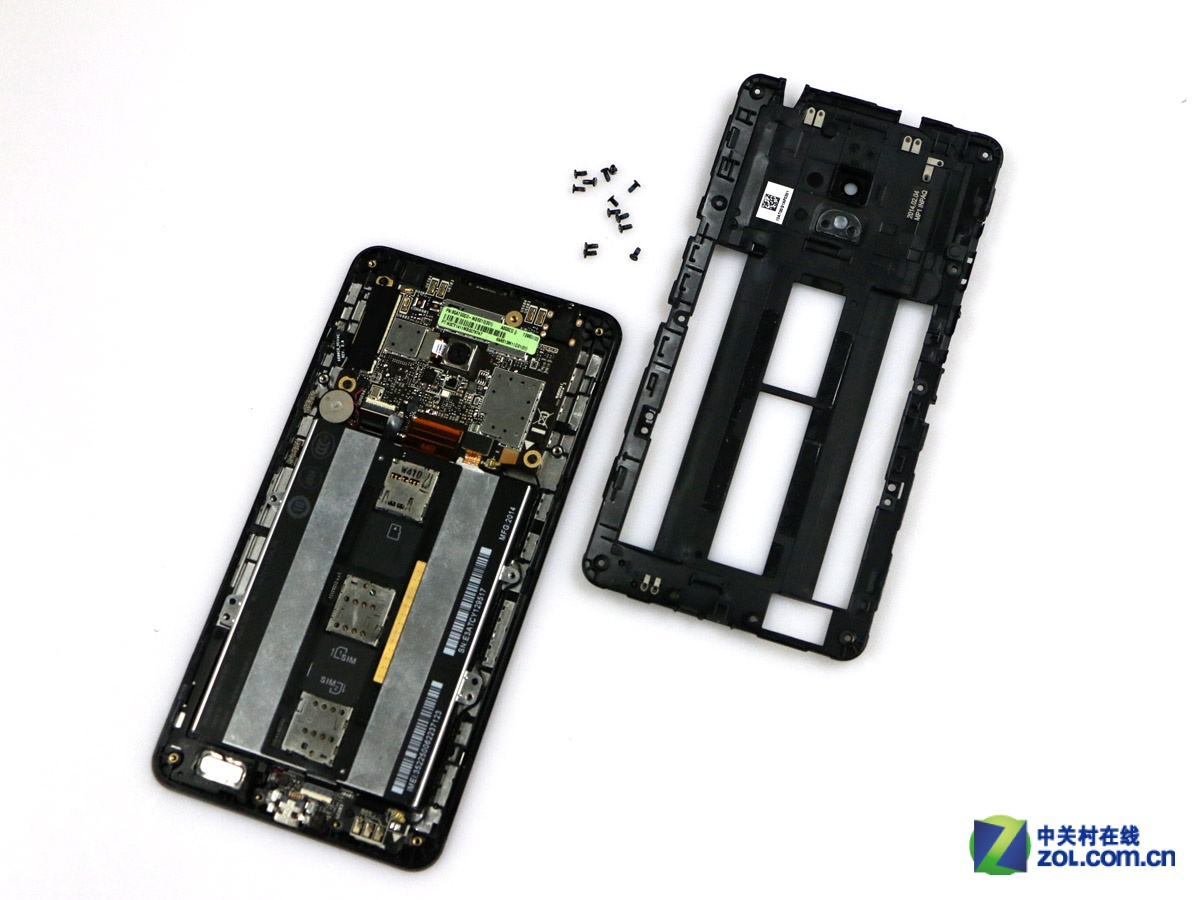
Remove the thirteen screws and remove the middle frame. You can get access to the internal components.
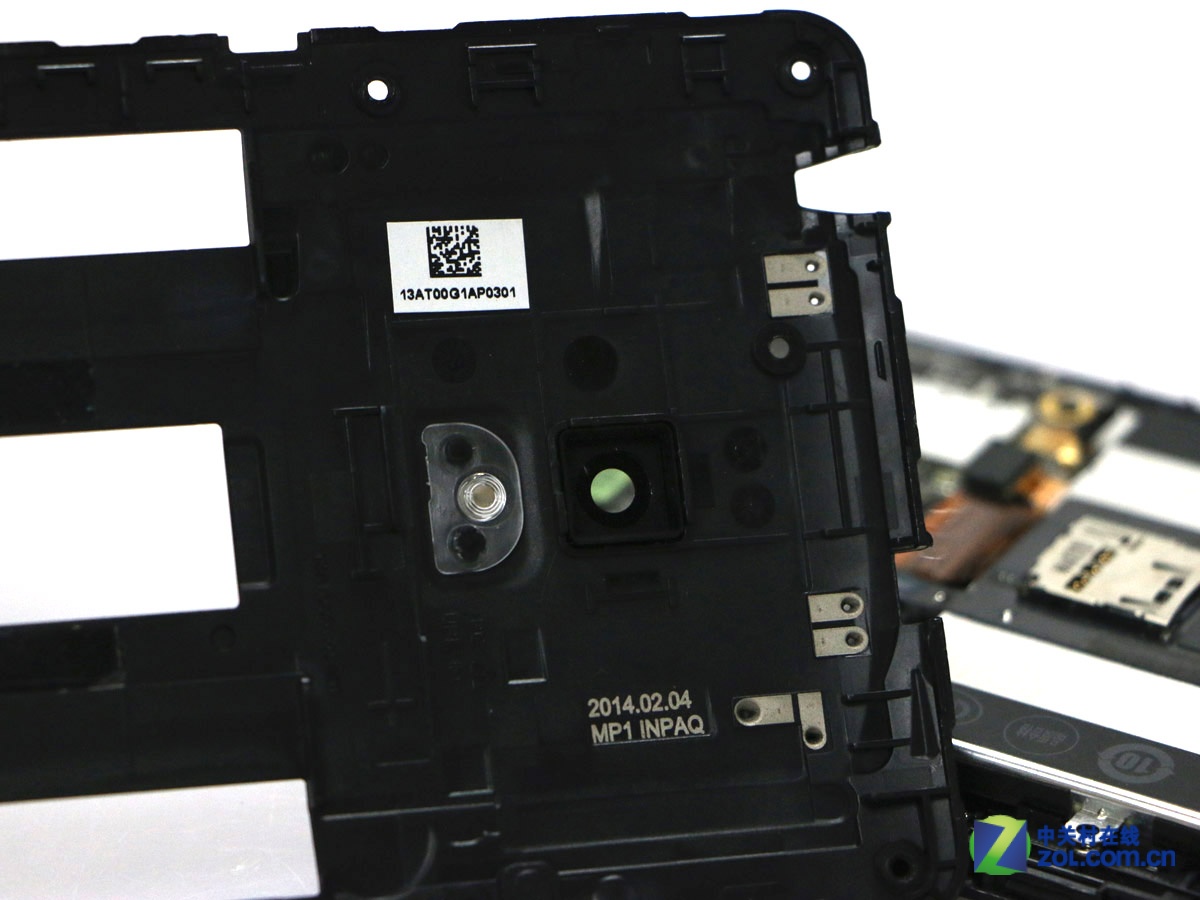
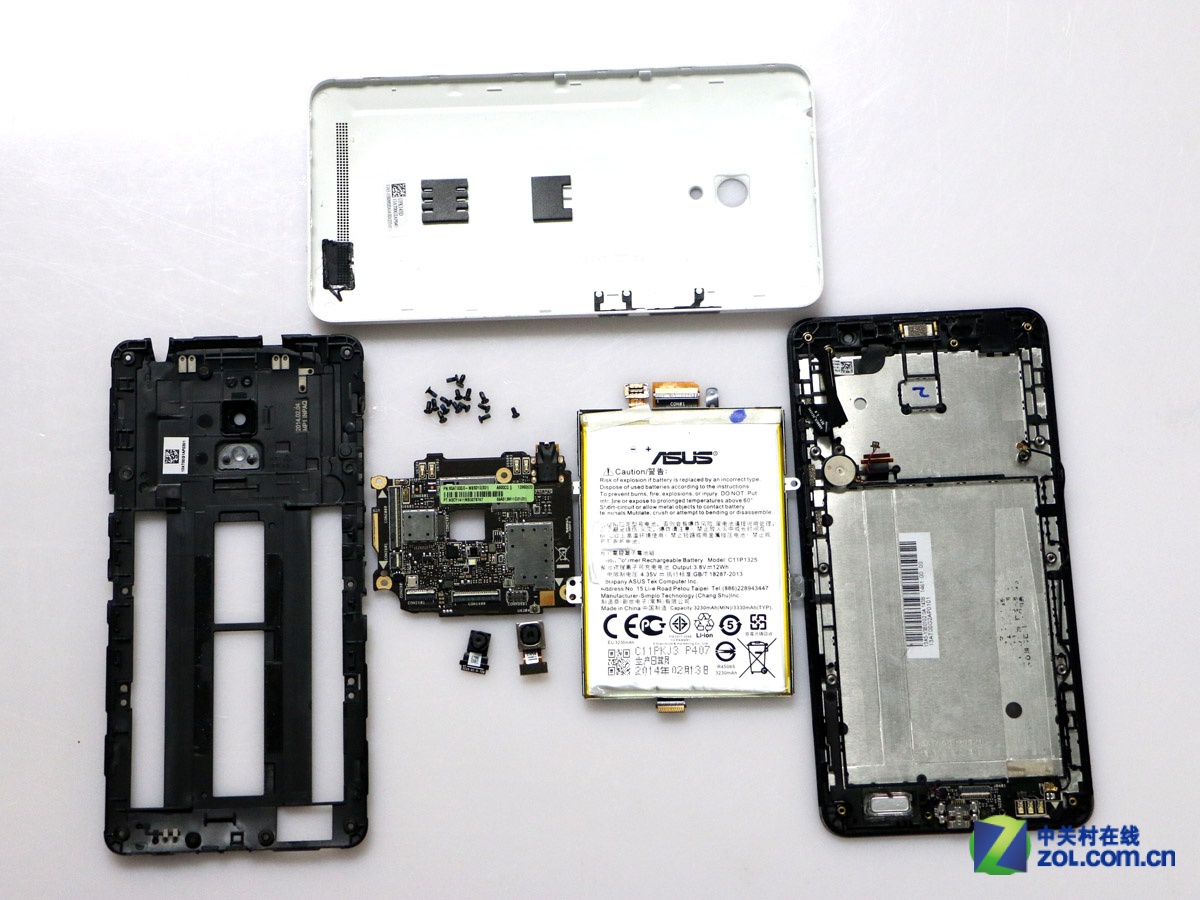
Rear camera

Middle frame
Disconnect the power cable from the motherboard and remove the battery.
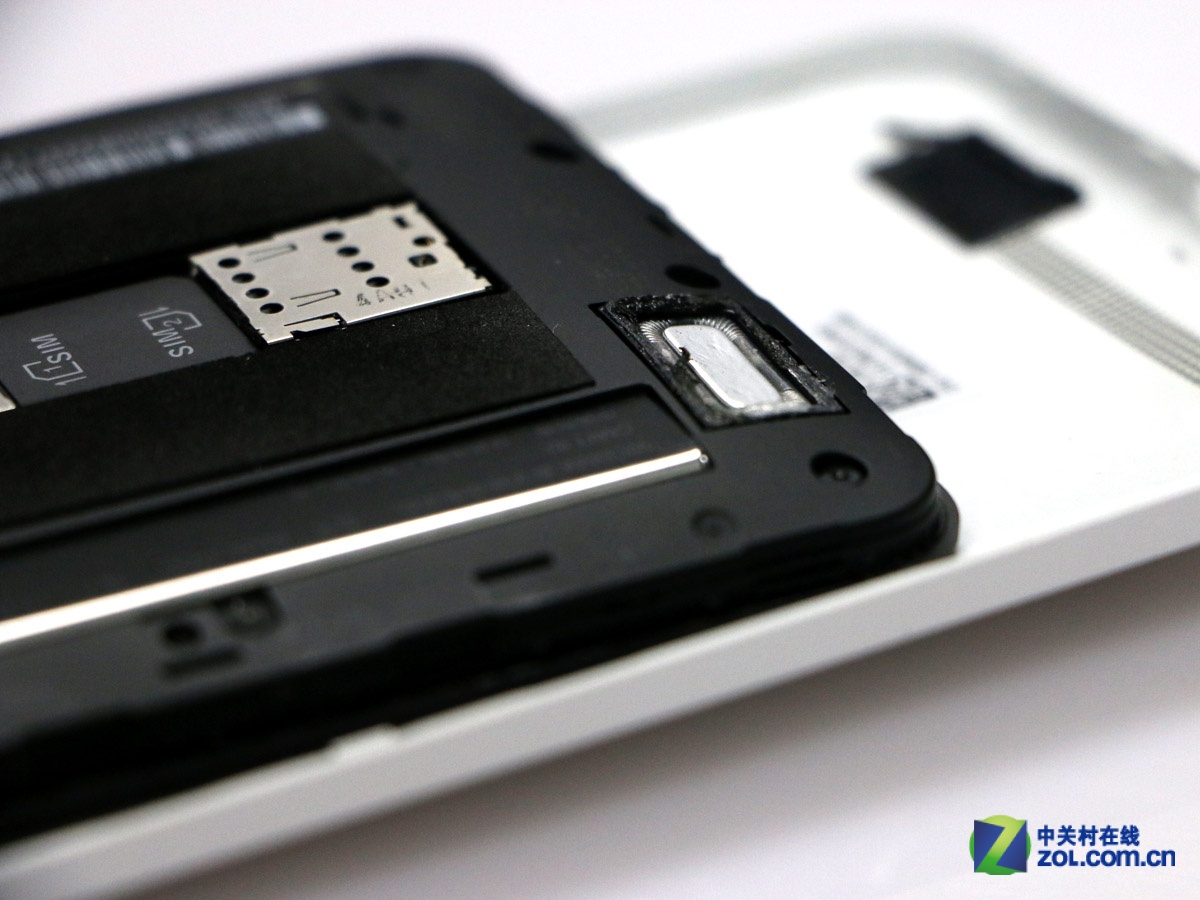
There is a metal plate on the battery. The card slot is fixed on the metal plate.
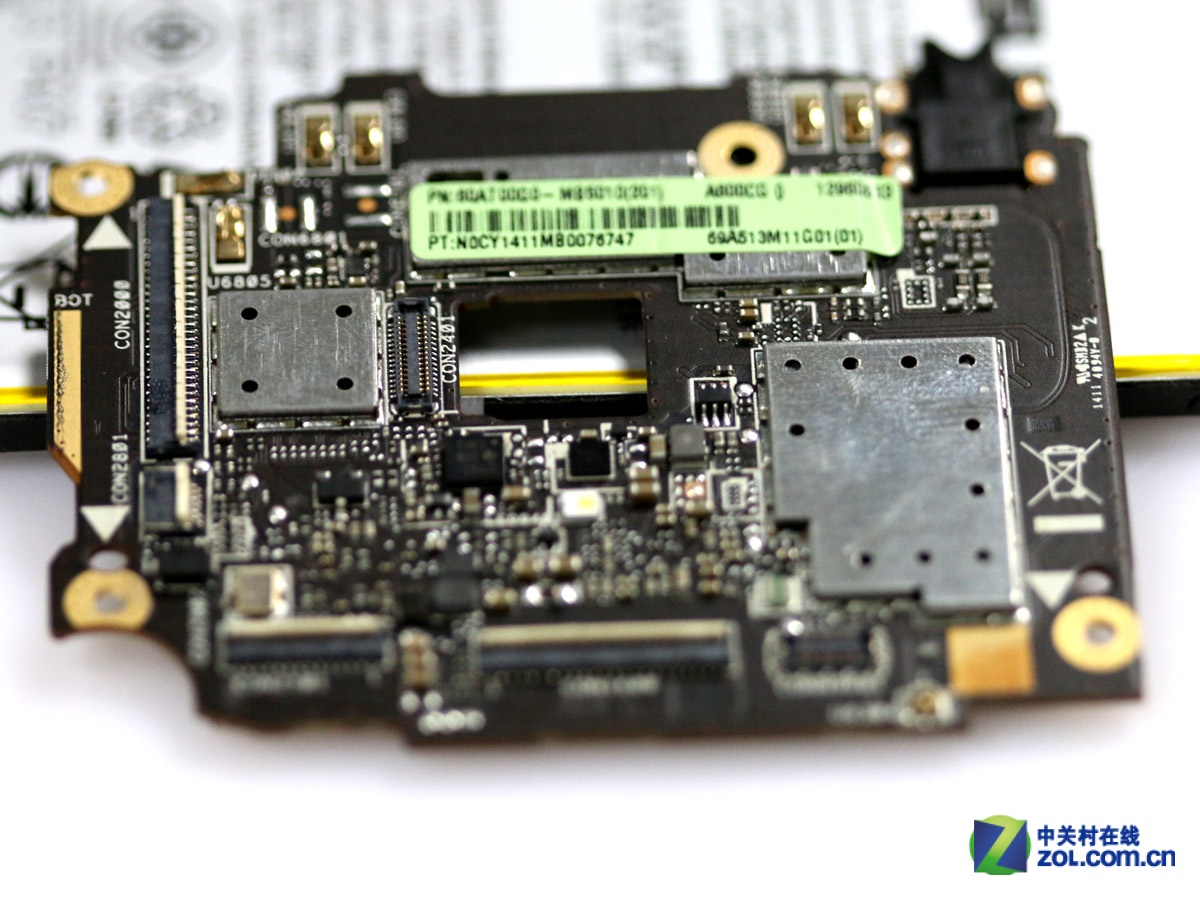
Remove the three screws securing the motherboard.
Disconnect the remaining cables. Insert a plastic pry tool under the motherboard, then pry it up and remove the motherboard.
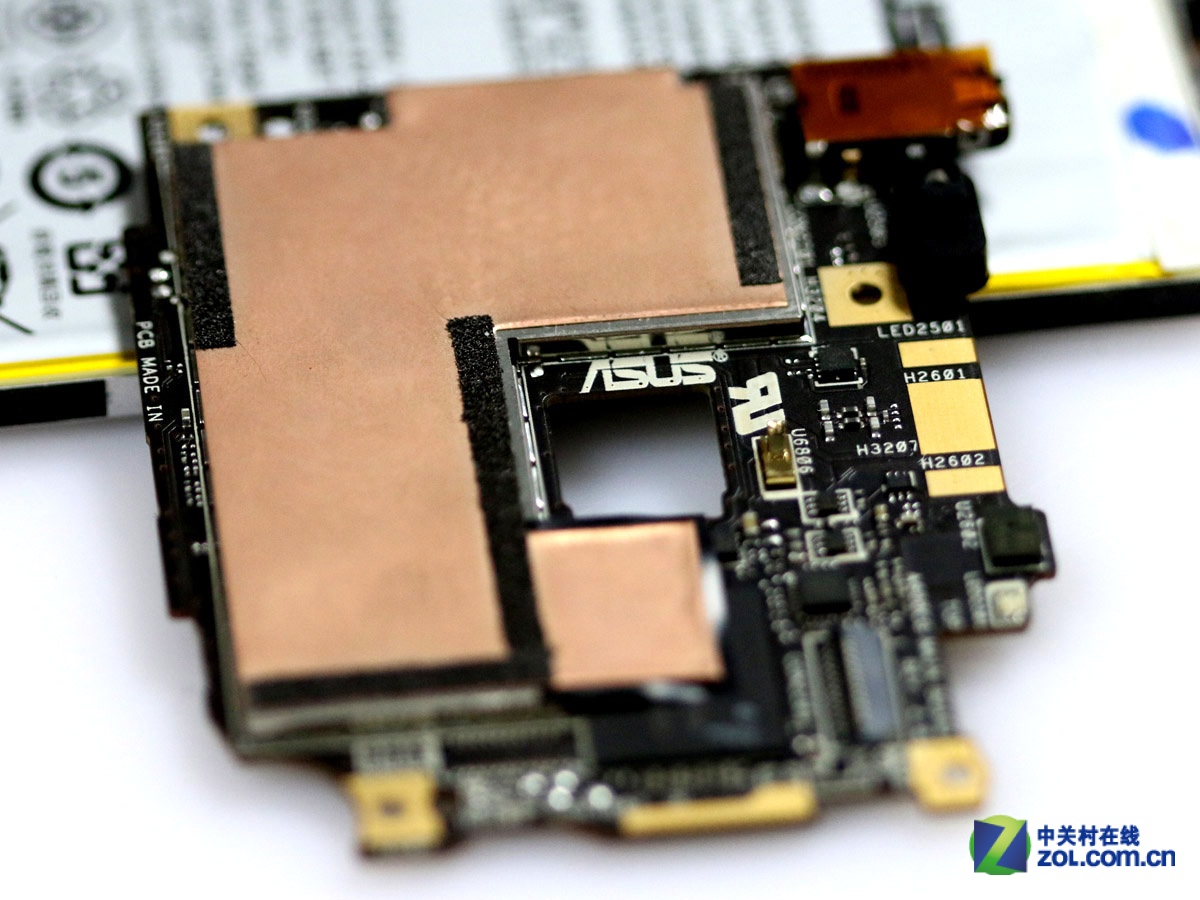
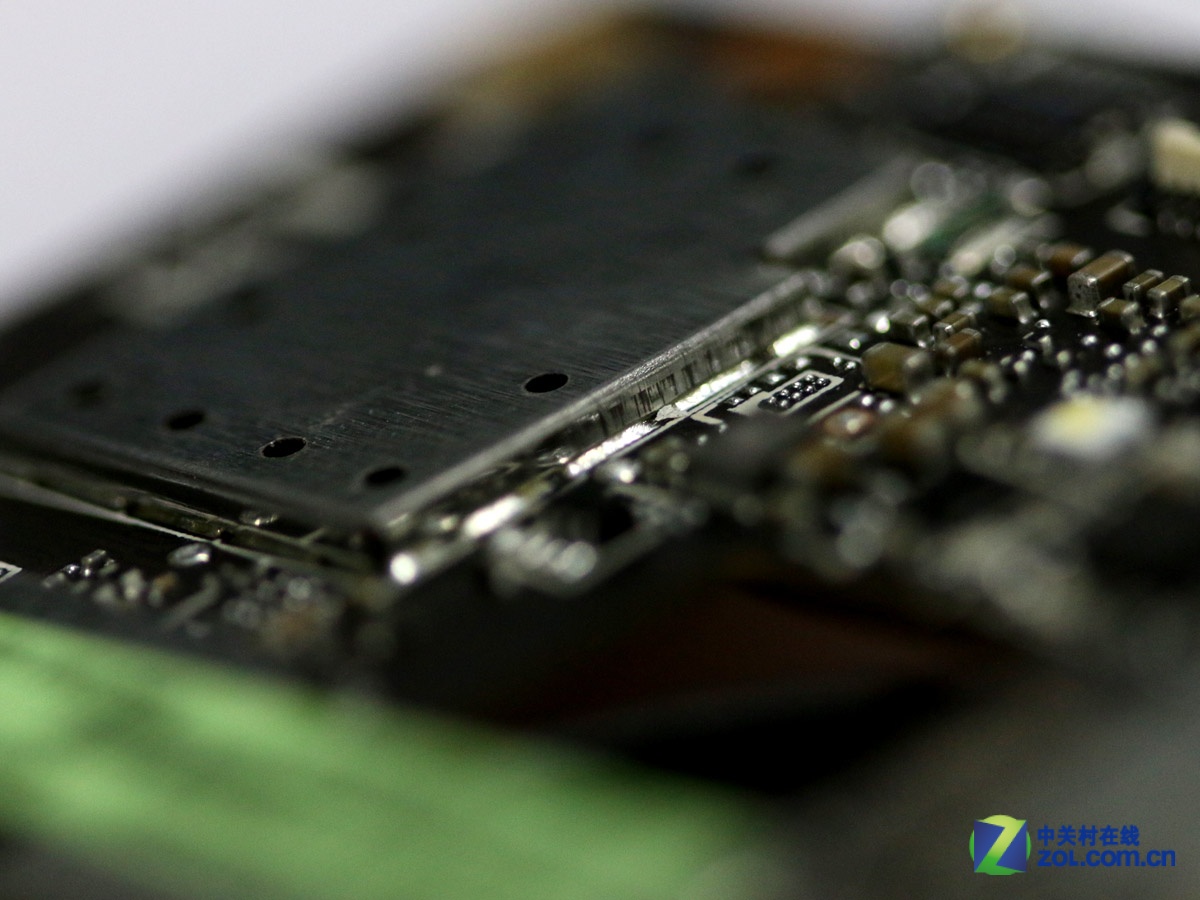
CPU heatsink
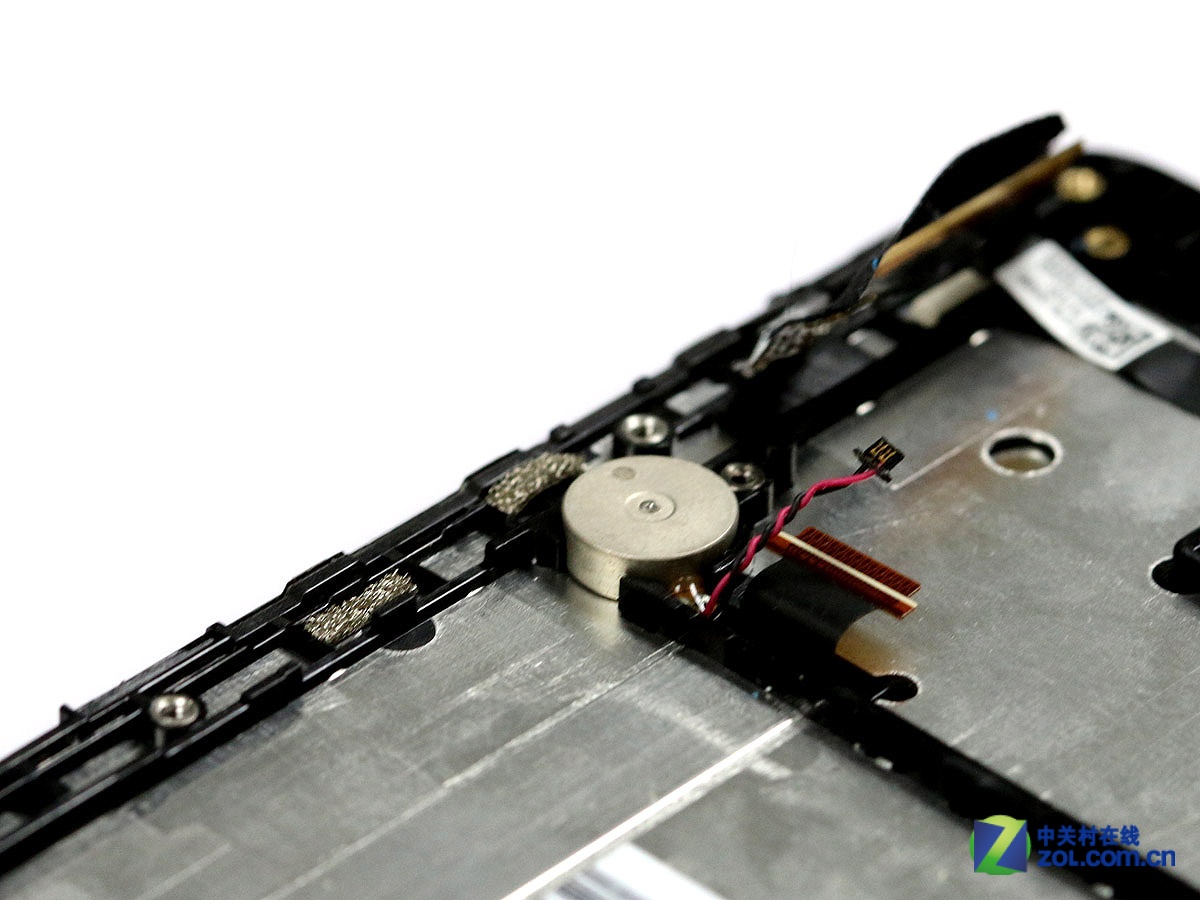
Vibrator
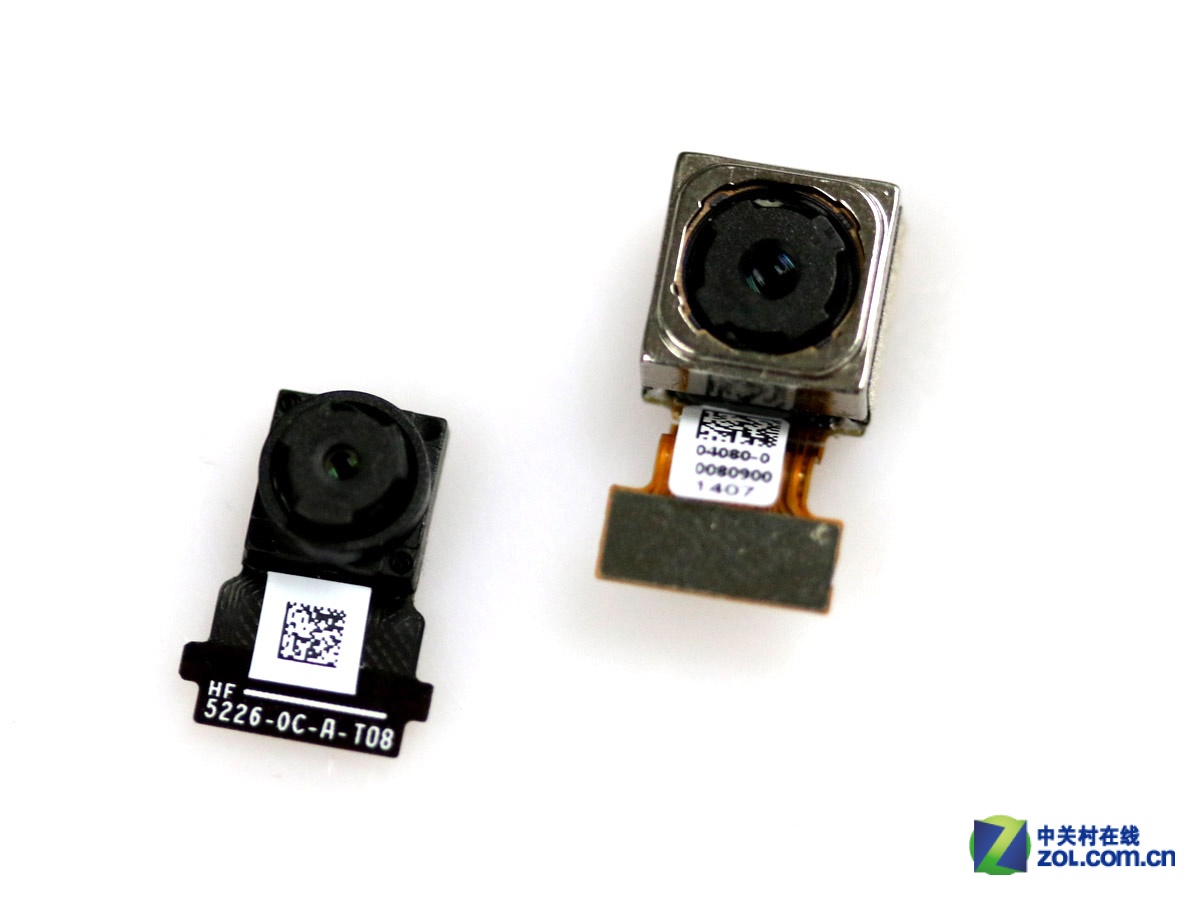
Front camera and rear camera
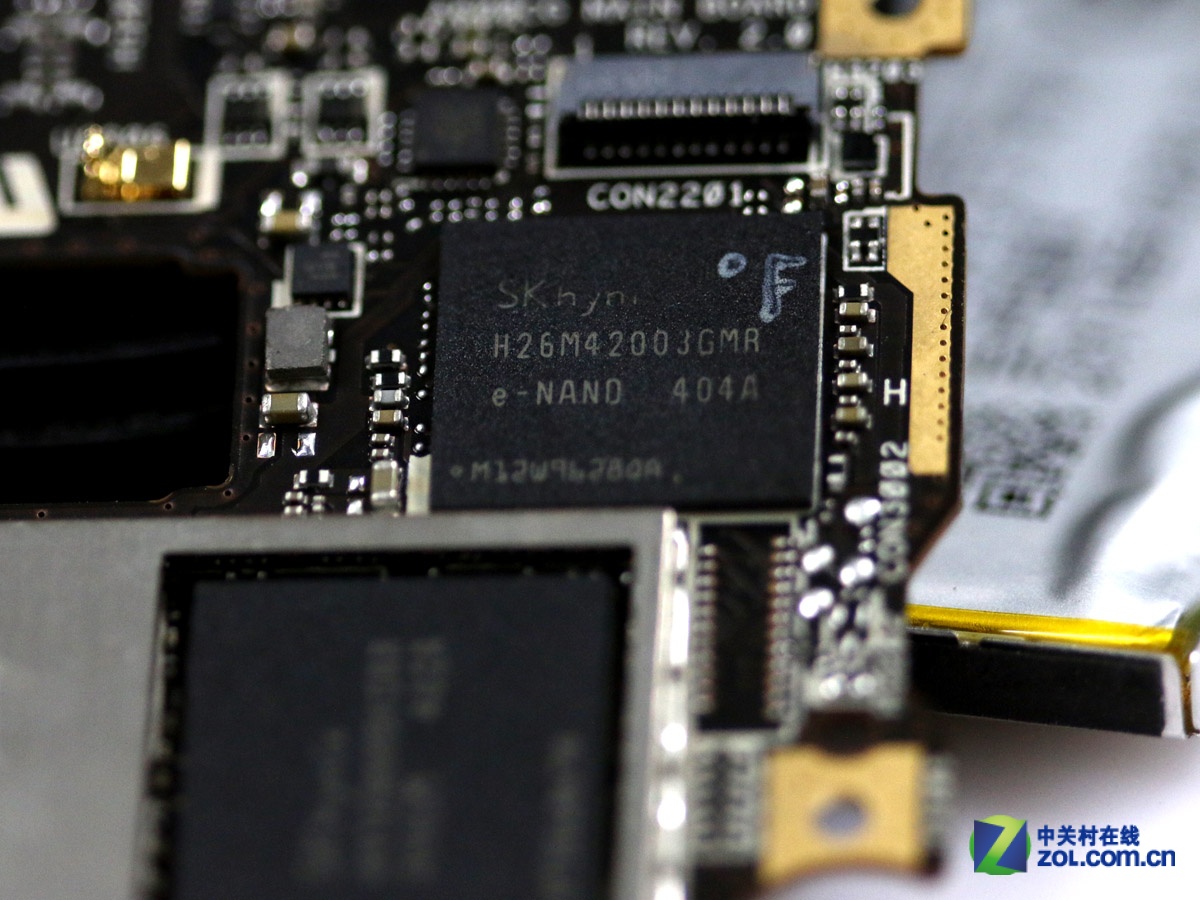
SK Hynix 8GB ROM
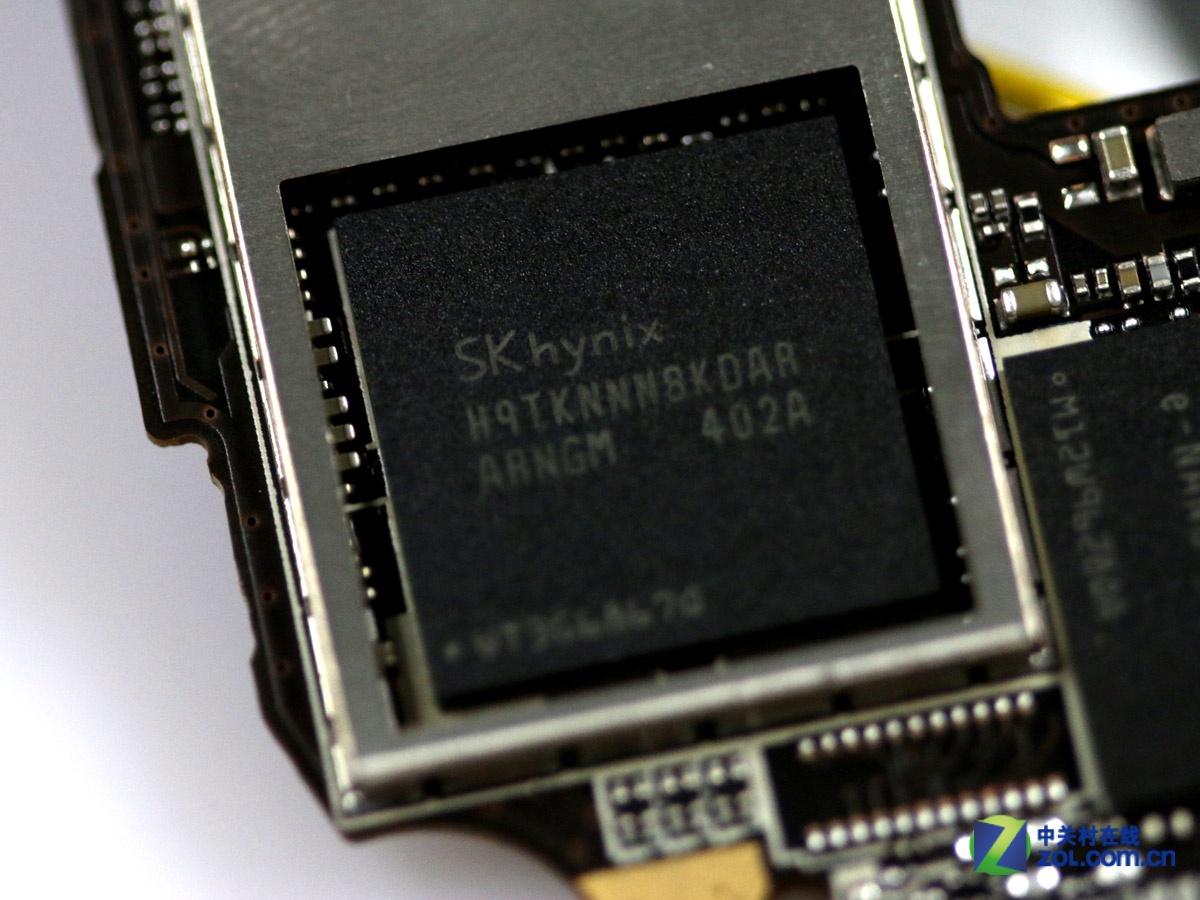
SK Hynix 1GB RAM
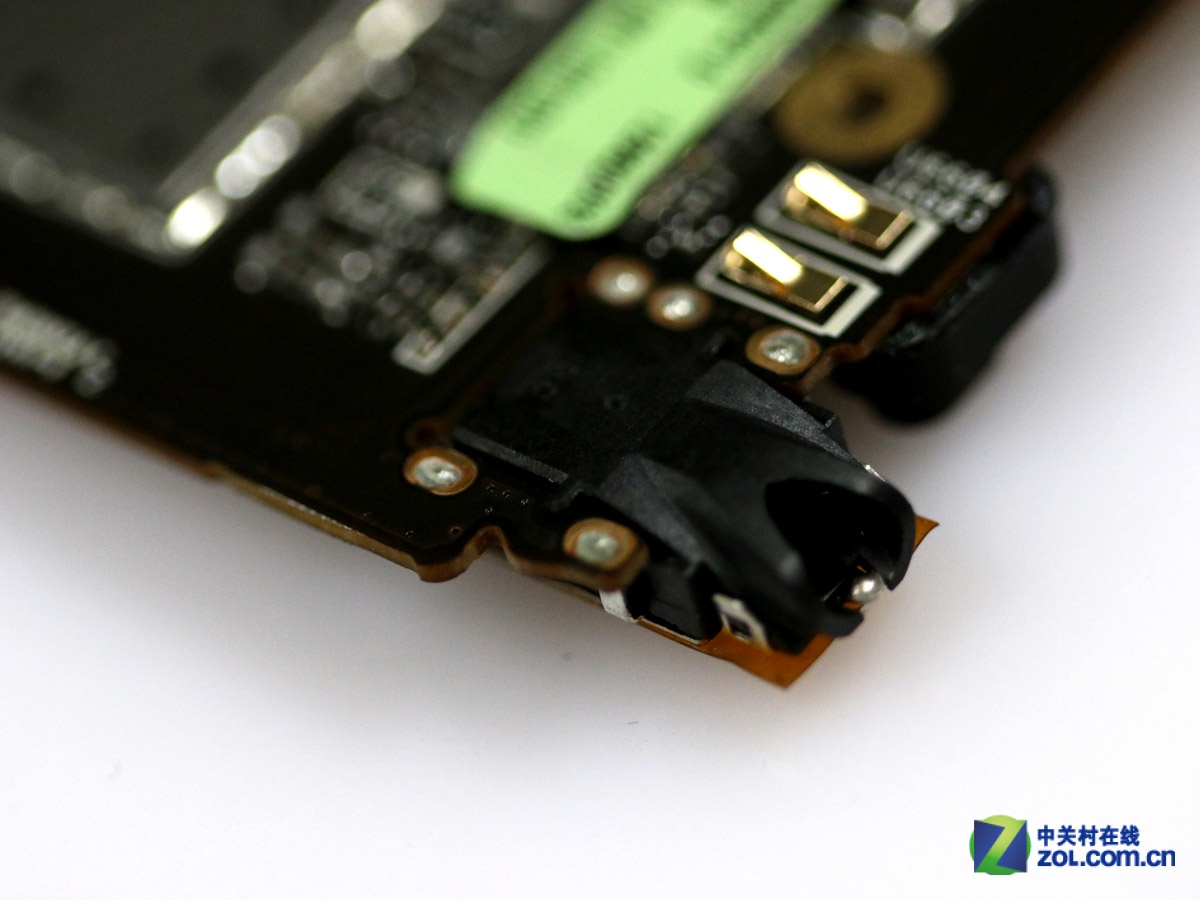
The 3.5mm headphone jack is welded to the motherboard.
Asus ZenFone 6 internal parts

Where can I locate the antenna or network receiver?
My ZenFone 6 suddenly turns off. It cannot be turned on, and charging still cannot turn on any light, but the phone becomes hot. What’s wrong with my ZenFone 6?
Does anyone know where I can order a replacement audio jack?
En donde consigo la motherboard