
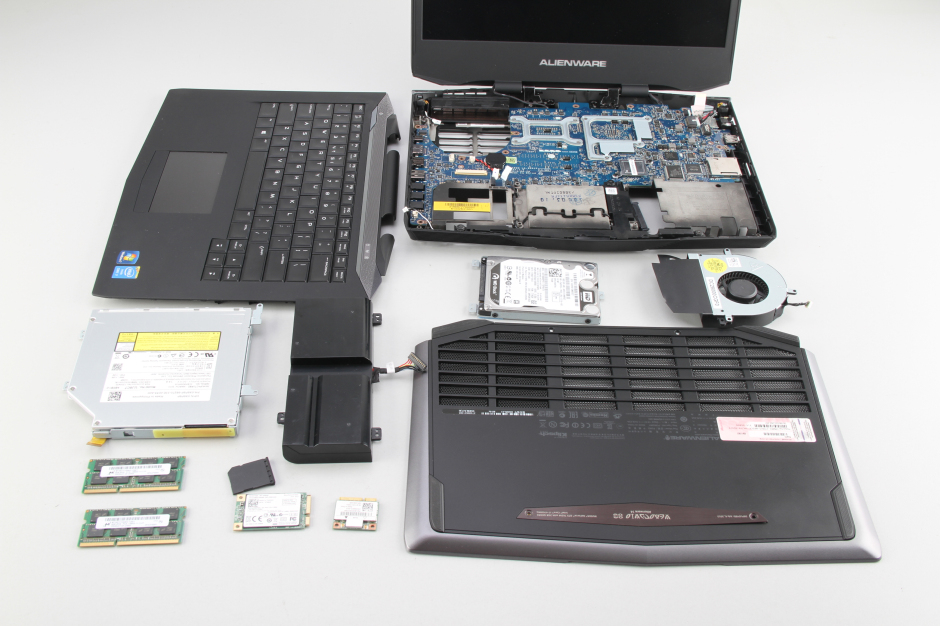
In this guide, I will explain how to disassemble the Dell Alienware 14 to remove the battery, SSD, keyboard, palm rest, hard drive, wireless card, memory, cooling fan, and motherboard.
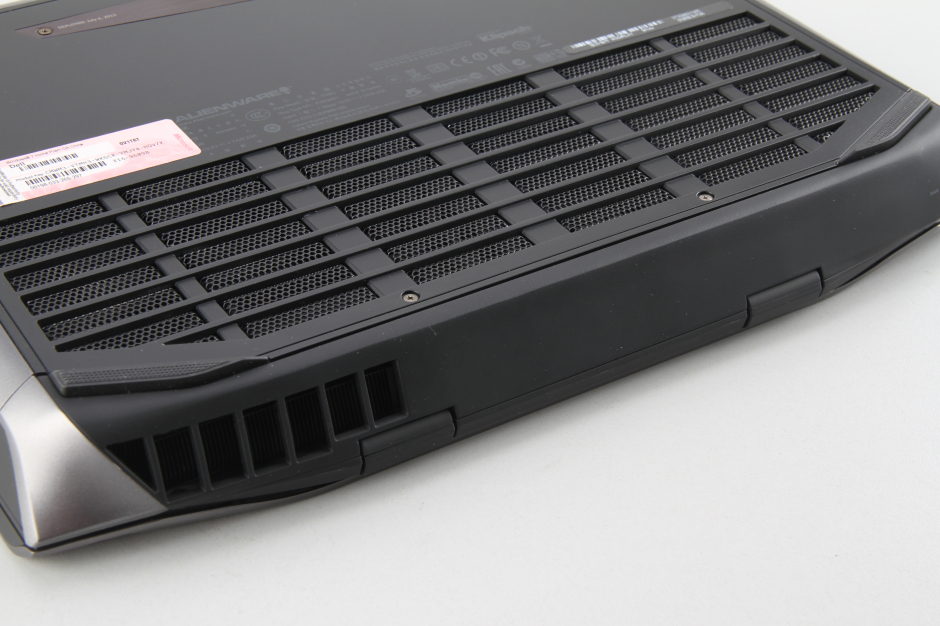
Remove the two screws securing the bottom cover. Insert a pry tool under the bottom cover and slowly pry it up to remove it.
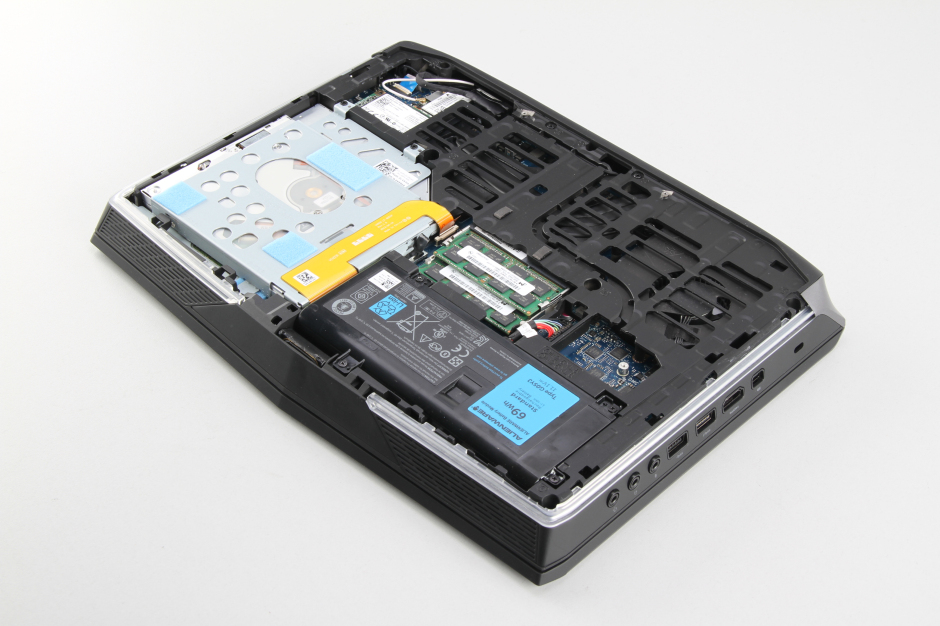
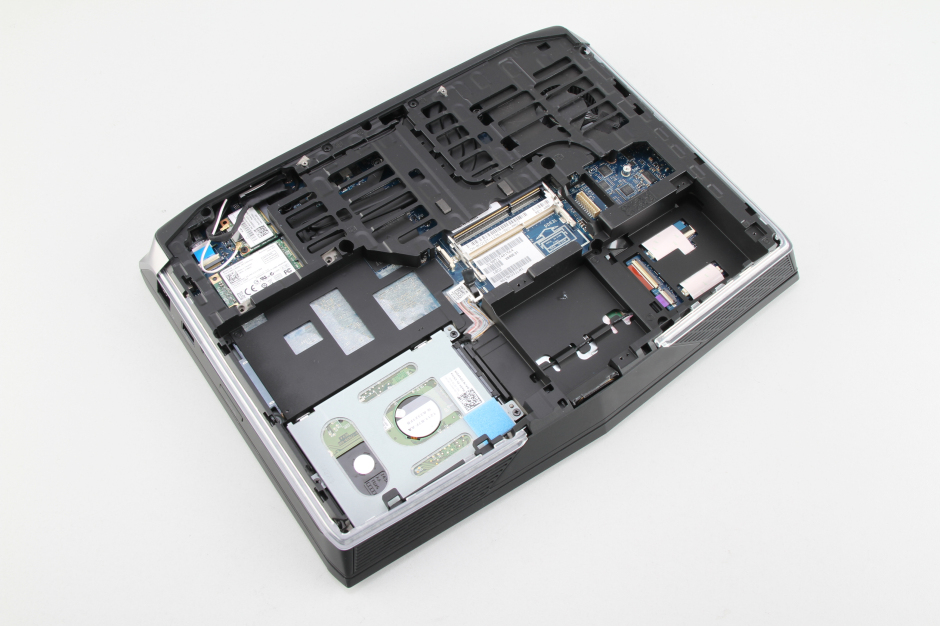
When the back cover is removed, you can access the battery, hard drive, DVD drive, SSD, wireless card, and memory.
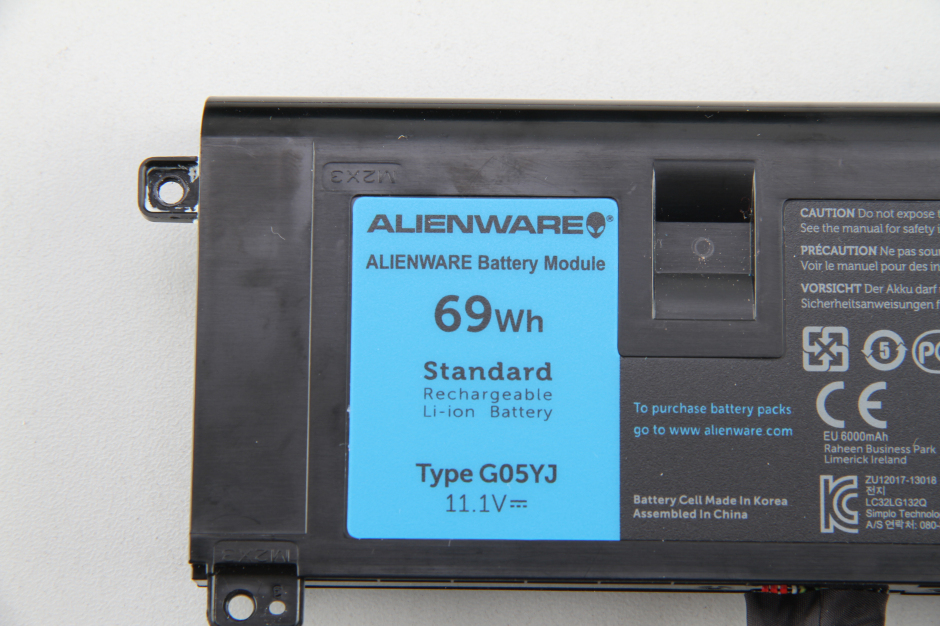
Remove the four screws securing the battery.
Disconnect the battery connector from the motherboard. You can remove the battery.
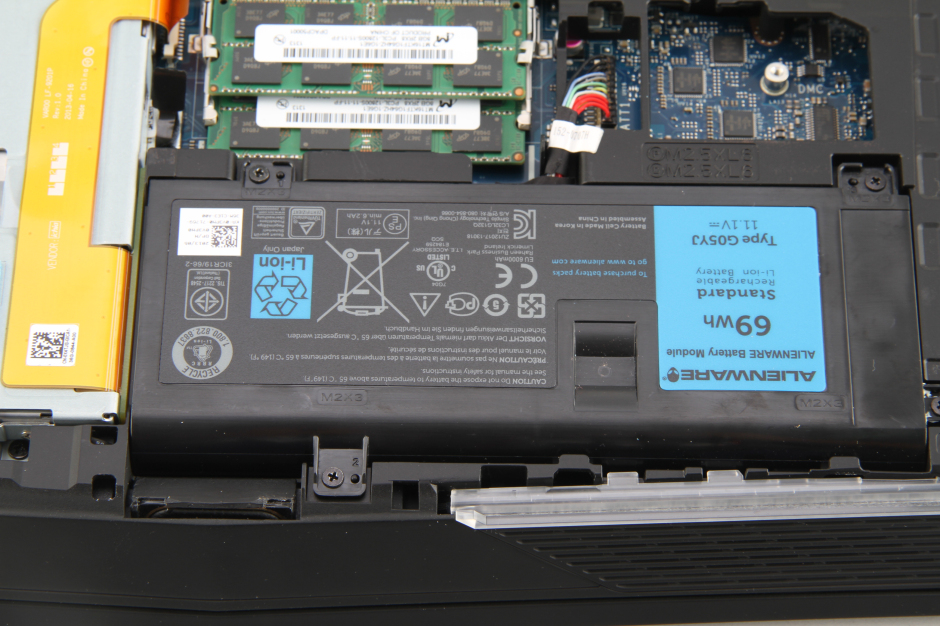
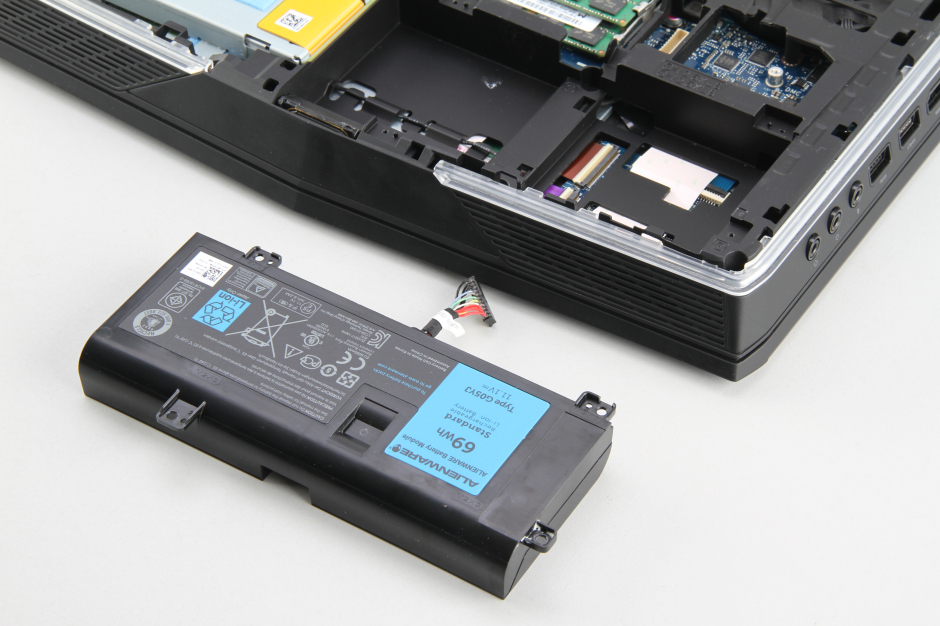
The Dell Alienware 14 features a 69Wh Li-ion battery. Its Dell part number is G05YJ.
Use your nails to separate the clips on both sides, and the RAM module will pop out automatically.
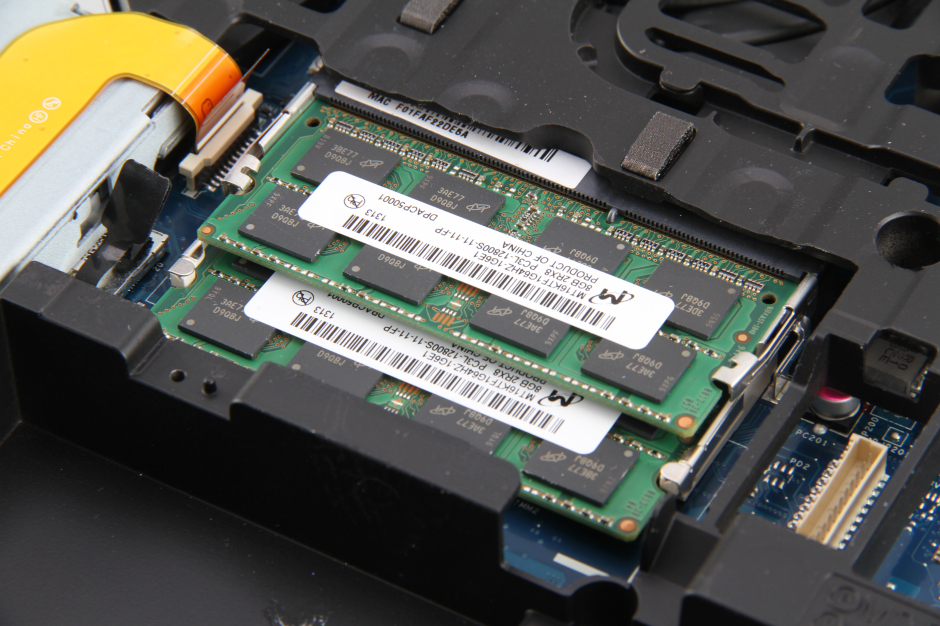
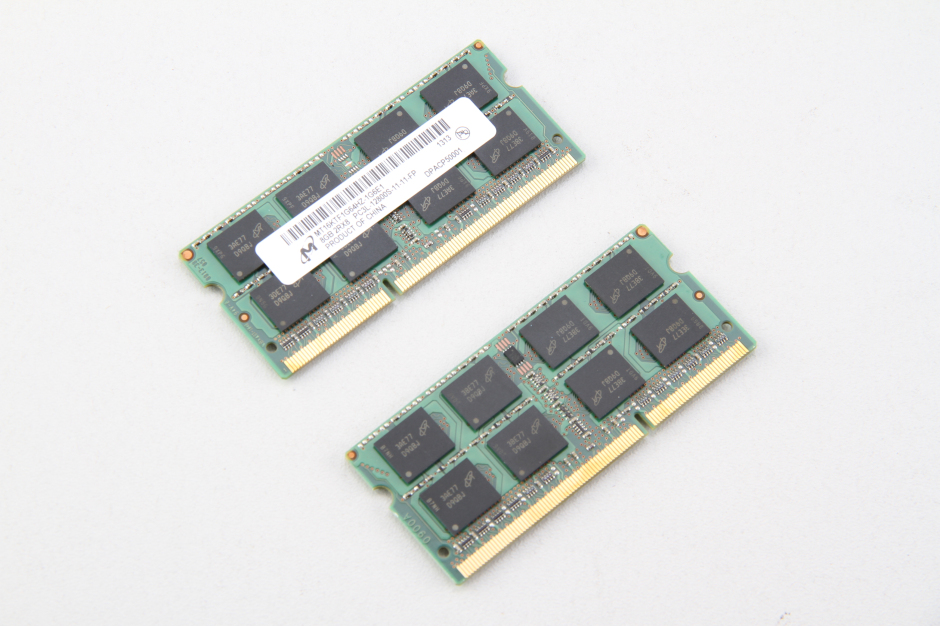
This laptop comes with two Micron 8GB RAM modules.
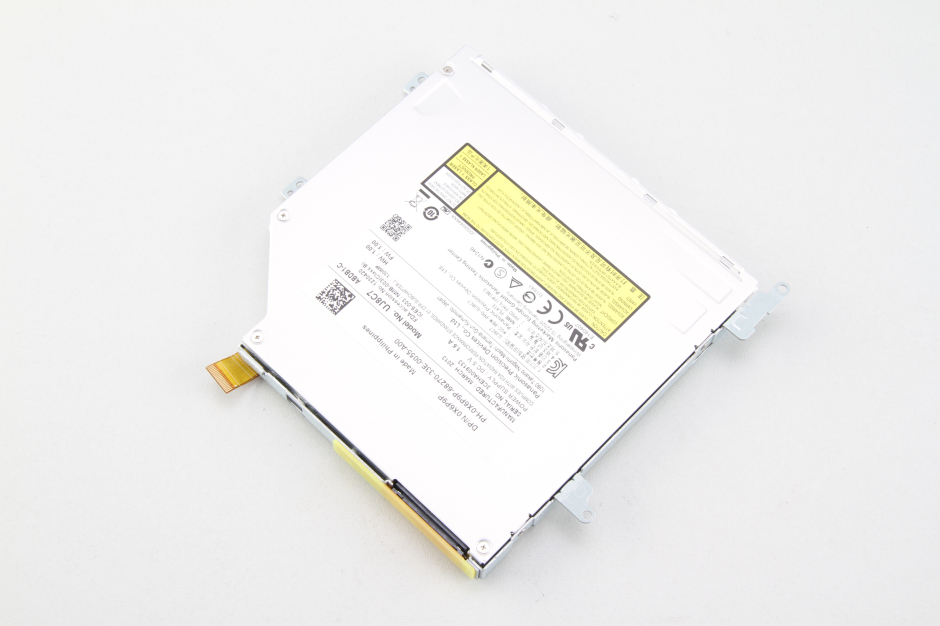
Remove the two screws securing the DVD drive and disconnect the yellow cable from the motherboard. You can remove the DVD drive.
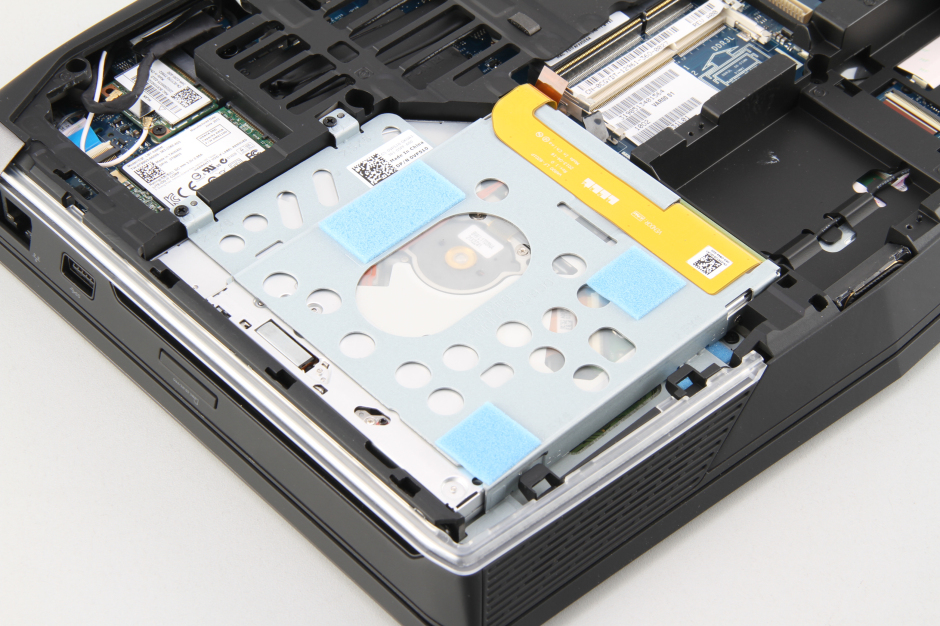
The laptop features a 9.5MM SATA Panasonic UJ8C7 DVD burner.
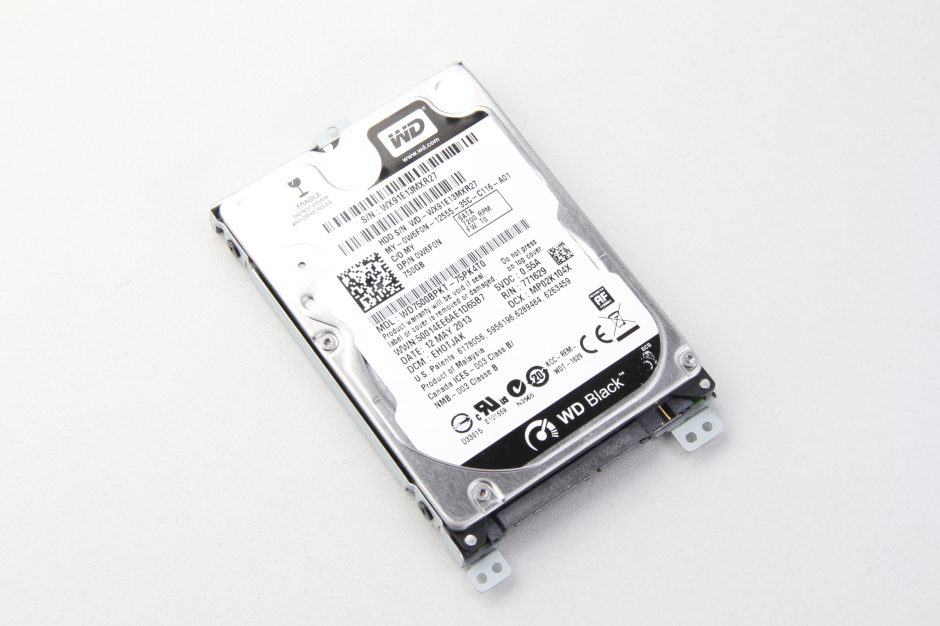
Remove the two screws securing the hard drive and slide it to the left. You can remove it.
The Dell Alienware 14 comes with a Western Digital 750GB hard drive. The hard drive is installed in an HDD caddy. If you need to replace the hard drive, you must remove the HDD caddy from the old hard drive and install it on the new hard drive.
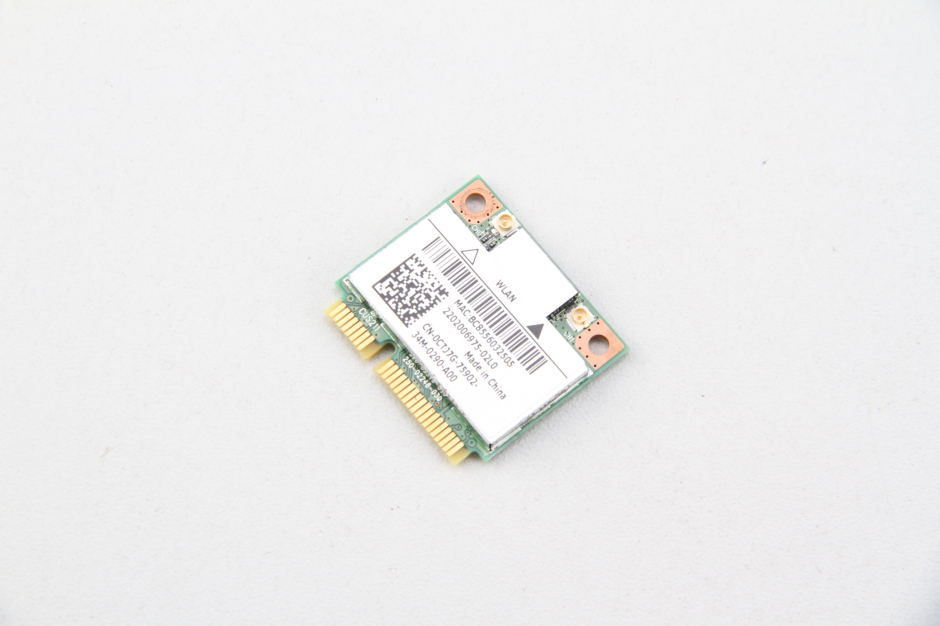
Remove the screw securing the wireless card and unplug the two antennas. You can remove the wireless card.
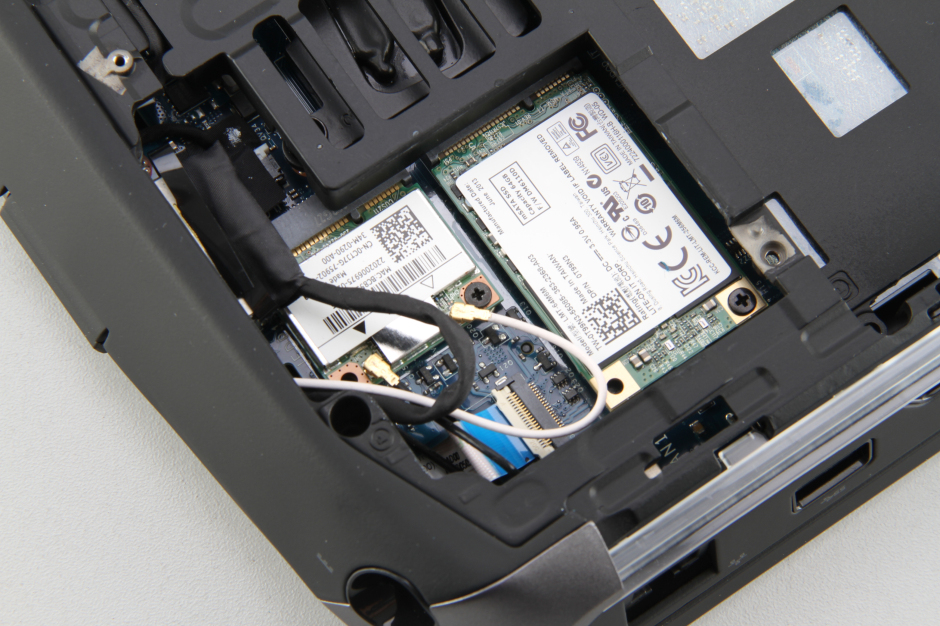
Wireless card
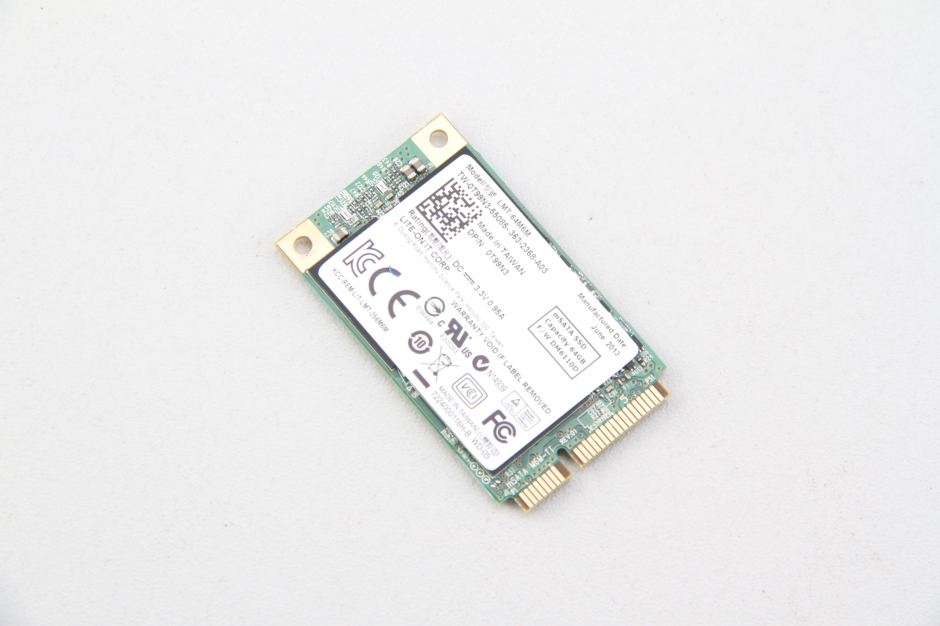
Remove the screw securing the SSD and remove the SSD.
The laptop comes with a Lite-On LMT-64M6M 64GB mSATA SSD.
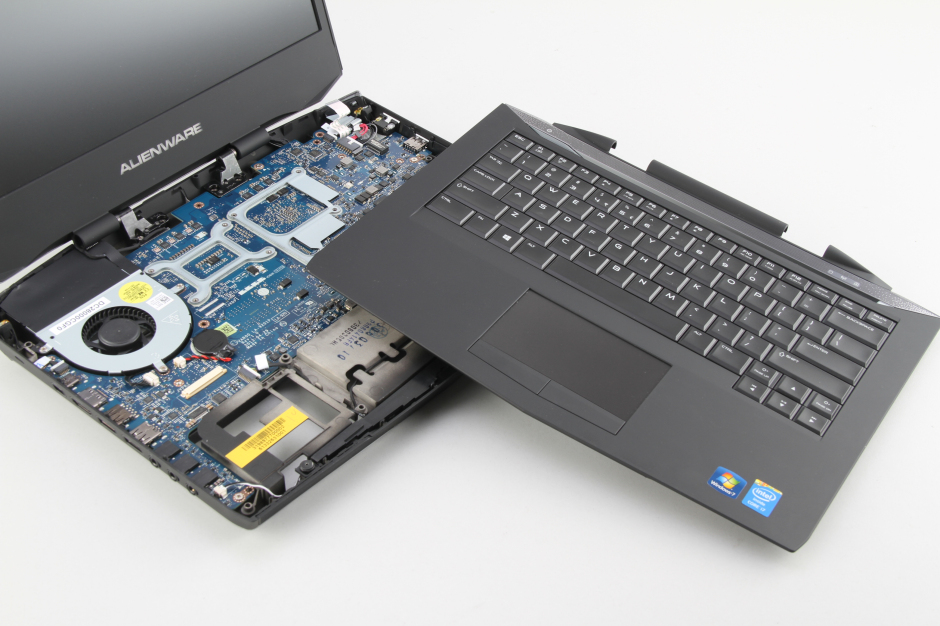
Insert a plastic pry tool near the hinge under the palm rest and slide it to detach the palm rest from the laptop.
Please note that after the palm rest is completely removed, there are still ribbon cables connected to the motherboard. You need to disconnect these ribbon cables from the motherboard to fully remove the palm rest.
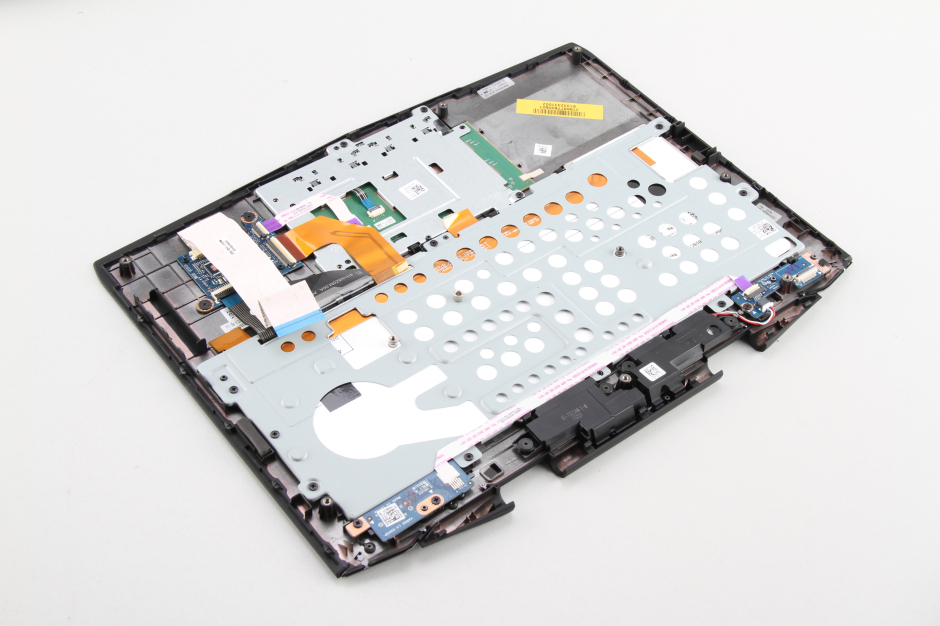
On the back of the palm rest, we can access the keyboard and touchpad. There is a metal plate securing the keyboard to the palm rest; you need to remove the plate to access the keyboard.
Remove the three screws securing the cooling fan and disconnect the fan cable from the motherboard.

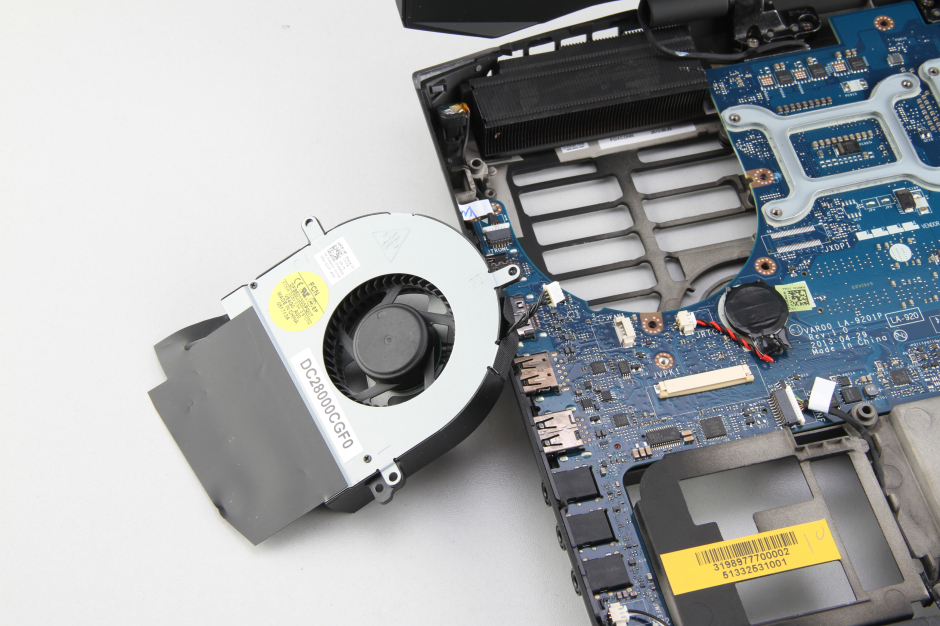
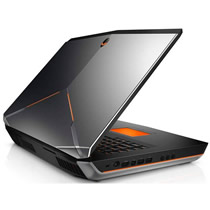
Dell Alienware 14 internal parts
At the point where the power cord enters the case, the power plug wobbles. Likely, the case might be cracked, or the internal plug inside the case is damaged. No photos of this point. It seems to be under the half-height cards. I am guessing this is a common repair problem. Actually, under Warranty, but Dell did not repair it when I sent it in. Perhaps I did not describe my issue very well. Electrically, it works. It is rumored that the internal side of the power plug-in is located on the motherboard. If you can offer info on this area of the computer, it would be nice.
It’s so ridiculous that you have to disassemble so many parts just to clean the fan.
Same shit as in the Alienware m14x, which I am currently using and typing this.
Hello there. Thanks for this quick guide; it’s very helpful! What upgrades/replacements currently on the market would you recommend for this Alienware: RAM, SSD, or GPU?