
This article explains how to remove the battery, hard drive, memory module, wireless network card, keyboard, fan, and motherboard from a Dell Inspiron 17 7737 laptop.
Join us on the social network! Follow us on Facebook for all the latest repair news.
Close-up of the front of the Dell Inspiron 17 7737 laptop.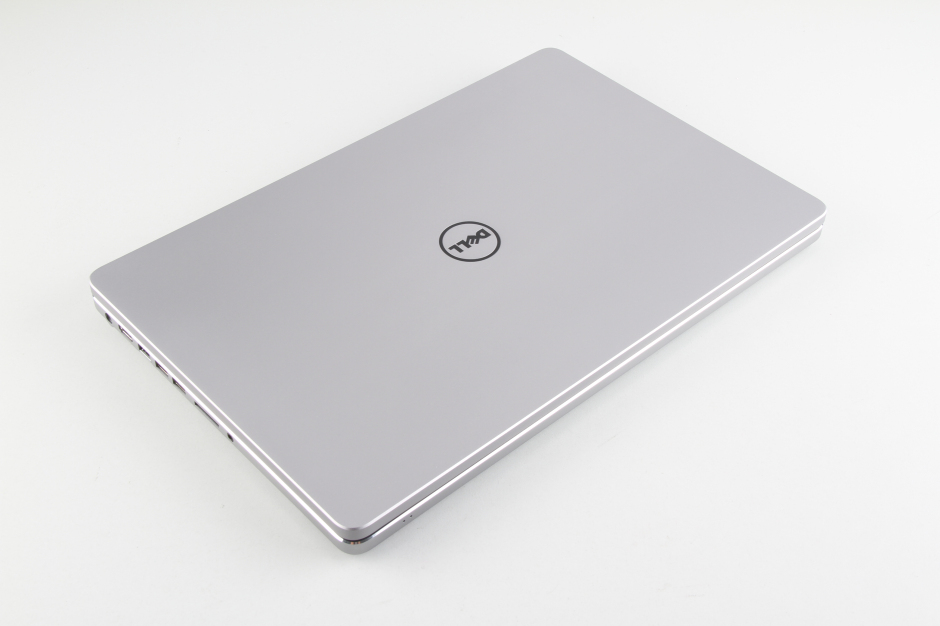
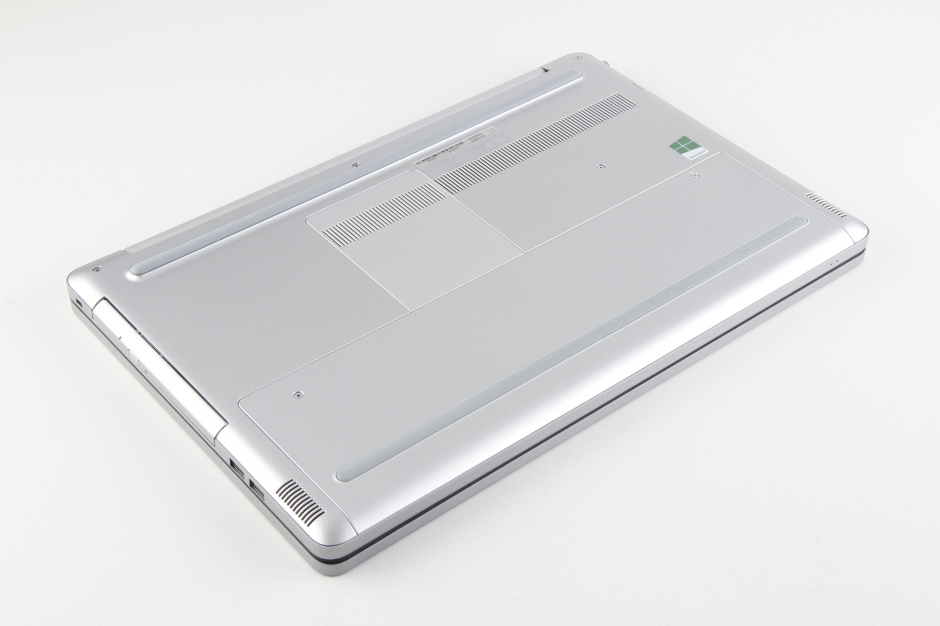
Close-up of the back of the Dell Inspiron 17 7737 laptop.
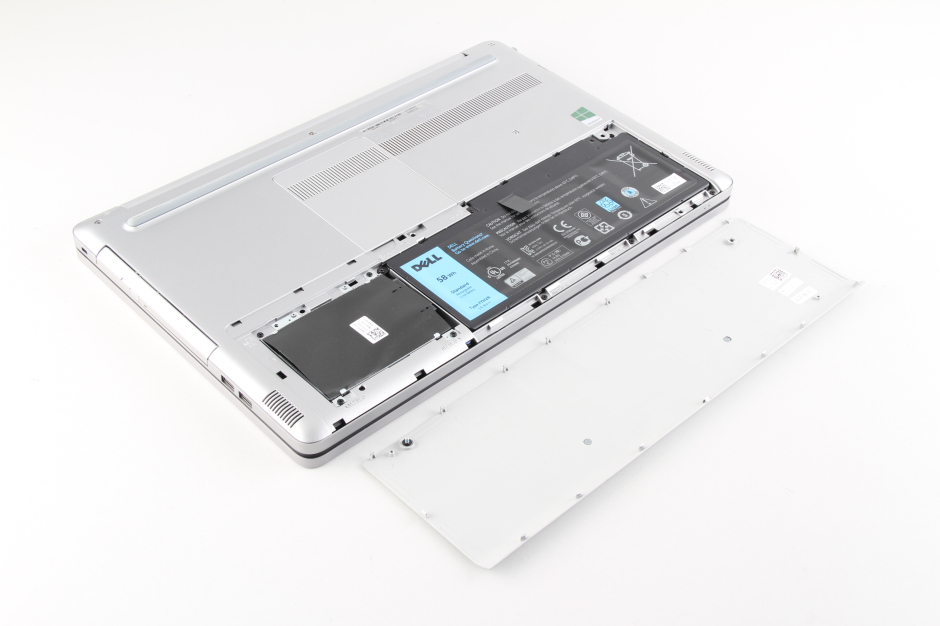
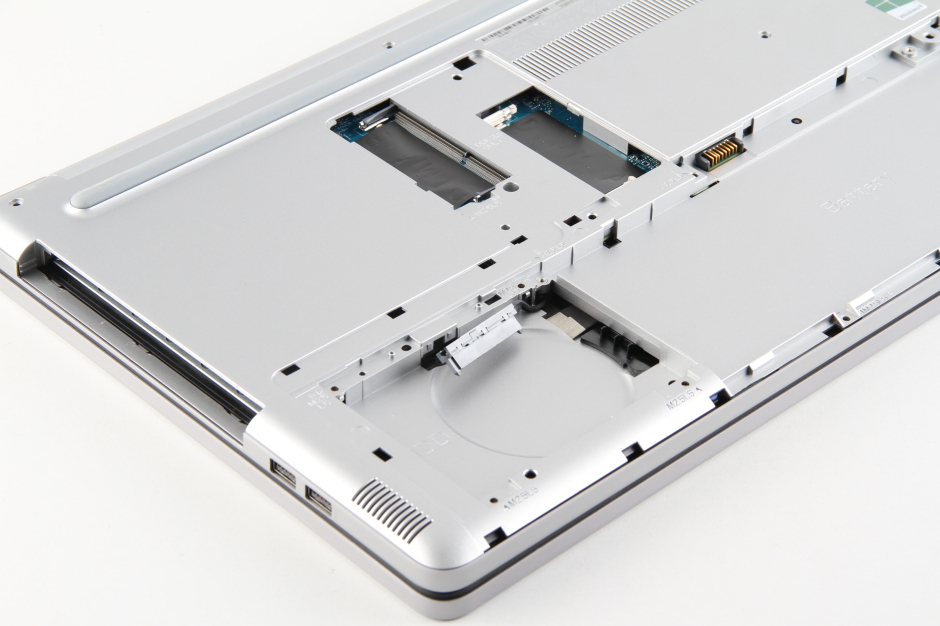
Remove the two screws to remove the back cover. You can see the battery and the hard drive.
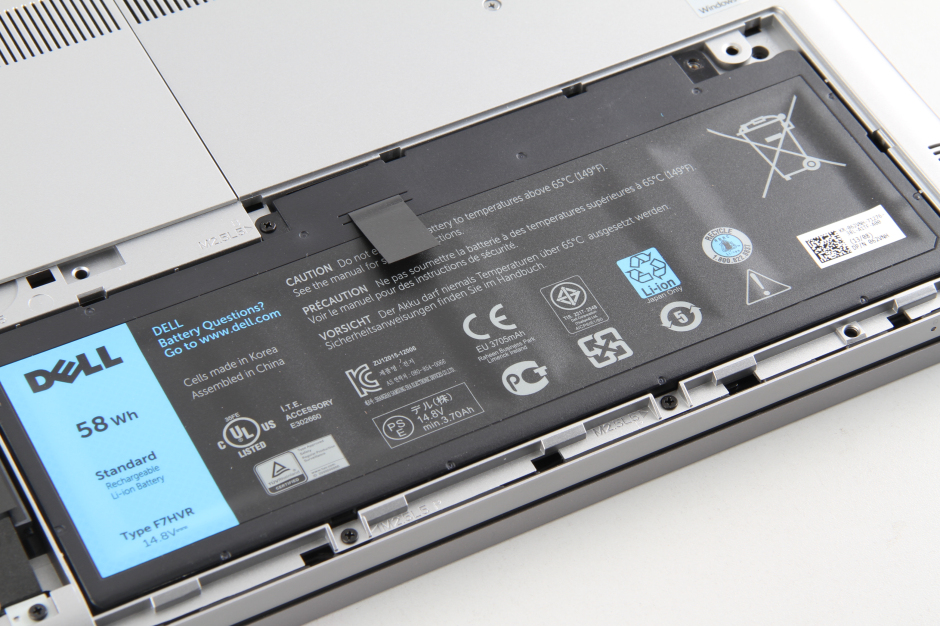
The Dell Inspiron 17 7737 comes with a 58Wh battery.
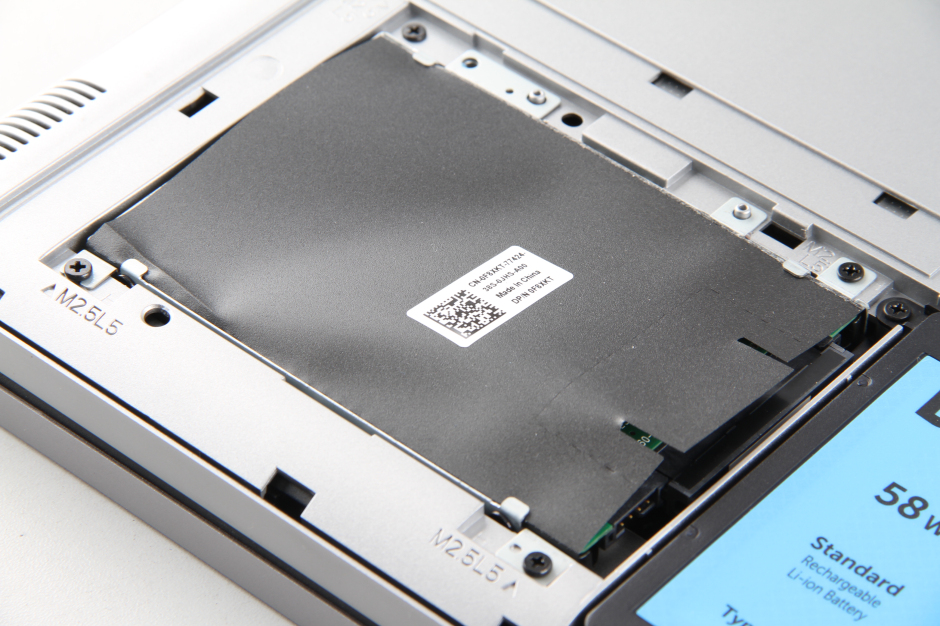
Remove the screws securing the battery and hard drive to remove them. You will also need to disconnect the connector.
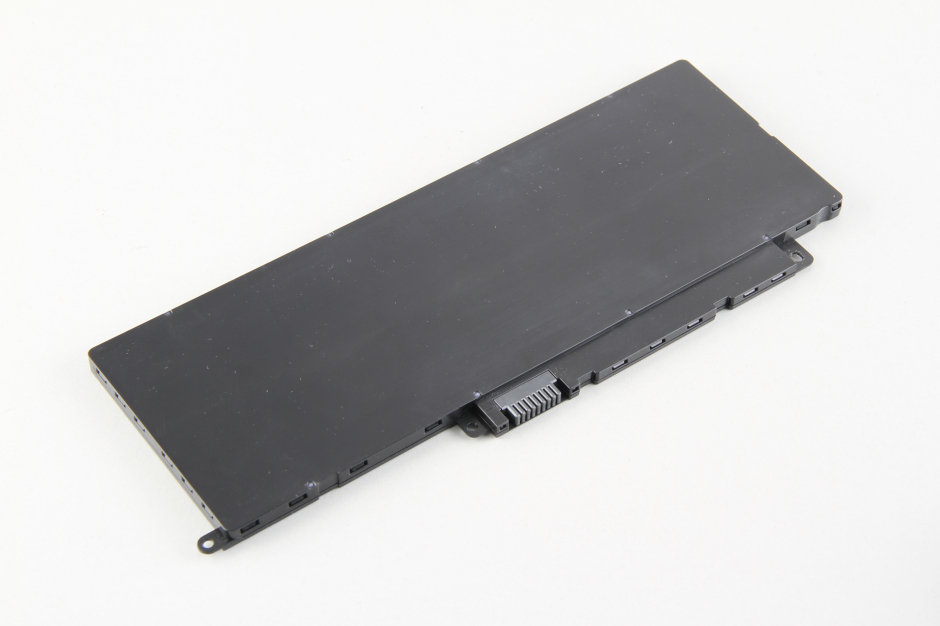
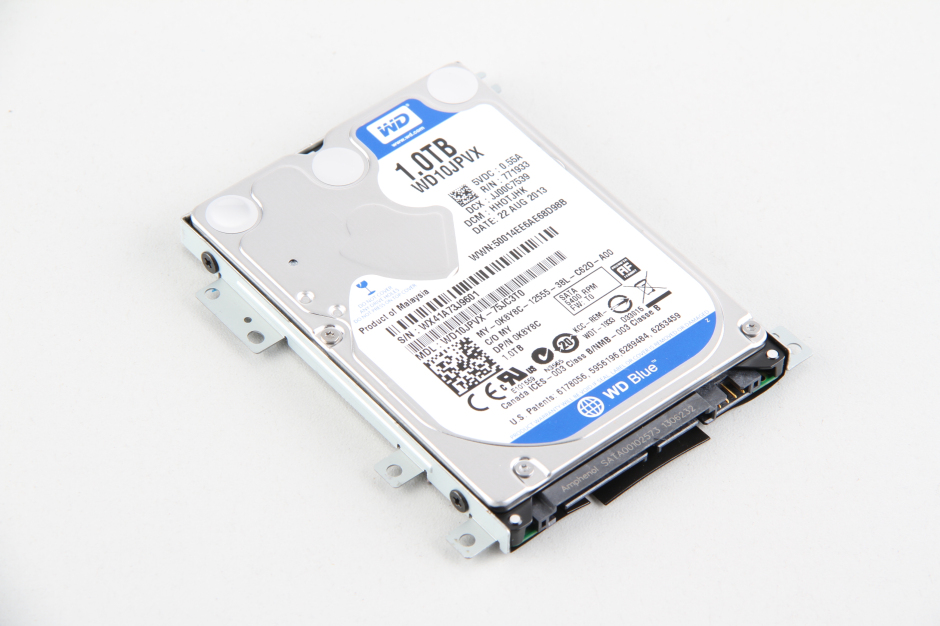
Remove the hard drive module.

This laptop comes with a 1TB hard drive from Western Digital.
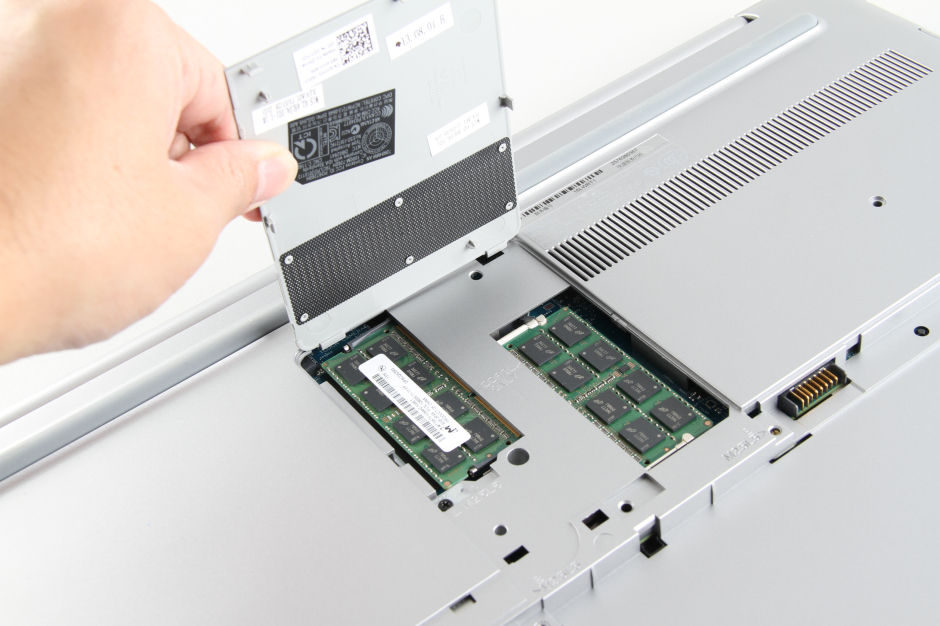
Remove the screw securing the memory cover and lift the cover upward.
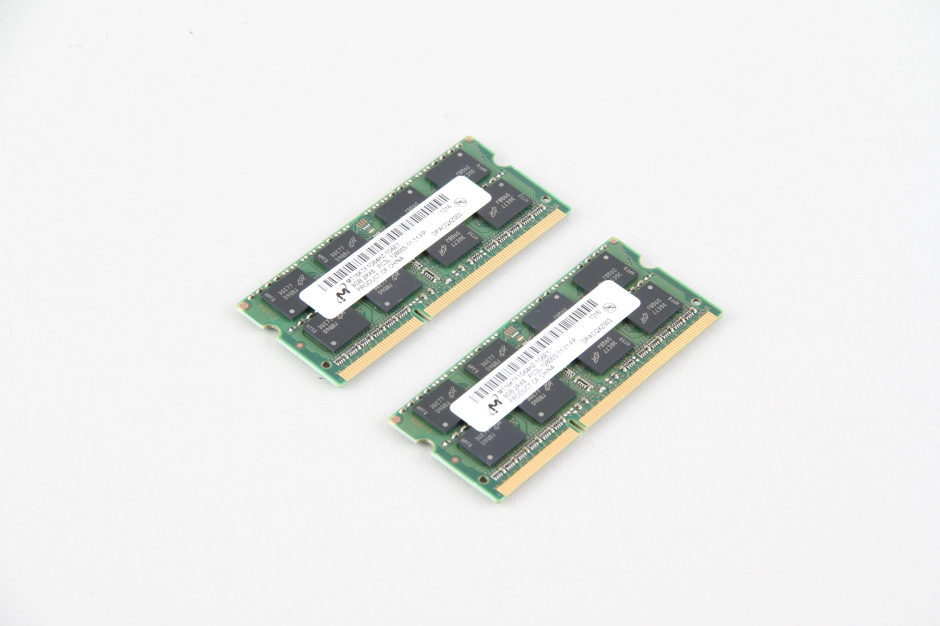
Under the memory cover, we can see two memory modules.
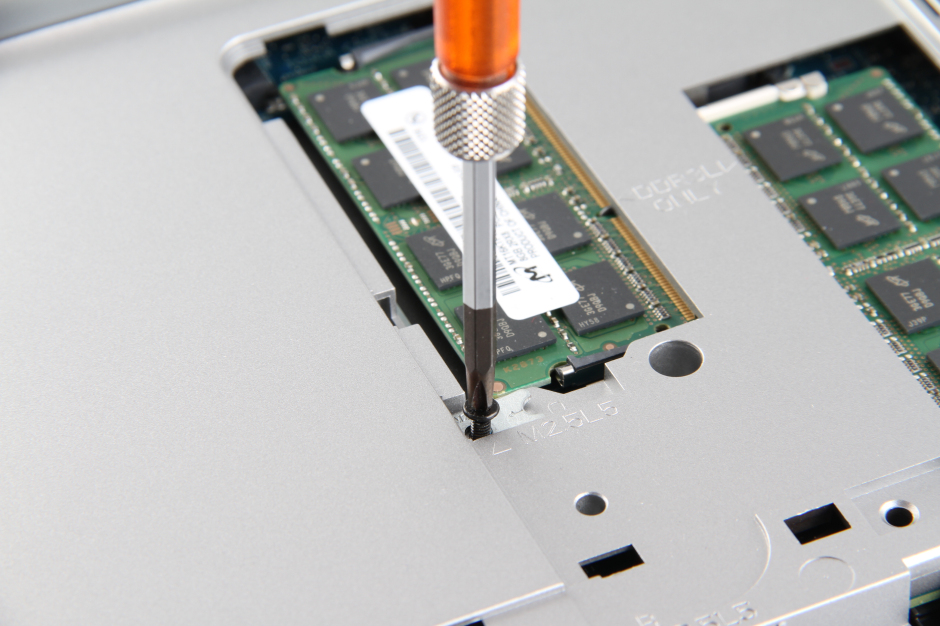
Unscrew the screw next to the RAM module slot and then pull out the DVD drive.
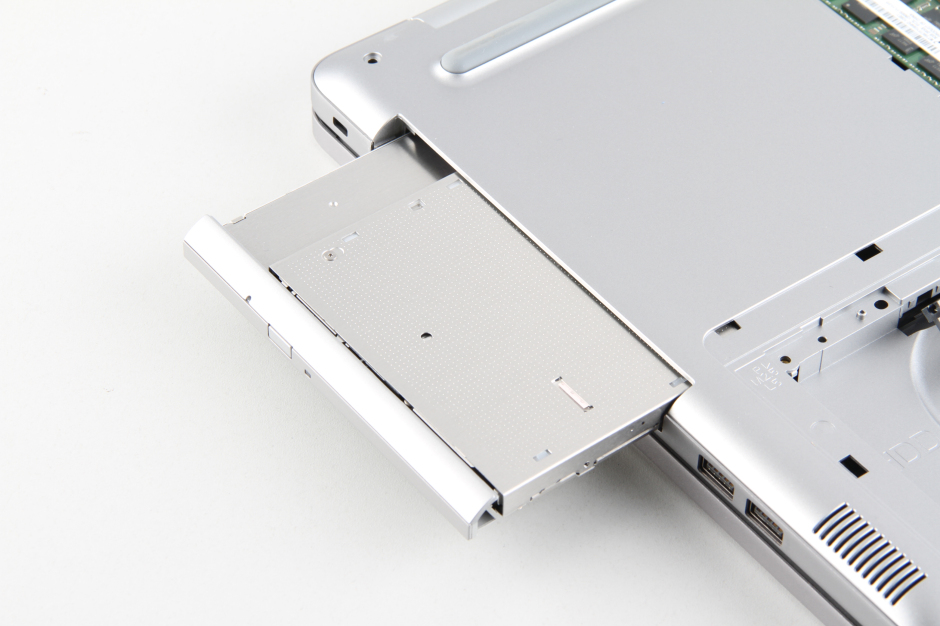
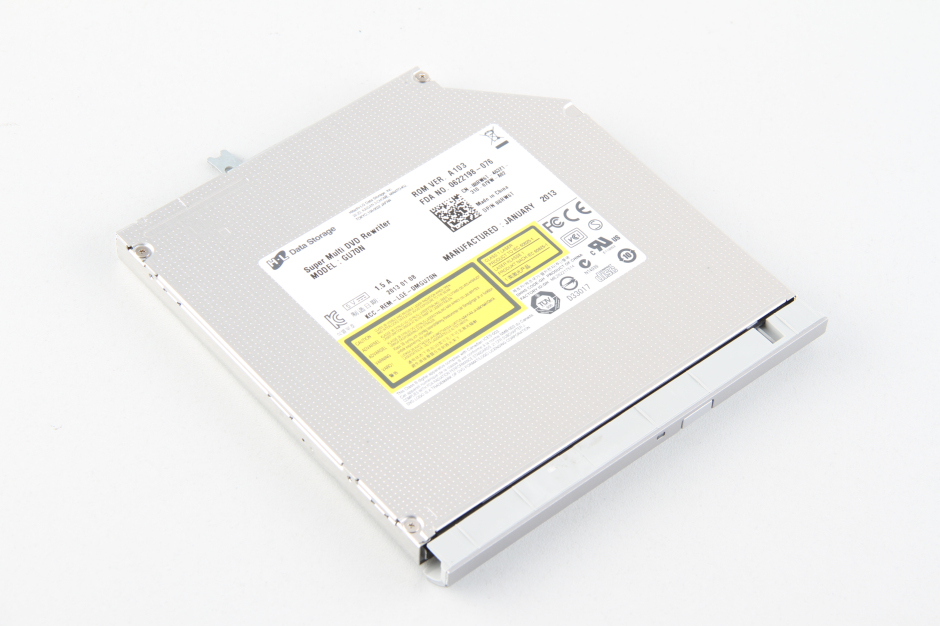
Close-up of the optical drive.
Remove the two RAM modules.
Then, remove all the screws visible on the bottom cover.
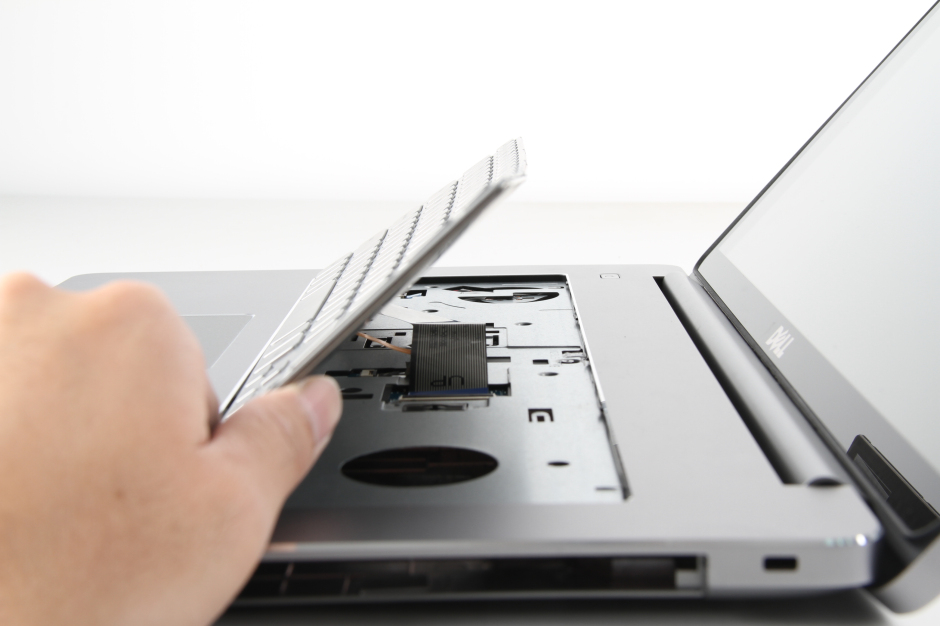
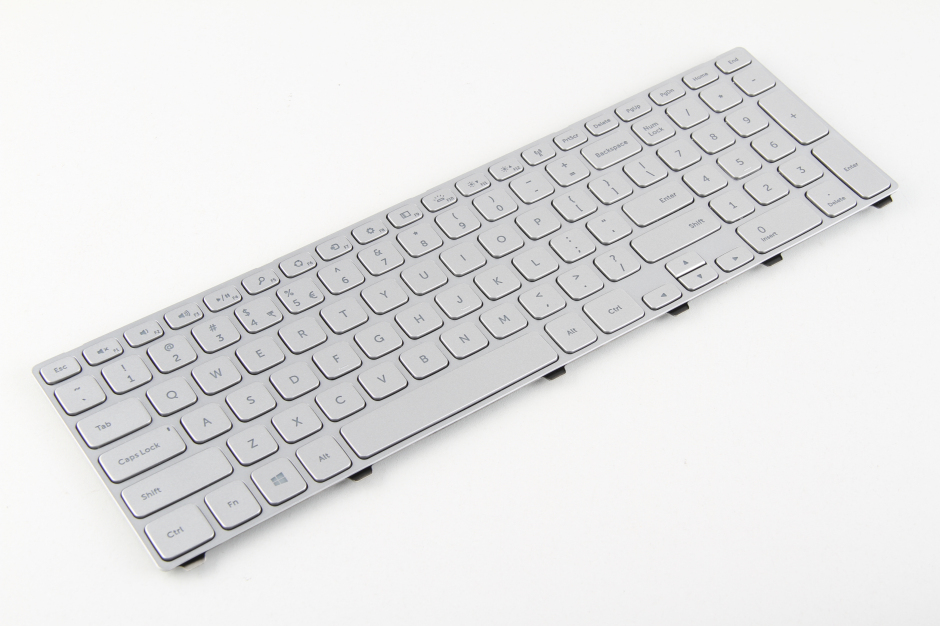
Flip the keyboard to the front, press the keyboard latch, then flip the keyboard and place it on the palm rest. Finally, disconnect the cable to remove the keyboard.
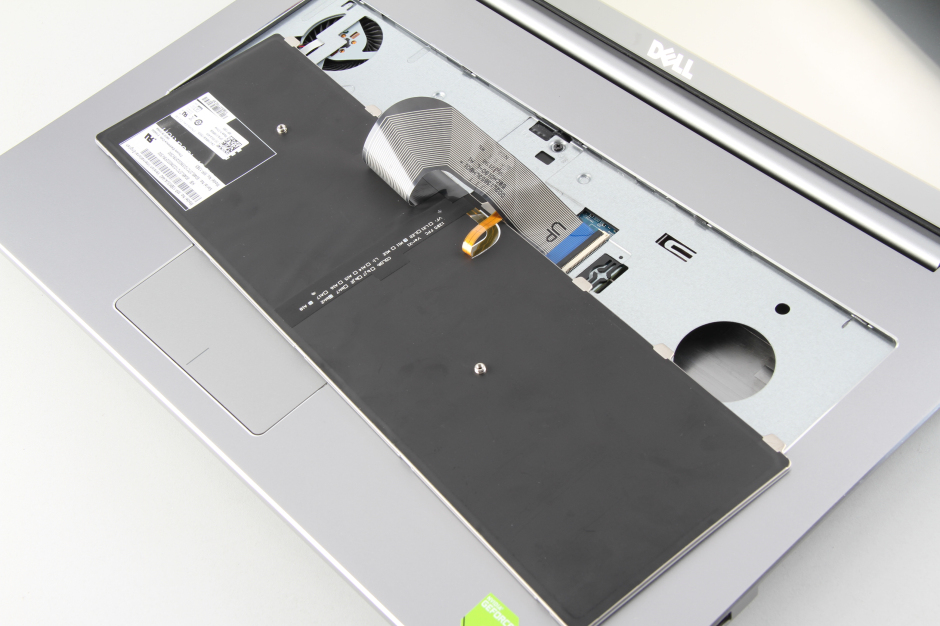
Disconnect the three cables on the palm rest.
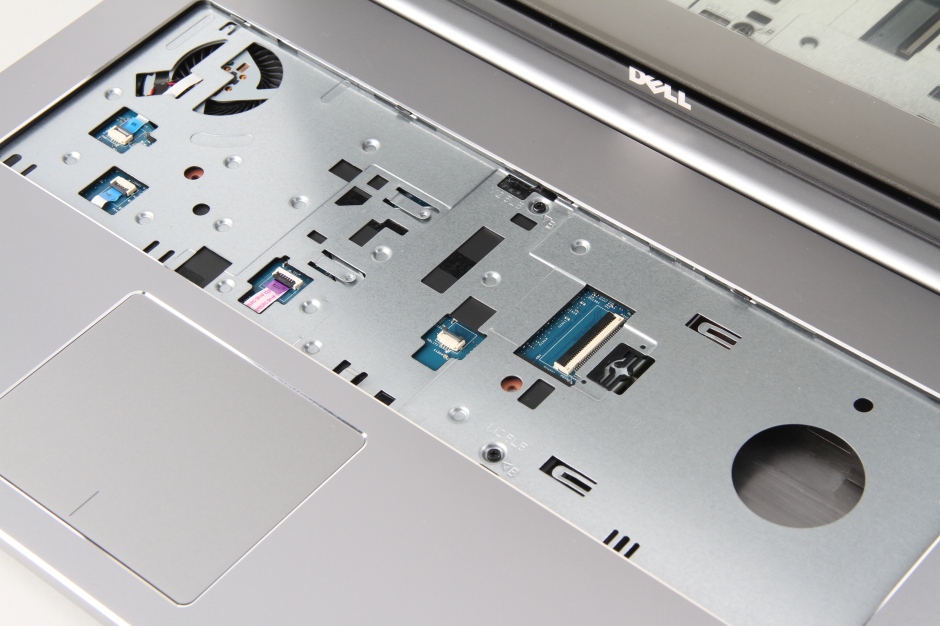
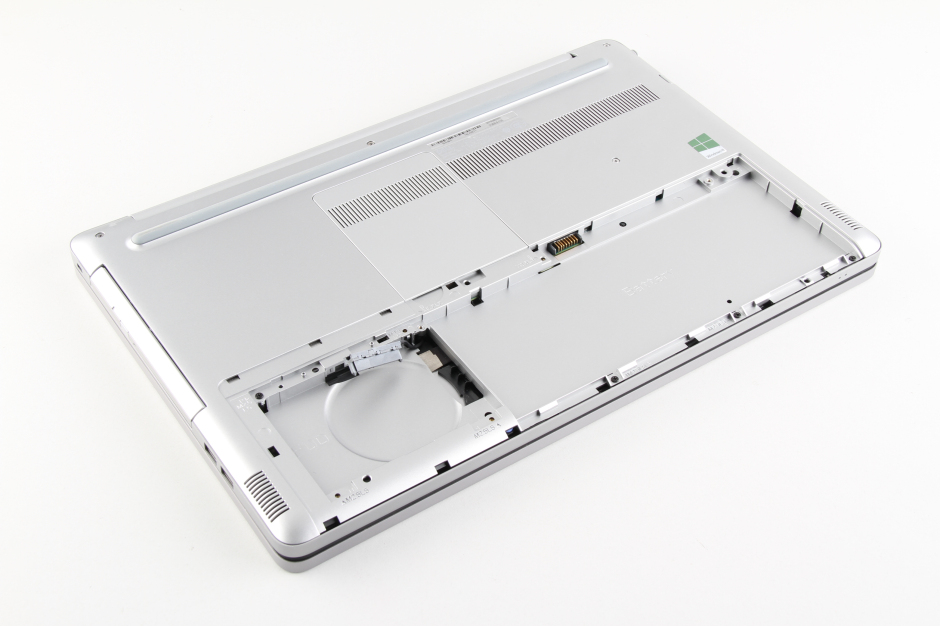
Now, turn to the bottom to remove the bottom cover.
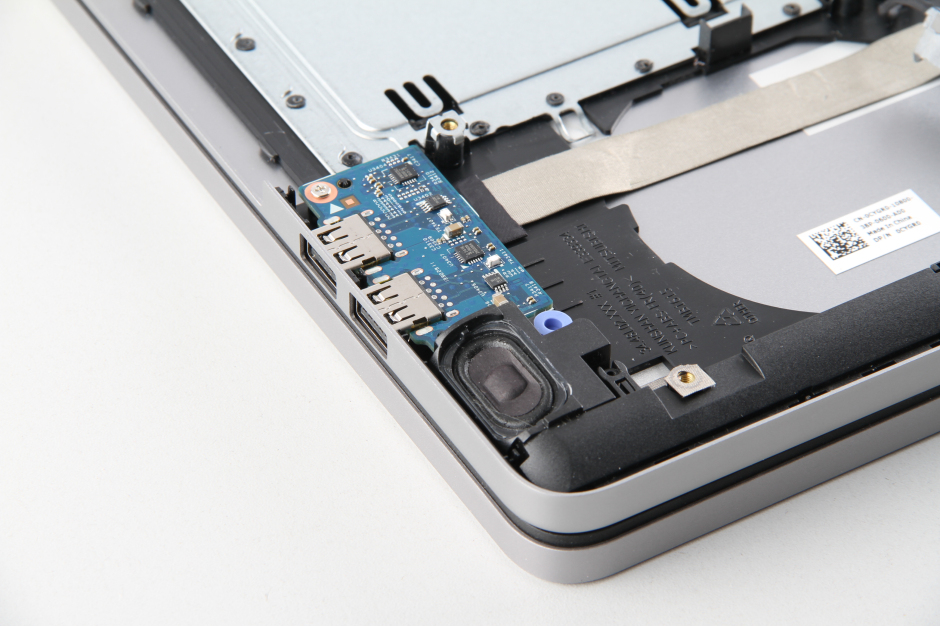
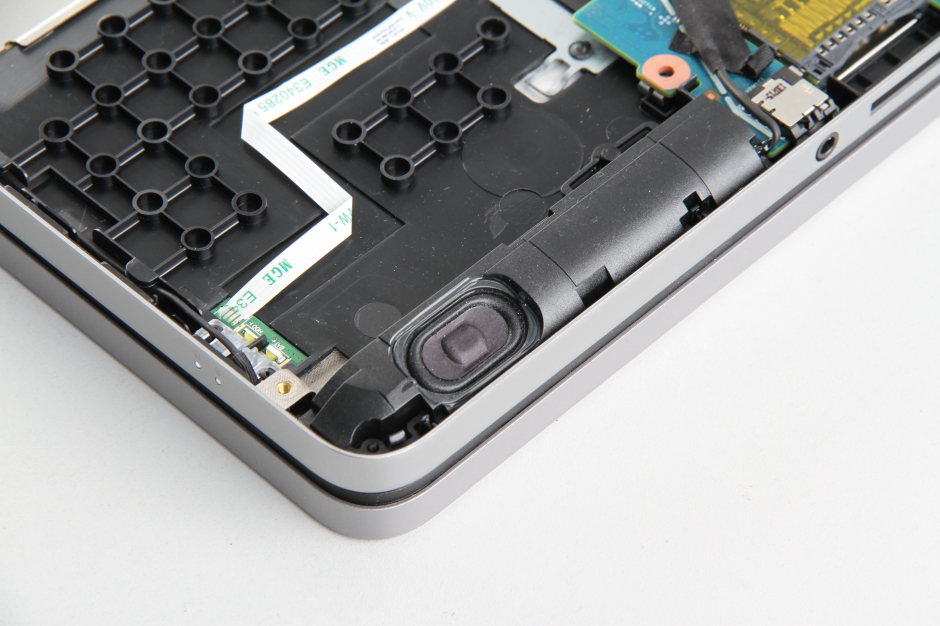
Close-up of the speaker.
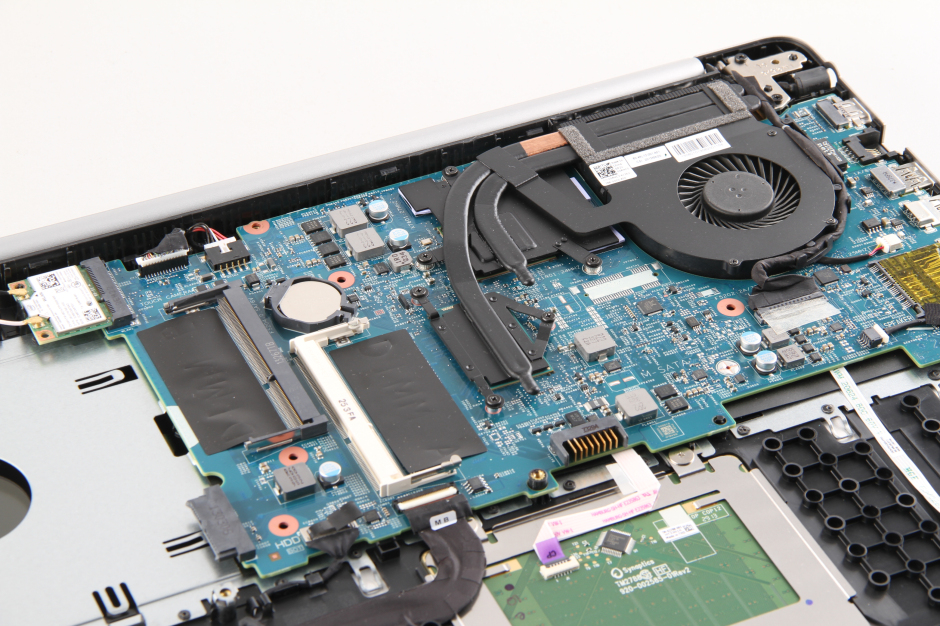
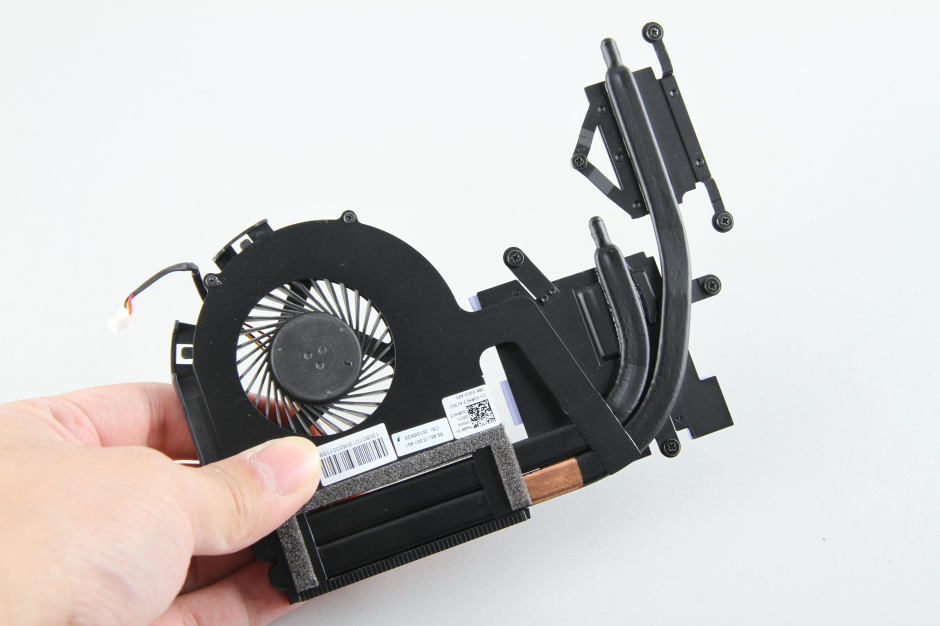
Dell Inspiron 17 7737 fan and heat sink assembly
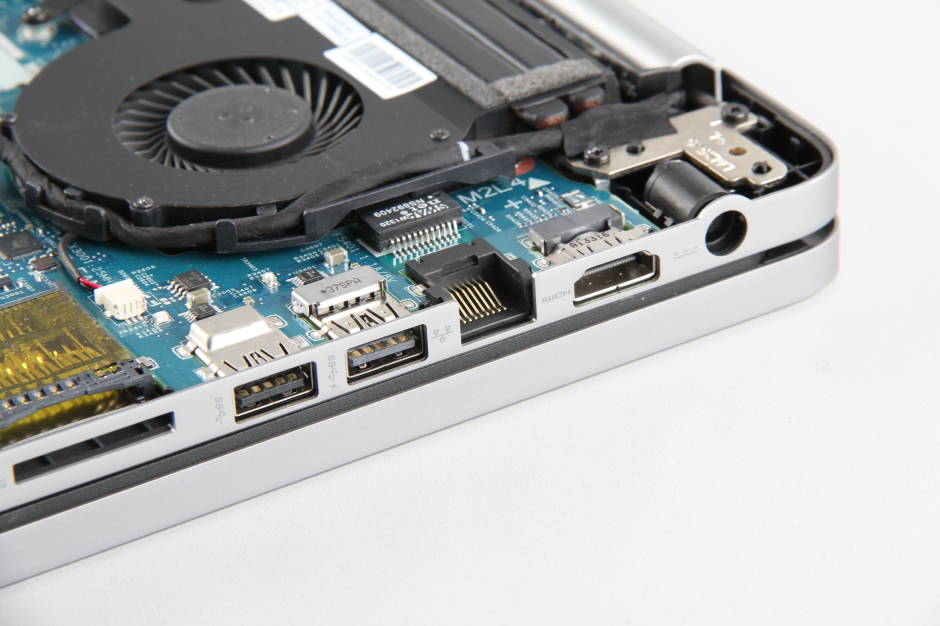
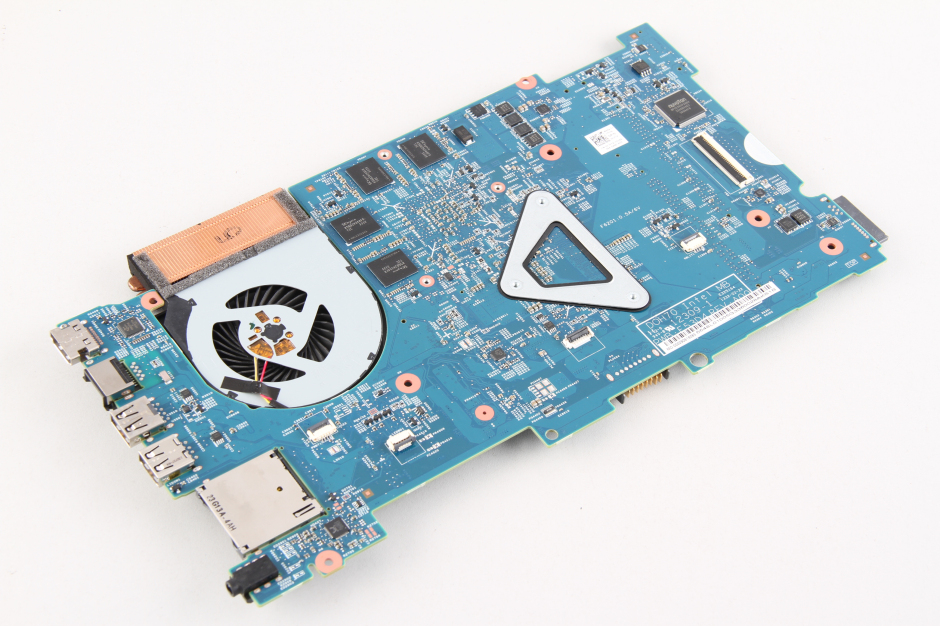
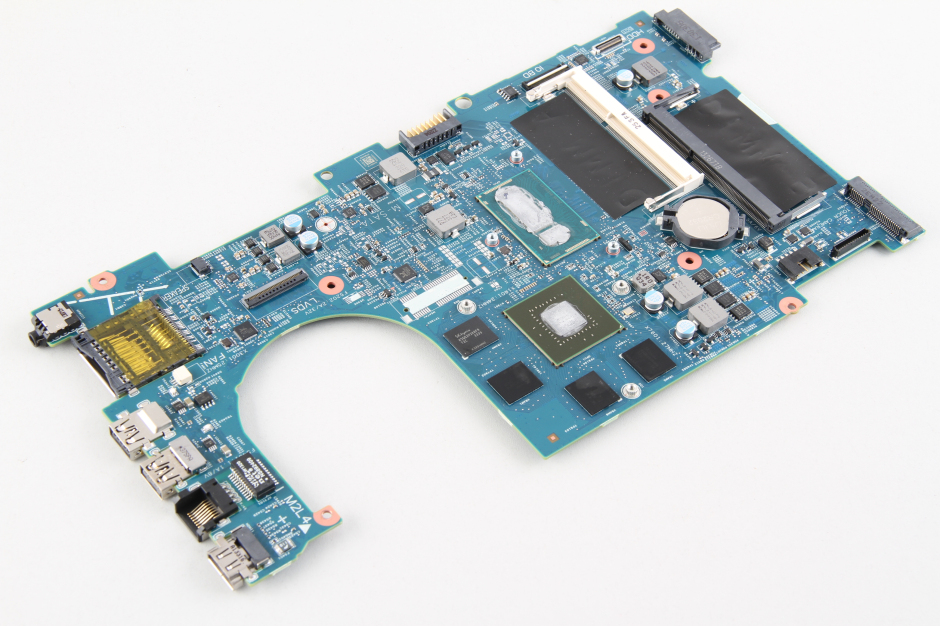
The ports are on one side of the motherboard.
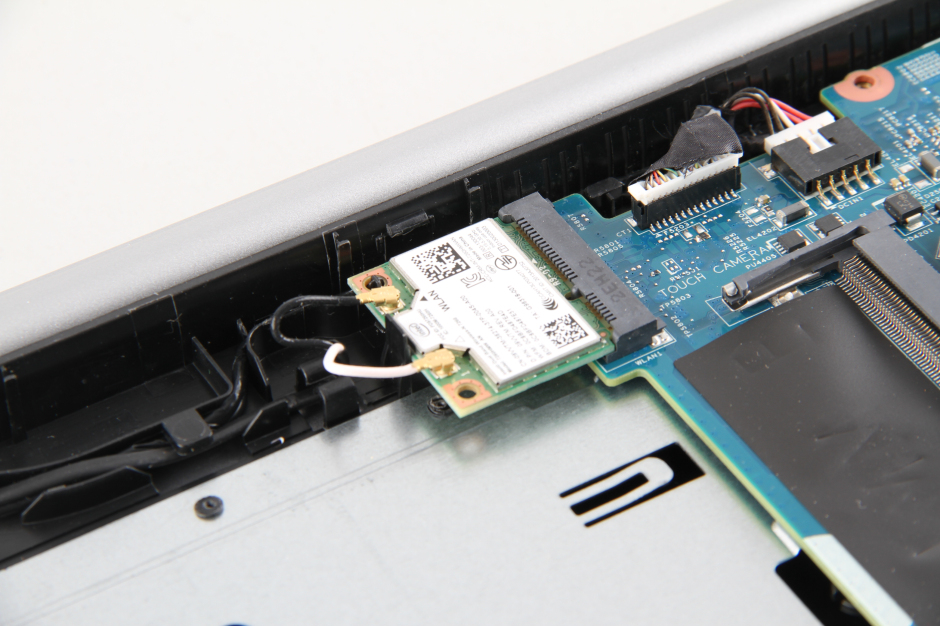
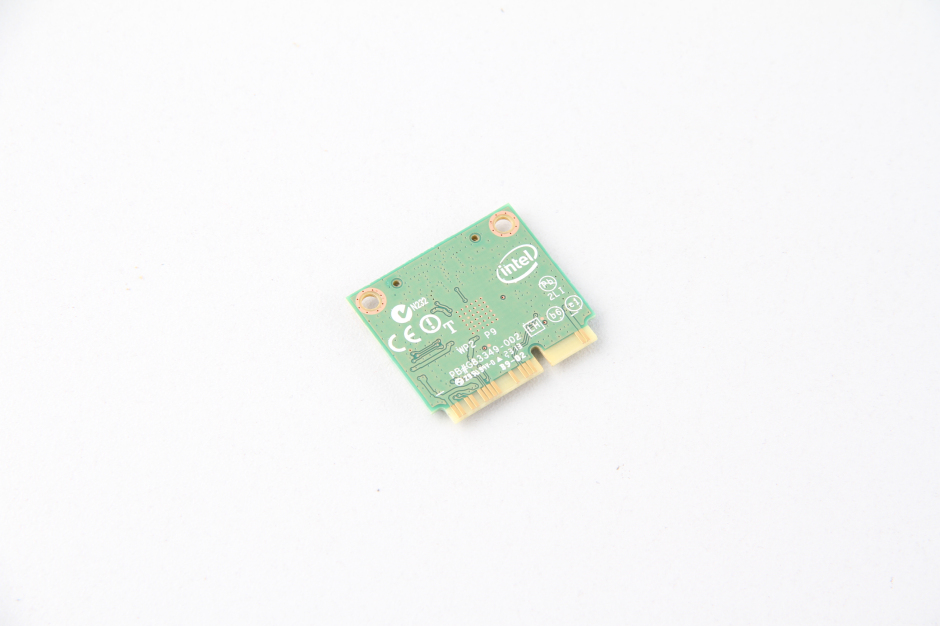
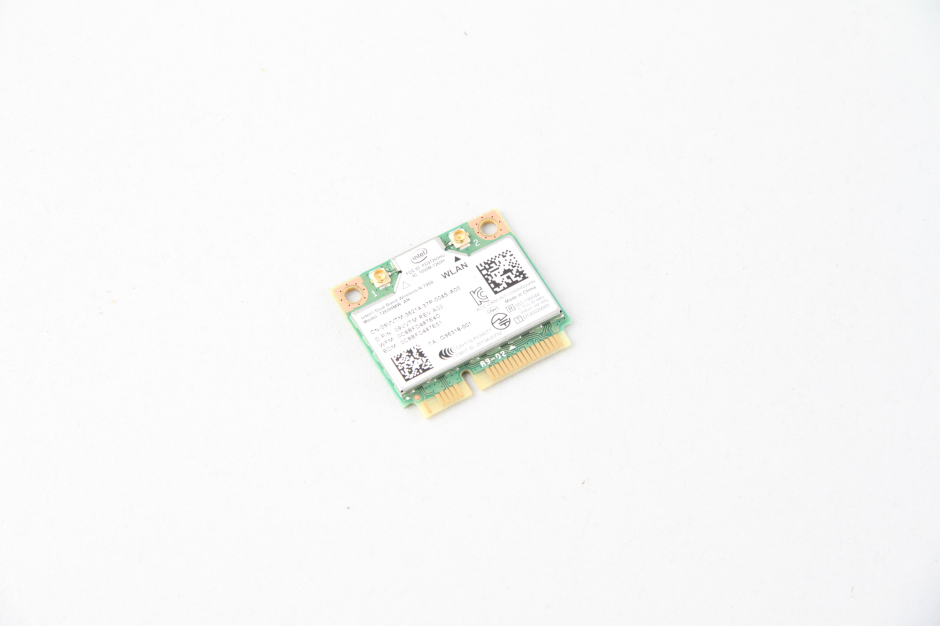
Unplug the two wireless antennas and remove the screw to remove the wireless card.
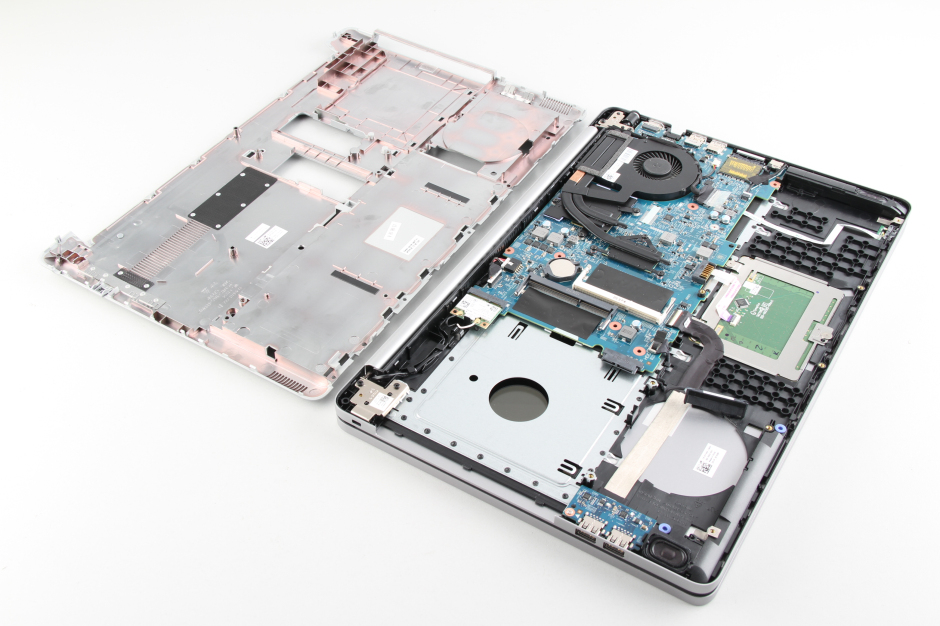
Disconnect the connectors on the motherboard, remove the screws securing the motherboard, and then remove the motherboard.
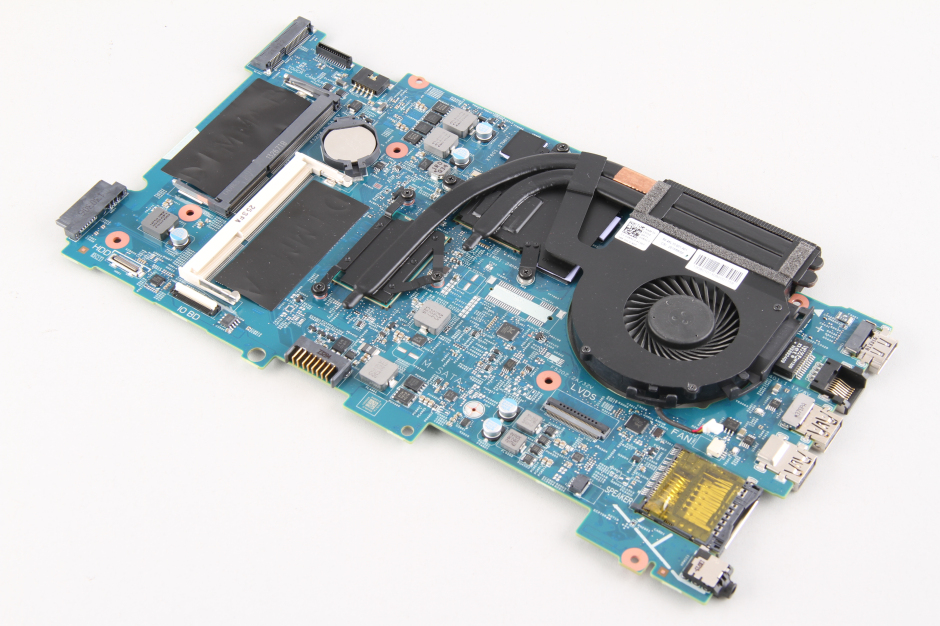
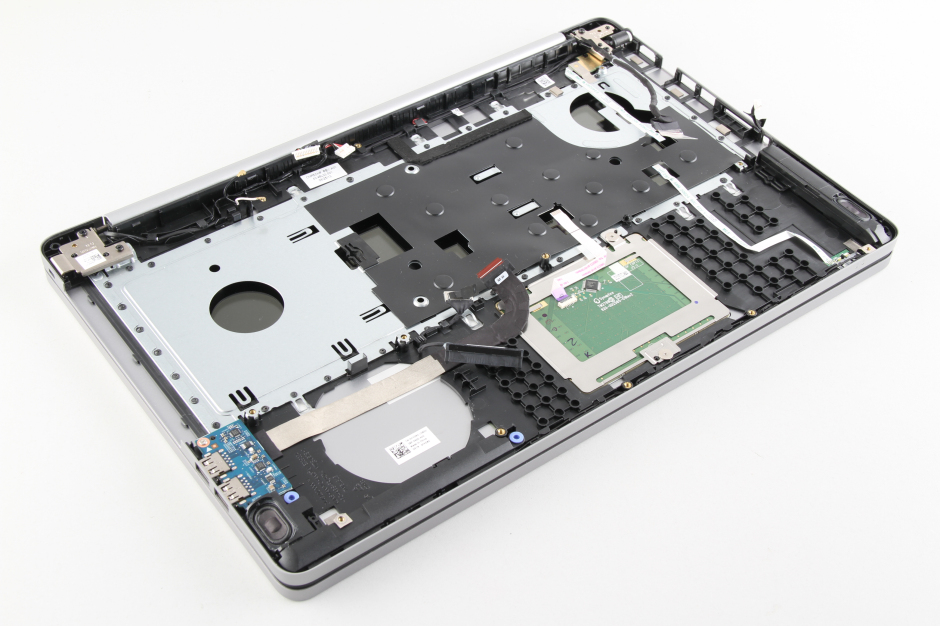
Close-up of the laptop after removing the motherboard.
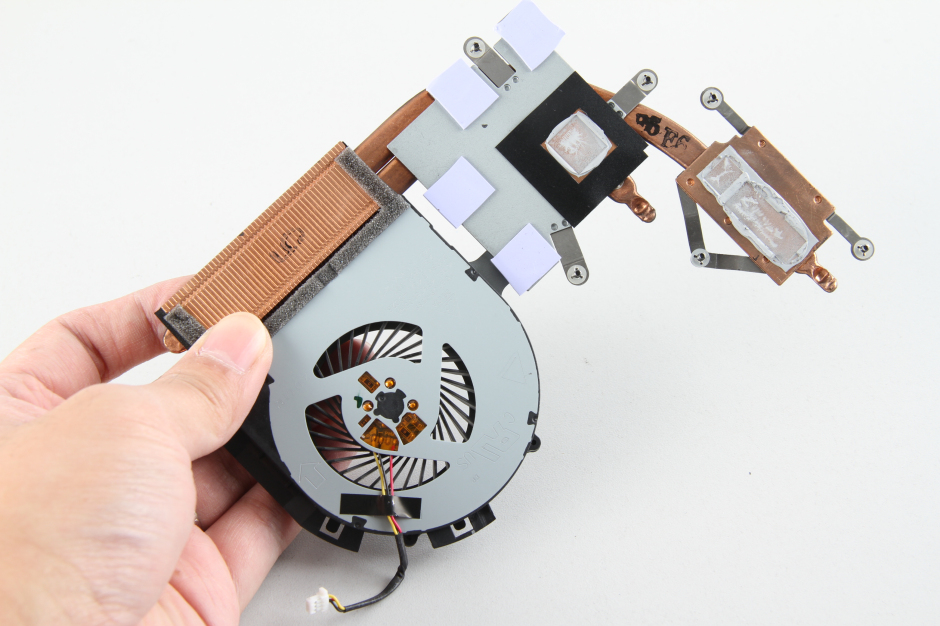
Unplug the fan cable and remove the screws securing the heat sink. You can remove the fan and heat sink assembly. Its cooling system consists of a fan and two heat pipes.
Close-up of the front of the motherboard. The processor and graphics card are directly soldered to the motherboard.
Close-up of all the parts together.


It seems you have to disassemble the entire computer just to clean the fan. Is there an easier way?
This was extremely helpful. Thank you very much!
Will the motherboard with discrete graphics fit in the non-discrete chassis? I want to upgrade.
The Dell Inspiron 7737 has no discrete graphics, so you cannot upgrade.
I like your disassembly of the Dell 7737. I do want to replace the CMOS battery. However, it doesn’t show only one clip to remove the keyboard. I would appreciate information on this. Thanks