In this guide, I will explain how to disassemble the Dell Latitude E6410 to remove the bottom cover, hard drive, DVD drive, RAM, keyboard, palm rest, touchpad, wireless card, heat sink, cooling fan, camera, screen, LCD hinge, speakers, and motherboard.
Want to stay connected to MyFixGuide.com? Follow us on Facebook to check out the latest teardown.
Unlock two latches and remove the battery.
The battery has been removed.
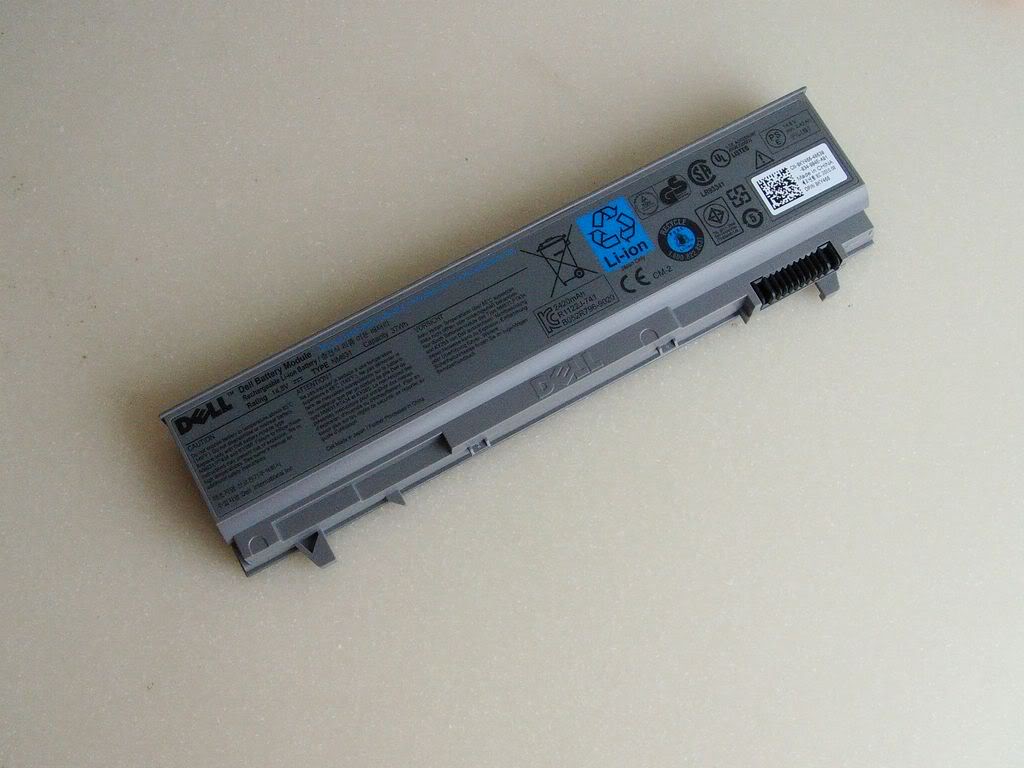
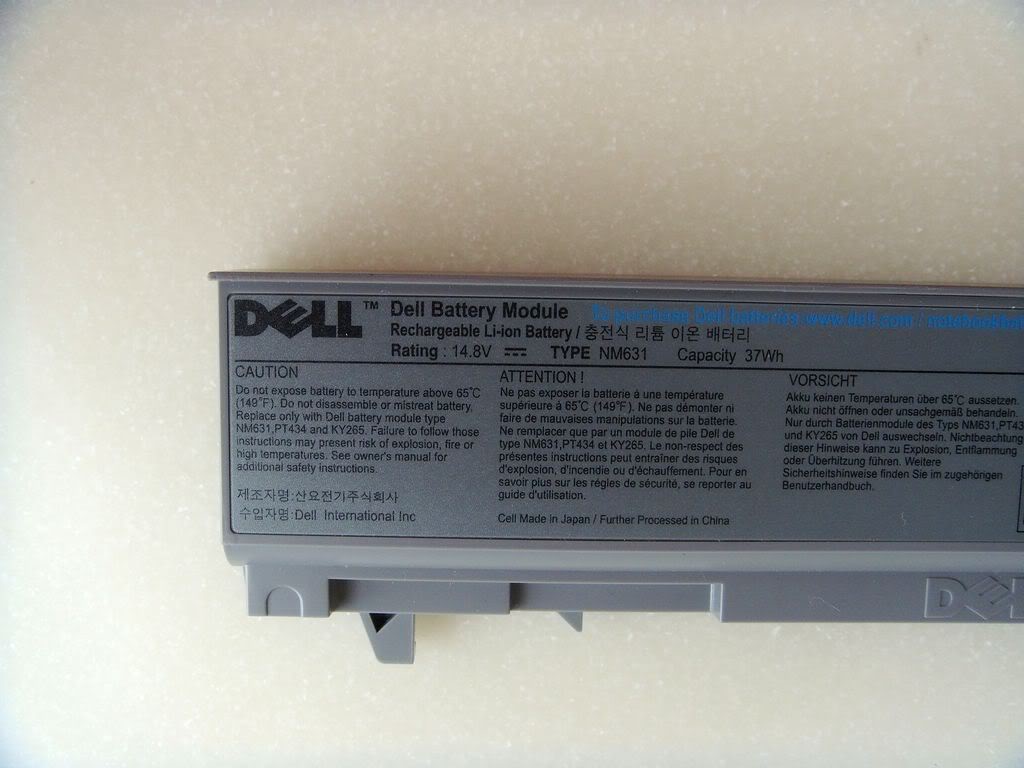
The Dell Latitude E6410 comes with a 37Wh Li-ion battery. The Dell part number is NM631.
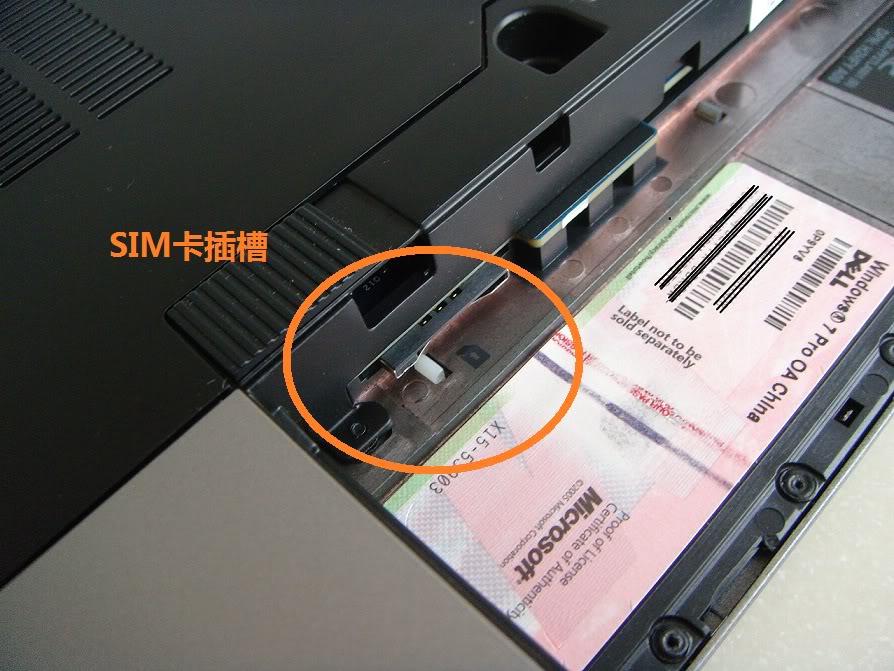
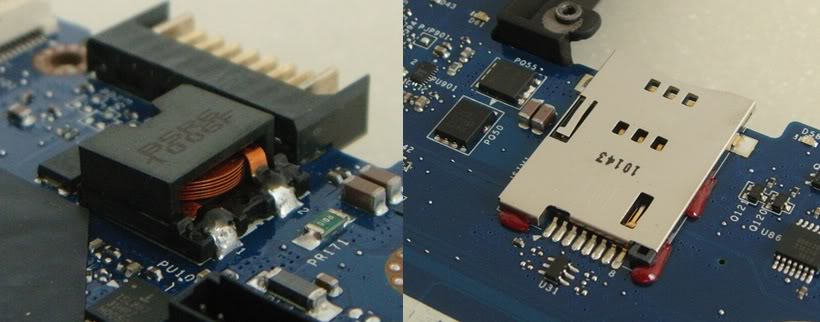
Remove the SIM card from its slot.
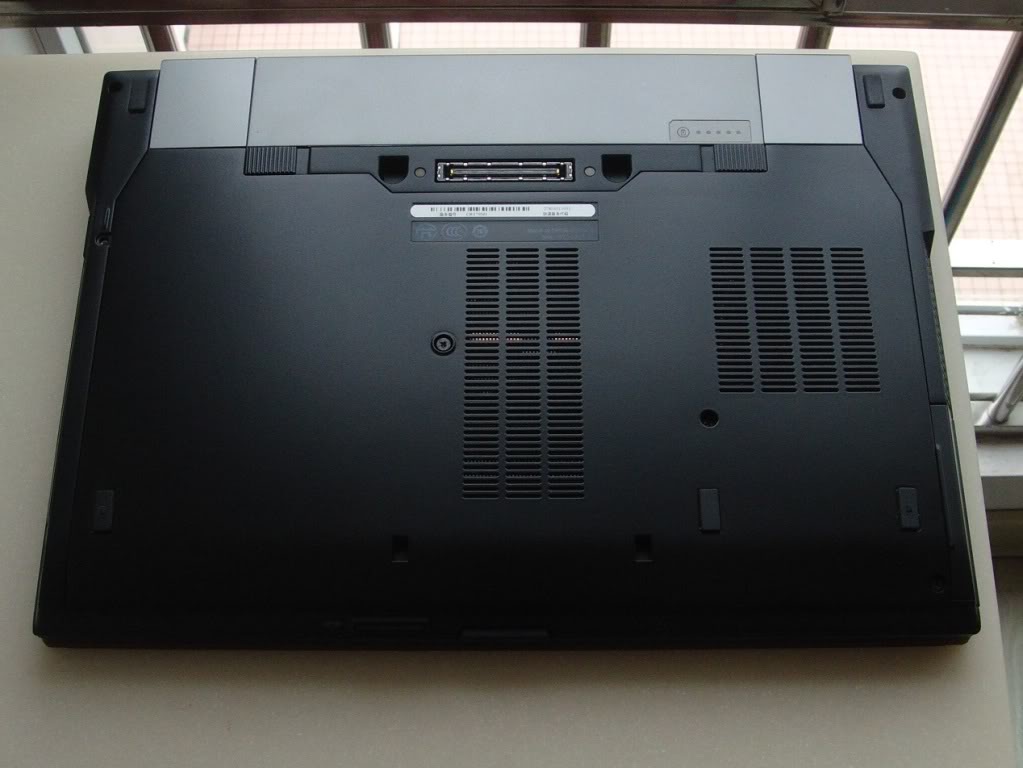
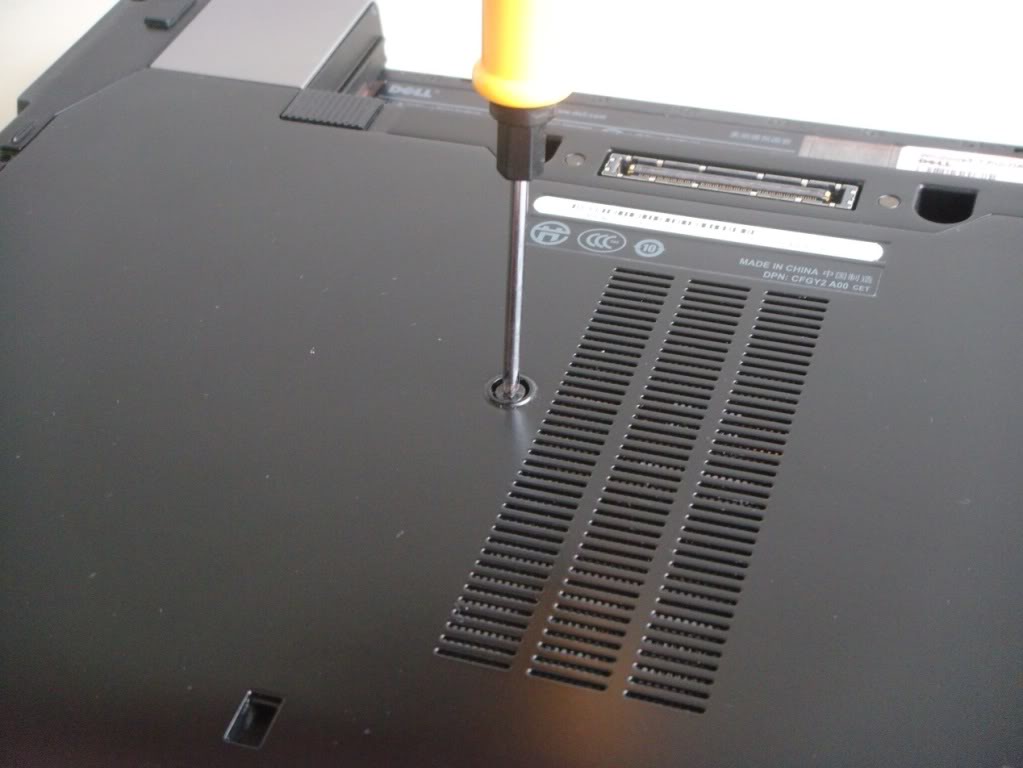
Remove the screws securing the back cover.
Use a plastic pry tool to pry open the bottom cover and remove it.

Now you can get access to the RAM, hard drive, wireless card, heat sink, and cooling fan.
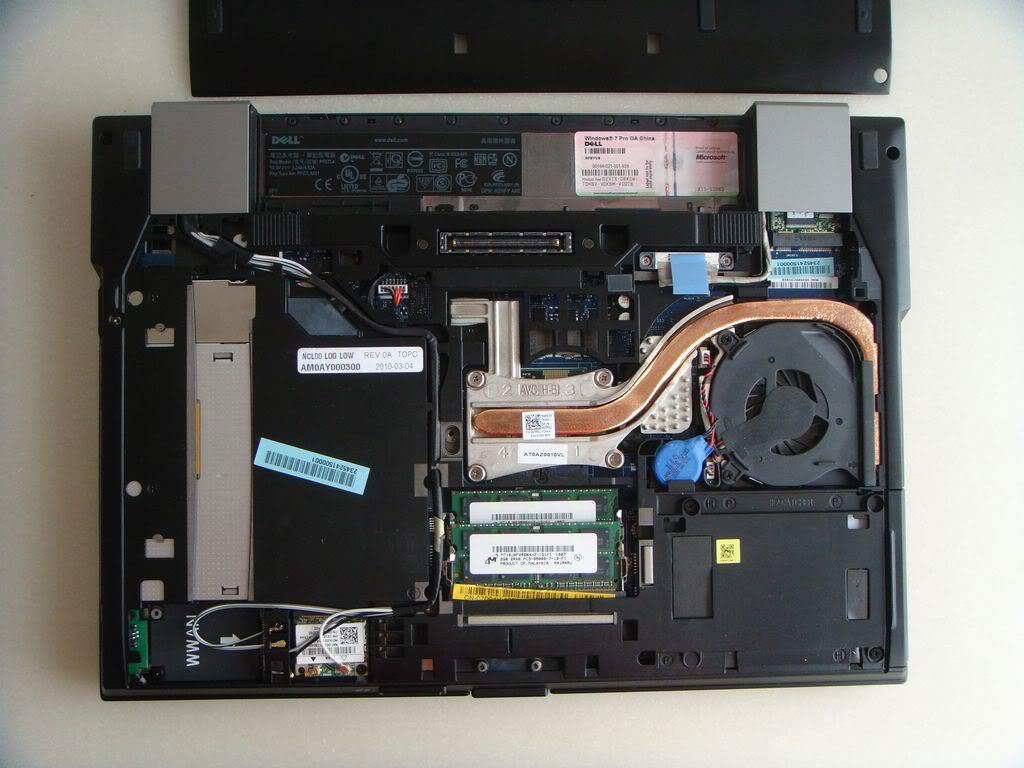
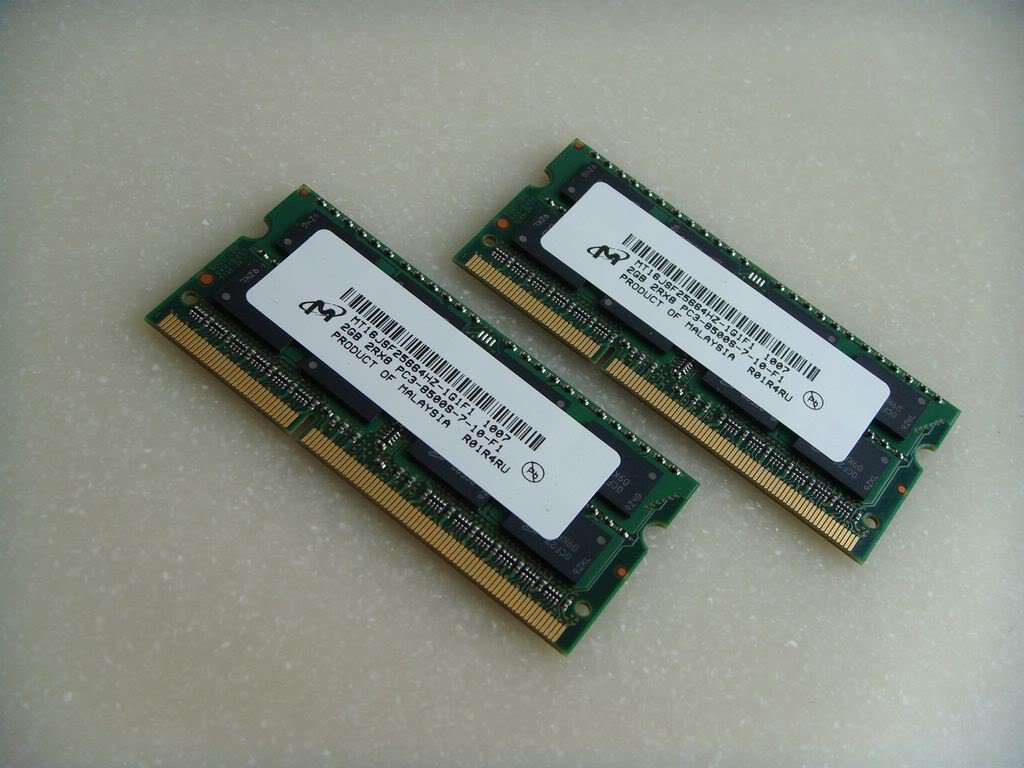
This laptop has two memory slots and comes with two memory modules. If you need to upgrade the memory, you will need to replace the existing memory modules.
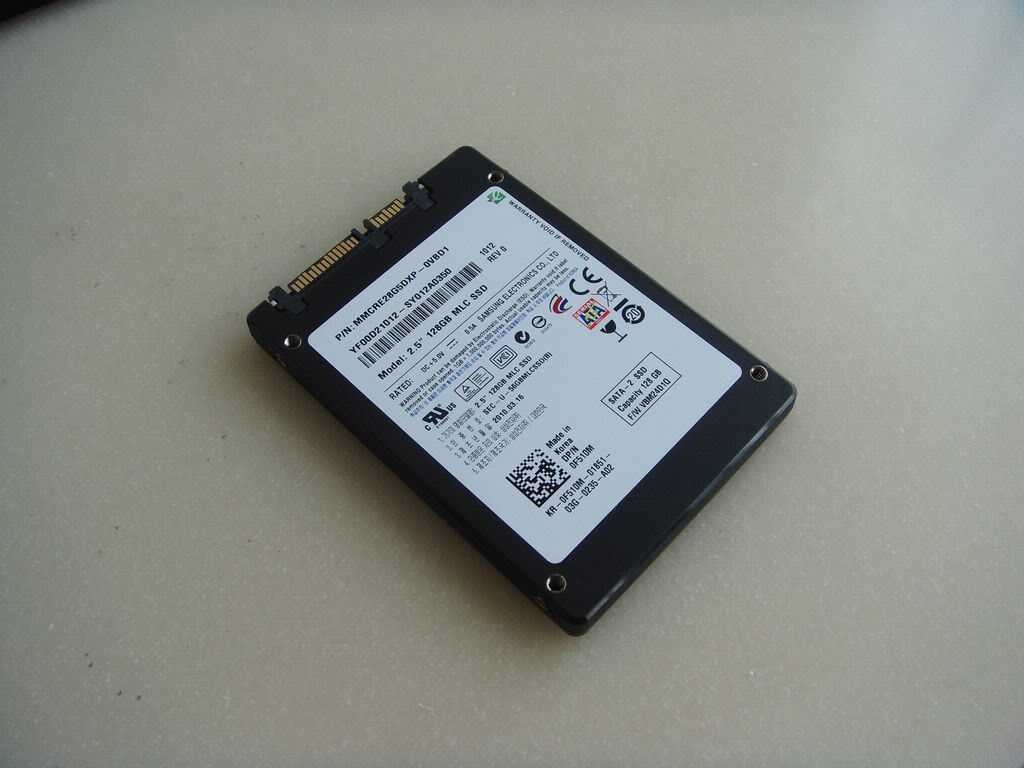
The laptop comes with a Samsung 2.5-inch 128GB SSD.
CMOS battery

Loosen the four screws securing the heat sink and unplug the fan cable. You can remove the cooling system.
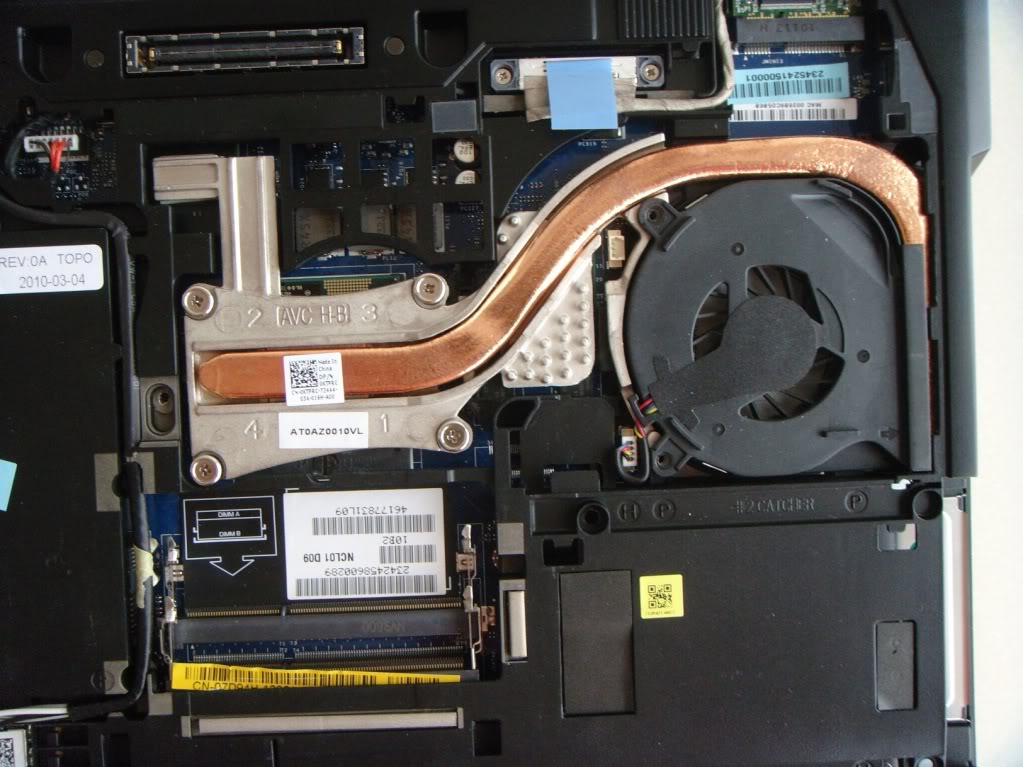
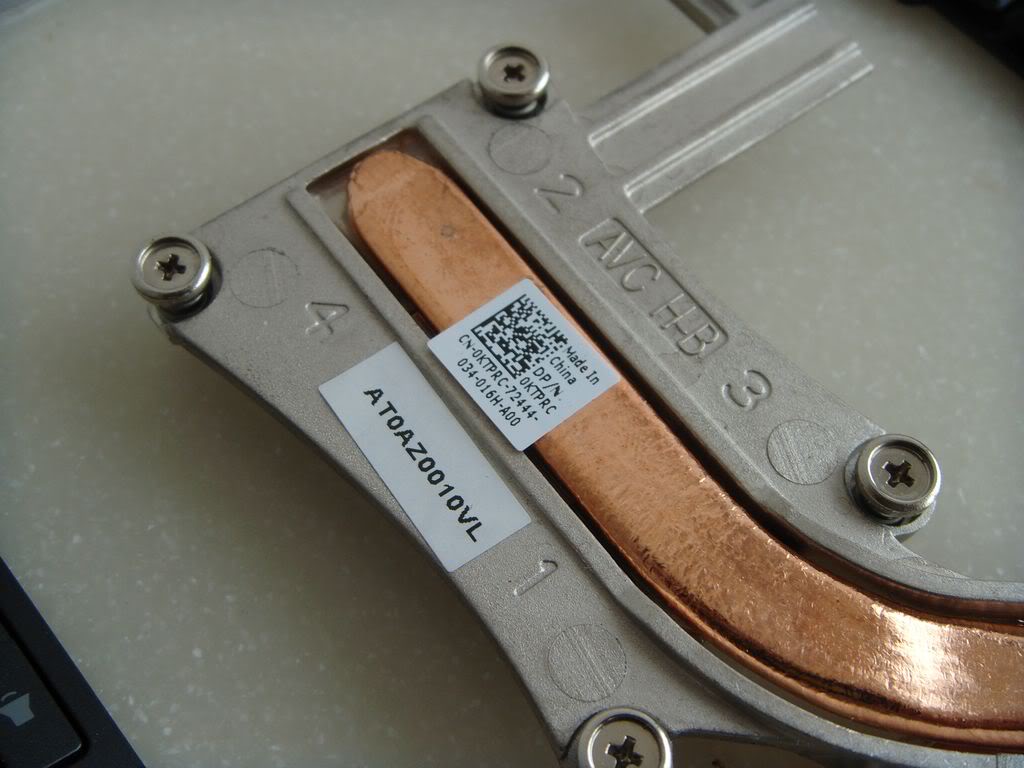
Heat sink and cooling fan
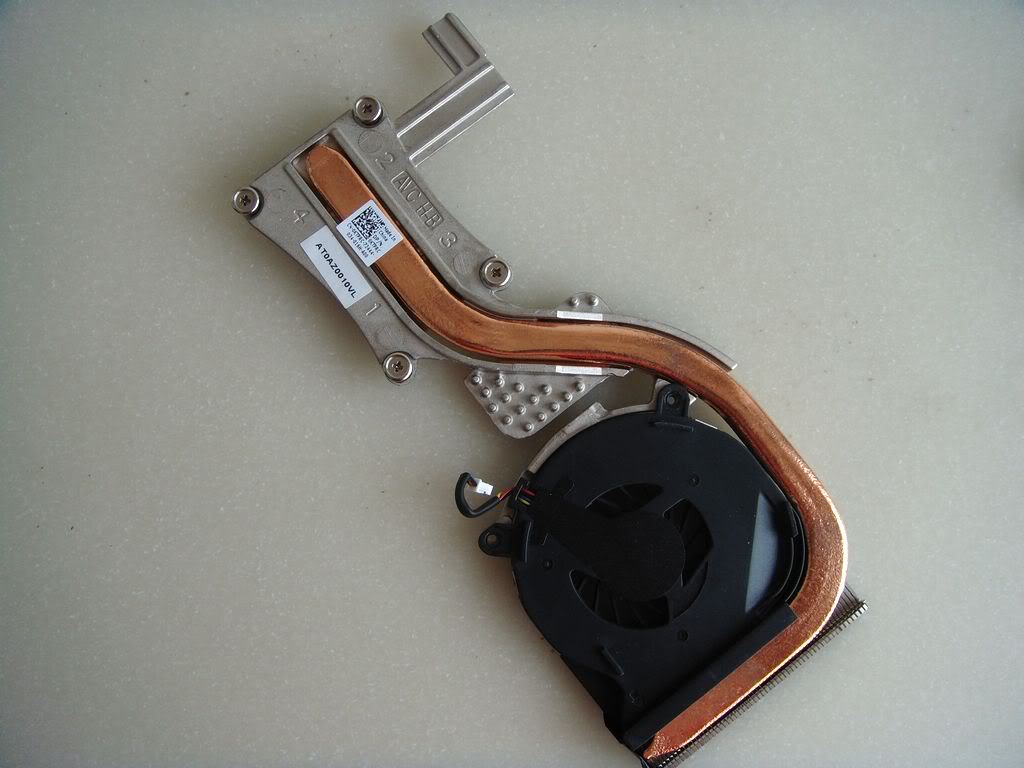
The heat sink part number is OKTPRC.
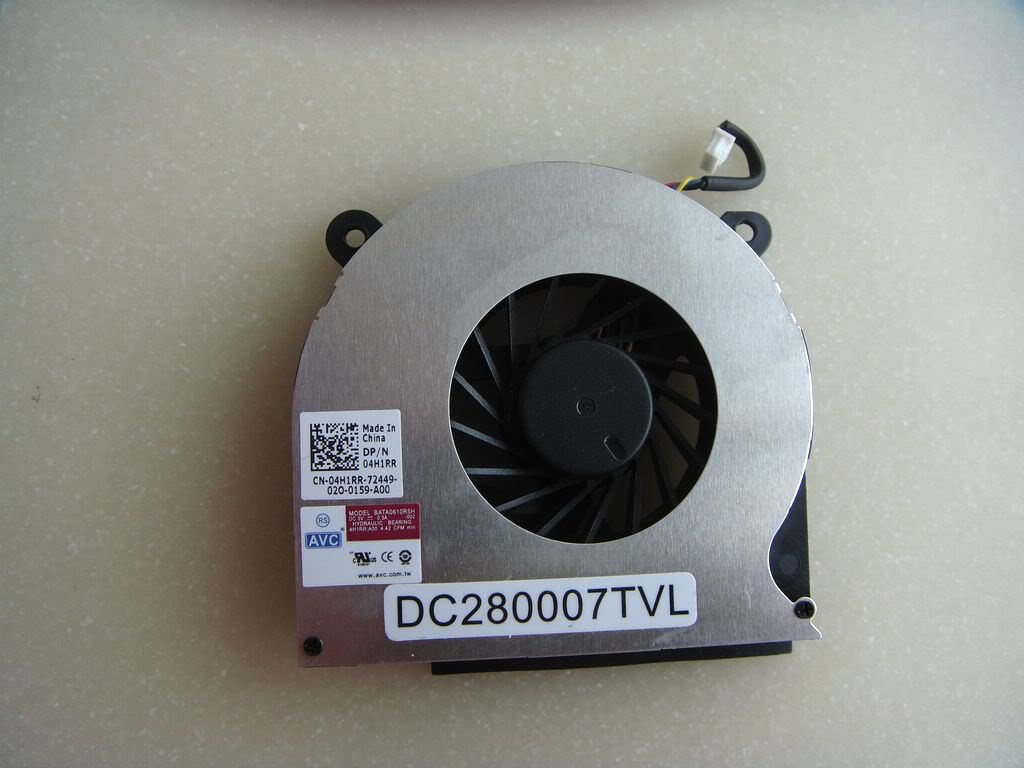
The part number of the Dell Latitude E6410 CPU fan is 04H1RR.
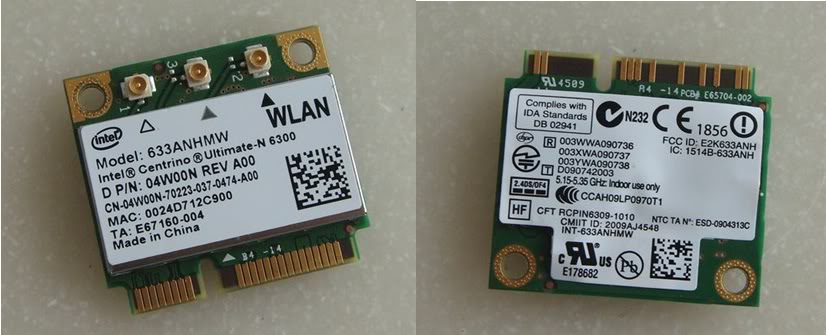
Disconnect the two antennas and remove the screw securing the card.
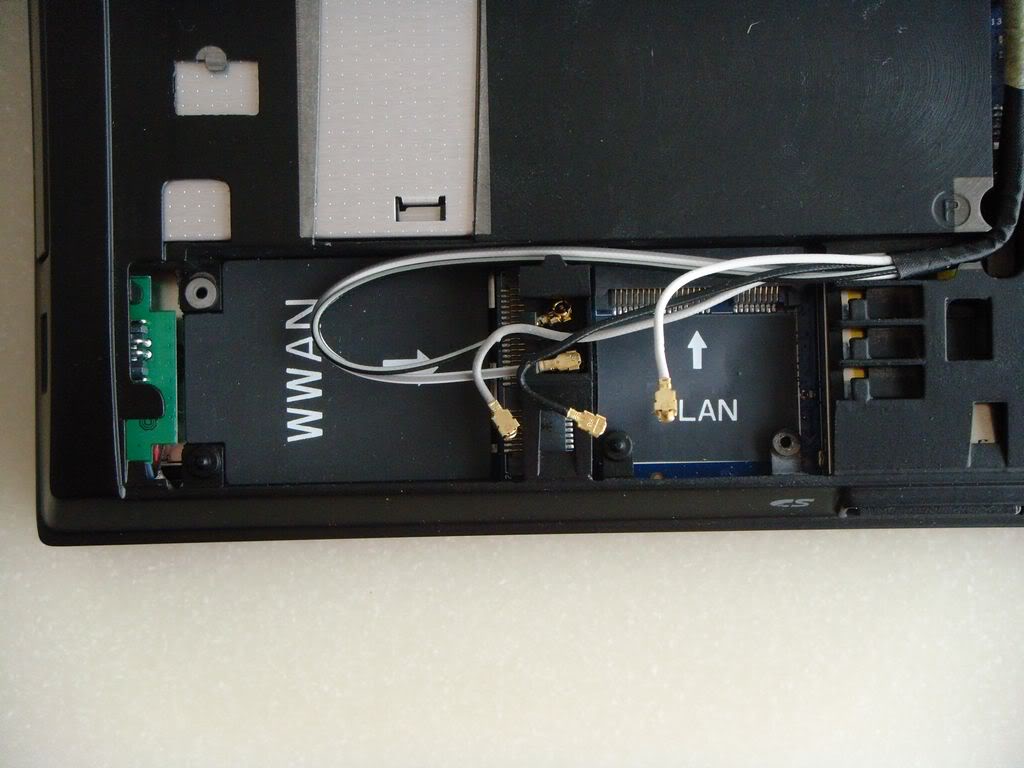
The Dell Latitude E6410 comes with an Intel Centrino Ultimate-N 6300 wireless card. The Dell part number is 04W00N.
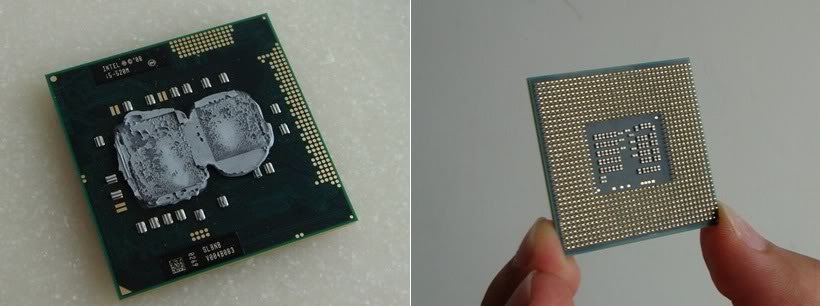
Dell Latitude E6410 CPU and GPU

The Dell Latitude E6410 comes with an Intel Core i5-520M processor (3M Cache, 2.40 GHz).
Remove this screw and pull out the switch. You can pull out the DVD drive.
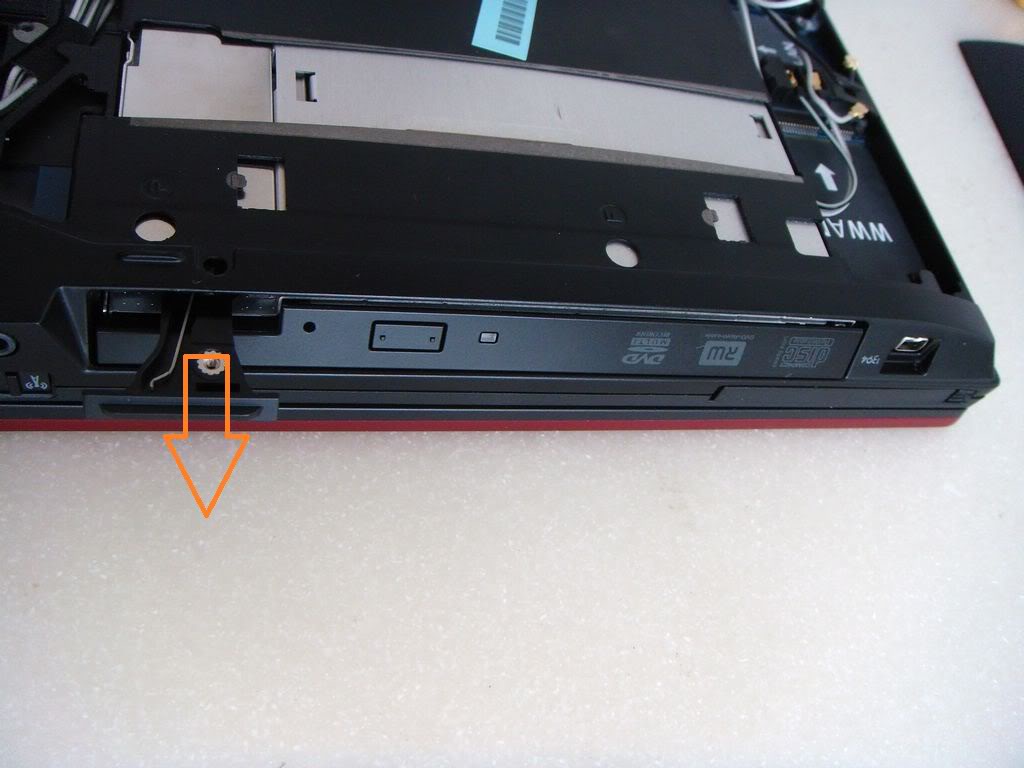
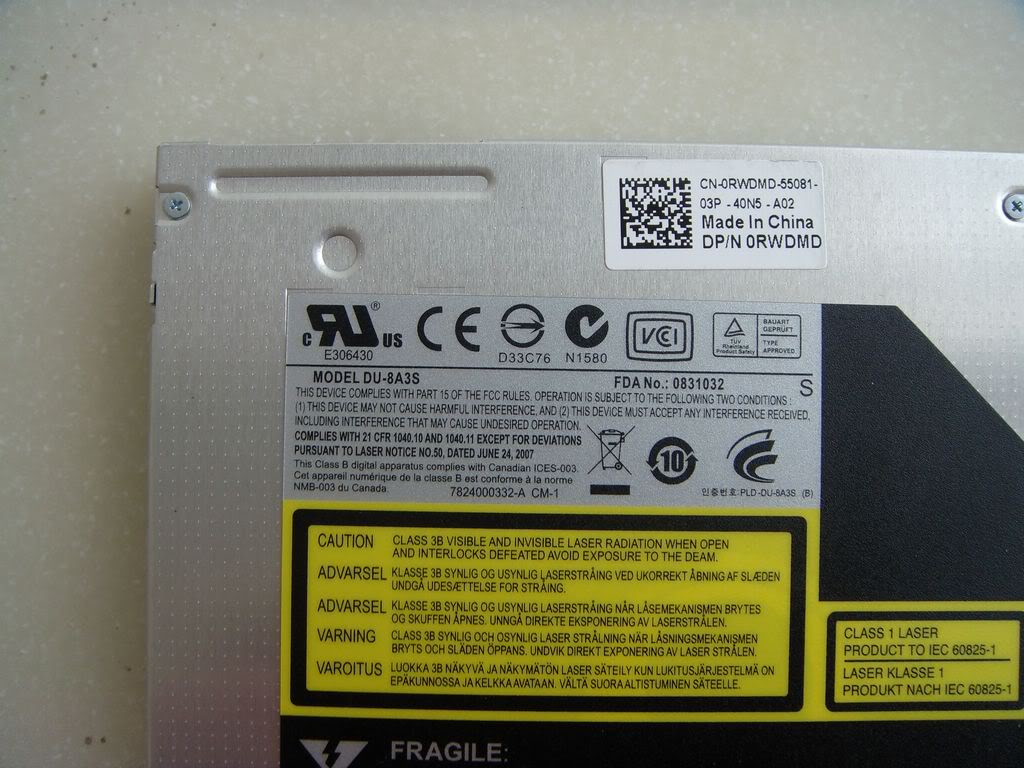
The laptop comes with a 9.5mm ultra-thin optical drive.
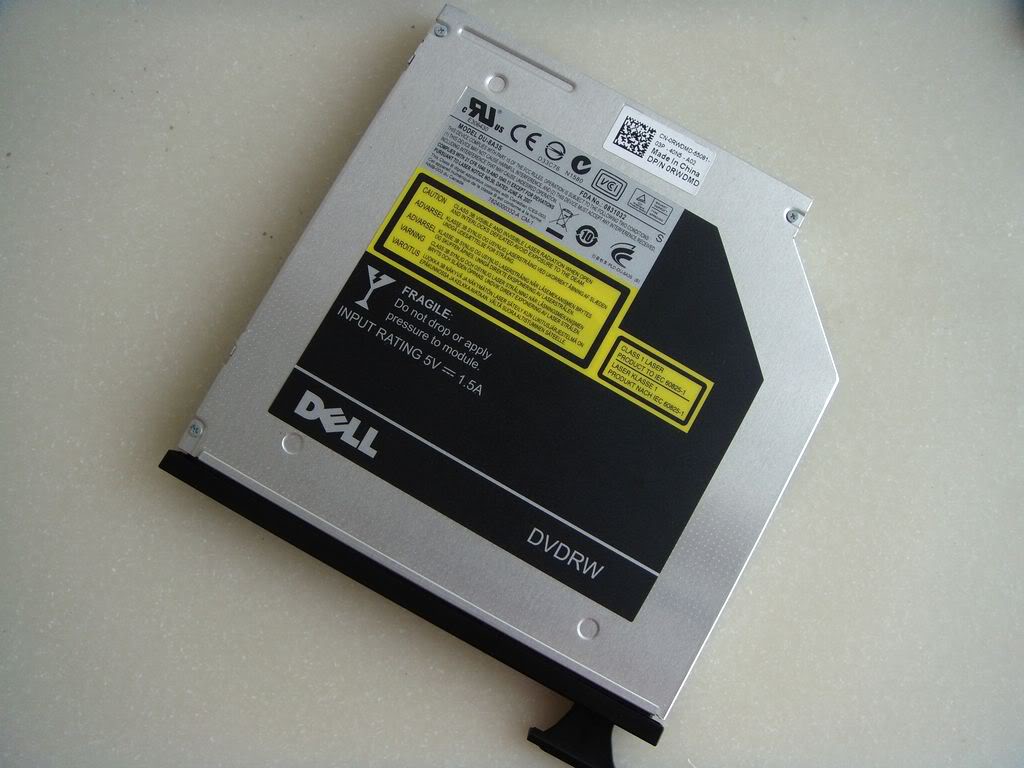
Philips DU-8A3S optical drive
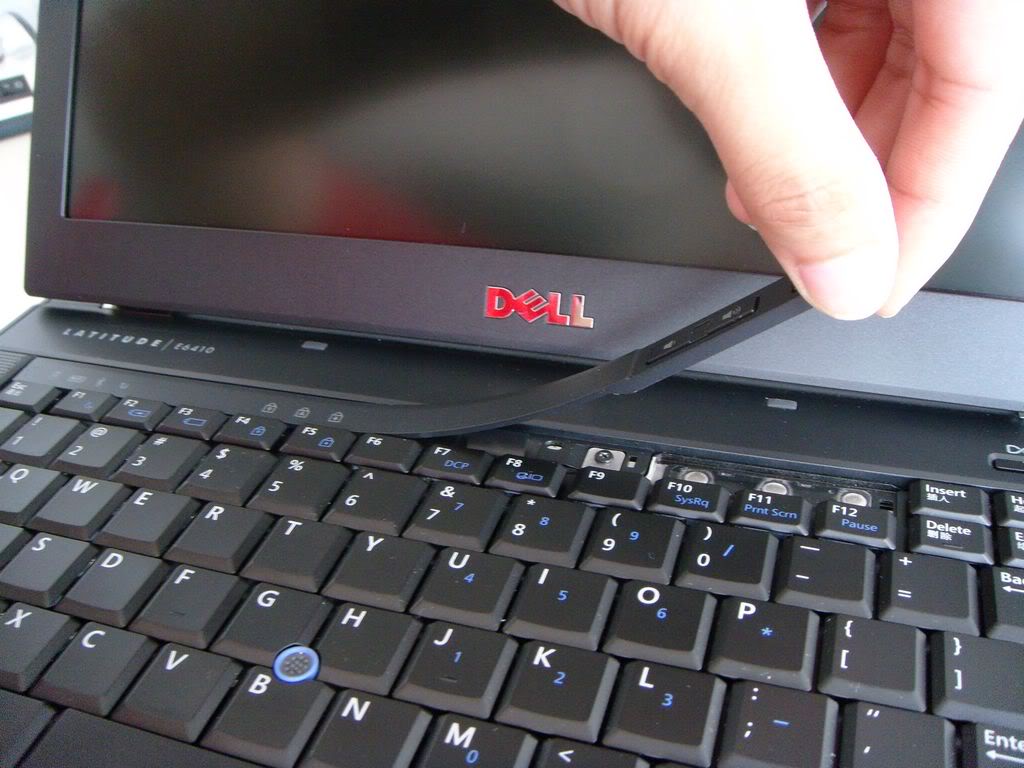
Turn over your laptop. Lift the keyboard bezel and remove it.
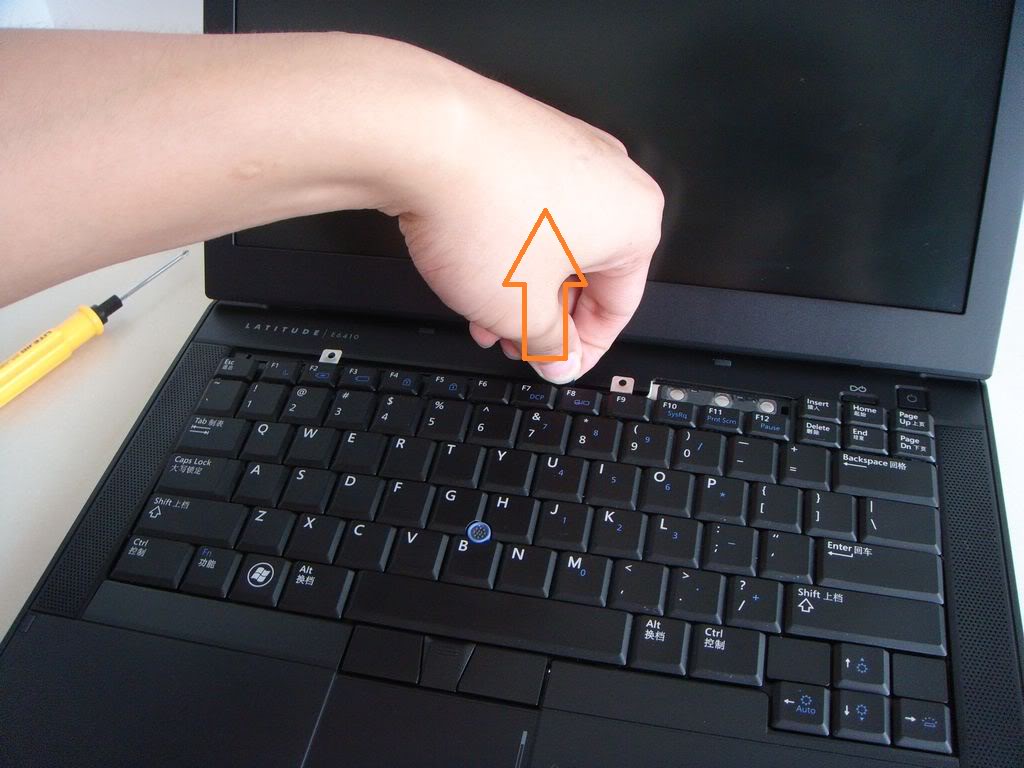
Remove the two screws securing the keyboard.

Lift the keyboard from the top.
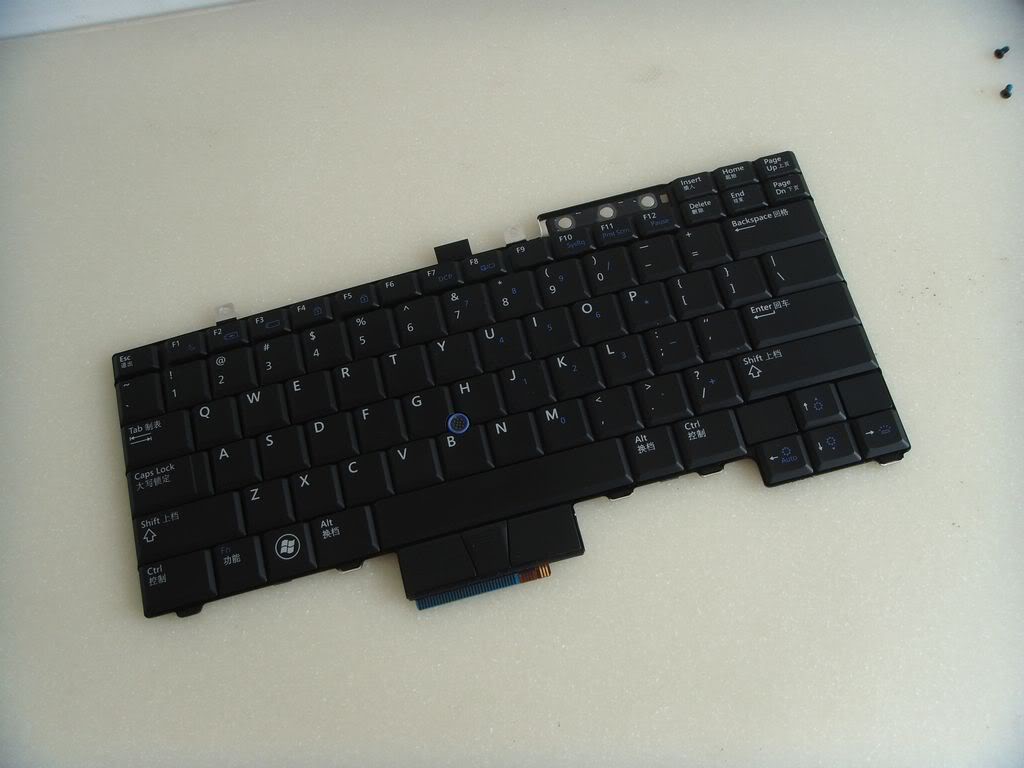
Place the keyboard on the palm rest and disconnect the keyboard cable and the backlit cable.
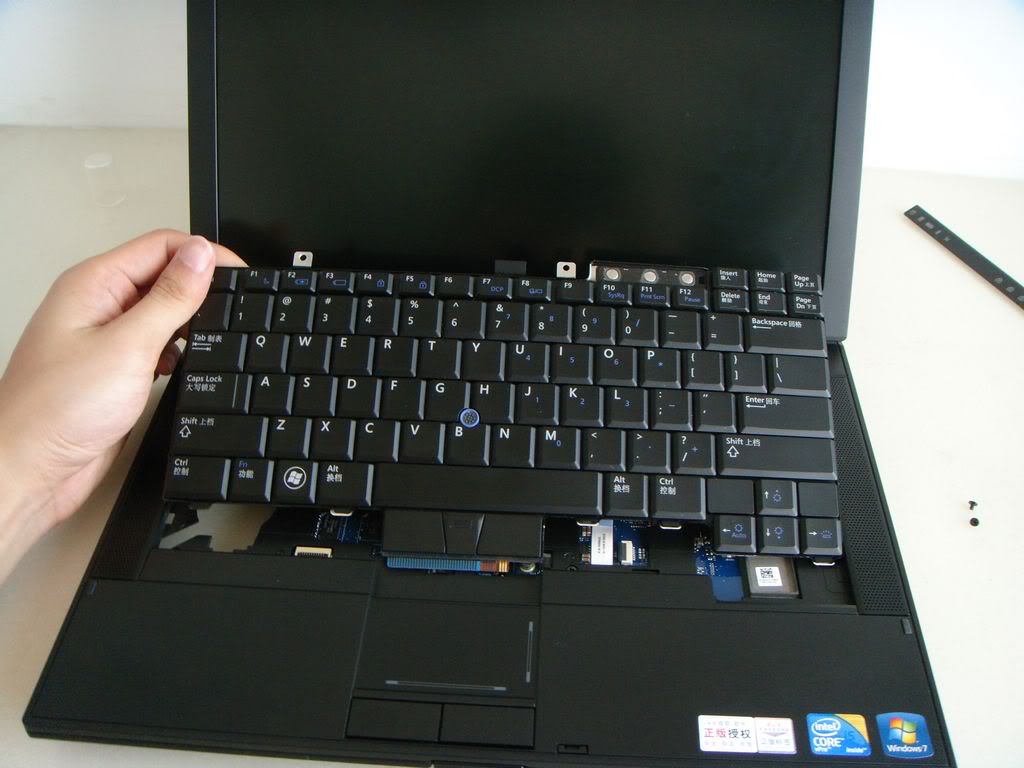
The keyboard has been removed.
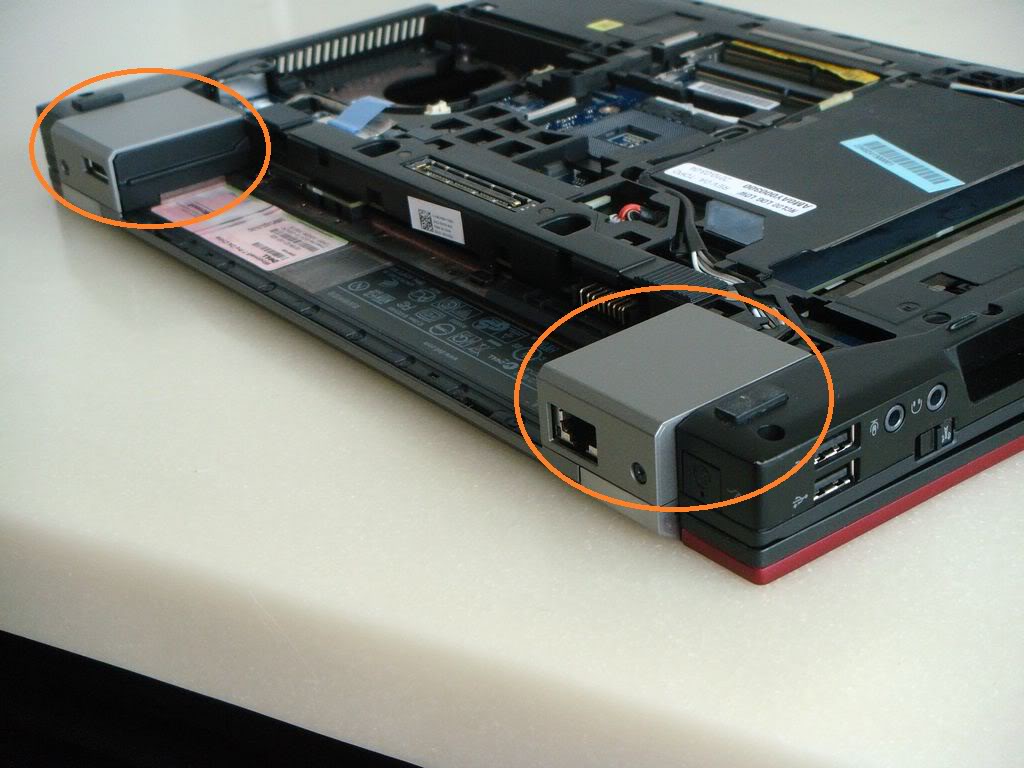
Remove the screw securing the silver cover.
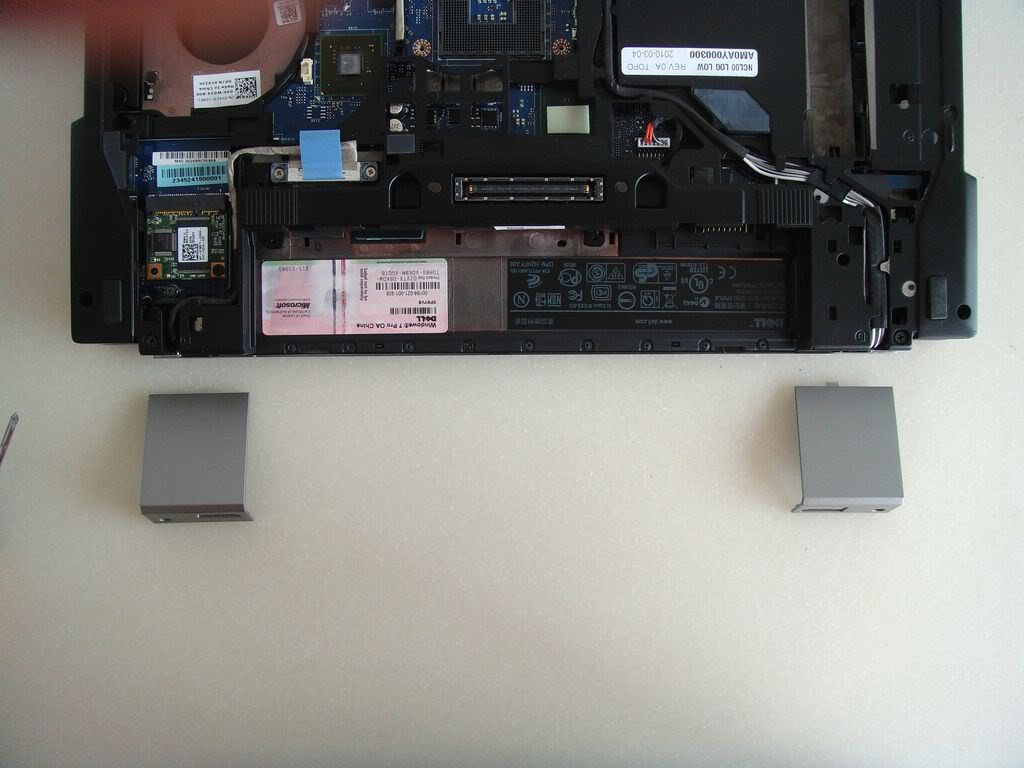
Remove the two covers.
Under the cover, you can find two screws and remove them.
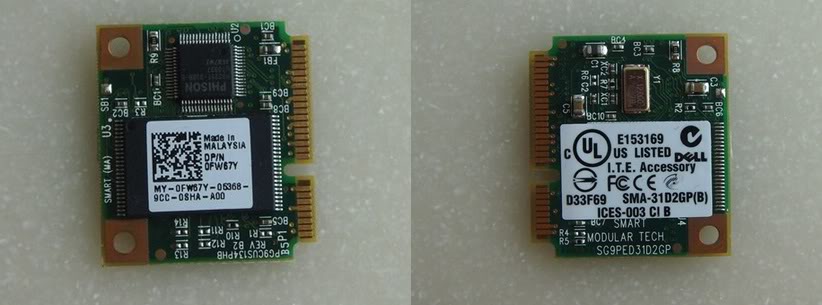
Remove the screw. You can remove the Latitude smart card.
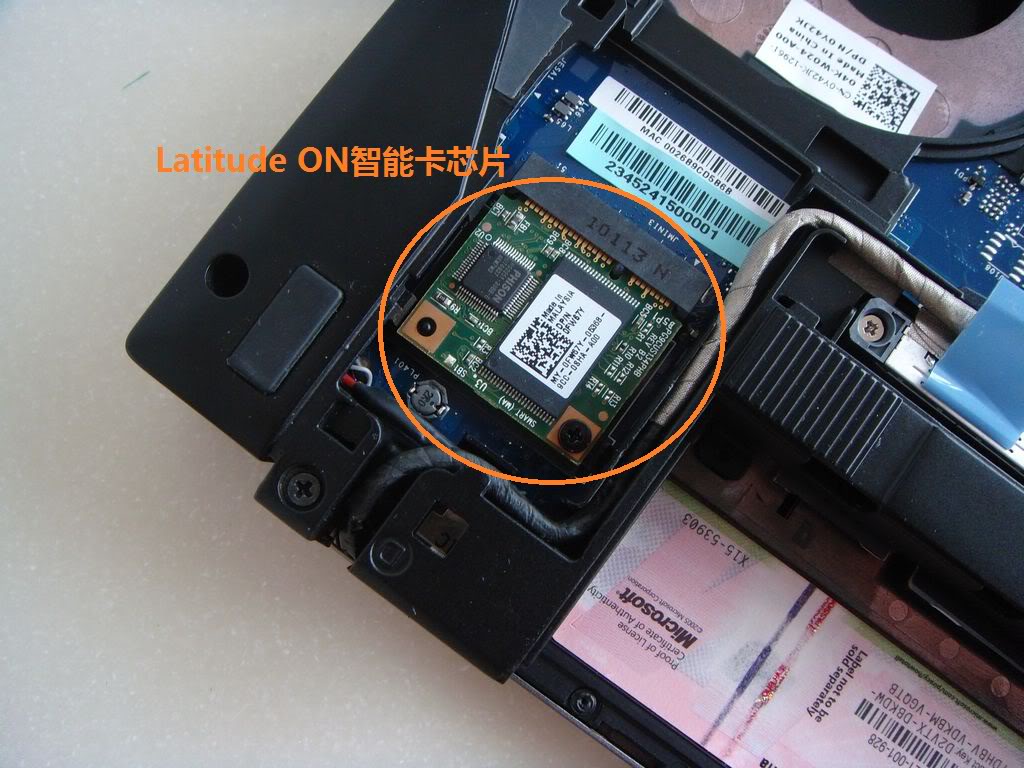
Smart card
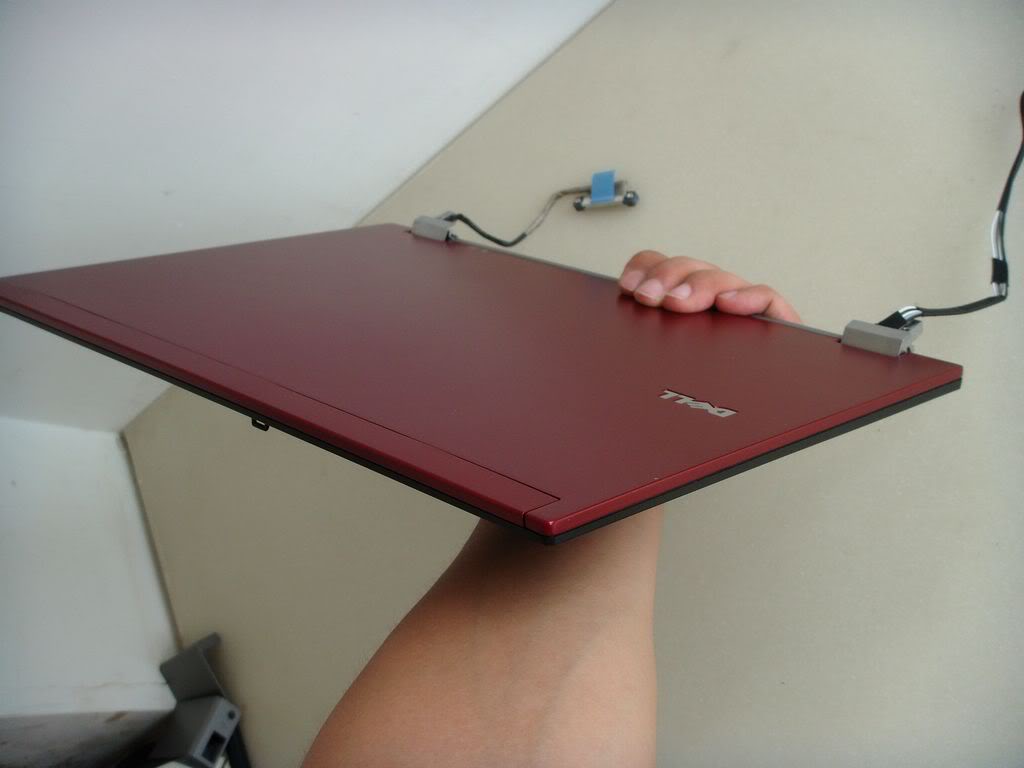
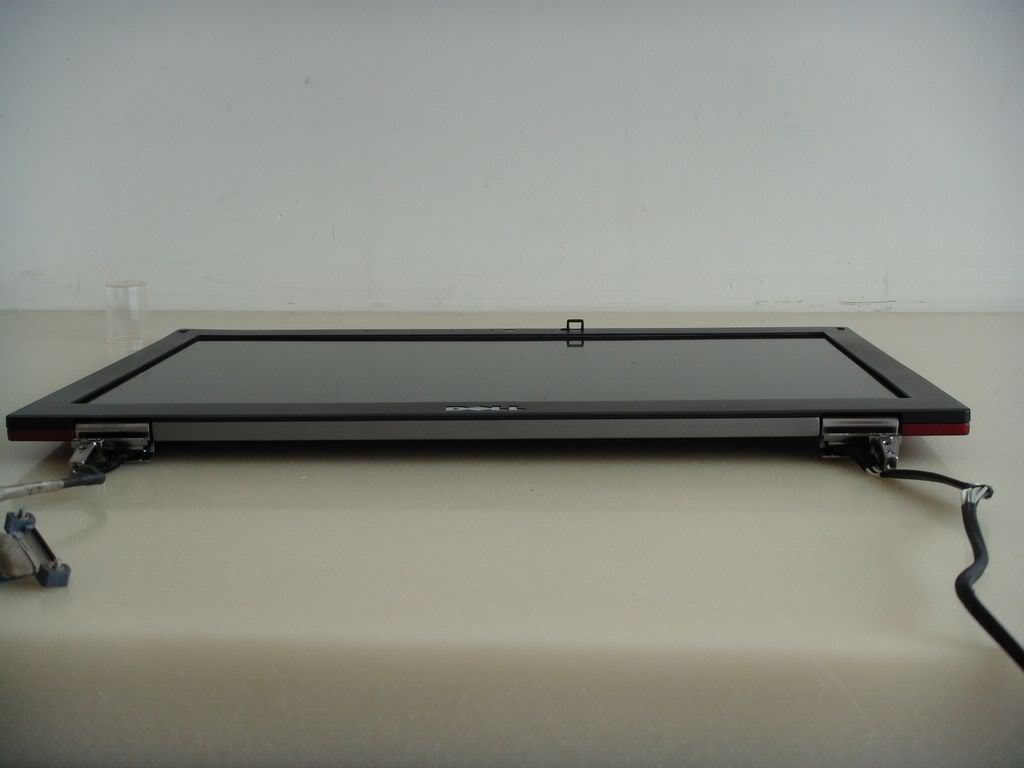
The LCD screen module has been removed.
Remove the LCD bezel.
Remove the screws securing the LCD back cover.
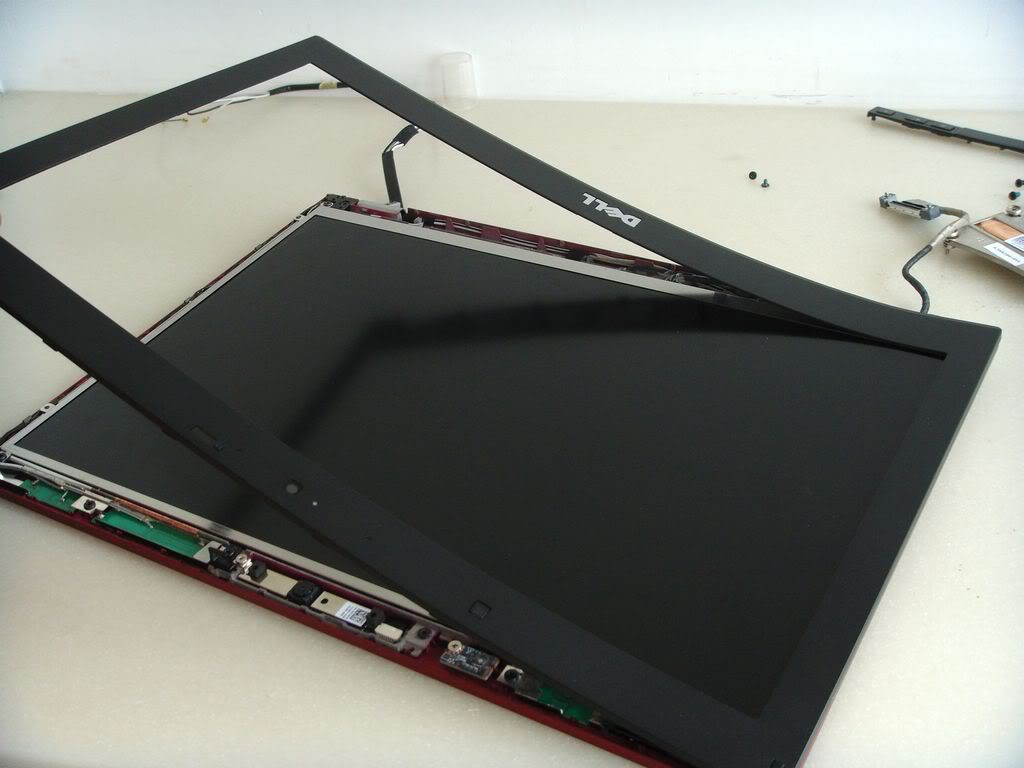
Now you can get access to the LCD cable and camera.
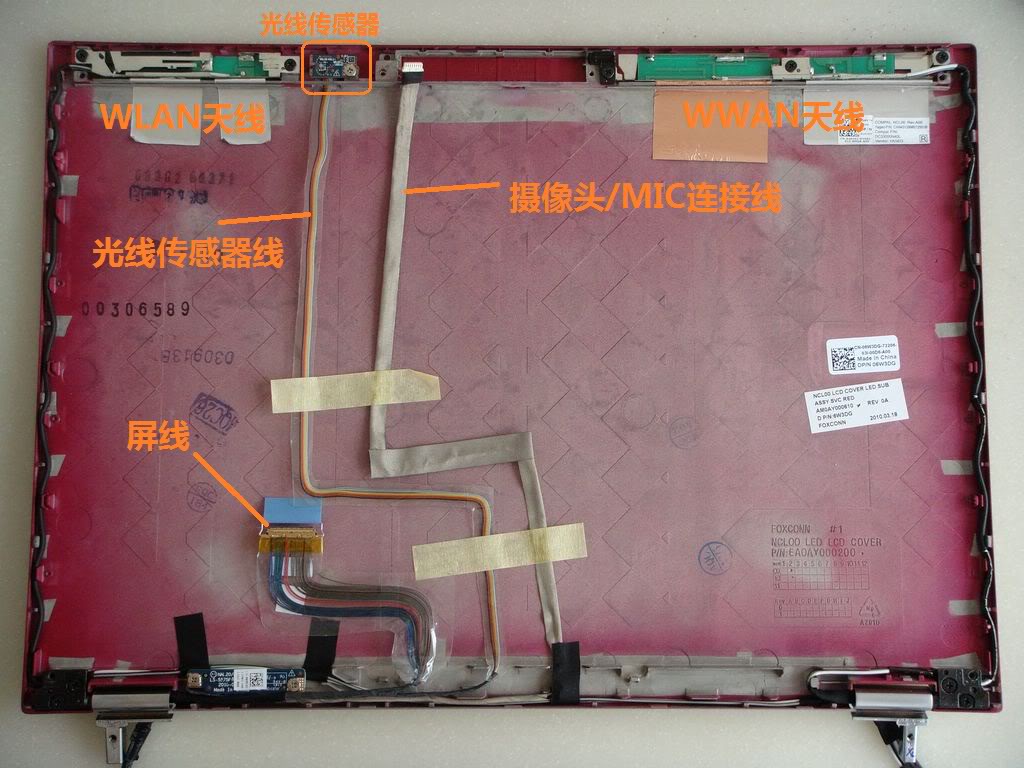
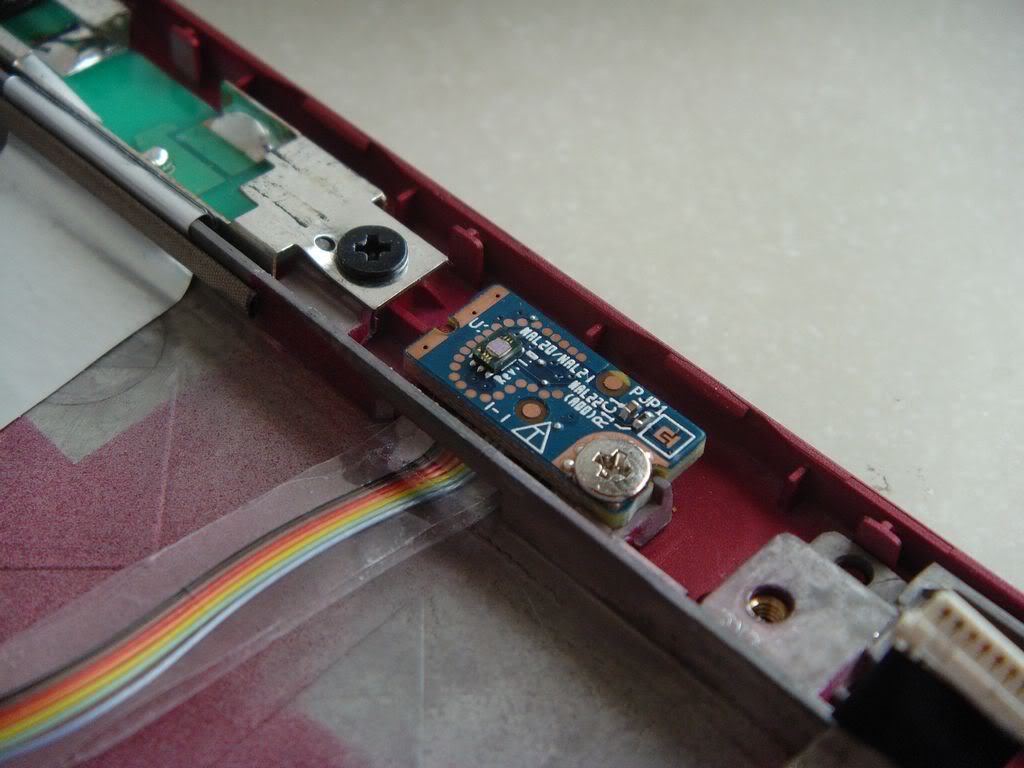
Light sensor
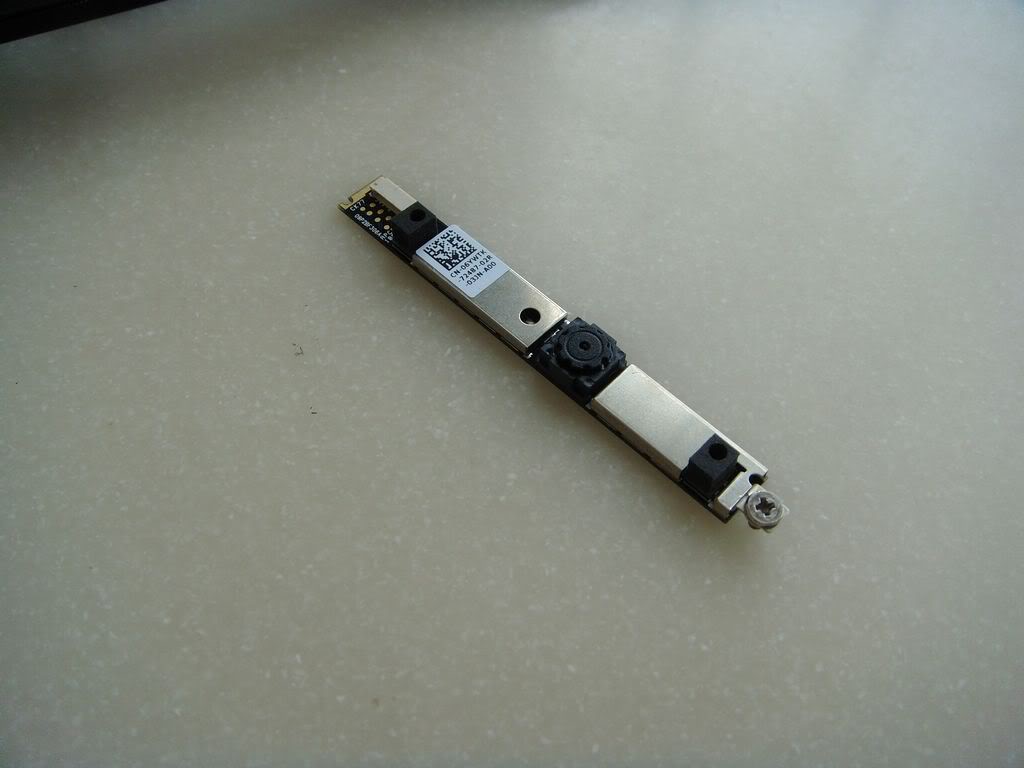
Camera
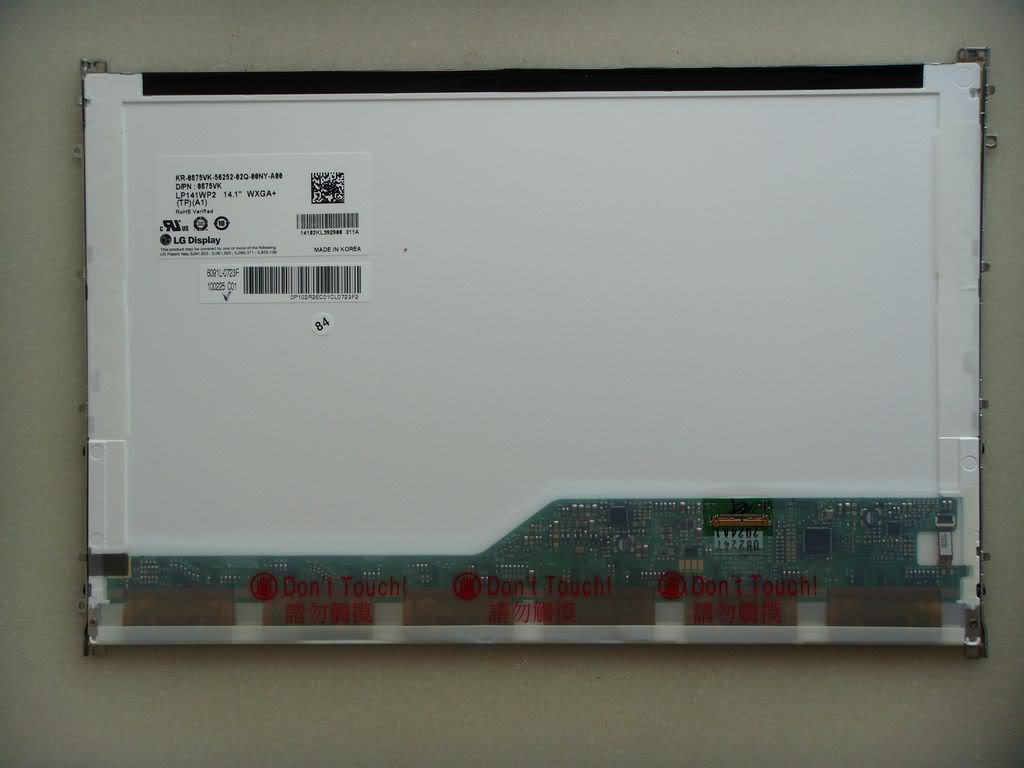
The LED screen
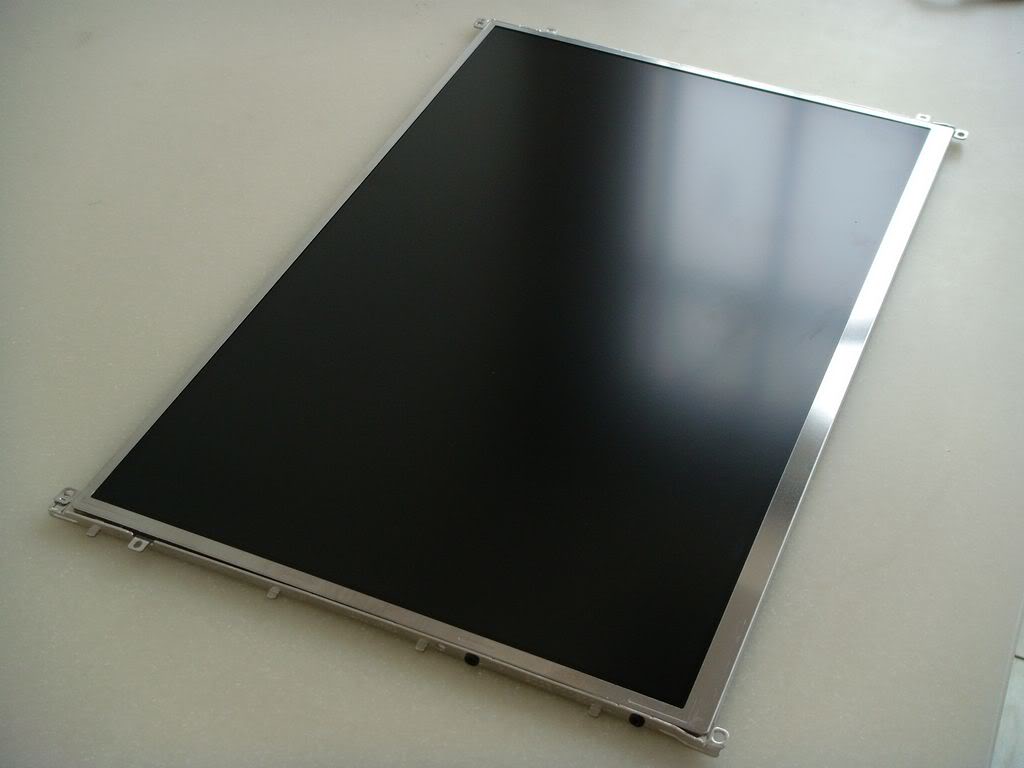
The laptop features an LG LP141WP2-TLB1 panel with a resolution of 1,440 x 900.
Remove the three screws securing the palm rest and disconnect the three cables. Insert a pry tool under the palm rest and slide it to completely detach the palm rest from the laptop.
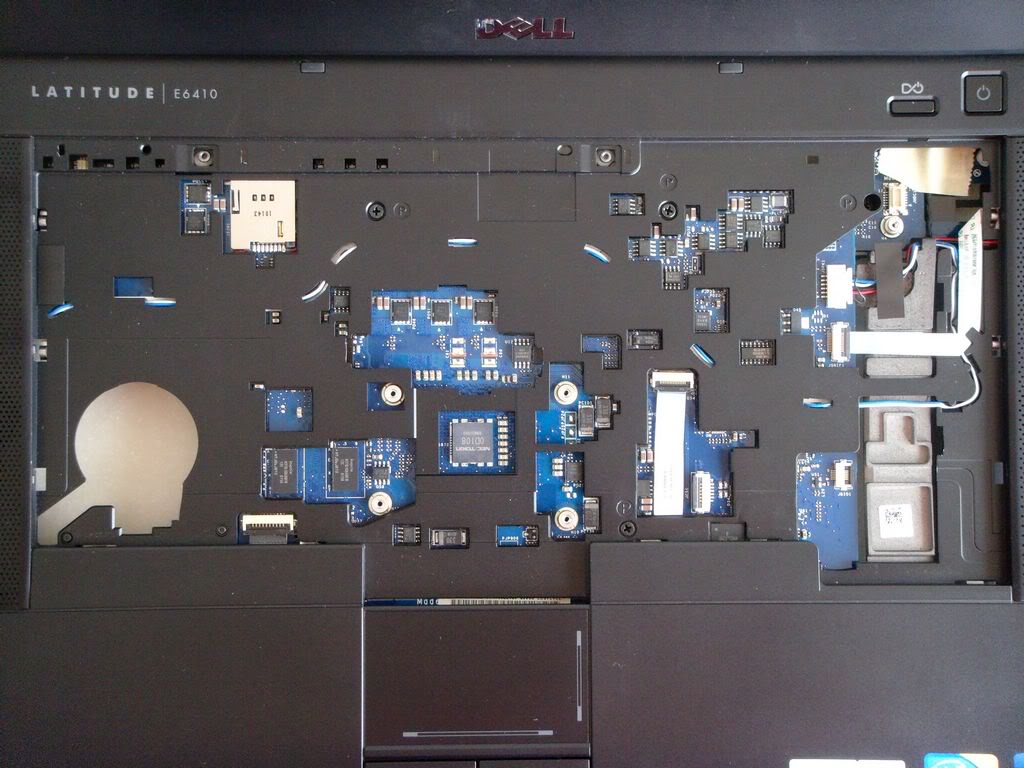
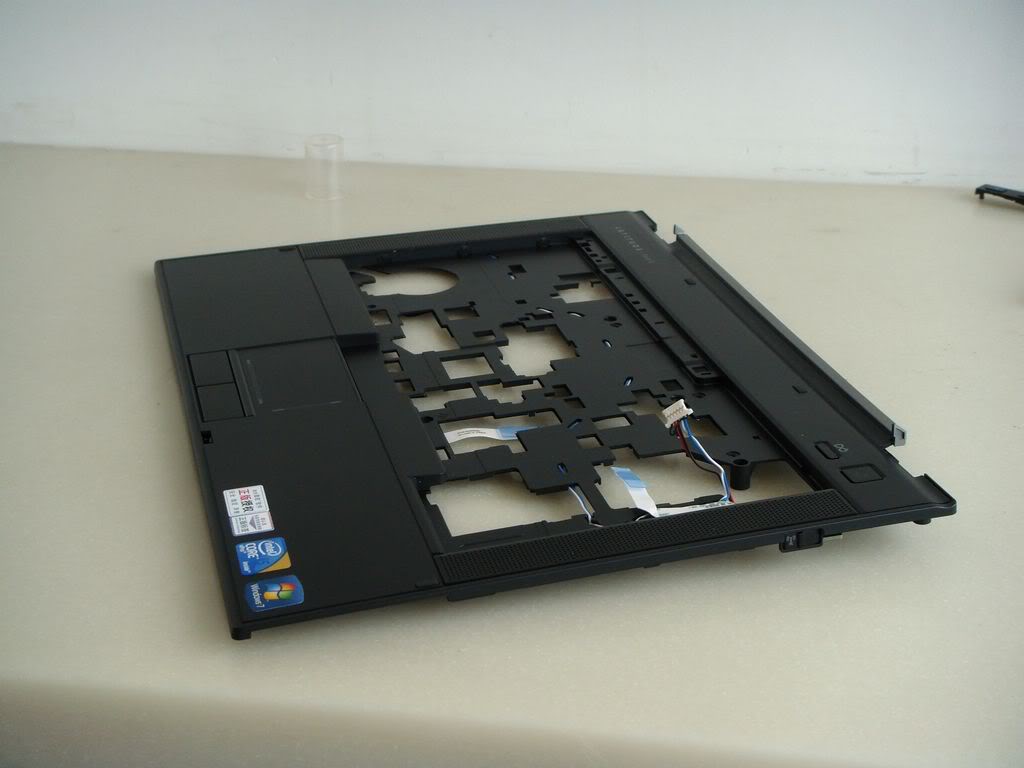
The palm rest has been removed.
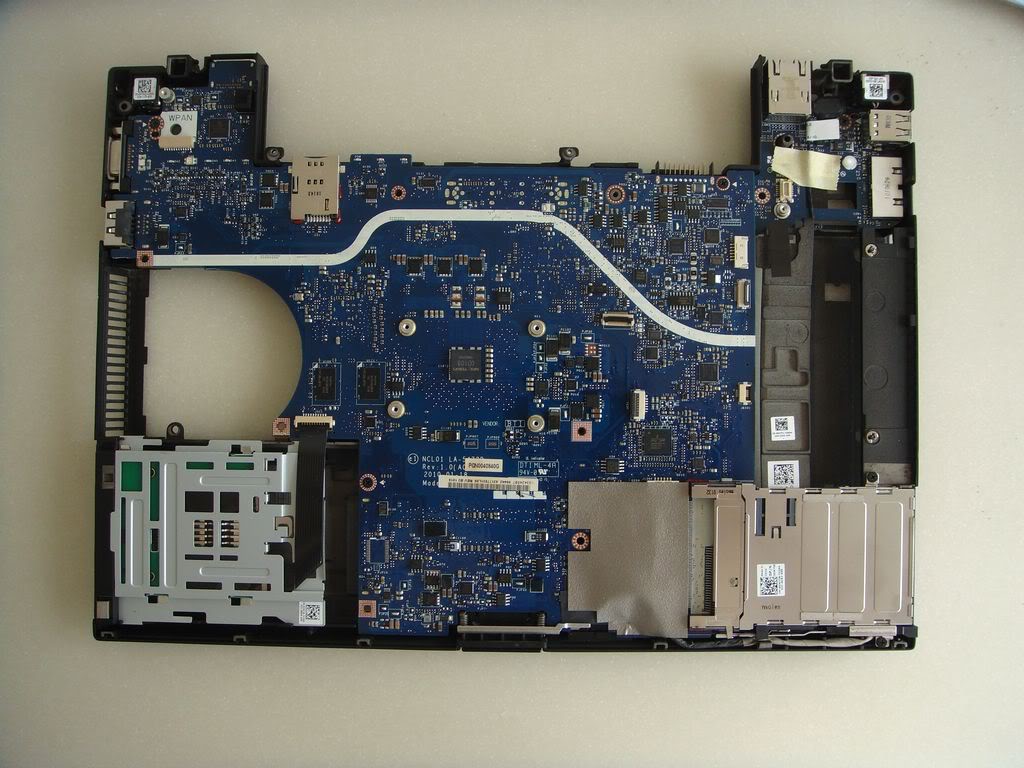
Remove the screws securing the motherboard.
Close-up of the battery connector and SIM card slot
Motherboard
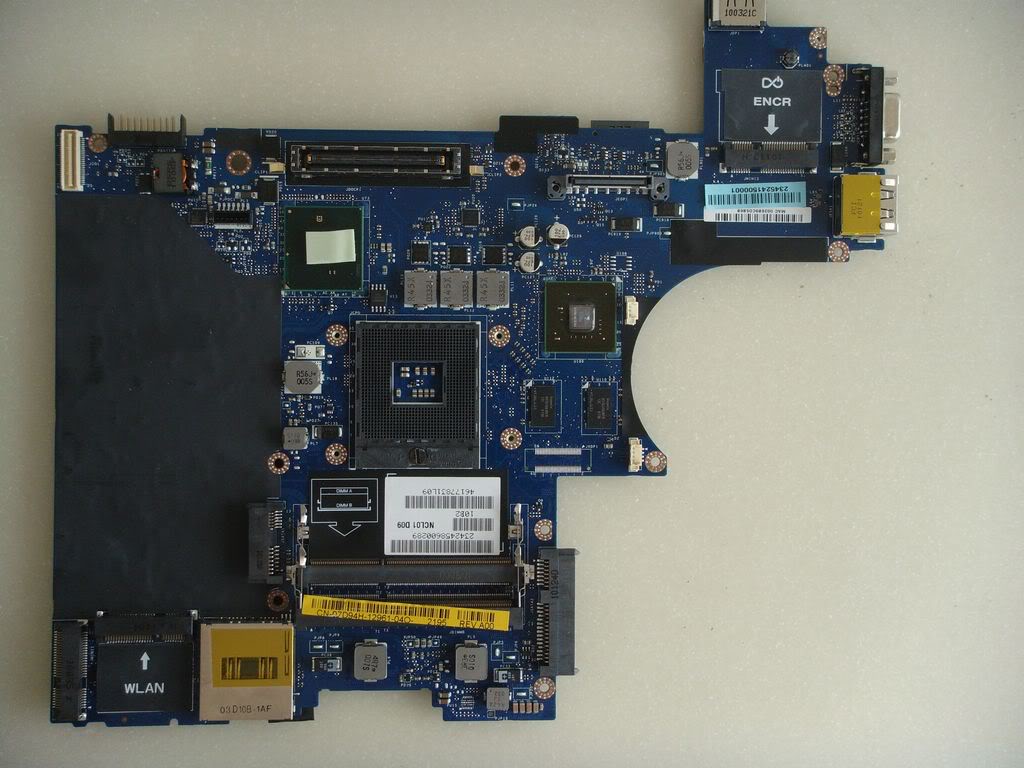
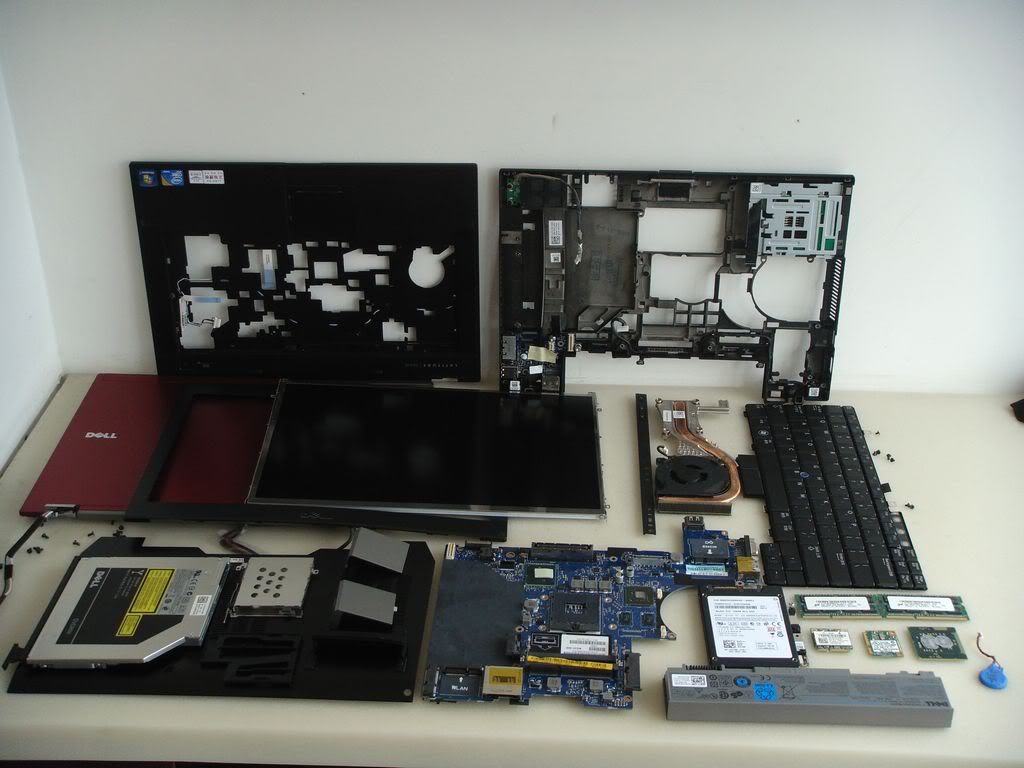
Dell Latitude E6410 internal parts